17 Cleaning Leather Couch Tips for Cracks and Stains
Your leather couch doesn't have to look like it's been through a war. Cracks and stains can make even the nicest sofa feel worn out, but the right care can reverse the damage and keep it looking new.
These 17 tips cover everything from quick spill fixes to deep repairs, so you can tackle problems before they get worse. You don't need expensive products or professional help for most issues.
Simple household items like cornstarch and rubbing alcohol can handle grease and ink stains, while regular conditioning prevents cracks from forming in the first place. The key is knowing which method works for each specific problem.
1. Blot Spills Immediately – Don't Rub
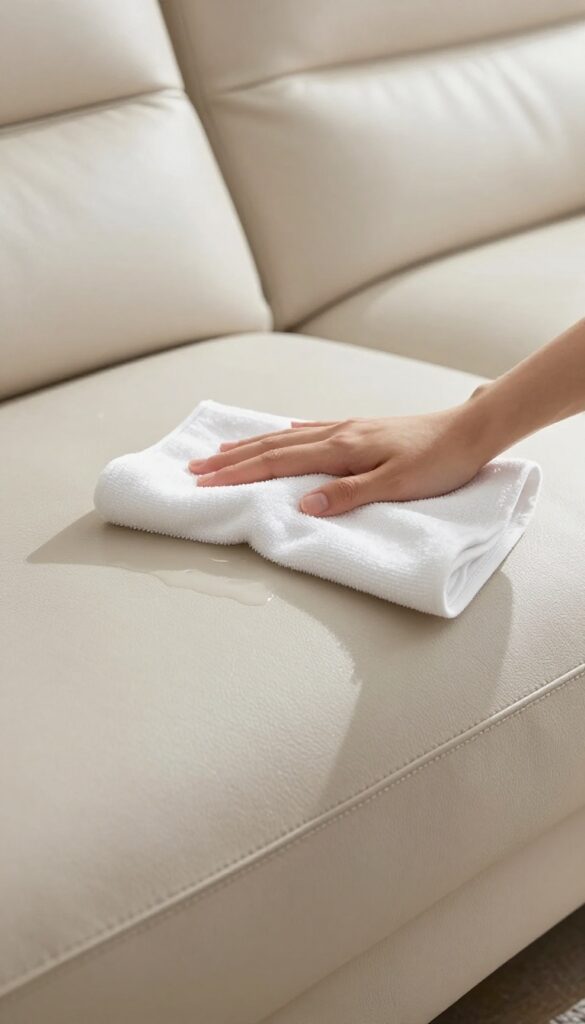
When a drink or sauce lands on your leather couch, every second counts. The natural instinct is to grab a cloth and scrub, but that's exactly what you want to avoid. Rubbing grinds the liquid into the leather fibers, making the stain set deeper and harder to remove.
Instead, grab a clean, dry cloth and blot the spill gently. Press down to absorb as much moisture as possible without spreading it around. This simple action can prevent a permanent mark and keep your leather looking fresh.
Blotting is the first line of defense against stains. It works because leather is porous—liquid seeps in quickly, but if you blot right away, you can lift most of it before it penetrates. Use a white cloth to avoid color transfer, and work from the edges of the spill inward to contain it.
For thicker spills like syrup or sauce, scrape off the excess with a spoon first, then blot. Once you've absorbed what you can, let the area air dry naturally. Avoid using heat like a hair dryer, which can dry out the leather and cause cracking.
Why Rubbing Makes It Worse
Rubbing doesn't just spread the stain—it also damages the leather's surface. The friction can wear down the protective finish, leaving the leather vulnerable to future stains and cracks. Over time, repeated rubbing can create a dull, worn patch that's hard to fix.
Blotting preserves the finish and keeps the leather's texture intact.
What To Blot With
The best tool for blotting is a clean, absorbent cloth—microfiber or a soft cotton towel works great. Avoid paper towels, which can leave lint or scratch the leather. If the spill is oily, you can lightly dab with a cloth dampened with mild soap and water, but never saturate the leather.
Always test a hidden spot first.
When Blotting Isn't Enough
If the spill has already set, blotting alone won't cut it. For dried stains, you may need a leather cleaner or a homemade solution like a mix of vinegar and water. But for fresh spills, blotting is your best bet—it's quick, easy, and prevents most stains from becoming permanent.
2. Use a Mild Soap Solution for Everyday Grime
Dust, body oils, and light dirt build up over time, making your leather couch look dull. You don't need harsh chemicals to clean it—just a gentle soap solution works wonders. This method is safe for most leather types and removes everyday grime without stripping the finish.
For routine cleaning, a mild soap solution is your best friend. It's gentle enough for regular use but effective enough to lift surface dirt. Always test on a hidden area first, and avoid soaking the leather, as excess moisture can cause damage.
What You'll Need
Grab a few drops of mild dish soap (like Dawn or a gentle castile soap) and a bowl of warm water. You'll also need two soft microfiber cloths—one for washing, one for drying. Avoid using vinegar or alcohol-based cleaners, as they can dry out the leather.
Step-by-step Cleaning
Mix the soap into the water until it's just sudsy. Dip the microfiber cloth, wring it out well—it should be damp, not wet. Wipe the leather in small circular motions, focusing on one section at a time.
Rinse the cloth frequently to avoid spreading dirt. Follow immediately with a dry cloth to remove any moisture.
Drying And Finishing
After cleaning, let the couch air-dry completely away from direct heat or sunlight. Once dry, you can apply a leather conditioner to restore softness and prevent cracking. This keeps the leather supple and extends the life of your couch.
3. Test Any Cleaner on a Hidden Spot First
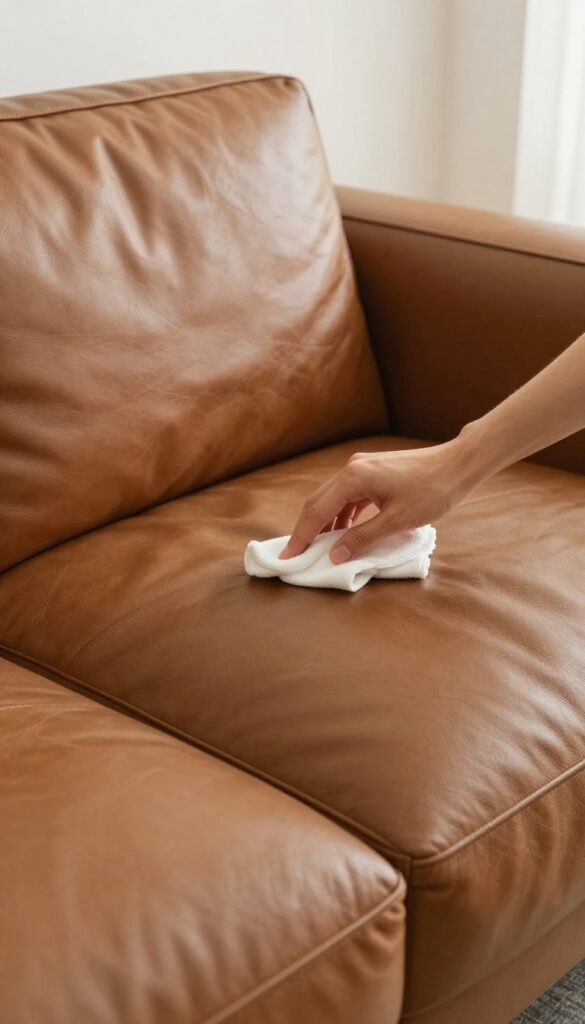
It's tempting to grab a cleaner and go straight for the stain. But leather is porous and reacts differently to different products. A cleaner that works on one couch might discolor or damage another.
That's why testing on a hidden spot is non-negotiable. It takes just a minute and saves you from making a small stain into a bigger problem. Pick a spot that's out of sight, like the back or underside, and apply a small amount of the cleaner.
Wait a full 24 hours before checking the area. If there's no discoloration, cracking, or texture change, you're good to go. If there is, you've just avoided a costly mistake.
Leather is a natural material that can vary greatly in finish and dye. Even products labeled "safe for leather" may cause reactions on certain types. Testing first is the only way to be sure.
Why Leather Reacts Differently
Leather can be aniline, semi-aniline, pigmented, or bonded—each with its own sensitivity. Aniline leather soaks up liquids quickly, while pigmented leather has a protective coating. A cleaner that's fine for one might strip the color or finish on another.
How To Test Properly
Dampen a clean white cloth with the cleaner. Rub it gently on a hidden area—under a cushion or behind the couch. Use a small, circular motion for about 10 seconds.
Then blot dry with another cloth. Don't skip the wait: some reactions take hours to appear.
What To Look For
After 24 hours, check for color change, stickiness, roughness, or a dull spot. If the area looks and feels the same as the surrounding leather, the cleaner is safe. If not, try a different product or a milder solution like mild soap and water.
4. Condition Leather Regularly to Prevent Cracks
Think of leather like your own skin—it needs moisture to stay flexible and healthy. Without regular conditioning, the natural oils dry out, and the surface becomes brittle. That's when tiny cracks start appearing, especially on seats and armrests where the leather bends the most.
A good conditioner does more than just add shine. It penetrates the fibers, replenishing oils that keep the leather soft and resistant to cracking. Aim to condition your couch every 6 to 12 months, depending on how much use it gets and your climate.
Dry, heated homes may need more frequent treatment.
Choosing The Right Conditioner
Not all conditioners are the same. Look for one made specifically for furniture leather, not shoes or car seats. Avoid products with silicone or wax, which can clog pores and cause buildup.
A high-quality conditioner with natural oils like lanolin or mink oil works best.
How To Apply Conditioner Correctly
Start with a clean couch—dust and dirt can get trapped under the conditioner. Apply a small amount to a soft, lint-free cloth, then rub it into the leather in circular motions. Let it sit for 10–15 minutes, then buff away any excess with a dry cloth.
Don't oversaturate; a thin, even layer is all you need.
Signs Your Leather Needs Conditioning
Watch for telltale signs: the leather feels dry or stiff, looks dull, or shows light surface cracks. Press your finger into a hidden spot—if the leather doesn't spring back quickly, it's time to condition. Catching it early prevents deeper damage.
5. Tackle Ink Stains with Rubbing Alcohol
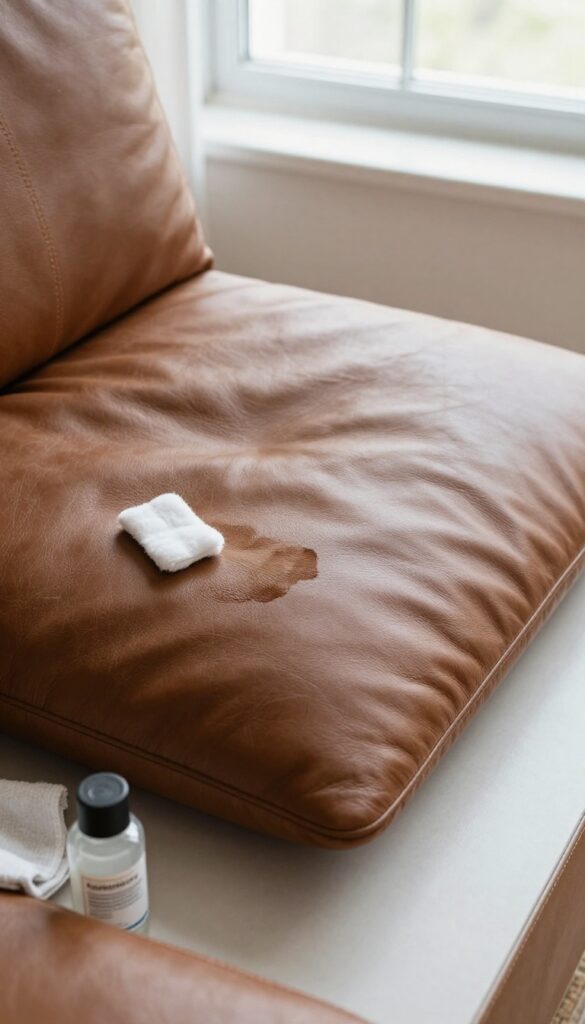
Ink stains on leather can feel like a disaster, especially if a pen leaks in a pocket or a marker gets into the wrong hands. But don't panic—rubbing alcohol is your secret weapon. It breaks down ink without damaging the leather's finish when used correctly.
The trick is to act fast and be gentle.
Start by testing a small, hidden area to make sure the alcohol doesn't discolor your leather. Then dip a cotton swab or soft cloth in rubbing alcohol and blot the stain—never rub. Rubbing can spread the ink deeper into the grain.
Blot from the outside in to contain the stain. Switch to a clean swab as soon as you see ink transferring. Keep going until no more ink lifts.
Once the stain is gone, the alcohol will have dried out the leather slightly, so follow up with a leather conditioner to restore moisture and flexibility. This two-step process keeps your couch looking pristine.
Why Blotting Beats Rubbing
Rubbing might seem more effective, but it actually pushes ink deeper into the leather fibers. Blotting lifts the stain to the surface where the alcohol can dissolve it. Think of it like dabbing a spill on a shirt—you want to absorb, not spread.
Patience pays off here.
Conditioning After Alcohol
Rubbing alcohol is a drying agent. After you've removed the ink, the treated area may feel stiff or look slightly dull. Apply a small amount of leather conditioner with a soft cloth, let it soak in for a few minutes, then buff gently.
This prevents cracking and keeps the leather supple.
6. Remove Grease Stains with Cornstarch
Grease stains from food, lotion, or body oils can be stubborn, but cornstarch is a surprisingly effective remedy. It works by drawing the oil out of the leather before it sets in. This method is gentle, cheap, and doesn't require any harsh chemicals.
When you spot a fresh grease stain, act fast. Sprinkle a generous layer of cornstarch or baking soda directly over the affected area. Let it sit for about 15 minutes—this gives the powder time to absorb the oil.
After that, gently brush off the powder with a soft cloth or a brush. If any residue remains, wipe the area with a slightly damp cloth. For older stains, you may need to repeat the process or let the powder sit longer.
Why Cornstarch Works So Well
Cornstarch is a natural absorbent. It pulls grease out of the leather pores without damaging the finish. Unlike some cleaners that can strip oils from leather, cornstarch is safe and non-abrasive.
It's also a great option for delicate or aniline leathers.
Step-by-step Application
First, blot any excess grease with a paper towel—don't rub, as that spreads the stain. Then cover the spot with a thick layer of cornstarch. Wait 15 minutes (or longer for heavy stains).
Brush off gently with a soft brush or cloth. Finally, wipe with a damp cloth to remove any powder residue. Allow the area to air dry.
When To Use Baking Soda Instead
Baking soda works similarly but is slightly more alkaline. Use it if the grease stain is older or if you've already tried cornstarch without success. Both are pantry staples, so you can choose whichever you have on hand.
Just remember to vacuum or brush off thoroughly afterward.
7. Fix Small Cracks with Leather Filler
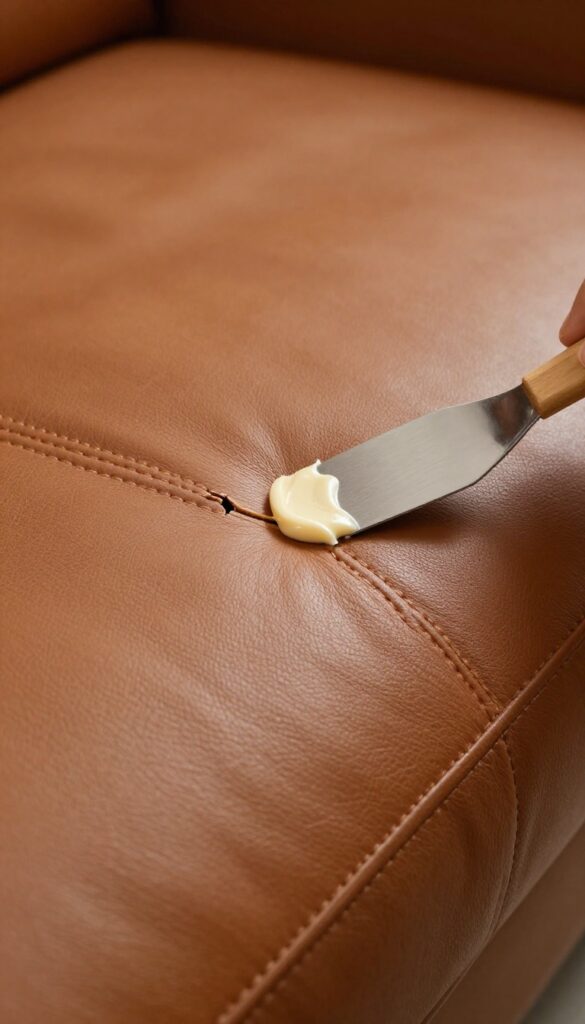
Not every crack means your couch is doomed. Shallow surface cracks from drying or wear can be smoothed out with a leather repair filler. This method is simple and doesn't require replacing the whole cushion or calling a pro.
Choose The Right Filler
Look for a flexible leather filler that won't crack after drying. Avoid hard spackle-type products. A water-based acrylic filler works well for most couches.
Test it on a hidden spot first to check adhesion and flexibility.
Apply And Smooth
Use a small spatula or a plastic knife to press the filler into the crack. Work it in gently, then scrape off the excess so the surface is level. Let it dry completely according to the product instructions—usually a few hours.
Sand And Color-match
If the dried filler feels rough, lightly sand it with fine-grit sandpaper (like 400 grit) until smooth. Wipe away dust. Then apply a leather dye or color restorer that matches your couch.
Dab it on with a sponge or cloth, blending the edges.
Seal The Repair
Finish with a leather sealant or conditioner to protect the repaired area. This step also helps the color last longer and prevents the filler from absorbing dirt. Buff gently for a uniform sheen.
8. Deep Clean with a Leather-Specific Cleaner
Not all cleaners are safe for leather. Using all-purpose sprays or harsh chemicals can strip the natural oils, leading to more cracks and fading. A dedicated leather cleaner is formulated to lift dirt without damaging the surface.
Invest in a cleaner made specifically for leather. Spray onto a cloth (not directly on the couch) and wipe down the entire surface. This removes built-up dirt without stripping oils.
Why Leather-specific Matters
Leather is porous and sensitive. General cleaners often contain alcohol, ammonia, or bleach that can dry out the hide and cause cracking. A pH-balanced leather cleaner gently dissolves grime while preserving the finish.
How To Apply Correctly
Always spray the cleaner onto a soft, lint-free cloth, not directly onto the couch. Wipe in small sections using circular motions, then follow with a dry cloth to remove any residue. Avoid soaking the leather.
When To Deep Clean
Deep clean your leather couch every three to six months, depending on usage. If you notice a dull appearance or sticky spots, it's time for a thorough wipe-down. Regular deep cleaning prevents buildup that can lead to stains and cracks.
9. Use a Soft Brush for Crevices and Seams
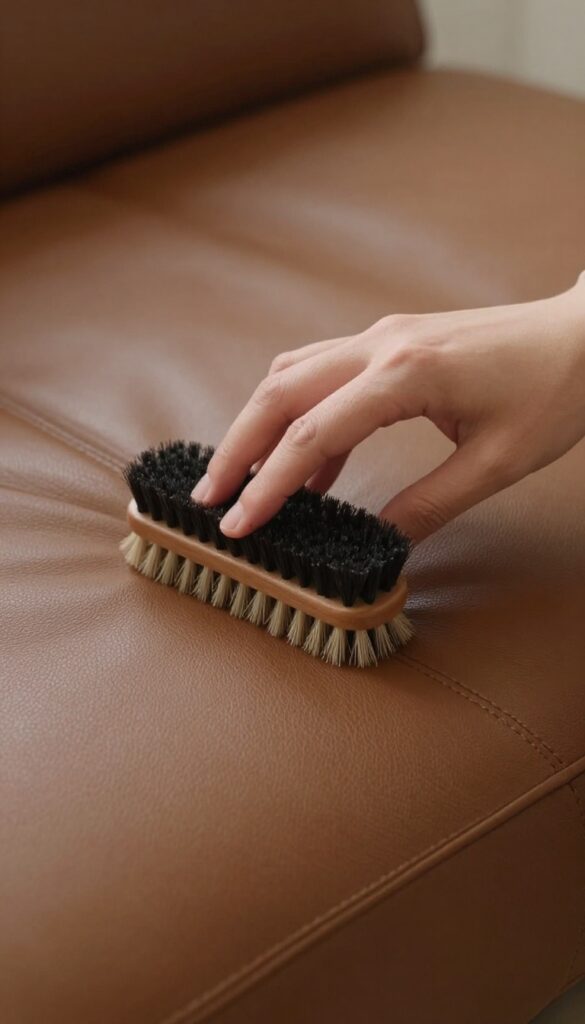
Cracks and stains often start where dirt accumulates. The seams, crevices, and piping on your leather couch are magnets for dust, crumbs, and grime. Left alone, that buildup can work its way into the leather, causing discoloration and even small cracks over time.
A soft brush is your best friend for keeping these hidden spots clean without damaging the surface.
A soft-bristled brush or an old, clean toothbrush works wonders for dislodging debris from tight spaces. Gently brush along seams and crevices to loosen dirt, then follow up with a vacuum cleaner fitted with a brush attachment to suck everything away. This two-step process prevents you from pushing grime deeper into the leather.
For extra stubborn buildup, you can lightly dampen the brush with a leather cleaner, but make sure it's not soaking wet. Always test on an inconspicuous area first.
Why Seams Need Special Attention
Seams are where leather panels are stitched together, creating natural pockets for dust and oils. Over time, trapped particles can abrade the leather fibers, leading to premature wear and cracking. Regular brushing keeps these areas clean and reduces friction damage.
Choosing The Right Brush
Not all brushes are leather-safe. Use a brush with natural bristles or a soft nylon toothbrush. Avoid stiff wire brushes or anything with sharp edges that could scratch the leather.
A horsehair brush is ideal for larger surface areas, while a toothbrush works best for tight crevices.
How Often To Brush
A quick brush and vacuum every two weeks is enough for most households. If you have pets or kids, increase the frequency to weekly. This simple habit prevents dirt from settling in and makes deep cleaning sessions much easier.
10. Prevent Sun Damage with Window Coverings
Direct sunlight is one of the biggest enemies of leather. It dries out the natural oils, causing the material to fade, stiffen, and eventually crack. Even if you're diligent about cleaning and conditioning, constant UV exposure will undo your efforts over time.
The good news is that blocking harmful rays is simple and doesn't require a total room makeover.
Start by assessing which windows let in the most direct light onto your couch. South- and west-facing windows are usually the worst offenders. Simple solutions like blinds, curtains, or UV-protective window film can cut down exposure significantly.
Sheer curtains offer a balance between light and protection, while blackout curtains are ideal for rooms you don't use during peak sun hours. If you prefer an unobstructed view, consider applying a clear UV-blocking film directly to the glass—it's affordable and easy to install.
Choose The Right Window Treatment
Not all window coverings block UV rays equally. Look for fabrics with a tight weave or a built-in UV coating. Cellular shades are excellent because they trap air and provide insulation while filtering light.
For a more decorative option, lined curtains with a white backing reflect heat and rays. Avoid cheap plastic blinds that can warp or discolor over time.
Position Your Couch Strategically
If rearranging furniture is possible, move your leather couch away from direct sunlight. Even a few feet can reduce exposure. Angle the couch so that the back or arms face the window instead of the seating area.
This simple shift can extend the life of your leather by years.
Use Uv-protective Film For Glass Doors
Sliding glass doors are a common culprit for sun damage. Apply a UV-blocking film that filters out 99% of harmful rays without darkening the room. These films are easy to cut and install yourself, and they're virtually invisible once applied.
They also help regulate room temperature, saving on energy costs.
11. Treat Water Stains with a Damp Cloth
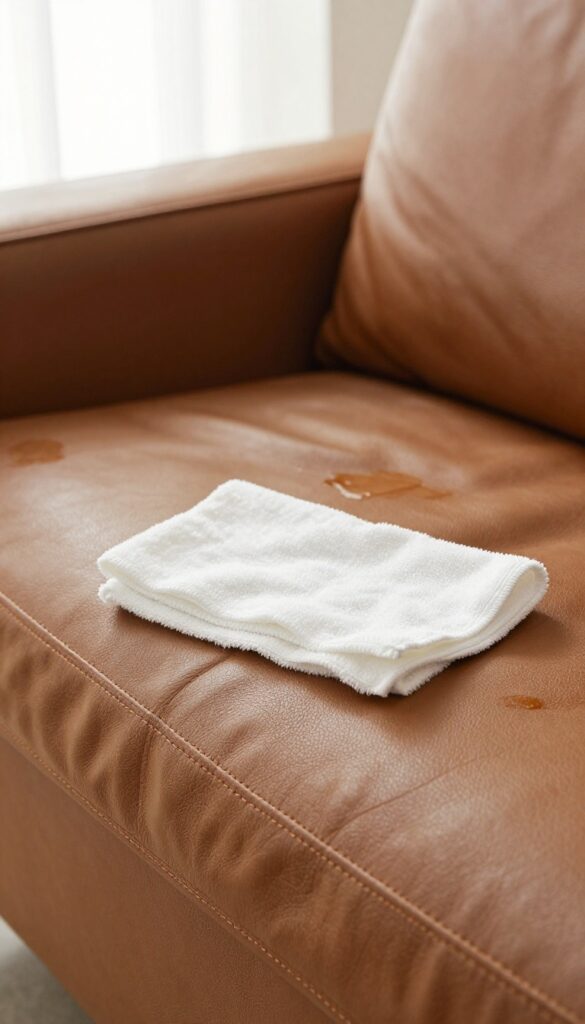
Water stains from spilled drinks or wet glasses can leave unsightly dark rings on your leather couch. The good news is these marks are usually temporary and easy to fix without special products. The trick is to rehydrate the area evenly so the stain blends back in.
To treat water stains, start by blotting any excess moisture with a dry cloth. Then lightly dampen a clean, soft cloth with plain water—not soaking wet, just barely moist. Gently wipe the entire panel or cushion that has the stain, not just the ring itself.
This evens out the moisture level across the leather. Let the area air dry naturally away from direct heat or sunlight. As it dries, the dark ring should disappear.
If a faint mark remains, repeat the process or follow up with a leather conditioner to restore uniformity.
Why Water Rings Form
Leather absorbs moisture unevenly when a spill lands on a small area. The trapped water creates a dark ring as it dries faster around the edges than the center. By dampening the whole panel, you allow the leather to dry at the same rate everywhere, which prevents that ring effect.
What Not To Do
Never use heat like a hair dryer or iron to speed up drying—it can shrink or crack the leather. Also avoid rubbing the stain vigorously, which can damage the finish. Just a gentle, even wipe is all you need.
When To Condition Afterward
Water can strip some natural oils from leather, especially if it happens often. After the area is completely dry, apply a small amount of leather conditioner to keep the material supple and prevent future cracks.
12. Repair Deep Cracks with a Patch Kit
When cracks go beyond the surface, a simple conditioner won't cut it. Deep cracks need structural reinforcement, and that's exactly what a leather patch kit provides. These kits come with adhesive-backed fabric and a color-matching compound that blends the repair into the surrounding leather.
For larger cracks, using a leather patch kit is the most reliable solution. Start by cleaning the area around the crack with a mild leather cleaner and letting it dry completely. Then, cut a piece of the adhesive-backed repair fabric slightly larger than the crack, peel off the backing, and press it firmly over the damaged area.
Smooth out any air bubbles with your fingers or a soft cloth. Once the patch is secure, apply the color-matching compound over the patch and blend it into the surrounding leather using a sponge or applicator. Let it dry according to the kit's instructions, then buff gently for a seamless finish.
Choosing The Right Patch Kit
Not all patch kits are created equal. Look for one that matches your leather type—whether it's aniline, semi-aniline, or pigmented leather. Kits with multiple color options or a mixing guide give you the best chance of a perfect match.
Also, check that the adhesive is strong enough to hold over time, especially on high-use areas like seat cushions.
Prepping The Crack For Best Results
Before applying the patch, trim any loose fibers or frayed edges around the crack with small scissors. This creates a clean surface for the adhesive to bond. If the crack is dirty, use a cotton swab dipped in rubbing alcohol to gently clean it out—but avoid soaking the leather, as alcohol can dry it out.
Blending The Patch For A Natural Look
The color-matching compound is key to making the repair invisible. Apply it in thin layers, building up coverage gradually. Use a sponge or your fingertip to dab the compound over the patch and feather the edges into the surrounding leather.
Some kits include a grain paper that you can press onto the compound to recreate the leather's texture.
13. Keep Pets' Nails Trimmed

If you share your home with a furry friend, you know how much they love curling up on the couch. But those innocent hops and stretches can turn into tiny punctures and scratches on your leather. The fix is simple: regular nail trims protect your sofa and keep your pet comfortable.
Why Short Nails Matter
Even a gentle cat kneading or a dog settling down can dig claws into leather. Over time, these micro-tears widen and become noticeable cracks. Keeping nails short reduces the pressure and prevents punctures.
It's a small habit that saves your couch from a lot of damage.
How To Trim Safely
Use pet-specific nail clippers or a grinder. Trim just the tip, avoiding the quick (the pink area inside the nail). If you're unsure, ask your vet or groomer to show you.
For nervous pets, try trimming one paw a day with treats and praise.
Add A Protective Layer
Place a soft throw blanket or a pet-friendly cover on your pet's favorite spot. This catches any stray scratches and also collects fur and dander. Choose a blanket that complements your decor so it feels intentional, not just a cover-up.
14. Wipe Down Weekly with a Dry Microfiber Cloth
A simple weekly dusting can save your leather from a lot of trouble. Tiny particles of dirt and dust settle into the grain and act like sandpaper every time someone sits down or shifts position. Over time, this abrasion wears down the finish and creates tiny cracks that grow bigger.
A dry microfiber cloth picks up dust without scratching the leather. Unlike feather dusters that just move particles around, microfiber traps them in its fibers. This quick habit takes less than two minutes but dramatically extends the life of your couch.
Dust and dirt act like sandpaper on leather. A quick weekly wipe with a dry microfiber cloth prevents abrasion and keeps the surface clean. This simple step removes the grit that causes micro-scratches and dullness, and it also prevents dirt from being ground into the leather when you sit.
Make it part of your Sunday routine and your couch will stay looking newer for longer.
Why Microfiber Works Best
Microfiber cloths have split fibers that create a static charge, which attracts dust like a magnet. Cotton cloths or paper towels can leave lint and may even be abrasive if they're rough. Microfiber is soft enough for delicate leather finishes but effective enough to grab fine dust from crevices and stitching.
How To Wipe Without Damaging Leather
Use a fresh, dry microfiber cloth and gently wipe the entire surface in long, straight strokes. Avoid circular motions that can twist dirt into the grain. Pay extra attention to seams, tufted areas, and the sides of cushions where dust collects.
Don't press hard—let the cloth do the work.
When To Wipe And What To Avoid
Aim for once a week, or more often if you have pets or heavy use. Never use a damp cloth unless you're spot cleaning with a leather-safe cleaner, because moisture can damage leather over time. Also, skip furniture polishes or waxes—they can clog the pores and cause buildup.
15. Use a Leather Balm for Dry, Faded Areas
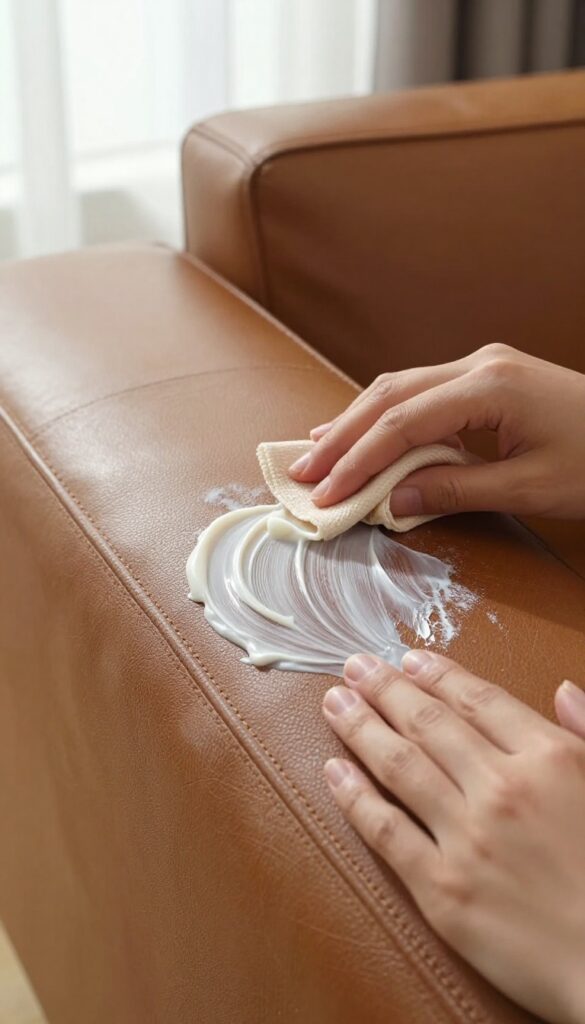
When your leather couch starts looking dry or faded, a regular conditioner might not cut it. That's where leather balm comes in—it's thicker and more nourishing, designed to penetrate deeper into the hide. It's a game-changer for spots that have lost their color or feel stiff.
Apply a small amount of leather balm to a clean, dry cloth and rub it into the affected areas. Focus on faded or dry patches, working the balm in with circular motions. Let it soak in overnight—this gives the leather time to absorb all those nourishing oils.
In the morning, buff the surface with a soft cloth to remove any excess and reveal a restored, supple finish.
Why Balm Beats Conditioner
Conditioners are great for maintenance, but they sit more on the surface. Leather balm contains waxes and oils that sink deeper, replenishing lost moisture and flexibility. It's ideal for leather that's been neglected or exposed to sun, heat, or dry air.
How To Apply For Best Results
Start by cleaning the leather with a mild soap solution and letting it dry completely. Then, use a soft cloth to apply the balm in thin, even layers. Don't overdo it—a little goes a long way.
Let it sit for at least 8 hours, then buff off any residue with a clean cloth.
When To Use Balm Vs. Conditioner
Use balm when you see visible fading, cracking, or stiffness. For regular upkeep every few months, a conditioner is fine. But if your couch is looking tired, balm can bring it back to life.
Test on a hidden spot first to make sure the color doesn't darken too much.
16. Avoid Harsh Chemicals Like Bleach or Ammonia
It's tempting to grab whatever cleaner is under the sink when your leather couch gets a stubborn stain. But common household products like bleach, ammonia, or all-purpose sprays can do more harm than good. They strip the natural oils that keep leather soft and supple, leading to cracks, discoloration, and a stiff, brittle feel.
Stick to products specifically labeled as safe for leather. These are pH-balanced and formulated to clean without damaging the finish. If you're unsure, test any new cleaner on a hidden spot first—like the back or bottom of the couch.
And always follow up with a leather conditioner to restore moisture after cleaning.
Why Bleach And Ammonia Are Bad News
Bleach and ammonia are strong alkalis that can eat away at leather's protective topcoat. Even a small amount can cause fading, peeling, or a sticky residue that attracts dirt. Over time, the leather loses its flexibility and starts cracking.
It's just not worth the risk.
What To Use Instead
Look for mild leather cleaners or saddle soaps designed for furniture. A simple solution of distilled water and a few drops of mild dish soap can work for light cleaning. For tougher stains, a dedicated leather stain remover is a safer bet.
Always read labels and avoid anything with alcohol, solvents, or citrus oils.
Quick Diy Spot Test
Before using any cleaner, dab a small amount on an inconspicuous area. Wait a few minutes and blot with a white cloth. If any color transfers or the leather feels tacky, don't use that product.
This simple step can save you from ruining your couch.
17. Call a Professional for Antique or Very Valuable Leather
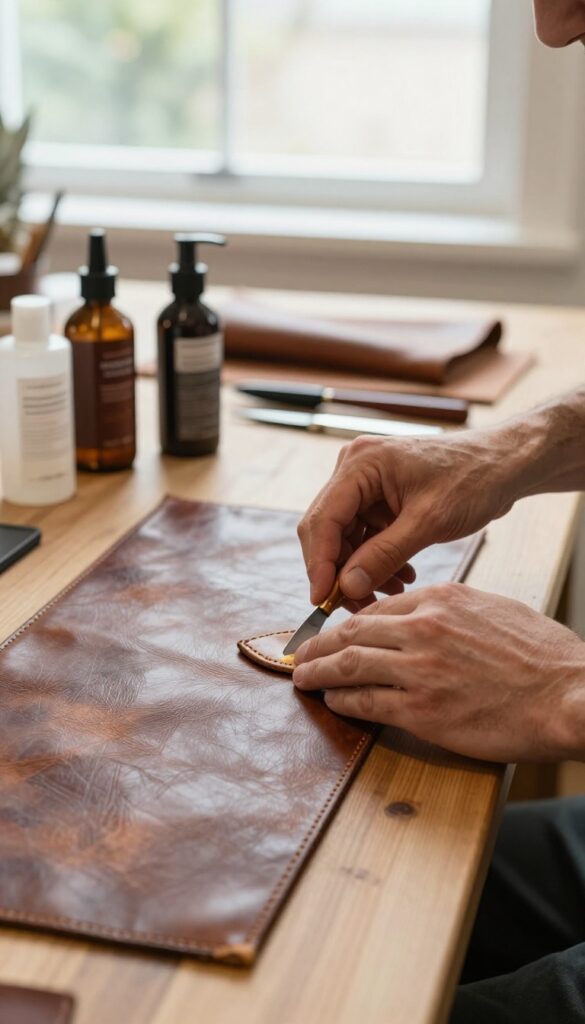
Some leather couches are more than just furniture—they're investments. Antique pieces, heirloom sofas, or high-end designer items deserve extra care that goes beyond DIY methods. When the value or sentimental weight is high, a professional touch can make all the difference.
Professionals have specialized tools, cleaners, and conditioners that aren't available to consumers. They can assess the leather type, age, and damage accurately, avoiding the risk of using the wrong product. For deep cracks, color loss, or structural issues, their expertise prevents costly mistakes.
Plus, they often offer warranties on their work, giving you peace of mind.
When To Call A Pro
If your couch is over 20 years old, has significant fading or cracking, or is made from aniline or semi-aniline leather, professional cleaning is wise. Also, if you've tried DIY methods without success, or if the stain is from ink, paint, or unknown chemicals, a pro can handle it safely.
What Professionals Do Differently
They use pH-balanced cleaners, moisturizing conditioners, and sometimes re-dye or recolor the leather. They have steam cleaners and gentle vacuums that remove deep dirt without damaging the surface. For cracks, they can apply fillers and sealants that blend seamlessly with the original leather.
How To Choose A Reliable Service
Look for companies that specialize in leather furniture, not just general upholstery. Check reviews, ask about their training and products, and request a quote before committing. A reputable pro will inspect the couch first and explain their process clearly.
FAQ
Can I use baby wipes to clean my leather couch?
It's not recommended. Baby wipes often contain alcohol, fragrances, or moisturizers that can damage leather over time. Stick to a mild soap solution or leather-specific cleaner.
How often should I condition my leather couch?
Condition every 6 to 12 months, depending on usage and climate. If the leather feels dry or looks dull, it's time to condition.
Will vinegar damage leather?
Vinegar is acidic and can strip leather's finish. It's best to avoid it. Use a pH-balanced leather cleaner instead.
Can I use olive oil to condition leather?
No. Olive oil can go rancid, attract dirt, and cause sticky residue. Always use a product specifically formulated for leather.
How do I remove mold from a leather couch?
Mix equal parts water and isopropyl alcohol. Dampen a cloth and wipe the moldy area. Let it dry completely, then condition the leather.
Conclusion
Your leather couch doesn't have to look tired. With these 17 tips, you can tackle cracks and stains head-on, restoring that rich, supple feel without expensive salon treatments. Start with the gentlest methods—like a microfiber cloth and mild soap—then work your way up to conditioners and repair kits as needed.
Consistency is your best friend here.
A quick weekly wipe-down and immediate spot-cleaning will keep your leather looking fresh for years. Pick two or three tips that fit your couch's current condition and make them part of your routine. Your living room will thank you.