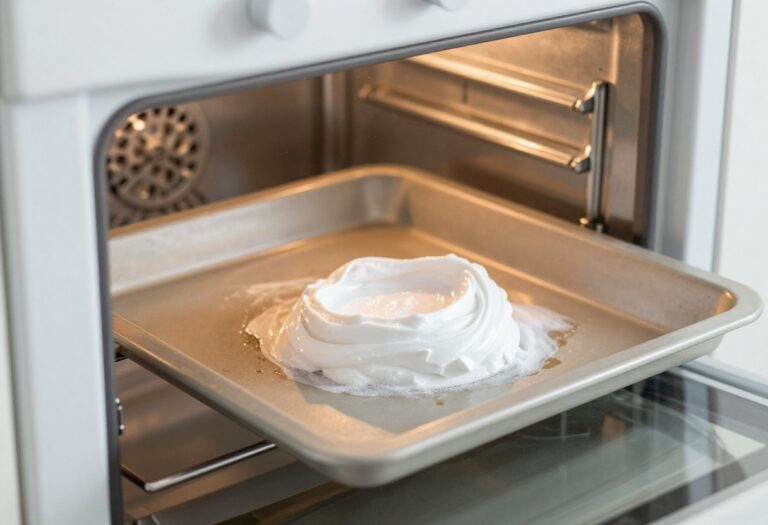
15 Oven Door Glass Cleaning Tips for a Streak Free Look
A smudged oven door can make your entire kitchen feel dim and neglected, even after a deep clean. You want that showroom shine without spending hours scrubbing or using harsh chemicals.
These 15 tips cut through the toughest grease and baked-on grime, leaving your glass streak-free and crystal clear. From pantry staples to clever tools, each method is practical and tested for real results.
Say goodbye to foggy oven windows and hello to a sparkling kitchen centerpiece.
1. Start with a Dry Wipe to Remove Loose Debris
Before you bring out any sprays or pastes, grab a dry microfiber cloth and give the glass a quick once-over. This simple step clears away crumbs, dust, and loose particles that could scratch the surface when you start scrubbing. It also prevents those particles from turning into a gritty mess once wet cleaners are applied.
A dry wipe is the foundation for streak-free results. Skipping this step often leads to trapped debris that creates micro-scratches or leaves behind a hazy film. Use a clean, lint-free microfiber cloth and wipe in one direction to avoid redistributing dirt.
This takes just 30 seconds but makes every following step more effective.
Why Dry Wiping Matters
Oven glass is delicate and prone to scratching. A dry wipe removes abrasive particles before they can be ground into the surface. It also lifts loose grease that might otherwise smear when you apply a cleaner.
Best Cloth For The Job
Microfiber is ideal because its fine fibers trap dust without leaving lint. Avoid paper towels or rough sponges, as they can scratch. If your cloth is new, wash it first to remove any manufacturing residues.
Technique Tips
Start from the top and work your way down to avoid dropping debris onto already-cleaned areas. Use a gentle, even pressure. For stubborn crumbs, lightly brush them off with a soft pastry brush before wiping.
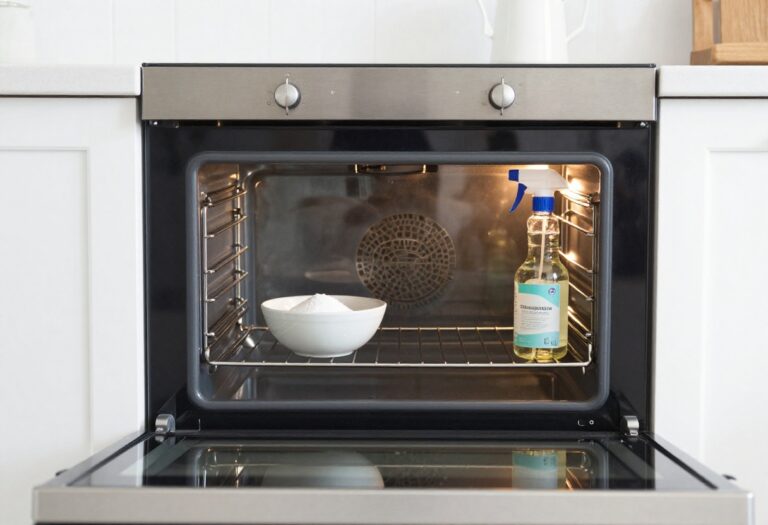
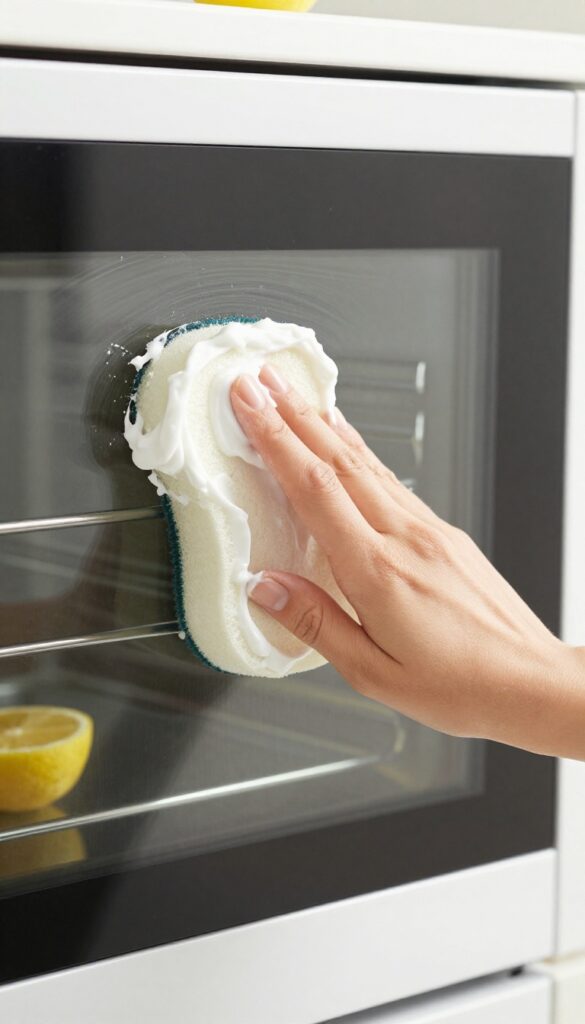
2. Use a Paste of Baking Soda and Water for Tough Grease
When grease has baked onto your oven glass for weeks, a simple spray won't cut it. You need something with a bit of grit and chemistry to break down those stubborn layers without scratching the surface. A paste made from baking soda and water is a gentle but effective solution that's probably already in your pantry.
This method relies on the mild abrasive nature of baking soda combined with its alkaline pH to dissolve grease. The paste clings to vertical surfaces, giving it time to work. After a short wait, most of the grime wipes away with minimal effort.
It's safe for all oven glass types and leaves no chemical residue.
How To Make The Paste
Mix three parts baking soda with one part water in a small bowl. Stir until it forms a thick, spreadable paste. It should be similar to toothpaste in consistency.
If it's too runny, add more baking soda; if too dry, add a few more drops of water.
Application And Wait Time
Apply the paste to the oven glass using a soft sponge or your fingers (wear gloves). Spread it evenly over the greasy areas. Let it sit for 15 minutes.
For extremely tough spots, you can leave it on for up to 30 minutes, but don't let it dry completely.
Wiping And Finishing
After the wait, use a damp microfiber cloth to wipe away the paste. Most of the grease will come off with it. For stubborn residue, gently scrub in circles with the paste still on.
Rinse the cloth frequently. Finally, buff the glass with a dry microfiber cloth for a streak-free shine.
3. Try Vinegar and Water for a Natural Streak-Free Finish
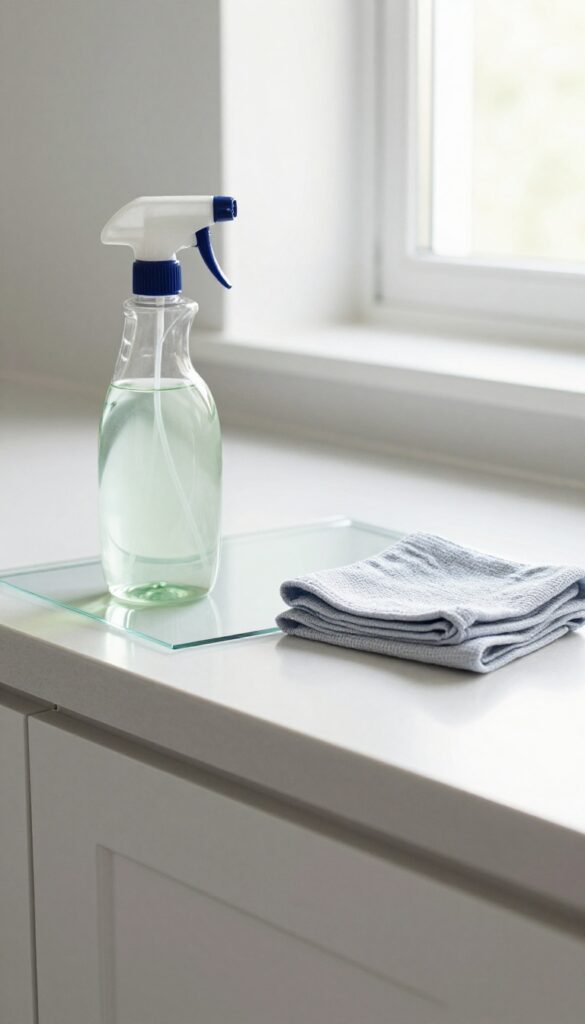
If you prefer a chemical-free approach, white vinegar and water is a classic combo that cuts through grime without leaving streaks. It's cheap, non-toxic, and works surprisingly well on oven glass. Just mix equal parts in a spray bottle, spritz, and wipe for a clean that looks like new.
This method is gentle enough for regular use but tough on light to moderate buildup. The vinegar's acidity breaks down grease and residue, while water helps dilute it for safe application. A microfiber cloth is key—it grabs the loosened dirt and leaves no lint behind.
Why Vinegar Works
Vinegar is a mild acid that dissolves alkaline residues like baked-on grease and hard water spots. It's also a natural disinfectant, so you're sanitizing while you clean. Unlike ammonia-based cleaners, vinegar won't leave a hazy film when used correctly.
How To Apply It Right
Spray the solution generously onto the cold glass—never on a hot oven, as rapid temperature changes can crack it. Let it sit for 30 seconds to loosen grime, then wipe in one direction with a dry microfiber cloth. For stubborn spots, dip the cloth in the solution and scrub gently.
When To Avoid This Method
Avoid vinegar on glass with etched or frosted designs, as the acid can dull the finish. Also, don't use it on self-cleaning oven doors if the seal is worn—vinegar can seep in and damage components. Stick to plain water or a dedicated glass cleaner in those cases.
4. Use a Razor Blade Scraper for Burnt-On Spots
Some spots just won't budge no matter how hard you scrub. Baked-on grease and caramelized sugar can form a tough crust that laughs at regular cleaners. That's where a razor blade scraper comes in—it's the secret weapon of professional cleaners for tackling those stubborn burnt-on patches.
Safety First: Keep The Glass Wet
Always wet the glass with soapy water or a cleaning solution before scraping. The moisture acts as a lubricant, reducing friction and preventing scratches. Never scrape dry glass—it's a surefire way to leave permanent marks.
The Right Angle Matters
Hold the razor blade at a 45-degree angle to the glass. This allows the edge to lift the grime without digging into the surface. Use short, gentle strokes, and wipe the blade clean after each pass to avoid dragging debris across the glass.
When To Use This Method
Reserve the razor blade for tough, baked-on spots that resist other cleaning methods. It's not a daily maintenance tool—use it sparingly to avoid dulling the blade or damaging the glass over time. For light smudges, stick to microfiber cloths and sprays.
5. Apply a Paste of Cream of Tartar and Lemon Juice
Cream of tartar isn't just for baking—it's a gentle abrasive that pairs perfectly with lemon juice to dissolve stubborn grease and mineral deposits. This natural paste works wonders on oven glass without scratching. Let it sit for a few minutes, then buff away for a bright, streak-free finish that smells fresh and clean.
Mix equal parts cream of tartar and lemon juice to form a thick paste. Apply it to the oven glass with a soft sponge or cloth, focusing on greasy spots. Let it sit for about 10 minutes to break down the grime.
Then wipe off with a damp microfiber cloth and buff dry. The acid in the lemon juice cuts through grease while the cream of tartar gently polishes away residue.
Why This Combo Works So Well
Cream of tartar is a mild acid salt that acts as a gentle scouring agent. When combined with citric acid from lemon juice, it creates a chemical reaction that lifts baked-on food and grease without harsh scrubbing. This makes it safe for glass and avoids the micro-scratches that can happen with abrasive powders.
How To Apply For Best Results
Start with a clean, dry surface. Spread the paste evenly over the glass using a non-abrasive sponge. Let it sit for 10 minutes—don't let it dry completely.
Dampen a microfiber cloth with warm water and wipe the paste away in circular motions. Rinse the cloth frequently to avoid redepositing grime. Finally, buff with a dry cloth for a streak-free shine.
When To Use This Method
This paste is ideal for moderate to heavy grease buildup that regular sprays can't handle. It's also great for removing cloudy film from hard water stains. Avoid using it on hot glass or if your oven has a self-cleaning coating that might be sensitive to acids.
Always test a small hidden area first.
6. Use a Magic Eraser for Light Stains and Smudges
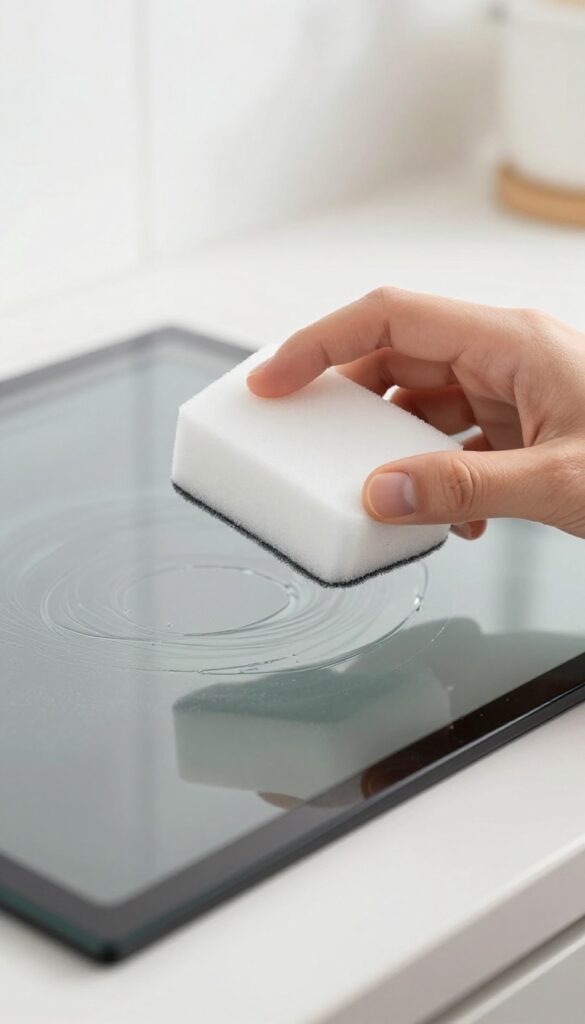
A magic eraser—those melamine foam sponges—is a lifesaver for light stains and everyday smudges on oven glass. It works like a gentle abrasive, lifting fingerprints, grease splatters, and minor residue without any chemical sprays. Just dampen it slightly, give the glass a quick wipe, and rinse thoroughly afterward to avoid any white residue.
This method is ideal for maintenance cleaning between deep scrubs. It’s fast, effective, and requires zero harsh products, making it a great option for quick touch-ups.
How It Works
Melamine foam acts like ultra-fine sandpaper, physically lifting dirt from the glass surface. When dampened, it creates a mild abrasive action that breaks down light grime without scratching the glass. It’s perfect for removing oily fingerprints and light grease that hasn’t baked on for too long.
Step-by-step
Wet the magic eraser with water and squeeze out excess so it’s damp, not dripping. Wipe the oven glass in circular motions, focusing on stained areas. Rinse the glass with a clean, damp microfiber cloth to remove any foam residue, then dry with a lint-free towel.
When To Use It
Use this method for light to moderate stains, such as daily cooking splatters or smudges from little hands. For heavy baked-on grease, you’ll need a stronger cleaner first. Magic erasers are best for regular upkeep to keep your oven door looking clear.
7. Try a Commercial Oven Cleaner for Heavy-Duty Jobs
Sometimes, homemade solutions just can't cut through the thick, baked-on grease that has accumulated over months of cooking. That's when a commercial oven cleaner designed for glass becomes your best friend. These products are formulated to dissolve tough grime quickly, but they require careful handling to avoid damage or residue.
Choosing The Right Cleaner
Look for a cleaner that explicitly states it's safe for glass oven doors. Avoid abrasive or caustic formulas that could etch the surface. Check the label for compatibility with your oven model, especially if you have a self-cleaning or steam-cleaning feature.
Safety First: Ventilation And Gloves
Commercial oven cleaners often contain strong chemicals like sodium hydroxide. Always work in a well-ventilated area—open windows or turn on a kitchen exhaust fan. Wear rubber gloves to protect your skin, and consider safety glasses to prevent splashes into your eyes.
Application And Rinsing
Follow the instructions precisely. Typically, you spray the cleaner onto the glass, let it sit for a few minutes (but not so long it dries), then wipe with a damp sponge or cloth. Rinse thoroughly with clean water to remove all chemical residue, which can cause streaking or fogging if left behind.
Final Polish For A Streak-free Shine
After rinsing, dry the glass with a clean microfiber cloth. For extra sparkle, finish with a glass cleaner or a 50/50 vinegar-water spray. This step ensures no chemical film remains and leaves the glass crystal clear.
8. Use a Squeegee for a Professional Streak-Free Look
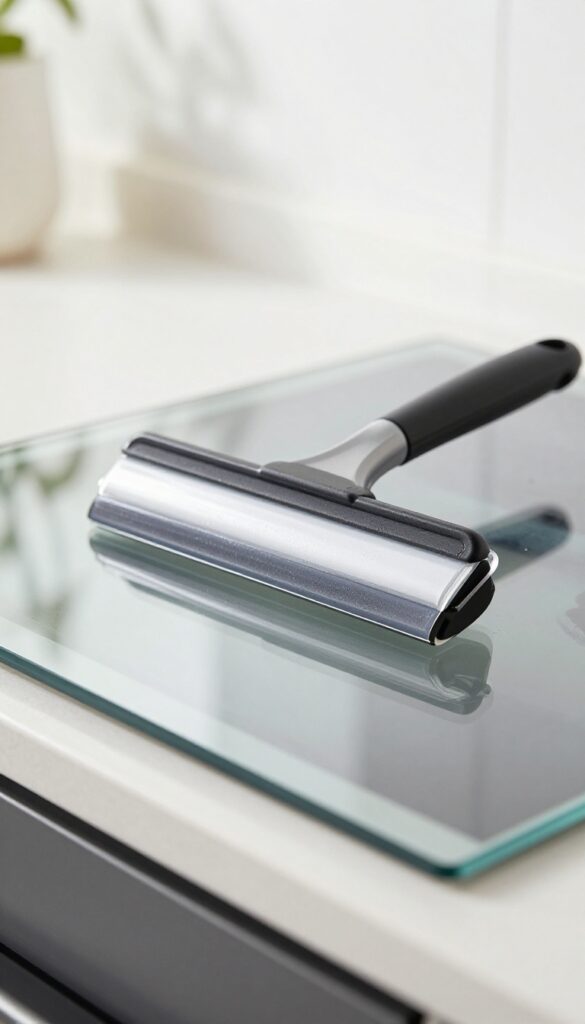
You've scrubbed and rinsed, but those annoying streaks still show up when the light hits. That's because excess moisture and cleaner residue are the real culprits. A simple squeegee can fix that in seconds.
After cleaning your oven door glass, grab a small squeegee—the kind you'd use on windows or shower doors. Starting at the top, pull it down in one smooth, continuous stroke. Wipe the blade dry with a clean cloth after each pass to avoid redepositing moisture.
This technique removes all the leftover liquid and leaves a pristine, streak-free surface that looks like a professional just handled it.
Why A Squeegee Works Better Than A Cloth
Cloths and paper towels can leave behind lint, tiny fibers, or uneven pressure that causes streaks. A squeegee's rubber blade glides smoothly, pushing moisture off the glass without any residue. It also reaches into corners and edges where cloths often miss, giving you full coverage.
Choosing The Right Squeegee
For oven doors, a small handheld squeegee with a 4- to 6-inch blade is ideal. Avoid large window squeegees that are too bulky. Look for one with a comfortable handle and a replaceable rubber blade.
Silicone blades tend to last longer and glide more easily than rubber.
Tips For Best Results
Always clean the squeegee blade between strokes to prevent dragging dirt back across the glass. Work in a vertical motion from top to bottom, overlapping each pass slightly. If the glass is still damp, give it one final horizontal pass across the bottom edge to catch any drips.
9. Wipe with a Coffee Filter for a Lint-Free Shine
You've scrubbed and rinsed, but those annoying streaks still show up when the light hits. The culprit is often lint from paper towels or cloths. Coffee filters solve that problem beautifully.
Coffee filters are designed to trap fine particles without shedding fibers. After cleaning your oven glass with your preferred method, grab a fresh, dry coffee filter. Use it to buff the glass in circular motions.
The filter's tight weave picks up any remaining moisture or cleaning residue, leaving a crystal-clear, streak-free surface. It's a simple swap that makes a big difference.
Why Coffee Filters Work So Well
Unlike paper towels, which can leave behind tiny fibers, coffee filters are lint-free. They're also slightly abrasive, which helps polish the glass without scratching. This makes them ideal for that final buffing step.
How To Use A Coffee Filter For Best Results
Start with a clean, damp oven door. Spray a small amount of glass cleaner or vinegar solution onto the glass. Wipe with a microfiber cloth first, then take a dry coffee filter and buff the glass in circular motions.
You'll see the streaks disappear almost instantly.
When To Reach For A Coffee Filter
Use a coffee filter for the final polish after any cleaning method. It's especially effective after using vinegar or commercial glass cleaners, which can leave a hazy residue. Keep a pack of filters near your cleaning supplies for quick touch-ups.
10. Use a Mixture of Dish Soap and Warm Water for Daily Maintenance
A few drops of dish soap in warm water is gentle enough for regular cleaning. Wipe the glass with a soft cloth, then dry with a microfiber towel to prevent water spots.
For everyday upkeep, nothing beats the simplicity of dish soap and warm water. This mild solution cuts through light grease and fingerprints without damaging the glass or leaving residue. It's safe for self-cleaning ovens and won't harm the seal.
Use it after each cooking session to keep the door looking pristine.
Why Dish Soap Works
Dish soap is designed to break down grease, making it ideal for oven glass. Unlike harsh chemicals, it's non-abrasive and won't scratch or cloud the surface. Plus, it's inexpensive and always on hand.
Best Tools For Application
Use a soft, lint-free cloth or a non-scratch sponge to apply the soapy water. Avoid paper towels, as they can leave lint. For drying, a clean microfiber towel works best to prevent water spots and streaks.
How Often To Clean
A quick wipe-down after each use prevents buildup. For light use, once a week is enough. This routine keeps the glass clear and reduces the need for deep cleaning.
11. Try Rubbing Alcohol for a Quick Streak-Free Shine
When you need a fast fix between deep cleans, rubbing alcohol is a surprising hero. It evaporates almost instantly, which means no standing liquid to leave those annoying streaks behind. Plus, it cuts through light grease and fingerprints with zero effort.
Rubbing alcohol is a fantastic option for a quick touch-up on your oven door glass. It's cheap, readily available, and works like a charm. Just a few sprays and a wipe, and you're done.
Why Alcohol Works So Well
The secret is evaporation. Water-based cleaners leave a thin film that dries unevenly, causing streaks. Alcohol evaporates so fast that it doesn't have time to form those marks.
It also dissolves oils and grime on contact, making it great for greasy fingerprints.
How To Apply It Right
Pour a little rubbing alcohol onto a soft, lint-free cloth—not directly on the glass. Wipe the entire surface in a circular motion, then follow with a dry section of the cloth. For extra stubborn spots, let the alcohol sit for a few seconds before wiping.
When To Use This Method
This is perfect for a quick spruce-up before guests arrive or when you notice smudges after cooking. It's not meant for heavy baked-on grease, but for everyday shine, it's hard to beat. Keep a small spray bottle of alcohol under the sink for instant access.
12. Use a Paste of Vinegar and Cornstarch for Extra Shine
When basic sprays leave a dull film, a thick paste can make all the difference. Vinegar cuts grease naturally, while cornstarch adds gentle abrasion to lift stubborn residue. Together, they create a polish that leaves glass looking like new.
Mix equal parts white vinegar and cornstarch to form a smooth, spreadable paste. Apply it generously to the cool oven glass using a sponge or soft cloth. Let the paste sit for 10–15 minutes until it dries slightly.
Then buff it off with a clean, dry microfiber cloth. The cornstarch absorbs grease and lifts grime, while the vinegar disinfects and cuts through film. The result is a brilliant, streak-free shine that lasts.
Why Cornstarch Works So Well
Cornstarch is a mild abrasive that won't scratch glass. It clings to grease particles and pulls them away from the surface as you buff. Combined with vinegar's acidity, it breaks down baked-on residue without harsh scrubbing.
How To Apply The Paste Correctly
Use a circular motion to spread the paste evenly. Focus on areas with heavy buildup, but avoid letting it pool in corners. Let it dry to a hazy film—this means it's working.
Then buff firmly until the haze disappears.
When To Use This Method
This paste is ideal for monthly deep cleans or after cooking greasy meals. It's too thick for quick wipe-downs but perfect for restoring a dull, smeary door to crystal clarity.
13. Clean the Gasket and Edges for a Complete Look
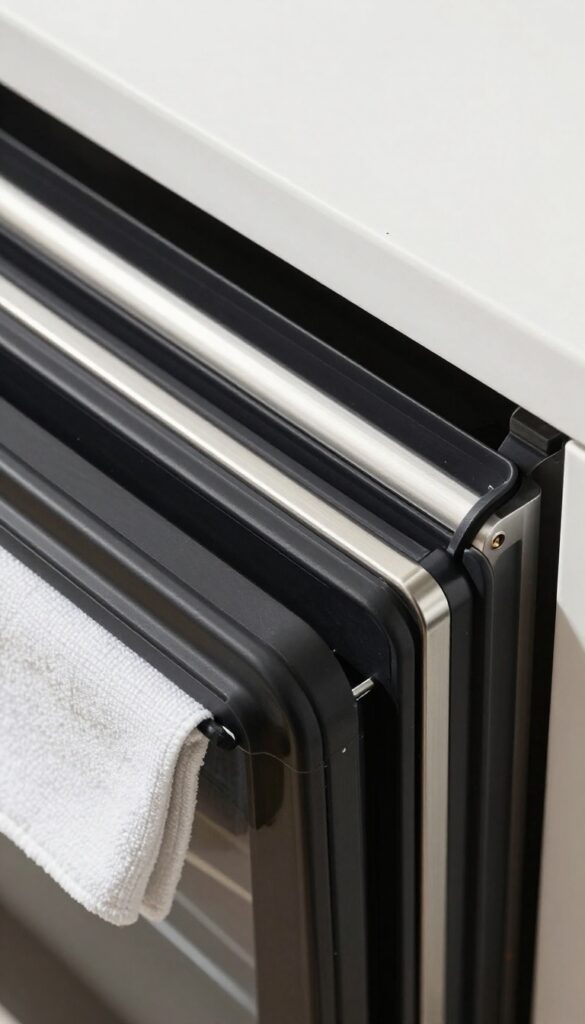
You've polished the glass to perfection, but if the rubber gasket and metal edges are grimy, the whole door still looks dingy. A complete clean means tackling every surface that frames the glass. This step is easy to overlook but makes a huge difference in the final appearance.
The rubber gasket seals the oven door and traps crumbs, grease, and baked-on residue over time. Similarly, the edges where the glass meets the frame collect grime that dulls the overall shine. Cleaning these areas ensures your oven door looks uniformly clean and streak-free.
Why The Gasket Matters
The gasket isn't just for sealing heat—it's a magnet for spills and splatters. When it's dirty, it can transfer grime back onto the glass during cleaning. A toothbrush and baking soda paste work wonders here.
Dip the toothbrush into the paste, scrub along the gasket crevices, then wipe away with a damp cloth.
Tackling The Metal Edges
The metal frame around the glass often has small grooves where grease hides. Use a cotton swab or a soft brush dipped in a mild degreaser to clean these tight spots. For stubborn buildup, a paste of baking soda and water left on for five minutes loosens the grime.
Rinse thoroughly and dry with a microfiber cloth to avoid water spots.
Final Polish For A Seamless Look
Once the gasket and edges are clean, give the entire door a final wipe with a glass cleaner and a dry microfiber cloth. This removes any residue from the cleaning process and ensures the glass appears crystal clear against the freshly cleaned frame. The contrast will make your oven look brand new.
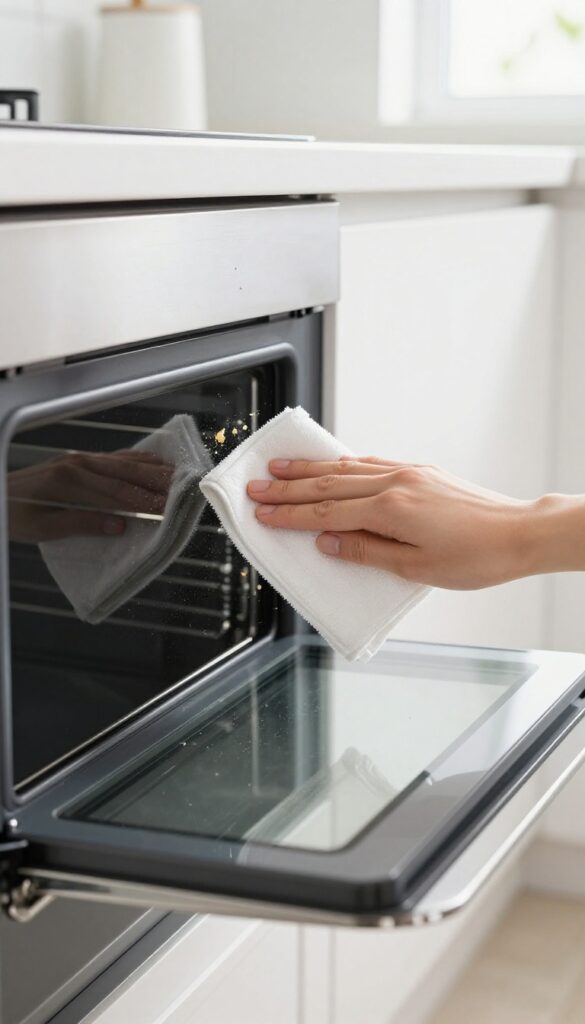
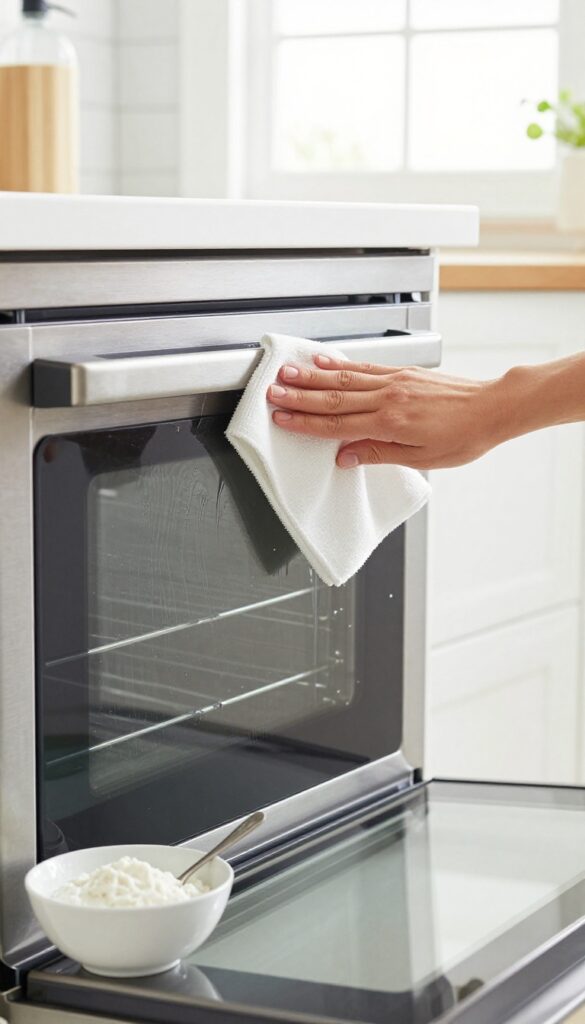
14. Use a Microfiber Cloth in a Circular Motion to Avoid Streaks
You've scrubbed and rinsed, but those annoying streaks still show up when the light hits. The culprit is often the cloth and the motion you use to dry the glass. Switching to a microfiber cloth and a simple circular motion can make all the difference.
Microfiber cloths are designed to trap dust and grease without leaving lint or scratches. When you wipe in a circular motion, you buff the surface evenly, distributing any remaining moisture or cleaner in a way that dries clear. Back-and-forth wiping tends to push residue into lines that become visible streaks once dry.
Why Microfiber Works Best
Microfiber has ultra-fine fibers that create a large surface area for trapping particles. Unlike cotton or paper towels, it won't shed fibers or leave behind a film. For oven glass, a dedicated glass-cleaning microfiber cloth (often blue or striped) works better than a general-purpose one.
The Right Circular Motion Technique
Start from the center of the glass and work outward in overlapping circles. Apply light pressure—you're buffing, not scrubbing. If the glass is still damp, use a second dry microfiber cloth for the final buff.
This two-cloth method ensures no moisture remains to cause streaks.
When To Replace Your Cloth
Microfiber cloths lose effectiveness after many washes or if they become greasy. If you notice streaking even with proper technique, it's time for a fresh cloth. Wash microfiber separately without fabric softener, which clogs the fibers.
15. Finish with a Glass Cleaner for a Final Polish

You've scrubbed, rinsed, and dried, but a few faint streaks or a light haze can still linger. That's where a dedicated glass cleaner steps in as the finishing touch. It's not about re-cleaning—it's about perfecting the surface so every reflection is crisp and clear.
A quick spritz and buff with the right product makes all the difference.
After your main cleaning, reach for an ammonia-free glass cleaner. Ammonia can damage the oven's interior coatings and leave a smell that lingers during baking. Spray a small amount onto a clean, lint-free microfiber cloth—never directly onto the glass to avoid overspray on the oven's interior.
Wipe in one direction, then flip the cloth and buff in the opposite direction to eliminate any residue. This final step removes the last traces of cleaner or water spots, giving you that flawless, streak-free finish that makes your oven door look brand new.
Why Ammonia-free Matters
Many glass cleaners contain ammonia, which can react with the high heat of your oven and leave a stubborn film or even damage the glass seal. Ammonia-free formulas are just as effective at cutting grease and drying streak-free, but they're safer for your appliance and your family. Look for brands labeled "streak-free" or "ammonia-free" for best results.
The Right Cloth Makes A Difference
Paper towels often leave lint and can scratch the glass. Microfiber cloths are the gold standard—they trap dust and oils without shedding. Use a fresh, dry cloth for the final buffing step.
If you notice any streaks, it might be from a dirty cloth, so switch to a clean one.
When To Skip This Step
If you've used a vinegar-based cleaner or a commercial oven glass spray that already promises a streak-free finish, you might not need an extra glass cleaner. But if you see any residue after drying, a quick polish with glass cleaner is a simple fix. Trust your eyes—if it looks perfect, you're done.
FAQ
How often should I clean my oven door glass?
For best results, wipe the glass after each use with a damp cloth to prevent buildup. A deep clean every 1-2 months keeps it streak-free.
Can I use Windex on oven glass?
Yes, but make sure it's ammonia-free. Ammonia can damage the glass coating over time. A dedicated glass cleaner or vinegar solution is safer.
Will baking soda scratch the glass?
No, baking soda is gentle and non-abrasive. It's safe for oven glass when used as a paste. Just avoid scrubbing with harsh pads.
How do I remove burnt-on grease from the glass?
Use a baking soda paste or a razor blade scraper for tough spots. Let the paste sit for 15-20 minutes to soften the grease before wiping.
Why does my oven glass look cloudy after cleaning?
Cloudiness is often from residue left by cleaners or hard water. Use a vinegar rinse or rubbing alcohol to remove residue, then buff dry with a microfiber cloth.
Conclusion
A spotless oven door makes your whole kitchen feel cleaner and brighter. These 15 tips give you plenty of options to find what works best for your glass and your schedule.
Pick a couple of favorites and make them part of your routine. You'll enjoy that streak-free shine every time you peek inside, without the hassle of harsh chemicals or endless scrubbing.