How to Clean an Oven Easy in 13 Stress-Free Ways
Scouring a crusted oven interior is nobody's idea of a good time, but it doesn't have to be a dreaded chore. You can skip the harsh chemicals and marathon scrubbing sessions—these 13 methods rely on everyday items like baking soda, lemons, and even dishwasher tablets.
Each technique targets a specific level of grime, from light splatters to burnt-on disasters, so you can pick the one that fits your oven's current state.
No fluff, just practical steps that actually work.
1. The Baking Soda and Vinegar Power Duo
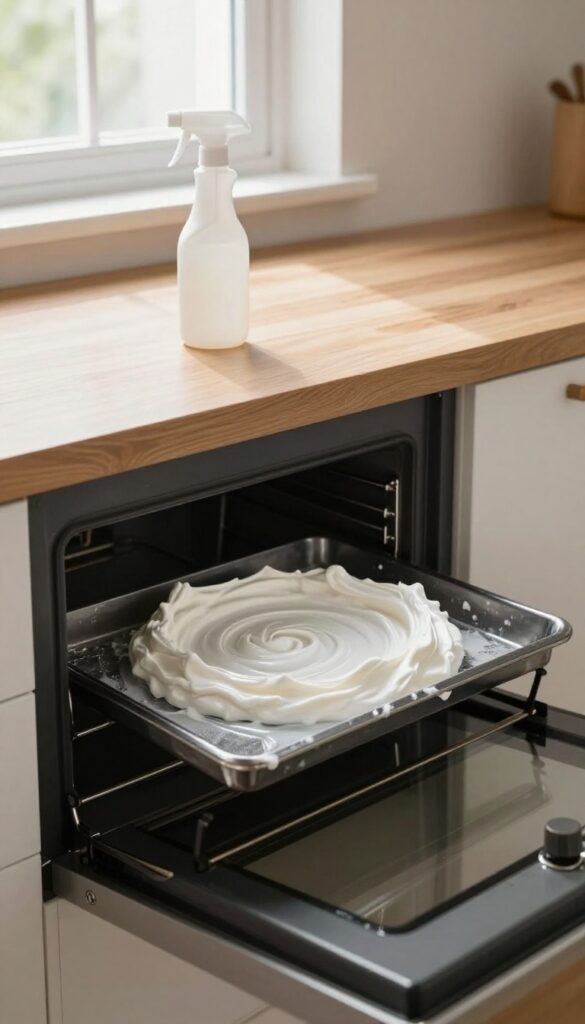
If your oven is coated in baked-on grease and you want to avoid harsh chemical fumes, this classic combo is your best friend. Baking soda gently lifts grime while vinegar reacts to make wiping effortless. It takes a little patience, but the result is a sparkling oven without the elbow grease.
Start by removing the oven racks and any loose debris. Mix half a cup of baking soda with a few tablespoons of water to form a spreadable paste. Don't make it too runny—it should be thick like toothpaste.
Using a spatula or a gloved hand, coat the interior surfaces, avoiding the heating elements. Let the paste sit for at least 12 hours or overnight. The longer it sits, the more it breaks down stubborn residue.
After the wait, spray white vinegar over the dried paste—it will fizz and bubble. Wipe away the mixture with a damp cloth, rinsing frequently. For tough spots, use a non-scratch sponge.
Finish by running the oven at 200°F for 15 minutes to dry any remaining moisture.
Why This Method Works So Well
Baking soda is mildly alkaline, which helps dissolve acidic grease and burnt food. Vinegar, being acidic, reacts with the baking soda to create carbon dioxide bubbles that physically lift grime. Together, they form a gentle yet effective cleaner that's safe for food surfaces.
Pro Tips For Best Results
For extra-stubborn spots, let the paste sit for a full 24 hours. If you're short on time, heat the oven to 150°F for 15 minutes before applying the paste—warmth helps soften the grime. Always wear gloves to protect your skin, and avoid getting the paste on the oven door seal.
What To Avoid
Never use this method on self-cleaning ovens with continuous-clean surfaces, as the paste can damage the coating. Also, avoid spraying vinegar near the oven light or heating elements—wipe carefully around them.
2. Lemon Juice Steam Clean
Lemon juice isn't just for lemonade—it's a powerful, natural degreaser that cuts through oven grime with minimal effort. The combination of steam and citrus acid loosens baked-on food while leaving your kitchen smelling fresh, not like chemical cleaner. This method is perfect for light to moderate buildup and takes almost no active work.
What You'll Need
Grab a large oven-safe dish or bowl, the juice of two lemons (or 1/4 cup bottled lemon juice), and about 2 cups of water. That's it. No special tools or expensive sprays required.
Step-by-step Instructions
Preheat your oven to 250°F. Pour the lemon juice and water into the dish and place it on the middle rack. Close the door and let it steam for 30 minutes.
After the timer goes off, turn off the oven and let the steam sit for another 10 minutes. Then open the door and let the oven cool slightly.
Wiping Down The Interior
Once the oven is cool enough to touch, remove the dish. Use a damp sponge or microfiber cloth to wipe away the loosened grime. For stubborn spots, sprinkle a little baking soda on the sponge for extra abrasion.
Rinse the sponge frequently and dry the interior with a clean cloth.
Tips For Best Results
For extra cleaning power, add a tablespoon of white vinegar to the water. If your oven has a self-cleaning feature, skip this method—the steam can interfere with the locking mechanism. Always wipe up excess moisture to prevent water spots on the glass.
3. Salt and Baking Soda Scrub for Tough Spots
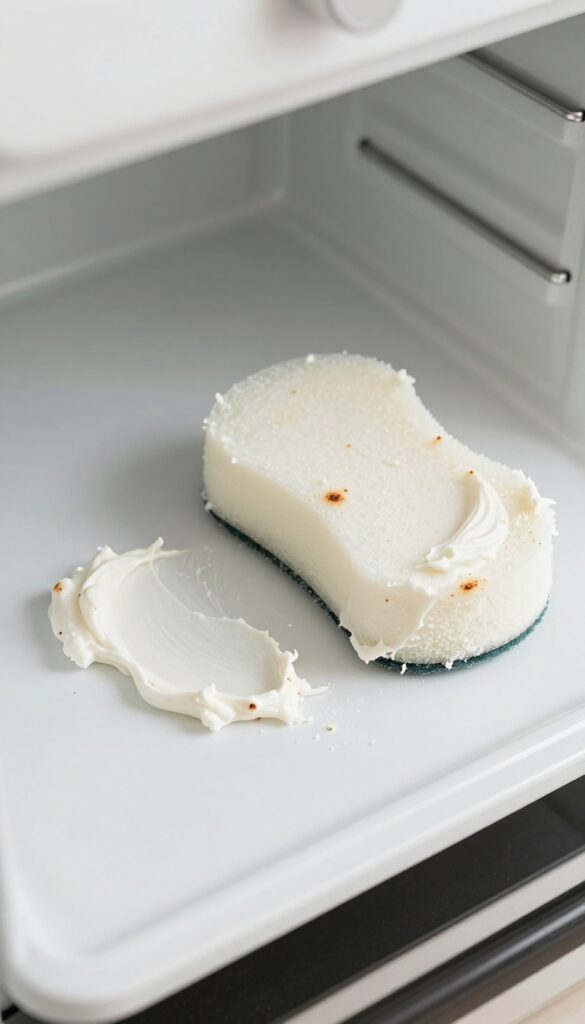
Some spots just won't budge with a simple wipe. That's where this gritty scrub comes in. Salt acts as a gentle abrasive while baking soda lifts the grime.
Together, they form a paste that targets burnt-on messes without scratching the surface.
Mix equal parts salt and baking soda with just enough water to form a thick paste. Apply it directly to stubborn spots and let it sit for 15 minutes. Then scrub gently with a damp sponge or soft brush.
Rinse thoroughly with a wet cloth. This works especially well on baked-on spills near the heating element.
Why Salt And Baking Soda Work
Salt provides texture to physically scrub away carbonized food. Baking soda reacts with water to create a mild alkaline solution that helps dissolve grease. Together, they tackle tough spots without harsh chemicals.
Best Application Tips
Apply the paste thickly so it stays put on vertical surfaces. Let it sit longer for extra-stubborn spots—up to 30 minutes. Use a non-abrasive scrubber to avoid damaging the oven's interior coating.
Rinsing And Final Wipe
After scrubbing, wipe away all residue with a damp cloth. Any leftover baking soda can leave a white film, so go over the area again with a clean wet cloth. Dry with a microfiber towel to prevent streaks.
4. Dish Soap and Baking Soda Paste
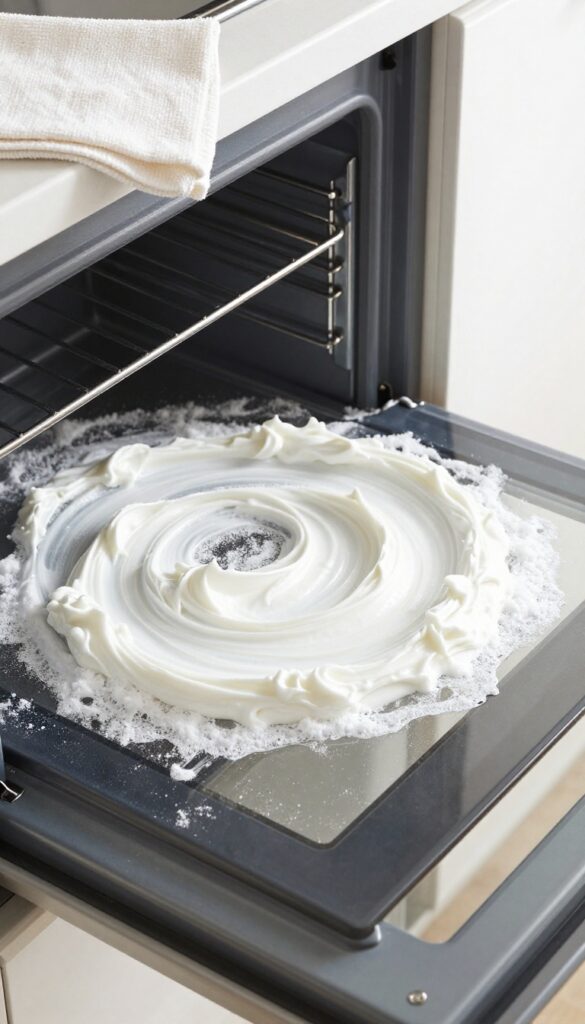
When you need a little extra muscle without the harsh fumes, this paste is your go-to. Dish soap cuts grease while baking soda provides gentle abrasion. Together they form a spreadable cleaner that clings to vertical surfaces and works on baked-on grime.
No waiting overnight—just 20 minutes and a damp cloth.
Mixing The Paste
In a small bowl, combine ½ cup baking soda with 2–3 tablespoons of liquid dish soap. Stir until it forms a thick, spreadable paste. If it's too runny, add more baking soda; if too dry, add a few drops of soap.
The consistency should be like toothpaste.
Applying And Waiting
Use a spatula or your fingers (wear gloves) to spread the paste over greasy areas, focusing on the oven door, sides, and bottom. Avoid heating elements. Let it sit for 20 minutes—the baking soda will start lifting the grime, and the soap will break down the grease.
Wiping Away The Mess
Dampen a microfiber cloth with warm water and wipe off the paste. Rinse the cloth frequently as you go. For stubborn spots, scrub gently with a non-abrasive sponge.
Finish with a clean, damp cloth to remove any residue.
5. The Self-Cleaning Cycle Done Right
Your oven probably came with a self-cleaning feature, but using it wrong can lead to smoke, smells, or even damage. When done correctly, it's the most hands-off method—just prep, press start, and wait. Here's how to make the cycle work for you without the drama.
Prep Work Matters
Before you hit that clean button, remove all oven racks—they can discolor or warp in high heat. Wipe out any loose crumbs or big spills with a damp cloth. If there's a puddle of grease, soak it up first; otherwise, it'll bake into a smoky mess.
Ventilate And Wait
Open your kitchen windows and turn on the exhaust fan. The cycle heats the oven to around 800°F, burning off residue into ash. It can take 2–4 hours, and you'll hear the lock engage.
Don't try to open the door until it's completely cool and unlocked.
Wipe Down The Ash
Once the cycle finishes and the oven cools, you'll see a layer of gray ash. Use a damp microfiber cloth to wipe it all out—avoid inhaling the dust. For stubborn spots, a little water on the cloth does the trick.
That's it; your oven is clean with almost no scrubbing.
6. Steam Clean with a Bowl of Water and Vinegar
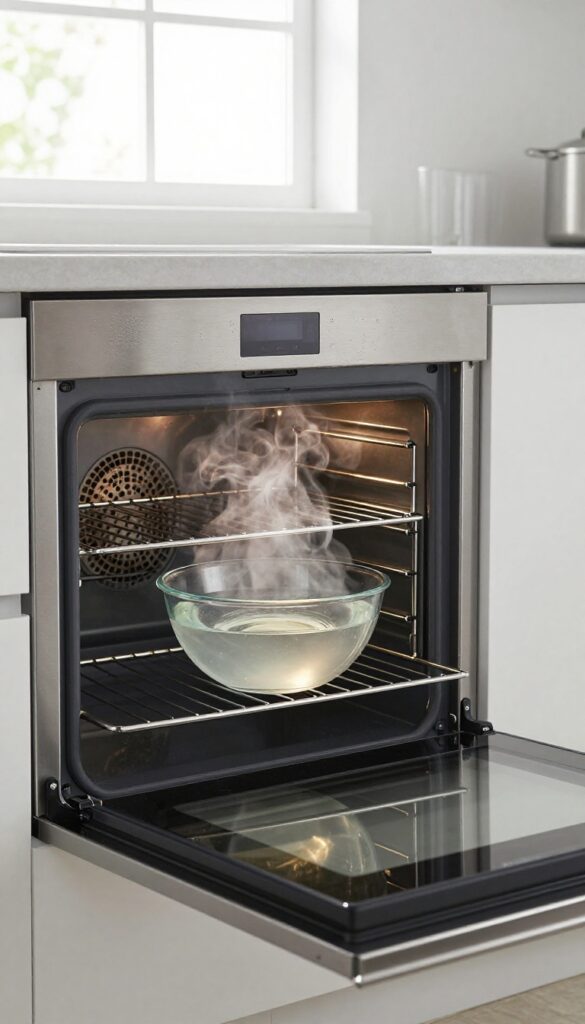
Sometimes the easiest way to clean is to let heat and moisture do the heavy lifting. Steam loosens baked-on grease and food particles, making them wipe away with almost no scrubbing. This method uses just two ingredients you already have in your kitchen.
How It Works
Fill a large oven-safe bowl with equal parts water and white vinegar. Place it on the middle rack and heat your oven to 300°F. Let it run for 30 minutes — the steam will condense on the interior walls, softening even stubborn residue.
Wipe-down Tips
After the cycle, turn off the oven and let it cool for 10 minutes. Open the door and carefully remove the hot bowl. Use a sponge or microfiber cloth to wipe away the loosened grime.
For tough spots, sprinkle a little baking soda on the damp sponge for extra abrasion.
When To Use This Method
This steam technique is perfect for light to moderate buildup — think splatters and spills from a few weeks of cooking. It's not ideal for burnt-on, layered crud, but it's a quick maintenance clean that keeps your oven fresh between deep scrubs.
7. Cream of Tartar and Vinegar Paste
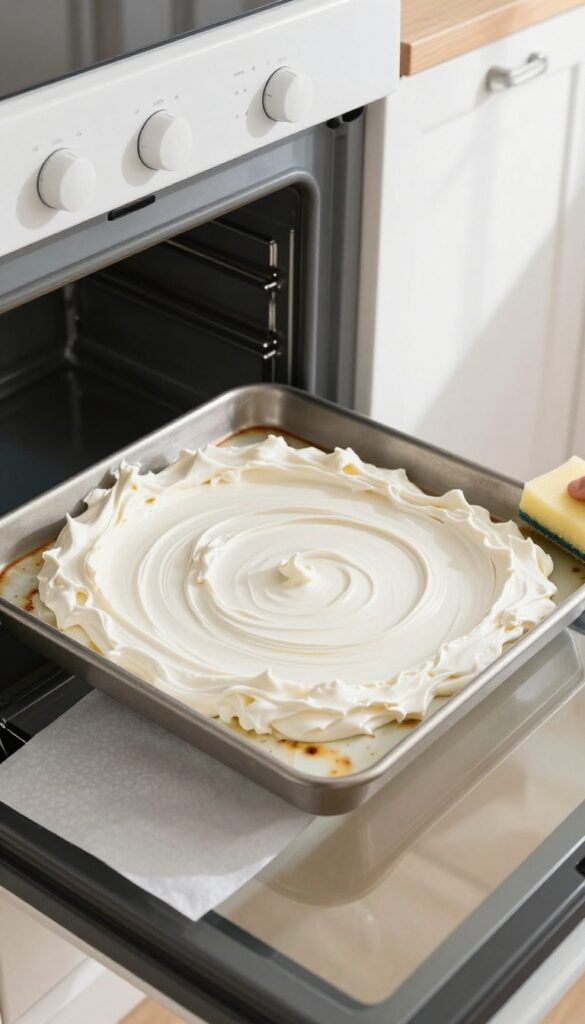
Cream of tartar might be a baking staple, but it's also a surprisingly effective cleaner. When mixed with vinegar, it forms a gentle abrasive paste that tackles stubborn stains without scratching your oven's surface. This combo is especially good for baked-on spills that resist regular cleaners.
Why This Combo Works
Cream of tartar is a mild acid that helps break down grease and burnt food. Vinegar adds more acidity and cuts through grime. Together, they create a paste that's abrasive enough to scrub away residue but gentle enough for enamel and glass surfaces.
How To Make And Apply The Paste
In a small bowl, mix 2 tablespoons of cream of tartar with just enough white vinegar to form a thick paste—about 1 to 2 teaspoons. Spread it directly onto the stains using a spatula or your fingers (wear gloves). Let it sit for 10 minutes so the acids can work.
Then scrub with a non-abrasive sponge or a soft brush. Wipe clean with a damp cloth.
Where To Use It Best
This paste is perfect for the oven door glass, the interior walls, and the bottom of the oven. Avoid using it on self-cleaning oven liners or any surface labeled as non-stick, as the abrasiveness could cause damage. For extra tough spots, let the paste sit longer or apply a second coat.
8. The Dishwasher Tablet Trick
You know those little tablets that make your dishes sparkle? They work just as well on oven grime. The enzymes in dishwasher tablets are designed to break down tough, baked-on food, making them perfect for cutting through grease and carbon buildup without any harsh scrubbing.
This method is incredibly simple and requires almost no effort. Just grab a standard dishwasher tablet (any brand works), wet it slightly under the faucet, and rub it directly over the greasy or burnt areas inside your oven. The tablet will start to foam and dissolve as you go.
Let it sit for about 15 minutes to let the enzymes do their work. Then, wipe everything away with a damp cloth or sponge. For stubborn spots, you can use the tablet as a scrubber—it’s abrasive enough to lift grime but gentle on oven surfaces.
Rinse the area with a clean wet cloth to remove any residue. Your oven will look noticeably cleaner with minimal elbow grease.
Why It Works So Well
Dishwasher tablets contain enzymes and surfactants that target protein and starch residues. These same compounds attack the baked-on food particles in your oven, breaking them down so they wipe away easily. The tablet’s slightly abrasive texture also provides gentle scrubbing power without scratching enamel or glass.
Tips For Best Results
Use a fresh tablet for each cleaning session—don’t reuse a partially dissolved one. Focus on one section at a time, especially if your oven has heavy buildup. If the tablet dries out while you’re working, just rewet it.
This trick works best on warm (not hot) surfaces, so let your oven cool down after use but still feel slightly warm to the touch.
What To Avoid
Don’t use this method on self-cleaning oven liners or continuous-cleaning surfaces, as the abrasiveness could damage them. Also, avoid getting the tablet residue on heating elements or the oven door seal—wipe those areas with a plain damp cloth afterward. Always rinse thoroughly to prevent any soapy film from affecting food taste.
9. Essential Oil Infused Cleaning Spray
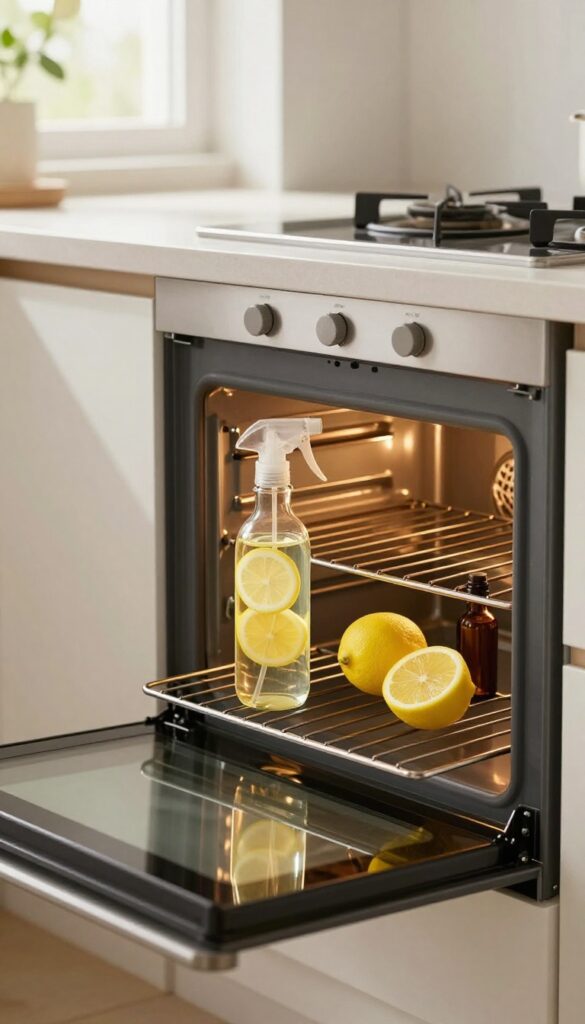
If you love a fresh, natural scent while you clean, this essential oil spray is a game changer. It combines the grease-cutting power of vinegar with the antibacterial properties of lemon or tea tree oil. The result is a pleasant-smelling cleaner that makes the chore feel less like work.
This spray is perfect for light to moderate grime and leaves your oven smelling like a spa. It's also safe for most oven surfaces and won't leave harsh chemical residues.
What You'll Need
Grab a 16-ounce spray bottle, 1 cup of water, 1 cup of white vinegar, and 15–20 drops of lemon or tea tree essential oil. Lemon oil cuts grease and smells fresh, while tea tree oil is a powerful disinfectant with a clean, medicinal scent.
How To Make And Use It
Mix the water and vinegar in the bottle, then add the essential oil. Shake well. Spray the inside of your oven generously, avoiding the heating elements.
Let it sit for 10 minutes to break down grime. Wipe clean with a damp cloth. For stubborn spots, scrub gently with a non-abrasive sponge.
Tips For Best Results
Always shake the bottle before each use since oil and vinegar separate. Test on a small hidden area first if your oven has a special coating. This spray works best on warm (not hot) ovens—heat helps activate the cleaner.
Store in a cool, dark place and use within two weeks.
10. The Magic Eraser for Light Marks
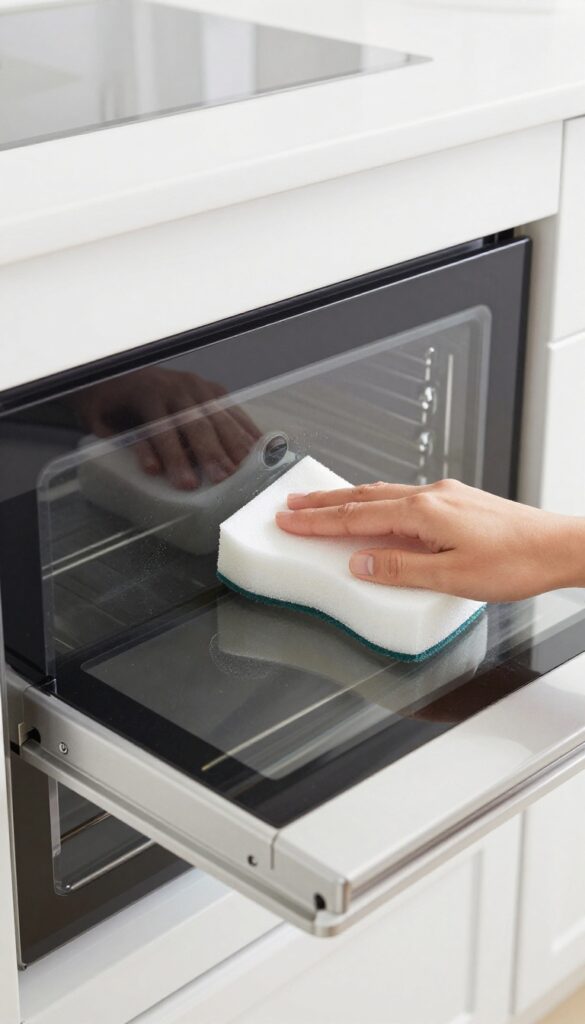
Melamine sponges, often sold as magic erasers, are fantastic for tackling light stains and fingerprints without any chemical cleaners. They work by gently abrading the surface, lifting away marks that water alone can't remove. This method is perfect for quick touch-ups between deep cleans, keeping your oven door and interior looking spotless with minimal effort.
For light marks on the oven door or interior, a damp melamine sponge can work wonders. Simply wet the sponge, squeeze out excess water, and gently rub the stained area in circular motions. The sponge's micro-abrasive texture lifts away grease and fingerprints without scratching glass or enamel surfaces.
Rinse the sponge frequently to avoid redepositing grime. This method is chemical-free, making it safe for food-contact surfaces, and requires no rinsing afterward. It's ideal for daily or weekly maintenance to keep your oven looking its best.
Best Uses
Magic erasers shine on the oven door glass, control panel (if sealed), and interior walls with light splatters. Avoid using them on textured or matte finishes, as they can create shiny spots. They're also excellent for removing baked-on residue from oven racks, but test on a small area first.
How To Use Safely
Always dampen the sponge until it's soft, then squeeze out excess water. Rub gently—let the sponge do the work, not your muscle. For stubborn spots, hold the sponge in place for a few seconds before rubbing.
Wear gloves if you have sensitive skin, as the sponge can be slightly abrasive. Rinse the area with a damp cloth afterward to remove any sponge residue.
When Not To Use
Avoid magic erasers on non-stick surfaces, self-cleaning oven liners, or any painted or coated finishes. They can remove the coating or cause discoloration. Also, don't use them on hot surfaces—always let the oven cool completely first.
11. Baking Soda and Hydrogen Peroxide for Burnt-On Food
When your oven has those dark, crusty spots that refuse to budge, baking soda and hydrogen peroxide make a powerful team. The peroxide reacts with the baking soda to create a gentle but effective oxygen bleach that lifts burnt-on residue without harsh fumes. This method is perfect for targeted treatment of stubborn patches without having to clean the entire oven.
Mix baking soda and hydrogen peroxide to form a thick paste. Apply a generous layer directly onto the burnt-on spots and let it sit for 30 minutes. The paste will bubble slightly as it works.
After the wait, scrub with a nylon brush or non-abrasive pad—the grime should come off easily. Wipe away residue with a damp cloth. For extra-stubborn areas, let the paste sit longer or apply a second coat.
Why This Combo Works So Well
Hydrogen peroxide is a mild bleach that breaks down organic stains, while baking soda provides gentle abrasion. Together, they create a fizzing action that helps lift burnt food without scratching the oven surface. Unlike commercial oven cleaners, this mixture is non-toxic and safe for food contact areas.
How To Apply For Best Results
Start with a cool oven. Mix about 3 parts baking soda to 1 part hydrogen peroxide until you get a spreadable paste. Use a spatula or brush to apply thickly over the burnt areas.
Let it sit undisturbed for at least 30 minutes—longer for heavy buildup. Scrub with a nylon brush in circular motions, then wipe clean with a damp sponge.
Tips For Tough, Baked-on Layers
If the paste dries out before the time is up, spritz a little water or peroxide on it to reactivate. For really stubborn spots, cover the paste with plastic wrap to keep it moist and let it work overnight. After scrubbing, rinse thoroughly to remove any residue before using the oven.
12. The Oven Rack Soak Method
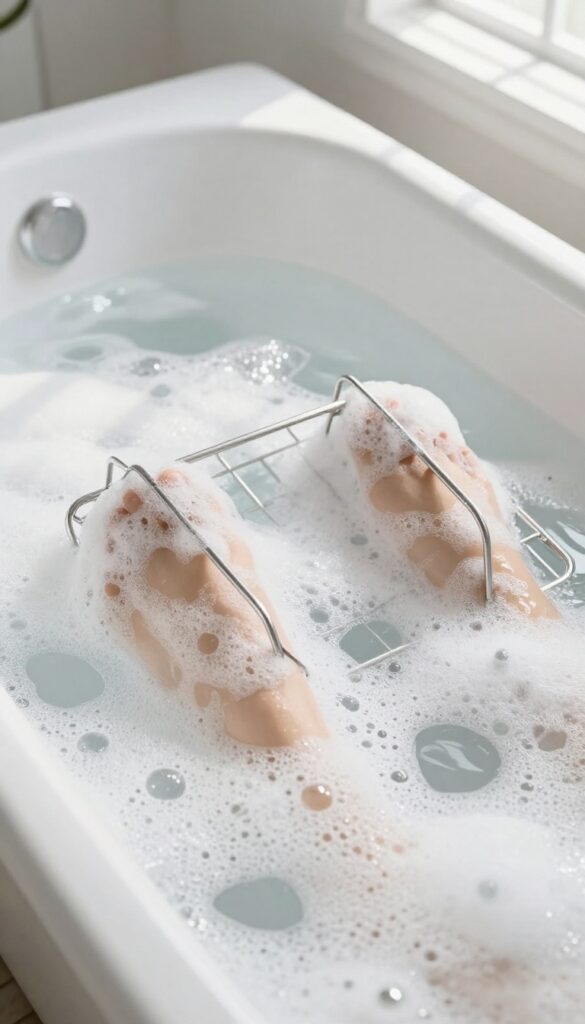
Oven racks are often the hardest part to clean because they're awkward to scrub in place. The soak method lets the grime dissolve while you do nothing. All you need is a bathtub or large bin, hot water, dish soap, and baking soda.
Why This Works
Hot water loosens baked-on grease, dish soap breaks down oils, and baking soda gently lifts burnt residue. Together, they create a powerful soaking solution that does the hard work for you.
Step-by-step
Fill your tub or bin with enough hot water to fully submerge the racks. Add a generous squirt of dish soap and about half a cup of baking soda. Stir to dissolve, then place the racks in the water.
Let them soak for at least 4 hours or overnight for best results.
Rinsing And Drying
After soaking, scrub any remaining spots with a non-abrasive sponge or cloth. Rinse thoroughly with clean water to remove all soap residue. Dry the racks completely before sliding them back into the oven.
13. Regular Wipe-Downs to Prevent Build-Up
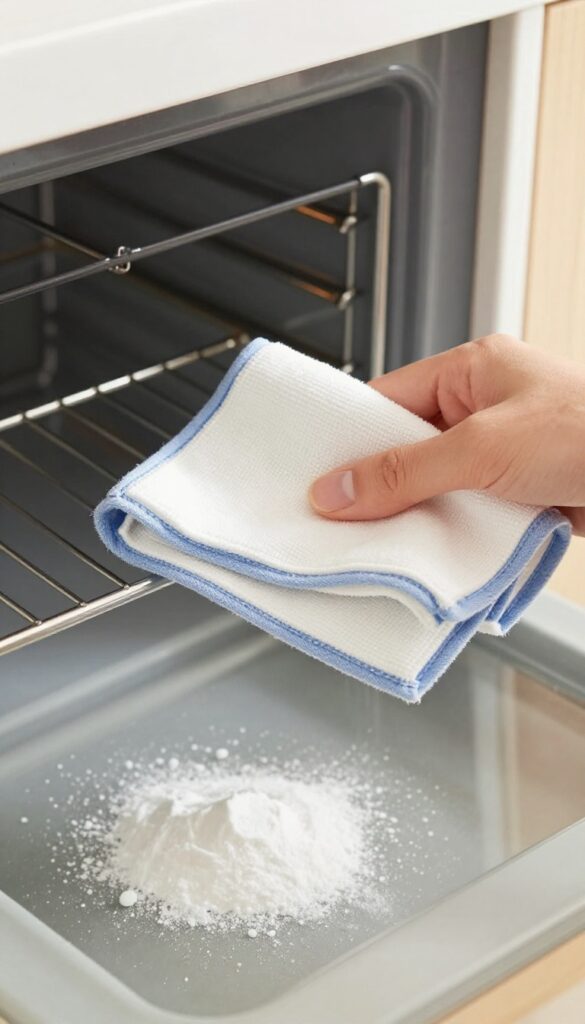
The easiest way to clean an oven is to never let it get dirty in the first place. A quick wipe after each use stops grease and food residue from baking into stubborn layers. This habit takes less than a minute and saves you from future scrubbing marathons.
Why It Works
When you wipe while the oven is still warm (but not hot), the grease is still liquid and comes off easily. Once it cools and re-heats repeatedly, it carbonizes into tough, blackened crust. A damp cloth or sponge with a drop of dish soap is all you need.
Best Tools For The Job
Microfiber cloths are ideal because they trap grease without scratching the surface. Avoid abrasive scrubbers that can damage the enamel. Keep a dedicated cloth near the oven so you remember to use it.
What About Spills?
If something drips during cooking, sprinkle a little salt or baking soda on the spill while the oven is still warm. It absorbs the moisture and makes wiping effortless. Then just sweep it up with a damp cloth.
FAQ
How often should I clean my oven?
For light use, clean every 3-6 months. If you cook frequently or have spills, clean more often to prevent buildup.
Can I use bleach to clean my oven?
It's not recommended. Bleach can damage the oven's interior and produce harmful fumes. Stick to natural cleaners like baking soda and vinegar.
Is it safe to use the self-cleaning cycle?
Yes, but take precautions: remove racks, wipe up loose debris, and ventilate the kitchen. The high heat can produce smoke and odors.
How do I clean the oven glass door?
Make a paste of baking soda and water, apply to the glass, let sit for 15 minutes, then scrub gently with a non-abrasive sponge. Rinse with vinegar and water.
What should I avoid when cleaning my oven?
Avoid abrasive scrubbers, harsh chemicals like oven cleaner sprays with lye, and using too much water that can seep into the heating elements.
Conclusion
Cleaning your oven doesn't have to be a dreaded chore. With these 13 stress-free methods, you can tackle everything from light spills to baked-on grease using items you already have at home.
Pick the approach that fits your schedule and supplies, and you'll have a sparkling oven in no time. Regular maintenance between deep cleans makes a huge difference, so try incorporating a quick wipe after each use to prevent stubborn buildup.