How to Clean Fridge Shelves in 17 Refreshing Steps
Fridge shelves take a beating. Spills, sticky residues, and forgotten leftovers turn them into a science experiment you didn't sign up for. But cleaning them doesn't have to be an all-day chore.
With 17 straightforward steps, you can go from grimy to gleaming without harsh chemicals or endless scrubbing. Each step tackles a specific spot—from soaking removable parts to lining shelves for future ease. Start by emptying everything out and checking dates as you go, then work through the process in order.
The result? A fridge that looks fresh, smells clean, and keeps your food organized. No fluff, just a practical routine that works.
1. Empty the Fridge Completely
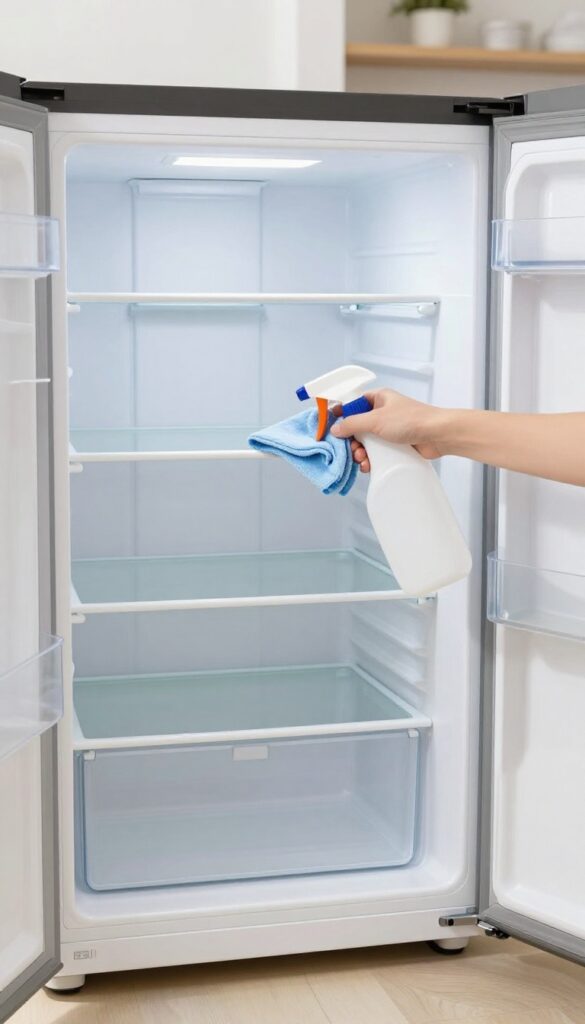
Before you can scrub a single shelf, you need to clear everything out. It might seem like a hassle, but it's the only way to reach every nook and cranny. Plus, it gives you a chance to toss expired items and reorganize.
Start by removing all food, condiments, and beverages. Place perishables like dairy, meat, and leftovers into a cooler with ice packs to keep them safe. Use this opportunity to check expiration dates and wipe down containers before putting them back later.
Why Emptying First Matters
You can't clean what you can't see. Removing everything exposes spills and crumbs hiding under jars and behind shelves. It also prevents you from accidentally knocking over items while scrubbing.
How To Keep Food Cold
A sturdy cooler or two will keep your perishables at a safe temperature for up to an hour. If you have a lot of items, group them by type—dairy together, meats together—to make restocking faster.
What To Toss As You Go
Check dates on sauces, dressings, and leftovers. If you can't remember when you opened something, it's probably time to say goodbye. Wipe down jars and bottles with a damp cloth before setting them aside.
2. Check Expiration Dates as You Go
Once everything is out of the fridge, you’ve got a perfect opportunity to play detective. That jar of pickles from last summer? The yogurt that’s been hiding behind the ketchup?
Now’s the time to decide what stays and what goes. Checking dates as you handle each item is a simple habit that saves space and prevents future messes. Plus, it makes the actual cleaning easier when you’re not working around clutter.
As you remove each item, give it a quick glance for expiration dates, weird smells, or mold. Toss anything past its prime or that you know you won’t eat. This step is about being ruthless—your fridge will thank you.
Not only does it free up shelf space, but it also removes potential sources of spills and odors. You might even rediscover a few things you forgot you had.
Create A Triage System
Set up three zones on your counter: keep, toss, and maybe. The keep pile is for items that are fresh and in regular use. The toss pile is for expired or spoiled goods.
The maybe pile is for things that are still okay but you’re not sure when you’ll use them—like that half-used bottle of teriyaki sauce. After cleaning, you can decide on the maybes.
Read Beyond The Date
Expiration dates aren’t always the final word. Use your senses: smell, look, and touch. If a container is bulging or leaking, toss it immediately.
For items like condiments, a best-by date is often just a suggestion. But if it’s been open for months, it might be time to say goodbye.
Wipe Down Containers Before Returning
While you’re checking dates, give each jar, bottle, or container a quick wipe with a damp cloth. This prevents sticky residues from transferring back onto your clean shelves. It’s a small step that makes the final result look much better.
3. Remove All Shelves and Drawers
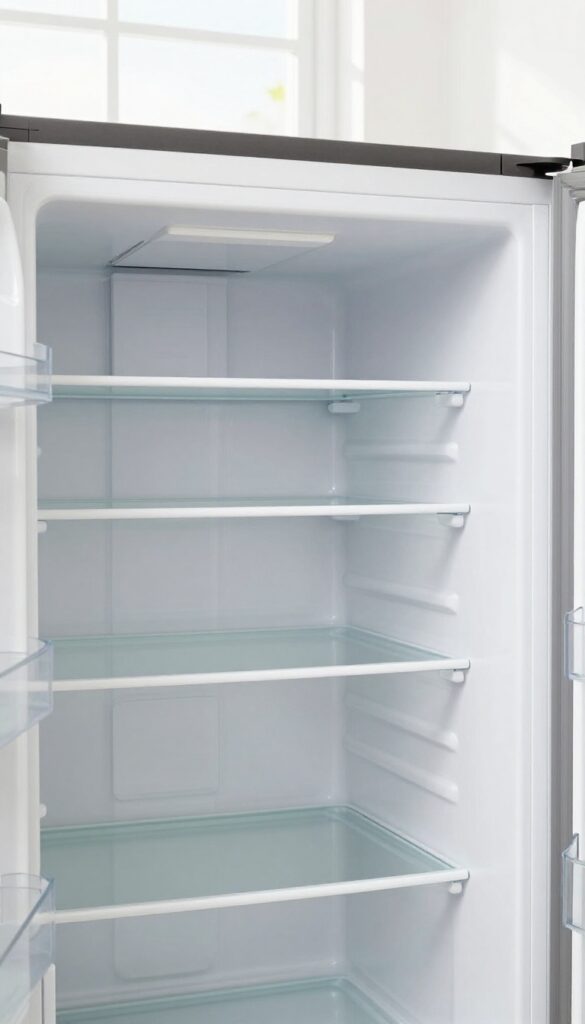
You can't clean what you can't reach. Taking out every removable part gives you full access to the nooks and crannies where grime hides. It also makes the job way easier—no awkward scrubbing around fixed edges or trying to wipe underneath heavy glass while it's still installed.
Start by checking your fridge manual if you're unsure how shelves and drawers detach. Many slide out, lift up, or have release tabs. Work slowly to avoid cracking plastic or glass.
Place everything on a counter or table where you can easily clean them later. This step sets you up for a thorough, hassle-free clean.
Check Your Manual First
Not all shelves come out the same way. Some fridges have fixed glass panels that need a specific angle to remove. Others have drawers with hidden clips.
A quick look at the manual (or a YouTube search for your model) can save you from breaking something expensive.
Work In Order, Top To Bottom
Start with the top shelf and work your way down. This prevents drips from upper shelves landing on lower ones you already removed. It also keeps the process organized—you'll know exactly which parts are out and which are still inside.
Place Parts On A Protected Surface
Set shelves and drawers on a towel or mat to prevent scratches and catching dirt from your counter. If they're glass, keep them flat and stable. Stack similar-sized pieces together to save space, but avoid piling heavy items on top of lighter ones.
4. Soak Removable Parts in Warm Soapy Water
Now that the fridge is empty and you've wiped down the interior, it's time to give those removable parts some serious attention. Shelves and drawers collect the most grime, so a good soak is the easiest way to loosen everything without scrubbing yourself sore. Fill your sink with warm water and a squirt of mild dish soap.
Submerge each piece fully and let them sit for 10–15 minutes. This simple step breaks down sticky residues and dried-on spills, making the next cleaning pass effortless.
While the parts soak, you can move on to other tasks like wiping down the interior or checking expiration dates. The warm water and soap work together to soften grime, so you don't have to scrub aggressively later. Just make sure the water isn't too hot—extreme temperatures can warp plastic shelves and drawers.
Don't Overcrowd The Sink
If you have a lot of shelves and drawers, soak them in batches. Overcrowding means parts won't be fully submerged, and you'll end up with uneven cleaning. Two or three pieces at a time is plenty.
Use a clean sink or a large basin if your sink is too small.
Check For Stubborn Spots
After soaking, inspect each piece for stuck-on food or sticky patches. For tough spots, use a soft sponge or a non-abrasive scrubber. Avoid steel wool or harsh pads—they can scratch the surface and create hiding places for bacteria.
Rinse And Dry Completely
Once clean, rinse each shelf and drawer with cool water to remove any soap residue. Then dry them with a clean towel or let them air dry on a dish rack. Putting wet parts back into the fridge can lead to mold or water spots, so make sure they're fully dry.
5. Wipe Down the Interior Walls
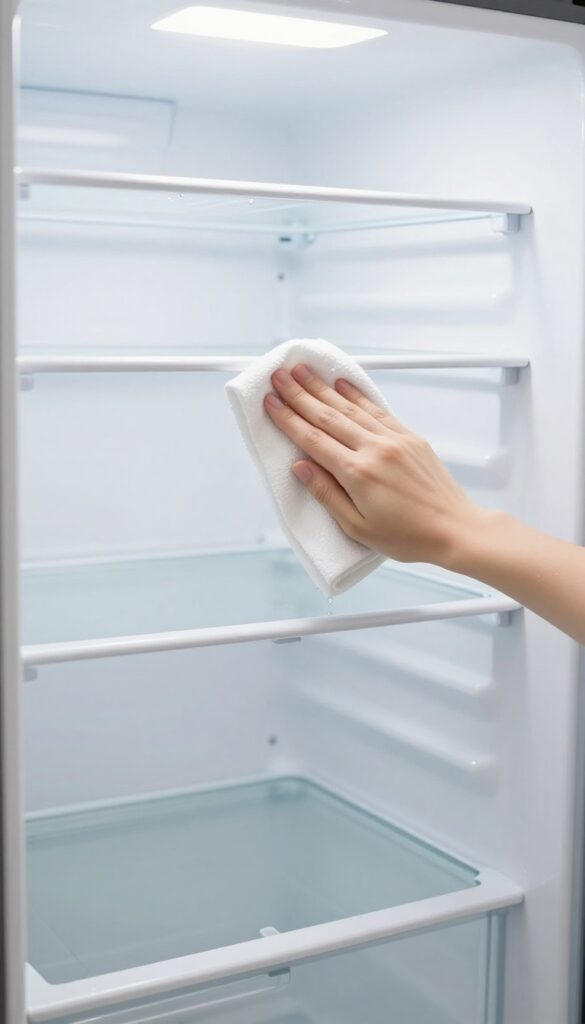
Now that the shelves are out, you can see the interior walls clearly. They often collect splatters and sticky drips that go unnoticed. A quick wipe-down makes the whole fridge feel fresh.
Grab a microfiber cloth and a gentle all-purpose cleaner or a mix of water and mild dish soap. Work from top to bottom so drips don't mess up already clean areas. Pay special attention to corners and crevices where spills hide.
Don't forget the door bins' back walls and the ceiling of the fridge. A soft toothbrush can help dislodge grime in tight spots. Rinse your cloth often and change the water if it gets dirty.
Dry the walls with a clean cloth to prevent streaks and moisture buildup.
Start From The Top
Begin at the top interior wall and work downward. This way, any drips from your cloth fall onto areas you haven't cleaned yet. Use a step stool if needed to reach the ceiling comfortably.
Don't Skip The Door Seals
The rubber gaskets around the door can trap mold and crumbs. Wipe them gently with a cloth dampened in the same cleaner, then dry thoroughly. A buildup here can affect the seal and make your fridge work harder.
6. Clean the Door Seals
The rubber gaskets around your fridge door might not get much attention, but they're a prime spot for grime, mold, and even mildew. A dirty seal can also prevent the door from closing properly, making your fridge work harder. Fortunately, cleaning them is quick and easy with just a few household items.
Door seals trap crumbs, spills, and moisture, creating a breeding ground for mold. Regular cleaning keeps them flexible and ensures a tight seal, which saves energy and keeps food fresh. Use a toothbrush to gently scrub the crevices where dirt hides, then dry thoroughly to prevent future growth.
What You'll Need
Grab a soft-bristled toothbrush, mild dish soap, warm water, a small bowl, and a clean microfiber cloth. Avoid harsh chemicals or bleach, as they can dry out the rubber and cause cracking.
Step-by-step Cleaning
Mix a few drops of dish soap with warm water in the bowl. Dip the toothbrush in the soapy water and gently scrub the entire gasket, paying extra attention to folds and corners. Wipe away loosened dirt with a damp cloth, then dry the seal completely with a dry microfiber cloth.
Preventive Tips
Wipe down the gaskets once a month with a dry cloth to catch spills early. If you notice mold returning, use a diluted vinegar solution (1 part vinegar to 3 parts water) instead of soap. Always dry thoroughly to keep the rubber supple.
7. Scrub Stubborn Stains with Baking Soda Paste
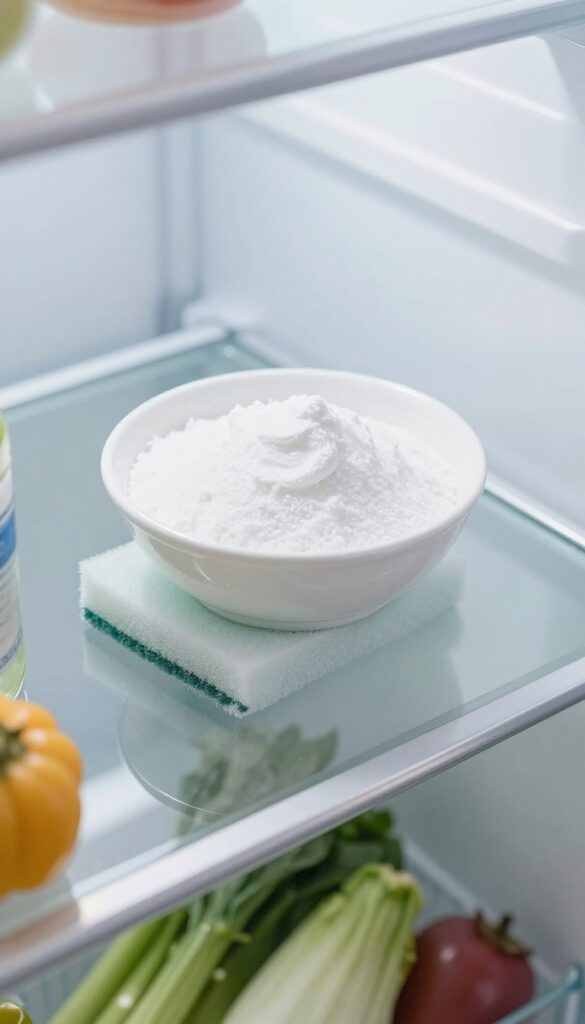
Sometimes a quick wipe isn't enough. Dried-on spills and sticky residues laugh at regular cleaners. That's when you need a gentle but effective scrub—baking soda paste.
It's non-toxic, cheap, and works on everything from tomato sauce to juice drips. No harsh chemicals, no scratching, just a simple paste that lifts grime without effort.
How To Make The Paste
Mix three parts baking soda with one part water in a small bowl. Stir until it forms a thick, spreadable paste. Add a few drops of dish soap for extra grease-cutting power if needed.
Application And Wait Time
Apply the paste directly onto stains using your fingers or a soft cloth. Spread it evenly, covering the entire stain. Let it sit for five minutes—this gives the baking soda time to break down the residue.
Scrubbing And Rinsing
After the wait, scrub gently with a non-abrasive sponge or soft-bristled brush. Use circular motions to lift the stain without scratching the shelf. Rinse thoroughly with warm water and dry with a clean towel.
8. Rinse and Dry All Shelves
Once you've scrubbed the shelves with soapy water, it's time to remove all that cleaning solution. Leaving any residue behind can leave a weird taste on your food or attract more grime. Plus, you want those shelves to look spotless, not streaky.
Rinse each shelf thoroughly under warm running water. Make sure every bit of soap is gone—run your fingers over the surface to check for any slippery spots. Then, grab a lint-free cloth (microfiber works great) and dry each shelf completely.
Air-drying might seem easier, but it often leaves water spots and streaks, especially on glass shelves. A quick wipe with a dry cloth gives you a crystal-clear finish.
Why Lint-free Matters
Regular towels can leave tiny fibers or lint on the glass, which defeats the purpose of a clean look. Microfiber or a dedicated glass cloth picks up water without shedding. They also absorb faster, so you spend less time drying.
Don't Skip The Edges
The edges and underside of shelves are easy to overlook but often hold trapped moisture. Flip the shelf over and dry the bottom too. This prevents water from dripping into the fridge later and causing puddles.
9. Use Vinegar for Odor Removal
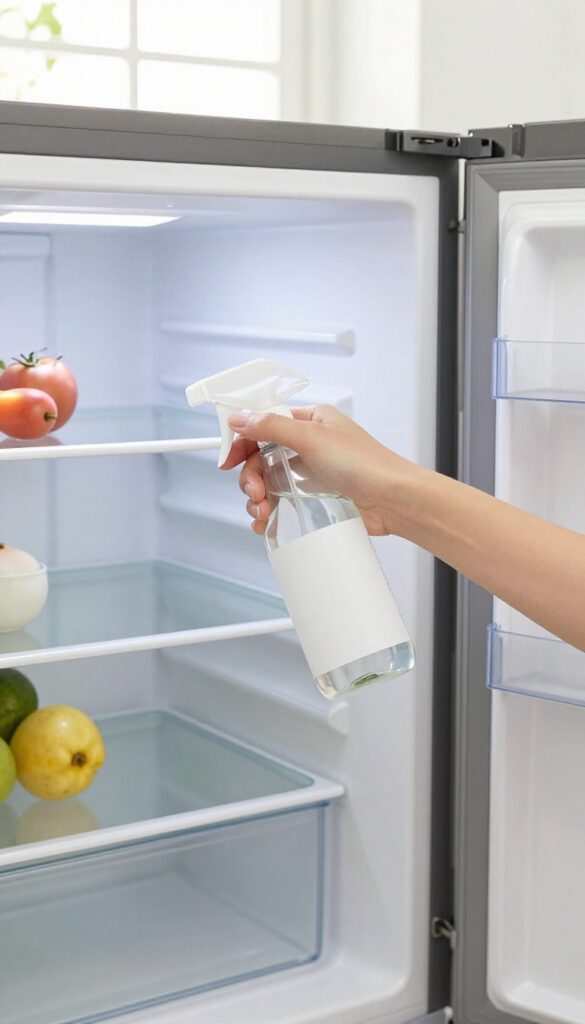
Even after a thorough scrub, stubborn smells can linger in your fridge. Vinegar is a natural deodorizer that cuts through odors without leaving harsh chemical residues. A simple 1: 1 vinegar-water solution works wonders—just wipe down the interior and let it air dry.
The vinegar scent disappears quickly, taking unwanted smells with it.
Why Vinegar Works
Vinegar is acidic, which helps neutralize alkaline odor molecules. It's also a mild disinfectant, killing bacteria that cause smells. Unlike bleach, it's food-safe and won't leave toxic residues.
Plus, it's cheap and non-toxic, making it a go-to for fridge cleaning.
How To Apply The Solution
Mix equal parts white vinegar and water in a spray bottle. Spray the solution onto a microfiber cloth—not directly onto surfaces—to avoid overspray. Wipe down all interior walls, shelves, and drawers.
Pay extra attention to corners and crevices where spills hide. Let it sit for a few minutes before wiping dry with a clean cloth.
Dealing With Lingering Odors
For really stubborn smells, leave a small bowl of baking soda or activated charcoal in the fridge overnight. You can also place a vinegar-soaked sponge in a dish inside the fridge for a few hours. Just remember to remove it before storing food.
The combination of vinegar and baking soda can tackle even the toughest odors.
10. Replace Shelves in the Right Order
After all that scrubbing and drying, you might be tempted to just toss the shelves back in any which way. But a little planning here saves you from having to redo the job later. Putting shelves back in the right order keeps them stable and makes the fridge feel organized again.
Start by recalling the original layout—or snap a quick photo before you removed them. This step is especially handy if you have adjustable shelves that can fit in multiple positions. Matching the original arrangement ensures everything fits properly and nothing wobbles.
Replacing shelves in the correct order also prevents accidents. A shelf that's not fully seated can tip when loaded with heavy jars or leftovers. Take a moment to check each shelf's clips or supports before moving on to the next one.
Start From The Bottom
Work from the bottom shelf upward. This gives you room to maneuver and avoids reaching over freshly placed shelves. It also helps you see if any shelf tracks or guides are misaligned before you install the ones above.
Check For Full Contact
After placing each shelf, press down gently on the edges and center. If it rocks or shifts, adjust the supports. A shelf that isn't fully seated can slide out when you pull something forward, leading to a mess.
Load Lightly At First
Once all shelves are in, add food gradually. Start with lighter items and see how the shelves hold. If something feels off, you can adjust before the fridge is fully packed.
This also helps you notice if a shelf is upside down or backward.
11. Organize Food by Category
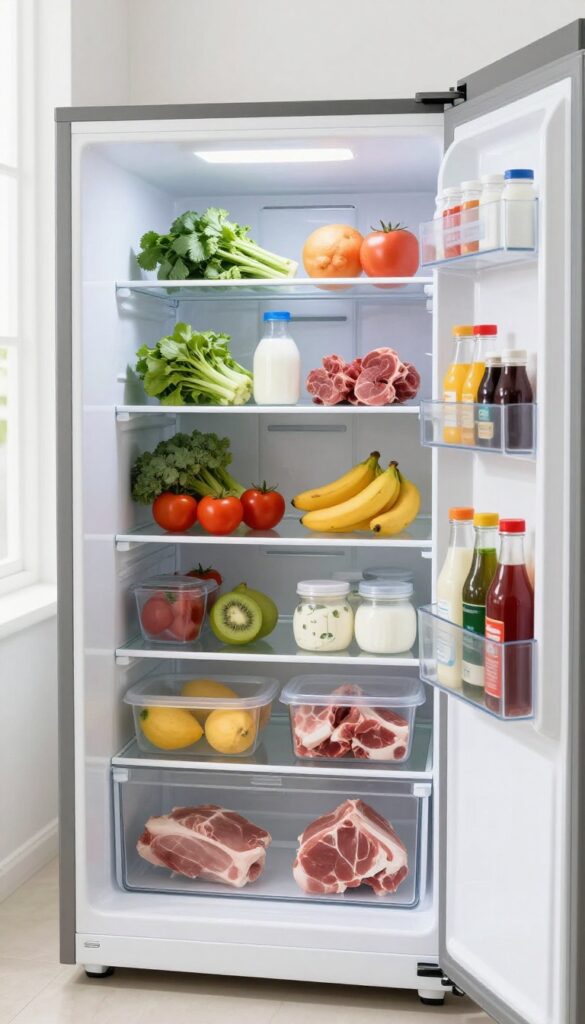
Now that your shelves are sparkling clean and dry, it's time to put everything back. But don't just toss items in randomly. Grouping similar foods together makes your fridge easier to use and keeps it organized longer.
Create Zones
Designate specific areas for dairy, meats, produce, condiments, and leftovers. This way you always know where to find things and avoid cross-contamination. For example, store raw meat on the bottom shelf to prevent drips.
Use Bins And Baskets
Small items like yogurt cups, cheese sticks, and condiment packets tend to clutter shelves. Place them in clear bins or baskets. Not only does this look tidy, but you can lift out the entire bin for quick cleaning next time.
Label For Consistency
If you share the fridge with family or roommates, add simple labels to bins or shelves. This reminds everyone where things go and helps maintain the system. Use a label maker or just masking tape and a marker.
12. Line Shelves with Easy-Clean Mats
You've put in the work to get those shelves spotless. Now keep them that way with a simple trick: shelf liners. Silicone or plastic mats catch drips and crumbs before they turn into crusty messes.
They're removable, washable, and save you from deep-cleaning every week.
Pick The Right Material
Not all liners are equal. Silicone mats are grippy, heat-resistant, and dishwasher-safe. Plastic ones are cheaper but can warp or stain over time.
Avoid fabric or paper liners—they absorb spills and defeat the purpose.
Cut To Fit, Then Lay Flat
Measure each shelf and cut the liner slightly smaller than the surface. Leave a small gap at the edges so air can circulate. Lay the mat flat without wrinkles or bubbles—creases can trap moisture and lead to mold.
Clean Liners On Autopilot
When a spill happens, just lift the mat and rinse it in the sink. Most silicone liners go straight into the dishwasher on the top rack. No scrubbing, no soaking—just a quick cycle and they're ready to go back.
13. Store Raw Meat on the Bottom Shelf
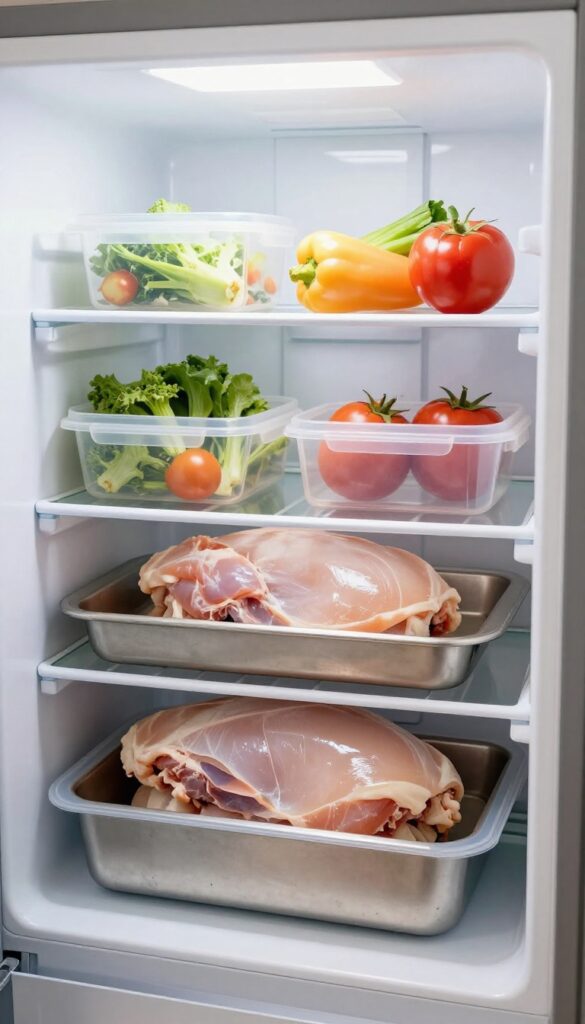
Raw meat and fridge safety go hand in hand. One wrong placement can lead to drips contaminating ready-to-eat foods. The bottom shelf is your safest bet—it's the coldest spot and sits below everything else, so any accidental juices won't reach your veggies or leftovers.
Make it a habit to always store raw meat, poultry, and seafood on the lowest shelf. This simple rule prevents cross-contamination and keeps your fridge hygienic. Use a dedicated tray or a rimmed baking sheet to catch any drips, making cleanup a breeze.
If you have multiple raw items, keep them in separate containers to avoid mixing juices.
Why The Bottom Shelf Works Best
The bottom shelf is naturally the coolest part of the fridge, which helps keep raw meat at a safe temperature. Plus, gravity works in your favor—any leaks stay contained below, not dripping onto other foods. This setup mimics commercial kitchen standards for good reason.
Choosing The Right Container
A shallow plastic tray or a stainless steel pan with raised edges works perfectly. Avoid containers that are too deep, as they can block airflow. Glass or ceramic dishes are also fine, but make sure they're sturdy and have a tight-fitting lid if you're stacking anything on top.
Labeling And Rotation Tips
Always label raw meat packages with the date you stored them. Use a marker or sticky labels. Rotate older packages to the front so you use them first.
If you're storing multiple types of meat, keep poultry separate from beef or pork to avoid cross-contact.
14. Keep a Fridge Thermometer Inside
You might assume your fridge is always at the right temperature, but built-in thermostats can drift over time. A simple, inexpensive thermometer takes the guesswork out of food safety. Place one on the middle shelf and check it weekly to ensure your fridge stays at 40°F or below.
Why 40°f Matters
Bacteria grow rapidly between 40°F and 140°F. Keeping your fridge below 40°F slows bacterial growth and keeps your food fresh longer. A thermometer helps you catch temperature spikes before they lead to spoilage or foodborne illness.
Where To Place The Thermometer
Put the thermometer in the warmest part of the fridge—usually the middle shelf near the front. Avoid placing it right next to the cooling vent or in the door, where temperatures fluctuate more. Check it after the fridge has been closed for a few hours for an accurate reading.
What To Do If The Temperature Is Off
If the thermometer reads above 40°F, adjust the fridge's temperature dial or digital setting. Wait 24 hours and check again. If the problem persists, clean the condenser coils, check the door seals, or call a technician.
A thermometer gives you an early warning system.
15. Wipe Spills Immediately
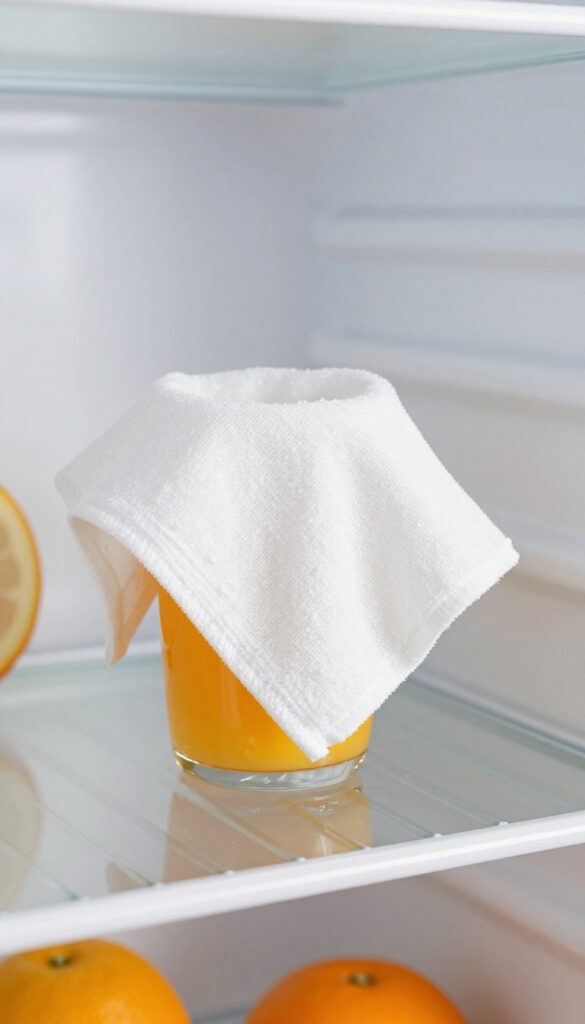
Spills happen. A jar tips over, a container leaks, or a bottle drips. The smartest way to handle them is right when they happen.
Waiting even a few hours can turn a simple wipe into a scrubbing session. Keep a small cloth or paper towels within reach, and make it a habit to clean up as soon as you spot a mess.
The longer a spill sits, the harder it is to remove. Sugary liquids become sticky, dairy products develop a stubborn film, and sauces can stain plastic shelves. Immediate action prevents these problems.
It also stops odors from developing and reduces the chance of bacteria spreading. A quick wipe takes seconds, while a deep clean later takes minutes.
Keep Supplies Handy
Store a microfiber cloth or a roll of paper towels in a drawer or on a shelf inside the fridge. Some people use a small caddy with a spray bottle of diluted vinegar or a mild cleaner. Having supplies within arm's reach makes it easy to act fast.
You don't want to hunt for a rag while a puddle spreads.
Tackle Sticky Spills First
Syrups, honey, jam, and soda are the worst offenders. They dry into a tacky glue that attracts dust and grime. Wipe them up with a damp cloth, then dry the area to prevent residue.
If you notice a sticky spot later, a little warm water usually lifts it, but fresh spills are always easier.
Don't Forget The Edges
Spills often run along shelf edges or drip onto the shelf below. Check the front lip and the underside of shelves. A quick wipe there prevents crusty buildup that can chip off into food containers.
It also keeps the fridge looking clean overall.
16. Schedule a Monthly Deep Clean
Once you’ve gone through all the steps to get your fridge spotless, the last thing you want is to let it slide back into chaos. A monthly deep clean keeps things under control and prevents the kind of buildup that makes you dread opening the door. It’s the difference between a quick wipe-down and a full-on science experiment.
Set A Recurring Reminder
Pick a day that works for you—maybe the first Sunday of the month or the day before your big grocery run. Add a reminder on your phone or calendar so it becomes automatic. Once you’ve done it a few times, it’ll feel like second nature.
Stick To A Simple Routine
A monthly deep clean doesn’t have to mean repeating every single step from the initial scrub. Focus on the high-impact areas: pull out shelves and drawers, wipe down all surfaces, check for expired items, and give the door seals a quick once-over. This keeps the job manageable and your fridge consistently fresh.
Make It A Team Effort
If you share a fridge with family or roommates, get everyone on board. Assign a few quick tasks—someone checks dates, someone wipes shelves, someone lines bins. It’s faster together, and it builds good habits so the fridge stays clean longer.
17. Reward Yourself with a Clean Fridge
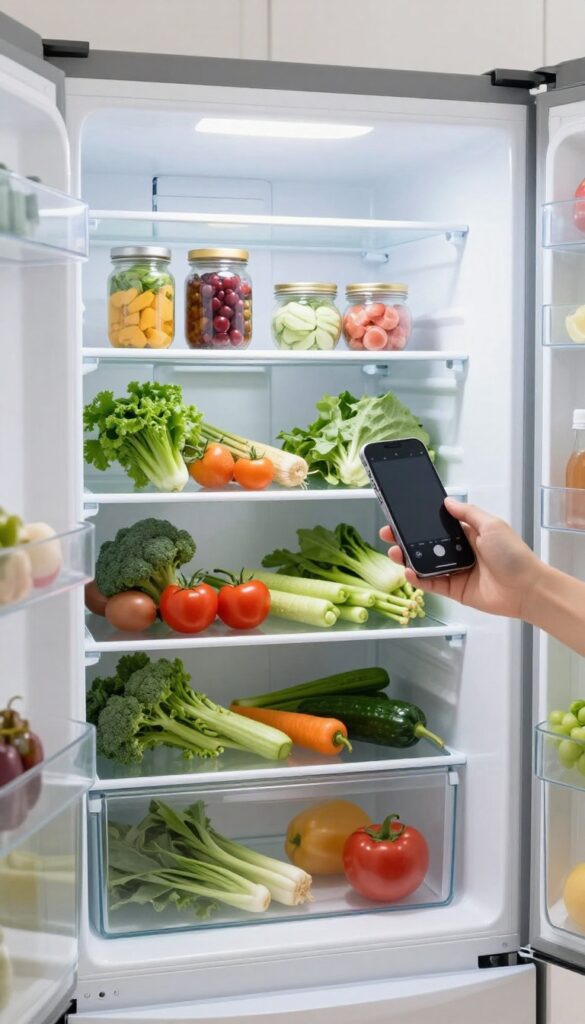
After all that scrubbing, organizing, and date-checking, you’ve earned a moment to appreciate your work. A clean fridge isn’t just functional—it’s a small victory worth celebrating. Taking a beat to acknowledge the effort helps reinforce the habit, making you more likely to maintain it.
Snap a photo of your sparkling fridge before you load it back up. That image serves as a visual reminder of what’s possible and motivates you to keep it that way. Share it with friends or just keep it for yourself—either way, it’s proof that the elbow grease paid off.
The Satisfaction Factor
There’s something deeply satisfying about opening a fridge and seeing everything in its place. No sticky spots, no mystery containers. Enjoy that feeling for a moment—it’s the reward for your hard work.
A Photo Worth Keeping
Take a quick snapshot with your phone. Not for social media, but for your own reference. Next time you’re tempted to skip a cleaning session, pull up that photo and remember how good it felt.
Set A Future Reminder
While you’re basking in the cleanliness, set a recurring reminder on your phone for a month from now. A clean fridge is easier to maintain than to deep-clean from scratch. A little nudge keeps you on track.
FAQ
How often should I clean my fridge shelves?
Aim for a deep clean every 1–2 months. Wipe up spills immediately and do a quick weekly check to keep things manageable.
Can I use bleach to clean fridge shelves?
It's not recommended. Bleach can damage plastic and leave harmful residues. Stick to mild dish soap, vinegar, or baking soda.
How do I remove sticky residue from fridge shelves?
Apply a paste of baking soda and water, let it sit for a few minutes, then scrub gently. For tough residue, use a little rubbing alcohol.
Is it safe to put glass shelves in the dishwasher?
Check your manual first. Many glass shelves are dishwasher-safe, but sudden temperature changes can cause cracking. Let them cool before washing.
What's the best way to prevent odors in the fridge?
Keep an open box of baking soda on a shelf, replace it every 3 months, and clean spills promptly. Also, store strong-smelling foods in sealed containers.
Conclusion
Cleaning fridge shelves doesn't have to be a dreaded chore. With these 17 steps, you can tackle everything from sticky spills to lingering odors without harsh chemicals or endless scrubbing. Pick a few methods that fit your schedule and stick with them.
A quick weekly wipe-down prevents buildup, and a deep clean every few months keeps your fridge fresh and efficient. Your food will stay fresher longer, and you'll actually enjoy opening the door.