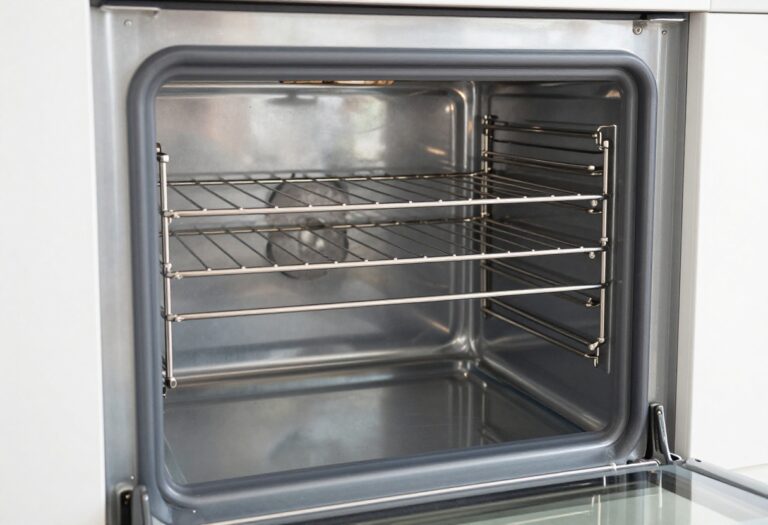
How to Clean a Glass Stove Top in 17 Easy Steps
A glass stove top looks beautiful when it's clean, but one burnt-on spill can ruin the effect fast. Scrubbing with the wrong tool or cleaner often leaves scratches or streaks that make things worse. These 17 steps walk you through a safe, effective routine that restores your cooktop without damaging the surface.
Start by letting the stove cool completely—cleaning a hot surface is both dangerous and ineffective. Then follow each step in order, from removing loose debris to polishing for a streak-free shine.
The process uses tools you probably already have, like a razor scraper and baking soda. By sticking to this sequence, you avoid common mistakes like using abrasive pads or the wrong cleaner.
1. Let the Stove Cool Completely
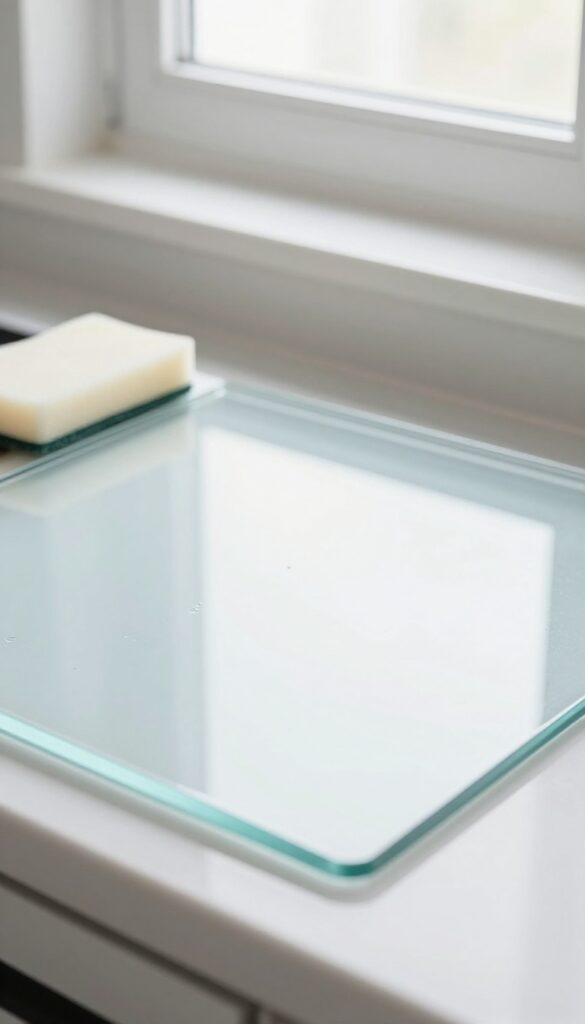
Cleaning a hot glass stove top is risky and ineffective. The heat can cause cleaning solutions to evaporate too quickly, leaving behind residue. More importantly, sudden temperature changes can crack the glass.
Always wait until the surface is cool to the touch before starting.
Patience pays off here. A cool stove ensures your safety and allows cleaning products to work properly. Rushing this step can lead to burns, broken glass, or a poor clean.
Set a timer if you need to—it's worth the wait.
Why Heat Matters
Glass expands when hot and contracts when cool. Applying a cold cleaner or water to a hot surface can cause thermal shock, leading to cracks. Even if the glass doesn't break, rapid cooling can weaken it over time.
How Long To Wait
After cooking, let the stove sit for at least 30 minutes. For heavy use or high heat, wait an hour. The surface should feel completely cool to the back of your hand before you begin.
2. Remove Loose Debris with a Soft Cloth
Before you bring out any sprays or scrapers, take a moment to clear the surface of anything that could scratch the glass. Crumbs, dust, and stray bits of food act like sandpaper when you start wiping. A quick dry sweep prevents those tiny particles from turning into fine scratches later.
Use a clean, dry microfiber cloth for this step. Microfiber is ideal because its fibers trap debris rather than pushing it around. Avoid paper towels or regular dishcloths, which can leave lint or be too abrasive.
Simply fold the cloth into a neat square and gently wipe the entire stovetop in a single direction, collecting all loose material. If you see stuck-on bits, don't press hard—just leave them for later steps. This initial pass takes less than a minute but makes a big difference in protecting your glass top.
Why Microfiber Works Best
Microfiber cloths have split fibers that create a static charge, attracting dust and crumbs like a magnet. They also lift particles into the fabric instead of dragging them across the surface. Cotton cloths or sponges can leave lint or smear grease, making the next cleaning steps less effective.
The Right Wiping Technique
Always wipe in one direction—ideally from back to front—so you don't push debris into already-cleaned areas. Use light pressure; you're not scrubbing, just sweeping. If your cloth picks up too much grime, switch to a fresh section or grab a second cloth.
When To Skip This Step
If your stovetop looks mostly clean with just a few spills, you can still do a quick dry wipe. But if there's a lot of burnt-on residue, focus on removing only the loose particles. Heavy scrubbing at this stage can grind grit into the glass.
3. Apply a Dedicated Glass Cooktop Cleaner
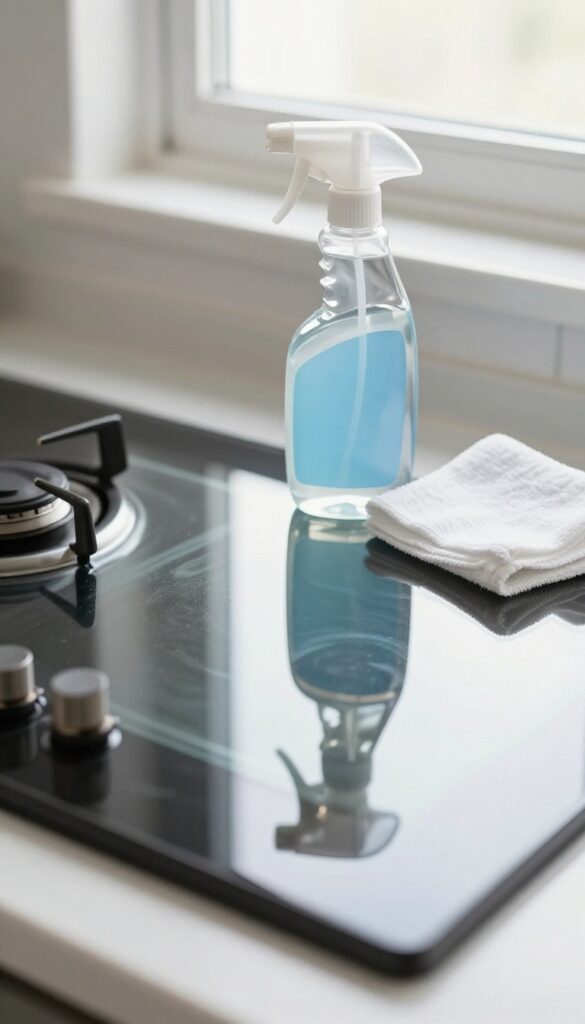
Not all cleaners are safe for glass stove tops. Using the wrong product can leave behind residue, cause discoloration, or even damage the surface over time. A dedicated glass cooktop cleaner is formulated to cut through grease and burnt-on food without scratching.
Why A Dedicated Cleaner Matters
General kitchen sprays often contain ammonia or bleach, which can dull the glass and leave a film. Dedicated cleaners use mild abrasives and surfactants that break down stubborn grime while being gentle on the surface. They also help restore the original shine.
How To Apply It Correctly
Shake the bottle well, then spray a thin, even layer across the entire cooktop—don't drench it. Let the cleaner sit for about a minute to penetrate the grime. Avoid letting it dry on the surface, as that can make wiping harder.
What If You Don't Have A Dedicated Cleaner?
In a pinch, you can mix a small amount of dish soap with water, but it won't be as effective. Baking soda paste (3 parts baking soda to 1 part water) also works, but always test on a small area first. For best results, stick to a product made for glass cooktops.
4. Scrub Gently with a Non-Abrasive Pad
Once you've loosened the grime with a cleaner, it's time to scrub. But not all scrubbers are created equal. The wrong pad can turn your shiny cooktop into a scratched mess in seconds.
Stick with soft tools that lift dirt without damaging the glass.
Grab a soft sponge or a non-abrasive scrub pad. If you have stubborn burnt-on spots, a cooktop scraper with a razor blade works wonders—just hold it at a 45-degree angle. Avoid steel wool, green scrubby pads, or any abrasive scrubbers.
They leave micro-scratches that trap dirt and make future cleaning harder. Work in small circles, applying light pressure. Rinse the pad often to avoid redistributing grime.
Why Abrasive Pads Are A Bad Idea
Steel wool and harsh scrubbers feel like they're getting the job done, but they're actually grinding tiny grooves into the glass. Those scratches become permanent homes for grease and residue. Once the surface is damaged, it's nearly impossible to restore that smooth, reflective finish.
The Right Way To Use A Cooktop Scraper
For caked-on food, a cooktop scraper is your best friend. Hold it at a 45-degree angle and push gently—don't dig in. Use short, controlled strokes.
Always wet the glass first to reduce friction. After scraping, wipe away debris with a damp cloth before moving on.
What To Do For Daily Cleaning
For everyday spills, a soft microfiber cloth or a designated glass stove top sponge is plenty. Pair it with a gentle cleaner (like a vinegar-water mix or a brand-name glass stove cleaner). No need for heavy scrubbing—just a quick wipe after cooking keeps your stove looking new.
5. Tackle Burnt-On Food with a Razor Scraper
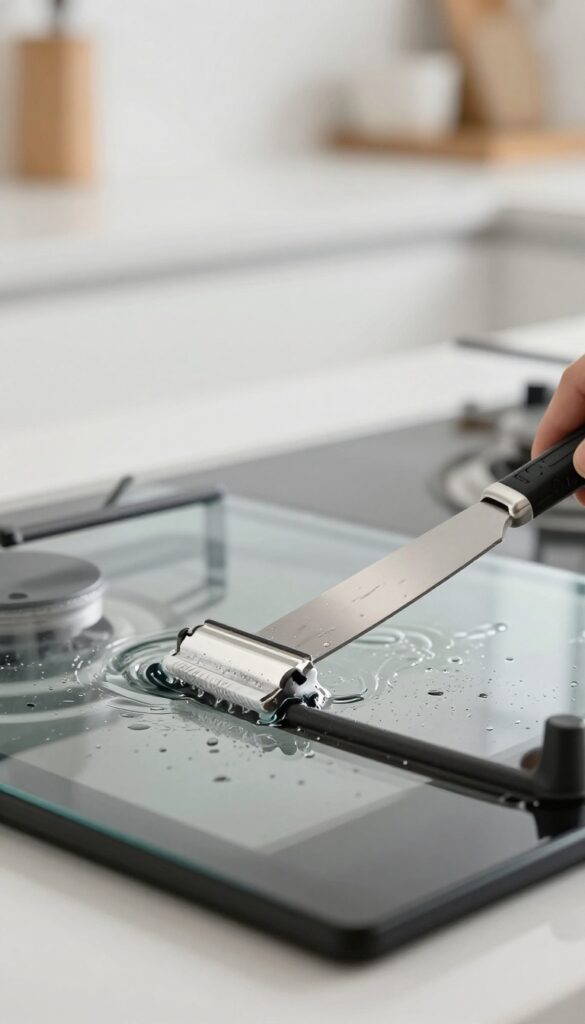
Some spills just won't budge with cleaners alone. That's where a razor scraper comes in—it's the go-to tool for stubborn, baked-on messes without damaging the glass when used correctly. The trick is to keep the surface wet and hold the blade at the right angle.
Get The Right Tool
Use a single-edge razor blade scraper designed for glass cooktops. Avoid utility knives or dull blades—they can cause scratches. A fresh, sharp blade is safer because it glides smoothly without needing extra pressure.
Keep It Wet
Spray the burnt area with a glass cleaner or a mixture of vinegar and water before scraping. The liquid acts as a lubricant, reducing friction and preventing scratches. Re-wet the surface as needed while you work.
Hold At 45 Degrees
Position the blade at a 45-degree angle to the glass. Push gently in one direction—don't saw back and forth. The residue should lift off in flakes.
If you feel resistance, add more lubricant or check the blade for nicks.
6. Make a Baking Soda Paste for Stubborn Stains
Some burnt-on spills just won't budge with cleaners alone. That's when a simple baking soda paste comes to the rescue. It's gentle enough not to scratch the glass but strong enough to lift cooked-on gunk.
Mix three parts baking soda with one part water to form a thick, spreadable paste. Apply it directly to the stained areas, covering them completely. Let the paste sit for about 15 minutes—this gives it time to break down the residue.
Then, using a damp microfiber cloth, wipe the paste away in circular motions. Rinse the cloth frequently and repeat if needed. For extra stubborn spots, you can let the paste sit longer or add a few drops of white vinegar to boost its cleaning power.
Why Baking Soda Works Best
Baking soda is mildly abrasive, which means it can scrub away stains without scratching the glass surface. Its alkaline nature also helps dissolve acidic burnt-on foods. Plus, it's non-toxic and cheap, making it a go-to for kitchen cleaning.
How To Apply The Paste Correctly
Use a soft cloth or your fingers (with gloves) to spread the paste evenly. Avoid using paper towels, as they can leave lint. Focus on the stained areas and don't spread the paste over the entire cooktop—it's only needed where the grime is thick.
Tips For Tougher Stains
If 15 minutes isn't enough, let the paste sit for up to 30 minutes. You can also cover the paste with plastic wrap to keep it from drying out. For burnt-on sugar or syrup, a little extra patience goes a long way.
After wiping, rinse the area with a damp cloth to remove any residue.
7. Use Vinegar for Grease and Streaks
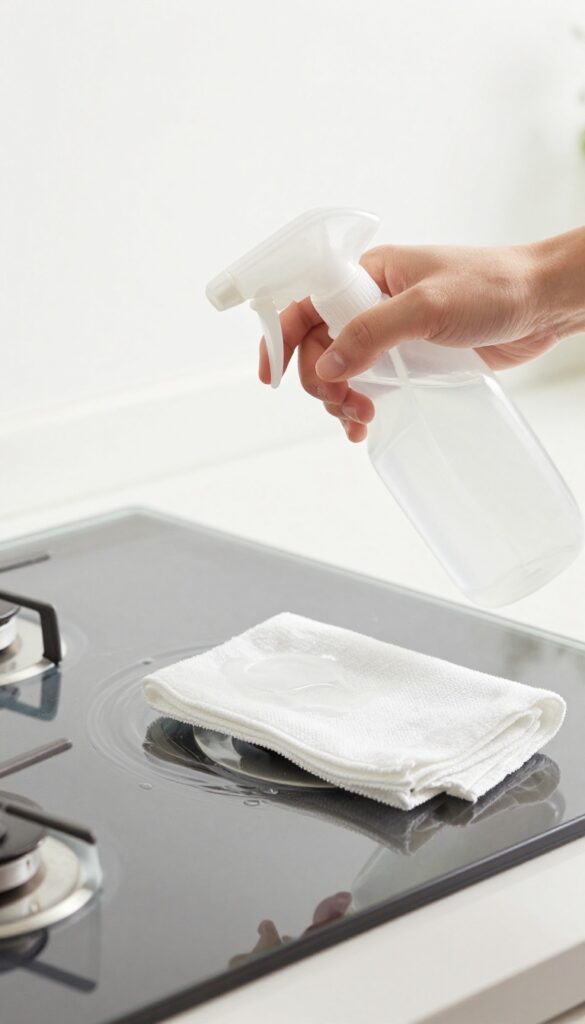
White vinegar is a powerhouse when it comes to cutting through grease and leaving a streak-free shine. It's cheap, natural, and safe for glass stove tops. A quick spray and wipe can transform a dull surface into a sparkling one.
Vinegar's acidity breaks down grease and grime without harsh chemicals. It also helps remove soap residue that can leave streaks. For best results, use distilled white vinegar in a spray bottle and pair it with a clean microfiber cloth.
Why Vinegar Works So Well
The acetic acid in vinegar dissolves grease and mineral deposits that other cleaners might miss. It's also gentle enough to use regularly without damaging the glass surface. Unlike some commercial cleaners, vinegar won't leave a hazy film.
How To Apply It
Spray a generous amount of white vinegar directly onto the cool stove top. Let it sit for 30 seconds to break down the grime. Then wipe with a damp microfiber cloth, using circular motions to pick up all the residue.
Follow with a dry cloth to buff the surface.
Tips For A Streak-free Finish
Use a fresh, lint-free microfiber cloth for the final buff. If you notice streaks, mist a little more vinegar and wipe again. Avoid paper towels, as they can leave fibers behind.
For extra shine, add a few drops of dish soap to the vinegar solution.
8. Wipe Away Residue with a Damp Cloth
Even the best cleaner can leave behind a thin film or tiny particles that dull the shine. A final wipe with a damp cloth removes that leftover residue and preps the surface for a streak-free polish. This step is quick but makes a big difference in how your stove looks when you're done.
After scrubbing and rinsing, grab a clean, soft cloth—microfiber works best—and dampen it with warm water. Wring it out well so it's not dripping. Then wipe the entire glass surface in long, overlapping strokes.
This picks up any remaining cleaner, loosened grime, or baking soda paste that might have been left behind. Pay extra attention to the edges and around the burners where residue tends to hide. Change to a fresh section of the cloth if it gets dirty, and repeat until the cloth comes away clean.
A second pass with a dry microfiber cloth can then buff the surface to a brilliant shine.
Why A Damp Cloth Matters
Skipping this step can leave a hazy film that attracts dust and makes your stove look dull. A damp cloth lifts away microscopic particles that dry wiping alone might just push around. It also ensures no chemical residue remains, which could burn or smoke the next time you cook.
Best Cloth Choices
Microfiber cloths are ideal because they trap particles without scratching. Avoid paper towels—they can leave lint and may contain abrasive fibers. Old cotton t-shirts or flannel work well too, as long as they're clean and soft.
Technique Tips
Use a gentle, consistent pressure. Start at one corner and work your way across the stove in a grid pattern so you don't miss any spots. If you see streaks, the cloth might be too wet or dirty—switch to a fresh one.
For stubborn residue, a tiny drop of dish soap on the damp cloth can help, but rinse thoroughly afterward.
9. Dry Immediately with a Clean Microfiber Cloth
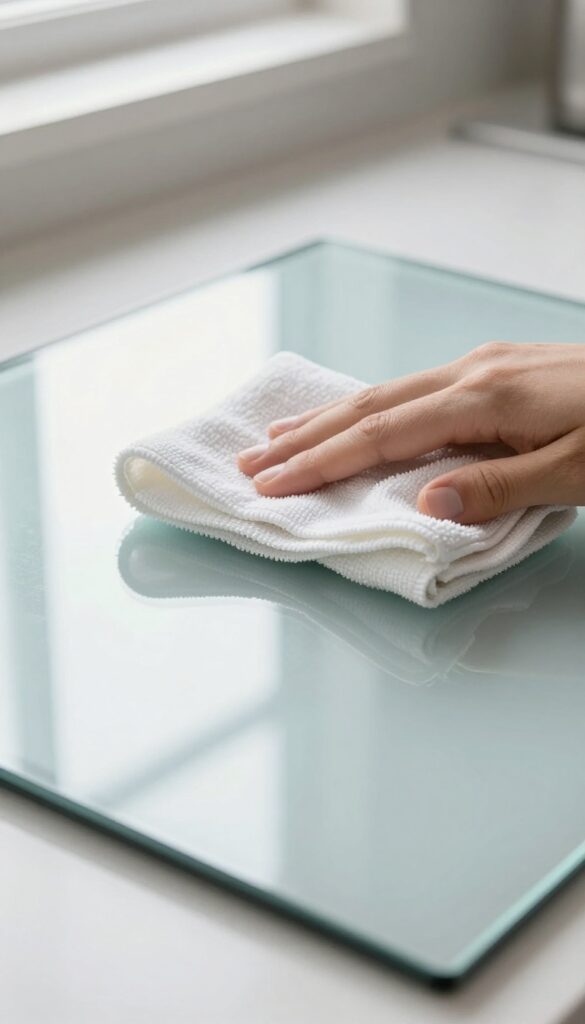
You've scrubbed, rinsed, and buffed—now it's time to lock in that streak-free shine. Drying with the right cloth at the right moment makes all the difference. Grab a fresh microfiber cloth and get ready to finish strong.
Once the glass is clean and free of any cleaner residue, it's crucial to dry it immediately. Water left to air-dry will leave mineral deposits and unsightly spots. A clean, dry microfiber cloth is your best friend here—it lifts moisture without scratching or leaving lint behind.
Why Microfiber Works Best
Microfiber cloths have ultra-fine fibers that trap water, grease, and dust instead of pushing them around. Unlike paper towels or old rags, they won't shed lint or leave scratches. Use a dedicated glass-cleaning microfiber to avoid cross-contamination from other cleaning tasks.
The Buffing Technique
Fold the cloth into a neat square and work in a circular motion, overlapping each pass. Apply light pressure—you're not trying to scrub, just absorb and polish. Flip the cloth to a dry section as it becomes damp.
For extra shine, finish with a quick buff using a second dry microfiber.
Preventing Future Water Spots
If you live in a hard-water area, consider using distilled water for the final rinse. This eliminates the minerals that cause spots. Also, avoid letting any liquid pool on the surface—dry edges and corners thoroughly.
A final wipe with a tiny drop of white vinegar on a dry cloth can help prevent residue buildup.
10. Polish with a Glass Stove Top Polish
After all that scrubbing and scraping, your glass stove top is clean, but it might still look a little dull. That's where a dedicated glass stove top polish comes in. It's not just about shine—it also leaves a protective layer that makes future spills easier to wipe off.
Polishing is the final step that transforms a clean stove top into a gleaming showpiece. A good polish fills in microscopic scratches and creates a smooth, hydrophobic surface. This means drips and splatters won't bond as tightly, so your next cleaning session will be much faster.
Choosing The Right Polish
Not all polishes are created equal. Look for one specifically formulated for ceramic or glass cooktops. Avoid general glass cleaners or waxes meant for cars, as they can leave a residue that burns on during cooking.
Brands like Weiman or Cerama Bryte are popular and effective.
How To Apply It
Squeeze a dime-sized amount onto a clean, dry microfiber cloth—not directly onto the stove top. Rub it in using small circular motions, covering the entire surface. Let it dry to a haze, which usually takes about a minute.
Then buff it off with a fresh side of the cloth until the shine appears.
Buffing For Maximum Shine
Buffing is where the magic happens. Use a clean, dry microfiber cloth and apply firm, even pressure in circular motions. If you see streaks, you may have used too much polish.
Simply buff a little more, or wipe with a damp cloth and reapply sparingly. The result should be a mirror-like finish that repels water.
11. Clean the Control Knobs and Surrounding Area
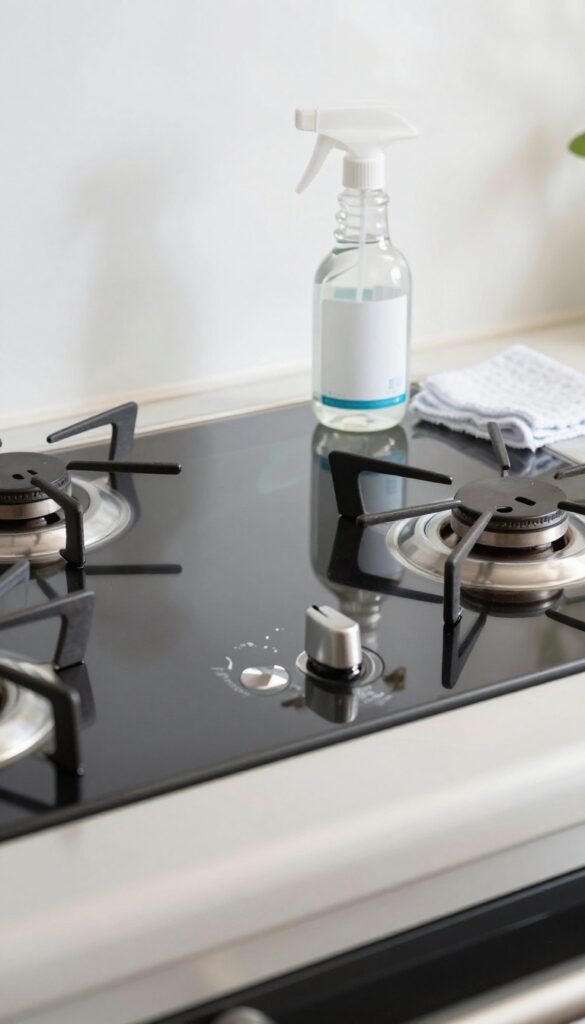
The control knobs and the area around the cooktop often get overlooked, but they collect grease, food splatters, and dust just as much as the glass surface. If you skip this step, those grimy knobs can make the whole stove look dirty even after a deep clean. Giving them proper attention makes your cooktop look complete and fresh.
Remove The Knobs (if Possible)
Most glass stove tops have removable knobs. Gently pull them straight off—some may have a small release button. If they're stuck, wiggle them carefully.
Once removed, soak them in warm, soapy water for a few minutes. Use a soft sponge or cloth to scrub away any baked-on residue. Rinse and dry thoroughly before reattaching.
Wipe Down The Control Panel
With the knobs off, you have clear access to the control panel. Use a microfiber cloth dampened with a mild cleaner or a 50/50 vinegar-water solution. Wipe gently around the stems and the panel surface, being careful not to let excess liquid drip into the openings.
Dry with a separate cloth to prevent moisture from seeping inside.
Clean The Surrounding Cooktop Area
The area around the glass—usually a metal or plastic rim—can collect crumbs, splatters, and dust. Use a damp cloth with a bit of dish soap to wipe it down. For stubborn spots, a non-abrasive cleaner works well.
Pay attention to corners and edges where grime tends to hide. Finish by drying the area to avoid water spots.
12. Address Sugar Spills Immediately
Sugar is one of the worst offenders for glass stove tops. If left to burn, it can melt into the surface and cause permanent etching—tiny pits that are impossible to polish out. The key is to catch these spills while they're still fresh and clean them up as soon as the stove is safe to touch.
Don't wait until the end of your cleaning session. Sugar spills need immediate attention, even if you're in the middle of cooking. A few extra seconds now can save you from a damaged cooktop later.
Why Sugar Is So Damaging
When sugar heats up, it turns into a sticky, caramel-like substance that bonds aggressively to glass. As it continues to burn, it carbonizes and becomes harder than the glass itself. Scrubbing it off at that point can scratch the surface, and the heat can actually cause the sugar to fuse with the glass, leaving a cloudy, etched mark.
That's why prevention is your best defense.
The Right Way To Clean A Fresh Sugar Spill
As soon as the stove is cool enough to touch, use a razor scraper held at a 45-degree angle to gently lift the sugary residue. Work slowly and let the blade do the work—don't force it. Follow up with a damp microfiber cloth to wipe away any remaining stickiness.
If a little residue remains, make a paste of baking soda and water, apply it to the spot, let it sit for a few minutes, then wipe clean.
What To Do If The Sugar Has Already Burned On
If you missed the window and the sugar has turned into a dark, hard crust, don't panic. Apply a damp cloth or paper towel soaked in warm water to the area and let it sit for 15–20 minutes to soften the residue. Then use the razor scraper again—gently.
You may need to repeat the process a couple of times. Avoid using abrasive cleaners or scrub pads, as they will scratch the glass.
13. Avoid Harsh Chemicals Like Bleach or Ammonia
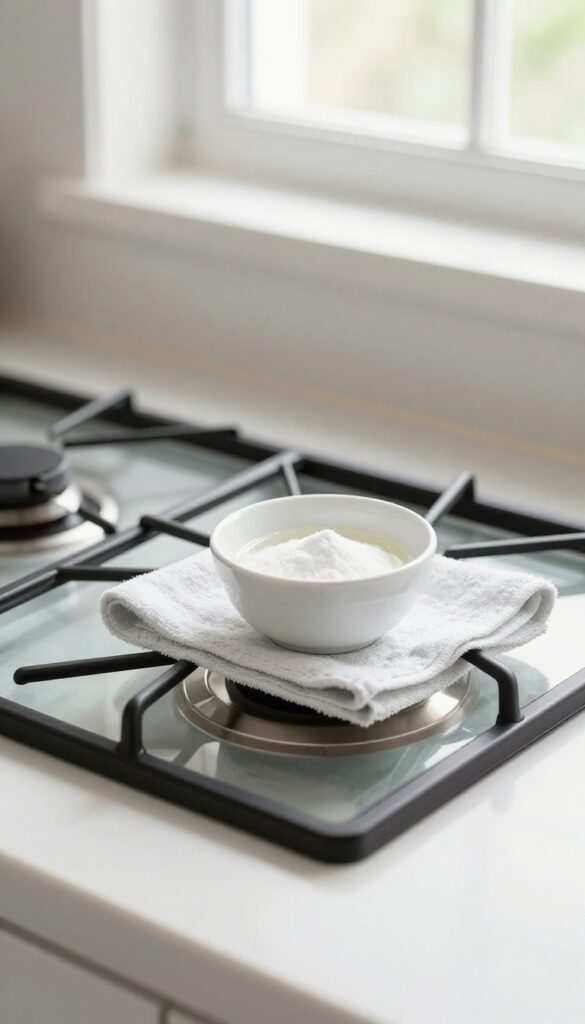
When you're dealing with tough stains, it's tempting to reach for heavy-duty cleaners like bleach or ammonia. But those products can do more harm than good on a glass stove top. They're not just overkill—they can actually damage the surface or cause discoloration that won't come out.
Stick to cleaners that are specifically labeled safe for glass cooktops. These are formulated to cut through grease and burnt-on food without etching or dulling the glass. Products like Cerama Bryte, Weiman, or even a simple baking soda paste work perfectly.
Why Bleach And Ammonia Are Bad
Bleach is highly corrosive and can eat away at the glass's protective coating, leaving it more prone to scratches and stains. Ammonia, on the other hand, can react with the glass and cause a permanent cloudy haze. Both can also damage the seal around the cooktop, leading to moisture getting underneath.
What To Use Instead
Look for products with a neutral pH that are designed for ceramic or glass cooktops. Many are available at grocery stores or online. For everyday cleaning, a mixture of white vinegar and water works well.
For tougher messes, a paste of baking soda and water is gentle yet effective.
Check The Label Twice
Even some cleaners that seem safe might contain abrasives or harsh chemicals. Always read the label to confirm it's safe for glass cooktops. If you're unsure, test a small, hidden spot first.
Better safe than sorry when it comes to preserving that sleek surface.
14. Use a Cooktop Cover for Protection
After all that effort getting your glass stove top spotless, the last thing you want is a new scratch or stain appearing the next day. A cooktop cover is a simple, affordable way to shield the surface when you're not cooking. It keeps dust, grease splatters, and accidental bumps from undoing your hard work.
A cooktop cover is a flat, heat-resistant panel that sits directly on the glass surface. It acts as a barrier against scratches from pots, pans, or even dropped utensils. Many covers are made of tempered glass or durable plastic, designed to withstand minor impacts without cracking.
They're easy to wipe clean and store when not in use.
Why It Matters
Glass stove tops are prone to scratching, especially from rough-bottomed cookware or sliding items across the surface. A cover adds a protective layer that absorbs the brunt of daily wear. It also prevents spills from seeping into crevices and burning on later.
Choosing The Right Cover
Look for a cover that matches your cooktop's dimensions exactly. Most are sold in standard sizes, but you can find adjustable or custom-fit options. Tempered glass covers are the most durable and easy to clean, while silicone versions are flexible and store compactly.
Avoid covers with rough edges that could scratch the glass.
Using It Effectively
Place the cover on the stove only after it has completely cooled. Remove it before cooking and store it upright or under the counter. Clean the cover regularly with mild soap and water to prevent buildup.
If you have pets or kids, a cover is especially useful for keeping the surface safe from curious paws or toys.
15. Clean Spills as They Happen
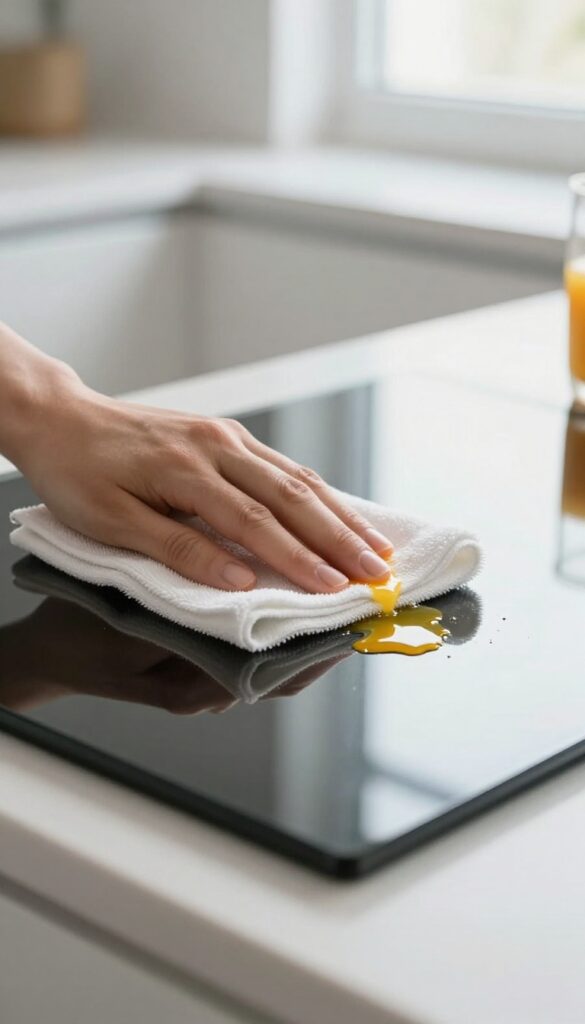
Waiting until the end of the week to tackle your glass stove top is a recipe for extra elbow grease. Fresh spills are much easier to wipe away than dried-on, baked-on messes. A quick clean-up after each use keeps your cooktop looking great and saves you time later.
Why Fresh Spills Are Easier
When a spill first happens, it's still wet and hasn't had time to bond with the glass surface. Heat from the burner can quickly cook sugars and starches into a stubborn crust. By wiping immediately, you remove the mess before it hardens, often with just a damp cloth and no cleaner needed.
The Right Way To Wipe
Turn off the burner and let the surface cool slightly, but don't wait until it's cold. Use a soft, damp microfiber cloth to gently wipe the spill away. For sticky or greasy spills, a drop of dish soap on the cloth helps.
Avoid using abrasive sponges or scrub pads, as they can scratch the glass.
What About Burnt-on Spills?
If a spill has already baked on, don't panic. Spray a little white vinegar or glass cleaner on the spot, let it sit for a minute, then scrape gently with a razor scraper held at a 45-degree angle. Follow up with a damp cloth to remove any residue.
This method works well for sugar-based spills like jam or syrup.
16. Perform a Weekly Deep Clean
A quick wipe-down after cooking is great, but it won't prevent the gradual buildup that dulls your glass stove top over time. Setting aside one day each week for a thorough cleaning keeps the surface looking as good as new. This routine doesn't have to be long—just consistent.
Gather Your Supplies
Before you start, collect everything you'll need: a razor scraper with fresh blades, baking soda, white vinegar, a soft microfiber cloth, and a glass stove top cleaner. Having everything ready makes the process smooth and quick.
Follow The Full Routine
Work through the same steps you use for a deep clean: scrape off any burnt-on residue, apply a baking soda paste for tough stains, spray vinegar to activate, wipe clean, and finish with a dedicated glass cleaner. Don't skip the polishing step—it prevents streaks and helps repel future spills.
Make It A Habit
Pick a day that works for you, like Sunday morning or after a weekly meal prep. Stick to it for a few weeks, and it'll become second nature. Regular deep cleaning means you'll rarely need to scrub hard, and your cooktop will stay scratch-free and shiny.
17. Know When to Call a Professional
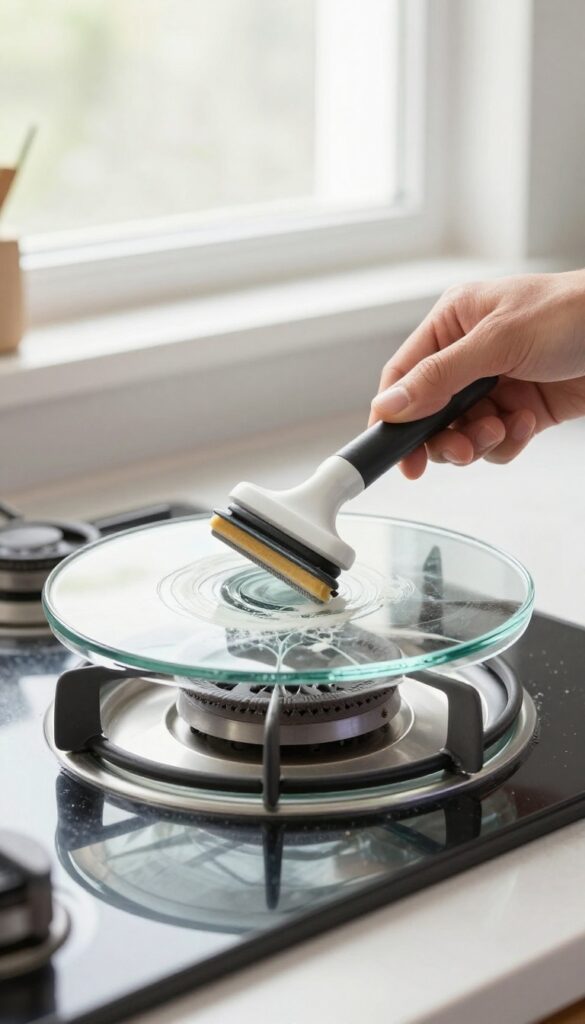
Even with the best care, sometimes a glass stove top develops issues that are beyond a DIY fix. Deep scratches, cracks, or stains that won't budge after repeated cleaning can signal a bigger problem. Knowing when to step back and call a pro saves you from making things worse.
If you've tried all the steps and still see damage or stubborn marks, it's time to get an expert opinion. Professionals have specialized tools and experience to assess the surface and recommend the best course of action—whether that's a deep polish, a repair, or a full replacement. Don't risk using harsh chemicals or abrasive methods that could void your warranty or permanently ruin the cooktop.
Signs You Need A Pro
Look for visible cracks, chips, or deep scratches that catch your fingernail. Persistent white or cloudy stains that resist baking soda and vinegar may indicate etching or heat damage. If the surface feels rough or uneven, a technician can determine if it's salvageable.
What A Professional Can Do
A pro can use a glass polisher to buff out light scratches, apply a ceramic coating to restore shine, or replace the entire cooktop if the damage is severe. They also have access to manufacturer-approved cleaners and sealants that aren't available to consumers.
When Replacement Makes Sense
If the glass is cracked or the stove is old, replacing the cooktop might be more cost-effective than repairs. A technician can give you a quote and help you choose a compatible model. In some cases, the warranty may cover the replacement, so check before calling.
FAQ
Can I use Windex on a glass stove top?
It's not recommended. Windex contains ammonia and dyes that can damage the glass or leave a residue. Use a dedicated glass cooktop cleaner instead.
How do I remove a burnt-on sugar spill?
Let the stove cool completely. Apply a baking soda paste or a cooktop cleaner, let it sit, then gently scrape with a razor blade. Sugar can etch glass, so act quickly.
What is the best cloth to use on a glass stove top?
Microfiber cloths are best because they are soft, lint-free, and won't scratch the surface. Avoid paper towels or rough sponges.
How often should I clean my glass stove top?
Wipe it down after each use to prevent buildup. Perform a deep clean with a dedicated cleaner once a week or as needed.
Can I use a razor blade on a glass stove top?
Yes, but only a single-edge razor blade designed for cooktops. Hold it at a 45-degree angle and keep the surface wet to avoid scratches.
Conclusion
Keeping your glass stove top clean is simpler than it seems when you break it down into these manageable steps. A little regular care goes a long way—wiping up spills immediately and using the right tools prevents scratches and stubborn residue. Pick a few of these methods that fit your routine, and your cooktop will stay gleaming with minimal effort.
The key is consistency: a quick daily wipe beats a heavy scrub session every time. Your stove will look better and cook more evenly.