How to Clean Oven Grease in 15 Simple Steps
Oven grease buildup can feel impossible to shift, but you don't need harsh chemicals or a professional service. With a few household staples and a little patience, you can restore your oven to a sparkling clean state. This guide breaks down the process into 15 straightforward steps, making it manageable even for the busiest schedules.
Forget scrubbing for hours with disappointing results. The key is using gentle yet effective methods that lift grease without damaging your appliance.
From a simple baking soda paste to clever tricks for the oven door glass, each step targets a specific area. By following this sequence, you'll avoid common pitfalls and save money on expensive cleaners.
1. Gather Your Supplies
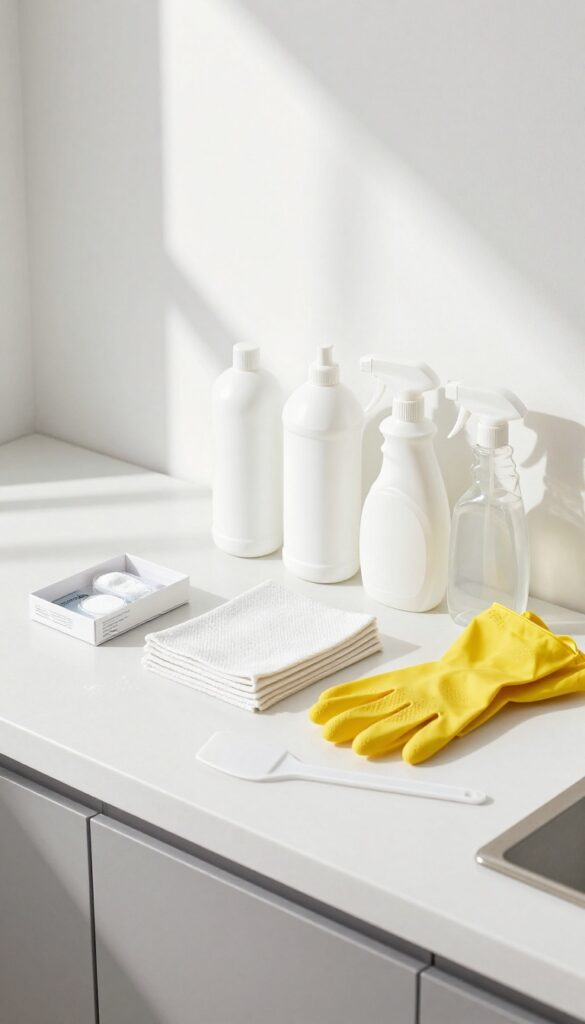
Before diving into the scrubbing, take a few minutes to assemble everything you'll need. Having your supplies within arm's reach keeps the workflow smooth and prevents frustrating interruptions. You likely already have most of these items in your pantry or under the sink.
Collect these essential tools: baking soda, white vinegar, dish soap, microfiber cloths, a spray bottle, a plastic scraper, and rubber gloves. Baking soda acts as a gentle abrasive, vinegar cuts through grease, and dish soap helps lift stubborn residue. Microfiber cloths trap dirt without scratching, and a plastic scraper handles baked-on gunk without damaging the oven surface.
Rubber gloves protect your hands from grime and any mild irritation. Having everything ready before you start saves time and keeps the process stress-free.
Why These Supplies Work
Each item plays a specific role. Baking soda and vinegar create a fizzing reaction that loosens grease, while dish soap breaks down oil. Microfiber cloths are lint-free and absorbent, making them ideal for wiping away residue without leaving streaks.
The plastic scraper is a safer alternative to metal scrapers, which can scratch enamel or glass.
Optional Extras
If your oven has heavy buildup, consider adding a lemon (for fresh scent), a commercial degreaser (for tough spots), or a steam cleaner (for quick loosening). A vacuum with a brush attachment can also help remove loose debris before you start scrubbing.
2. Remove Oven Racks and Accessories
Before you start scrubbing the interior, clear the decks. Oven racks, thermometers, pizza stones, and any other removable items just get in the way and can be damaged by strong cleaners. Pull everything out and set it aside for a separate soak.
Taking out the racks and accessories does two things: it gives you unobstructed access to the oven walls and floor, and it lets you clean those parts more thoroughly. Fill your sink or a large tub with hot water and a generous squirt of dish soap. Submerge the racks and any removable parts, and let them soak while you work on the oven interior.
The hot water loosens baked-on grease, making scrubbing much easier later. For stubborn spots, a paste of baking soda and water can be applied directly before soaking.
Why Removing Everything Matters
Leaving racks inside means you'll have to clean around them, missing hidden grease and grime. Plus, harsh oven cleaners can discolor or corrode metal racks. By removing them, you protect your accessories and ensure a thorough clean.
The Soaking Method That Works
Hot water and dish soap is the simplest, most effective soak. For extra tough grease, add a quarter cup of white vinegar or a tablespoon of baking soda. Let everything sit for at least 30 minutes, or longer if the buildup is heavy.
After soaking, scrub with a non-abrasive sponge or brush, rinse well, and dry before putting them back.
3. Wipe Away Loose Debris
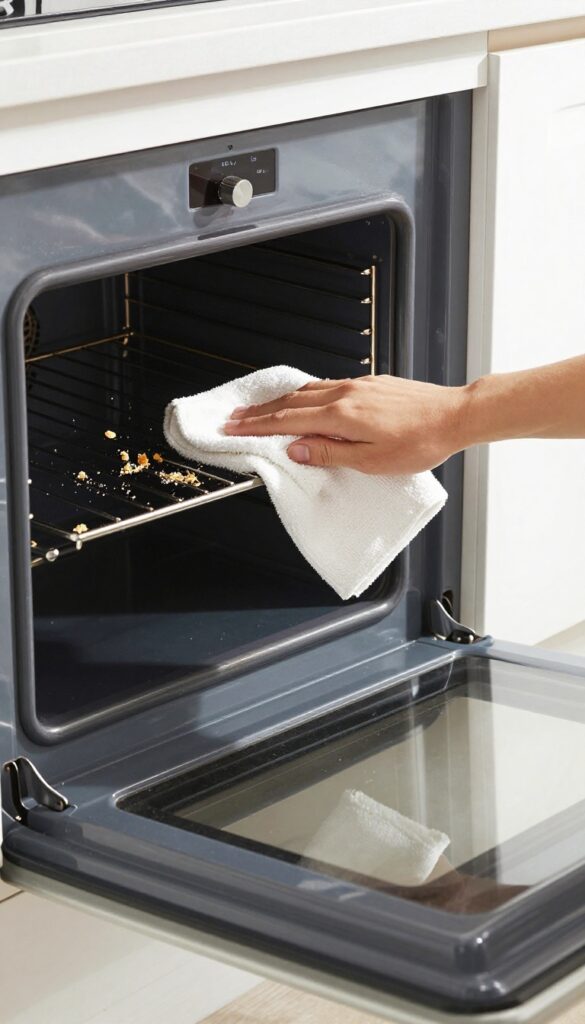
Before you bring out any cleaning solutions, take a moment to clear the surface. Oven grease often hides under a layer of crumbs and loose dirt. Removing that first makes everything easier.
Grab a dry paper towel or a soft cloth and sweep the interior from top to bottom. Focus on the bottom, where most crumbs collect, and the racks. This simple step stops you from turning loose debris into a paste when you add moisture later.
Start At The Top
Work from the top of the oven downward. That way, any crumbs that fall won't land on already-cleaned areas. Use a dry microfiber cloth for better grip.
Don't Forget The Corners
Grease and crumbs love hiding in corners and along the door seal. Use a toothpick or a small brush to dislodge stubborn bits before wiping again.
4. Make a Baking Soda Paste
Baking soda is a powerhouse when it comes to cutting through baked-on grease. It's gentle enough not to scratch your oven's interior but abrasive enough to lift stubborn grime. Mixing it with water creates a paste that clings to vertical surfaces, making it perfect for oven walls and the door.
This simple paste is the foundation of many DIY oven cleaners. It's non-toxic, cheap, and works wonders on grease that has been baked on over time. Let the paste sit for at least 12 hours or overnight to allow the baking soda to break down the grease.
Then, wipe it away with a damp cloth and a little vinegar for a streak-free finish.
Getting The Right Consistency
Start with 1/2 cup of baking soda in a small bowl. Add 3 tablespoons of water gradually, stirring until you get a thick, spreadable paste. If it's too runny, add more baking soda; if too thick, add a few more drops of water.
The paste should be like frosting—easy to spread but not drippy.
Applying The Paste
Use a spatula or your hands (wearing gloves) to spread the paste evenly over greasy areas. Focus on the oven walls, floor, and door. Avoid the heating elements.
A thick layer works best, so don't be shy. Once applied, leave the oven door closed and let the paste sit for 12–24 hours.
Removing The Paste
After the waiting period, dampen a cloth with water and wipe away the paste. You'll see the grease come off with it. For stubborn spots, spray white vinegar on the residue—it will fizz and help lift the grime.
Finish with a clean, damp cloth to remove any remaining baking soda.
5. Apply the Paste to Greasy Areas
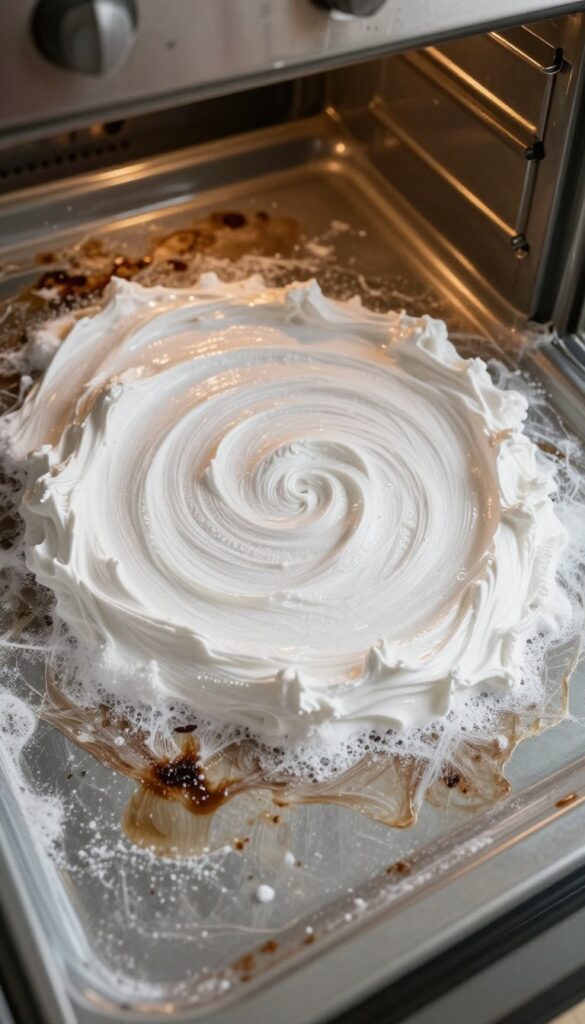
Now that your baking soda paste is ready, it's time to put it to work. This step is where the magic happens—the paste needs direct contact with the grease to break it down. Don't rush this part; a thorough application makes all the difference.
Using a spatula or your fingers (gloves recommended), scoop up a generous amount of paste and spread it thickly over every greasy spot. Focus on the bottom, sides, and any crusty corners. Avoid the heating elements—covering them can cause damage or create smoke when you turn the oven on later.
For light grime, a 30-minute wait is plenty. But if you're dealing with months of buildup, let the paste sit for 12 to 24 hours. The longer it sits, the less elbow grease you'll need.
Where To Apply
Target the greasiest areas: the oven floor, back wall, and around the door seal. Don't forget the racks if they're still inside—but ideally, you've removed them. Use a brush to reach tight spots.
How Thick Should The Paste Be?
Aim for a ¼-inch layer. If it's too thin, it dries out quickly and loses effectiveness. Thicker is better for tough buildup.
You can always add more if needed.
Covering For Best Results
To prevent the paste from drying out, lightly spritz it with water from a spray bottle after application. You can also cover the paste with a damp cloth or plastic wrap to keep it moist overnight.
6. Spray with Vinegar
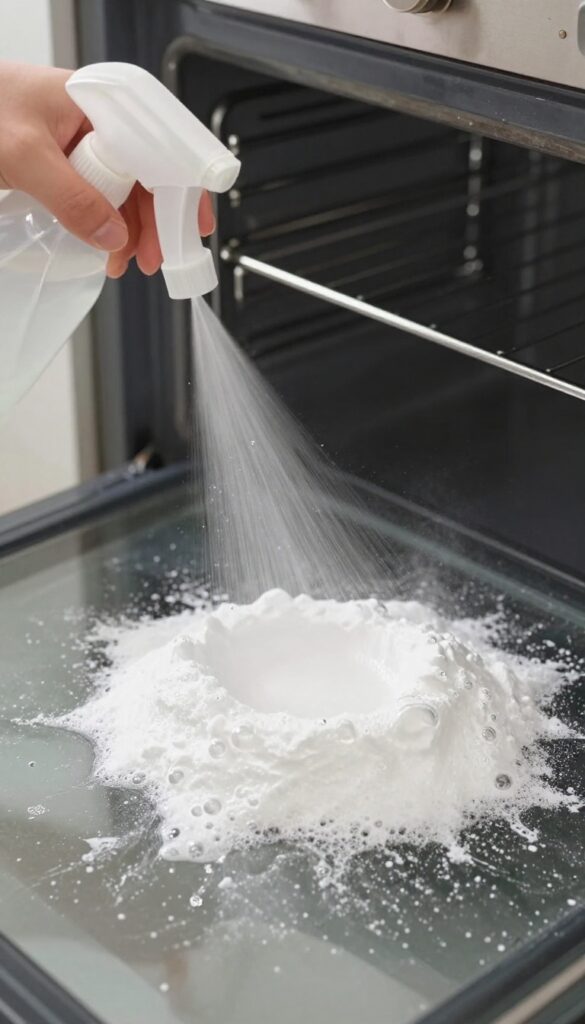
Once the baking soda paste has done its work, vinegar steps in to finish the job. White vinegar reacts with the baking soda to create a fizzy action that lifts stubborn grease and residue. This simple step makes wiping away grime almost effortless.
Fill a spray bottle with undiluted white vinegar. Spray the vinegar generously over the baking soda paste, focusing on areas with heavy buildup. The fizzing reaction helps break down grease and loosens dried-on food particles.
Let the mixture sit for a few minutes to maximize its cleaning power.
Why Vinegar Works
Vinegar is acidic, which helps dissolve grease and mineral deposits. When combined with alkaline baking soda, the reaction creates carbon dioxide bubbles that physically lift dirt from surfaces. This natural chemistry makes cleaning safer and more effective than many commercial products.
How To Apply It
Use a clean spray bottle filled with straight white vinegar. Mist the paste-covered areas until they are damp but not dripping. Avoid oversaturating, as excess liquid can pool at the bottom of the oven.
For vertical surfaces, spray lightly and let the reaction work without runoff.
Let It Fizz And Sit
After spraying, wait 3 to 5 minutes for the fizzing to subside. During this time, the vinegar and paste work together to dissolve tough grease. You may hear a soft sizzling sound—that's a good sign.
Do not wipe it away too soon; patience here saves scrubbing later.
7. Scrub with a Non-Abrasive Sponge
After the vinegar has neutralized the baking soda, it's time for the satisfying part: actually removing the loosened grease. But before you grab any old scrubber, pause. Using the wrong tool can scratch your oven's interior or leave behind swirl marks that trap future grime.
A non-abrasive sponge or microfiber cloth is your best friend here. Its soft texture lifts grease without damaging the enamel or glass. Dip it in warm water, wring it out slightly, and work in small circular motions.
This motion helps dislodge particles and pushes them away from the surface rather than smearing them around.
Why Non-abrasive Matters
Steel wool or scouring pads might seem efficient, but they create micro-scratches that become grease magnets later. Non-abrasive sponges are gentle enough for coated surfaces and glass, yet effective enough to remove baked-on residue. Plus, they rinse clean easily, so you're not redepositing grease onto the oven.
Rinse Frequently
As you scrub, rinse your sponge often in a bucket of clean water. A dirty sponge just pushes grease around. Change the rinse water when it looks cloudy or feels slick.
This simple habit prevents you from undoing your hard work.
Circular Motion Technique
Use moderate pressure and consistent circular strokes. Start from the center of a greasy spot and work outward. This corrals the residue and makes it easier to wipe away.
For stubborn areas, let the sponge sit on the spot for a few seconds before scrubbing.
8. Tackle Stubborn Spots with a Plastic Scraper
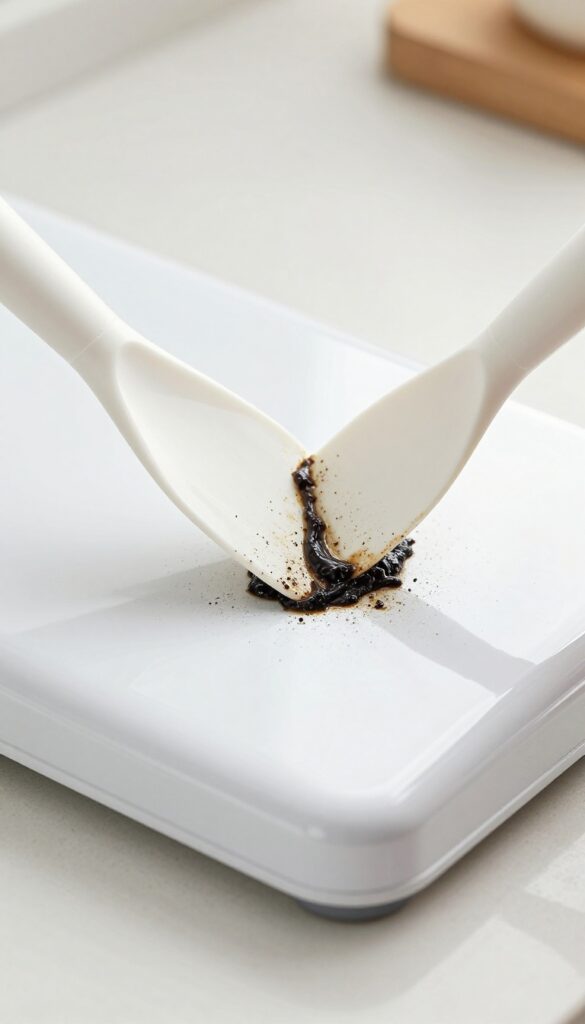
Some grease spots just won't budge, no matter how much you scrub. That's when a plastic scraper becomes your best friend. It's a simple tool that applies focused pressure without scratching the oven's surface.
Baked-on grease can form a tough, crusty layer that resists even the strongest cleaners. A plastic scraper lets you physically break that bond without damaging the enamel. Use it gently at a low angle to lift the gunk rather than scraping aggressively.
Why Metal Scrapers Are A No-go
Metal scrapers might seem effective, but they're a disaster for your oven. They leave deep scratches that become permanent stains and breeding grounds for bacteria. Stick to plastic or silicone scrapers designed for non-stick surfaces.
Technique Matters
Hold the scraper at a 30-degree angle and push away from you in short, controlled strokes. Work on a small area at a time. If the grease is too hard, soften it with a baking soda paste or a steam treatment first.
Combine With A Degreaser
For extra tough spots, apply a degreaser or a vinegar solution before scraping. Let it sit for a few minutes to loosen the bond. Then scrape gently—the grease should come off in satisfying curls.
9. Clean the Oven Door Glass
The oven door glass often gets overlooked, but it's one of the first places people notice grease and grime. A cloudy, streaky door can make your whole oven look dirty even after you've cleaned the interior. Fortunately, the same baking soda paste works wonders on glass without scratching it.
Start by applying a generous layer of the baking soda paste to the inside of the oven door glass. Let it sit for about 15 minutes to break down the grease. Then, wipe it off with a damp microfiber cloth.
For a streak-free shine, spray the glass with white vinegar and wipe again with a clean, dry cloth. If there are stubborn spots, use a non-scratch sponge or a plastic scraper gently.
Why Baking Soda Works On Glass
Baking soda is mildly abrasive, which helps lift grease without scratching the glass. Its alkaline nature also helps break down acidic grease stains. The paste clings to vertical surfaces better than liquid cleaners, allowing it to work effectively on the door.
How To Avoid Streaks
Streaks usually happen when residue is left behind. Make sure to wipe off all the baking soda paste before spraying vinegar. Use a lint-free microfiber cloth and buff the glass in a circular motion.
If streaks persist, a final wipe with a dry newspaper can give a crystal-clear finish.
Cleaning The Outside Of The Door
Don't forget the exterior glass and handle. These areas collect fingerprints and splatters. Use the same paste or a mild glass cleaner.
Avoid getting cleaner into the oven vents or around the control panel. Wipe with a damp cloth and dry immediately.
10. Use a Commercial Degreaser for Heavy Buildup
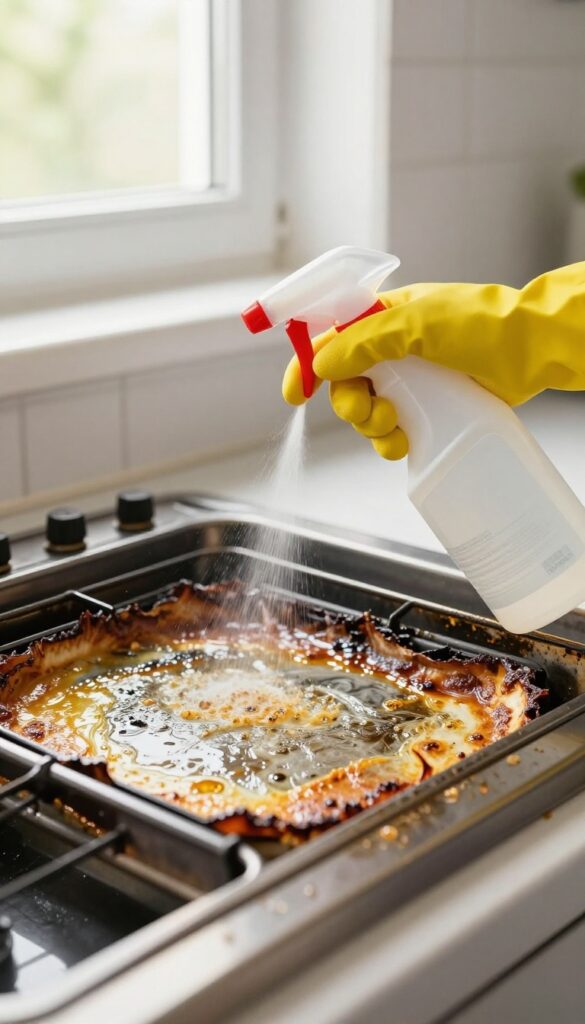
Sometimes natural solutions just can't cut through years of baked-on grease. That's when a commercial degreaser becomes your best friend. Products like Easy-Off are designed specifically for tough oven grime, but they require careful handling.
When you've tried baking soda, vinegar, and elbow grease without success, it's time to bring out the heavy artillery. Commercial oven cleaners contain powerful chemicals that dissolve stubborn grease quickly. However, they demand respect—always wear rubber gloves, work in a well-ventilated space, and follow the label instructions to the letter.
Apply the spray evenly, let it sit for the recommended time (usually 20-30 minutes), then wipe away the loosened grime with a damp cloth. Rinse thoroughly with water afterward to remove any chemical residue before using the oven again.
Choosing The Right Product
Not all commercial degreasers are created equal. Look for one specifically labeled for oven use, like Easy-Off Professional or Carbona Oven Cleaner. Avoid general kitchen cleaners, as they may not be strong enough.
Check reviews to find a product that works well on baked-on grease without leaving a strong chemical smell.
Safety First
These cleaners can irritate skin and lungs. Always wear long rubber gloves and safety goggles. Open windows and turn on a fan to ventilate the area.
Keep children and pets away. Never mix oven cleaner with other chemicals, especially ammonia or bleach, as toxic fumes can result.
Application Tips
Spray the degreaser onto cool oven surfaces only—never on a hot oven. Avoid heating elements and the oven light. For vertical surfaces, apply generously to prevent drips.
Let it foam and work for the time specified. Use a non-abrasive sponge to scrub if needed, then wipe clean with a wet cloth. Repeat if necessary.
11. Don't Forget the Oven Top and Edges
The top rim and door edges are prime spots for grease to hide. After scrubbing the interior, these areas can still be sticky and grimy. A quick wipe with a degreasing solution and a soft brush will make the whole oven look cleaner.
Mix a few drops of dish soap with warm water in a bowl. Dip a soft brush or sponge into the solution and scrub along the top rim, focusing on corners where grease collects. For the door seal, use a toothbrush to gently clean the rubber gasket without damaging it.
Rinse with a damp cloth and dry with a microfiber towel to prevent water spots.
Why The Top Rim Matters
The top rim often catches splatters from baking and roasting. Over time, grease hardens and becomes darker, making the oven look dirty even after cleaning the interior. Addressing this area gives a complete, polished finish.
Cleaning The Door Seal
The rubber seal around the door traps grease and food particles. Use a soft toothbrush and mild soap to avoid tearing or stretching the seal. Never use abrasive scrubbers, as they can cause leaks.
Wipe dry to prevent mold.
12. Clean the Oven Racks
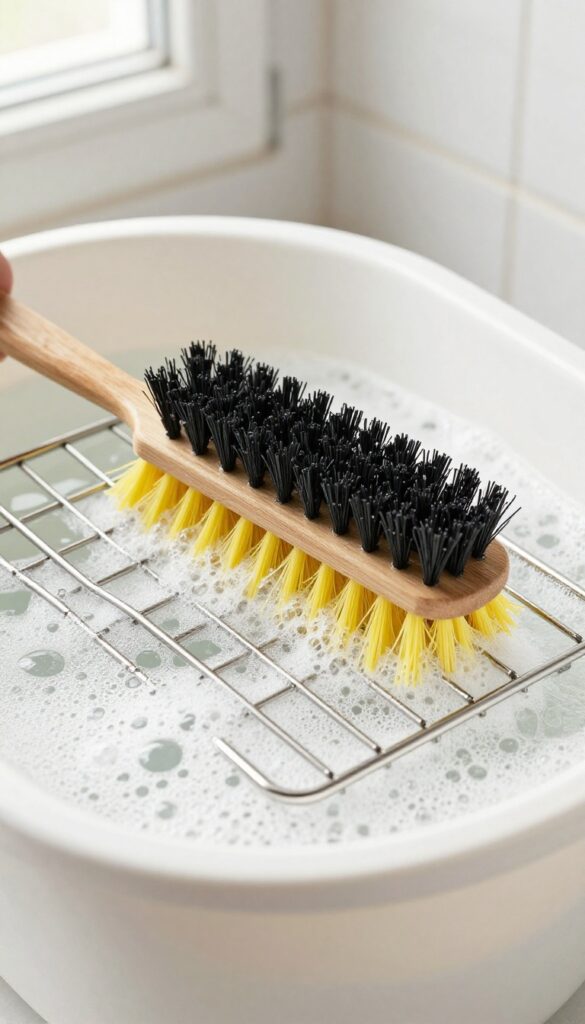
Oven racks take a beating, collecting grease and burnt-on food from countless meals. They're also one of the trickiest parts to clean because of their awkward shape and hard-to-reach crevices. But with the right approach, you can get them looking like new without breaking a sweat.
After soaking, grab a stiff brush or steel wool to scrub away the loosened grease. For any stubborn spots that remain, mix a paste of baking soda and hydrogen peroxide. Apply it directly to the trouble areas, let it sit for 15 minutes, then scrub again and rinse thoroughly.
Soak First, Scrub Later
Before you start scrubbing, give your racks a good soak. Fill your bathtub or a large plastic bin with hot water and add a generous amount of dish soap or a cup of baking soda. Let the racks soak for at least an hour, or overnight for heavily soiled ones.
This loosens the grease so you don't have to work as hard.
The Baking Soda And Hydrogen Peroxide Trick
For those stubborn, baked-on spots that won't budge after soaking, make a thick paste using baking soda and hydrogen peroxide. Spread it over the greasy areas and let it sit for 15–20 minutes. The combination creates a gentle fizzing action that lifts the grime without scratching the metal.
Rinse And Dry Completely
After scrubbing, rinse the racks thoroughly with clean water to remove any cleaning residue. Dry them with a clean towel or let them air dry completely before sliding them back into the oven. Any leftover moisture can cause rust or create a sticky film when the oven heats up.
13. Rinse Thoroughly
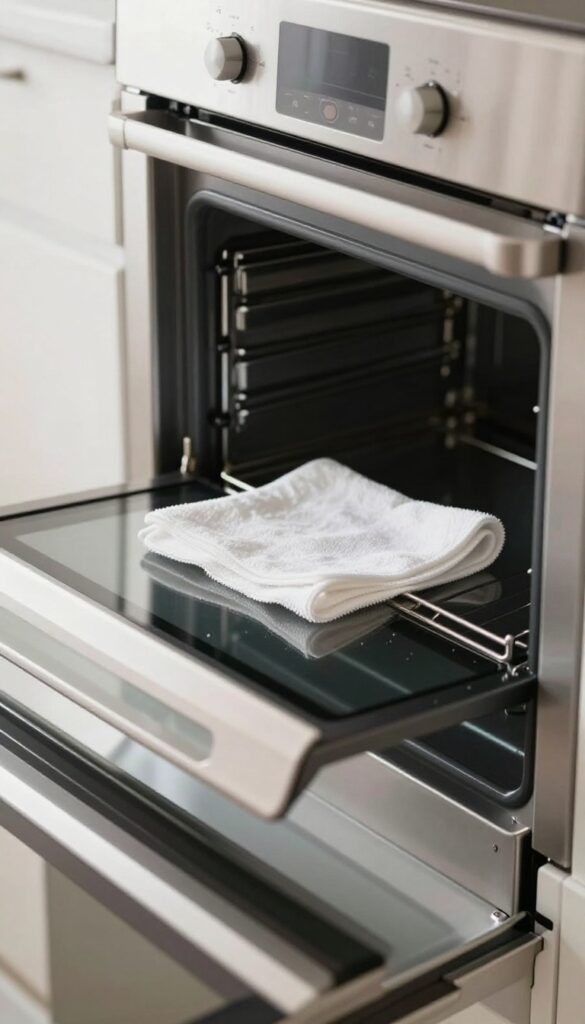
You've scrubbed and wiped, but if you skip a proper rinse, leftover cleaner can cause trouble. Baking soda residue might leave white streaks, and vinegar can create a lingering smell that affects your food. A thorough rinse ensures your oven is truly clean and ready to use.
Use Clean, Damp Cloths
Grab a few soft, lint-free cloths and dampen them with plain warm water. Wipe down all interior surfaces, including the walls, floor, ceiling, and door. Change cloths frequently to avoid spreading residue around.
You'll know you're done when the cloth comes away clean.
Don't Forget The Crevices
Grease and cleaner can hide in the gaps around the oven door, along the bottom edge, and near the heating elements. Use a damp microfiber cloth or a soft sponge to reach these spots. A toothbrush can help dislodge stubborn bits in tight corners.
Dry Before Reheating
After rinsing, go over everything with a dry cloth to remove excess moisture. This prevents water spots and helps the oven dry faster. Leave the door open for an hour or two to air out completely before turning the oven on.
Any trapped moisture can cause steam and odors when you preheat.
14. Dry and Reassemble
After all that scrubbing and rinsing, the final step is just as important: drying everything thoroughly. Moisture left behind can lead to rust or strange odors the next time you heat up the oven. Taking a few extra minutes here ensures your hard work pays off.
Grab a clean, dry microfiber cloth and go over the entire interior, including the door, sides, and bottom. Pay special attention to crevices around the heating element and door seal. Once the inside is bone dry, check your racks and accessories—they should be completely moisture-free before going back in.
Any trapped water can cause rust spots over time. Slide the racks into place, replace the drip tray if you removed it, and close the door. Your oven is now ready for its next use.
Why Drying Matters
Even a thin film of moisture can promote rust, especially on exposed metal surfaces. A microfiber cloth absorbs better than paper towels and won't leave lint behind. Make sure the door seal is dry too, since damp seals can develop mold or lose their grip.
Check Racks And Accessories
Racks often hide water in their hollow tubes or on the underside. Wipe each one down with a dry cloth and let them air out for a few minutes if needed. Same goes for any baking stones or trays you cleaned—they need to be fully dry before storage to prevent warping or rust.
Final Inspection
Before you call it done, do a quick visual check. Look for any missed grease spots or streaks on the glass. If everything looks clean and dry, you're all set.
Close the oven door and enjoy the satisfaction of a spotless appliance.
15. Maintain a Grease-Free Oven
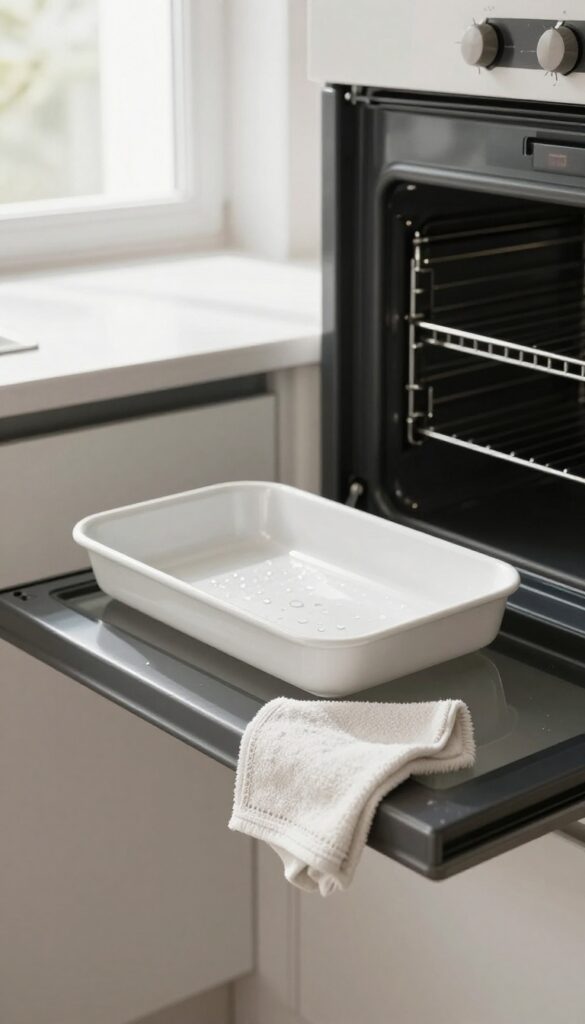
You've put in the work to get your oven sparkling clean. Now the trick is keeping it that way without turning it into a weekend chore. A few simple habits can dramatically reduce how often you need to deep-clean, saving you time and elbow grease.
Prevention is the best cleaner. By tackling small messes right away and using a few smart tools, you can keep grease from building up in the first place. These maintenance tips are easy to weave into your routine and pay off big in the long run.
Wipe Spills Immediately
The moment something bubbles over or drips, grab a damp cloth and wipe it up. Once that spill cools and bakes on, it becomes a tough crust that needs serious scrubbing. A quick wipe while the oven is still warm (but not hot) takes seconds and prevents a lot of future work.
Use A Drip Tray
Place a baking sheet or a specialized drip tray on the rack below whatever you're cooking. It catches drips, splatters, and spills before they hit the oven floor. You can simply wash the tray instead of scrubbing the entire oven interior.
Run A Self-cleaning Cycle
If your oven has a self-cleaning feature, use it every few months. It incinerates grease and food residue into ash, which you can wipe away with a damp cloth. Just be sure to remove racks and avoid running it when you're not home, as it gets very hot and may produce some smoke.
FAQ
Can I use lemon juice instead of vinegar?
Yes, lemon juice works similarly to vinegar due to its acidity. It may leave a fresh scent but can be less effective on heavy grease.
How often should I deep clean my oven?
Every 3–6 months, depending on usage. Wipe spills immediately to reduce the need for frequent deep cleans.
Is it safe to use baking soda on a self-cleaning oven?
Yes, baking soda is safe for self-cleaning ovens. Avoid using it on the heating elements or the door gasket.
What if the baking soda paste doesn't remove all grease?
Reapply the paste and let it sit longer, or use a commercial degreaser. For extremely stubborn spots, a plastic scraper can help.
Can I clean the oven while it's still warm?
No, always let the oven cool completely before cleaning. Heat can cause cleaners to fume or damage surfaces.
Conclusion
Cleaning oven grease doesn't have to be a weekend project. With these 15 steps, you can tackle even the toughest grime using stuff you probably already have at home.
Just pick the method that fits your schedule and supplies. Your oven will look great, and you'll save money on harsh chemicals or expensive cleaners.