How to Clean Oven Racks With 15 Practical Tips
You pull out the oven racks and cringe at the baked-on grease and grime. It’s a chore that feels impossible, but it doesn’t have to be. With the right approach, you can restore those racks to like-new condition without spending hours scrubbing.
The secret is matching the method to the mess. Some racks just need a gentle soak, while others require a bit more elbow grease. We’ve gathered 15 practical tips that cover every level of buildup.
Whether you prefer natural solutions or heavy-duty cleaners, there’s a tip here for you. Let’s turn that dreaded task into a quick win.
1. The Baking Soda and Vinegar Soak
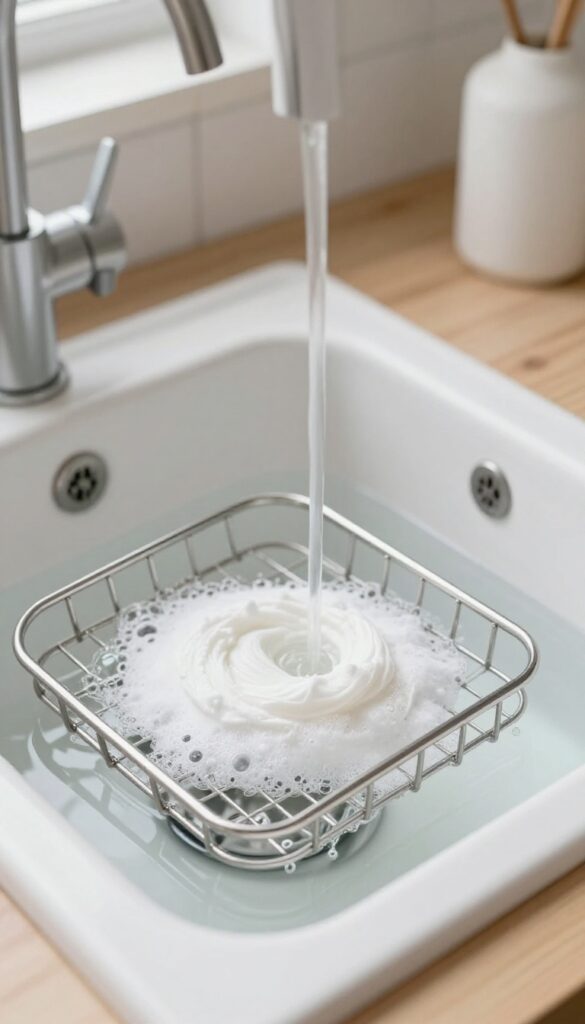
If your oven racks are covered in stubborn, baked-on grease, this classic combo is your best friend. The chemical reaction between baking soda and vinegar creates a fizzing action that helps lift grime without harsh scrubbing. It's a gentle yet effective method that works wonders, especially for racks with moderate buildup.
This method relies on the natural cleaning power of baking soda and vinegar. The paste clings to the racks, allowing the baking soda to break down grease while the vinegar reacts to loosen debris. After an overnight soak, most of the grime wipes away effortlessly.
Making The Paste
Mix baking soda with just enough water to form a spreadable paste—think thick frosting consistency. You'll need about half a cup of baking soda for a standard oven rack. Apply the paste generously over the entire rack, focusing on greasy spots.
The Fizz And Soak
Once the paste is applied, fill a spray bottle with white vinegar and mist the racks until the paste starts to bubble. Let the fizzing action work for a few minutes, then place the racks in a large garbage bag or a bathtub lined with old towels. Seal the bag or cover the racks with plastic wrap and let them soak overnight.
Wiping Clean
The next day, remove the racks and rinse with warm water. Most of the grime should slide off with a sponge or soft brush. For any remaining spots, a quick scrub with a non-abrasive pad will finish the job.
Dry thoroughly before returning to the oven.
2. Dishwasher Detergent Bath
This method is almost magical for cutting through baked-on grease without any scrubbing. The enzymes in dishwasher detergent break down food particles and grease, making it a powerful cleaner for oven racks. All you need is a large container—like a bathtub or a plastic storage bin—and a dishwasher tablet or powder.
Fill your container with the hottest water you can get from the tap. Drop in a dishwasher tablet or a generous scoop of powder and stir until dissolved. Submerge the oven racks completely, making sure they are fully covered.
Let them soak for at least several hours, but overnight is best for heavy buildup. When you pull them out, most of the grime will have loosened or fallen off. Rinse thoroughly with clean water and dry before putting them back in the oven.
Why It Works So Well
Dishwasher detergents contain enzymes and surfactants designed to attack food soils. The hot water activates these ingredients, helping them penetrate and dissolve grease. Unlike simple soap, this combination lifts away baked-on carbon without you having to scrub.
Best Practices For The Bath
Use a container large enough that the racks lie flat without bending. If you use a bathtub, protect the surface with a towel or old sheet to prevent scratching. For extra tough spots, add a second tablet halfway through the soak.
Always wear gloves when handling the solution, as it can be harsh on skin.
Rinsing And Drying Tips
After soaking, rinse the racks with hot water to remove any detergent residue. A garden hose works great for this. Dry them immediately with a clean cloth to prevent water spots or rust.
If you notice any remaining spots, a quick wipe with a sponge usually finishes the job.
3. Ammonia Bag Method
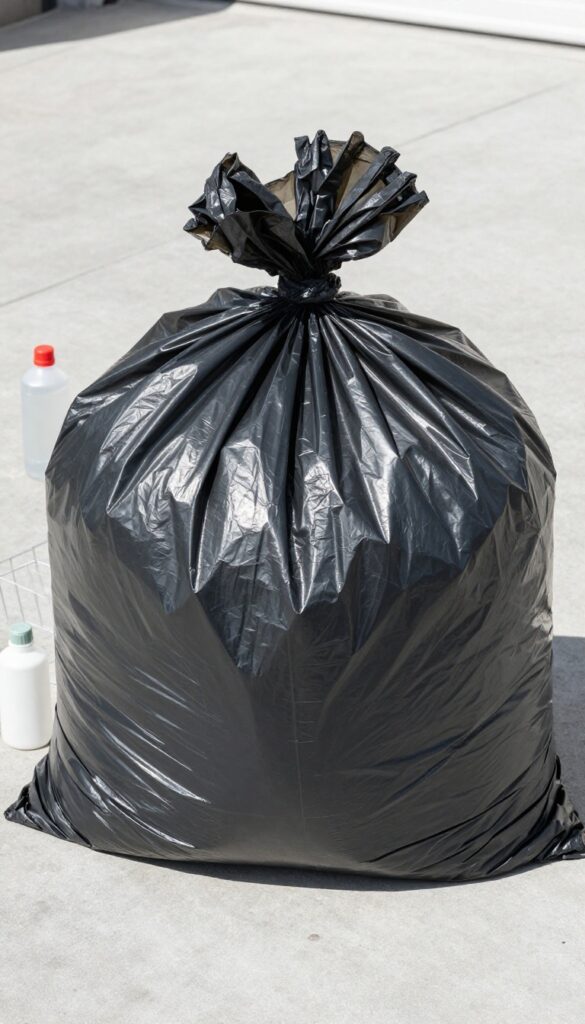
Ammonia might sound harsh, but it’s a powerful degreaser that works wonders on oven racks. This method requires minimal effort—just some patience and a well-ventilated space. The fumes do the heavy lifting while you sleep.
This technique is ideal for racks with thick, baked-on grease that won't budge with gentler methods. The ammonia breaks down the grime overnight, so you can rinse it off the next morning with almost no scrubbing. Just be sure to wear gloves and work in a ventilated area.
What You’ll Need
Grab a heavy-duty garbage bag (the largest size you can find), 1/2 cup of household ammonia, and a pair of rubber gloves. That’s it. No special tools required.
Step-by-step Instructions
Place your oven racks inside the garbage bag. Pour the 1/2 cup of ammonia into the bag, then carefully seal it with a twist tie or knot. Make sure the bag is tightly closed so fumes don't escape.
Leave the bag in a well-ventilated area—like a garage or outdoors—overnight (at least 8 hours). The next day, open the bag outdoors to avoid inhaling fumes. Remove the racks and rinse them thoroughly with warm water.
Wipe away any remaining residue with a sponge or cloth.
Safety Tips
Always work in a well-ventilated space. Wear gloves to protect your skin. Never mix ammonia with bleach or other cleaners—it creates toxic fumes.
Keep the bag away from children and pets. If the smell bothers you, let the racks air out for a few hours after rinsing.
4. Commercial Oven Cleaner Spray
Sometimes you need to bring in the big guns. Commercial oven cleaners are formulated to dissolve the toughest baked-on grease with minimal effort. They work fast, but they also contain strong chemicals, so a little caution goes a long way.
When natural methods aren't cutting it, a commercial oven cleaner spray can save the day. These products are designed to break down carbonized grease quickly. Just remember to follow the instructions carefully—most require you to spray, let it sit, then wipe.
Always wear rubber gloves and ensure the area is well-ventilated. For extra safety, wear a mask and keep kids and pets away until the job is done.
Choosing The Right Product
Not all oven cleaners are created equal. Look for one specifically labeled for oven racks. Some are spray-on foams, others are gels.
Foams cling better to vertical surfaces, while gels are great for thick, caked-on grime. Check reviews to find a product that works well without leaving a strong residue.
Application Tips
Place your racks on a protected surface like an old towel or plastic sheeting. Spray evenly, covering all greasy areas. Let the cleaner sit for the time specified on the label—usually 20 to 30 minutes.
For extra stubborn spots, give them an extra spray and wait a bit longer. Then wipe with a damp cloth or sponge. Rinse thoroughly with water to remove any chemical residue.
Safety First
Always work in a well-ventilated area. Open windows and turn on a fan if possible. Wear rubber gloves to protect your skin, and consider safety goggles if you're sensitive to fumes.
Never mix oven cleaner with other chemicals like bleach or ammonia—that can create toxic gases. After cleaning, wash your hands and dispose of used gloves properly.
5. Dryer Sheet Trick
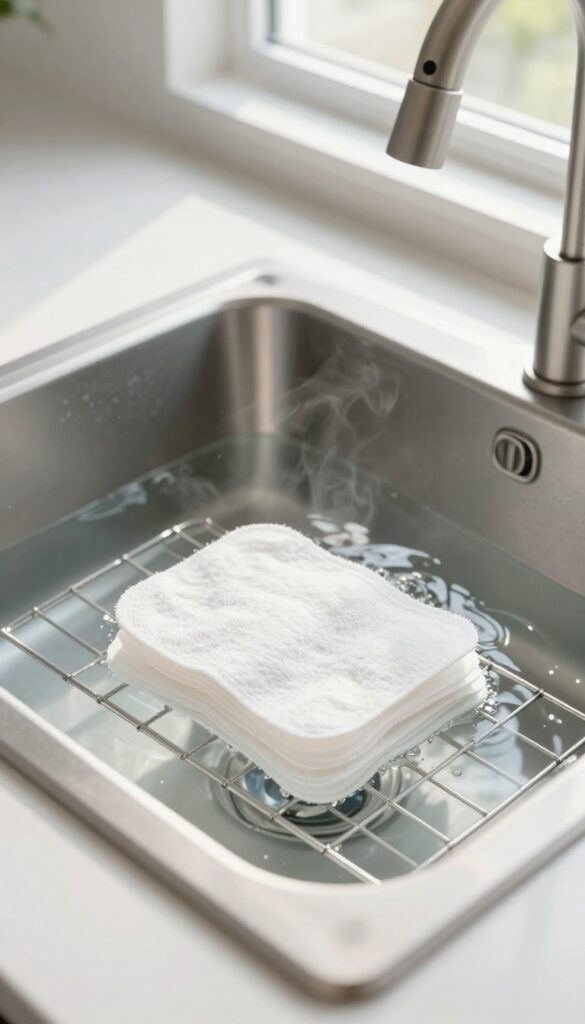
You’ve probably used dryer sheets to soften laundry and reduce static. But did you know they’re also surprisingly effective at loosening baked-on grease from oven racks? The fabric softener contains surfactants that help break down stubborn grime without harsh chemicals.
It’s a low-effort method that works especially well on moderately dirty racks.
This trick is almost too easy. Fill your sink or a large tub with hot water, toss in a few used or new dryer sheets, and let the racks soak for a few hours. The heat and softeners work together to soften the grease so it wipes off with minimal scrubbing.
It’s a great option when you want to avoid strong fumes or expensive cleaners.
How It Works
Dryer sheets are coated with fatty acids and softening agents that act like mild detergents. When dissolved in hot water, they help lift grease particles from metal surfaces. The heat opens up the pores of the baked-on grime, making it easier for the softeners to penetrate and loosen the bond.
Step-by-step Instructions
Fill your sink or a large plastic tub with the hottest tap water you can get. Add 4 to 6 dryer sheets (new or used both work). Submerge the oven racks completely.
Let them soak for at least 4 hours, or overnight for heavy buildup. After soaking, scrub with a non-abrasive sponge or cloth under warm running water. Rinse thoroughly and dry.
When To Use This Method
This trick is ideal for racks with moderate grease and food residue. It’s not strong enough for years of baked-on carbon, but it handles typical cooking splatters well. It’s also a good choice if you’re sensitive to strong chemicals or want a quick, low-odor solution.
6. Bar Keepers Friend Paste
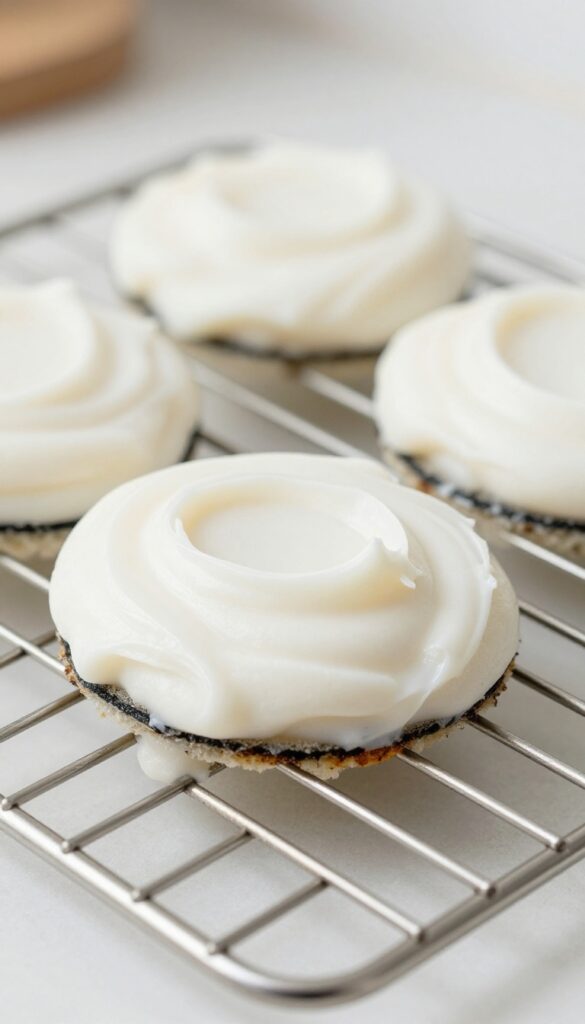
When you're dealing with those stubborn, baked-on spots that refuse to budge, Bar Keepers Friend is a game-changer. This powdered cleaner is known for its gentle abrasiveness, making it perfect for cutting through tough grime without scratching metal surfaces. Mixing it into a paste gives you targeted cleaning power exactly where you need it.
Bar Keepers Friend is a versatile cleaner that works wonders on oven racks. Its oxalic acid formula breaks down grease and burnt-on food while the fine abrasives help lift stains. The paste form ensures the cleaner stays put on vertical surfaces and doesn't drip away.
Making The Paste
Sprinkle a small amount of Bar Keepers Friend powder into a bowl. Add water a few drops at a time, stirring until you get a thick, spreadable paste—similar to toothpaste. You don't want it too runny, or it won't cling to the racks.
Applying And Scrubbing
Use a damp sponge or soft cloth to apply the paste onto the stubborn spots. Let it sit for about 5 minutes to work its magic. Then scrub gently in circular motions.
The fine abrasives do the heavy lifting, so you don't need to press hard. Rinse thoroughly with water.
Best Use Cases
This method is ideal for oven racks with isolated burnt-on patches or discoloration. It's also great for removing rust spots or mineral deposits. Avoid using it on aluminum racks, as it can cause discoloration.
7. Self-Cleaning Oven Cycle
Many modern ovens come with a self-cleaning feature that heats the interior to extreme temperatures to burn off food residue. It sounds like a perfect solution for dirty racks too, but that's not the case. The intense heat can actually damage the chrome or porcelain coating on your racks, leaving them discolored or warped.
Always remove the racks before running the self-cleaning cycle. Clean them separately using one of the other methods in this guide. If your manual specifically says racks can stay, follow those instructions, but for most ovens, it's safer to take them out.
Check Your Manual
Before you do anything, flip open your oven's manual. Some manufacturers do allow racks to remain during self-cleaning, but many warn against it. The high heat can cause the racks to lose their finish or become difficult to slide.
When in doubt, remove them.
Clean Racks While The Oven Runs
Since the oven will be out of commission for a few hours anyway, it's the perfect time to tackle the racks. Use a soaking method or a gentle scrub while the oven is busy cleaning itself. That way, both jobs get done simultaneously.
8. Steam Cleaning with a Pan of Water
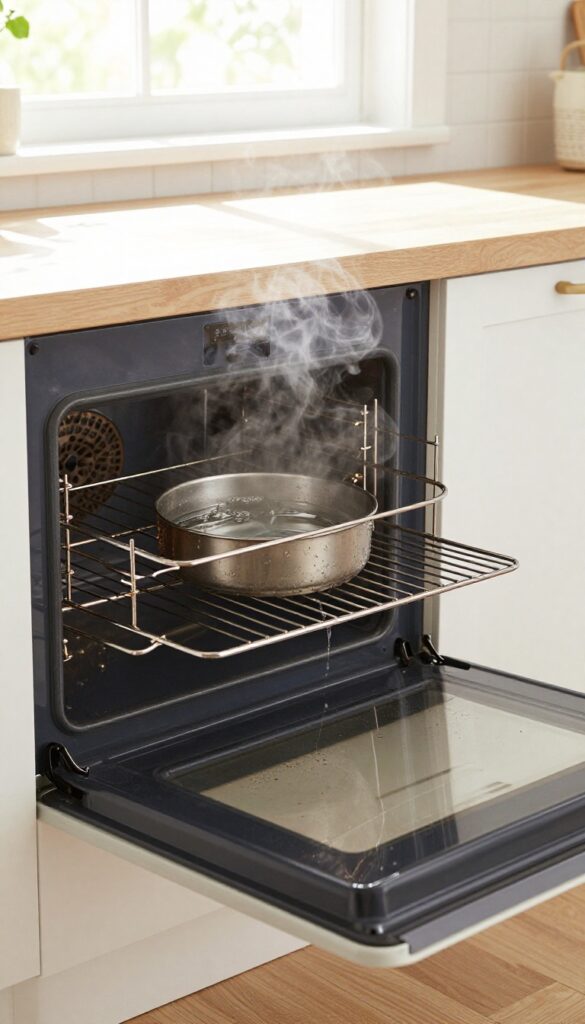
Steam is a gentle but effective way to loosen baked-on grease without harsh chemicals. This method uses the power of hot vapor to soften grime, making it easy to wipe away. It's perfect for light to moderate buildup and works with items you already have in your kitchen.
How It Works
Fill a deep oven-safe pan with water and bring it to a boil on the stovetop. Carefully place the pan on the bottom rack of a cold oven, then close the door. The steam will condense on the racks, softening grease and food residue.
Let it sit for 30 minutes without opening the door.
Wiping Down The Racks
After steaming, remove the pan and let the oven cool slightly. Wipe the racks with a damp microfiber cloth or sponge. Most of the grime should come off easily.
For stubborn spots, use a non-abrasive scrubber. Rinse the racks with warm water and dry them before returning to the oven.
When To Use This Method
Steam cleaning works best for racks that aren't heavily caked with burnt-on debris. It's also a good option if you want to avoid strong fumes or chemicals. Use it as a first step before trying more intensive methods, or as a quick maintenance clean between deep scrubs.
9. Lemon and Salt Scrub
If you prefer a natural, chemical-free approach, this citrus scrub is surprisingly effective. The acid in lemon cuts through grease, while salt provides gentle abrasion. It's a simple, fresh-smelling method that works well on light to moderate buildup.
Why It Works
Lemon juice contains citric acid, a natural degreaser that breaks down oily residues. Salt acts as a mild abrasive, helping to scrub away stuck-on bits without scratching the metal. Together, they create a paste-like scrub that's tough on grime but gentle on racks.
How To Do It
Cut a lemon in half and dip the cut side into a small dish of coarse salt (kosher or sea salt works best). Scrub the oven rack firmly with the lemon half, applying pressure to work the salt into the grime. Focus on one section at a time, rinsing the lemon and reapplying salt as needed.
Once the entire rack is scrubbed, rinse thoroughly with warm water and dry with a clean cloth.
When To Use This Method
This scrub is ideal for racks with light to medium grease and food residue. It's not strong enough for heavily burnt-on carbon deposits, but it's perfect for regular maintenance or after a gentle soak. The fresh lemon scent is a bonus—no harsh chemical smells.
10. Pressure Washer for Heavy Buildup
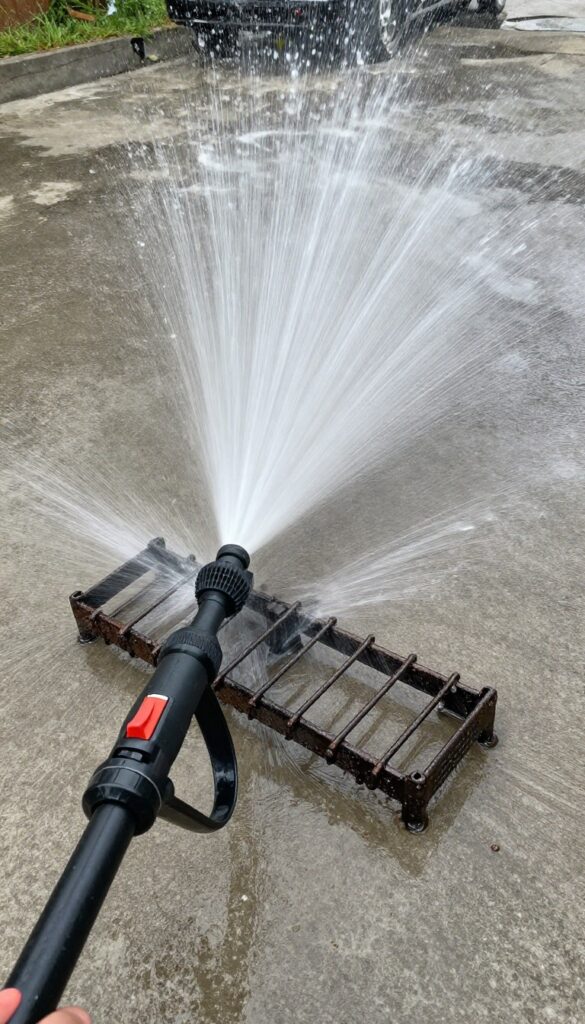
When your oven racks look like they've survived a grease explosion, a pressure washer can be your best friend. It blasts away years of baked-on grime in minutes, saving you from hours of scrubbing. Just be careful—too much pressure can bend the wires or damage the coating.
For extremely dirty racks, a pressure washer is a fast and effective solution. It works best on racks that have been neglected for a long time, where soaking and scrubbing just won't cut it. The key is to use the right technique to avoid damaging the racks.
Setting Up Outdoors
Take the racks outside and place them on a flat surface like a driveway or lawn. Wear safety goggles and old clothes. Connect your pressure washer with a wide spray tip (25 or 40 degrees) to start.
A narrow tip can be too harsh and might bend the wires.
Spraying Technique
Hold the nozzle about 12 to 18 inches away from the rack. Move in steady, even passes, following the direction of the wires. Don't linger in one spot.
Start with lower pressure and increase if needed. The goal is to dislodge the grime, not to blast it off aggressively.
Drying And Finishing
After pressure washing, rinse the racks with plain water to remove any remaining debris. Let them air dry completely before putting them back in the oven. If any spots remain, a quick scrub with a brush should handle them.
This method is especially satisfying for heavily soiled racks.
11. Oven Rack Liners for Prevention
Cleaning oven racks is a pain, but what if you could prevent the mess in the first place? Oven rack liners are a simple solution that catches drips and spills before they bake on. They save you from scrubbing and make maintenance almost effortless.
How Liners Work
Silicone or non-stick liners sit directly on your oven racks. They create a barrier that catches grease, cheese, and food particles. When spills happen, they land on the liner instead of the rack.
This means you can simply remove the liner, wipe it down, or toss it in the dishwasher.
Choosing The Right Liner
Look for high-quality, food-grade silicone that can withstand high oven temperatures (up to 500°F). Avoid cheap liners that may warp or emit odors. Measure your racks to ensure a proper fit.
Some liners are perforated for airflow, which is great for even cooking.
Cleaning And Maintenance
After each use, let the liner cool, then wipe it with a sponge and soapy water. For tougher residue, soak it in warm water or run it through the dishwasher. Liners last for months or even years with proper care.
Replace them if they become torn or overly stained.
12. Aluminum Foil and Baking Soda Paste
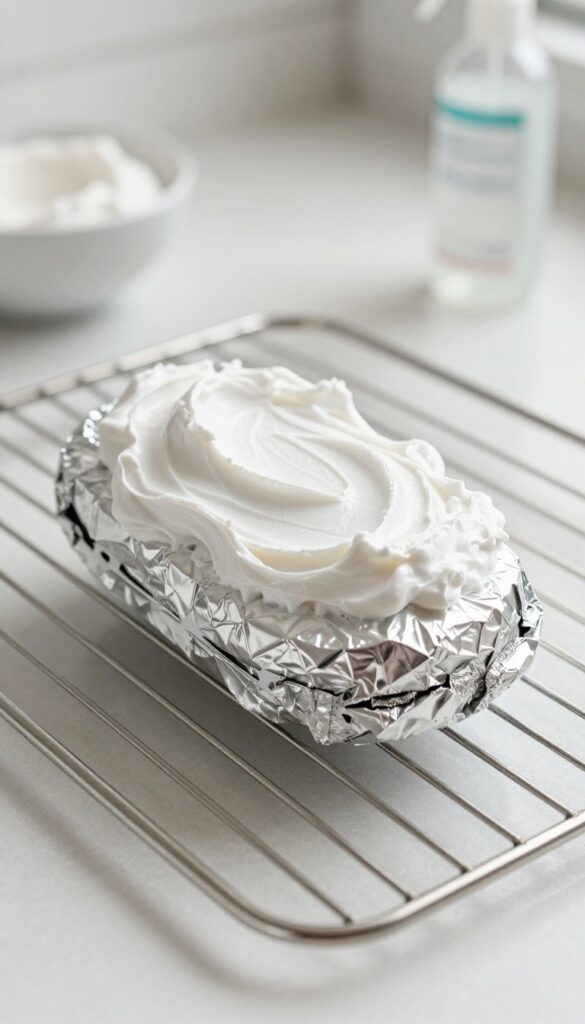
You probably already have aluminum foil in your kitchen drawer. Combined with baking soda, it becomes a surprisingly effective scrubbing tool. The foil ball is firm enough to dislodge stubborn grime but gentle enough not to scratch the metal.
Making The Paste
Mix three parts baking soda with one part water until it forms a thick, spreadable paste. You don't want it too runny—it should cling to the foil. Add a drop of dish soap for extra grease-cutting power if you like.
The Scrubbing Technique
Tear off a sheet of aluminum foil and crumple it into a tight ball. Dip the ball into the paste, then scrub the rack in small circular motions. The foil conforms to the rack's shape, getting into crevices without scratching.
Rinse frequently to check your progress.
When To Use This Method
This technique works best on light to moderate buildup. For heavily caked-on grease, pre-soak the rack in hot, soapy water for 15 minutes first. The foil and paste combo will then lift the softened residue with ease.
13. Hydrogen Peroxide and Baking Soda
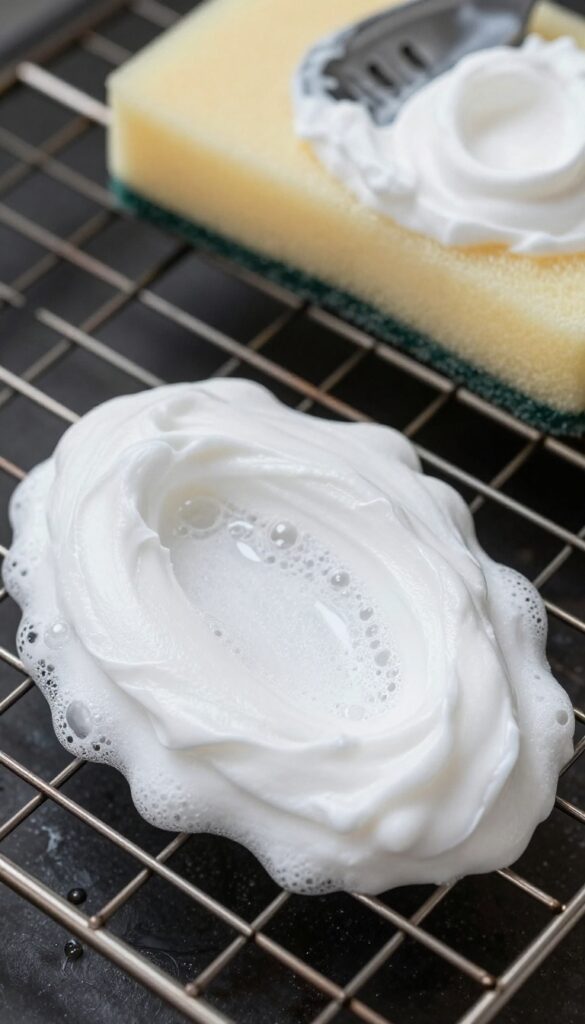
If you're dealing with stubborn stains or discoloration on your oven racks, hydrogen peroxide combined with baking soda can be a game-changer. This duo creates a powerful oxidizing paste that lifts grime and whitens surfaces without harsh fumes. It's especially handy for racks that have seen better days and need a brightening boost.
Hydrogen peroxide works as a mild bleach and disinfectant, while baking soda provides gentle abrasion. Together, they form a paste that tackles both grease and discoloration. This method is safe for most oven rack materials and leaves them looking refreshed.
Mixing The Paste
In a small bowl, combine about 1/2 cup of baking soda with enough hydrogen peroxide (3% solution) to form a thick, spreadable paste. You want it to be like toothpaste—not too runny. Add the peroxide slowly while stirring to avoid a fizzy mess.
Application And Wait Time
Apply the paste generously over the entire rack, focusing on stained or greasy areas. Use a brush or gloved hands to spread it evenly. Let it sit for at least 30 minutes—longer for heavy buildup.
The paste may dry slightly, but that's fine.
Scrubbing And Rinsing
After the wait, scrub the racks with a non-abrasive sponge or brush. The paste will have loosened the grime, so it should come off easily. Rinse thoroughly with warm water and dry immediately to prevent water spots.
Your racks will look noticeably whiter and cleaner.
14. Dish Soap and Hot Water Soak
Sometimes the simplest solution is the most effective. A long soak in hot, soapy water loosens baked-on grease without harsh chemicals. This method works best for racks with moderate buildup that haven't been neglected for years.
Fill your bathtub or a large plastic tub with the hottest water from your tap. Add a generous squirt of dish soap—about a tablespoon per gallon of water. Submerge the racks completely and let them soak for at least an hour, or overnight for tougher grime.
The heat and soap break down grease, making scrubbing almost effortless. After soaking, scrub with a non-abrasive pad or sponge. Rinse thoroughly and dry before returning to the oven.
Why Hot Water Works
Hot water is a natural degreaser. When combined with dish soap, it penetrates and softens hardened grease. The longer the soak, the less elbow grease you'll need.
Choosing The Right Soap
Use a grease-cutting dish soap like Dawn or a similar brand. Avoid laundry detergents or harsh cleaners that could damage the rack's finish.
Soaking Tips
If your racks are too long for your tub, soak one half at a time. Add a cup of white vinegar to boost grease removal. For extra stubborn spots, scrub with a paste of baking soda and water after soaking.
15. Professional Cleaning Service
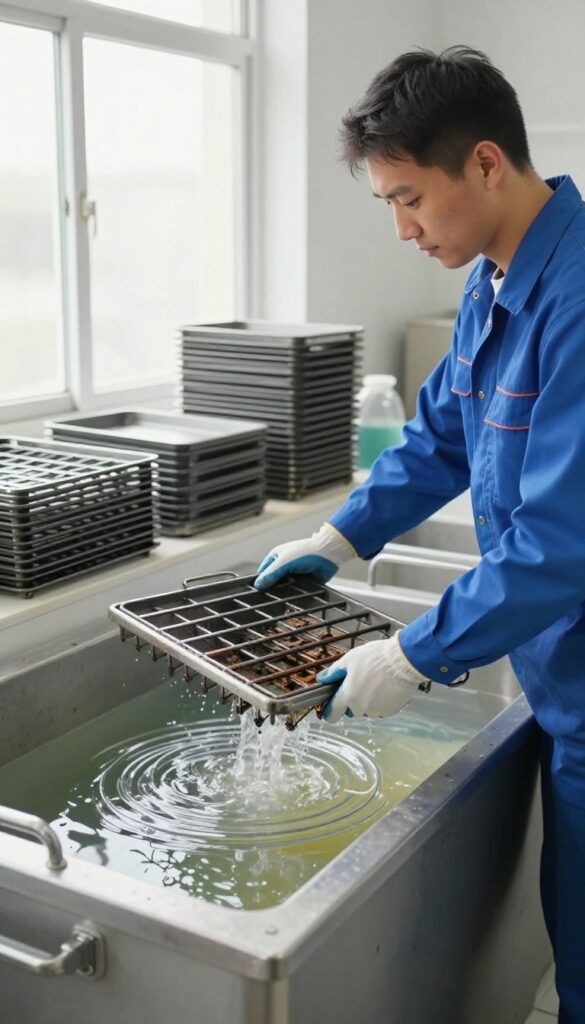
Sometimes you just need to call in the pros. Maybe your racks are caked with years of buildup, or you simply don't have the time or energy to tackle the job yourself. Professional oven cleaning services have the tools and expertise to make your racks look brand new without any effort on your part.
Hiring a professional is the ultimate shortcut for oven rack cleaning. These services use industrial-grade degreasers and high-temperature steam cleaners that dissolve even the most stubborn carbon deposits. They also have large soaking tanks that can accommodate multiple racks at once, ensuring a thorough clean.
The cost is usually reasonable, especially when you factor in the time and hassle saved. Many services offer same-day turnaround, so you can have your oven back in action quickly.
What To Expect
A professional cleaner will typically remove the racks and clean them off-site using specialized equipment. They may use a dip tank with a heavy-duty degreaser or a steam cleaning machine. The process usually takes a few hours, and the racks come back looking like new.
Some services also offer on-site cleaning if you prefer not to remove the racks yourself.
How To Choose A Service
Look for a company with good reviews and experience in oven cleaning. Ask about their cleaning methods and whether they use eco-friendly products if that matters to you. Get a quote upfront and confirm that the price includes all racks.
Some services also offer additional oven interior cleaning, which can be a great add-on.
When To Call The Pros
Consider professional cleaning if your racks have heavy, baked-on grease that won't budge with home methods. It's also a good option if you're short on time, have multiple racks to clean, or want to avoid harsh chemicals. If your racks are very old or delicate, a pro can handle them without causing damage.
FAQ
Can I clean oven racks in the dishwasher?
Yes, if they fit and are not coated with a non-stick finish. Use a heavy-duty cycle with a dishwasher detergent booster.
Is it safe to use ammonia on oven racks?
Yes, but work in a well-ventilated area, wear gloves, and avoid mixing with other cleaners. Rinse thoroughly after.
How often should I clean oven racks?
Every 3-6 months, or more often if you cook greasy foods frequently. Regular cleaning prevents heavy buildup.
Can I use oven cleaner on self-cleaning oven racks?
Check your oven manual. Some self-cleaning racks can be damaged by high heat or chemicals. Hand cleaning is often recommended.
What if my oven racks are rusty?
Light rust can be scrubbed with a wire brush and then seasoned with cooking oil. Heavy rust may require replacement.
Conclusion
Cleaning oven racks doesn't have to be a dreaded chore. With these 15 practical tips, you can pick the method that fits your schedule and the level of grime you're dealing with—whether that's a quick wipe-down or a deep soak. Try a couple of approaches to see what works best for your racks and your routine.
Once you find your go-to method, you'll keep those racks looking like new with minimal effort. Your future self will thank you every time you slide a clean rack into place.