15 Cleaning Burnt Pans Tips for Stuck Food and Marks
You pull out your favorite pan, and there it is—a stubborn layer of burnt-on food that no amount of scrubbing seems to touch. It's frustrating, but don't toss that pan just yet. With a few simple tricks, you can restore it without harsh chemicals or expensive cleaners.
Most burnt pan disasters happen when you walk away for just a minute too long. The good news is that common kitchen staples like baking soda, vinegar, and even a dryer sheet can work wonders.
These methods are gentle on your cookware and your wallet. Whether you're dealing with a stainless steel skillet or a nonstick pot, the right approach makes all the difference.
1. Baking Soda and Water Paste
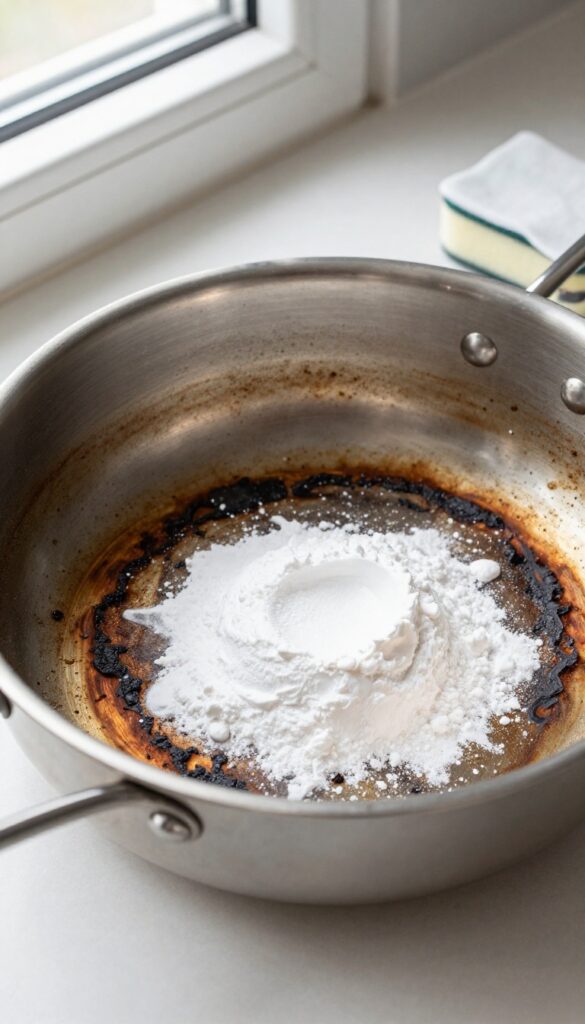
Baking soda is a gentle abrasive that can lift burnt residue without scratching your pan. When mixed with water, it forms a paste that clings to the stain and breaks down the carbonized food. This method is safe for stainless steel, ceramic, and nonstick surfaces.
To make the paste, combine three parts baking soda with one part water in a small bowl. Stir until it reaches a thick, spreadable consistency. Apply a generous layer over the burnt areas, focusing on the darkest spots.
Let it sit for at least 15 minutes—longer for tough buildup. Then, dampen a non-abrasive sponge and scrub in circular motions. Rinse with warm water and check the results.
Repeat if needed.
Why It Works
Baking soda is mildly alkaline, which helps break down grease and carbon. Its fine crystals provide gentle friction that loosens burnt particles without scratching. The paste also holds moisture against the stain, softening it so you don’t have to scrub hard.
Best Pan Types
This method works beautifully on stainless steel, ceramic, and enameled cast iron. Avoid using it on uncoated aluminum or copper, as baking soda can cause discoloration. For nonstick pans, use a soft sponge and avoid excessive pressure.
Pro Tips For Stubborn Marks
If the paste dries out, spray a little vinegar on it—the fizzing action helps lift residue. For extra stubborn spots, add a few drops of dish soap to the paste. Let the mixture sit overnight for burnt-on sugar or sauce stains.
2. Vinegar and Baking Soda Combo
When your pan looks like a science experiment gone wrong, reach for the dynamic duo of vinegar and baking soda. This classic combination creates a fizzing reaction that helps lift burnt-on food without harsh scrubbing. It's gentle on most cookware but tough on grime.
How It Works
The magic lies in the chemistry. Vinegar (acetic acid) reacts with baking soda (sodium bicarbonate) to produce carbon dioxide bubbles. These bubbles help dislodge burnt particles from the pan's surface, making them easier to wipe away.
Plus, the acidity of vinegar helps break down tough, carbonized residues.
Step-by-step Instructions
Start by adding equal parts water and white vinegar to the pan—enough to cover the burnt area. Bring it to a boil, then remove from heat. Add about 2 tablespoons of baking soda and watch the fizzing action.
Let it sit for 15–20 minutes as it cools. Pour out the liquid, then scrub with a non-abrasive sponge. For stubborn spots, sprinkle a little dry baking soda directly on the pan and scrub gently.
Tips For Best Results
Use white vinegar for the strongest cleaning effect. Avoid this method on aluminum or uncoated cast iron, as the acid can damage these materials. For nonstick pans, make sure the baking soda is fully dissolved before scrubbing to prevent scratches.
If the burnt layer is thick, repeat the process or let the mixture soak longer.
3. Boiling Water with Dish Soap
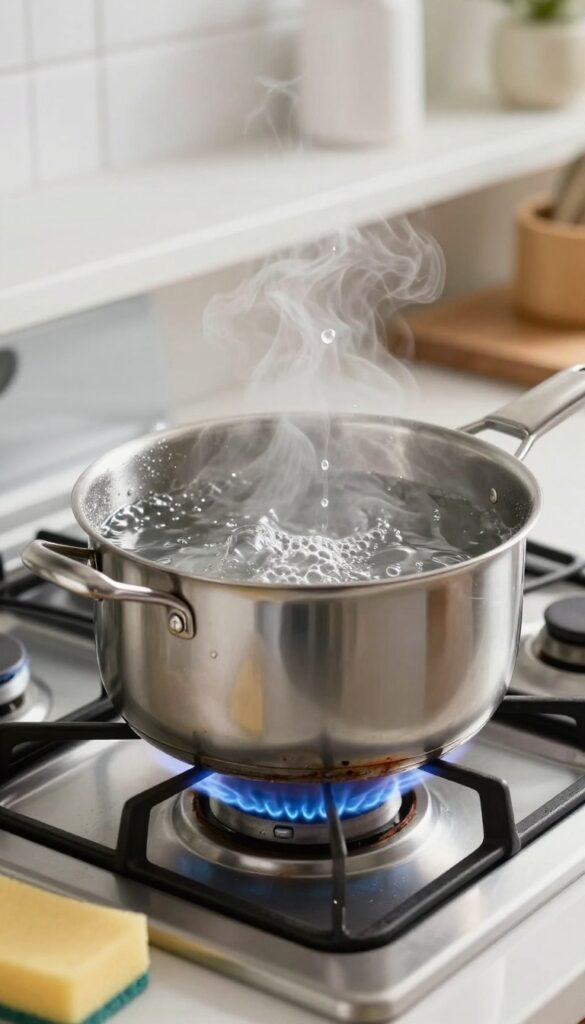
Sometimes the simplest solution is the most effective. If you've got a pan with a thick layer of burnt-on food, boiling water with a bit of dish soap can save you a lot of elbow grease. The heat helps loosen the crusty bits, and the soap breaks down grease, making cleanup almost effortless.
This method works best for stainless steel, ceramic, and enamel pans. It's gentle enough not to damage the surface but powerful enough to tackle even the most stubborn burnt spots. Plus, you probably already have everything you need in your kitchen.
How To Do It Right
Fill the burnt pan with enough water to cover the stuck-on food. Add a few drops of dish soap—about a teaspoon is plenty. Place the pan on the stove and bring the water to a boil.
Let it boil for 10 minutes, then turn off the heat and let the water cool down. Once it's cool enough to handle, pour out the water and scrub the pan with a soft sponge. The burnt bits should come off easily.
Why It Works So Well
The boiling water softens the burnt food, while the dish soap helps lift grease and oil. The combination creates a gentle but effective cleaning action that loosens the bond between the food and the pan. It's a chemical-free way to restore your cookware without harsh scrubbing.
When To Use This Trick
This method is ideal for pans with a moderate layer of burnt residue. If the food is heavily carbonized, you might need to repeat the process or use a scraper. It's also a great first step before trying other methods, since it's so simple and non-abrasive.
4. Salt Scrub for Stubborn Marks
Coarse salt is a surprisingly effective tool for tackling burnt-on marks. It's abrasive enough to scrub away residue but gentle on most pan surfaces. Plus, it's something you almost always have on hand.
To use a salt scrub, start by sprinkling a generous layer of coarse salt over the burnt area. Add just enough water to form a thick paste. Use a sponge or a soft cloth to scrub in circular motions, applying moderate pressure.
The salt crystals will work to lift the burnt bits without scratching. Rinse thoroughly and repeat if needed. This method works best on stainless steel and enameled cookware.
Why Salt Works
Salt is a natural abrasive that's harder than burnt food but softer than most pan materials. It provides just enough friction to dislodge stuck particles without damaging the surface. Unlike baking soda, salt doesn't fizz or dissolve quickly, so it maintains its scrubbing power longer.
Best Pans For This Method
Salt scrubs are ideal for stainless steel, cast iron (seasoned or not), and enameled cookware. Avoid using salt on nonstick pans, as the abrasive crystals can scratch the coating. For nonstick, stick to gentle methods like baking soda paste or vinegar soaking.
Pro Tips For Better Results
For extra tough marks, let the salt paste sit on the burnt area for 10–15 minutes before scrubbing. This softens the residue slightly. You can also add a drop of dish soap to the paste for extra grease-cutting power.
Rinse with warm water and dry immediately to prevent water spots.
5. Lemon and Baking Soda
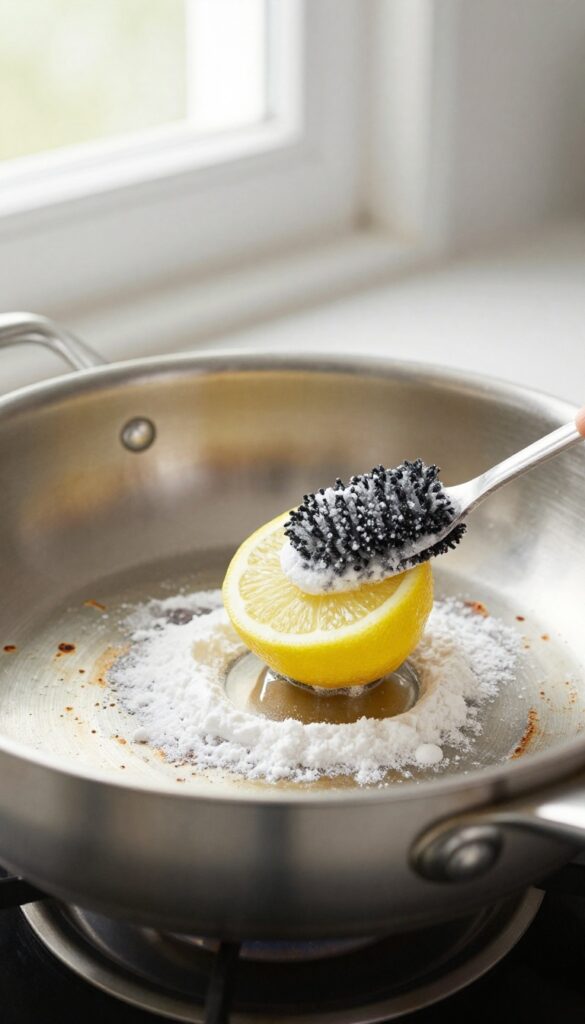
Lemons aren't just for lemonade—they're a secret weapon for burnt pans. The natural acidity cuts through stubborn residue while the baking soda provides gentle abrasion. Together, they form a paste that lifts burnt marks without scratching your cookware.
This method works best on stainless steel and ceramic pans. It's quick, smells fresh, and uses ingredients you probably already have. Just be patient and let the mixture sit for a few minutes before scrubbing.
How To Do It
Cut a lemon in half and dip the cut side into a small dish of baking soda. Scrub the burnt area in circular motions, applying moderate pressure. The fizzing action helps loosen the burnt food.
Rinse with warm water and repeat if needed.
Why It Works
Lemon juice contains citric acid, which breaks down carbonized food particles. Baking soda is mildly abrasive, so it scrubs away residue without scratching. The combination creates a chemical reaction that lifts stains and brightens the metal.
Best Pans For This Method
This technique is safe for stainless steel, enameled cast iron, and ceramic nonstick pans. Avoid using it on aluminum or uncoated copper, as the acid can cause discoloration. Always test a small area first if you're unsure.
6. Dryer Sheet Soak
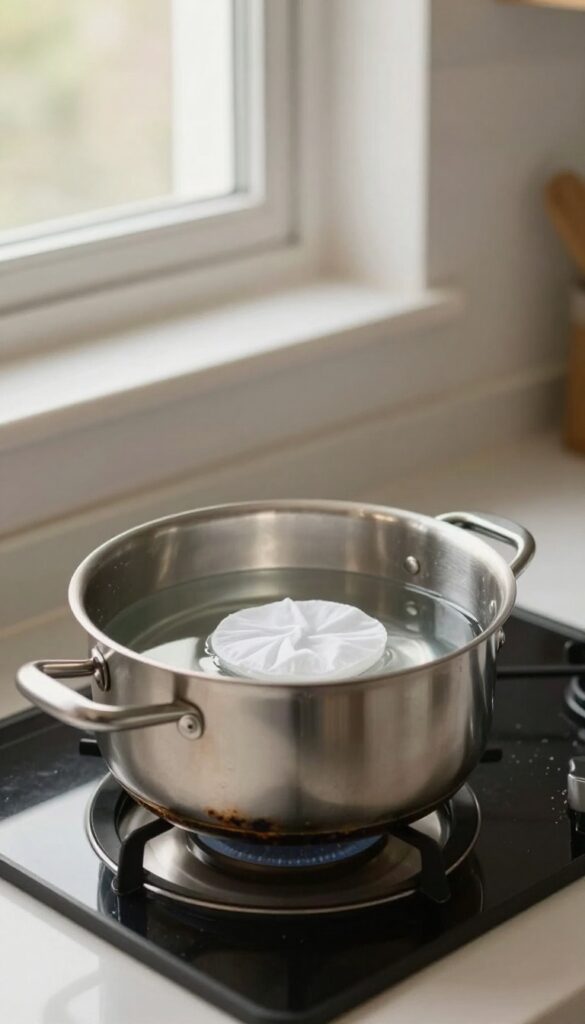
Here's a trick that sounds almost too weird to work—but it really does. Grab a fresh dryer sheet (the kind you toss in the laundry) and lay it flat in your burnt pan. Fill the pan with warm water until the sheet is submerged, then let it sit overnight.
The fabric softener chemicals break down the burnt-on gunk, making it slide right off the next morning. It's a low-effort, low-cost hack that leaves your pan looking like new.
Why It Works
Dryer sheets contain surfactants and softening agents that are designed to loosen dirt and oils from fabric. When you soak a burnt pan with a dryer sheet, those same ingredients go to work on the polymerized oils and carbonized food stuck to your cookware. The warm water helps activate the chemicals, and the long soak gives them time to penetrate the burnt layer.
By morning, the residue is soft enough to wipe away with a sponge.
Best Pans For This Method
This method works best on stainless steel and enamel-coated pans. It's also safe for ceramic and glass cookware. Avoid using it on nonstick pans, as the chemicals in dryer sheets can damage the nonstick coating over time.
If you're unsure, test a small area first. For aluminum pans, the soak might cause slight discoloration, so stick to other methods for those.
Step-by-step Instructions
Start by removing as much loose food as possible. Place one dryer sheet in the pan, flat against the burnt area. Fill the pan with warm tap water until the sheet is fully covered.
Let it soak for at least 8 hours or overnight. In the morning, discard the dryer sheet and pour out the water. Use a soft sponge or dishcloth to wipe away the loosened residue.
If any stubborn spots remain, a gentle scrub with baking soda will finish the job. Rinse and wash with dish soap.
7. Cream of Tartar Paste
Cream of tartar is a pantry staple often reserved for baking, but it's also a surprisingly effective cleaner for burnt pans. When mixed with water, it forms a gentle abrasive paste that lifts stubborn stains without scratching your cookware. This method works especially well on stainless steel and aluminum pans, leaving them looking like new.
How To Make The Paste
Combine two tablespoons of cream of tartar with just enough water to form a thick paste. You want it spreadable but not runny. Adjust the ratio as needed—a little more powder if it's too thin, a splash more water if it's too thick.
Application And Wait Time
Spread the paste evenly over the burnt areas, making sure to cover all the marks. Let it sit for about 20 minutes. During this time, the cream of tartar works to break down the carbonized food particles, loosening them from the pan's surface.
Scrubbing And Rinsing
After the wait, use a soft sponge or cloth to scrub the paste in circular motions. The burnt residue should come off easily. Rinse thoroughly with warm water and dry with a towel.
For tough spots, repeat the process or let the paste sit a bit longer.
8. Hydrogen Peroxide and Baking Soda
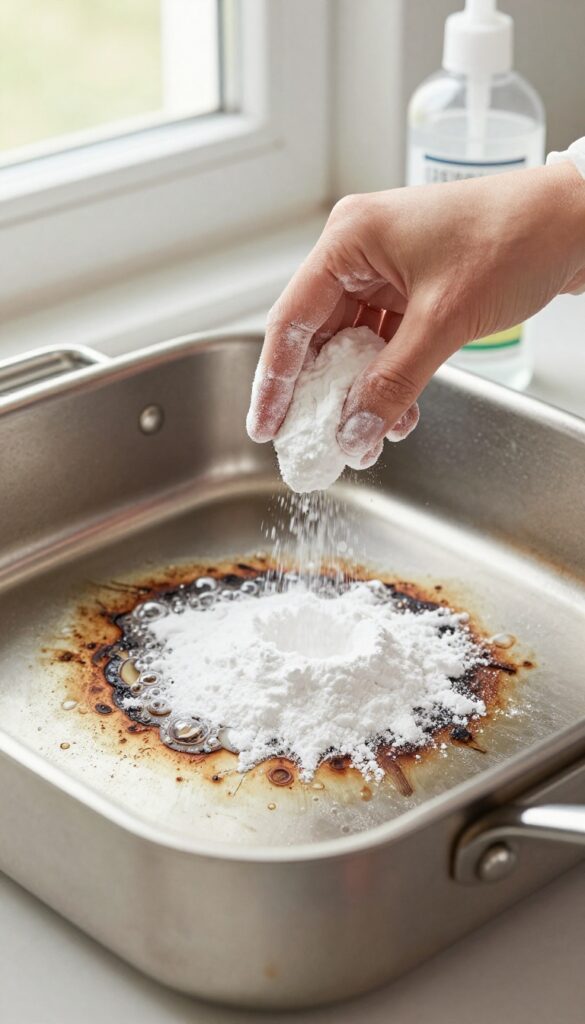
When baking soda alone isn't cutting it, pairing it with hydrogen peroxide can take your cleaning up a notch. This combo creates a fizzing reaction that helps lift burnt-on gunk without harsh scrubbing. It's especially good for those dark, stubborn stains that seem baked into the pan.
Sprinkle a generous layer of baking soda over the burnt area, then pour hydrogen peroxide over it until it's damp but not swimming. Let the mixture fizz and sit for about 10 minutes—you'll see it bubbling and working. After that, scrub with a non-abrasive sponge or brush.
Rinse thoroughly and dry. This method is safe for stainless steel, ceramic, and enameled cast iron, but avoid it on aluminum or copper as peroxide can cause discoloration.
Why This Combo Works
Baking soda is a mild abrasive that helps physically scrub away residue, while hydrogen peroxide acts as an oxidizing agent that breaks down organic stains. When they mix, the fizzing action helps lift burnt food from the surface, making it easier to wipe away.
Tips For Best Results
Use 3% hydrogen peroxide (the standard drugstore kind). For extra tough spots, let the paste sit longer—up to 30 minutes. If the fizzing stops, add a little more peroxide.
Always wear gloves to protect your skin, and work in a well-ventilated area.
What To Avoid
Don't use this on nonstick pans, as peroxide can damage the coating. Also, avoid mixing hydrogen peroxide with vinegar—it creates a corrosive gas. Stick to the baking soda combo for safe and effective cleaning.
9. Ketchup for Copper and Stainless Steel
Ketchup isn't just for fries—it's a surprisingly effective cleaner for burnt pans, especially copper and stainless steel. The acid in tomatoes works to break down stubborn residue without harsh scrubbing. It's a gentle, food-safe method that uses something you probably already have in your fridge.
Spread a generous layer of ketchup over the burnt marks, making sure to cover all affected areas. Let it sit for at least 30 minutes—longer for tougher stains. The acidity will start dissolving the burnt-on food.
Then, rinse with warm water and wash as usual with dish soap. For extra stubborn spots, add a little baking soda to the ketchup to create a gentle abrasive paste.
Why Ketchup Works So Well
The magic is in the tomatoes. Ketchup contains vinegar, salt, and natural acids like citric and malic acid. These ingredients work together to break down carbonized food particles without damaging the metal surface.
It's a mild chemical reaction that lifts the burnt residue, making it easy to wipe away.
Best Pans For This Method
Ketchup is ideal for copper and stainless steel pans because it won't scratch or dull their finish. Avoid using it on cast iron or aluminum, as the acid can react with the metal. For nonstick pans, test a small area first—prolonged acid exposure might damage the coating.
Tips For Maximum Effectiveness
For best results, warm the pan slightly before applying ketchup—this helps activate the acids. Cover the pan with plastic wrap or a lid to keep the ketchup from drying out. If the burnt layer is thick, let it sit for up to an hour.
After rinsing, a quick polish with a soft cloth will restore shine.
10. Bar Keepers Friend for Heavy Duty Cleaning
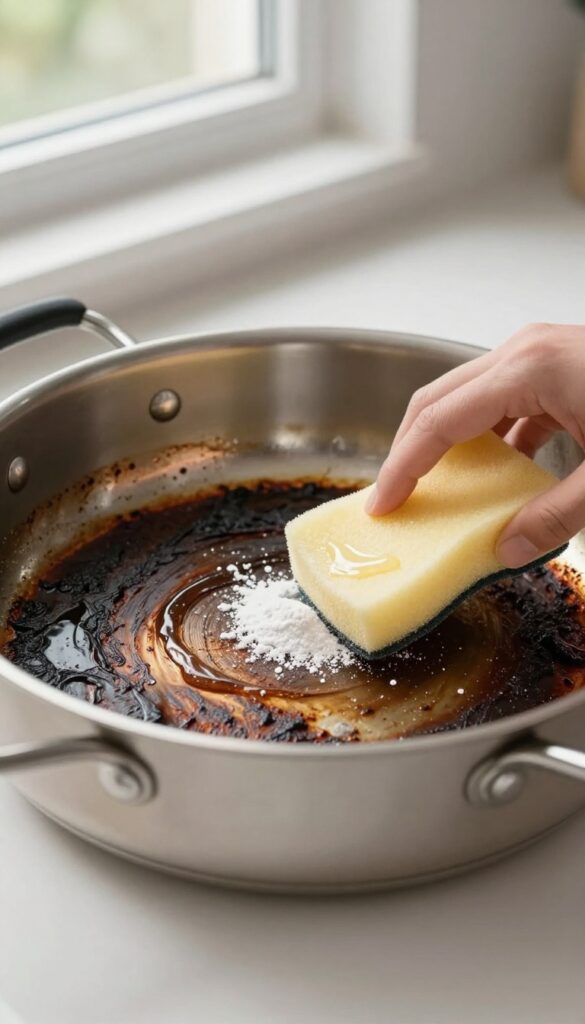
When everyday scrubbing fails to lift that stubborn burnt layer, Bar Keepers Friend steps in as a reliable heavy-duty cleaner. This powdered cleanser contains oxalic acid, which breaks down burnt-on residue without scratching most surfaces. It's particularly effective on stainless steel and ceramic cookware, restoring them to a like-new shine.
Bar Keepers Friend is a go-to for tough burnt-on stains that resist gentler methods. Its mild abrasive action works chemically and mechanically to dissolve carbonized food without damaging the pan's finish. Always test on a small area first, especially on nonstick or enamel surfaces, as it can be too harsh for delicate coatings.
How To Make The Paste
Sprinkle a small amount of Bar Keepers Friend powder directly onto the burnt area. Add just enough water to form a thick paste—about a teaspoon of water per tablespoon of powder. Stir until it reaches a consistency similar to toothpaste.
Let the paste sit on the stain for 1–2 minutes to activate the oxalic acid.
Scrubbing Technique
Using a soft sponge or non-abrasive scrub pad, gently rub the paste into the burnt marks in a circular motion. Avoid using steel wool or harsh scrubbers that could scratch the surface. For extra stubborn spots, let the paste sit for up to 10 minutes before scrubbing again.
Rinsing And Finishing
Rinse the pan thoroughly with warm water to remove all residue. Wash with dish soap and dry immediately to prevent water spots. You'll notice the burnt areas have faded significantly or disappeared entirely.
Repeat if necessary for older, thicker stains.
Safety And Surface Tips
Always wear gloves when using Bar Keepers Friend to avoid skin irritation. Do not use on aluminum, copper, or nonstick coatings unless the manufacturer explicitly approves it. For stainless steel, always scrub in the direction of the grain to maintain the finish.
11. Dishwasher Tablet Hack
You know those dishwasher tablets sitting under your sink? They're not just for the dishwasher. Drop one into your burnt pan, pour in enough hot water to cover the burned areas, and let it soak for about an hour.
The enzymes and detergents in the tablet work to break down stubborn, baked-on food without you lifting a finger. After the soak, just rinse and wipe clean—most of the residue slides right off.
This hack is a lifesaver for heavily burnt pans that resist other methods. The dishwasher tablet contains powerful cleaning agents that target grease and carbonized food, making it especially effective on stainless steel and enameled cookware. It's also a great option when you don't have baking soda or vinegar on hand.
Just be sure to use a fresh tablet and hot water for the best results. If the pan is extremely burnt, you can let it soak longer or even bring the water to a simmer for a few minutes before soaking.
Why It Works
Dishwasher tablets are formulated with enzymes, surfactants, and bleaching agents that dissolve tough food residues. When dissolved in hot water, these ingredients create a powerful soaking solution that penetrates burnt layers and loosens them from the pan's surface. The heat also helps activate the cleaning agents, speeding up the process.
Best Cookware To Use It On
This method works best on stainless steel, enameled cast iron, and ceramic-coated pans. Avoid using it on aluminum or nonstick cookware, as the harsh chemicals can damage the coating or cause discoloration. If you're unsure, test a small area first.
Step-by-step Instructions
- Place one dishwasher tablet in the burnt pan. 2.
Pour boiling water over the tablet until the burnt areas are submerged. 3. Let it soak for 30–60 minutes.
- Pour out the water and tablet residue. 5.
Use a soft sponge or cloth to wipe away loosened food. 6. Rinse thoroughly with clean water and dry.
12. Aluminum Foil Ball Scrub
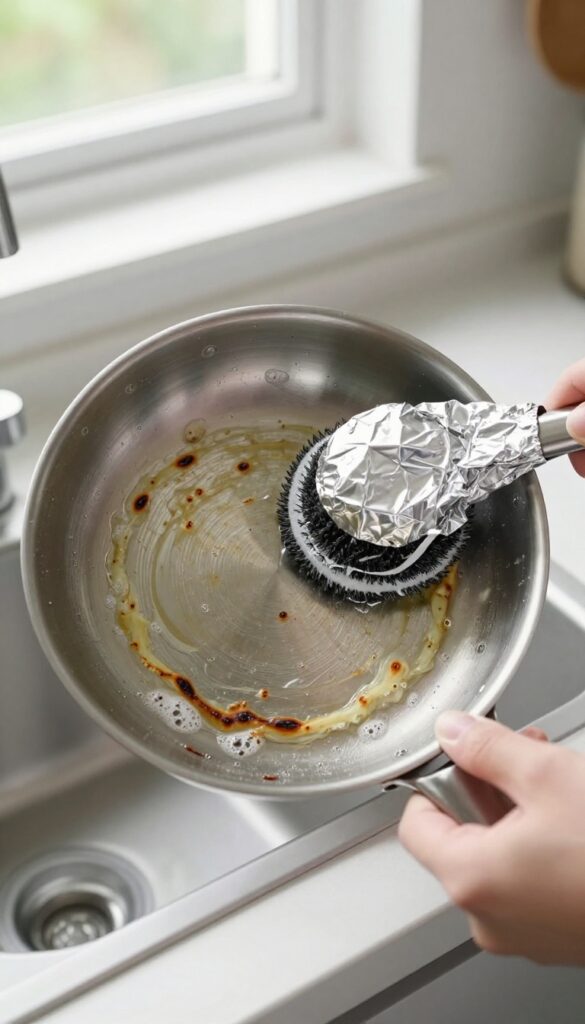
Crumpled aluminum foil might seem like an odd cleaning tool, but it works wonders on burnt pans. The foil creates a mildly abrasive surface that lifts stubborn residue without damaging stainless steel or cast iron. It's a quick, zero-cost trick that uses something you already have in your kitchen drawer.
When you need extra scrubbing power, an aluminum foil ball is a surprisingly effective option. It's especially useful for burnt-on food that resists sponges and brushes. The foil's texture provides just enough grit to break down carbonized bits without scratching most cookware surfaces.
How To Make And Use The Foil Ball
Tear off a sheet of aluminum foil about 12 inches long. Crumple it into a tight ball roughly the size of a golf ball. Add a drop of dish soap to the pan and a little warm water.
Scrub the burnt areas with the foil ball using circular motions and moderate pressure. Rinse and check your progress, repeating if needed.
Best Surfaces For This Method
This trick shines on stainless steel and cast iron pans. These materials are hard enough to resist scratching from the foil. Avoid using it on nonstick or enamel-coated cookware, as the abrasive foil can damage those delicate surfaces.
When in doubt, test a small hidden spot first.
Why It Works So Well
Aluminum foil is softer than steel but harder than burnt food residue. When crumpled, its edges create tiny scraping points that mechanically lift stuck particles. Unlike steel wool, it won't leave rust marks or shed fibers.
Plus, it's disposable—just toss the foil ball when you're done.
13. Oven Cleaner for Extreme Burns
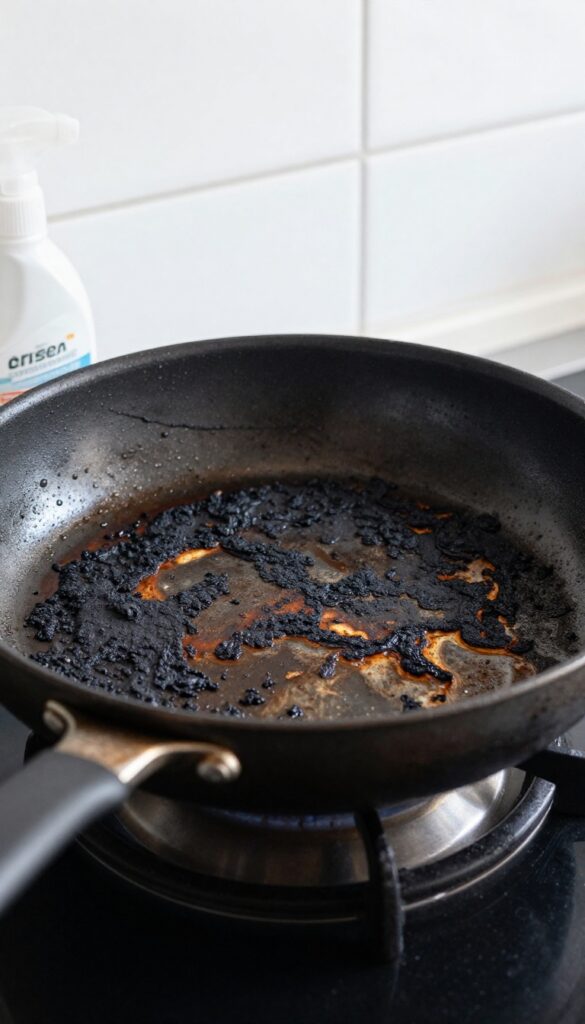
For those times when a pan looks beyond saving, oven cleaner can be a game-changer. This heavy-duty method is best reserved for truly stubborn, carbonized layers that resist gentler approaches. It works fast but requires caution—think of it as a last resort for nonstick pans that have seen better days.
Oven cleaner is formulated to break down baked-on grease and carbon, making it surprisingly effective on burnt pans. The key is to follow the product's instructions to the letter, as dwell times vary. Always wear rubber gloves and work in a well-ventilated area—open a window or turn on the exhaust fan.
This method is particularly effective on nonstick pans because the cleaner's chemicals dissolve burnt residue without aggressive scrubbing that could damage the coating. However, avoid using it on aluminum or copper pans, as it can cause discoloration.
How To Apply Oven Cleaner Safely
Start by placing the burnt pan in a well-ventilated area, preferably outdoors or near an open window. Spray a generous layer of oven cleaner directly onto the burnt areas, making sure to cover all residue. Let it sit for the time specified on the can—usually 15 to 30 minutes.
Do not leave it longer than recommended, as it can damage the pan's surface.
Rinsing And Finishing Up
After the dwell time, rinse the pan thoroughly with hot water. Use a sponge or soft brush to gently remove any remaining residue. You may need to repeat the process for extremely thick layers.
Once clean, wash the pan with dish soap and water to remove any chemical traces. Dry it completely before storing.
Important Precautions
Always wear rubber gloves and avoid inhaling fumes. Keep children and pets away from the area. Never mix oven cleaner with other cleaning products, especially ammonia or bleach, as toxic gases can form.
Test a small, inconspicuous area first if you're unsure about your pan's compatibility.
14. Boiling Apple Peels
Don't toss those apple peels after snacking or baking—they're a secret weapon for burnt pans. The natural pectin in apple skins helps break down stubborn, stuck-on food. This trick is especially handy if you've already got apples on hand, making it a zero-waste solution.
Save apple peels from a few apples and place them in the burnt pan. Cover with water and bring to a boil. Let it simmer for about 20 minutes, allowing the pectin to work on loosening the burnt residue.
After boiling, discard the peels and wash the pan as usual. For extra stubborn spots, scrub gently with a soft sponge.
Why Apple Peels Work
Apple peels contain pectin, a natural gelling agent that helps soften burnt food particles. The heat and water activate the pectin, making it easier to lift charred bits without harsh chemicals.
Best Pans For This Method
This method is safe for stainless steel, ceramic, and nonstick pans. Avoid using it on uncoated aluminum or cast iron, as the acidity may react with the metal.
Tips For Best Results
Use peels from at least two apples for a standard pan. If you don't have enough fresh peels, store them in the freezer until you have a good amount. Add a tablespoon of vinegar to the water for an extra cleaning boost.
15. Professional Restoration for Vintage Pans
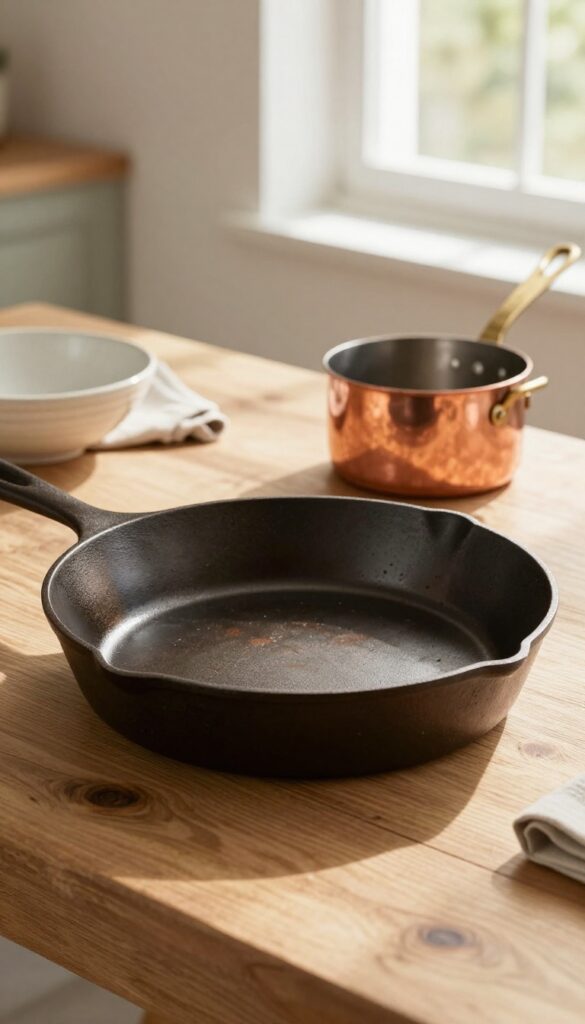
Some pans are more than just cookware—they're heirlooms. If you've inherited a cast iron skillet from grandma or splurged on a high-end copper pot, you might hesitate to use harsh DIY methods. That's where professional restoration comes in, offering a safe way to bring vintage pans back to life.
Professional services use techniques like electrolysis or sandblasting to remove burnt layers without damaging the original surface. This is especially valuable for collectible pans where preserving the patina or manufacturer's markings matters. While it costs more than a DIY fix, it can save a pan that's otherwise destined for the trash.
When To Call The Pros
If your pan has sentimental value or is made of delicate materials like tin-lined copper or antique cast iron, professional restoration is worth considering. Also, if you've tried multiple methods and the burnt layer won't budge, a pro can assess whether the pan is salvageable.
What To Expect From Restoration
Restoration typically involves removing all old seasoning and burnt residue down to bare metal, then reapplying a protective coating. For cast iron, this means a new seasoning layer. For copper, it might involve retinning.
The result is a pan that looks and performs like new.
Finding A Reputable Service
Look for specialists who focus on cookware restoration rather than general metal cleaning. Check reviews and ask about their process—especially whether they use abrasive methods that could harm your pan. Many services offer mail-in options, so you don't need to live nearby.
FAQ
Can I use these methods on nonstick pans?
Yes, but be gentle. Avoid harsh abrasives like steel wool or metal scrubbers. Stick to baking soda, vinegar, or gentle scrubbing with a soft sponge to avoid damaging the nonstick coating.
How do I prevent food from burning in the first place?
Use medium heat instead of high, preheat the pan properly, and add oil before food. Stay nearby while cooking and stir frequently. A good quality pan with even heat distribution also helps.
What if the burnt smell lingers after cleaning?
Boil a mixture of water and vinegar (1: 1) in the pan for 10 minutes. Then wash with soap and water. You can also leave a bowl of baking soda in the pan overnight to absorb odors.
Is it safe to use oven cleaner on cookware?
Only on certain types like stainless steel or enameled cast iron. Avoid on nonstick or aluminum pans. Always check the manufacturer's instructions and rinse thoroughly after use.
How often should I deep clean my pans?
Deep clean only when needed—after a burn or when residue builds up. Regular washing with soap and water is enough for daily use. Over-cleaning can wear down some coatings.
Conclusion
Burnt pans are a common kitchen headache, but they don't have to be permanent. With a little patience and the right technique, you can bring most cookware back to life. Start with the gentlest method and work your way up if needed.
Remember, prevention is always easier than cure.
Keep an eye on your heat and don't leave pans unattended. But when accidents happen, you now have a toolbox full of tricks to tackle them. Happy cooking—and cleaning!