How to Clean the Oven With 15 Grease-Cutting Tips
You open the oven door and a wave of burnt grease smell hits you. The glass is cloudy, the racks are sticky, and the bottom looks like a science experiment gone wrong. It's a mess nobody wants to deal with.
But here's the thing: a clean oven isn't just about looks. It cooks more evenly, smells better, and won't smoke up your kitchen every time you preheat. The good news is you don't need harsh chemicals or hours of scrubbing.
These 15 grease-cutting tips will transform your oven from grimy to gleaming. Each one targets a specific problem area, so you can pick the ones that match your mess level. Let's get started.
1. Start With a Dry Scrape for Loose Debris
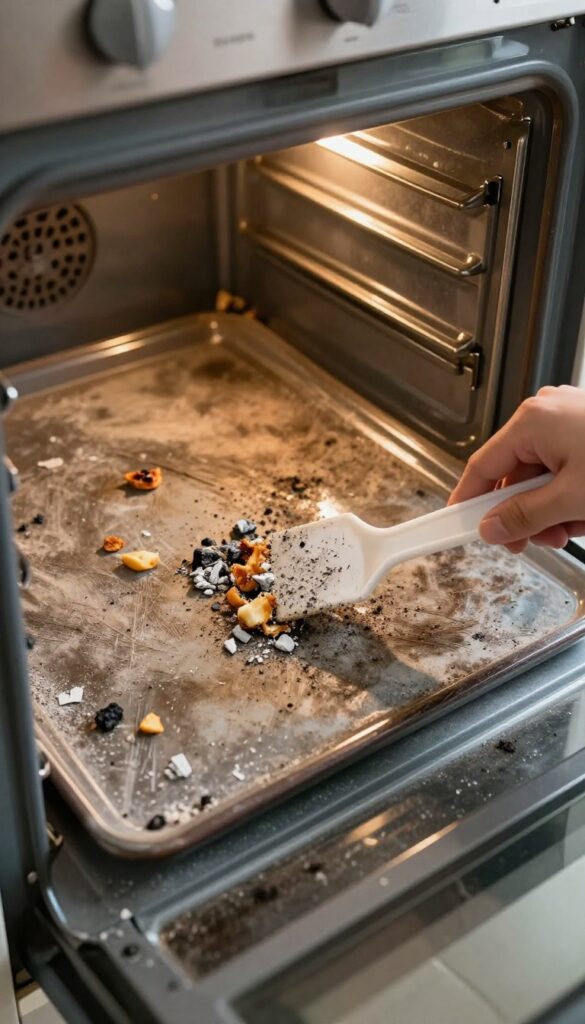
Before any cleaner touches the oven, use a plastic scraper or spatula to lift off burnt-on food chunks and loose ash. This prevents turning debris into a paste when you apply spray. It's a simple step that makes everything else easier.
A dry scrape is the first line of defense against baked-on grime. It removes the loose stuff so your cleaning solution can attack the real grease. Plus, it saves you from scrubbing through a layer of crusty bits.
Why Scraping First Matters
When you spray cleaner directly onto a pile of burnt-on food, you end up with a muddy paste that's harder to wipe away. Scraping first clears the surface so the degreaser can penetrate the grease film. It also prevents scratches from abrasive particles.
What Tool To Use
A plastic scraper or an old spatula works best. Avoid metal scrapers that can damage the oven's enamel. You can also use a damp paper towel to wipe up the loosened debris as you go.
When To Skip This Step
If your oven is only lightly soiled with a bit of splatter, you can skip the dry scrape and go straight to spraying. But for a heavily crusted oven, this step is non-negotiable.
2. Use Baking Soda and Vinegar for a Natural Paste
If you prefer a chemical-free approach, baking soda and vinegar are your best friends. This classic combo cuts through grease without harsh fumes, making it perfect for households with kids or pets. The paste clings to vertical surfaces, so it works on oven walls and the door too.
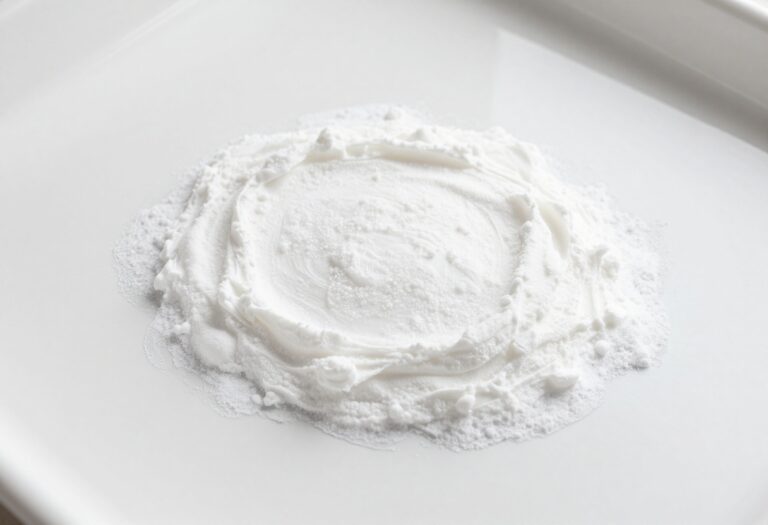
Mix half a cup of baking soda with a few tablespoons of water until you get a thick, spreadable paste. Remove the racks and apply the paste all over the oven interior, avoiding heating elements. Let it sit overnight—the longer, the better.
The next day, spray white vinegar over the dried paste. It will fizz and loosen the grease. Wipe everything down with a damp cloth, rinsing frequently.
For stubborn spots, scrub gently with a non-abrasive sponge. Rinse well to remove any residue.
Making The Paste Just Right
The consistency matters. Too runny, and it slides off. Too thick, and it won't spread.
Aim for a peanut butter texture. If it's too dry, add water a teaspoon at a time. If it's too wet, add more baking soda.
Overnight Soak For Best Results
Patience pays off. Letting the paste sit for at least 12 hours gives it time to break down tough, baked-on grease. If you're in a hurry, you can try 30 minutes, but the results won't be as impressive.
Cleaning Up The Fizz
The vinegar reaction creates foam that lifts grease. Work in sections, spraying and wiping before the foam dries. Use a microfiber cloth to avoid streaks.
For the oven door, lay a towel on the floor to catch drips.
3. Leverage Lemon Juice to Cut Through Grease
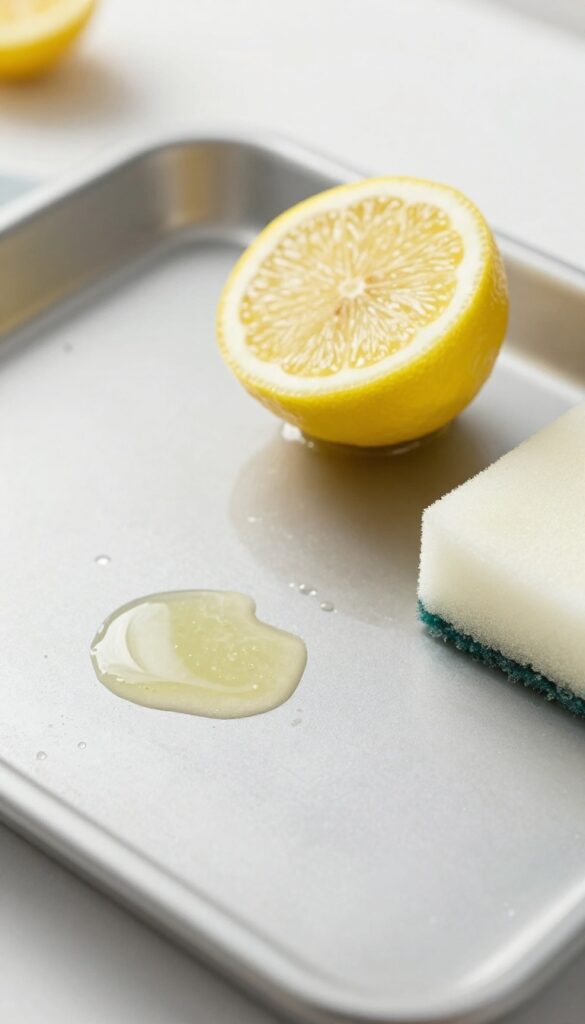
If your oven has baked-on grease that won't budge, lemon juice might be the answer. Its natural acidity works to break down greasy residue without any harsh chemicals. Plus, it leaves behind a fresh, clean scent that beats any artificial lemon fragrance.
Lemon juice is a surprisingly effective grease cutter thanks to its citric acid content. The acid helps dissolve the bonds in grease, making it easier to wipe away. For best results, use fresh lemon juice rather than bottled, as the acidity is stronger.
You can tackle both light film and stubborn baked-on spots with this simple kitchen staple.
Apply Directly To Stubborn Spots
Squeeze fresh lemon juice onto the greasiest areas of your oven, like the door glass or the bottom. Let it sit for 10–15 minutes so the acid can work. Then scrub with a non-abrasive sponge or cloth.
The grease should lift off much more easily. For extra tough spots, sprinkle a little salt on the lemon juice for gentle abrasion.
Simmer Lemon Water For All-over Steam Cleaning
Fill an oven-safe pan with water and add several lemon slices or the juice of two lemons. Place it on the oven rack and set the oven to 250°F (120°C). Let it steam for 30 minutes.
The steam loosens grime from every surface, while the lemon cuts through grease. After cooling, simply wipe down the interior with a damp cloth.
Combine With Baking Soda For A Paste
Mix lemon juice with baking soda to form a thick paste. Apply it to greasy spots and let it sit for 15–20 minutes. The fizzing action helps lift grime, while the lemon juice tackles the grease.
Scrub gently and rinse with a damp cloth. This combo works wonders on oven racks too.
4. Steam Clean With a Bowl of Water and Dish Soap
Steam is a powerful, chemical-free way to loosen stubborn grease. This method uses simple ingredients you already have: water and dish soap. The heat creates steam that softens baked-on grime, making cleanup almost effortless.
This technique works best for light to moderate grease buildup. It's especially useful for cleaning the oven door and interior walls without scrubbing.
What You'll Need
Grab an oven-safe bowl or baking dish, water, and a squirt of dish soap. Avoid using plastic or glass that isn't heatproof.
Step-by-step
Fill the bowl with water and add a squirt of dish soap. Place it on the bottom rack. Heat the oven to 250°F (120°C) and let it run for 20 minutes.
The steam will condense on the surfaces, loosening grease.
Wipe Down
After the time is up, turn off the oven and let it cool slightly. Open the door and wipe down the interior with a sponge or cloth. Most of the grease will come off easily.
5. Attack the Oven Door Glass With a Baking Soda Slurry
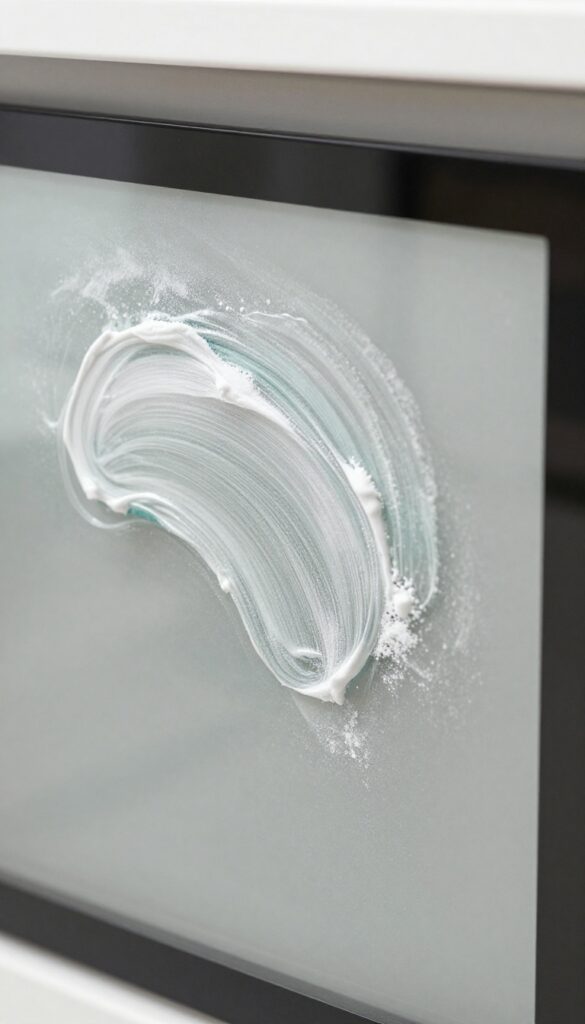
The oven door glass is the first thing you see, but it's often the last thing we clean. Over time, grease splatters and baked-on residue turn that clear window into a foggy mess. Here's how to make it sparkle again without scratching the glass.
Make The Perfect Paste
Mix three parts baking soda with one part water until it forms a spreadable paste. It should be thick enough to stick to the glass without dripping. If it's too runny, add more baking soda.
If it's too dry, add a few more drops of water.
Apply And Let It Sit
Spread the paste evenly over the glass using a sponge or your fingers (gloves recommended). Focus on areas with heavy buildup. Let it sit for 15 minutes.
The baking soda will break down the grease while you wait.
Scrub Gently
Use a non-abrasive sponge or microfiber cloth to scrub in circular motions. Avoid steel wool or harsh scrubbers that can scratch the glass. The paste should lift the grime easily.
Rinse the sponge frequently.
Rinse With Vinegar For Shine
Spray white vinegar over the glass to react with any remaining baking soda. Wipe with a clean, damp cloth. The vinegar removes streaks and leaves the glass crystal clear.
Buff dry with a lint-free towel for a perfect finish.
6. Soak Oven Racks in a Hot, Soapy Bathtub
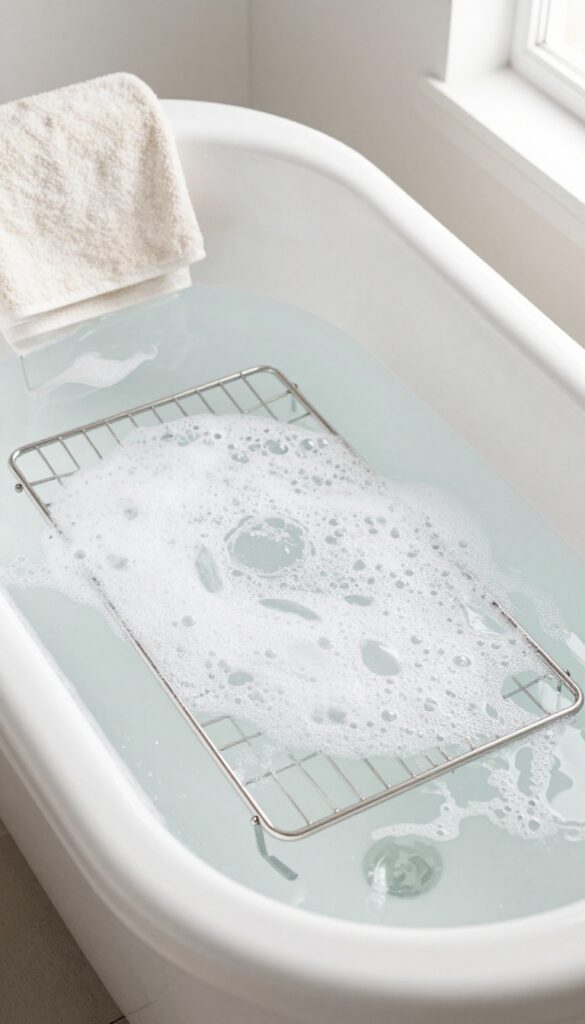
Oven racks collect the worst of the grease and grime, and scrubbing them in the sink is awkward and messy. The solution is simple: give them a long, hot bath. Submerge the racks in a bathtub or large plastic bin filled with hot water and a grease-cutting agent like dishwasher detergent or baking soda.
Let them soak for a few hours or overnight, and the baked-on residue will practically fall off with minimal scrubbing.
This method saves you elbow grease and leaves your racks looking like new. Just make sure the water is hot enough to activate the cleaner, and protect your bathtub from scratches by placing an old towel underneath. After soaking, rinse thoroughly and dry before returning them to the oven.
Choose Your Soaking Solution
For heavy grease, use 1/2 cup of dishwasher detergent or a scoop of laundry detergent with oxyclean. For a gentler option, dissolve 1 cup of baking soda in the hot water. Both break down grease effectively without harsh fumes.
Soak Time Matters
A few hours will loosen light grime, but for thick, baked-on layers, let them soak overnight. Check periodically—if the water cools, refresh with more hot water to keep the cleaning action going.
Scrub And Rinse
After soaking, use a non-abrasive scrub sponge or a nylon brush to wipe away the residue. Rinse with clean water and dry with a microfiber cloth. Avoid putting wet racks back in the oven to prevent rust.
7. Use a Pumice Stone on Burnt-On Crusts
Some messes laugh at sponges and scoff at sprays. Burnt-on crusts, the kind that have been baking onto your oven floor for months, need something with actual grit. A pumice stone is that secret weapon.
It's a natural volcanic rock that's abrasive enough to grind away carbon deposits, yet soft enough not to scratch your oven's enamel when used correctly. The trick is to keep it wet and let the stone do the work—no elbow grease required.
Pumice stones are cheap, easy to find, and reusable. They're designed for tough cleaning jobs like removing limescale from toilets or baked-on food from ovens. The key is to use them on a wet surface—never dry—to avoid scratching.
As you rub gently, the stone slowly erodes, lifting the burnt crust without damaging the oven floor. Once you've scrubbed the area, rinse thoroughly with a damp cloth to remove any stone dust. Your oven will look like new.
How To Use A Pumice Stone Safely
Start by wetting both the pumice stone and the oven surface. Dip the stone in water and hold it like a bar of soap. Gently rub the burnt area in small circles, applying light pressure.
The stone will feel gritty as it wears down. Stop periodically to rinse the stone and check your progress. Never use a dry stone—it can leave scratches.
Once the crust is gone, wipe the area with a clean, damp cloth to remove any residue.
Best Areas For Pumice Stone Cleaning
Pumice stones excel on flat, horizontal surfaces like the oven floor, where spills often bake into thick, hard layers. They're also great for cleaning the bottom of the oven door and the edges of the oven cavity. Avoid using them on glass, ceramic, or delicate coatings.
Stick to enamel or porcelain surfaces, which are tough enough to handle the mild abrasion. If you're unsure, test on a small, hidden spot first.
Why Pumice Beats Harsh Chemicals
Unlike oven cleaners that release strong fumes and require gloves and ventilation, pumice stones are chemical-free and odorless. They rely on physical abrasion rather than caustic ingredients, making them safer for your home and your lungs. Plus, one stone costs a couple of dollars and can be used dozens of times.
It's an eco-friendly, budget-friendly solution that gets the job done without the headache.
8. Try a Commercial Degreaser for Heavy-Duty Jobs
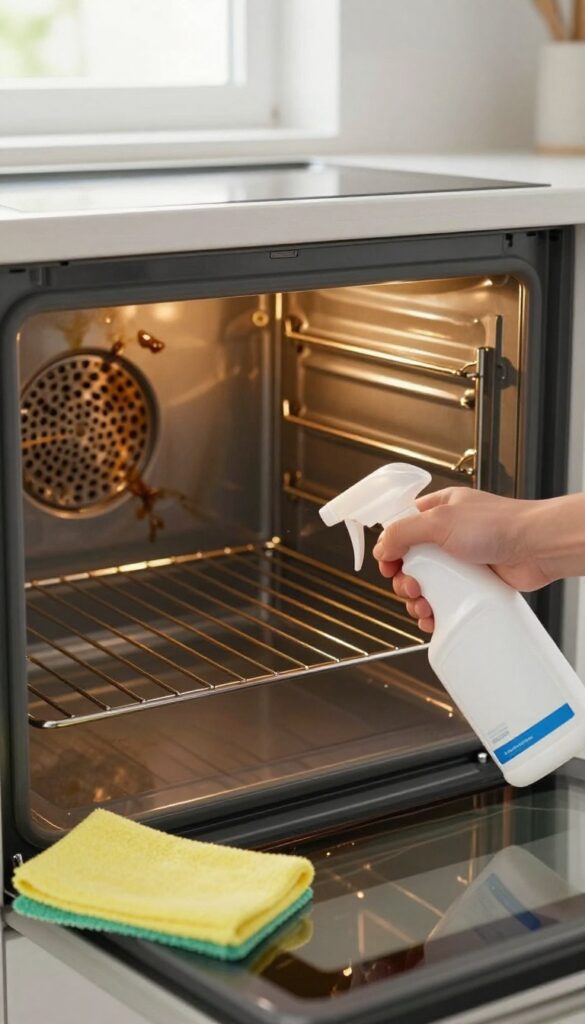
When natural methods like baking soda and vinegar just aren't cutting it, it's time to bring in the big guns. A heavy-duty commercial degreaser can save you hours of scrubbing on those truly stubborn, baked-on messes. The key is choosing the right product and using it safely.
Commercial degreasers are formulated to dissolve the toughest grease and carbon buildup that home remedies can't touch. They work fast, often in minutes, and require minimal elbow grease. But with great power comes great responsibility—these products can be harsh, so proper ventilation and protective gear are a must.
Choosing The Right Degreaser
Look for a degreaser labeled 'non-toxic' or 'low-fume' to minimize chemical exposure. Brands like Easy-Off, Carbona, and Weiman offer options specifically for ovens. Avoid products with bleach or ammonia if you have a self-cleaning oven, as they can damage the coating.
Read reviews to find one that's effective yet safe for your oven type.
How To Apply It Safely
First, remove racks and any loose debris. Spray the degreaser generously on the interior surfaces, avoiding heating elements and the door seal. Let it sit for the time specified on the label—usually 5 to 15 minutes.
Then wipe away with a damp cloth or sponge. For extra stubborn spots, use a non-abrasive scrub pad. Always wear gloves and open windows or turn on the exhaust fan.
Rinsing And Residue Removal
After degreasing, it's crucial to remove all chemical residue. Wipe down all surfaces with a clean, damp cloth, then repeat with a cloth dipped in warm soapy water. Finish by wiping with a dry cloth.
Any leftover residue can cause smoke or off-flavors during cooking. If you notice a chemical smell, run the oven at 200°F for 15 minutes with the door slightly ajar.
9. Clean the Oven Door Seal With a Toothbrush
The rubber gasket around your oven door works hard to keep heat in, but it also traps grease, crumbs, and baked-on spills. Over time, that buildup can cause the seal to deteriorate or lose its grip, making your oven less efficient. A quick scrub with a toothbrush is all it takes to keep it clean and functional.
Why The Seal Gets So Grimy
Every time you open the oven door, steam and grease particles escape and settle on the gasket. Crumbs from spills or dropped food also get stuck in the crevices. Because the seal is flexible and often overlooked, grime accumulates in layers, eventually hardening into a stubborn crust.
Best Cleaning Solution For The Gasket
A simple mix of warm water and a few drops of dish soap works for light grease. For tougher buildup, make a paste of baking soda and water. Apply it to the toothbrush bristles and gently work it into the seal.
Avoid using harsh chemicals or abrasive scrubbers, as they can damage the rubber.
Step-by-step Scrubbing Technique
Dip an old toothbrush into your cleaning solution. Starting at one corner, scrub the gasket in small circular motions, paying extra attention to the inner lip where grease hides. Work your way around the entire seal.
Wipe away loosened grime with a damp microfiber cloth. Repeat if needed, then do a final wipe with a dry cloth.
How Often To Clean The Seal
Aim to clean the oven door seal every time you do a deep oven clean, or at least once a month if you cook frequently. Regular maintenance prevents buildup from hardening and extends the life of the gasket. If you notice cracks or tears, it's time to replace the seal entirely.
10. Wipe Down the Oven Ceiling With a Sponge Mop
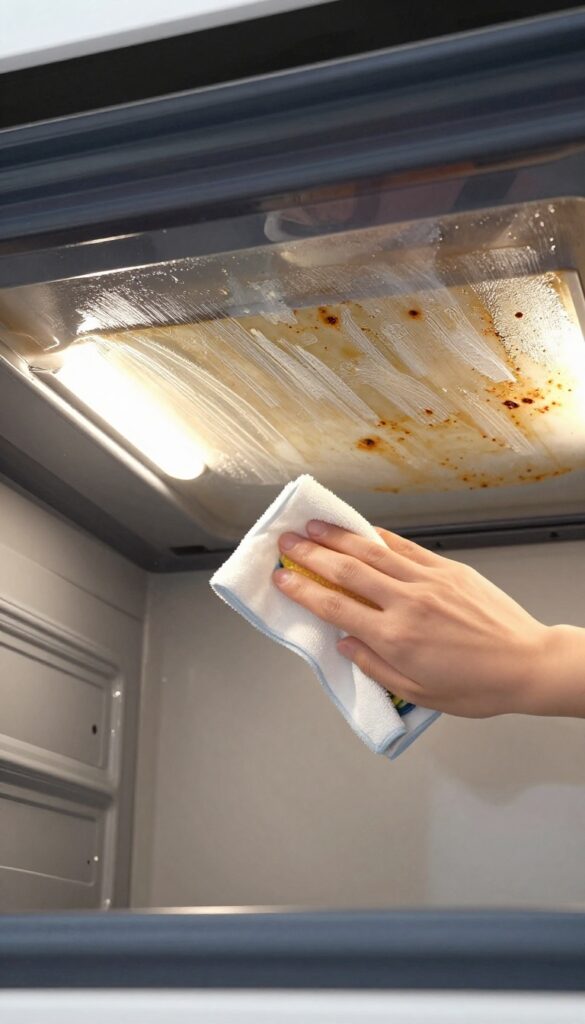
Grease doesn't just pool on the bottom—it splatters upward while you're roasting or broiling, then bakes onto the ceiling. That crusty layer is hard to reach with a rag, so most people ignore it. But a dirty ceiling can drip onto your food and keep that burnt smell lingering.
The trick is to use a tool that extends your reach. Attach a microfiber cloth to a sponge mop or grab a long-handled brush. Spray the ceiling with a heavy-duty degreaser (or a baking soda paste) and let it sit for a few minutes.
Then wipe in one direction—back to front—to avoid drips running down the sides. Rinse the cloth frequently and repeat until the ceiling feels smooth, not gritty.
Why The Ceiling Gets So Grimy
Hot air rises, carrying grease vapor with it. When that vapor hits the cooler oven ceiling, it condenses and bakes into a stubborn film. Over time, it can char and flake, especially if you broil often.
That's why the ceiling often looks worse than the walls.
Best Tools For The Job
A sponge mop with a swivel head works great—just snap on a fresh microfiber pad. A car-wash mitt on a long handle is another option. Avoid abrasive scrubbers that could scratch the enamel.
For tight corners, a bottle brush or an old toothbrush helps.
Pro Tip: Work In Sections
Don't try to wipe the whole ceiling at once. Divide it into quadrants, spray each section, let the degreaser dwell, then wipe. This prevents the cleaner from drying out before you get to it.
If you're using baking soda, mist with vinegar after wiping to neutralize residue.
11. Use a Magic Eraser on Stubborn Marks
Some spots just won't budge no matter how hard you scrub. Those dark scuff marks on the oven door or the faint grease haze on the interior walls can be incredibly frustrating. That's where a melamine foam sponge—commonly known as a Magic Eraser—comes to the rescue.
It's like a gentle sandpaper that lifts away baked-on residue without scratching most surfaces.
Melamine foam sponges work by micro-abrasion, meaning they essentially sand away the top layer of grime. They're especially effective on light baked-on grease and scuff marks that resist regular sponges. To use one, dampen the sponge with water and squeeze out the excess until it's just moist.
Gently rub the stained area in small circles—you'll see the mark start to fade almost immediately. Rinse the surface with a clean damp cloth afterward to remove any foam residue. Avoid using Magic Erasers on non-stick surfaces or delicate finishes, as they can cause damage.
For best results, test on a small hidden area first.
Where It Works Best
Magic Erasers excel on smooth, non-porous surfaces like the oven door glass, ceramic cooktops, and the interior walls of your oven. They're also great for removing scuff marks from the oven's exterior, especially on stainless steel (just go with the grain). Avoid using them on painted surfaces, non-stick coatings, or anything with a matte finish, as they can dull the shine.
How To Avoid Over-scrubbing
Because these sponges are abrasive, it's easy to overdo it. Use light pressure and let the foam do the work. If you press too hard, you might remove the surface's finish or create a dull patch.
For tough spots, let the sponge sit on the area for a minute before rubbing. And always rinse thoroughly—leftover foam can leave a residue that burns off during the next preheat.
12. Prevent Future Grease Buildup With a Liner
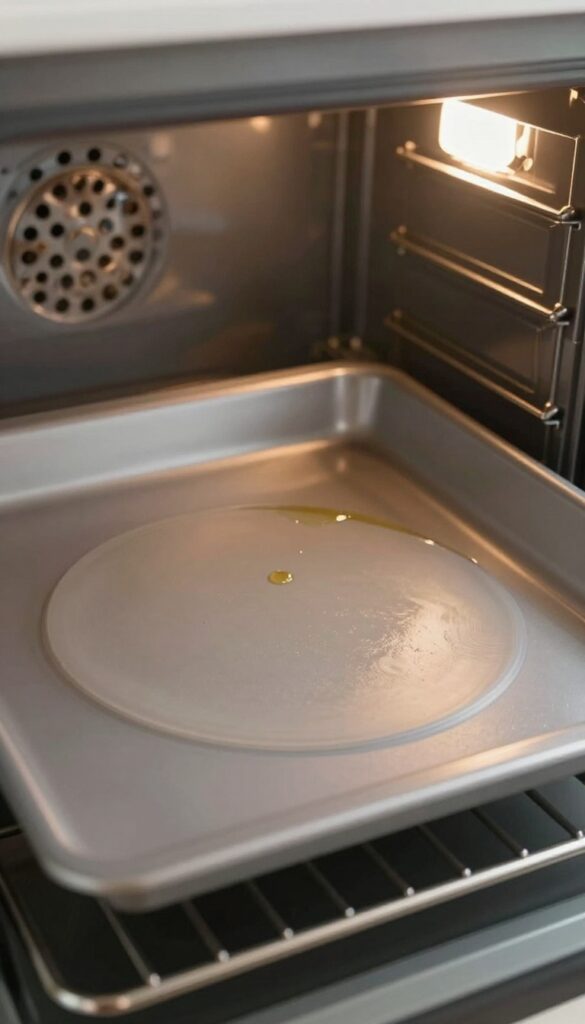
You've scrubbed and scraped, and the oven finally looks presentable. Now, how do you keep it that way without repeating the whole ordeal next month? The trick is to stop the mess before it starts.
A simple liner on the bottom rack catches drips and spills, turning cleanup into a quick rinse instead of a full-blown scrub session.
Silicone oven liners are the MVP of low-maintenance cooking. They sit on the bottom rack—never the floor—and catch anything that bubbles over. When they get dirty, just pull them out, wash with soap and water, and pop them back in.
Aluminum foil works too, but skip the foil on the oven floor; it can block airflow and cause uneven heating or even damage. Stick to the rack, and you'll save yourself hours of future scrubbing.
Why Silicone Wins
Silicone liners are non-stick, heat-resistant up to 500°F, and reusable. They won't tear like foil, and they lie flat without curling up. Plus, they're dishwasher-safe, so cleanup is almost effortless.
Foil: A Budget Option
If you're not ready to invest in silicone, heavy-duty aluminum foil works in a pinch. Just make sure it's tucked around the rack bars and doesn't touch the heating elements. Replace it when it gets too greasy or torn.
What Not To Do
Never place a liner or foil directly on the oven floor. It can trap heat, interfere with the oven's thermostat, and even start a fire. Also, avoid using liners during self-cleaning cycles—they'll melt or burn.
13. Use a Steam Cleaner for a Chemical-Free Deep Clean
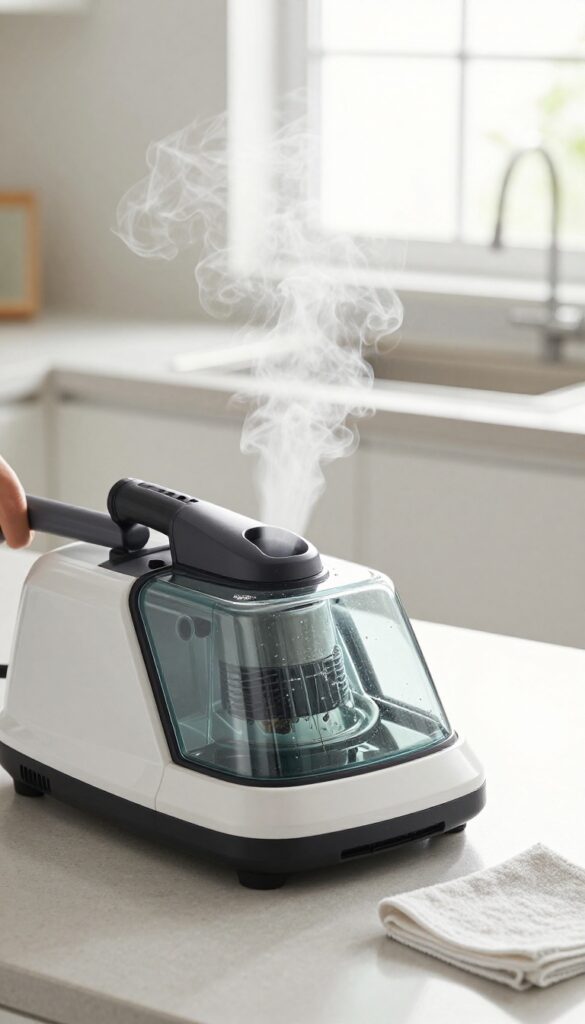
If you want to skip the scrubbing and avoid harsh chemicals, a steam cleaner is your new best friend. It blasts hot steam at high pressure, loosening baked-on grease in seconds. This method is especially great for corners, crevices, and the glass door where grime builds up thick.
A handheld steam cleaner works wonders on oven grease. Fill it with water, let it heat up, then direct the steam nozzle at the dirty areas. The heat and moisture break down the grease without any scrubbing.
After a few seconds, wipe the loosened grime away with a microfiber cloth. It's fast, effective, and leaves no chemical residue.
Targeting Corners And Crevices
Ovens have plenty of tight spots where grease hides—around the heating elements, in the hinges, and along the door seal. A steam cleaner's narrow nozzle reaches these areas easily. Just hold the nozzle close and let the steam do the work.
Wipe away the dissolved gunk with a cloth or a small brush.
Steaming The Glass Door
The oven window often gets cloudy from grease splatters. Steam cleaner makes it crystal clear. Run the steamer over the glass, both inside and out, then wipe with a clean cloth.
For stubborn spots, let the steam sit for a few seconds before wiping. You'll see the difference immediately.
Drying And Final Wipe
After steaming, the oven interior will be damp. Use a dry microfiber cloth to wipe down all surfaces. This removes any remaining moisture and leaves a streak-free finish.
Make sure the oven is completely dry before using it again to avoid any steam or smoke.
14. Scrub the Oven Fan and Vents With a Small Brush
Grease doesn't just settle on the bottom or walls—it gets sucked into the oven fan and vents every time you cook. Over time, that buildup can cause smoke, funky odors, and even affect airflow. Cleaning these hidden spots makes a big difference in how your oven performs and smells.
The fan and vents are often overlooked because they're not immediately visible. But they're prime real estate for grease accumulation. When you fire up the oven, that residue heats up and burns, creating that unpleasant smoky smell.
A quick clean every few months prevents this and keeps your oven running efficiently.
Start With The Vents
Locate the vents—usually at the back or bottom of the oven. Use a small brush (like a pastry brush or a dedicated cleaning brush) to sweep away loose debris and grease flakes. For stubborn buildup, dip the brush in a degreaser solution or warm soapy water and scrub gently.
Follow up with a damp cloth to wipe away residue.
Tackle The Fan Carefully
The oven fan is behind a cover plate, often at the back. Turn off the oven and make sure it's completely cool. Remove the cover if possible (check your manual).
Use a brush or compressed air to dislodge dust and grease. For the blades, lightly wipe them with a cloth dampened with degreaser—be gentle to avoid bending them. Never spray liquid directly into the fan motor.
Use Compressed Air For Tight Spots
If you have canned air or a compressor, it's great for blowing out debris from crevices you can't reach with a brush. Just aim away from sensitive electronics. This step is especially helpful for vents with narrow slats.
15. Finish With a White Vinegar Rinse to Remove Residue
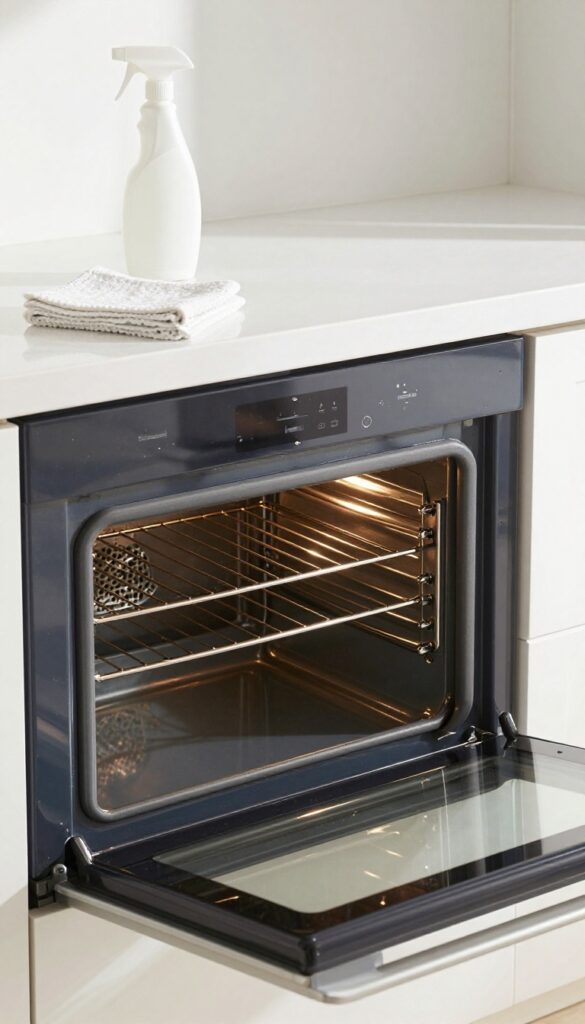
You've scrubbed, scraped, and wiped away most of the grime, but there's still a faint film left behind. That's where a white vinegar rinse comes in—it's the final step that makes everything look and smell fresh. White vinegar is a mild acid that cuts through leftover baking soda paste, soap residue, and any stubborn grease traces.
It also helps prevent future buildup by creating a slightly acidic surface that repels grime.
After you've cleaned the oven with baking soda, commercial cleaner, or a degreaser, grab a spray bottle filled with undiluted white vinegar. Mist all interior surfaces—walls, floor, ceiling, and door—then wipe them down with a clean, damp microfiber cloth. The vinegar will fizz slightly as it neutralizes alkaline residues, which is normal.
For stubborn spots, let the vinegar sit for a minute before wiping. Finish by drying with a soft towel to prevent streaks.
Why Vinegar Works So Well
White vinegar has a pH of around 2. 5, making it acidic enough to dissolve mineral deposits and soap scum without damaging oven surfaces. It also deodorizes by neutralizing alkaline odors from baking soda or harsh cleaners.
Plus, it's non-toxic and leaves no chemical fumes, so you can use the oven right after drying.
How To Apply For Best Results
Fill a spray bottle with straight white vinegar (no need to dilute). Spray generously on all interior surfaces, focusing on corners and the door seal. Let it sit for 30 seconds to a minute, then wipe with a damp microfiber cloth.
Rinse the cloth frequently to avoid spreading residue. For the glass door, spray vinegar and wipe with a crumpled newspaper or coffee filter for a streak-free shine.
When To Skip This Step
If your oven has a self-cleaning coating or is made of certain non-stick materials, check the manual first—vinegar could damage the surface. Also, avoid using vinegar on aluminum or cast iron parts, as it can cause pitting or discoloration. Stick to warm water rinses for those areas.
FAQ
How often should I clean my oven?
For light use, clean every 3-6 months. If you cook greasy foods often, aim for every 2-3 months to prevent heavy buildup.
Can I use oven cleaner on self-cleaning ovens?
It's best to avoid harsh chemicals on self-cleaning ovens. Use the self-clean cycle or natural methods like baking soda and vinegar to protect the coating.
Is it safe to mix baking soda and vinegar in the oven?
Yes, the reaction is safe and non-toxic. The fizzing helps lift grease, but rinse thoroughly afterward to avoid residue.
How do I clean the oven without toxic fumes?
Use natural ingredients like baking soda, vinegar, and lemon. Steam cleaning with water and dish soap is also fume-free. Always ventilate the kitchen.
What should I do if my oven smokes after cleaning?
Residual cleaner or moisture can cause smoke. Wipe all surfaces with a damp cloth, then run the oven at 400°F for 20 minutes to burn off any remaining residue.
Conclusion
A clean oven isn't just about appearances—it makes your food taste better and your kitchen smell fresher. With these 15 grease-cutting tips, you can tackle any level of grime without spending hours scrubbing or breathing harsh fumes. Pick the methods that fit your oven's condition and your comfort level.
Whether you go natural or use a heavy-duty cleaner, the result is the same: a sparkling oven that's ready for your next meal. Happy cleaning!