How to Clean a Keurig in 10 Quick Cleaning Steps
That first cup of coffee from a clean Keurig tastes noticeably better. But mineral scale and coffee residue build up fast, affecting both flavor and brew speed.
You don't need special tools or expensive cleaners—just a few household items and 10 straightforward steps. This guide walks you through each one, from unplugging your machine to running the final rinse cycle.
By the end, your Keurig will be brewing like new, with no lingering vinegar taste or clogged needles.
1. Unplug and Disassemble Your Keurig
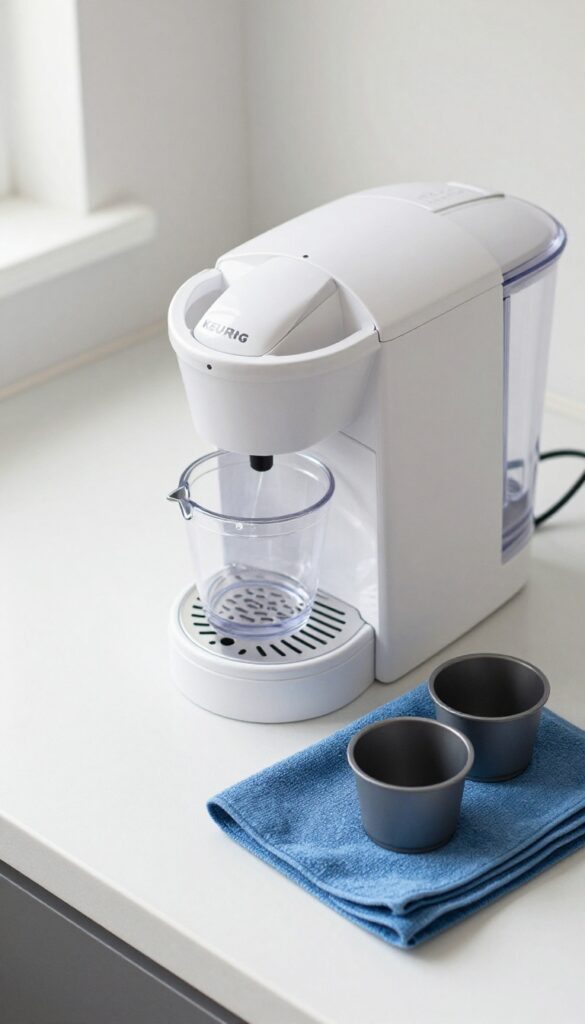
Before you start scrubbing anything, you need to get your machine ready. Unplugging it prevents any accidental electrical issues, and taking it apart lets you reach every nook and cranny where coffee oils and mineral deposits hide. This first step sets you up for a thorough clean without any surprises.
Start by unplugging the machine and removing all removable parts: water reservoir, drip tray, K-cup holder, and funnel. This gives you full access for cleaning.
Why Unplugging Matters
Unplugging your Keurig isn't just a safety precaution—it also protects the internal heating element. If you accidentally press a button while cleaning, you could trigger a dry heat cycle, which can damage the machine. So, always pull the plug first.
Removing The Water Reservoir
The water reservoir is usually the easiest part to remove. Lift it straight up and set it aside. If there's any leftover water, empty it into the sink.
This part will need a separate soak later.
Taking Off The Drip Tray And K-cup Holder
The drip tray slides out toward you. The K-cup holder and funnel pop out after you open the brew head. These small parts collect the most coffee residue, so don't skip them.
Place everything in the sink for a warm soapy soak.
2. Wash Removable Parts with Soap and Water
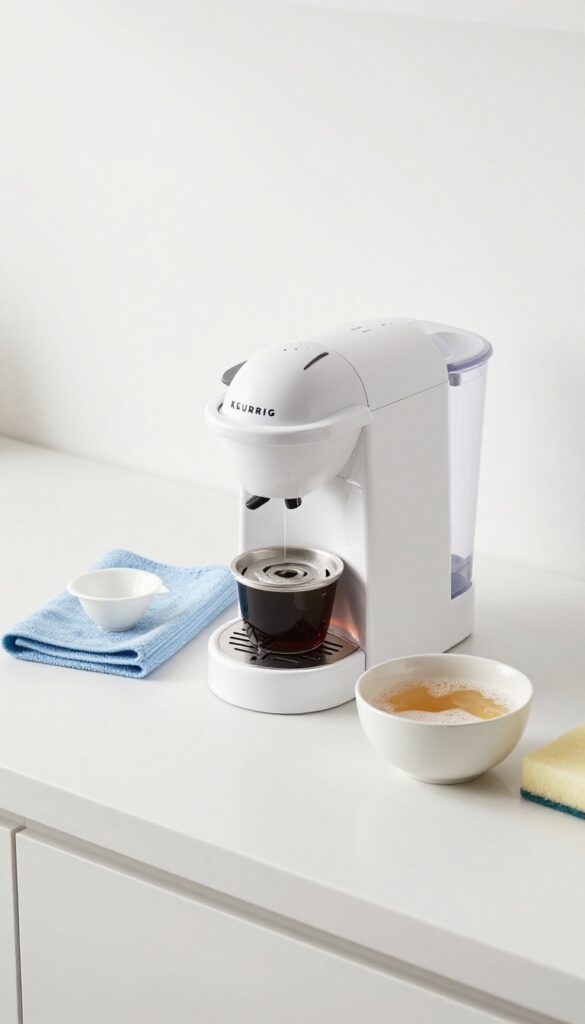
Once your Keurig is unplugged and cooled down, it's time to focus on the parts that actually touch your coffee. The water reservoir, drip tray, K-cup holder, and funnel collect residue and bacteria over time. A simple wash with warm, soapy water restores them to like-new condition.
Start by removing all detachable components. The water reservoir usually lifts off, while the drip tray slides out. The K-cup holder and funnel snap out easily.
Wash each piece in warm water mixed with a few drops of mild dish soap. Use a soft sponge or cloth to avoid scratching plastic surfaces. Rinse thoroughly under running water to remove any soap residue, then set everything on a drying rack or clean towel.
Let them air dry completely before reassembling.
Don't Forget The Funnel And Needle Area
The funnel inside the K-cup holder often gets overlooked. Remove it and check for coffee grounds stuck in the small opening. Use a paperclip or a brush to dislodge any debris.
This ensures water flows freely during brewing.
Drip Tray And Reservoir Details
The drip tray has a float that indicates when it's full. Wipe it gently with a sponge. For the water reservoir, pay attention to the bottom and the fill line area where mineral deposits accumulate.
A bottle brush can help reach tight corners.
3. Descale the Interior with White Vinegar
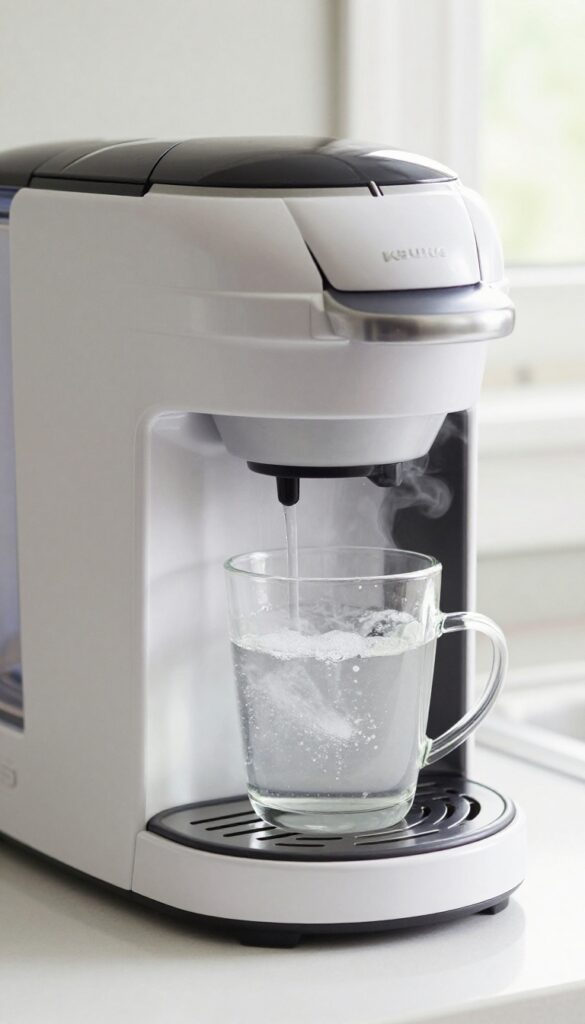
Mineral buildup from hard water is the main reason Keurigs slow down and start making weird noises. White vinegar is a cheap, effective descaling solution that breaks down calcium deposits without harsh chemicals. This step tackles the internal components that you can't reach with a cloth.
Descaling removes limescale and mineral deposits that accumulate inside the water lines and heating element. Over time, these deposits restrict water flow, cause longer brew times, and can even lead to machine failure. White vinegar's acidity dissolves the scale safely, restoring performance and improving coffee taste.
Why Vinegar Works Best
White vinegar is about 5% acetic acid, which is strong enough to dissolve mineral scale but mild enough not to damage plastic or rubber seals. It's also food-safe and rinses away cleanly, unlike some commercial descalers that leave chemical residues. Plus, it costs pennies per use.
Step-by-step Descaling Process
Start by filling the water reservoir with equal parts white vinegar and water—usually around 10 ounces each. Place a large mug on the drip tray and run a brew cycle without inserting a K-cup. Once the cycle finishes, let the machine sit for 30 minutes so the vinegar solution can work inside.
Then run additional brew cycles until the reservoir is empty, discarding each cup of liquid.
What To Expect During Descaling
You might hear gurgling or see steam—that's normal. The vinegar solution may also carry out loose scale particles, so don't be alarmed if the liquid looks cloudy or has tiny specks. If your Keurig has a "strong" brew setting, avoid using it during descaling, as it restricts water flow and reduces cleaning effectiveness.
When To Descale
Most manufacturers recommend descaling every three to six months, depending on your water hardness. If you notice your coffee brewing slower than usual, the machine making loud noises, or a mineral taste in your cup, it's time to descale. For very hard water, consider using filtered water in the reservoir to extend the time between descaling sessions.
4. Rinse the System with Fresh Water
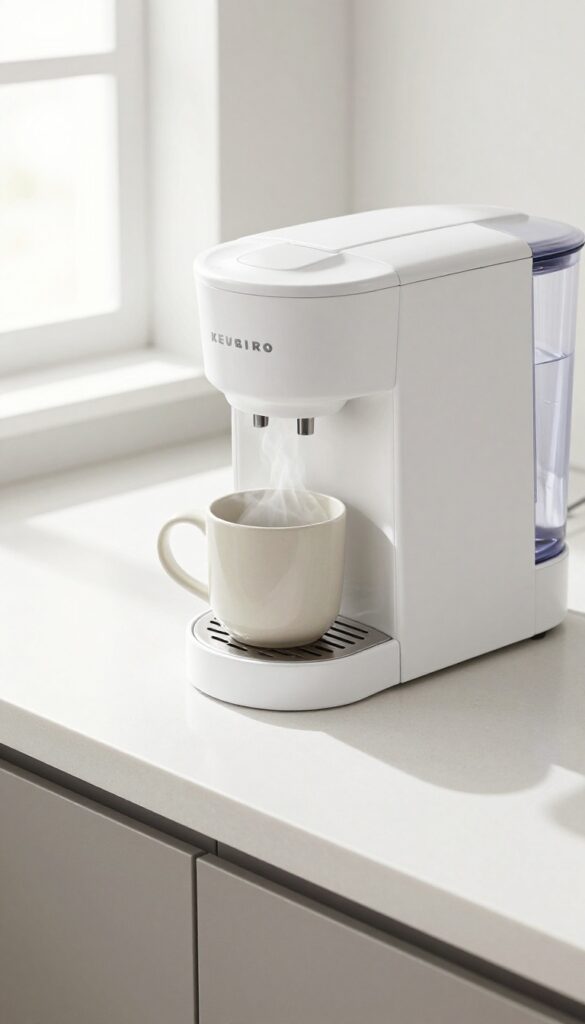
Once the descaling cycle finishes, your Keurig will have a strong vinegar smell inside. That odor can easily transfer to your next cup of coffee if you don't flush it out properly. Rinsing with fresh water is a simple but essential step to ensure your morning brew tastes clean and pure.
Fill the water reservoir to the max line with fresh, cold water. Place a large mug on the drip tray and run a brew cycle without a K-Cup. Discard the hot water, then repeat the process until you no longer smell vinegar.
This usually takes three to five full cycles. If the smell persists, let the machine sit for 30 minutes with fresh water in the reservoir, then run another cycle.
How Many Rinse Cycles Are Enough
Most Keurig models require at least three full reservoir rinses to eliminate vinegar residue. You'll know it's done when the water tastes neutral and has no hint of vinegar. Some machines may need up to six cycles if the descaling solution was particularly strong.
Why This Step Matters For Taste
Vinegar is great for descaling, but even a tiny amount left behind can ruin your coffee's flavor. The acidic taste lingers and masks the natural notes of your brew. A thorough rinse ensures your first cup after cleaning tastes as good as it should.
What To Do If The Smell Won't Go Away
If you've run several cycles and still detect vinegar, try using a mixture of half water and half white vinegar again—but this time, let it sit for only 15 minutes before running a rinse. Alternatively, replace the water filter (if your model has one) and run two more fresh-water cycles.
5. Clean the Needle (Entry and Exit)
Two tiny needles pierce the K-cup and let water flow through. When they get clogged with coffee grounds, your Keurig may brew slowly or not at all. Cleaning them is quick and makes a big difference.
Where The Needles Are
The entry needle sits inside the K-cup holder, pointing up. The exit needle is under the brew head, pointing down. Both can get blocked by fine coffee particles.
How To Clean Them Safely
Unplug the machine and remove the K-cup holder. Use a paperclip or the special Keurig cleaning tool to gently poke the entry needle from above. For the exit needle, reach under the brew head and poke upward.
Wiggle the paperclip to dislodge any grounds.
What To Do If Water Still Won't Flow
If poking doesn't help, soak the K-cup holder in warm soapy water for 10 minutes, then rinse. For the exit needle, run a water-only brew cycle without a K-cup to flush out debris.
6. Wipe Down the Brew Head and Gaskets
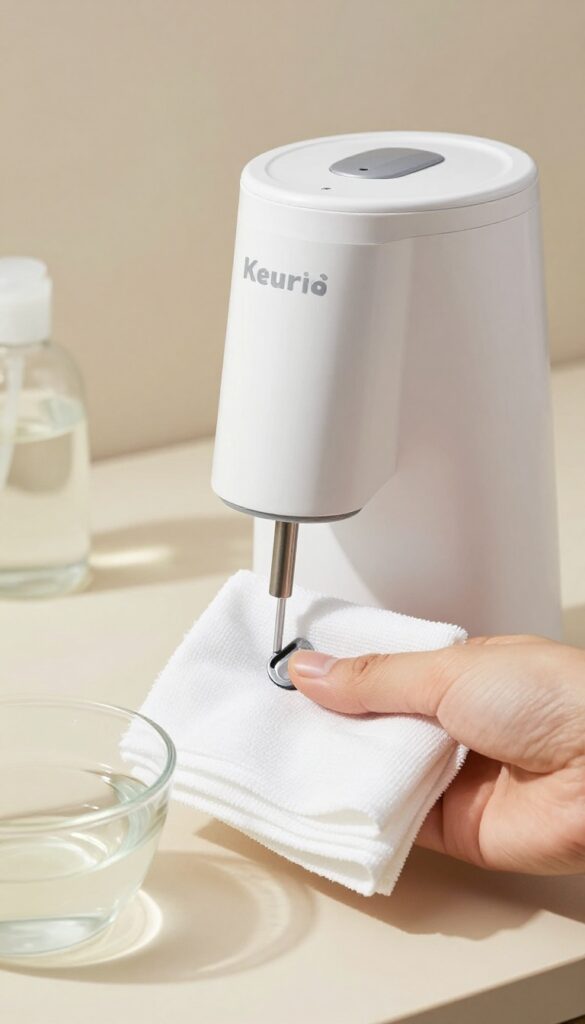
The brew head and gaskets are where your K-Cup seals against the machine. Over time, coffee oils and grounds build up here, which can break the seal and cause leaks or weak coffee. A quick wipe keeps everything tight and brewing properly.
Dampen a soft cloth with warm water or a mild cleaner (like a vinegar-water mix) and gently wipe the brew head, the rubber gasket, and the area around the needle. Pay special attention to the gasket—it's a common spot for mold or residue. Dry with a clean cloth to prevent water spots.
Why This Matters
A dirty gasket won't seal properly, letting water bypass the coffee grounds. That leads to watery, weak coffee. Regular wiping also prevents old coffee oils from going rancid and affecting taste.
What To Use
Plain warm water works for light cleaning. For tougher buildup, mix equal parts water and white vinegar. Avoid harsh chemicals or abrasive sponges that could scratch plastic or damage rubber seals.
How Often To Do It
Wipe the brew head and gaskets every time you descale your Keurig, or at least once a month. If you use your machine daily, a quick weekly wipe keeps buildup minimal.
7. Clean the Water Reservoir Lid and Valve
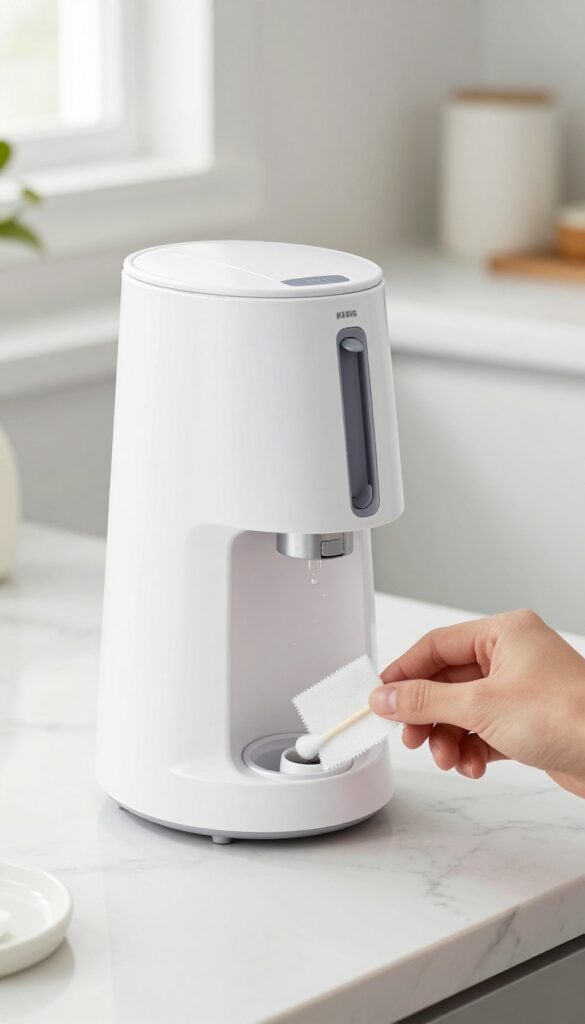
The water reservoir lid and the valve at the bottom of the tank are often overlooked, but they can collect dust, grime, and even mold over time. A dirty lid can introduce contaminants into your water, while a clogged valve can cause slow brewing or water not flowing properly. Cleaning these parts takes just a minute and makes a big difference in your Keurig's performance.
Start by removing the water reservoir from the machine. Take off the lid and rinse it under warm running water. Use a soft cloth or sponge with a drop of dish soap to wipe down the lid, paying attention to the edges and any crevices.
Rinse thoroughly and let it air dry. For the valve—the small opening at the bottom of the reservoir where water exits—dip a cotton swab in white vinegar or rubbing alcohol and gently clean inside the valve. You may see small debris or mineral deposits come out.
Wipe the area around the valve with a damp cloth. Reattach the lid and place the reservoir back on the machine. This quick step ensures smooth water flow and keeps your water clean.
Why The Lid And Valve Matter
The lid protects your water from airborne dust and spills, but it can harbor bacteria if not cleaned. The valve controls water release; if it's clogged, your Keurig may struggle to draw water, leading to incomplete brews or error messages. Regular cleaning prevents these issues.
What You'll Need
You only need a few household items: a soft cloth or sponge, mild dish soap, a cotton swab, and white vinegar or rubbing alcohol. No special tools required. If you have hard water, vinegar works best for mineral deposits.
Step-by-step Cleaning
First, remove the reservoir and take off the lid. Rinse the lid with warm water and wipe it with soapy water, then rinse again. Let it dry.
For the valve, dip a cotton swab in vinegar and gently twist it inside the valve opening. Repeat with a dry swab to remove any residue. Wipe the exterior of the reservoir around the valve with a damp cloth.
Reassemble and you're done.
8. Sanitize the Drip Tray and Its Grid
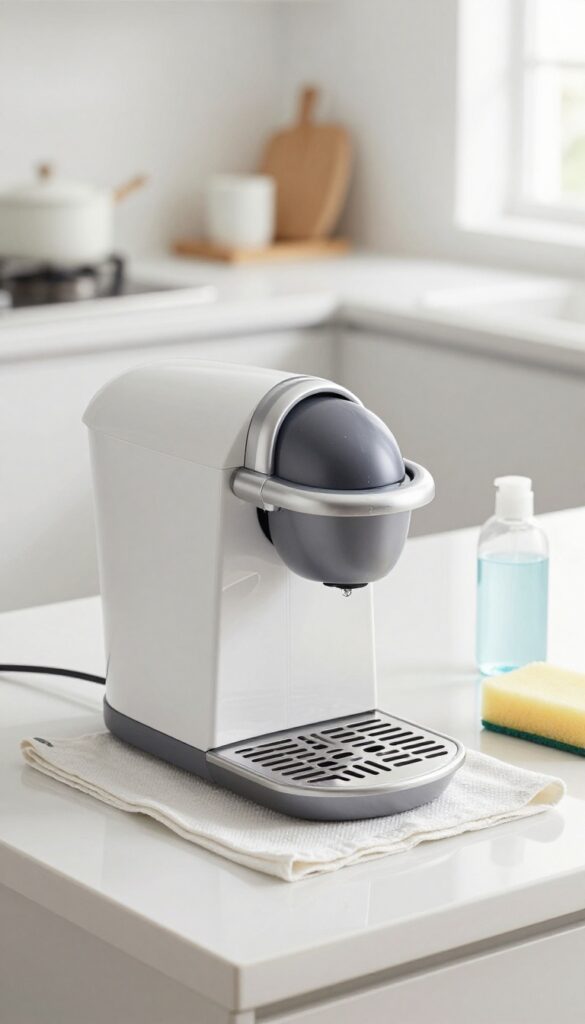
The drip tray catches spills and drips, but it also collects moisture and coffee residue. If you don't clean it regularly, mold and bacteria can start growing in the crevices. This step is quick and makes a big difference in keeping your Keurig hygienic.
Remove the drip tray and the grid on top. Wash them with warm soapy water, scrubbing gently with a soft sponge to remove any buildup. If your parts are dishwasher-safe (check the manual), you can run them on the top rack.
After washing, dry everything thoroughly before putting it back—moisture is what encourages mold.
Check For Dishwasher Safety
Most Keurig drip trays and grids are dishwasher-safe, but it's always smart to verify. Look for a dishwasher-safe symbol on the underside or check your model's manual. If they're safe, place them on the top rack away from heating elements to avoid warping.
Hand Washing Tips
If you hand wash, use a mild dish soap and a non-abrasive sponge. Pay extra attention to the grid's small holes where gunk can hide. Rinse thoroughly to remove all soap residue, then let them air dry completely on a clean towel.
Don't Skip Drying
Moisture left in the tray or grid creates a breeding ground for mold. After washing, dry every part with a lint-free cloth or let them air dry for at least an hour. Reassemble only when everything feels bone-dry to the touch.
9. Run a Cleaning Cycle with a Descaling Solution (Optional)
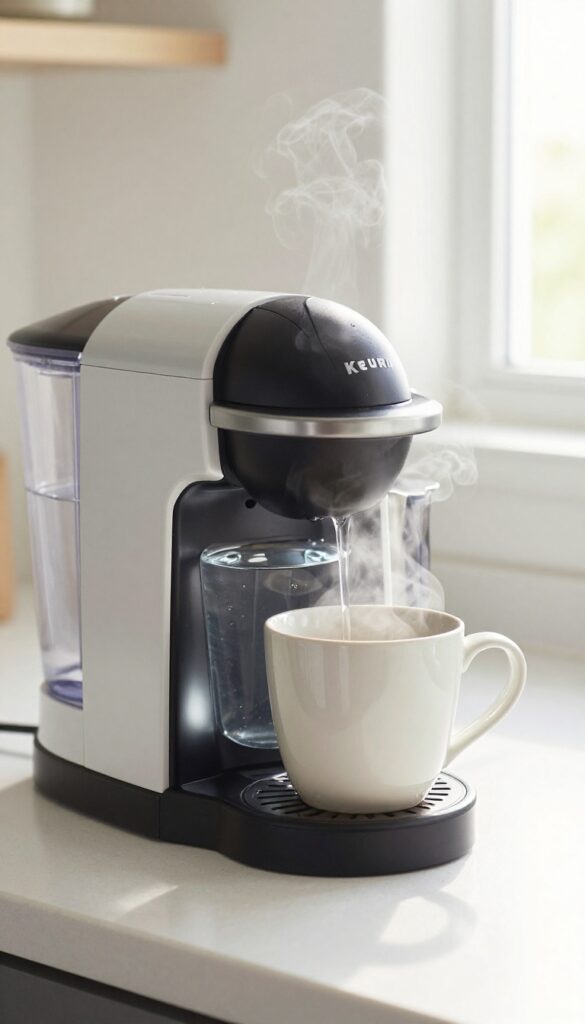
If you want to go beyond vinegar, a commercial descaling solution offers a more targeted clean. These products are formulated specifically for coffee machines, breaking down mineral scale without the strong odor. It's a great option if you're sensitive to vinegar or want a deeper internal flush.
For a deeper clean, use a commercial descaling solution instead of vinegar. Follow the product instructions for a thorough internal clean.
Choosing The Right Descaling Solution
Look for a descaling solution that's compatible with Keurig machines. Many brands offer Keurig-approved formulas that are safe for your brewer. Avoid using generic descalers meant for other appliances, as they might contain harsh chemicals.
A quick check on the product label or Keurig's website can confirm compatibility.
How To Run The Cycle
Start by filling the water reservoir with the recommended amount of descaling solution and water (usually equal parts). Place a large mug on the drip tray to catch the liquid. Then, run a brew cycle without a K-Cup, letting the solution flow through.
Repeat until the reservoir is empty. Let the machine sit for 30 minutes to allow the solution to work on stubborn scale.
Rinsing Thoroughly After Descaling
After the solution has sat, discard the mug contents and rinse the reservoir. Fill it with fresh water and run multiple brew cycles to flush out any remaining solution. Keep going until the water runs clear and there's no chemical taste.
This step is crucial to avoid any off-flavors in your next cup.
10. Reassemble and Run a Final Rinse Cycle
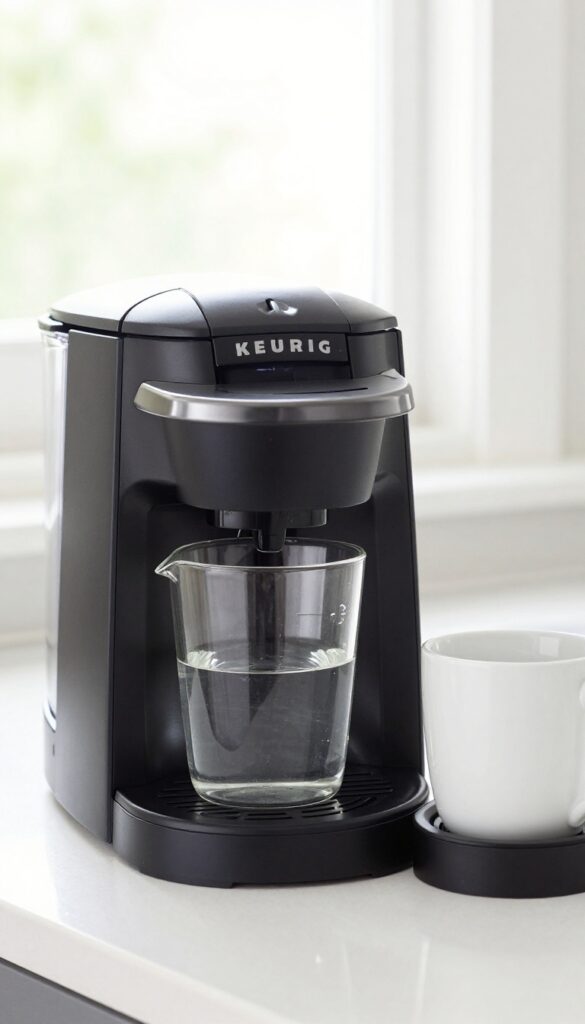
You've cleaned every nook and cranny, and now it's time to put everything back together. This final step ensures no leftover vinegar or cleaning solution remains, so your next cup tastes pure and fresh.
Start by making sure all parts are completely dry before reassembling. Reattach the water reservoir, drip tray, and any other components you removed. Then fill the reservoir with fresh, cold water to the max fill line.
Place a large mug on the drip tray and run a brew cycle without inserting a K-cup. This will flush out any remaining cleaning solution from the internal lines. Repeat the rinse cycle once more to be thorough.
After the second rinse, your Keurig is ready to brew delicious coffee again.
Dry Everything Thoroughly
Before reassembling, ensure all parts are bone dry to prevent mold growth. Use a clean, lint-free cloth to wipe down the reservoir, drip tray, and K-cup holder. Let them air dry for a few minutes if needed.
Reassemble Step By Step
Place the drip tray back into its slot, ensuring it clicks into place. Reattach the water reservoir, making sure the valve at the bottom aligns correctly. Insert the K-cup holder and close the brew head.
Double-check that everything is snug.
Run Two Rinse Cycles
Fill the reservoir with fresh water and run a brew cycle without a K-cup. This pushes any remaining vinegar or cleaner out of the system. Discard the hot water, refill the reservoir, and run a second cycle for extra assurance.
FAQ
How often should I clean my Keurig?
Descale every 3-6 months depending on water hardness. Clean removable parts monthly and wipe down the brew head weekly for best performance.
Can I use bleach to clean my Keurig?
No, bleach can damage internal components and leave harmful residues. Stick to white vinegar or commercial descaling solutions.
Why is my Keurig not brewing fully?
Clogged needles are the most common cause. Clean the entry and exit needles with a paperclip. Also check if the water reservoir is seated properly.
Is it safe to run vinegar through my Keurig?
Yes, white vinegar is safe and effective for descaling. Just be sure to rinse thoroughly with fresh water afterward to remove any vinegar taste.
Can I put Keurig parts in the dishwasher?
Check your model's manual. Many removable parts like the drip tray and reservoir are top-rack dishwasher safe, but hand washing is gentler.
Conclusion
Keeping your Keurig clean doesn't have to be a hassle. These ten steps tackle everything from daily rinses to deep descaling, so you can pick the routine that fits your schedule.
Start with the steps that address your biggest issue—whether it's slow brewing or off flavors—and you'll notice the difference in your next cup. A little regular maintenance keeps your machine running smoothly and your coffee tasting fresh.