10 Stylish Tiled Shower Ideas with a Refined Material Mix
A shower that looks and feels luxurious doesn't have to be a distant dream. By mixing tile materials thoughtfully, you can create a space that feels both polished and personal. The right combination of textures and colors can turn a daily routine into a mini escape.
Whether you're planning a full renovation or a simple update, these ideas focus on the visual impact of material pairings. You'll see how classic marble meets modern ceramic, and how glass tiles add depth without overwhelming the senses.
Each idea is designed to be practical, beautiful, and easy to adapt to your own bathroom. Let's dive into ten ways to elevate your shower with a refined mix of tiles.
1. Marble and Ceramic: A Classic Duo
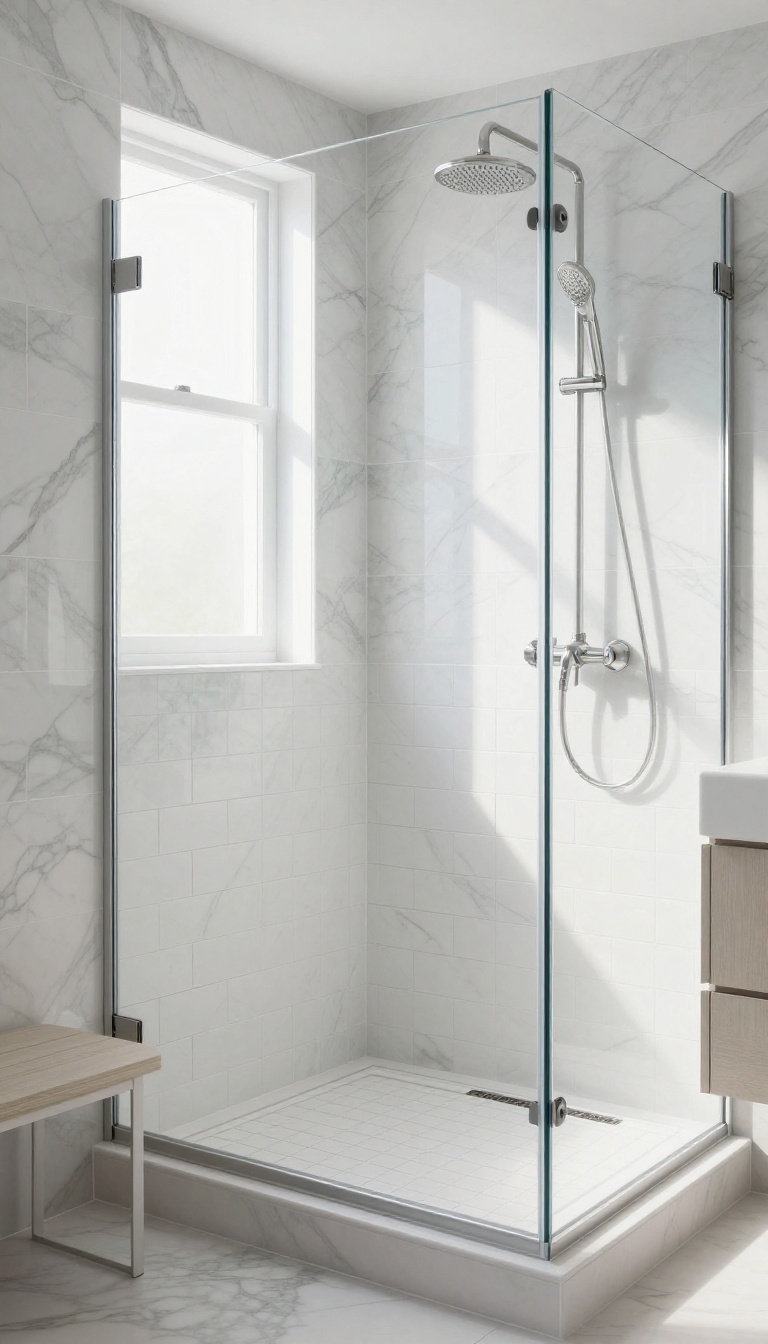
Pairing large-format marble tiles with ceramic subway tiles is a timeless approach that brings together luxury and practicality. The marble adds a touch of elegance, while the ceramic offers durability and easy maintenance. This combination works beautifully in showers of all sizes, creating a balanced and sophisticated look.
When you think of a classic shower design, marble and ceramic often come to mind. The cool, veined surface of marble contrasts nicely with the clean, uniform lines of subway tile. This pairing not only looks refined but also stands up to daily use, making it a smart choice for busy bathrooms.
To get the look, consider using marble tiles on the main shower walls and ceramic subway tiles as an accent or in the niche. The large format of the marble reduces grout lines, making the space feel more open and seamless. Meanwhile, the subway tile adds texture and visual interest without overwhelming the design.
Choosing The Right Marble
Not all marble is created equal. For a shower, opt for honed marble instead of polished, as it's less slippery when wet. Carrara and Calacatta are popular choices, but you can also explore other varieties that fit your color scheme.
Remember that marble is porous, so sealing it regularly is essential to keep it looking its best.
Placement Strategies
You can use marble on the main walls and subway tile as a border or in the shower niche. Alternatively, create a feature wall with marble and keep the rest in subway tile. This approach adds a focal point without making the space feel too busy.
For a cohesive look, choose a grout color that blends with both tiles.
Maintenance Tips
Ceramic subway tile is low-maintenance, but marble requires a bit more care. Wipe down the walls after each use to prevent water spots and soap scum. Use a pH-neutral cleaner and avoid abrasive scrubbing.
With proper care, your marble and ceramic combo will stay beautiful for years.
2. Zellige and Porcelain: Texture Meets Durability
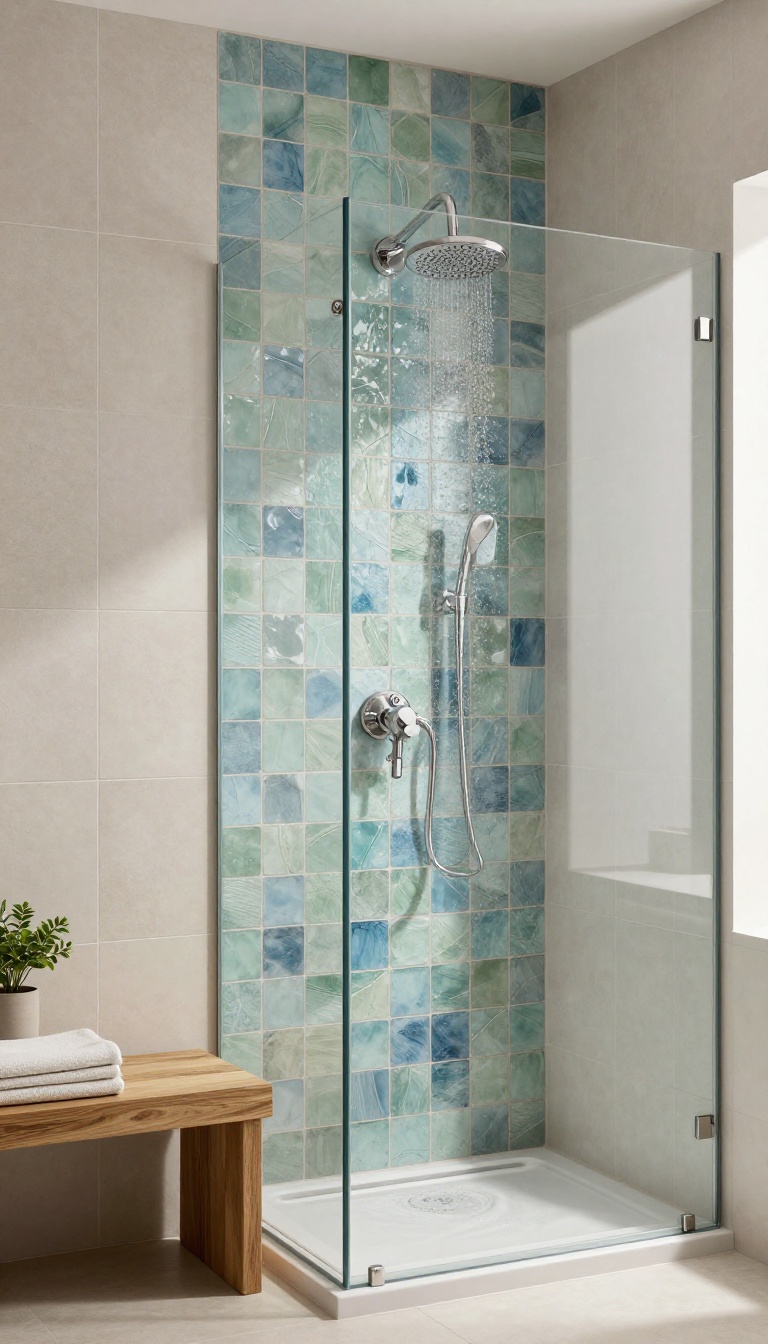
Glossy zellige tiles bring a handcrafted, almost liquid shimmer to a shower, while matte porcelain keeps things grounded and practical. The contrast between the two creates a space that feels both artisanal and easy to live with. This pairing is perfect if you want a touch of luxury without the high maintenance.
Zellige tiles are known for their irregular surfaces and subtle color variations, which catch light in a way that flat tiles simply can't. Porcelain, on the other hand, offers a clean, matte finish that resists water spots and scratches. Together, they balance each other out: the zellige adds character, and the porcelain provides a calm, durable backdrop.
Why This Combo Works
The glossy, uneven surface of zellige reflects light beautifully, making a small shower feel larger and more dynamic. Matte porcelain, with its low sheen, absorbs light and reduces glare, creating a soothing contrast. This mix also plays with texture—your eyes (and hands) move from smooth to slightly rippled, adding depth without visual chaos.
Where To Use Each Tile
Use zellige as a feature wall behind the shower bench or as an accent niche to draw the eye. Keep the main shower walls in large-format matte porcelain for a seamless, easy-to-clean surface. If you're feeling bold, try a zellige border or a vertical strip to break up the porcelain without overwhelming the space.
Grout And Finish Tips
Choose a grout color that blends with the porcelain to keep the look cohesive, and use a slightly darker grout with zellige to hide any unevenness. For the zellige, a matte or satin finish grout works best to avoid competing with the tile's natural shine. Seal the zellige regularly to protect it from moisture, and you'll enjoy this texture-rich combo for years.
3. Hexagon and Subway: Playful Geometry
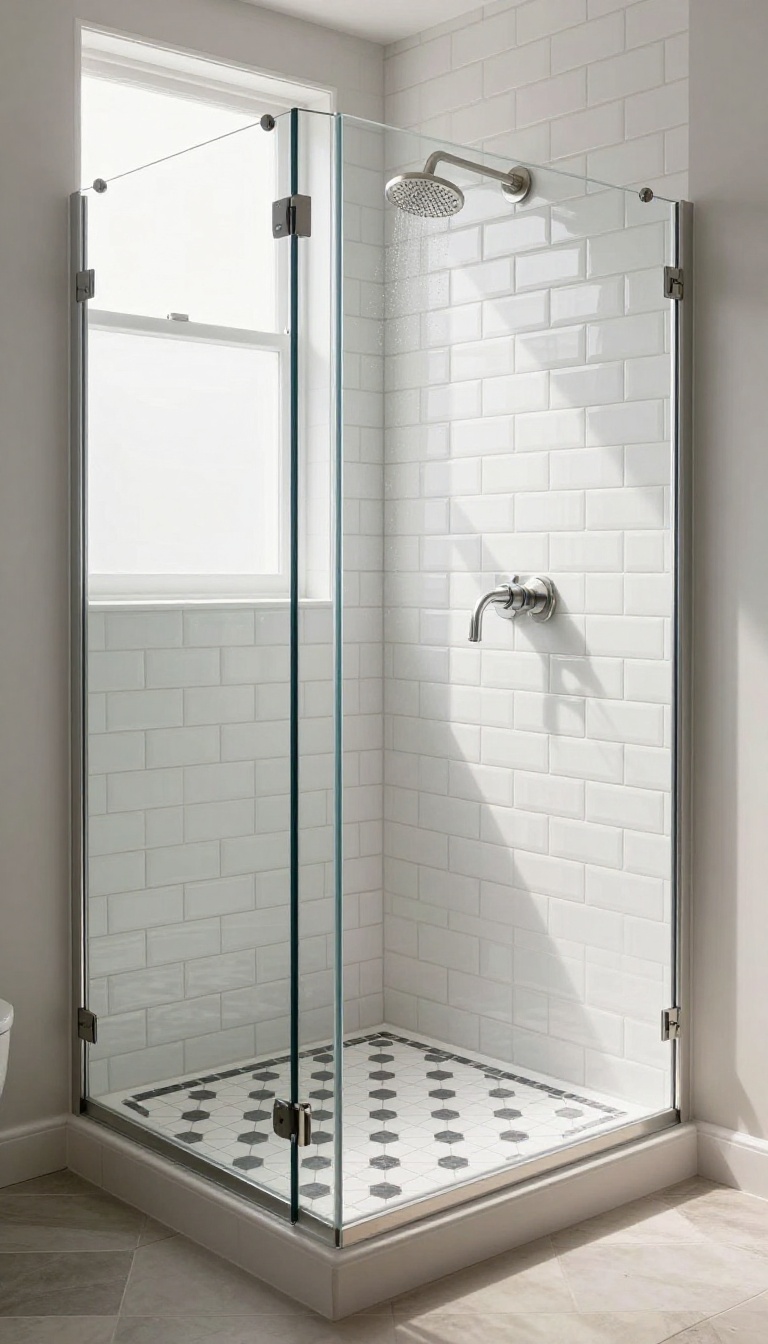
Hexagon floor tiles paired with classic subway wall tiles deliver a dose of playful geometry without letting the design spiral into chaos. The contrast between the two shapes creates a subtle rhythm that guides the eye around the shower, making even a compact space feel intentional and alive. It's a look that works with both matte and glossy finishes, so you can tune the vibe from spa-like calm to crisp and modern.
Start with a neutral palette to let the shapes shine. White or soft gray hexagons on the floor anchor the space, while white subway tiles on the walls keep it airy. Add a contrasting grout—charcoal or navy—to emphasize the geometric pattern.
The result is a shower that feels custom without being loud.
Choosing The Right Hexagon Size
Hexagon tiles come in a range of sizes, from small mosaics to larger 6-inch pieces. Smaller hexagons create more visual texture and are great for floors, as they also provide better grip underfoot. Larger hexagons feel more contemporary and can make a small shower appear bigger.
Match the size to your shower's footprint and the overall look you're after.
Grout Color And Its Impact
Grout is not just a filler—it's a design element. A contrasting grout, like dark gray or black, makes the hexagon pattern pop and adds a graphic edge. A matching grout, on the other hand, creates a smoother, more seamless look.
For a playful yet refined feel, consider a light gray grout that complements both the tiles and the subway wall.
Mixing Finishes For Depth
You don't have to stick to the same finish for both tile types. Try matte hexagon floor tiles with glossy subway tiles on the walls. The difference in sheen adds depth and interest, and it helps define the floor from the walls.
This mix also plays well with natural light, making the shower feel more dynamic.
4. Large-Format Slabs and Mosaic Accents
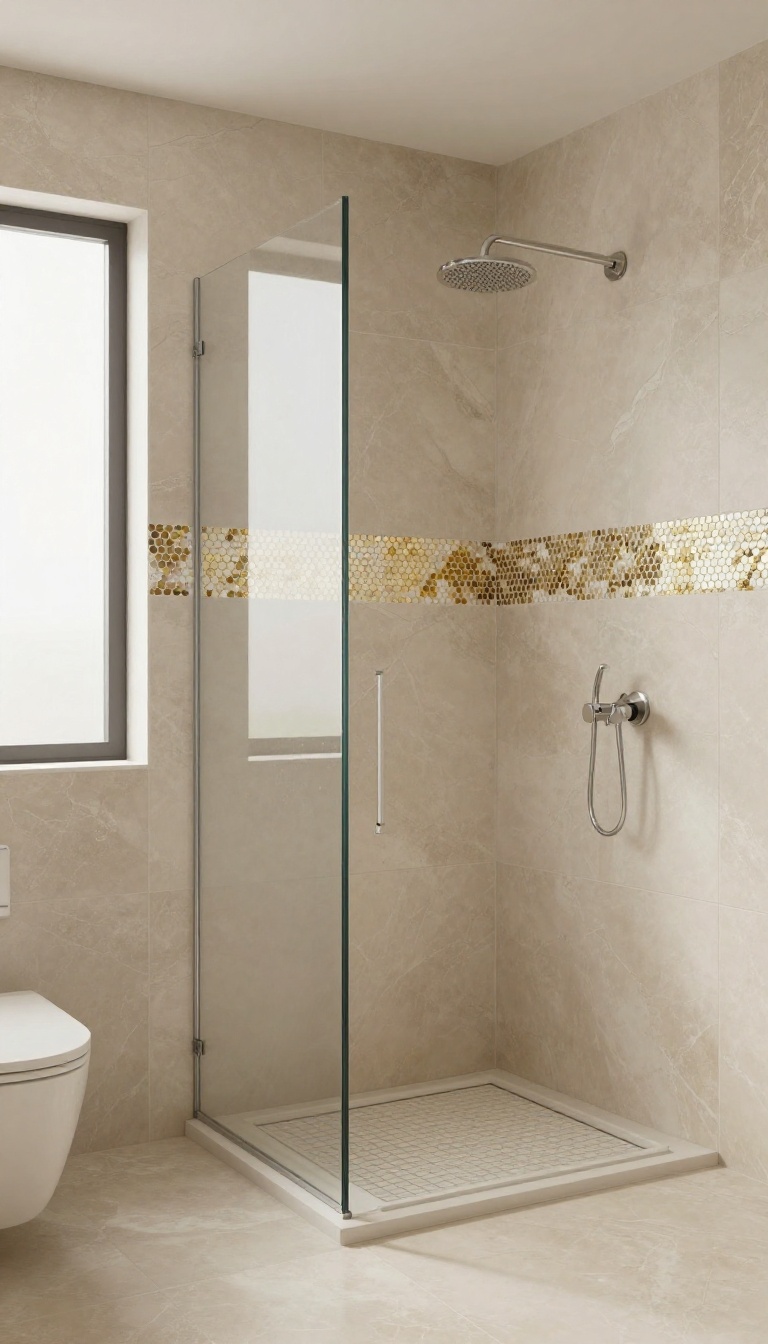
There’s something effortlessly modern about large-format slabs. They cut down on grout lines, which means less scrubbing and a cleaner, more open look. But a wall of solid tile can feel a bit flat.
That’s where mosaic accents come in—they add texture, color, and a touch of artistry without overwhelming the space.
The key to pulling off this look is balance. You want the large slabs to do the heavy lifting, creating a calm, seamless backdrop. Then, the mosaic strip or niche becomes a deliberate focal point.
It’s a simple trick that adds visual interest while keeping the overall design refined.
Why Large-format Slabs Work
Large-format tiles, typically 12×24 inches or bigger, are a practical choice for showers. Fewer grout lines mean less maintenance and a more continuous surface that makes the space feel bigger. They also come in a wide range of styles, from polished porcelain to matte finishes, so you can match any aesthetic.
Plus, the minimal seams help prevent moisture buildup, making them a smart pick for a wet area.
Placing Your Mosaic Accent
A mosaic strip can go in a few spots: a horizontal band at eye level, a vertical line behind the showerhead, or a framed niche for shampoo bottles. The key is to place it where it draws the eye naturally. For a subtle effect, use a mosaic that shares a color with your slabs.
For a bolder statement, pick a contrasting hue or a metallic finish. Just keep it to one accent area so the design stays cohesive.
Mixing Textures And Finishes
Don’t be afraid to mix textures. A glossy mosaic paired with a matte slab adds depth and catches light in interesting ways. Or try a stone-look slab with a glass mosaic for a touch of sparkle.
The contrast between smooth and textured surfaces makes the shower feel layered and custom. Just remember to keep the overall palette in mind so everything works together.
5. Matte Black and White: Bold Contrast
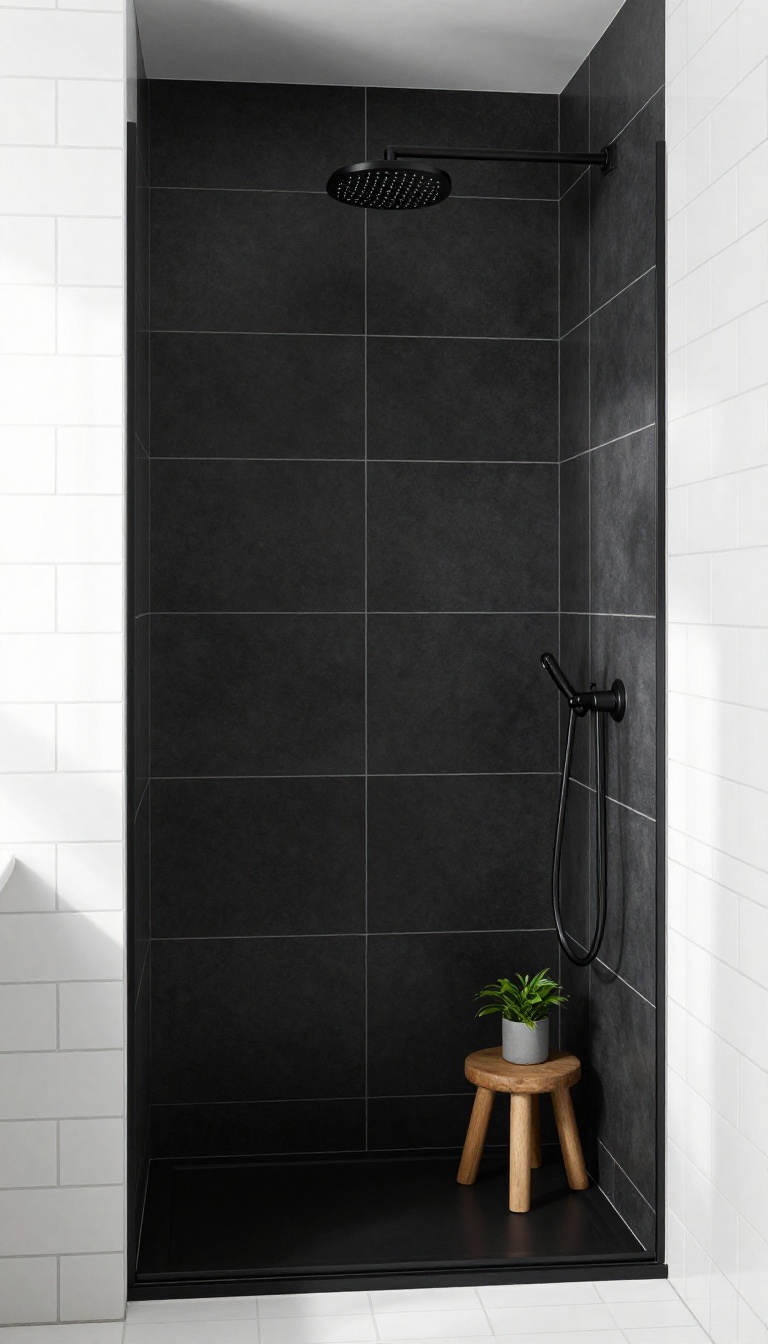
Sometimes the simplest combinations pack the biggest punch. Matte black tiles paired with crisp white grout and white wall tiles create a graphic, high-contrast look that feels both modern and grounded. The key is in the finish—matte black absorbs light instead of reflecting it, which keeps the contrast sharp without being harsh.
This pairing works because it plays with scale and placement. You can use large-format matte black tiles on the floor or as an accent wall, while keeping the rest of the shower in bright white subway or large-format tiles. The white grout on the black tiles adds a subtle grid that gives the space structure, and the white walls keep the shower feeling open and airy.
Where To Use Black
Black tiles are bold, so a little goes a long way. Consider using them on the shower floor for a grounding effect, or as a vertical strip behind the fixtures to create a focal point. If you're feeling adventurous, a full black accent wall can make a dramatic statement, but balance it with plenty of white elsewhere.
Grout Choices Matter
White grout on black tiles is the classic choice for that crisp, defined look. It highlights the tile shape and adds a graphic element. For a softer, more seamless appearance, you could use dark grout, but that will mute the contrast.
Stick with white if you want the bold effect to shine.
Finishing Touches
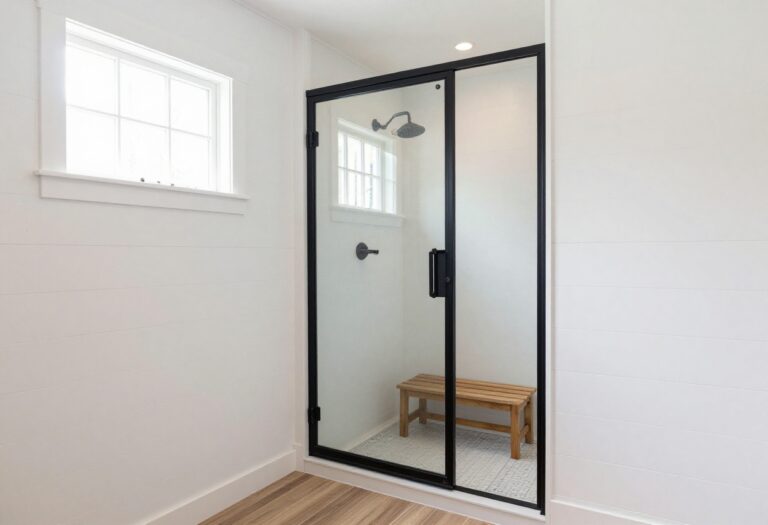
Keep the rest of the bathroom simple to let the contrast do the talking. Choose matte black fixtures for the showerhead and handles to tie the look together. Add a wooden stool or a plant for a touch of warmth, and use clear glass for the shower door to keep the visual flow uninterrupted.
6. Wood-Look and Stone: Warmth and Texture
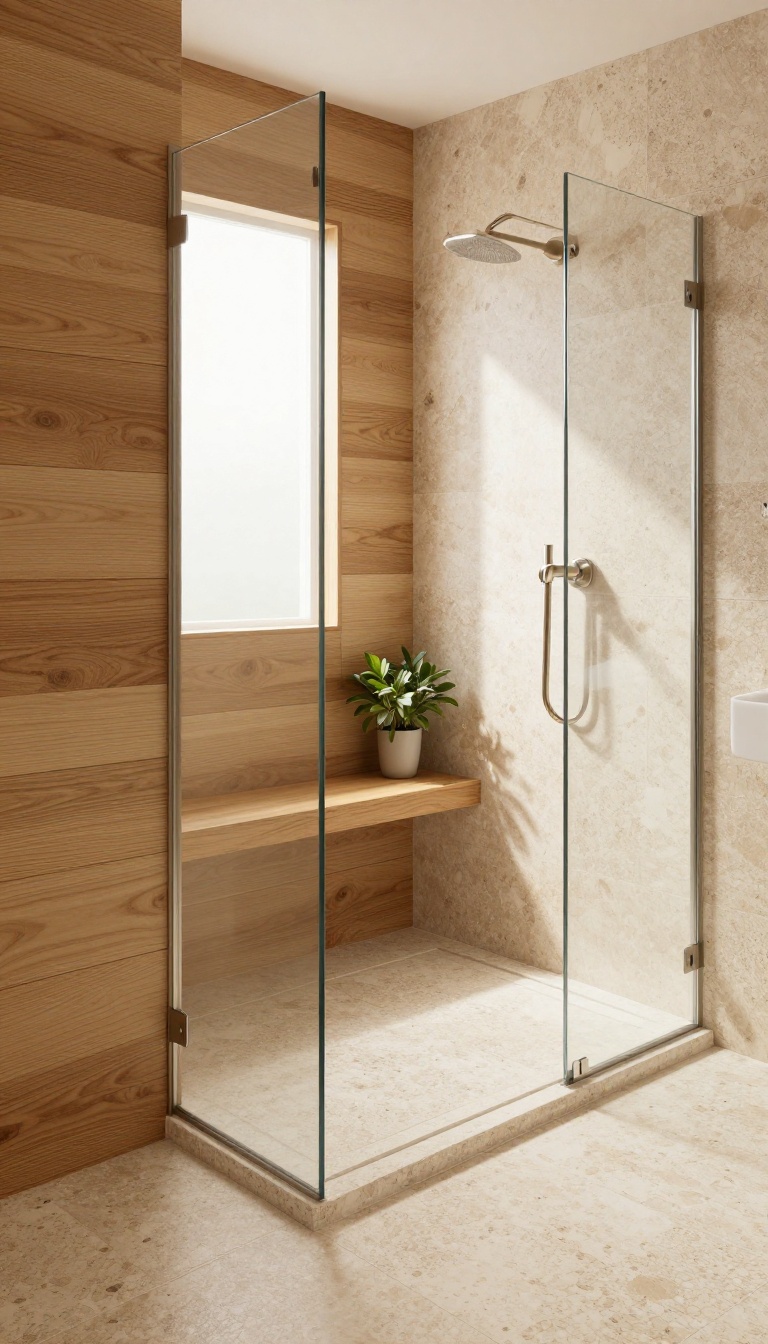
Some showers feel a little cold, even when the water is hot. That’s often because everything is glossy and hard. Mixing wood-look porcelain with natural stone changes the mood completely.
You get the warmth of wood without the maintenance, and the stone adds a grounded, earthy texture that feels timeless. It’s a pairing that brings a bit of nature indoors, making the shower feel like a retreat rather than just a utility.
The beauty of this combination lies in the contrast. Wood-look tiles have a soft, linear grain that instantly warms up a space. Natural stone, on the other hand, brings irregular patterns and subtle color variations.
Together, they create a balanced look that’s neither too rustic nor too polished. The key is to choose stone in neutral tones—like travertine, slate, or limestone—that complement the wood’s undertones. This way, the two materials feel like they belong together, not like they’re competing.
Choosing The Right Wood-look Tile
Not all wood-look tiles are created equal. Look for porcelain planks that have a matte finish and a realistic grain pattern. Avoid glossy versions, as they can look fake and slippery.
Also, consider the plank width—wider planks tend to look more modern, while narrower ones feel more classic. For a shower, make sure the tile has a high slip rating, especially for the floor. The goal is to mimic real wood’s warmth without sacrificing safety.
Picking The Perfect Stone Accent
When it comes to stone, think about the texture you want. Tumbled marble has a soft, matte finish that feels old-world and cozy. Slate offers a rougher, more rugged look that pairs well with darker wood tones.
If you prefer a smoother feel, choose honed granite or quartzite. The stone can be used as an accent wall, a niche, or even a bench seat. Just make sure it’s sealed properly to resist water and staining.
Where To Place Each Material
A common approach is to use wood-look tile on the floor and lower half of the walls, then switch to stone for the upper walls or the shower niche. This creates a visual anchor and makes the space feel grounded. Alternatively, you could use stone on the floor and wood-look tile on one accent wall.
The key is to balance the two so neither overwhelms the other. If you’re unsure, start with a small stone accent and build from there.
7. Glass and Ceramic: Light and Depth
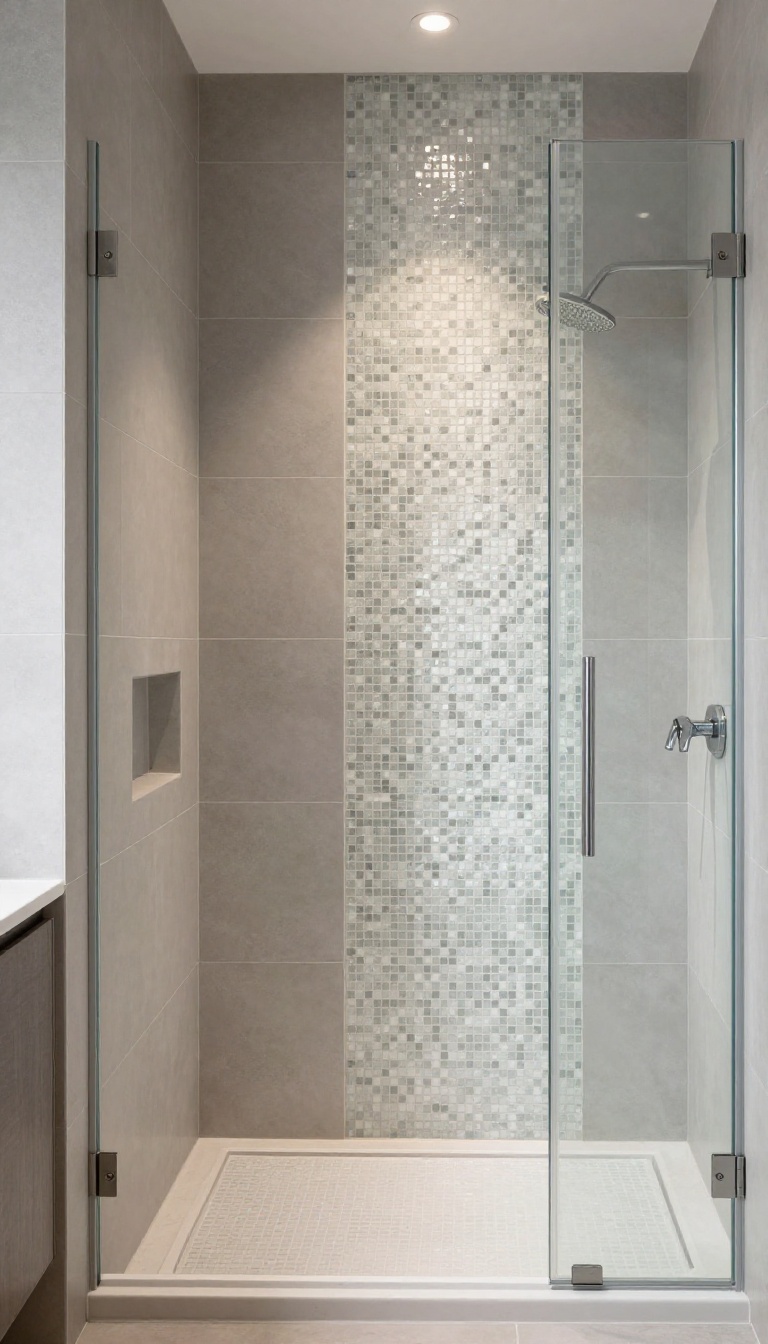
When you pair the crispness of ceramic with the luminous quality of glass, something special happens. The glass catches light and throws it around the space, while the ceramic keeps the design grounded and easy to live with. It’s a combination that feels airy, modern, and surprisingly versatile.
Why Glass Mosaics Work
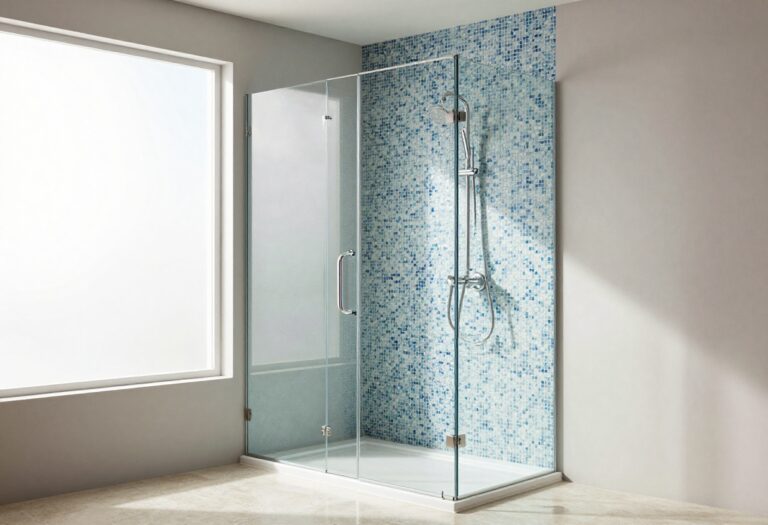
Glass mosaic tiles are small, but they have a big impact. Their reflective surface adds a subtle sparkle that can make a shower feel larger and more open. They come in a range of colors and finishes, from frosted to glossy, so you can dial the shimmer up or down to match your taste.
Balancing With Ceramic
Ceramic tiles are the perfect counterpoint to glass. They’re durable, easy to clean, and available in countless styles. Using larger ceramic tiles on the main walls keeps the look calm and cohesive, while the glass mosaic acts as a feature—maybe behind the shower bench or as a horizontal band.
Placement Ideas
A classic approach is to use glass mosaics on the shower floor or in a niche, with ceramic on the walls. Another option is to create a vertical strip of glass tiles that runs from floor to ceiling, drawing the eye upward. For a softer touch, try a glass accent border between two ceramic tones.
Color And Finish Tips
Stick to a monochromatic palette for a seamless, spa-like feel. Choose ceramic tiles in a matte finish to contrast with the glass’s gloss. If you want more drama, pick a glass tile with a hint of metallic or iridescent finish, but keep it to a small area so it doesn’t overwhelm.
8. Patterned and Solid: A Focal Point
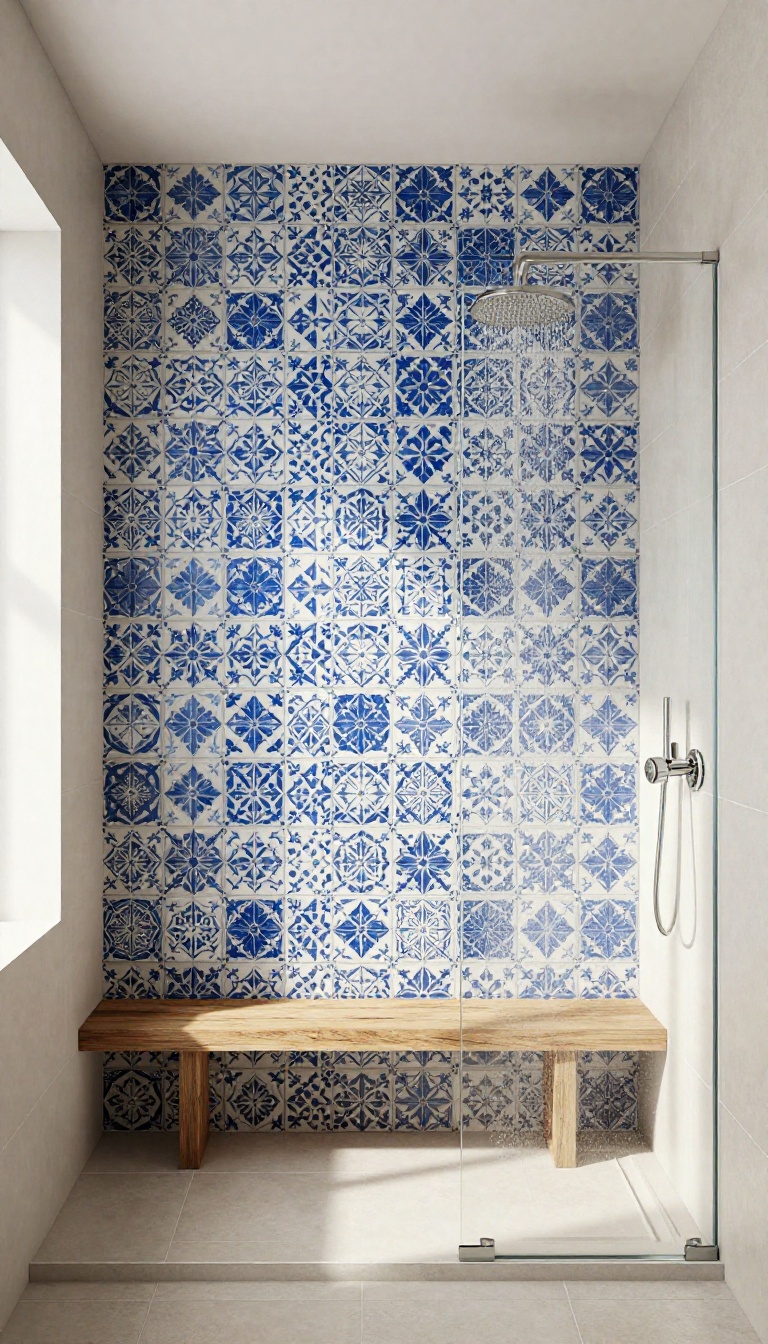
A single patterned wall can anchor the whole shower, giving the eye a place to rest without making the space feel busy. The trick is to let that pattern breathe by keeping the rest of the tiles solid and understated. This approach works in nearly any bathroom, whether you lean toward bold geometric shapes or delicate botanical prints.
Think of it as a conversation: the patterned tile speaks, and the solid tiles listen. The contrast creates a natural focal point that draws you in, while the solid areas keep the overall look calm and collected. It’s a simple way to add personality without overwhelming the senses.
When you choose a patterned tile for one wall or the floor, you’re making a deliberate design choice that pays off in visual interest. The key is restraint—let the pattern shine by pairing it with solid, neutral tiles that don’t compete for attention. This creates a balanced, refined look that feels intentional rather than chaotic.
Start by picking a pattern that speaks to you. It could be a Moroccan-inspired tile, a geometric hexagon, or even a subtle floral design. Then, choose solid tiles in a complementary color that picks up one of the hues in the pattern.
This ties the whole space together and ensures the focal point stands out without feeling disconnected. The placement of the patterned tile matters too. A single accent wall behind the shower bench or along the back wall is a classic choice.
Alternatively, use patterned tiles on the floor to create a striking foundation, while keeping the walls clean and simple. Whichever you choose, the contrast will add depth and character to your shower.
Choosing The Right Pattern
When selecting a patterned tile, consider the scale of the pattern in relation to your shower size. Large-scale patterns can make a small shower feel even smaller, so opt for a medium or small pattern if space is tight. Also, think about the color palette—patterns with a mix of light and dark tones add depth, while monochromatic patterns offer a more subtle effect.
Balancing The Solid Tiles
The solid tiles you pair with the pattern should be simple and unobtrusive. White, beige, light gray, or soft pastels work well to let the pattern pop. If you want a bit more contrast, choose a solid tile that’s a shade darker than the lightest color in the pattern.
This creates a cohesive look without overwhelming the eye.
Placement Strategies
For a dramatic yet balanced effect, use patterned tiles on the floor and keep the walls solid. This grounds the space and adds visual interest underfoot. Alternatively, an accent wall behind the shower fixtures or along the back wall creates a beautiful backdrop.
If you’re feeling bold, you could even use patterned tiles on a niche or shelf for a subtle pop of character.
9. Neutral Tones with a Metallic Edge
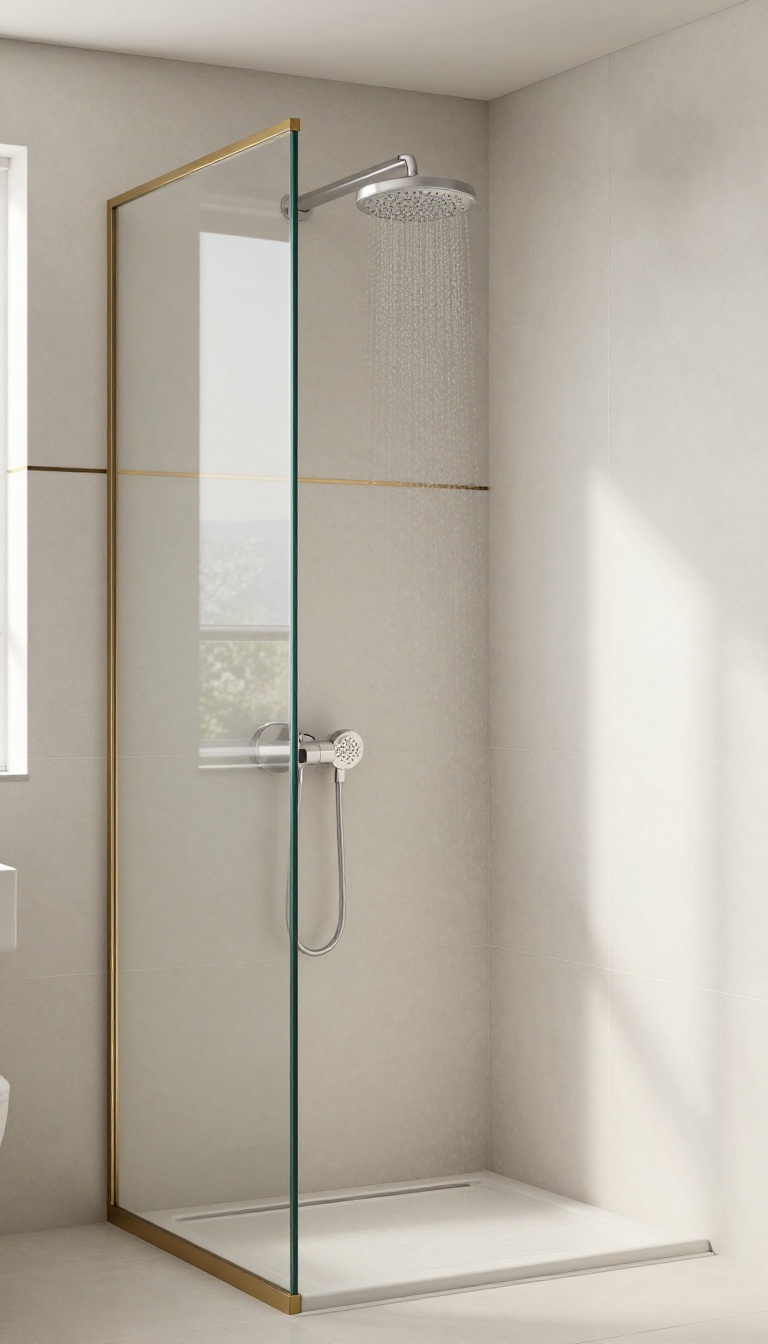
Sometimes the quietest palettes make the loudest statement. A neutral shower doesn't have to be boring when you introduce a metallic accent that catches the light just right. This approach keeps the overall feel calm and spa-like, while the metal adds a touch of glamour that feels intentional, not overdone.
The trick is to let the metallic elements work as jewelry for your shower. A thin strip of brass or nickel between soft gray tiles, or a row of mosaic tiles with a metallic sheen, can elevate the entire space without screaming for attention. It's a refined way to add warmth and character to an otherwise understated design.
Neutral tiles—think warm whites, soft grays, or sandy beiges—create a serene backdrop that lets metallic accents shine. The key is balance: you want the metal to complement, not compete, with the tile. A subtle metallic edge on a niche or a slim accent line at eye level can add just enough sparkle to make the shower feel special.
When choosing your metallic finish, consider the overall mood you want. Brushed brass or champagne gold adds warmth and a vintage feel, while brushed nickel or chrome keeps things cool and modern. Copper can bring a rustic, earthy vibe.
The finish you pick should tie into other fixtures in your bathroom, like the faucet or showerhead, for a cohesive look.
Where To Place The Metallic Accent
Placement is everything. A common approach is to use a metallic trim as a border between two different neutral tiles, creating a clean line that defines the space. You could also frame the shower niche with a metallic edge to draw the eye to your shampoo bottles or a decorative tile.
For a bolder look, consider a vertical strip of metallic mosaic tiles behind the shower bench or along one wall—it acts like a piece of art without overwhelming the senses.
Pairing Metals With Tile Textures
Think about the texture of your neutral tiles. Smooth, glossy tiles reflect light and pair beautifully with shiny metal, while matte or textured tiles create a nice contrast with a polished metallic accent. For example, a honed marble tile with a brushed brass strip looks sophisticated, while a matte ceramic tile with a polished nickel line feels more contemporary.
Mixing textures adds depth and prevents the space from feeling flat.
Keep It Subtle Or Go Bold
You can dial the metallic look up or down depending on your taste. For a subtle touch, use a thin metal strip as a transition between tiles or as a shelf edge. If you're feeling more adventurous, create a feature wall with metallic mosaic tiles mixed into the neutral palette.
Just remember that a little goes a long way—too much metal can make the shower feel flashy rather than refined.
10. Mixed Shapes: Curves and Angles
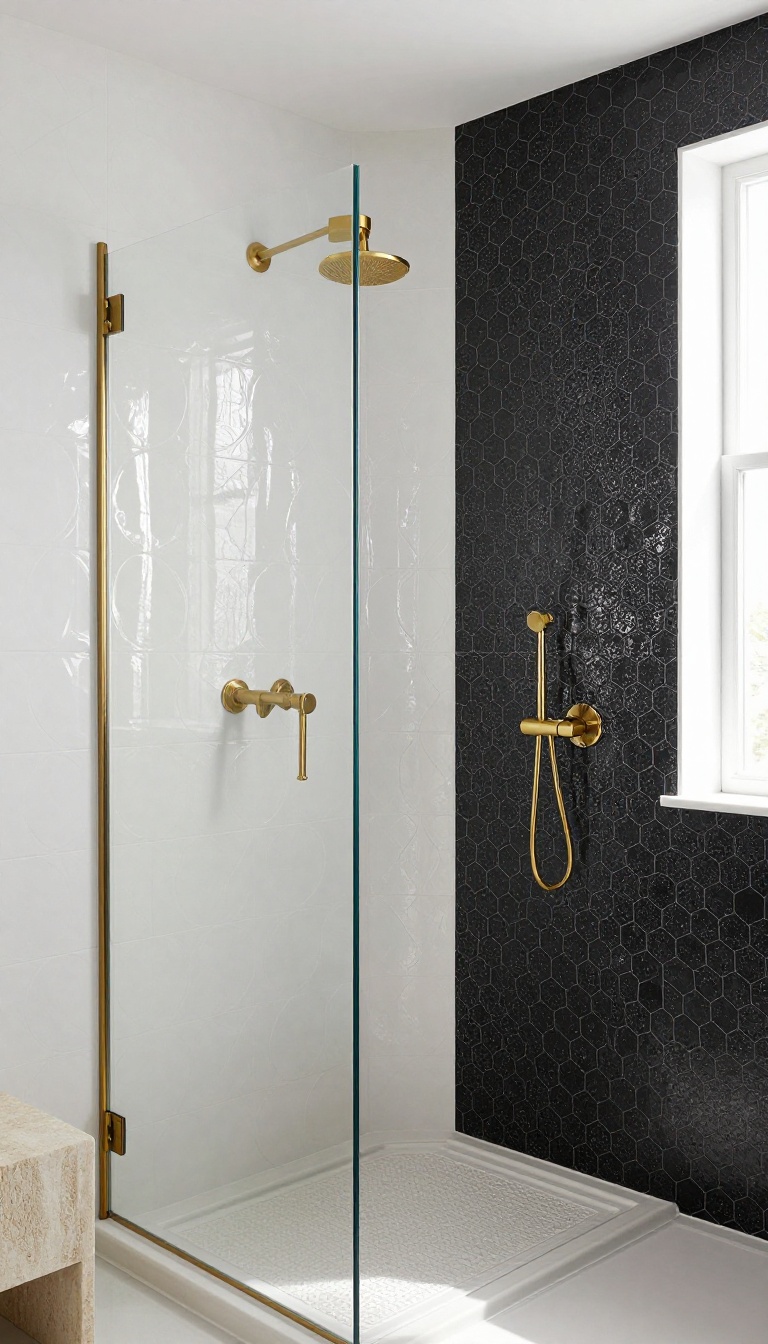
Mixing tile shapes is a bold move that pays off when done right. Curved tiles like fish scales bring a soft, organic feel, while angular hexagons add structure and edge. Together, they create a dynamic contrast that makes your shower feel custom and intentional.
This pairing works because it balances opposing energies—the gentle flow of curves against the crispness of angles. You can use one shape as the main field and the other as an accent, or alternate them in a pattern. The result is a visually engaging surface that never feels flat or predictable.
When you combine curved and angular tiles, you're not just mixing materials—you're mixing moods. The curves soften the overall look, making the space feel welcoming, while the angles inject a modern, precise vibe. This contrast is especially effective in showers, where the eye naturally scans the walls and floor.
To keep the design cohesive, choose tiles in a similar color palette or finish. For example, glossy white fish scales paired with matte black hexagons create a striking monochrome look. Or, use the same color in both shapes to let the form do the talking.
The key is to let the shapes complement each other without competing for attention.
Choosing Your Shapes
Start by picking a dominant shape for the main surface. Fish scales (also called scallops) work beautifully as a full wall or niche, adding a subtle wave-like rhythm. Hexagons are versatile and can be arranged in a honeycomb pattern for a classic look or in a random layout for a more modern feel.
For a balanced mix, consider using one shape for the walls and the other for the floor or as a border. For instance, a fish-scale feature wall behind the shower bench can be framed by hexagon tiles on the other walls. This creates a clear focal point without overwhelming the space.
Pattern Ideas
One popular pattern is to alternate fish scales and hexagons in a checkerboard style, but that can be visually busy. Instead, try a vertical stripe of fish scales running through a field of hexagons. This adds height and interest without being chaotic.
Another idea is to use hexagons as a backsplash or niche accent, while the main walls are fish scale. This lets the curves dominate and the angles provide subtle texture. You can also play with scale—large hexagons paired with small fish scales create a striking contrast that draws the eye.
Practical Tips
When mixing shapes, pay attention to grout lines. Curved tiles often require more grout, which can affect the overall look. Use a grout color that blends with the tiles to minimize visual clutter, or choose a contrasting grout to highlight the shapes.
Also, consider the layout carefully. Curved tiles can be tricky to align, so hire a professional if you're not confident. And always order extra tiles—cutting curved shapes can lead to more waste than straight-edged tiles.
FAQ
What is the best tile mix for a small shower?
For small showers, use large-format tiles on walls to minimize grout lines and create a seamless look. Pair with a smaller mosaic on the floor for slip resistance.
How do I choose the right grout color?
Choose grout that contrasts or blends with your tiles. For a clean look, match grout to the tile. For a bold statement, use a contrasting color.
Can I mix different tile materials in the same shower?
Yes, mixing materials like marble, ceramic, and glass is a great way to add texture and interest. Just ensure they are all suitable for wet areas.
What is the most durable tile for shower walls?
Porcelain and ceramic tiles are highly durable and water-resistant, making them excellent choices for shower walls. Natural stone requires more maintenance.
How can I make my shower look more luxurious?
Use large-format tiles, add a niche with contrasting tile, and incorporate metallic fixtures. Good lighting also enhances the overall feel.
Conclusion
Mixing tile styles and materials is the quickest way to give your shower a custom, high-end feel without overcomplicating the build. Start with one standout element—maybe a textured niche or a bold floor pattern—and let the rest stay calm. That contrast does the heavy lifting.
Once you see how a refined material mix changes the whole room, you'll wonder why you waited.
Choose finishes that match your daily routine and cleaning tolerance, then enjoy a shower that looks intentional from every angle. The best part? These ideas scale to any budget.