15 Fresh Bathroom Shower Ideas with Crisp, Custom Appeal
A shower should do more than just get you clean—it should feel like a small escape from the day. But many bathrooms end up with the same tired setup: a basic curtain, a boring head, and a floor that’s always wet.
The good news? You don’t need a full remodel to make a big difference.
These 15 ideas focus on smart, stylish upgrades that add personality and practicality without breaking the bank. Whether you’re tackling a weekend project or planning a bigger refresh, there’s something here to spark your next move.
1. Swap in a Rainfall Showerhead for an Instant Spa Vibe
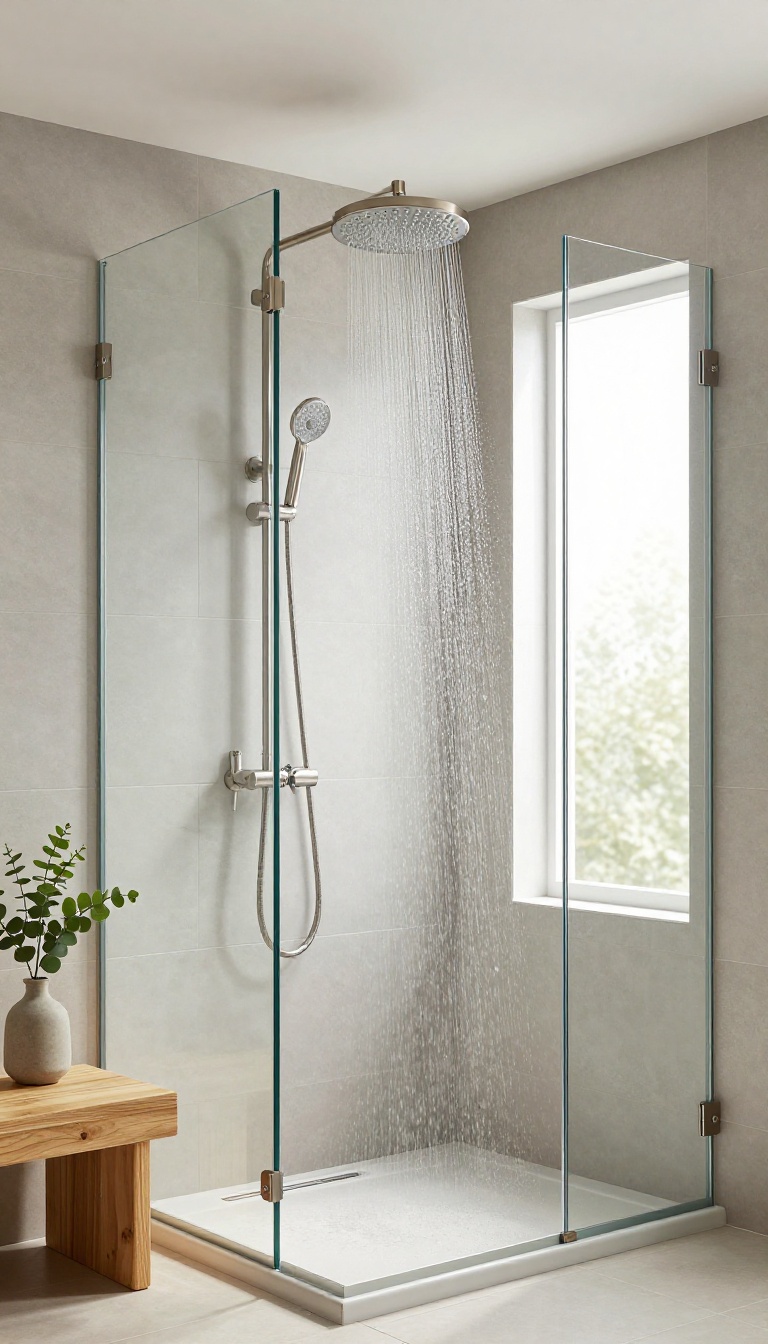
A rainfall showerhead is one of those upgrades that feels like a splurge but doesn't have to be. The wide, flat face delivers a soft, even spray that covers your shoulders and back like a warm summer downpour. It's a simple swap that instantly makes your shower feel more luxurious and relaxing.
The best part about a rainfall showerhead is how easy it is to install. Most models screw right onto your existing shower arm, and you can often do it in under an hour with just a wrench and some plumber's tape. You don't need to hire a plumber or tear up your tile.
Just pick a finish that matches your fixtures—brushed nickel, matte black, or chrome—and you're good to go.
Why Rainfall Heads Feel Different
Unlike a standard showerhead that shoots a concentrated stream, a rainfall head spreads the water over a larger area. The droplets fall at a gentler pace, which feels more like standing in natural rain. It also helps you rinse off soap and shampoo more thoroughly because the water covers more surface area at once.
Choosing The Right Size And Style
Rainfall heads come in different diameters, usually from 6 to 12 inches. Bigger isn't always better—you want one that fits your shower space without hitting the walls or making the water bounce off the curtain. Also, consider the finish and whether you want a fixed mount or a handheld combo.
A fixed head gives that classic spa look, while a handheld version adds flexibility for rinsing the shower or washing pets.
Installation Tips For A Smooth Upgrade
Before you start, check the thread size on your shower arm—most are 1/2 inch, but it's worth confirming. Wrap the threads with plumber's tape to prevent leaks, then screw on the new head by hand. If you're replacing an old head, use a wrench to loosen it, but be careful not to damage the pipe.
Once it's snug, turn on the water and check for drips. That's it—you're done.
2. Add a Built-In Niche for Shampoo and Soap
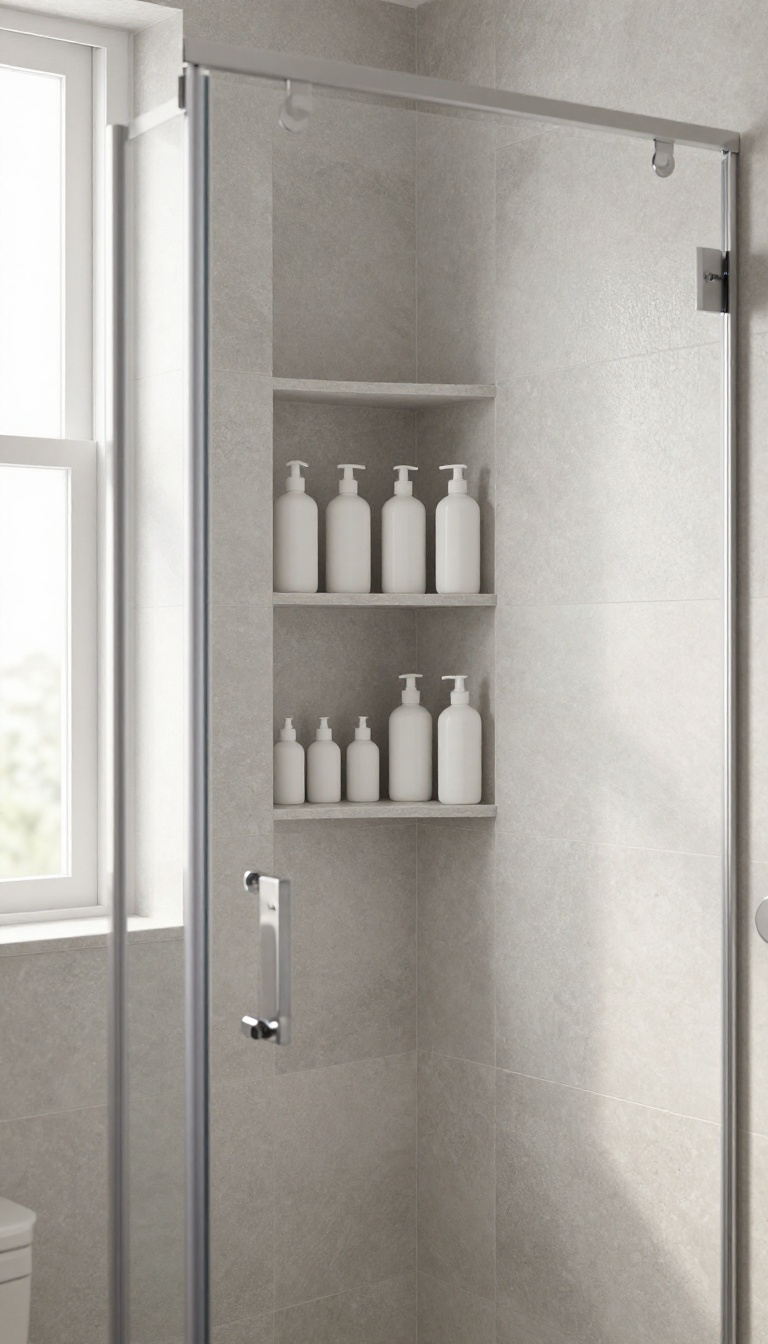
Tired of knocking over bottles in the shower or watching them pile up in a caddy? A recessed niche is the tidy solution you didn't know you needed. It's a simple addition that makes your shower feel more organized and custom.
A built-in niche is essentially a shelf carved into the shower wall, giving you a permanent spot for your essentials. It keeps everything off the floor and within easy reach, eliminating the need for bulky corner shelves or hanging baskets. Plus, it's a feature that adds a touch of luxury and makes cleaning a breeze—no more scrubbing around bottles.
Where To Place It
Think about your daily routine. The most convenient spot is usually on the wall opposite the showerhead, so you can grab what you need without turning around. If you have a handheld shower, consider placing the niche near the controls.
And don't forget about height—it should be at chest level for easy access, but you can also add a lower one for kids or a higher one for tall bottles.
Sizing And Tile Tips
A standard niche is about 12 inches wide and 6 to 8 inches tall, but you can customize it to fit your bottles. To make it blend seamlessly, line the back with the same tile as your shower wall. For a subtle contrast, use a different color or a decorative mosaic.
Just make sure the shelf has a slight slope toward the front so water doesn't pool.
Diy Or Pro?
If you're comfortable with basic tiling and waterproofing, you can tackle this as a weekend project. But if you're not sure about cutting into your shower wall, it's worth hiring a pro. The key is to ensure proper waterproofing behind the tile to prevent leaks.
Either way, the result is a clean, functional feature that looks like it was always meant to be there.
3. Install a Frameless Glass Enclosure to Open Up the Space
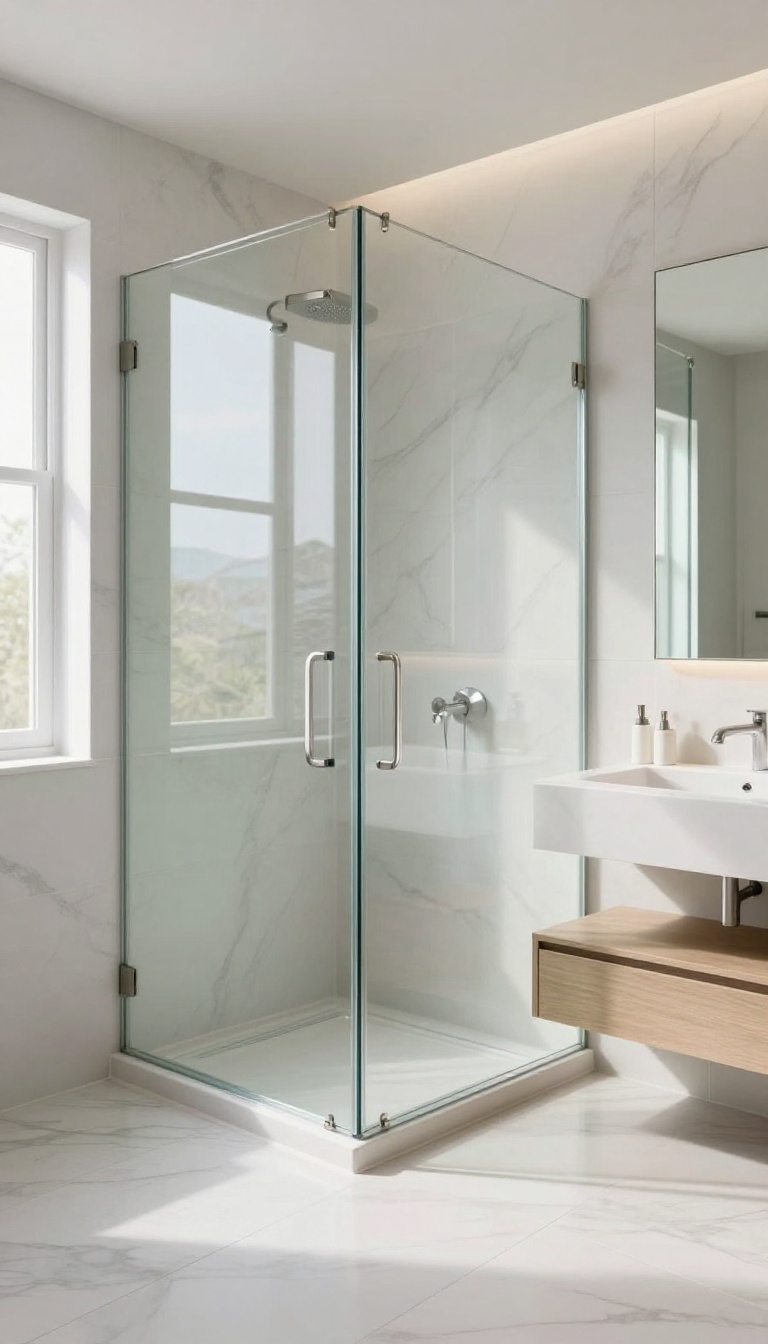
Swapping out a bulky shower curtain or a dated framed door can instantly change the whole feel of your bathroom. A frameless glass enclosure does more than just look sleek—it removes visual barriers that make the room feel closed in. The result is a brighter, more open space that still keeps water where it belongs.
Frameless glass doors create a seamless, airy feel, making even a small bathroom look larger. They also showcase beautiful tile work and are easier to keep spotless.
Why Frameless Beats Framed
Traditional framed shower doors come with bulky metal tracks and hinges that break up the sightline. Frameless versions use thick tempered glass held by minimal hardware, so your eye travels straight across the room. That uninterrupted view makes the bathroom feel more expansive, especially when you pair it with light-colored walls or a large mirror.
What To Look For In Glass And Hardware
Go for 3/8-inch or 1/2-inch tempered glass—it’s sturdy and safe. For the clearest look, choose low-iron glass, which lacks the greenish tint of standard glass. On the hardware side, brushed nickel or matte black hinges and handles add a subtle modern touch without stealing attention from the glass itself.
Keeping It Spotless Without The Streaks
One worry people have is cleaning all that glass. The trick is to use a squeegee after each shower to prevent hard water spots. You can also apply a water-repellent coating, which makes droplets bead up and roll off.
With a few minutes of upkeep, your enclosure stays crystal clear and ready to impress.
4. Use Large-Format Tiles for a Modern, Low-Maintenance Look
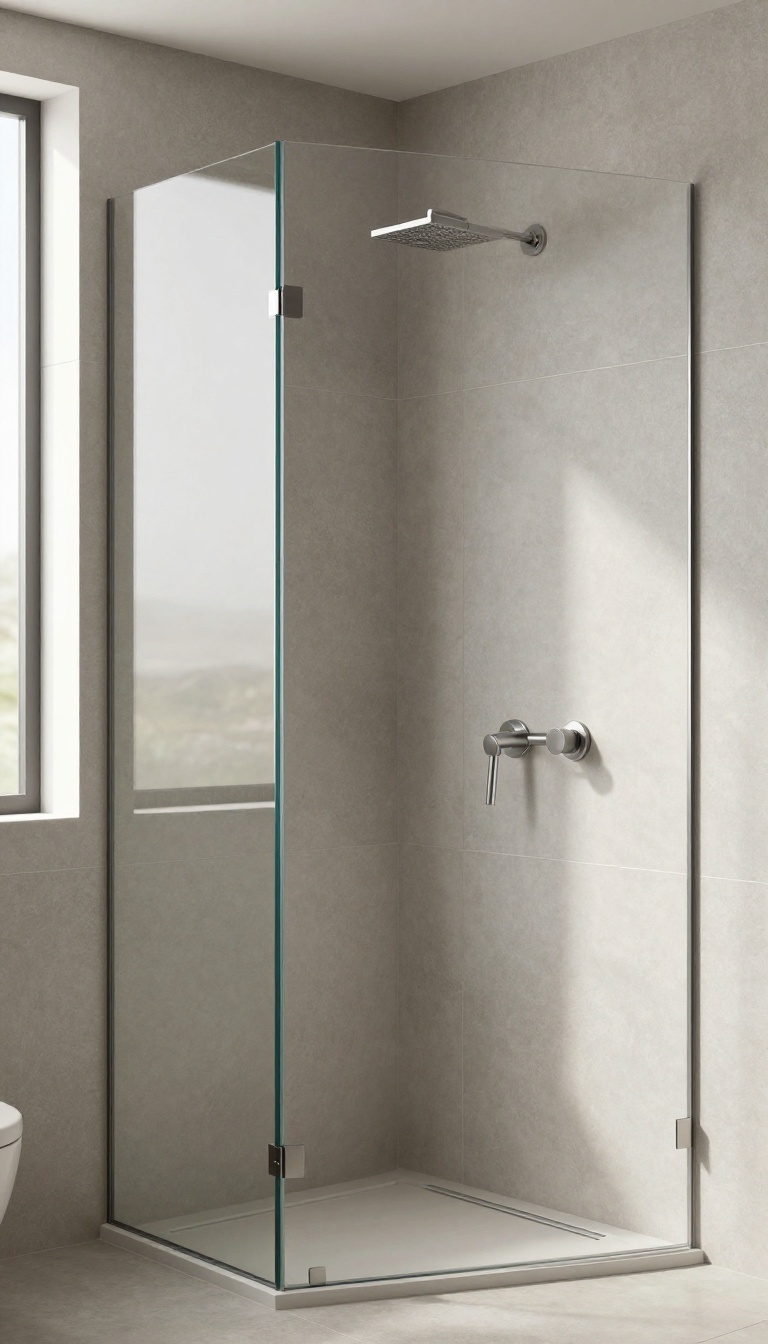
Grout lines are the unsung villains of bathroom upkeep. Every seam is a tiny magnet for soap scum, mildew, and the kind of grime that makes you sigh. Large-format tiles slash the number of those lines dramatically, giving you a cleaner look with far less scrubbing.
Plus, the contemporary vibe they bring is a bonus you’ll appreciate every time you step in.
Large-format tiles—usually 12×24 inches or bigger—are a smart swap for anyone tired of the classic subway tile maintenance routine. Fewer grout lines mean less surface area for grime to cling to, so your shower stays fresher between cleanings. The sleek, expansive surface also makes a small bathroom feel bigger, since there are fewer visual interruptions.
And with a matte finish, you get extra grip underfoot without sacrificing that soft, custom feel.
Why Bigger Is Better
The main appeal is practical: fewer grout joints means less scrubbing. But there’s a design payoff too. Large tiles create a seamless, almost monolithic look that reads as high-end and modern.
They also minimize the visual noise that comes with small tiles, making the space feel calmer and more put-together. If you’re after a spa-like retreat, this is a solid foundation.
Choosing The Right Finish
Matte finishes are the go-to for shower floors because they offer better traction when wet, reducing slips. They also hide water spots and soap residue better than glossy options. For walls, you can still use large-format tiles with a subtle texture or a soft sheen to add depth without the maintenance hassle.
Pick a neutral tone—like warm gray or soft beige—for a timeless look that won’t clash with future decor changes.
Installation Tips To Keep In Mind
Large tiles need a perfectly flat surface to avoid lippage—that annoying unevenness where one tile edge sticks up. Make sure your contractor uses a leveling system and back-buttering each tile for full adhesion. Also, plan the layout carefully to avoid thin slivers at the edges; a little extra planning goes a long way.
And always use a grout that’s stain-resistant and epoxy-based for maximum longevity.
5. Incorporate a Teak Shower Bench for Warmth and Function
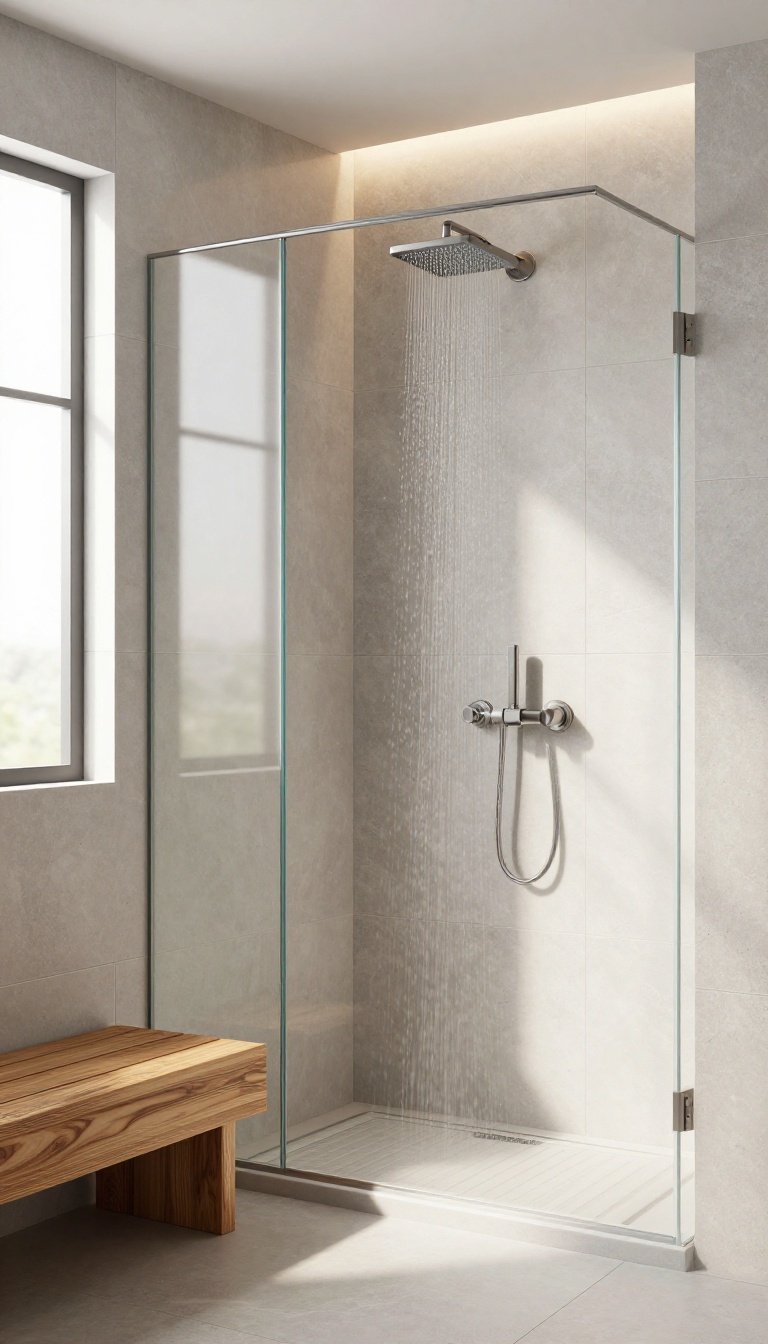
A teak bench isn't just a pretty addition—it's a practical one. It gives you a spot to sit while shaving your legs or just to rest under the hot water. The natural wood tones add warmth that contrasts beautifully with cool tile or stone, making your shower feel more like a spa.
Adding a teak bench is a simple way to upgrade both the look and usability of your shower. Teak is naturally water-resistant, so it holds up well in damp environments. Plus, it's easy to maintain—just let it air dry and occasionally treat it with teak oil to keep the color rich.
Why Teak Works In Wet Areas
Teak contains natural oils that make it resistant to water and rot, so it won't warp or crack like other woods. That's why it's a classic choice for boat decks. In a shower, it stays sturdy and safe, even when wet.
And because it's a hardwood, it can handle daily use without showing wear quickly.
Placement And Size Tips
Think about where you need the bench most. A corner unit saves space, while a long bench along one wall gives you room to stretch out. Measure your shower to ensure the bench doesn't block the door or make the space feel cramped.
A depth of 12 to 16 inches is usually comfortable for sitting, and you can add a small gap between the slats for drainage.
Styling With Tile And Accessories
Teak pairs well with almost any tile—white subway, dark slate, or even colorful mosaic. The warm brown tones soften the hard surfaces. You can also add a small teak accessory like a soap dish or a mat to tie the look together.
Keep the bench simple; let the natural grain be the star.
6. Upgrade to a Handheld Shower Wand for Flexibility
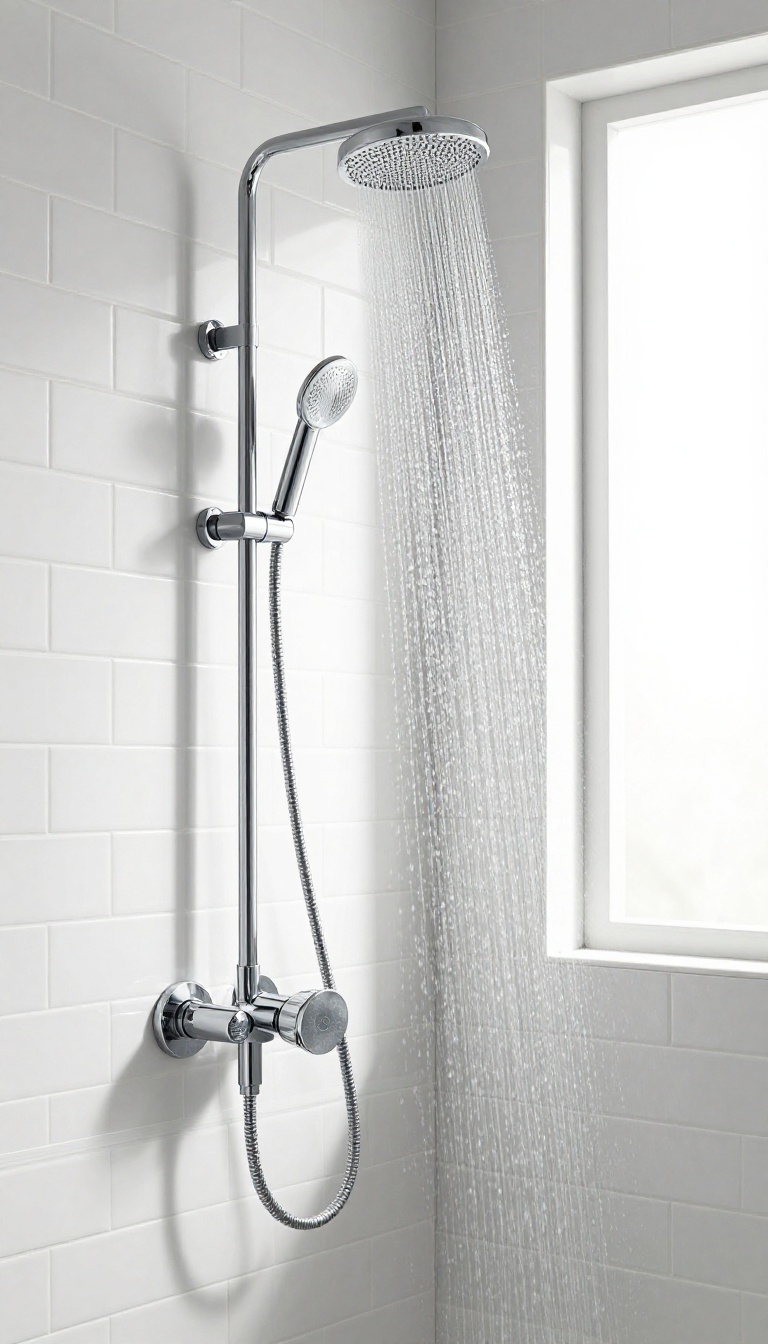
A fixed showerhead can feel limiting, especially when you need to rinse off after a day at the beach or wash the dog without turning the whole bathroom into a splash zone. That’s where a handheld wand comes in—it’s a simple swap that adds a whole new level of convenience. You’ll wonder how you ever managed without one.
A handheld shower wand is more than just a detachable nozzle; it’s a tool that adapts to your needs. Whether you’re washing kids, cleaning the shower walls, or just want a more targeted rinse, this upgrade makes everyday tasks easier. Plus, it’s a relatively low-cost change that can be done in an afternoon, making it a smart choice for renters and homeowners alike.
Reach Every Corner With Ease
One of the biggest perks of a handheld wand is the ability to direct water exactly where you need it. No more contorting your body to rinse shampoo out of long hair or awkwardly bending to wash your legs. It’s also a lifesaver for cleaning the shower itself—spray down the walls, corners, and glass door without getting soaked.
For anyone with mobility issues or who simply wants a more comfortable shower, this flexibility is a game-changer.
A Multi-purpose Tool For The Whole Family
Handheld wands aren’t just for people—they’re perfect for pets, too. Bathing a dog becomes a much more pleasant experience when you can gently rinse them without a full spray in the face. It’s also handy for filling buckets, cleaning muddy shoes, or even washing delicate items that need a gentle stream.
This versatility makes it a favorite for busy households.
Choosing The Right Handheld Wand
When shopping for a handheld wand, consider the spray settings, hose length, and mounting options. Look for a model with multiple spray patterns—like a massage setting for sore muscles or a gentle mist for kids. A longer hose (at least 60 inches) gives you more reach, and a slide bar or wall mount lets you adjust the height easily.
Many wands come with a diverter that lets you switch between the overhead shower and the wand with a simple flip, so you get the best of both worlds.
7. Add a Rain Shower Panel with Body Jets for a Luxury Feel
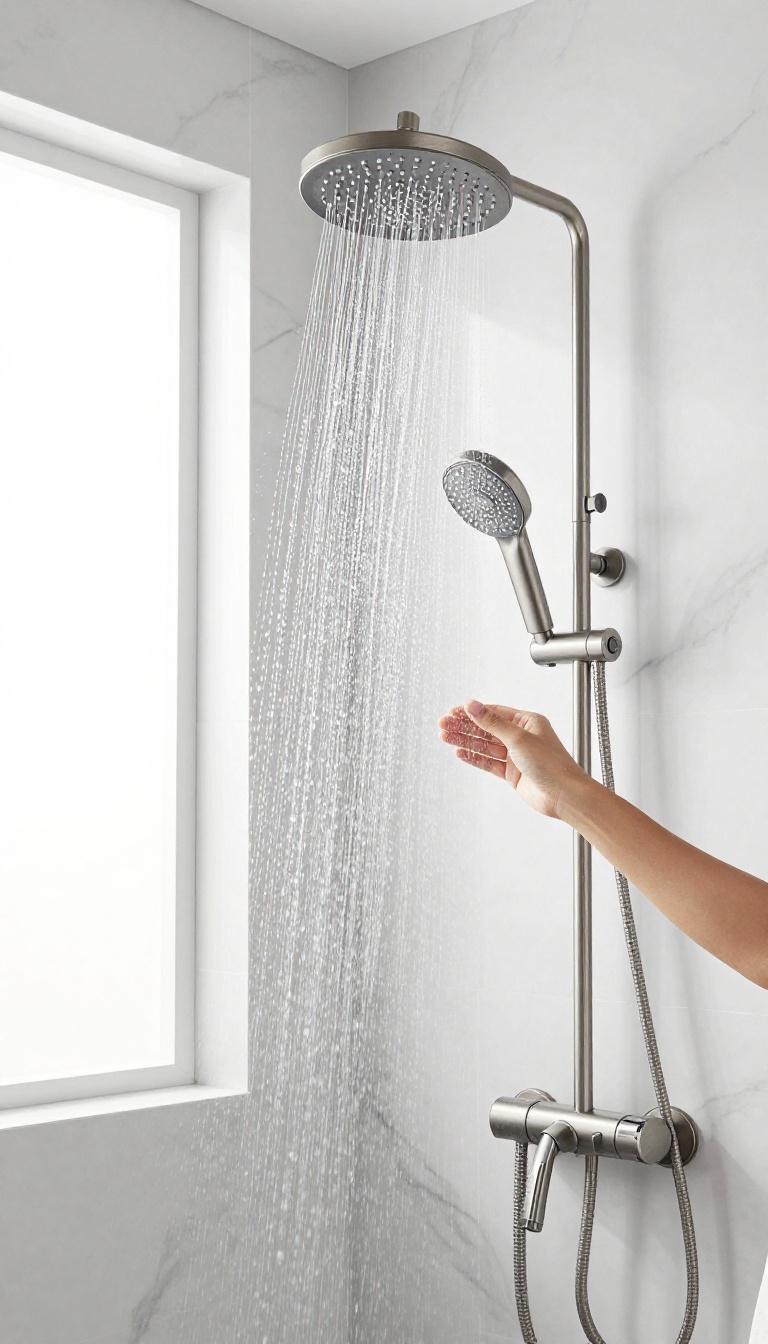
If a standard showerhead feels a little plain, a shower panel might be the upgrade you didn’t know you needed. These sleek, wall-mounted units combine a wide rainfall head with adjustable body jets, giving you a full-coverage rinse that feels like a spa treatment every day. It’s a high-impact change that doesn’t require a full remodel—just a bit of plumbing know-how or a pro’s help.
A shower panel is a single, integrated unit that mounts on your shower wall, typically with a large rain showerhead on top and several body jets positioned at different heights. The result is a luxurious, enveloping spray that hits you from multiple angles, offering a massage-like experience that’s both relaxing and invigorating. Many panels also include a handheld sprayer, making it easy to rinse off or clean the shower.
It’s a practical upgrade that adds a touch of hotel-style luxury to your daily routine.
What To Look For
When shopping for a shower panel, pay attention to the number and adjustability of the body jets. Some panels have fixed jets, while others let you change the spray pattern or turn them off individually. Also, check the material—stainless steel or brushed nickel are durable and resist water spots.
Make sure the panel’s height fits your shower space, and consider models with a thermostatic valve to keep the water temperature steady.
Installation Tips
Installing a shower panel requires connecting both hot and cold water lines, and sometimes an electrical connection if it includes a digital control or LED lights. If you’re comfortable with basic plumbing, you can do it yourself, but it’s often easier to hire a professional. Before you start, check your water pressure—panels with many jets need good pressure to perform well.
Also, ensure the wall is sturdy enough to support the panel’s weight.
Design And Placement
Shower panels work best in showers with at least 3 feet of width so the jets have room to spray without hitting the walls. They come in a variety of finishes, from chrome to matte black, so you can match your bathroom’s style. For a cohesive look, pair the panel with a glass shower door and simple tile.
If you have a corner shower, choose a panel designed for that configuration, or install it on the longest wall for maximum coverage.
8. Choose a Bold, Patterned Tile Accent Wall
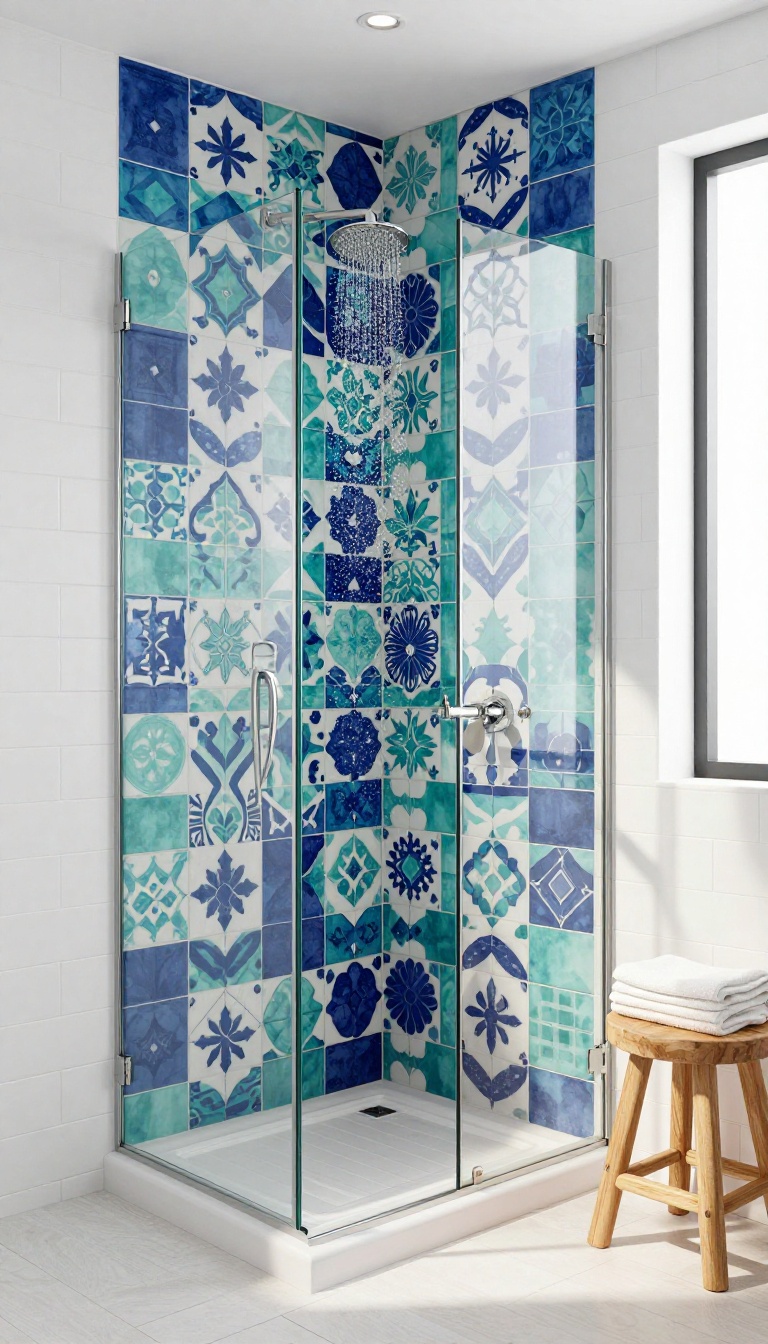
A single wall of bold tile can completely transform your shower without overwhelming the whole bathroom. It’s like adding a piece of art that you can actually use. Whether you go for geometric shapes, Moroccan-inspired motifs, or a lush floral pattern, an accent wall gives you a chance to play with color and texture in a focused, manageable way.
Picking one wall to feature lets you experiment with patterns that might feel too intense if they covered every surface. It’s a smart compromise between a neutral, spa-like shower and a full-on statement. Plus, it’s a project that can be scaled to fit your budget—maybe you tackle the whole wall, or just a niche or band.
Why One Wall Works
An accent wall creates a clear focal point without making the space feel busy. It draws the eye and adds depth, especially if you choose a pattern with movement. You can keep the other walls simple—white or light gray—so the bold tile really pops.
This approach also lets you try a trend you love without committing to it everywhere.
Picking The Right Pattern
Think about the size of your shower and the overall vibe you want. Large-scale geometric tiles can make a small shower feel bigger, while intricate Moroccan patterns add a sense of luxury. Floral tiles bring a soft, organic touch.
If you’re unsure, lay out a few samples against your existing fixtures to see what feels right. Don’t be afraid to mix finishes—matte tiles with a glossy accent can add extra dimension.
Installation Tips
You can hire a pro, but if you’re handy, this is a doable weekend project. Make sure the wall is clean, dry, and waterproofed before you start. Use a tile spacer to keep lines even, and cut tiles carefully around fixtures.
For a seamless look, match the grout color to the tile or choose a contrasting shade to highlight the pattern. Always seal the grout to prevent moisture damage.
9. Install a Linear Drain for a Sleek, Minimalist Floor
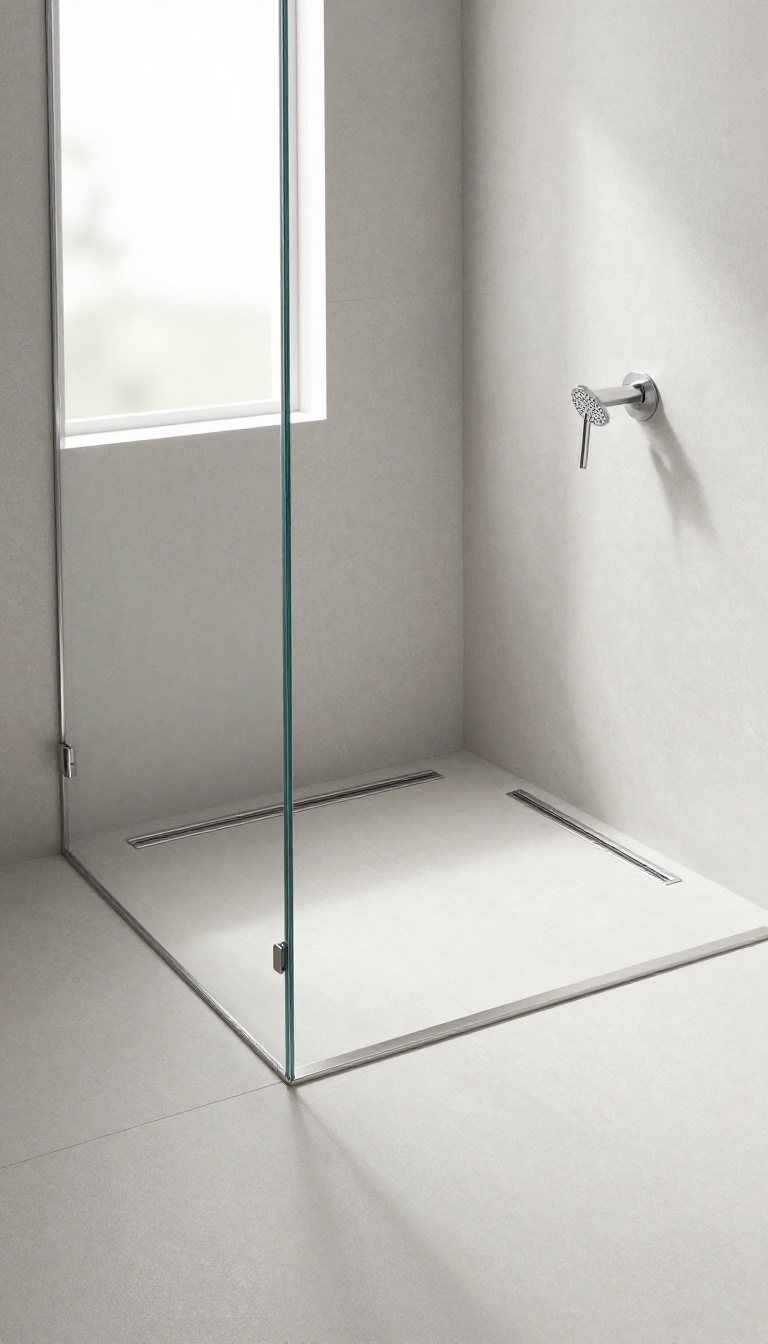
That traditional center drain often dictates the entire shower layout, forcing you to slope the floor in every direction. A linear drain flips that idea, letting you create a perfectly flat, level base that looks incredibly clean and modern. It's a subtle change that makes a big visual impact.
Swapping a standard drain for a linear one is about more than just aesthetics. It opens up design possibilities and simplifies maintenance, making your shower feel more like a spa and less like a utility space.
Why Go Linear?
Linear drains sit flush with the tile, creating a seamless, uninterrupted floor. This removes the need for a bulky center grate and allows for larger format tiles, which means fewer grout lines. From a practical standpoint, the single long channel is easier to keep clean than a traditional square drain, and it can be positioned at the edge of the shower to create a curbless, walk-in look.
Installation Considerations
While you can retrofit a linear drain, it's much easier to install during a full remodel. The drain requires a slight slope in one direction, which is simpler to achieve when you're already redoing the subfloor. If you're working with a concrete slab, you'll need to account for the plumbing, so it's best to consult a professional.
The payoff is a custom, high-end finish that feels intentional and polished.
Design And Placement Tips
Think about where you want the water to flow. Placing the drain along the back wall or near the shower entrance creates a subtle, linear look. You can even match the drain cover to your tile finish for a truly invisible effect.
For a bold statement, choose a contrasting metal grate that adds a sleek, industrial touch.
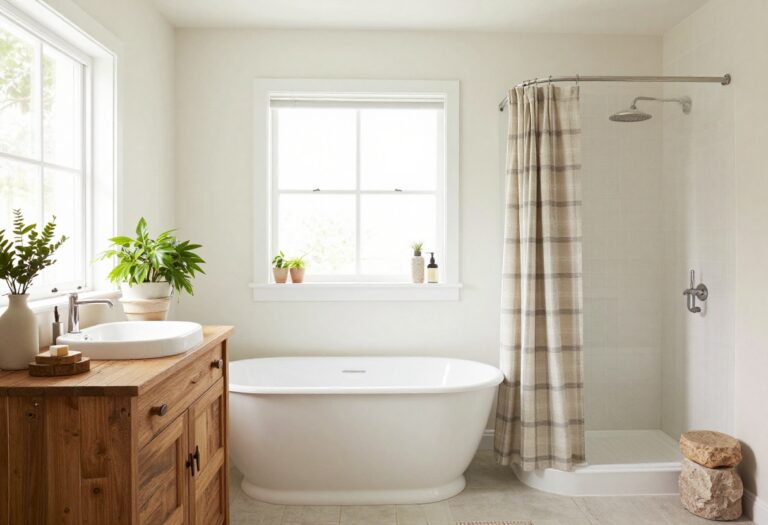
10. Add a Shower Curtain with a Twist: Use a Curved Rod
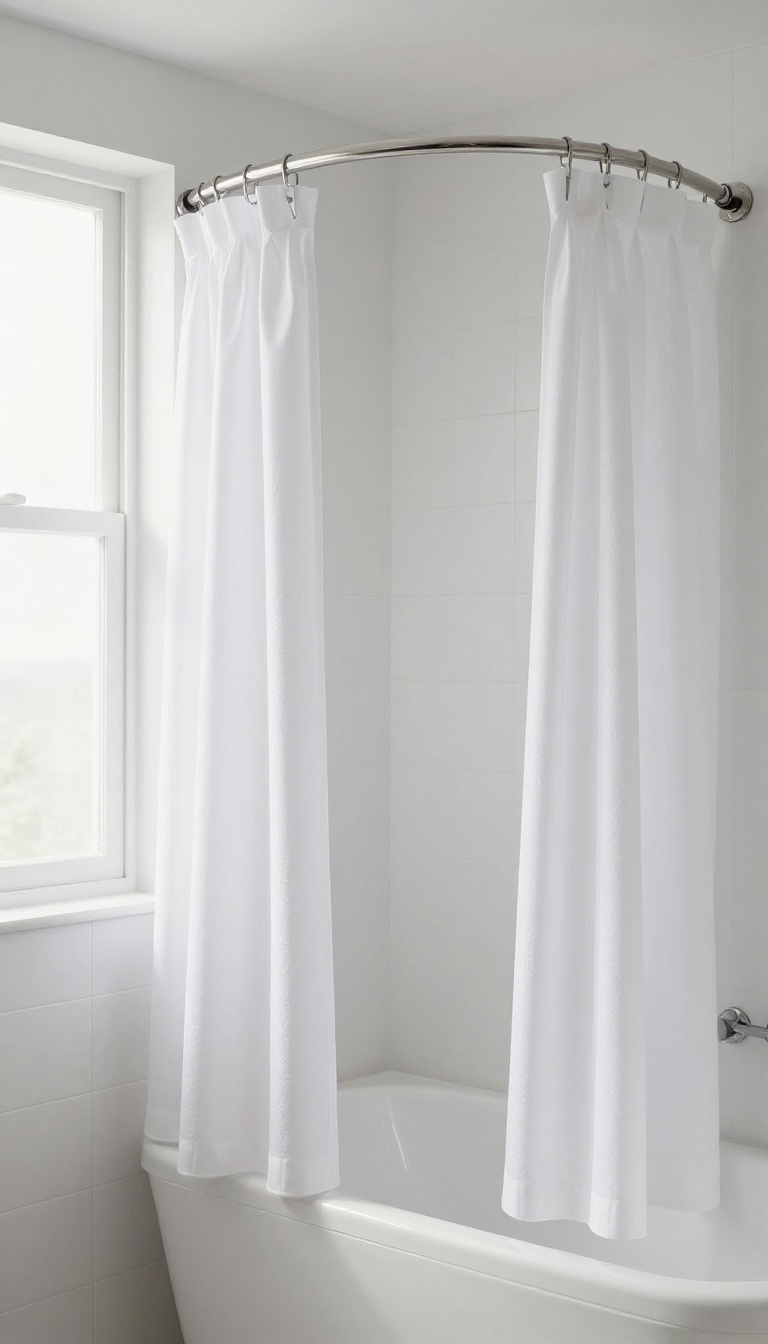
The humble shower curtain rod rarely gets a second thought, but swapping a straight one for a curved version can change the feel of your entire shower. It’s a small tweak that adds a surprising amount of comfort and style. Here’s why this simple upgrade is worth considering.
A curved rod bows outward, giving you extra elbow room and keeping the curtain from clinging to you while you wash. This simple, affordable fix makes a standard tub shower feel more spacious and less cramped. Plus, it’s an easy DIY project that can be done in under an hour with just a few tools.
Why A Curve Makes A Difference
The main benefit is the extra space. A curved rod extends the shower area by about 6 to 8 inches, which means you can move around without brushing against a cold, wet curtain. It also prevents the curtain from billowing inward when the water is on, so you stay warmer and the floor stays drier.
Choosing The Right Curved Rod
Look for a rod that’s sturdy and easy to install. Tension-mounted rods are great for renters since they don’t require drilling, but permanent rods with brackets are more stable for daily use. Measure your tub width carefully and choose a rod with a smooth, corrosion-resistant finish to match your bathroom fixtures.
Installation Tips And Tricks
If you’re using a tension rod, make sure it’s snug and level before hanging the curtain. For a permanent rod, use a stud finder to locate solid mounting points. Add a curved rod with a matching finish to your shower curtain rings for a polished look.
And don’t forget to pick a curtain that complements your new rod’s style.
11. Incorporate Smart Storage with a Corner Caddy or Tension Shelves
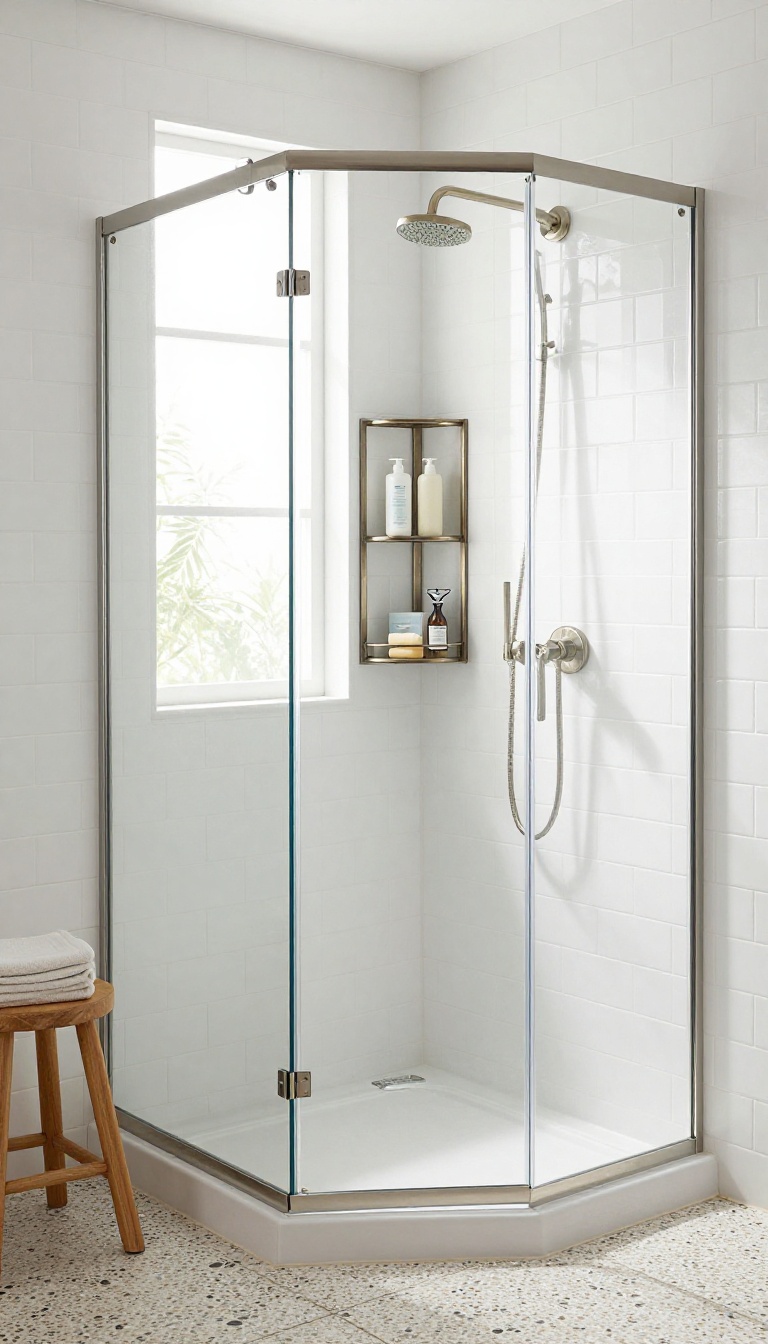
Shower caddies are often an afterthought, but the right one can turn a cluttered space into a tidy, organized zone. Instead of drilling into tile or dealing with sticky hooks that fall off, consider a corner caddy or tension pole shelves that use vertical space without causing damage. These solutions keep your shampoo, soap, and razors within easy reach while freeing up the floor and the edge of the tub.
A corner caddy fits snugly into the corner of your shower, making use of space that often goes wasted. Tension pole shelves, on the other hand, extend from the floor to the ceiling, offering multiple tiers for all your bath essentials. Both options are easy to install—no tools required—and can be adjusted to fit your shower's exact dimensions.
Plus, they come in a variety of finishes, from brushed nickel to matte black, so you can match them to your existing fixtures for a seamless look.
Why Go Drill-free?
Drilling into tile can be intimidating, especially if you're renting or just want a temporary solution. Tension and corner caddies avoid the hassle of anchors and screws, and they don't leave permanent marks. They're also adjustable, so you can reposition them as your needs change.
Whether you're dealing with a small shower or a spacious walk-in, these options offer flexibility that fixed shelves can't match.
Choosing The Right Material
Look for rust-resistant materials like stainless steel, aluminum, or coated plastic. These hold up well in humid environments and are easy to wipe down. If you prefer a warmer look, consider bamboo or teak, but make sure they're properly sealed to withstand moisture.
The finish should complement your shower fixtures—think brushed nickel, chrome, or oil-rubbed bronze—to keep the space looking cohesive.
Arranging Your Essentials
Place the caddy or shelves near the showerhead but out of the direct spray to keep items dry. Use the top tiers for bottles you use daily, and reserve the lower ones for less frequently used items. Add a small hook for a loofah or razor to keep everything organized.
Don't overcrowd—leave some breathing room so the shower feels open and airy.
12. Add a Heated Towel Rack Near the Shower
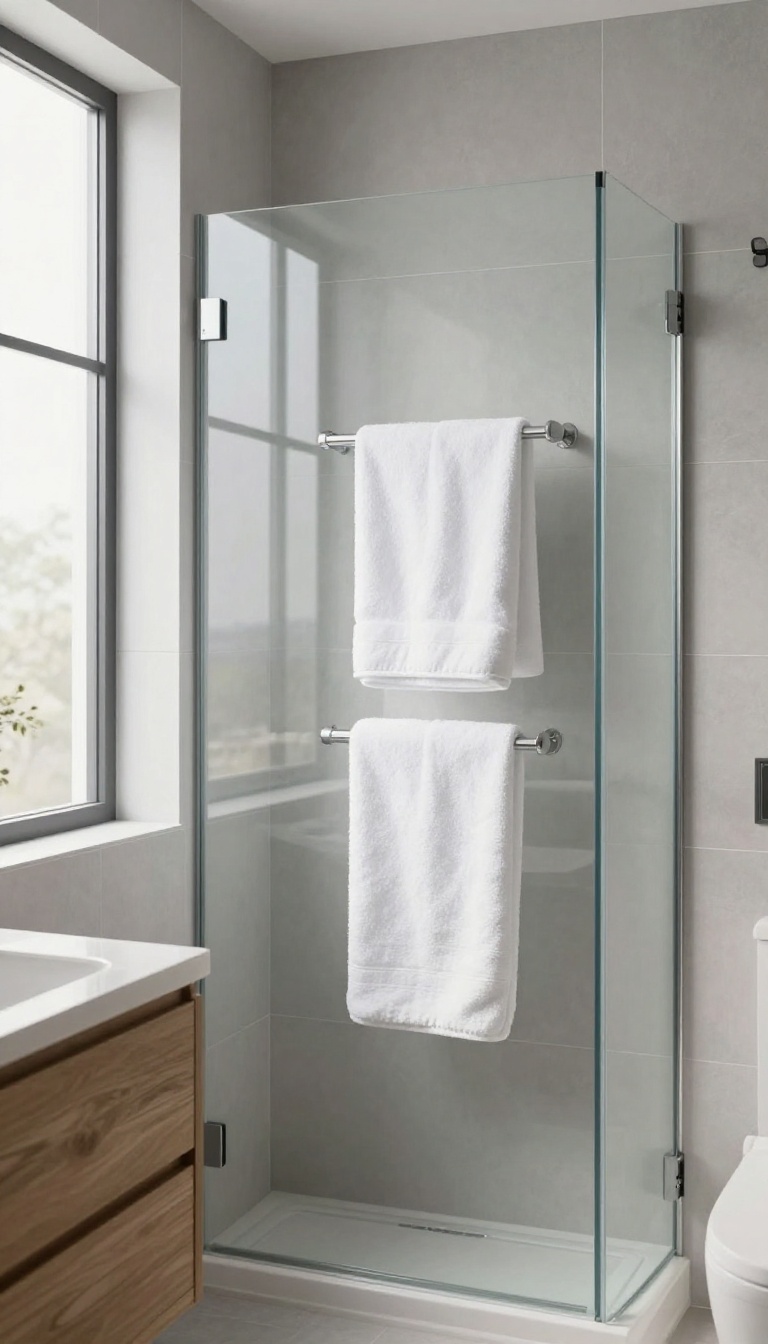
Stepping out of a warm shower into a chilly bathroom is a shock to the system. A heated towel rack changes that completely, wrapping you in warmth the moment you reach for a towel. It’s a simple addition that feels like a spa-level upgrade, and it’s more practical than you might think.
Beyond the cozy factor, it helps towels dry faster, which cuts down on that musty smell that can linger in humid bathrooms.
A heated towel rack is one of those small luxuries that quickly becomes a daily habit. You’ll wonder why you didn’t add one sooner. It’s not just about comfort—it’s about making your bathroom feel more inviting and functional.
Plus, with so many styles available, you can find one that fits your space and budget without a major renovation.
Why It’s Worth It
The biggest draw is that warm towel waiting for you, but the benefits go deeper. Heated racks speed up drying, which means less moisture in the air and less chance for mold or mildew. They also keep your towels fresher between washes, so you can use them a few more times before tossing them in the laundry.
It’s a win for both comfort and upkeep.
Choosing The Right Type
You have a few options: hardwired, plug-in, or even a freestanding model. Hardwired racks look sleek and are permanently mounted, but they require an electrician. Plug-in versions are easier to install—just find an outlet nearby.
If you’re renting or want flexibility, a freestanding rack can be moved around, though it takes up floor space. Think about your bathroom layout and what works best for your daily routine.
Placement And Installation Tips
Place the rack close to the shower, but not so close that it gets splashed constantly. A spot on an adjacent wall or near the sink is ideal. For hardwired models, make sure the wiring is GFCI-protected for safety.
If you’re handy, you can do it yourself, but don’t hesitate to call a pro if you’re unsure. It’s a small project that pays off every single morning.
13. Use a Shower Curtain with a Liner That Has Magnets
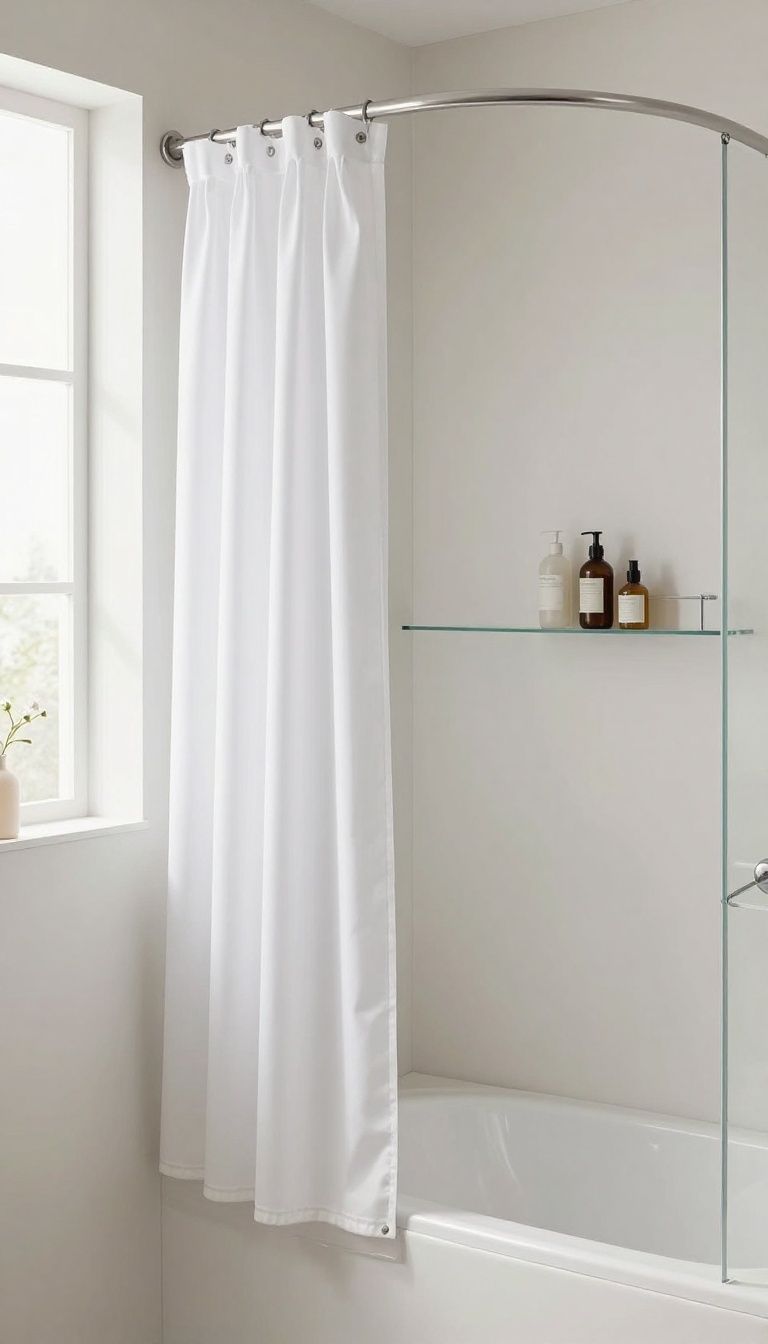
A flapping shower curtain is one of those tiny annoyances that can turn a relaxing rinse into a battle. The liner billows inward, sticks to your legs, and lets cold air sneak in. The fix is simpler than you might think: a liner with magnets sewn into the bottom hem.
These magnets grip the tub or shower floor, holding the liner in place. No more drafts, no more water sneaking out onto the bathroom floor. It’s a small change that makes a big difference in how your shower feels.
A magnetic shower curtain liner is a straightforward upgrade that solves a common problem. The magnets are typically embedded in the hem, allowing them to snap onto a steel or cast-iron tub, or even a metal drain cover. This keeps the liner taut and close to the tub, creating a seal that prevents water from escaping and stops cold air from swirling in.
Beyond the practical benefits, this liner also helps your curtain hang more neatly. Without the constant billowing, the fabric stays put, which can extend its life and keep it looking crisp. Installation takes just a few minutes—simply replace your existing liner with the magnetic version.
It works with any standard shower curtain and rod.
Why Magnets Beat Weights
Traditional fabric weights or suction cups often fail to keep a liner in place. Weights can swing, and suction cups lose grip over time. Magnets, on the other hand, provide a strong, consistent hold.
They snap into place and stay put, even with the water running. This makes them a more reliable solution for keeping water inside the shower.
Choosing The Right Liner
Look for a liner with multiple magnets along the bottom, spaced evenly. Some have a continuous strip of magnetic material, which offers even better sealing. Check the material—PEVA or vinyl are common, but fabric liners with magnetic hems are also available if you prefer a softer feel.
Make sure the magnets are strong enough to hold against the weight of the curtain and water splashes.
Installation And Care Tips
Installing a magnetic liner is no different from a regular one—just hang it on the hooks behind your curtain. To keep the magnets working well, avoid folding the liner when storing it; hang it flat to dry after each use. Clean it periodically with a mild cleaner to prevent soap scum buildup, which can reduce the magnetic grip over time.
14. Install a Shower System with a Thermostatic Valve
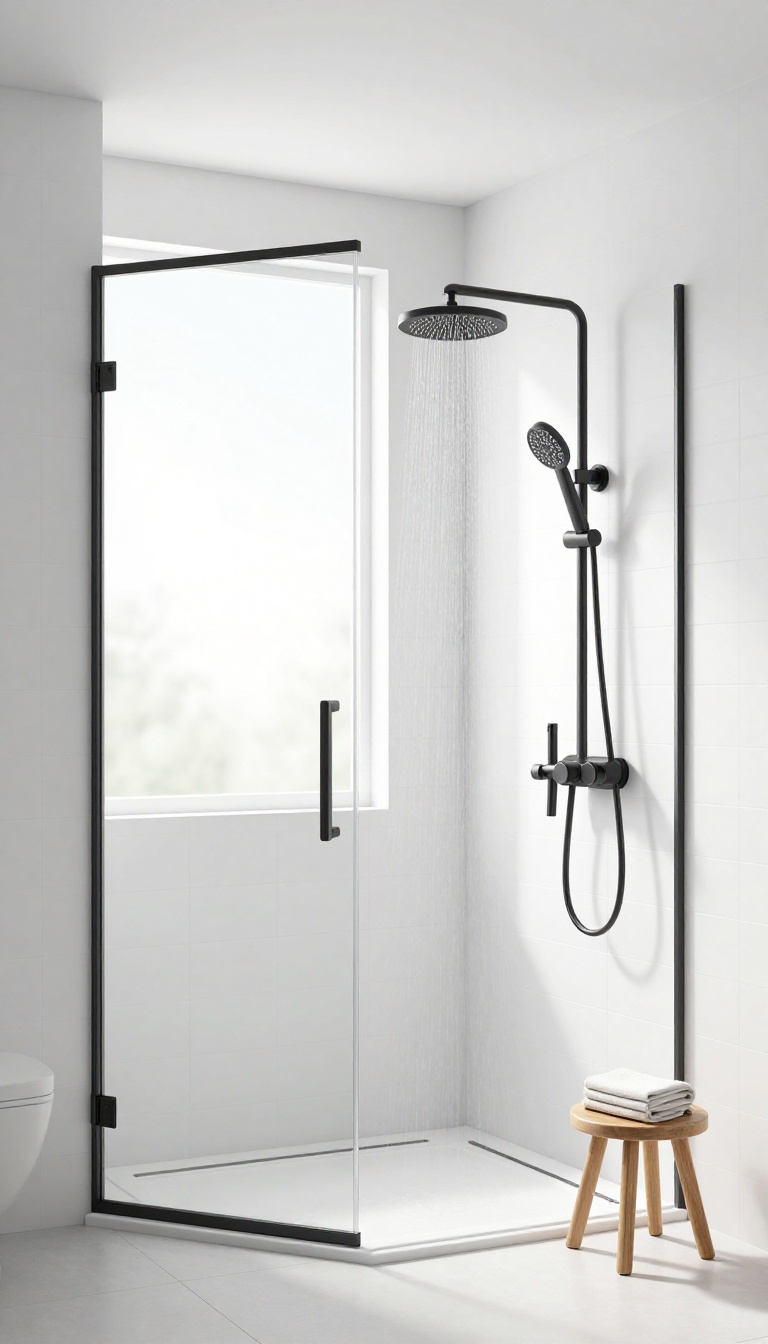
Few things ruin a shower faster than a sudden blast of freezing water when someone flushes a toilet. A thermostatic valve solves that by keeping the temperature steady, no matter what's happening elsewhere in the house. It's a small upgrade that makes a big difference in comfort and safety.
A thermostatic valve mixes hot and cold water to maintain a set temperature, adjusting automatically to pressure changes. This means no more surprise temperature swings, which is especially great for families with kids or elderly members who might be sensitive to sudden changes. Plus, many models let you set a maximum temperature to prevent scalding, adding an extra layer of safety.
Why It's Worth The Upgrade
Traditional valves react to pressure changes, causing the water to fluctuate. Thermostatic valves monitor the temperature constantly and adjust the mix to keep it consistent. This not only makes showers more enjoyable but also reduces water waste, since you're not constantly readjusting the handle.
What To Look For
When shopping, check for a valve with a temperature limit stop, which lets you cap the maximum heat. Look for models with a separate volume control and temperature dial for easier adjustments. Also, consider the flow rate to ensure it matches your showerhead's needs.
Installation Tips
While you can hire a plumber, many DIYers find this a manageable weekend project. Make sure to shut off the water supply, drain the pipes, and follow the manufacturer's instructions carefully. If you're not confident, a professional installation is worth the cost for peace of mind.
15. Add a Touch of Greenery with Moisture-Loving Plants
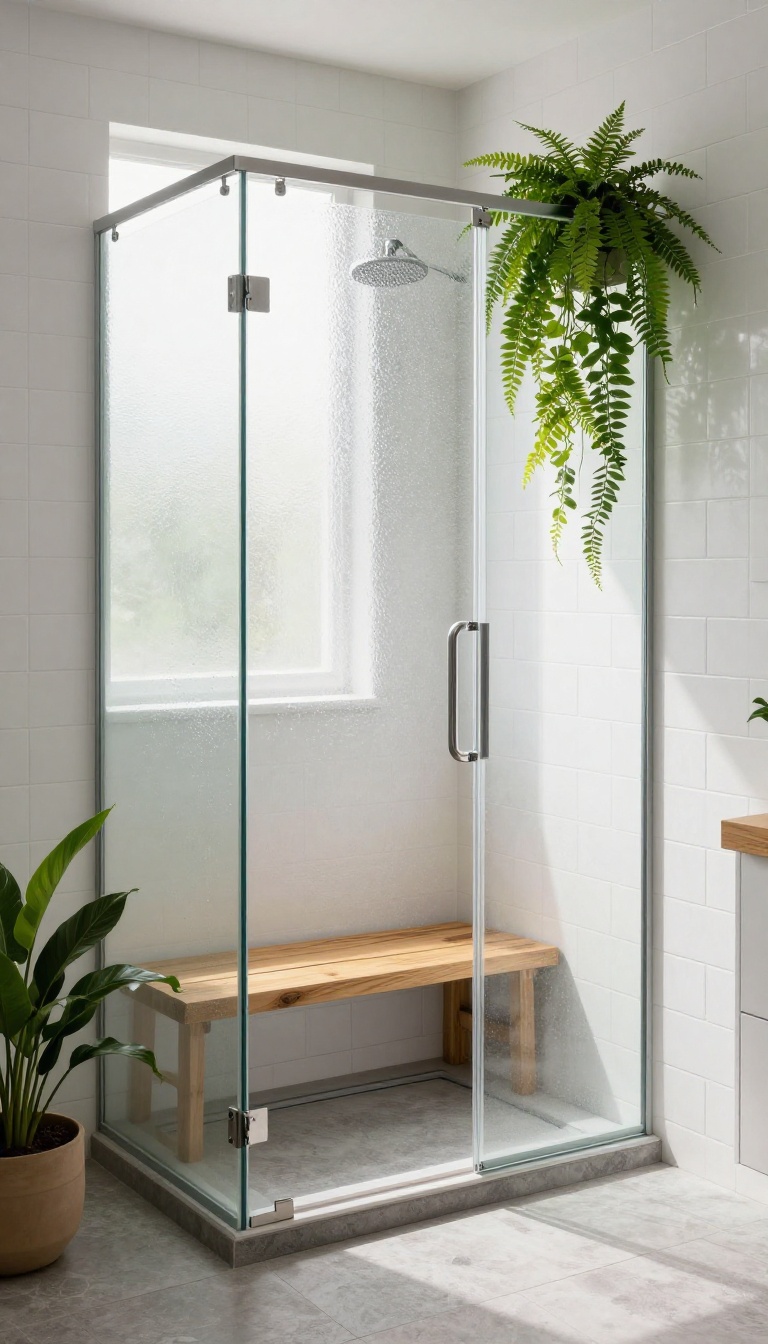
Plants in the shower might sound odd at first, but they’re a game-changer for anyone who loves a spa-like vibe. Ferns, orchids, and other humidity-loving varieties not only survive the steam—they thrive in it. Plus, they add a pop of color and life that instantly makes the space feel more inviting.
Not all plants can handle the constant moisture and low light of a shower, but the right ones turn your rinse into a mini jungle retreat. Here’s how to pick the best greens and keep them happy without any extra fuss.
Choose The Right Plants
Stick with species that naturally grow in humid, shaded environments. Boston ferns, spider plants, and peace lilies are top picks because they tolerate low light and love moisture. Orchids, especially moth orchids, also do well if they get some indirect light.
Avoid cacti or succulents—they’ll rot in the dampness.
Find The Perfect Spot
Place them on a shelf, windowsill, or even a corner caddy where they won’t get soaked by direct spray. A spot near the showerhead but not directly under it works best. If your shower has a glass door, that’s perfect—they’ll get filtered light and stay out of the way.
Keep Maintenance Simple
The steam usually provides enough water, but check the soil every week. If it feels dry, give them a quick mist. Use a well-draining pot to prevent root rot, and wipe leaves occasionally to keep them dust-free.
That’s about it—they’re low-maintenance once settled.
FAQ
What is the most cost-effective way to update a shower?
Swapping out the showerhead and adding a new curtain or liner are the most budget-friendly upgrades. These simple changes can make a big visual and functional difference without a major investment.
How do I choose between a shower curtain and a glass door?
Consider your space and style. Glass doors make a bathroom feel larger and are easier to clean, but they cost more. Curtains are affordable, easy to change, and come in many designs, making them a flexible choice.
Can I install a rainfall showerhead myself?
Yes, most rainfall showerheads are designed for DIY installation. You’ll need to remove the old head and apply plumber’s tape to the threads before screwing on the new one. Always check the manufacturer’s instructions.
What are the benefits of a thermostatic shower valve?
A thermostatic valve keeps water at a consistent temperature, preventing sudden changes. It’s safer for children and elderly users, and it makes your shower more comfortable overall.
How can I make a small shower feel more spacious?
Use large-format tiles, a frameless glass enclosure, and a linear drain to create a seamless, open look. Also, keep the area clutter-free with built-in niches or corner caddies.
Conclusion
Refreshing your shower doesn’t have to be a huge project. Even small changes like a new showerhead or a clever storage solution can make a big difference in how your bathroom looks and feels. Pick the ideas that fit your space and budget, and start with one or two that excite you the most.
Before you know it, you’ll have a shower that feels custom-made for your daily routine. Enjoy the upgrade!