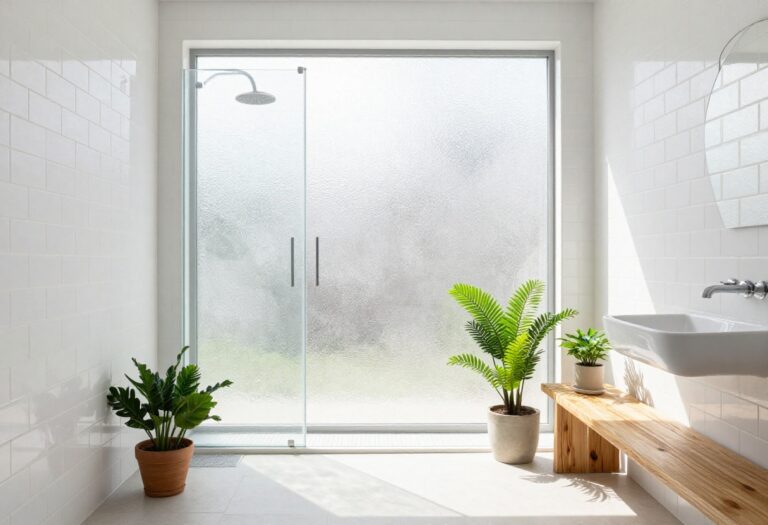
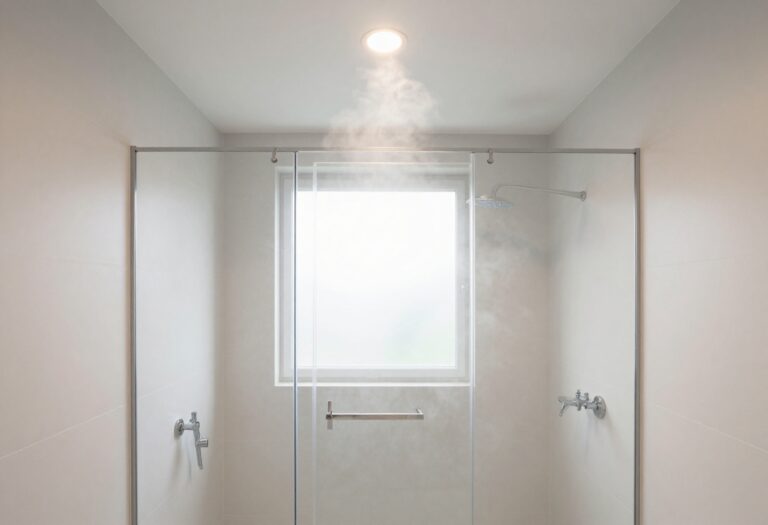
10 Clever Bathroom Shower Ideas for an Easy, Elegant Setup
A shower that looks good and works well can change how you start and end your day. But you don't need a full renovation to make it feel special. Small, thoughtful upgrades can bring both style and convenience to your daily routine.
Think about what bothers you most: clutter, slippery floors, or poor lighting. Each of these ideas targets a common shower pain point while adding a touch of elegance. You can pick one or mix several to create a space that feels custom.
The best part? Most of these projects are weekend-friendly and budget-conscious. With a little planning, you can enjoy a shower that feels like a retreat without the hassle of a major remodel.
1. Install a Rainfall Showerhead for a Spa-Like Feel
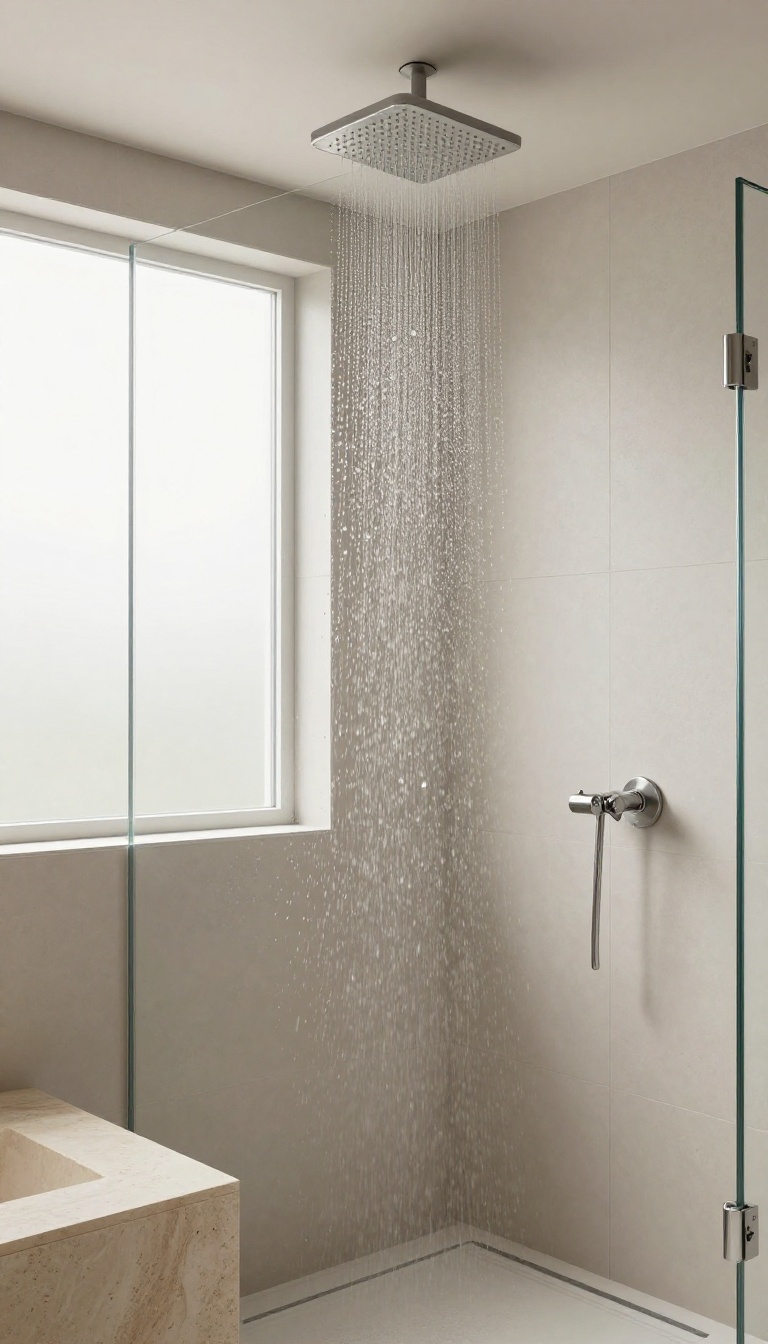
A rainfall showerhead is one of those upgrades that feels like a splurge but doesn't have to break the bank. Swapping out your old fixture is a simple DIY that can take your morning rinse from basic to blissful in under an hour. The wide, gentle spray mimics the sensation of standing in a warm summer rain, and it instantly adds a touch of luxury to any bathroom.
The magic of a rainfall showerhead lies in its design. Instead of a concentrated spray, it distributes water evenly across a larger surface, covering your shoulders and back in a soothing cascade. This not only feels amazing but also helps you rinse off soap and shampoo more thoroughly.
Plus, the sleek, modern look of a ceiling-mounted or extended-arm model can make your shower feel more upscale without a full remodel.
Choosing The Right Size And Style
Rainfall showerheads come in various diameters, typically from 6 to 12 inches. A larger head offers a more immersive experience but requires adequate water pressure. If your home's pressure is on the lower side, look for a model with a flow restrictor that still delivers a satisfying drizzle.
Also, consider the finish—brushed nickel or matte black can add a contemporary edge, while chrome keeps things classic.
Installation Tips For A Smooth Upgrade
Most rainfall showerheads are designed to fit standard 1/2-inch threads, so they're usually a direct replacement. Before you start, wrap the threads with plumber's tape to ensure a watertight seal. If you're mounting it on the ceiling, you may need to access the plumbing from above, which can be a bigger job.
For a simpler install, choose a wall-mount version with an extended arm that places the head directly overhead.
Making It Feel Even More Luxurious
Pair your new rainfall head with a handheld sprayer for versatility, or add a thermostatic valve to keep the temperature steady. For an extra spa touch, consider a model with LED lighting that changes color with water temperature—it's a fun, affordable way to elevate the experience. And don't forget to clean the nozzles regularly to prevent mineral buildup and keep the flow even.
2. Add a Built-In Niche for Shower Essentials
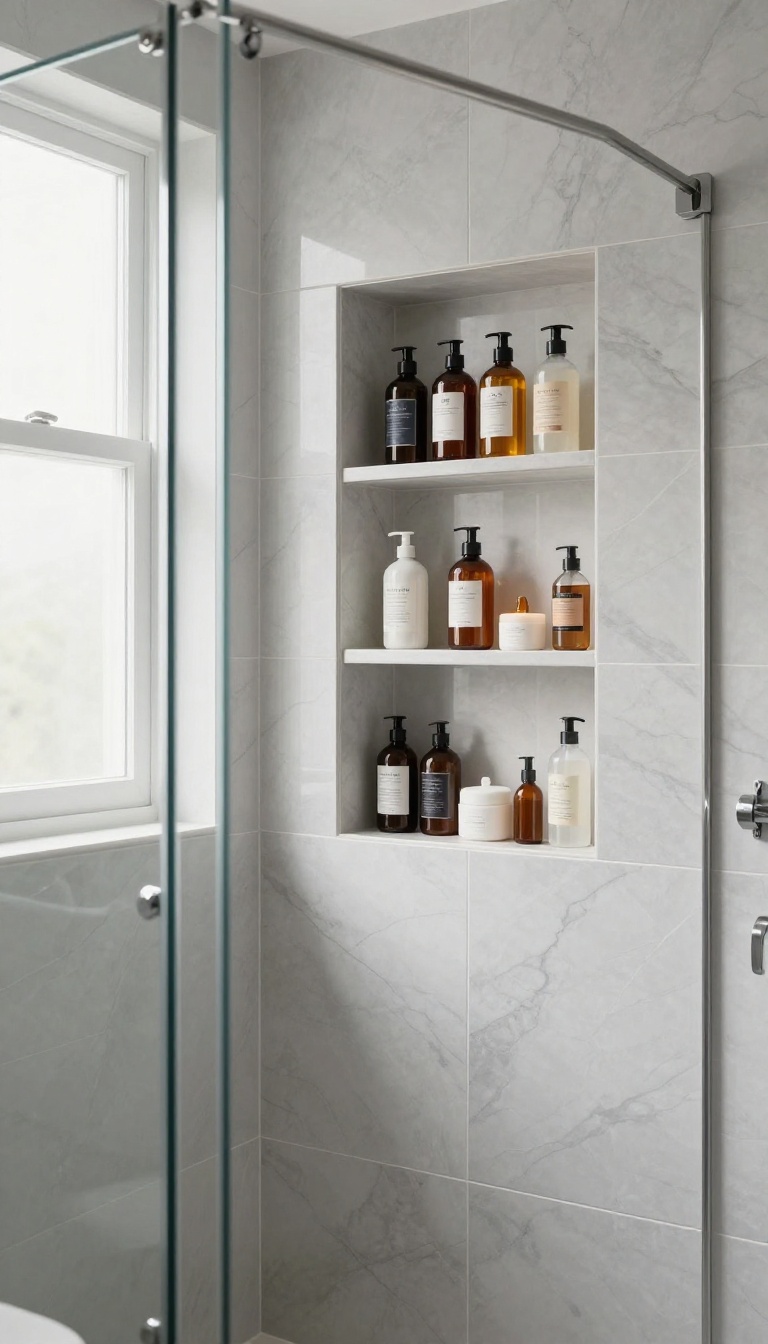
Tired of knocking over bottles every time you reach for shampoo? A recessed shelf, or niche, keeps everything neatly tucked into the wall. It's a clean, custom look that adds storage without taking up any floor space.
A built-in niche is a game-changer for shower organization. Instead of a clunky caddy that rusts or a corner shelf that collects grime, a niche is flush with the wall, creating a seamless, spa-like feel. It's perfect for keeping bottles off the floor and within easy reach, and it can be customized to fit your exact needs.
Where To Place It
The ideal spot is on a wall that's not directly in the spray path, usually opposite the showerhead. Aim for chest height so you can grab products without bending. If you're designing from scratch, consider a long, horizontal niche for multiple bottles, or a taller one for body wash and shampoo.
What To Use For The Interior
Tile is the most popular choice, but you can also use solid surface, stone, or even waterproof metal. The key is to choose materials that match your shower's style and are easy to clean. A slight slope on the bottom helps water drain out, preventing puddles.
Diy Or Pro?
Adding a niche during a remodel is straightforward, but retrofitting one into an existing shower is trickier. If you're comfortable with cutting into drywall and waterproofing, it's a doable weekend project. Otherwise, hiring a pro ensures a watertight, polished result.
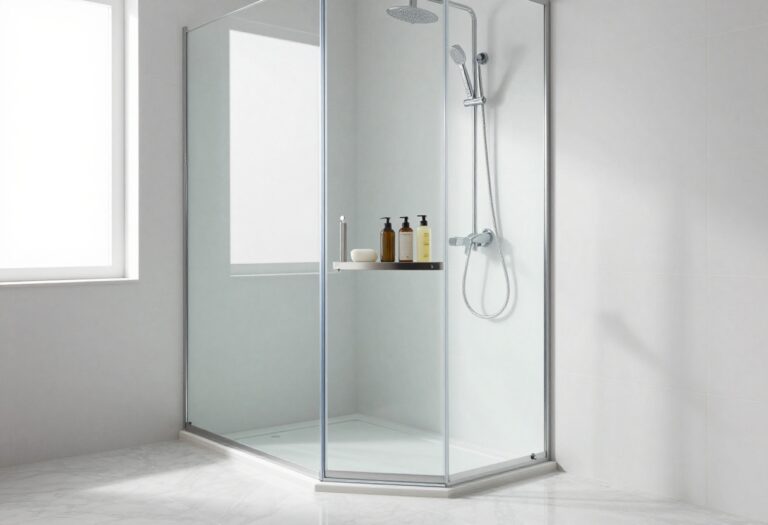
3. Use a Frameless Glass Shower Door to Open Up the Space
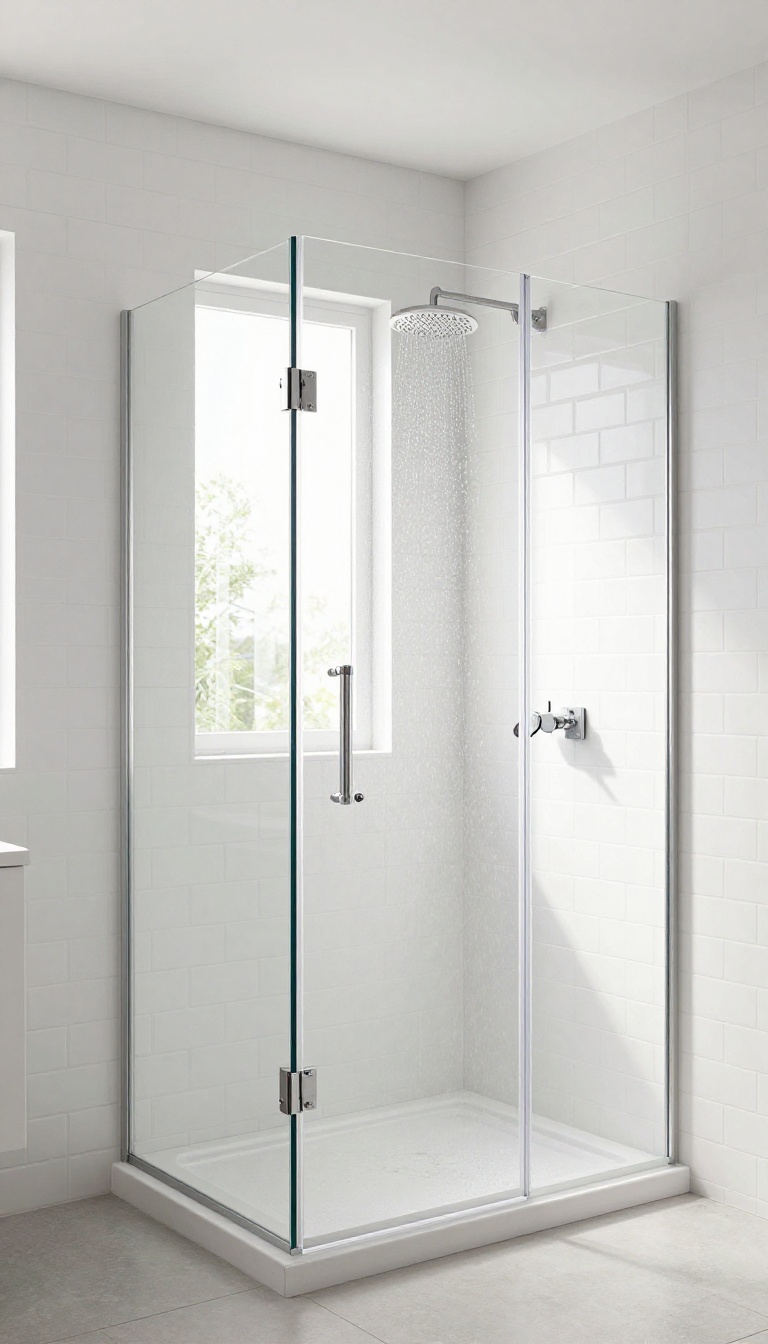
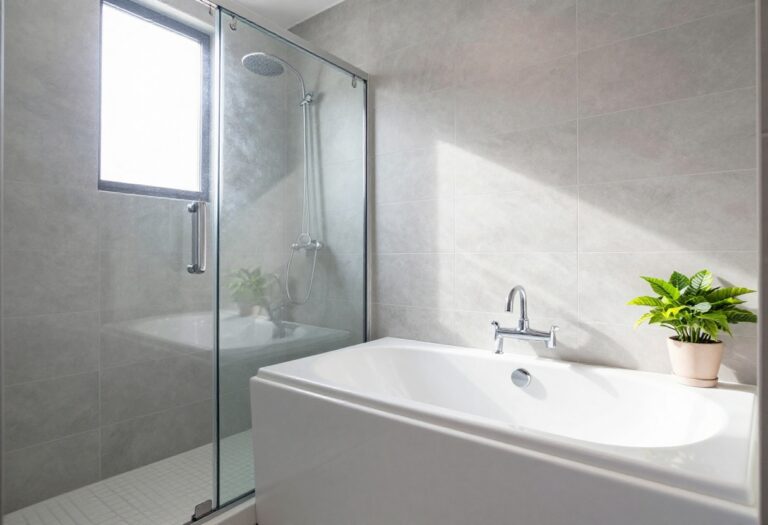
If your bathroom feels cramped, the culprit might be that bulky shower curtain or a dated framed door. Swapping it for frameless glass instantly changes the whole vibe. The transparency lets your eye travel across the room, making even a small bathroom feel airy and open.
Frameless glass doors are a favorite in modern bathroom design because they do more than just look sleek. They eliminate the visual barrier that curtains and metal frames create, which can make the space feel boxed in. Plus, they're easier to keep clean—no soap scum hiding in tracks or fabric to wash.
Once you go frameless, you'll wonder why you didn't do it sooner.
Why Frameless Beats Curtains And Framed Doors
Curtains can feel heavy and dated, and they often cling to you while you shower. Framed doors have metal tracks that collect grime and can rust over time. Frameless glass uses minimal hardware, usually just a hinge and a handle, so there are fewer places for dirt to hide.
The seamless look also makes your tile and fixtures stand out, adding a touch of luxury without extra cost.
Choosing The Right Glass Thickness And Finish
When picking a frameless door, glass thickness matters. Most options range from 3/8 to 1/2 inch. Thicker glass feels sturdier and more premium, but it's heavier and needs a solid frame support.
For the finish, you can choose clear, frosted, or textured glass. Clear glass shows off beautiful tile, while frosted adds privacy. If you want to minimize water spots, consider a glass with a protective coating that makes cleaning easier.
Installation Tips And Considerations
Installing a frameless door is a job that often requires a professional because the glass is heavy and the hinges need to be perfectly aligned. However, if you're handy, you can tackle it with the right tools and a helper. Make sure your walls are plumb and the floor is level.
Also, check the swing direction—you want the door to open away from the shower to avoid water dripping on the floor. A proper seal at the bottom is crucial to prevent leaks.
Maintenance And Cleaning Made Simple
One of the best things about frameless glass is how easy it is to maintain. A squeegee after each shower keeps water spots at bay. For deeper cleaning, a mix of white vinegar and water works wonders on hard water stains.
Avoid abrasive scrubbers that can scratch the glass. With minimal effort, your frameless door will stay crystal clear for years.
4. Incorporate a Teak Shower Bench for Function and Warmth
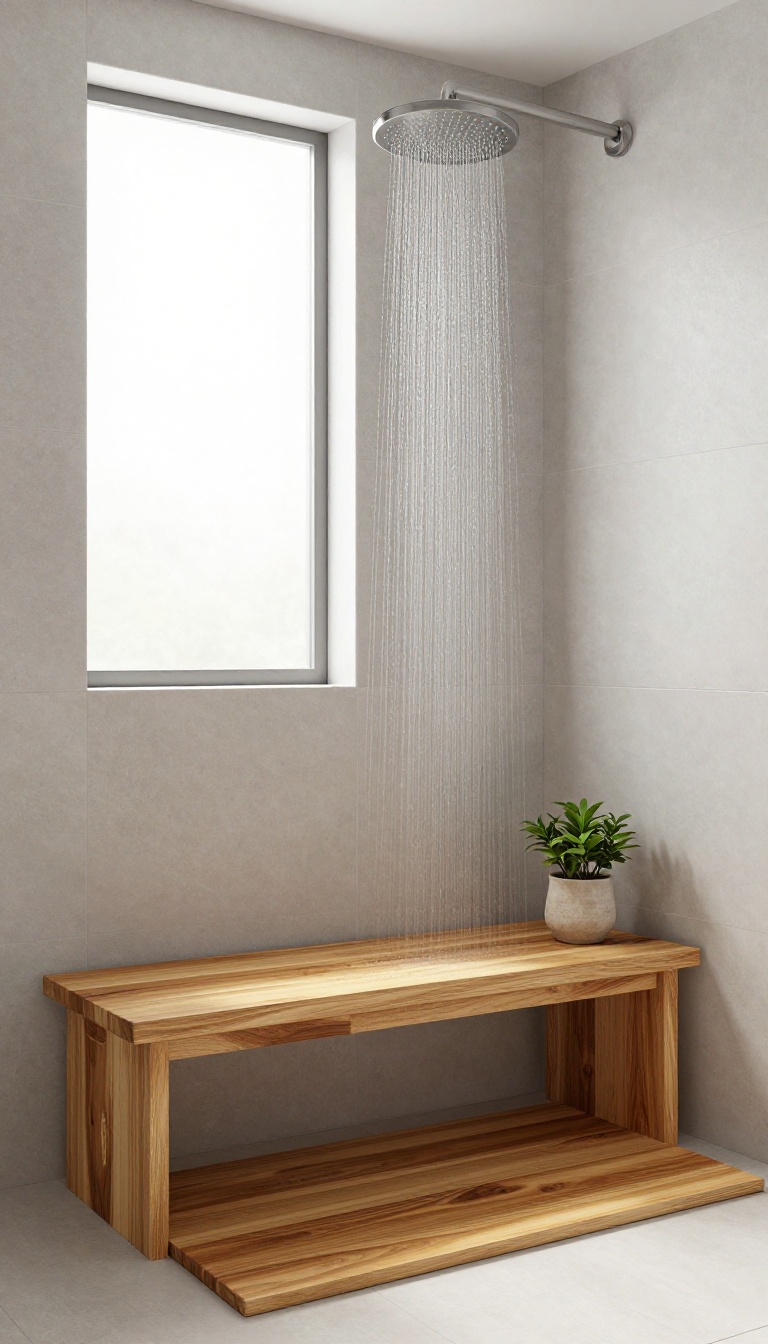
A shower bench might seem like a luxury, but it's actually a practical addition that many people overlook. It gives you a safe place to sit while shaving your legs or just to rest a foot while you scrub. Plus, the natural wood tones bring a spa-like warmth that instantly elevates the look of your shower.
Teak is the go-to wood for bathrooms because it naturally resists moisture and won't warp or rot easily. Unlike metal or plastic benches, teak feels warm to the touch and adds an organic, elegant texture to your space. Whether you have a spacious walk-in or a compact corner shower, a bench can fit without crowding things.
Why Teak Works So Well In Wet Areas
Teak is naturally rich in oils, which makes it waterproof and resistant to mold and mildew. It's also slip-resistant when wet, so you won't have to worry about sliding around. The wood's golden-brown hue darkens gracefully over time, adding character without needing much upkeep.
Placement And Size Tips
For a standard shower, a bench that's about 15 to 18 inches deep works well. Place it against a wall that's not directly under the showerhead to keep it dry when you're not using it. If you have a corner, a triangular bench can fit snugly and still give you plenty of room.
Styling And Maintenance
Pair the bench with a matching teak mat or a small teak shelf for a cohesive look. To keep it in top shape, rinse it after each use and let it air dry. Once a month, lightly sand it and apply a teak sealer to maintain its color and protect the wood.
5. Choose a Handheld Showerhead for Flexibility
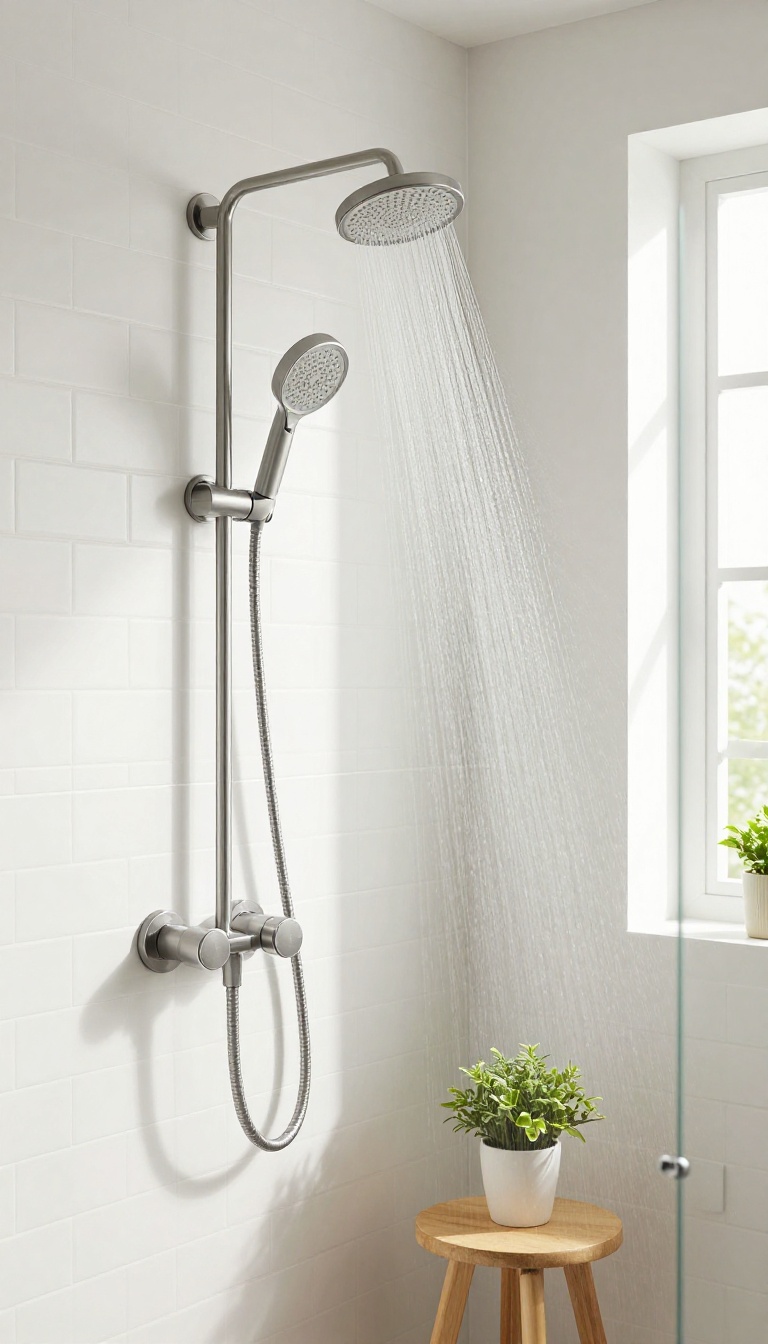
A fixed showerhead is standard, but a handheld model adds a new level of control. Whether you're washing a squirmy toddler, giving the dog a rinse, or scrubbing the shower walls, a detachable sprayer makes those tasks much easier. It's a small swap that brings big convenience and a touch of modern practicality.
Handheld showerheads are often overlooked, but they're one of the most versatile additions you can make. They're perfect for anyone who shares a bathroom with kids, pets, or anyone with limited mobility. Plus, they make cleaning the shower itself a breeze—no more awkward bending or splashing water everywhere.
Easier Rinsing For Kids And Pets
Bath time becomes less of a struggle when you can direct the water exactly where it's needed. A handheld showerhead lets you rinse shampoo out of a child's hair without getting water in their eyes. For pets, it's a game-changer—you can wash them gently without forcing them under a fixed stream.
A Cleaning Powerhouse
Cleaning the shower is one of those chores that's easier with a handheld sprayer. You can rinse soap scum off the walls, corners, and hard-to-reach spots with a focused spray. It also helps you wash down the tub or shower floor quickly, making your weekly cleaning routine faster and more effective.
Simple To Install And Stylish Options
Swapping to a handheld model is often a DIY-friendly project. Many kits come with a diverter that lets you switch between a fixed head and the handheld sprayer. You can choose from sleek brushed nickel, matte black, or classic chrome finishes to match your bathroom's style.
It's an affordable upgrade that feels high-end.
6. Add a Shower Curtain with a Liner for Easy Style Updates
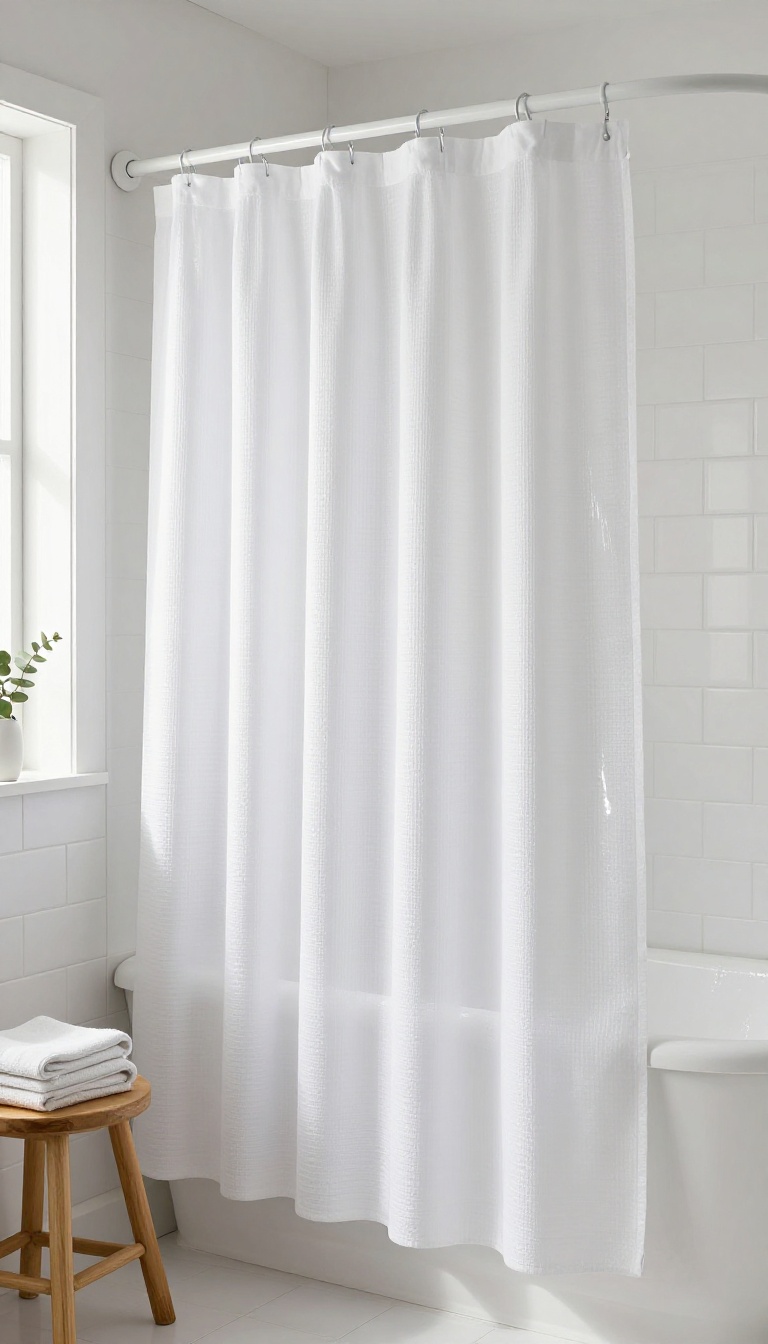
Swapping out a shower curtain is one of the fastest ways to refresh your bathroom's look, but many people overlook the practical side. A quality fabric curtain with a separate liner gives you the best of both worlds: style and function. You can change the outer curtain whenever you want a new vibe, while the liner stays put to keep water where it belongs.
A shower curtain with a liner is a simple setup that offers flexibility and ease. The liner is usually made of waterproof materials like PEVA or polyester, and it hangs inside the tub to block water. The outer curtain is purely decorative, so you can choose lighter fabrics, bold patterns, or elegant textures without worrying about water damage.
This separation means you can update your bathroom's look in minutes without a full remodel.
Pick A Liner That Works
Look for a liner with a magnetic bottom or weighted hem to keep it from billowing. A clear liner lets your decorative curtain shine, while a white or patterned liner adds an extra layer of style. Make sure the liner is machine washable and quick to dry—this makes maintenance a breeze.
Choose A Curtain That Sets The Tone
Your outer curtain is the star. For an elegant feel, go with a textured fabric like waffle weave or linen. If you prefer a cleaner look, a crisp white or neutral curtain with subtle stitching works well.
Don't be afraid to play with patterns or colors—since it's easy to swap, you can change with the seasons or your mood.
Hang It Right
Use a curved shower rod to add extra elbow room and keep the curtain from clinging. Install the rod high and extend it slightly beyond the shower opening for a more spacious feel. Make sure the curtain rings slide smoothly—choose metal or coated rings to prevent rust and noise.
Keep It Fresh
Wash the liner and curtain regularly according to their care labels. A quick wipe down after each use helps prevent mildew. If you notice the liner getting grimy, replace it—they're inexpensive and easy to find.
This simple routine keeps your shower looking clean and inviting.
7. Install a Shower Caddy That Mounts on the Wall
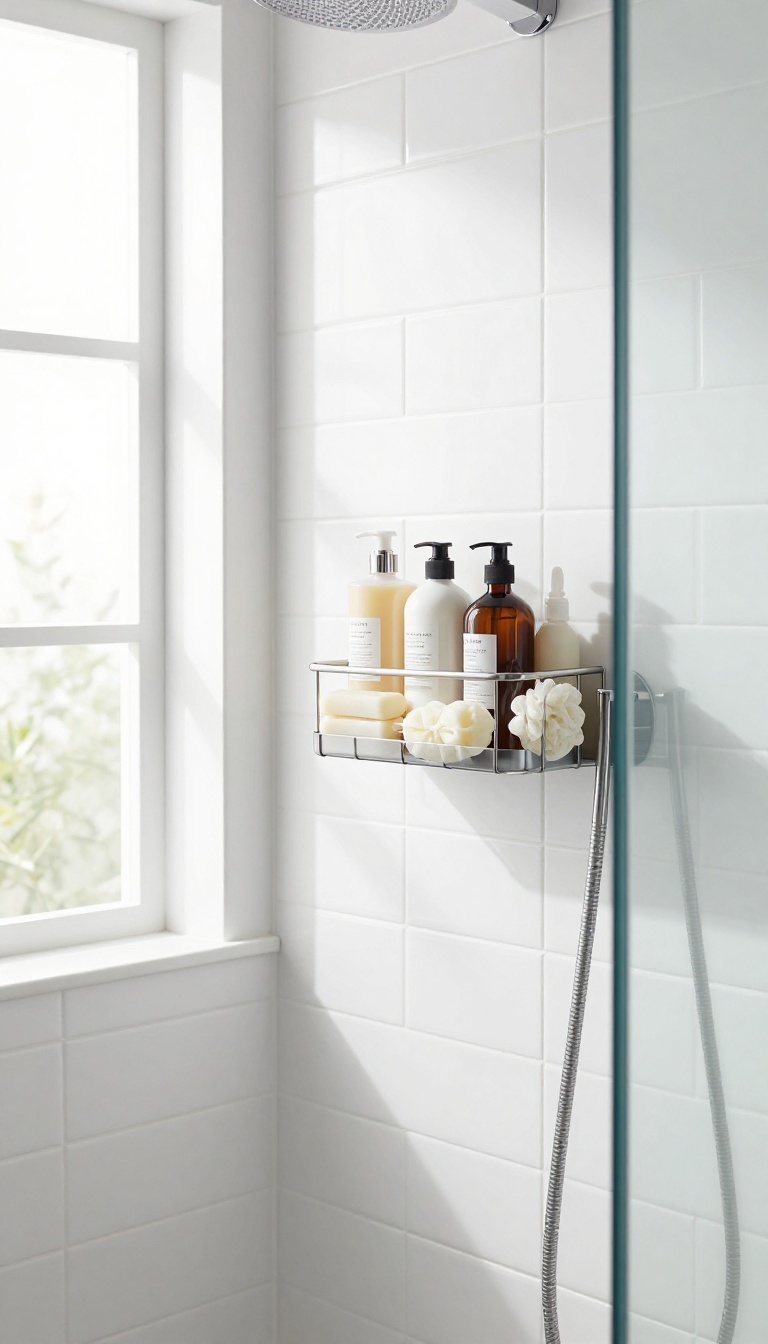
If your shower floor is starting to look like a storage rack, it's time to move things up. A wall-mounted caddy clears the clutter and puts your shampoo, soap, and scrubber within easy reach. It's one of those small changes that instantly makes the space feel more organized and polished.
Plus, it's a simple weekend project that doesn't require a plumber or a big budget.
A wall-mounted caddy is a smart upgrade for any shower, especially if you're short on space. Unlike over-the-door or corner caddies, it attaches directly to the tile or wall, so it stays out of your way and off the floor. This not only keeps your essentials tidy but also reduces the risk of slipping on bottles or soap.
The key is choosing the right caddy and installing it securely, so it looks intentional and lasts for years.
Choosing The Right Caddy
Look for a caddy made of rust-resistant materials like stainless steel, aluminum, or coated plastic. Consider the size of your bottles and how many you need to store. Some caddies have adjustable shelves or hooks for razors and loofahs.
Also, think about the layout of your shower—a corner caddy might work better if you have a small space, while a long rectangular one can fit along a wall. Measure your shower area and check the mounting options before you buy.
Mounting It Securely
The most important part is making sure the caddy is attached to a solid surface. If you have tile, you'll need to drill into the grout or use adhesive strips designed for wet areas. For fiberglass or acrylic, adhesive hooks or suction cups might be easier, but they can lose grip over time.
For a permanent solution, drill small pilot holes and use wall anchors. Always follow the manufacturer's instructions and let any adhesive cure fully before loading the caddy.
Styling And Organizing
Once it's up, arrange your products in a way that looks neat and functions well. Keep the items you use most at eye level, and group similar products together. Use small trays or baskets to hold smaller items like hair ties or soap.
Choose a finish that matches your fixtures—brushed nickel or matte black can add a subtle touch of elegance. The goal is a clean, streamlined look that makes your shower feel more spacious.
8. Upgrade Your Shower Head with a Filter for Softer Water
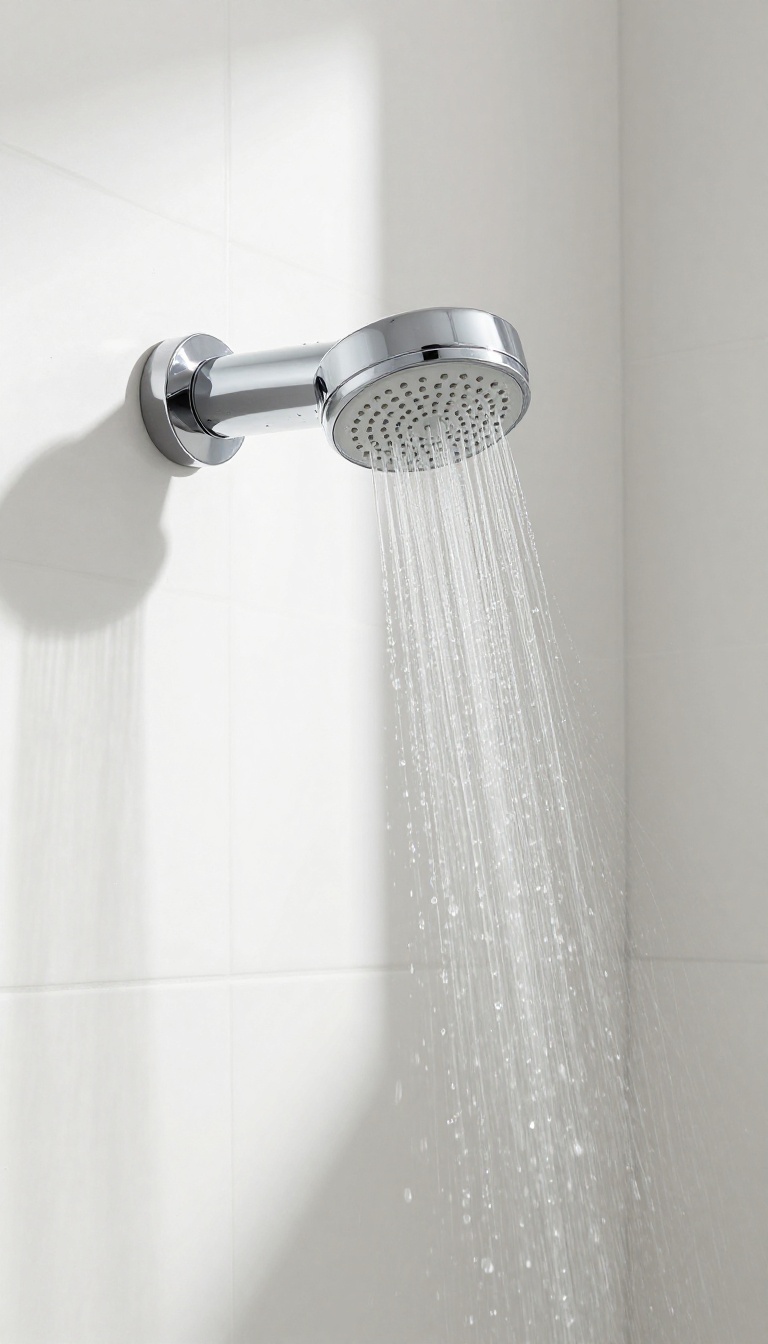
Hard water can leave your skin feeling tight and your hair looking dull. A shower filter tackles this by removing chlorine and heavy minerals before they hit your body. It's a quick swap that pays off every single day.
You don't need a plumber or any special tools. Most filters screw right onto your existing pipe, and the whole process takes about ten minutes. The difference in water feel is often noticeable from the first shower.
A shower filter is a small cylinder that attaches between your shower arm and the showerhead. Inside, it contains media like KDF (copper-zinc) or vitamin C that neutralize chlorine and reduce scale. The result is softer-feeling water that's gentler on skin and hair.
It also helps prevent mineral buildup in your showerhead, so you get a more consistent spray over time. When choosing a filter, look for one that's easy to replace and compatible with your showerhead type. Some models come with a built-in shutoff valve, which makes changing the cartridge simpler.
You'll also want to check the filter's lifespan—most last about six months, depending on your water quality. Installation is straightforward: unscrew your current showerhead, screw in the filter, then attach the showerhead to the filter. Make sure to use plumber's tape on the threads to prevent leaks.
Once it's on, run the water for a few minutes to flush the filter before your first shower. Beyond comfort, a filter can extend the life of your showerhead and reduce soap scum on your glass doors. It's a low-cost upgrade that adds a touch of spa-like luxury to your daily routine.
What A Shower Filter Actually Does
The main job of a shower filter is to reduce chlorine and other chemicals that can dry out your skin and hair. It also helps remove sediment and some heavy metals, making the water feel silkier. While it won't soften water as much as a whole-house softener, it makes a noticeable difference in how your skin feels after washing.
How To Pick The Right Filter
Look for a filter that matches your water type and showerhead size. Most standard filters fit 1/2-inch threads, but check your setup first. Consider the filter's capacity and how often you'll need to replace it.
Some filters also add beneficial minerals like vitamin C, which can be a nice bonus for sensitive skin.
Installation Tips And Tricks
Before you start, make sure the water is off and have a towel ready for any drips. Use plumber's tape on the threads to ensure a snug fit. If your shower arm is short, a filter might add extra length, so you may need a small extension.
After installation, run the water for a few minutes to clear any loose media.
9. Add a Non-Slip Mat or Tiles for Safety and Style
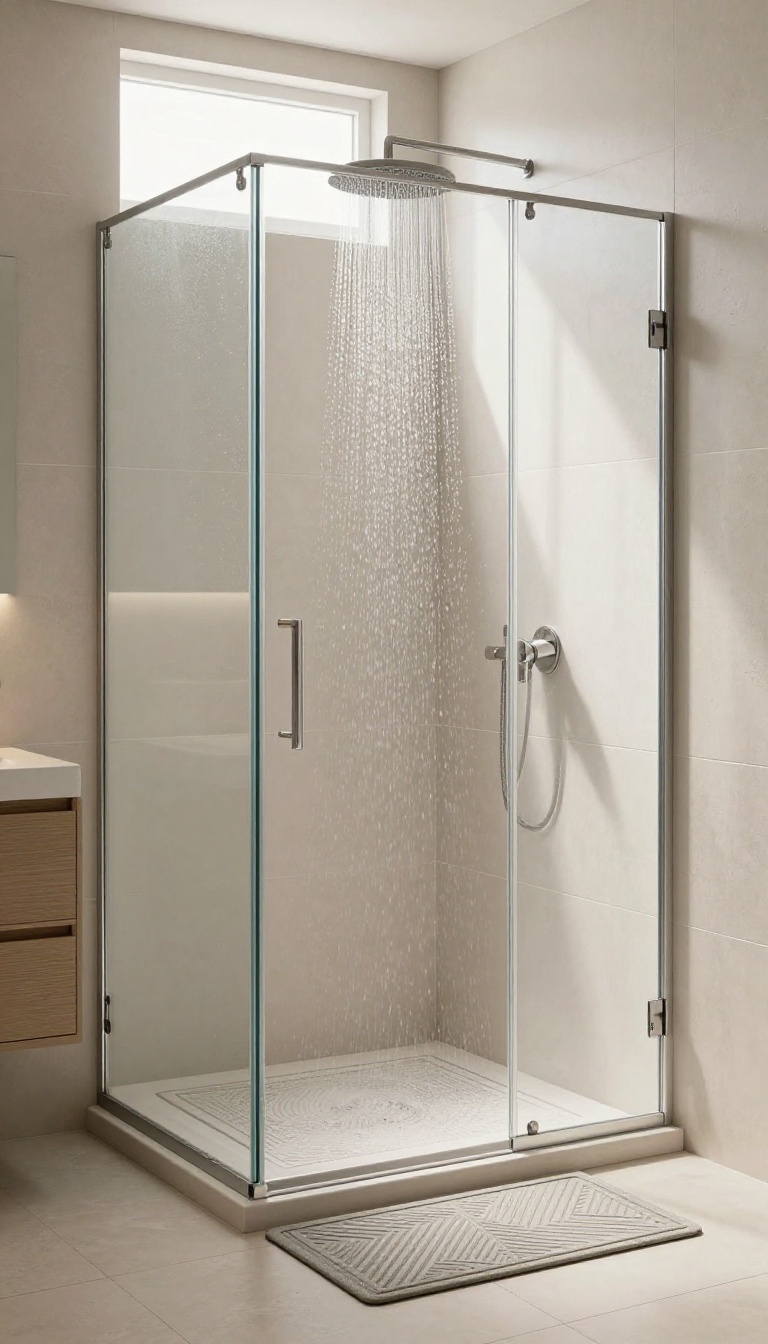
A slippery shower floor is a real hazard, but the fix doesn't have to be an eyesore. Modern non-slip mats come in a range of colors and textures that blend seamlessly with your bathroom decor. Or, if you're up for a bigger upgrade, textured tiles offer permanent grip with a designer look.
Choosing the right option depends on your style and budget. A simple mat can be swapped out seasonally, while textured tiles are a long-term investment. Either way, you'll add both safety and visual interest to your shower.
When it comes to shower safety, the floor is the most critical surface. But many people avoid non-slip solutions because they think they'll clash with their design. That's no longer the case.
From stone-look mats to geometric tile patterns, there's a safe option that looks intentional. Start by assessing your shower floor. If it's smooth tile or acrylic, a mat with suction cups is a quick fix.
For a more permanent solution, consider replacing the floor with textured porcelain or natural stone that offers grip even when wet. Both choices can elevate the overall look of your shower.
Choosing The Right Mat Material
Non-slip mats come in various materials, each with its own feel and durability. Rubber mats are grippy and easy to clean, while bamboo or teak mats add a spa-like warmth. Look for mats with strong suction cups that stay put and are mold-resistant.
If you prefer a softer touch, a cushioned vinyl mat might be your pick. Just make sure it's machine washable or easy to wipe down.
Textured Tiles For Permanent Grip
If you're planning a remodel or want a durable solution, textured tiles are the way to go. Options like pebble tiles, slate, or porcelain with a matte finish provide natural traction. They also add a tactile element that makes your shower feel more luxurious.
Choose a pattern that complements your walls and fixtures, and don't forget to seal natural stone to prevent staining.
Style Tips To Keep It Elegant
A non-slip mat doesn't have to scream "safety first. " Pick a neutral color that blends with your floor, or go for a bold geometric pattern to make a statement. If you're using textured tiles, keep the rest of the shower simple to let the floor shine.
You can also mix materials—like a teak mat over a smooth tile floor—for a layered, organic look.
10. Incorporate Dimmable Lighting for a Relaxing Ambiance
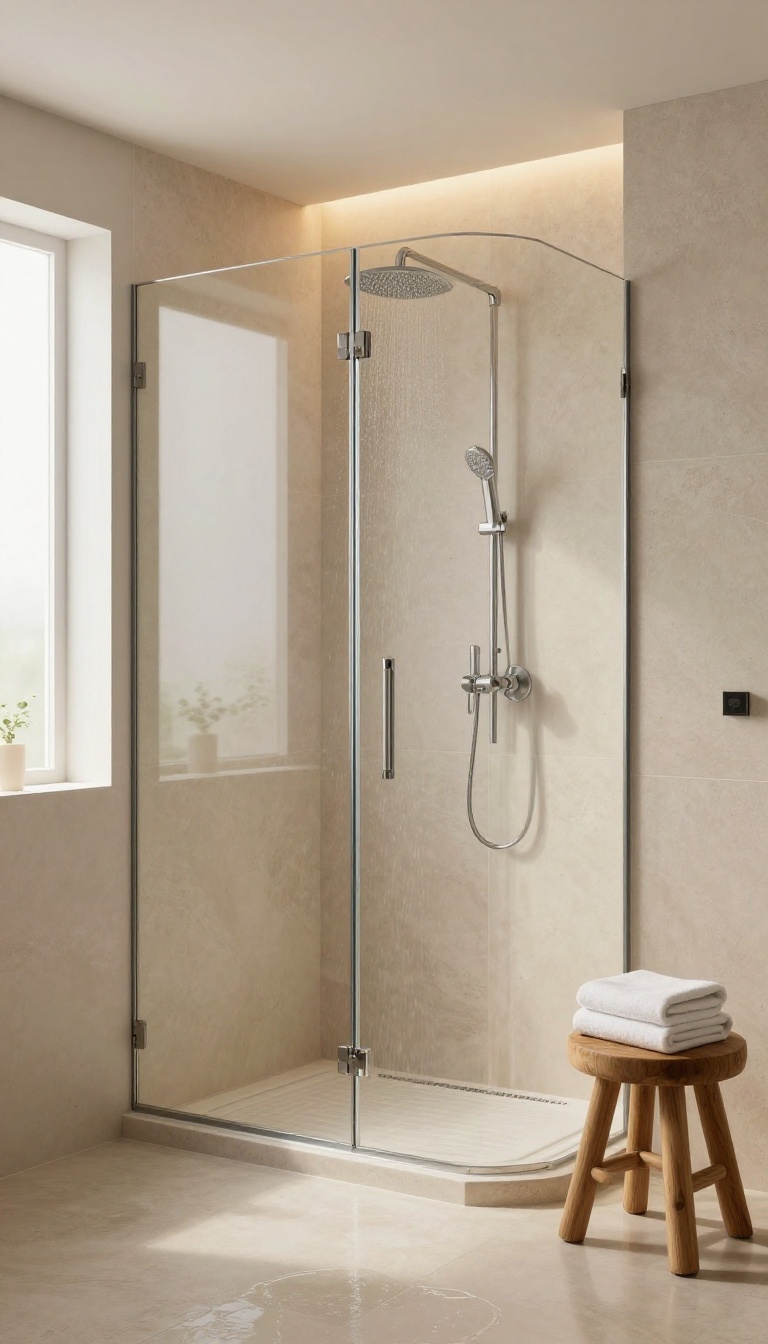
Lighting sets the tone more than any other element in a bathroom, yet it's often the most ignored. A single overhead fixture can feel harsh and clinical, especially in the morning or late at night. Dimmable lighting gives you control over that mood, letting you soften the glow for a slow, calming shower or brighten it when you need to wake up.
Adding a dimmer switch is a simple electrical swap that most DIYers can handle in under an hour. If you're not comfortable with wiring, an electrician can do it quickly and affordably. For a more modern approach, consider smart bulbs that work with your phone or voice assistant—you can adjust brightness without getting out of the shower.
Pick The Right Bulbs
Not all bulbs dim equally. Look for LED bulbs labeled 'dimmable' and check the color temperature. Warm white (2700K-3000K) feels cozy and spa-like, while cool white (4000K-5000K) is better for tasks like shaving.
Choose a bulb with a high CRI (90+) so colors look natural.
Waterproof Options For Safety
If you want lighting inside the shower itself, use fixtures rated for wet or damp locations. Recessed lights with a sealed trim or waterproof LED strips along the ceiling edge can add a subtle glow. Always check the IP rating—IP65 or higher is safe for direct water exposure.
Layer Your Lighting
Instead of one bright light, combine a dimmable overhead with a wall sconce or a small niche light. This creates depth and lets you set different scenes. For example, keep the overhead at 50% and add a warm accent light for evening showers.
FAQ
What is the easiest shower upgrade to do myself?
Swapping out your showerhead is one of the simplest upgrades. You just unscrew the old one and screw on the new, no plumber needed.
How can I make my shower look more expensive without remodeling?
Focus on details like a rainfall showerhead, a built-in niche, or a frameless glass door. These elements add a custom, high-end feel without major construction.
Are built-in shower niches hard to install?
It depends on your skill level. If you're comfortable with tile work, you can do it yourself. Otherwise, a contractor can add one in a day or two.
What's the best material for a shower bench?
Teak is a top choice because it's water-resistant, durable, and looks elegant. It also doesn't get as cold as stone or tile.
Can I use a shower curtain and still look elegant?
Absolutely. Choose a high-quality fabric curtain with a separate liner, and use a curved rod to create more space. It's a classic, flexible option.
Conclusion
These ten ideas show that you don't need a full remodel to make your shower feel fresh and refined. Pick one or two that speak to you, and start small. Even a single change can make a big difference in how your bathroom looks and functions.
Remember, the goal is to create a space that feels good to use every day. Whether it's better lighting, smarter storage, or a touch of luxury, these upgrades are all about making your shower work for you. Enjoy the process and the result.