15 Fresh Master Bath Shower Ideas with Clean, Custom Design
Stepping into a master bath should feel like a mini escape. The shower often sets the tone, and a dated or cramped stall can drag down the whole space.
You don't need a full gut renovation to make a big impact, though. Sometimes it's about rethinking the layout, upgrading the glass, or adding a few thoughtful details.
These 15 ideas focus on clean lines and custom touches that turn a basic shower into a personal retreat. Whether you're planning a remodel or just dreaming, there's something here to spark your next project.
1. Walk-In Shower with a Linear Drain
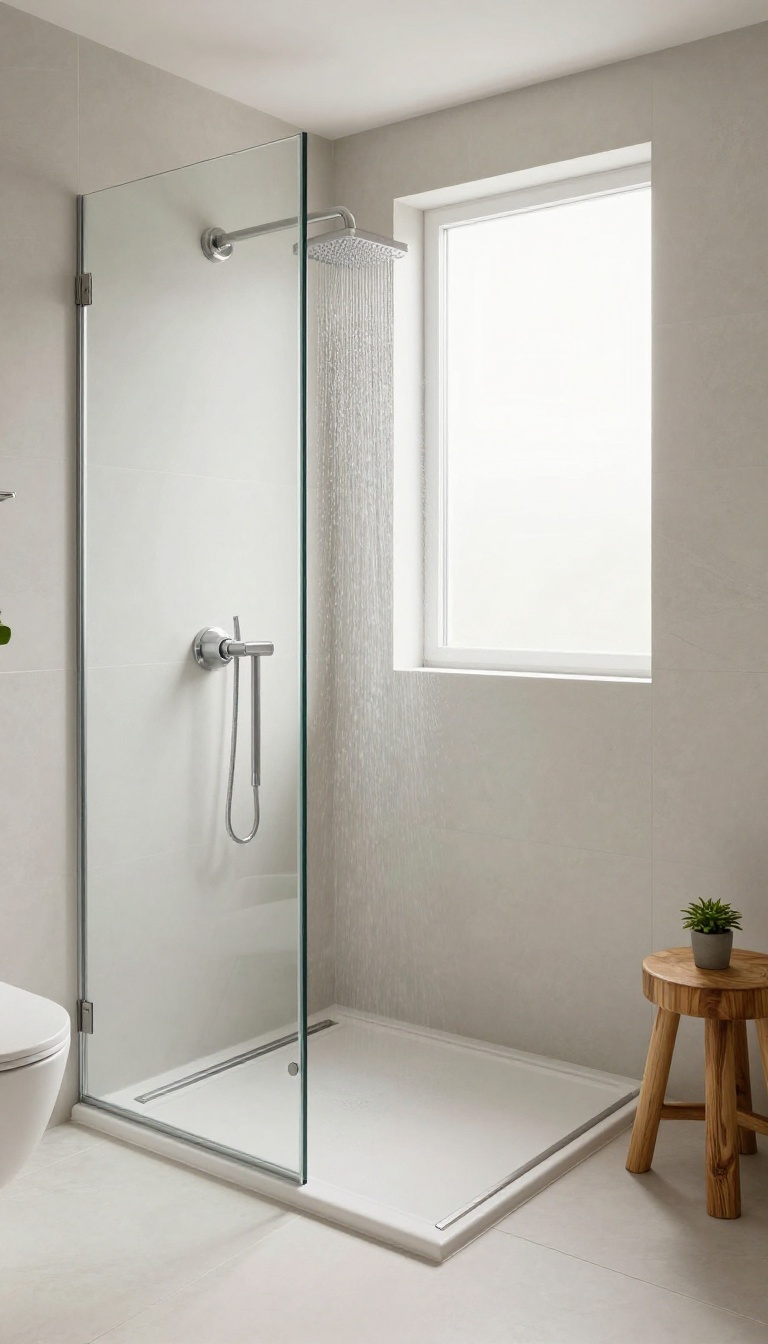
A walk-in shower without a curb instantly makes the bathroom feel bigger and more open. The key is a linear drain, which sits flush with the floor and creates a barely-there transition. It's a clean, custom look that also solves water drainage efficiently.
The linear drain is more than a style statement. It allows for a completely level entry, which is great for accessibility and easy cleaning. Plus, the long, narrow grate adds a subtle architectural detail that ties the whole shower together.
Why A Linear Drain Works
Unlike traditional center drains, a linear drain can be placed along the wall or at the shower's edge. This lets you slope the floor in one direction, making it easier to achieve a true curbless design. It also handles high water flow better, so you can enjoy a powerful rain shower without puddling.
Designing The Entry
The absence of a curb means the shower floor flows right into the rest of the bathroom. You can use the same tile throughout to create a seamless look, or add a subtle transition with a different tile pattern. Just make sure the floor slopes slightly toward the drain to keep water contained.
Choosing The Right Grate
Linear drains come in various materials and finishes, from stainless steel to brushed bronze. Pick one that complements your fixtures and tile. Some grates are tileable, allowing the drain to disappear almost completely into the floor for a truly custom finish.
2. Frameless Glass Panels for a Minimalist Look
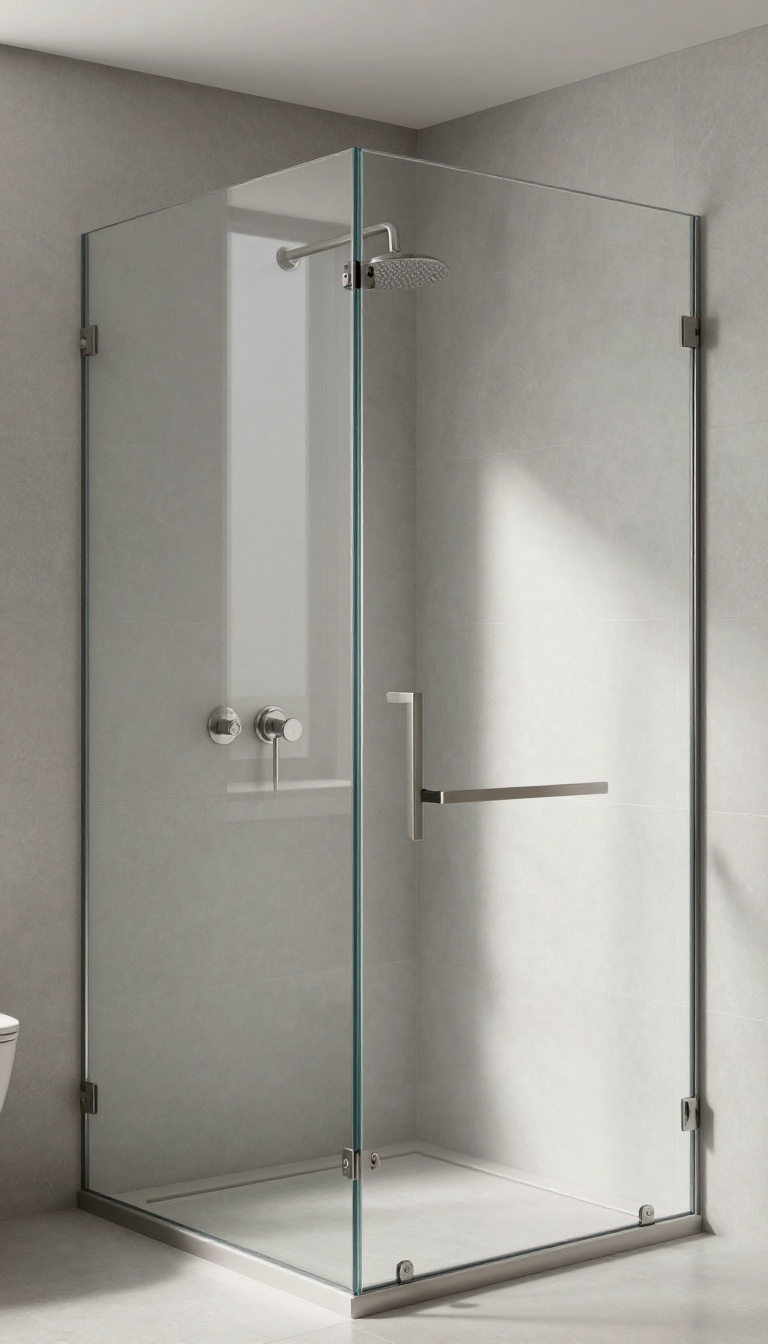
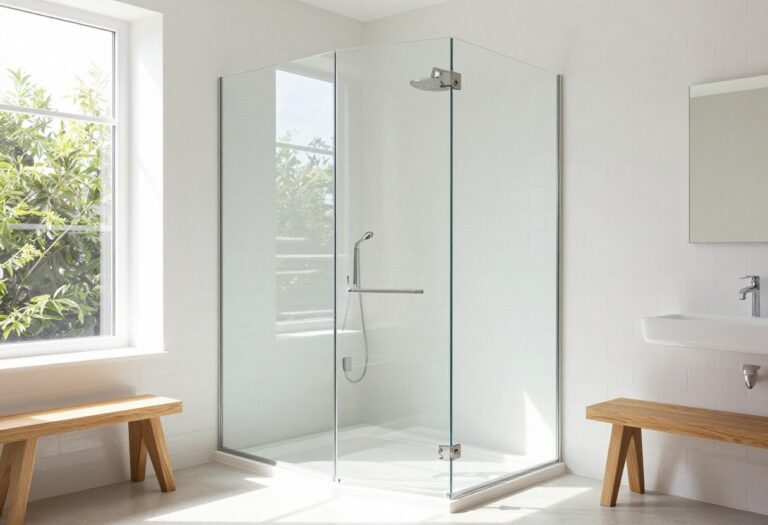
Frameless glass is a game-changer for master showers. It removes the visual clutter of metal frames and tracks, letting the eye travel uninterrupted from the tile to the rest of the bathroom. The result is a clean, open feel that makes even a modest-sized shower appear more spacious.
Beyond the aesthetic, frameless panels are surprisingly practical. Without a frame, there's less metal to collect water spots and soap scum, so cleaning is simpler. Plus, the sturdy tempered glass feels substantial and premium, giving your shower a high-end custom look without the custom price tag.
Why Frameless Feels Bigger
The lack of visual barriers tricks the eye into seeing more space. A frameless panel lets natural light pass through, illuminating the tile and making the shower area feel like part of the whole room. This is especially effective in master baths with large windows or skylights.
Glass Thickness And Hardware
For a truly custom feel, opt for 1/2-inch or 3/8-inch tempered glass. Thicker glass feels more solid and upscale. Minimalist hinges and clips in brushed nickel or matte black keep the focus on the glass and tile.
Choose a finish that matches your fixtures for a cohesive look.
Pairing With Tile
Frameless glass is a blank canvas that shows off your tile work. Large-format tiles, marble slabs, or bold patterns all shine when not interrupted by frames. Consider a niche or a bench to add function without breaking the clean lines.
3. Built-In Niche with a Contrasting Backsplash
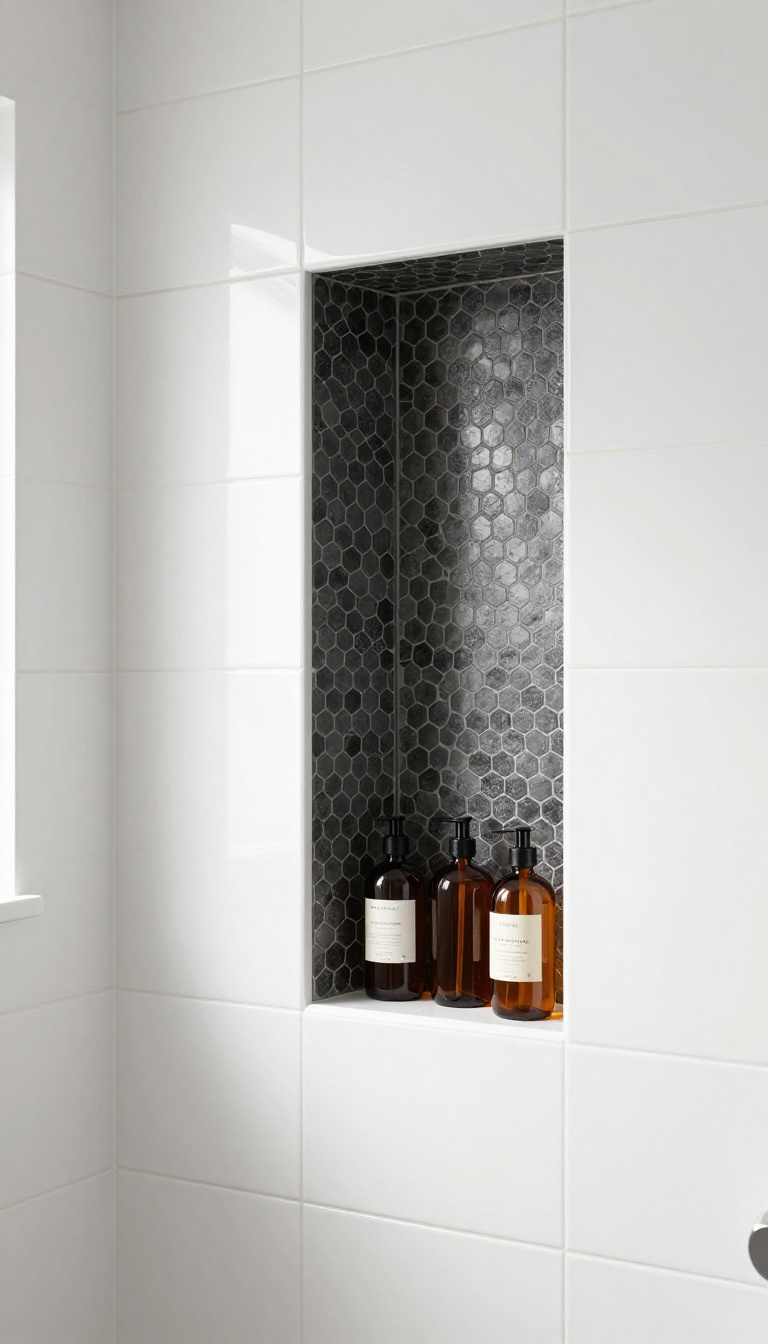
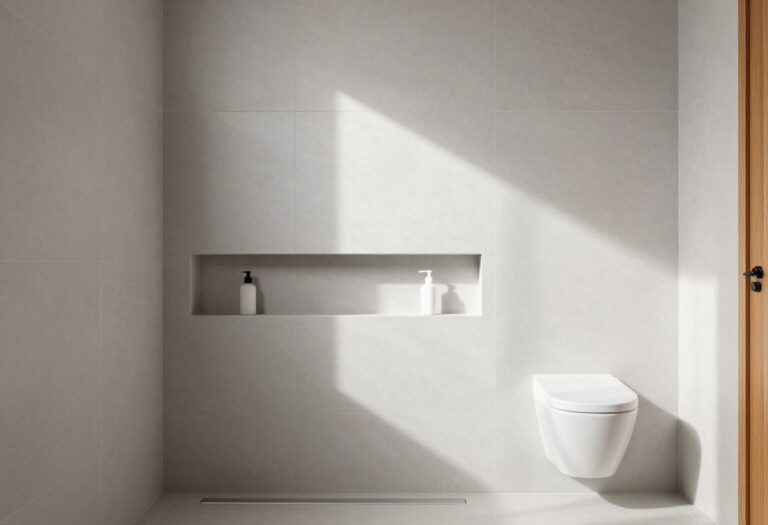
A recessed shelf is a practical upgrade, but it doesn't have to blend into the wall. By using a different tile or material for the niche's back panel, you create a striking focal point that also keeps your shampoo and soap within easy reach. This small detail adds a layer of customization that makes the shower feel designed, not just built.
The niche itself is a must-have for any modern shower—it eliminates bulky caddies and keeps everything tidy. The magic happens when you treat the back of that niche as a mini backsplash. Choose a contrasting tile, a slab of marble, or even a metal panel to add texture and depth.
It's a simple way to inject personality without overwhelming the space.
Pick A Material That Pops
The easiest route is to use a tile that contrasts with the main shower wall. If your walls are large-format white porcelain, try a hexagonal mosaic in a warm brass or deep charcoal. For a more luxurious feel, a single slab of quartz or marble in the niche adds a seamless, high-end look.
Metal panels, like brushed nickel or copper, are another unexpected option that adds warmth and shine.
Think About Lighting
A niche can be a dark hole if it's not lit properly. Adding a small LED strip inside the niche or placing a recessed light directly above it can highlight the contrasting backsplash and make your products easier to see. This is especially effective if you choose a glossy tile or a material with a reflective finish.
Size And Placement Matter
Plan the niche's dimensions based on what you'll store. A typical niche is about 12 inches tall and 12 inches wide, but you can make it taller for larger bottles. Place it at a comfortable height—usually around chest level—and avoid putting it directly in the path of the shower spray.
If you're installing a niche in a corner, consider a custom shape that wraps around, but a simple rectangular niche is often the most versatile.
4. Rain Shower Head with a Handheld Combo
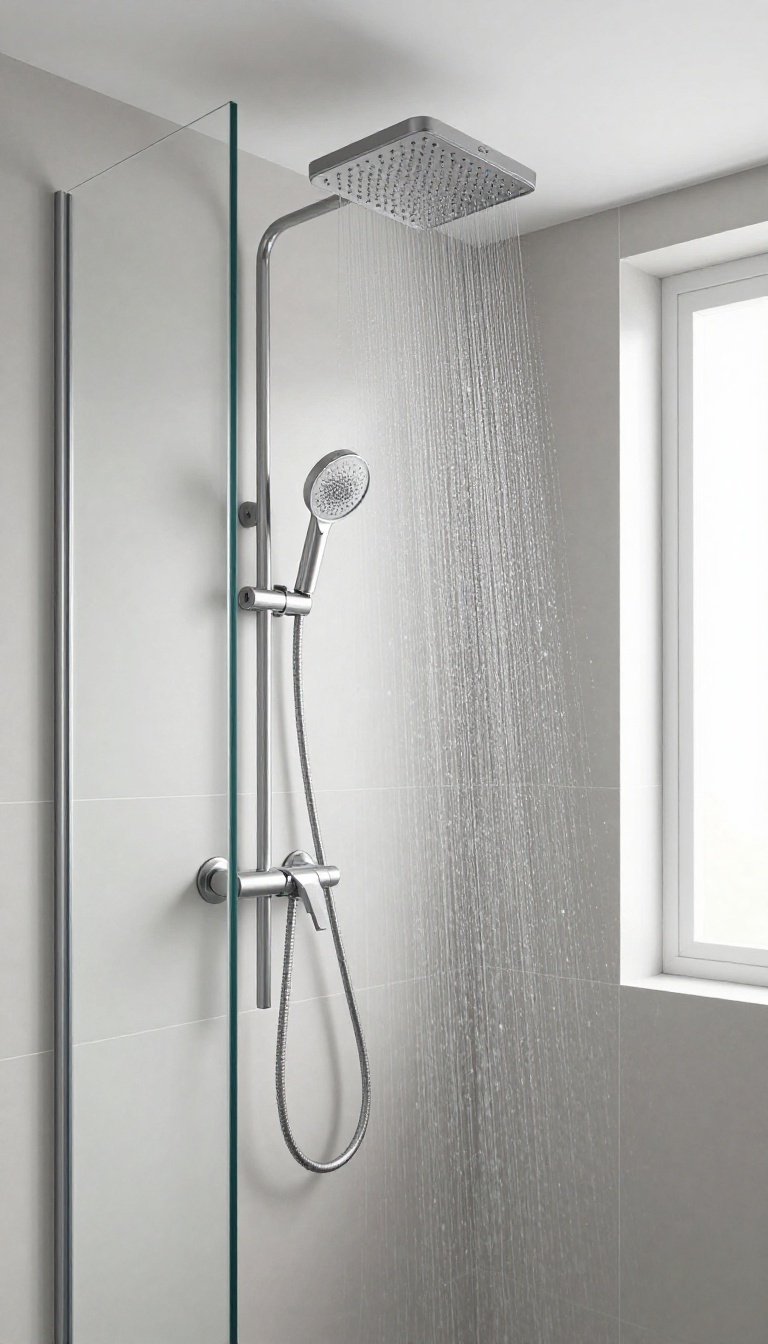
A rain shower head mounted overhead instantly changes the feel of a shower, turning an everyday rinse into something closer to standing under a warm waterfall. But a rain head alone can be limiting when you need to target a specific area or rinse off after a workout. Pairing it with a handheld sprayer gives you the best of both worlds: that luxurious, full-body coverage and the practical flexibility to direct water exactly where you need it.
It's a simple upgrade that makes a big difference in how the shower functions day to day.
The combination is more than just a convenience—it's a design choice that adds a clean, custom look to your master bath. Many modern setups feature a sleek ceiling-mounted rain head with a discreet handheld unit on a slide bar, keeping the visual lines uncluttered. You can also choose a wall-mounted rain head with a handheld attached to a diverter, which works well in smaller spaces.
Either way, the setup feels intentional and spa-inspired, not like an afterthought.
Why This Combo Works
The rain head delivers a gentle, wide spray that feels amazing and helps you relax. The handheld is perfect for tasks that need precision, like washing your hair, cleaning the shower walls, or rinsing off kids and pets. It also makes the shower more accessible for anyone who prefers to sit while showering or needs extra reach.
Having both options in one unit means you never have to compromise on experience or function.
Placement And Setup Tips
For the best results, mount the rain head directly above where you'll stand, usually centered in the shower. The handheld should be within easy reach, typically on a slide bar that lets you adjust the height. Make sure the diverter valve is easy to operate, so you can switch between the two without fumbling.
If you're remodeling, plan the plumbing rough-in carefully to avoid awkward pipe runs.
Choosing The Right Fixtures
Look for a rain head with a wide diameter—around 8 to 12 inches—and a handheld with multiple spray settings. Brushed nickel or matte black finishes are popular for a modern, clean look. Consider models with a pause feature on the handheld to save water while you soap up.
Also, check the flow rate to ensure it meets your water pressure needs, especially if you have a well or low-pressure system.
5. Matte Black Fixtures for a Bold Accent
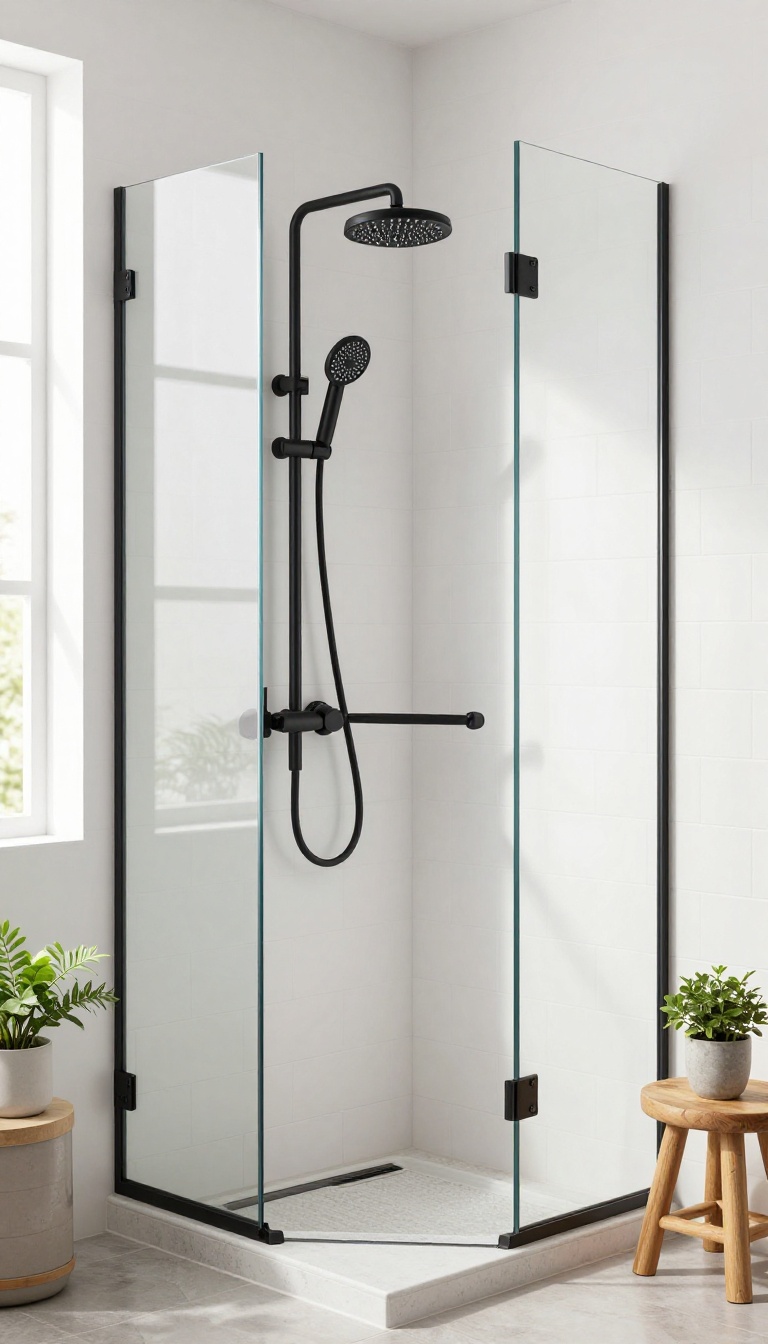
Sometimes the smallest details make the biggest splash. Matte black fixtures are having a serious moment, and for good reason—they add a crisp, contemporary edge that instantly wakes up a light, airy shower. The contrast against white subway tile or soft gray stone is clean and striking, without feeling harsh or trendy in a way that will date quickly.
What makes matte black so versatile is how it plays with texture. The flat finish absorbs light rather than reflecting it, which gives the hardware a grounded, tactile quality. Pair it with warm wood tones, brushed nickel accents, or even a touch of brass, and you’ve got a custom look that feels intentional and polished.
Matte black fixtures work best when they’re used consistently, not scattered randomly. Think of them as the outline that ties the whole shower together. The showerhead, hand shower, valve trim, and even the drain cover can all wear the same finish for a cohesive, designer look.
The key is to let the black act as an accent against lighter surfaces, so the contrast stays sharp and the space doesn’t feel heavy. One of the easiest ways to introduce matte black is through the showerhead and controls. A large rain showerhead in matte black becomes a focal point overhead, while a sleek hand shower mounted on a slide bar adds both function and style.
The valve trim and handle are small but mighty—they’re the pieces you touch every day, and the matte finish hides water spots and fingerprints far better than chrome or stainless. Another spot where matte black shines is the shower door hardware. Hinges, handles, and towel bars in the same finish create a seamless look.
If you’re doing a curbless or walk-in shower, a matte black towel bar or robe hook near the entry adds a practical touch that also reinforces the design language. Even the drain grate can be swapped to matte black for a subtle, custom detail that most people won’t notice—but they’ll feel the difference.
Pairing With Light Tiles
Matte black pops best against light backgrounds. White subway tile, pale marble, or light gray porcelain all create the ideal canvas. The dark fixtures stand out clearly, giving the eye a place to rest and adding depth to an otherwise monochrome palette.
If you want a softer look, consider a warm white or cream tile that has a bit of variation. The black will still read as bold, but the overall vibe stays calm and spa-like.
Mixing Finishes With Confidence
You don’t have to go all-black. Matte black pairs beautifully with brushed brass or champagne bronze for a layered, curated feel. Use black for the main showerhead and valve trim, then bring in brass for a wall-mounted soap dish or a small shelf.
The trick is to keep the mix intentional—stick to two finishes max, and let one dominate. This approach adds warmth and character without turning the shower into a circus.
Choosing The Right Hardware
Not all matte black fixtures are created equal. Look for a high-quality finish that’s been properly sealed to resist corrosion and chipping. Check that the hardware is solid brass or stainless steel underneath, not just a painted coating.
Also, consider the shape and style—a slim, minimalist design feels modern, while a slightly rounded profile softens the look. Test the feel of the handles and showerhead before you commit, because you’ll be touching them every day.
6. Floor-to-Ceiling Tile for a Seamless Look
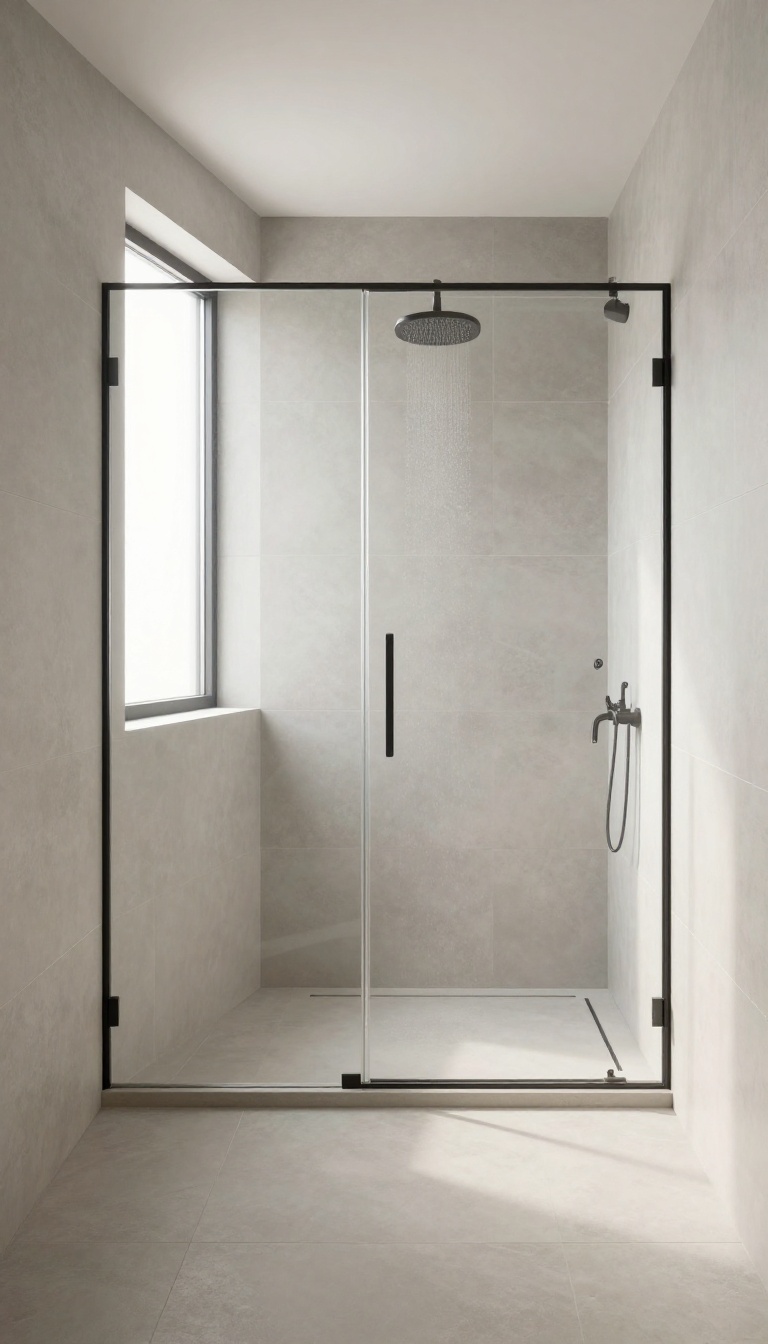
Matching tile from floor to ceiling does more than just look polished—it creates a continuous surface that makes the shower feel taller and the whole bathroom more expansive. When the eye isn't interrupted by a change in material or color, the space reads as larger and more serene. It's a simple design trick with a big payoff, especially in compact master baths.
Floor-to-ceiling tile is a favorite among designers for good reason. It eliminates the visual break where tile usually meets painted drywall, which can make a shower feel boxed in. Instead, the eye travels smoothly upward, drawing attention to the height of the ceiling and giving the room a more open, airy feel.
Plus, it's a practical choice: less grout lines and no drywall to worry about in the wet zone means easier cleaning and less maintenance over time. To pull off this look successfully, think about the tile size and layout. Large-format tiles (like 12×24 or 24×48) have fewer grout lines, which enhances the seamless effect.
But don't overlook smaller tiles like subway or mosaic—they can create a beautiful texture while still offering that continuous coverage. The key is to use the same tile on both the floor and the walls, and to carry it all the way up to the ceiling, even if you have a shower niche or bench. That's what makes the design feel intentional and custom.
Choose The Right Tile Size
Bigger tiles mean fewer grout lines, which is the secret to a truly seamless look. Consider large-format porcelain or ceramic tiles in a matte or subtle gloss finish. They not only reduce visual clutter but also make cleaning a breeze.
If you prefer a more textured look, large-format tiles with a stone or concrete finish can add warmth without breaking the continuity.
Coordinate With The Rest Of The Bath
For a cohesive design, extend the same tile beyond the shower. Use it on the bathroom floor and maybe even on a feature wall behind the vanity. This creates a unified flow that makes the entire master bath feel like one continuous space.
If that's too much, at least match the shower floor and walls, and keep the rest of the room in a complementary tone.
Balance With Lighting And Fixtures
When you have a single tile surface, lighting becomes crucial. Add recessed ceiling lights or a linear LED strip to highlight the texture and prevent the space from feeling flat. Also, choose fixtures that contrast slightly—like matte black or brushed nickel—to give the eye a resting point and add a touch of personality.
7. Double Shower Heads for Two
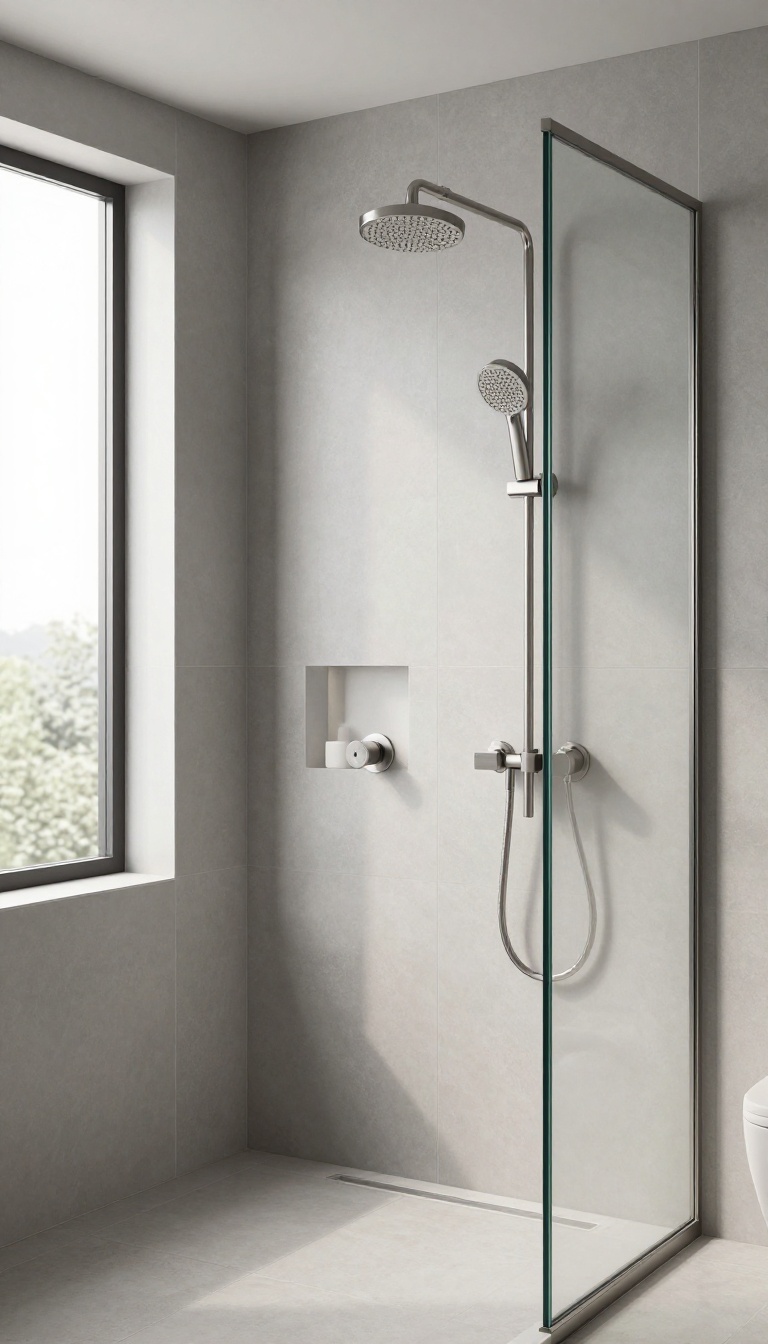
A dual-head setup isn't just about sharing the space—it's about making mornings easier and evenings more relaxing. With separate controls, you can each set your own temperature and pressure without compromising. It's a practical luxury that turns an everyday routine into a shared experience.
Installing two shower heads is more than a trend. It's a smart way to make the most of your shower time, whether you're rushing to get ready or unwinding after a long day. The key is planning the placement and plumbing so it feels seamless, not cluttered.
Choose Your Setup: Fixed, Handheld, Or Both
You have a few options when it comes to dual heads. A pair of fixed rain heads mounted on opposite walls creates a spa-like feel. Or, combine a fixed head with a handheld on a slide bar for flexibility—great for rinsing off or cleaning the shower.
Think about how you'll actually use the space.
Plan The Plumbing And Controls
Dual heads need proper water pressure and separate valves. Make sure your water heater can handle the demand. Place the controls at a comfortable height, ideally between the two heads, so each person can adjust their own settings.
A thermostatic valve helps maintain a steady temperature.
Make It Feel Custom With Tile And Trim
The right tile and fixtures can make your double shower look intentional. Use a large-format tile to minimize grout lines and create a seamless backdrop. Choose finishes that match—brushed nickel or matte black works well.
Add a niche for toiletries so everything stays within reach.
8. Glass Block Window for Privacy and Light
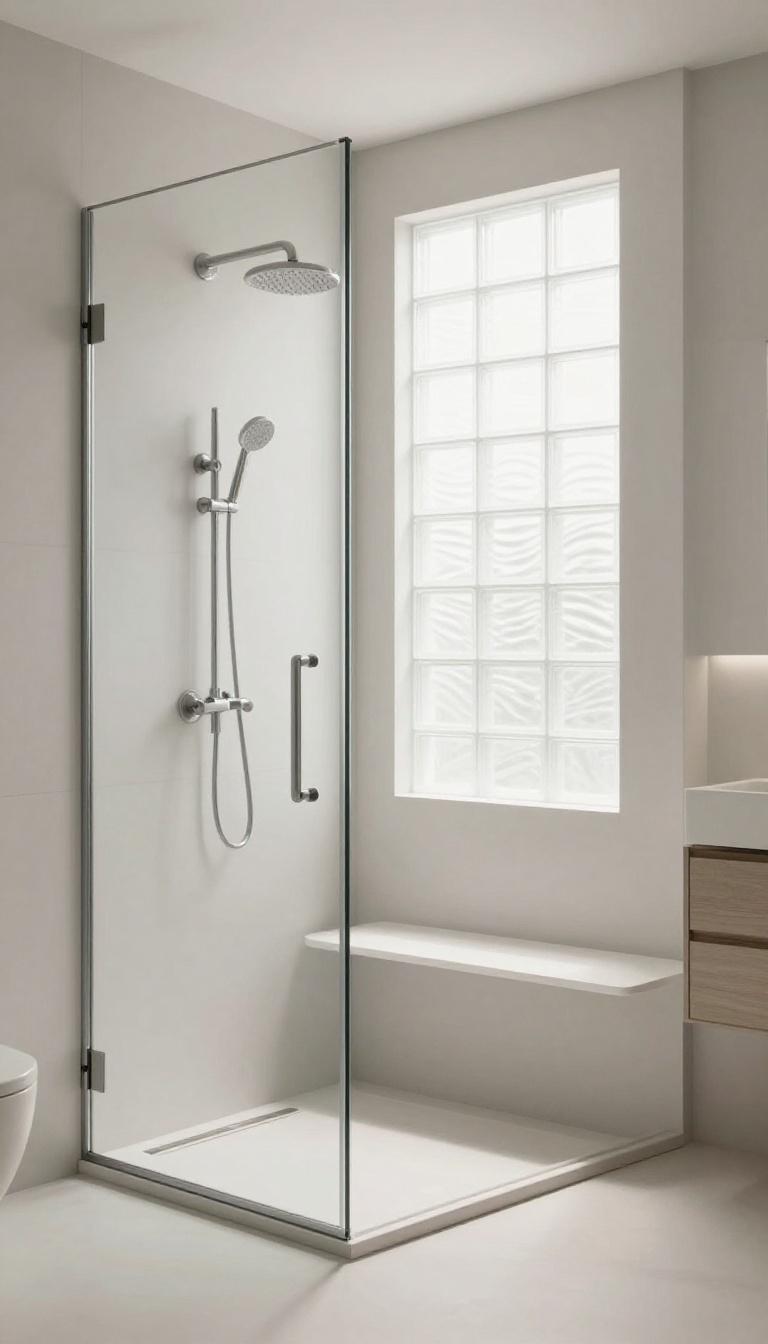
A glass block window is a clever way to bring daylight into a shower without sacrificing privacy. The textured glass diffuses light beautifully while obscuring the view from outside, so you get a bright, airy feel without the need for blinds or curtains. It's a classic choice that pairs surprisingly well with modern fixtures and clean lines.
If your master bath sits on a wall that faces the street or a neighbor, a standard window can feel like a compromise between natural light and privacy. Glass blocks solve that by letting in soft, diffused light while keeping the view completely obscured. Plus, the chunky, geometric look adds a subtle architectural interest that fits right in with a clean, custom design.
Why Glass Blocks Work So Well In Showers
Glass blocks are inherently water-resistant and easy to clean, making them a practical choice for wet areas. They also provide better insulation than a single pane of glass, which helps keep the shower warm and reduces condensation. And because they're set into a frame, they can be installed in a variety of shapes and sizes, from a small accent window to a larger panel that spans the shower wall.
Design Options: From Classic To Contemporary
You're not stuck with the standard square block. Modern glass blocks come in different textures, patterns, and even colors. For a clean, custom look, consider clear blocks with a frosted finish or ones with a subtle wave pattern.
You can also play with the layout—stack them in a horizontal band, create a vertical column, or use them to fill an entire wall. Pair them with a sleek metal frame for a more industrial feel, or keep it simple with a flush mortar joint for a seamless appearance.
Installation Tips And Considerations
Installing a glass block window requires some planning. Make sure the wall can support the weight, and consider hiring a professional if you're not comfortable with masonry work. Ventilation is also key—since glass blocks don't open, you'll need an exhaust fan to keep moisture from building up.
And if you're worried about cleaning, the smooth surface of glass blocks is actually easier to wipe down than you'd think, especially if you choose a smaller block size with fewer grout lines.
9. Heated Floor Inside the Shower
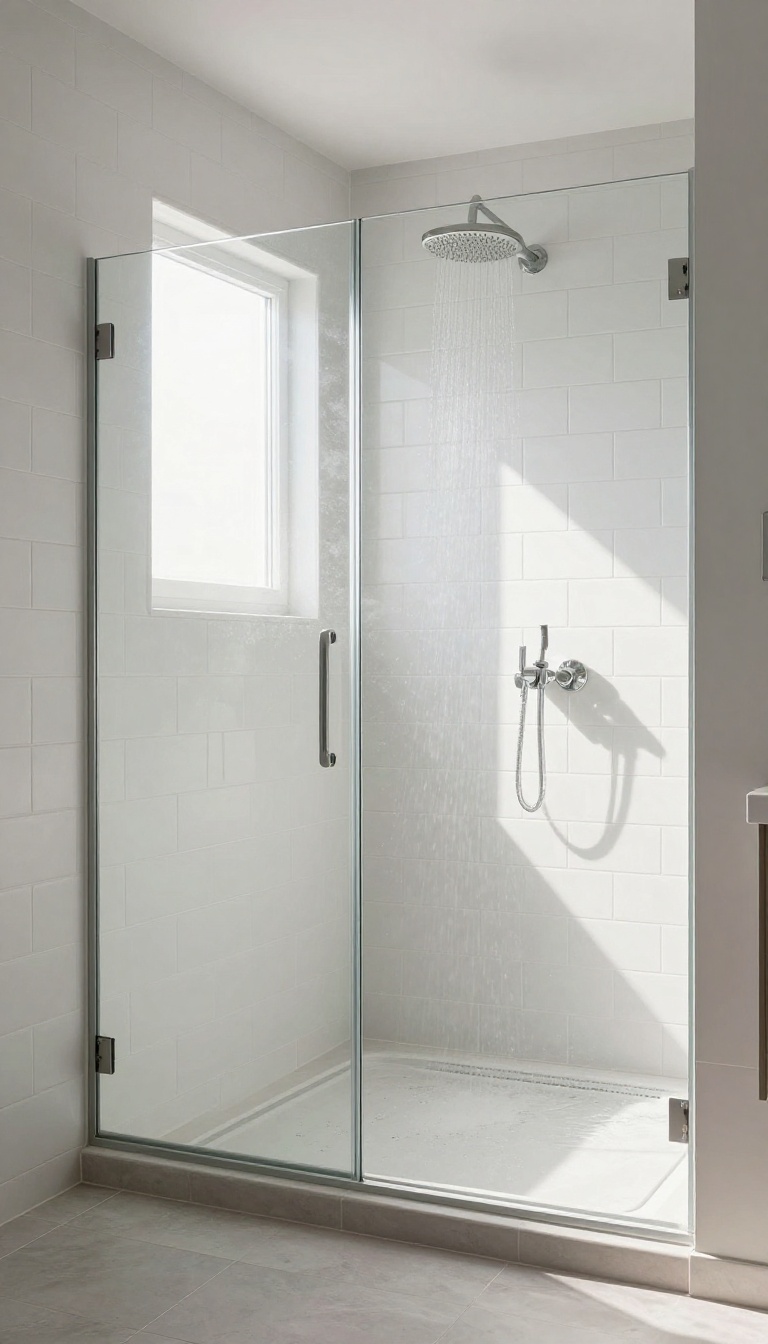
Cold tile underfoot can be the one thing that makes you dread stepping into the shower on a winter morning. Radiant floor heating tucked beneath the shower floor solves that instantly, wrapping your feet in gentle warmth from the moment you step in. It's a small luxury that makes a big difference in how the whole bathroom feels.
Radiant floor heating isn't just for the main bathroom floor—it works beautifully inside the shower too. The heat radiates up through the tile, so your feet stay cozy even when the room is chilly. It's a detail that feels custom because it is, and it's something you'll appreciate every single day.
Why Put Heat Under The Shower Floor?
The shower floor is often the coldest surface in the house. Bare concrete or tile can feel icy, especially in the morning. Radiant heat eliminates that shock, making the shower feel more inviting and spa-like.
It also helps dry the floor faster, reducing the chance of slips and keeping the area cleaner.
Installation Considerations
You'll want to install the heating system during a remodel, as it needs to be embedded in the mortar bed below the tile. Electric systems are the most common choice for showers because they're easy to zone and control. Make sure the system is rated for wet areas and installed by a pro to ensure safety and longevity.
Pairing With Thermostats And Timers
A programmable thermostat lets you set the floor to warm up before you wake, so it's ready when you are. Some systems even include smart controls that learn your routine. This not only adds comfort but can also help with energy efficiency, since you're not heating the floor when you're not using it.
10. Bench Seat with a Teak Wood Accent
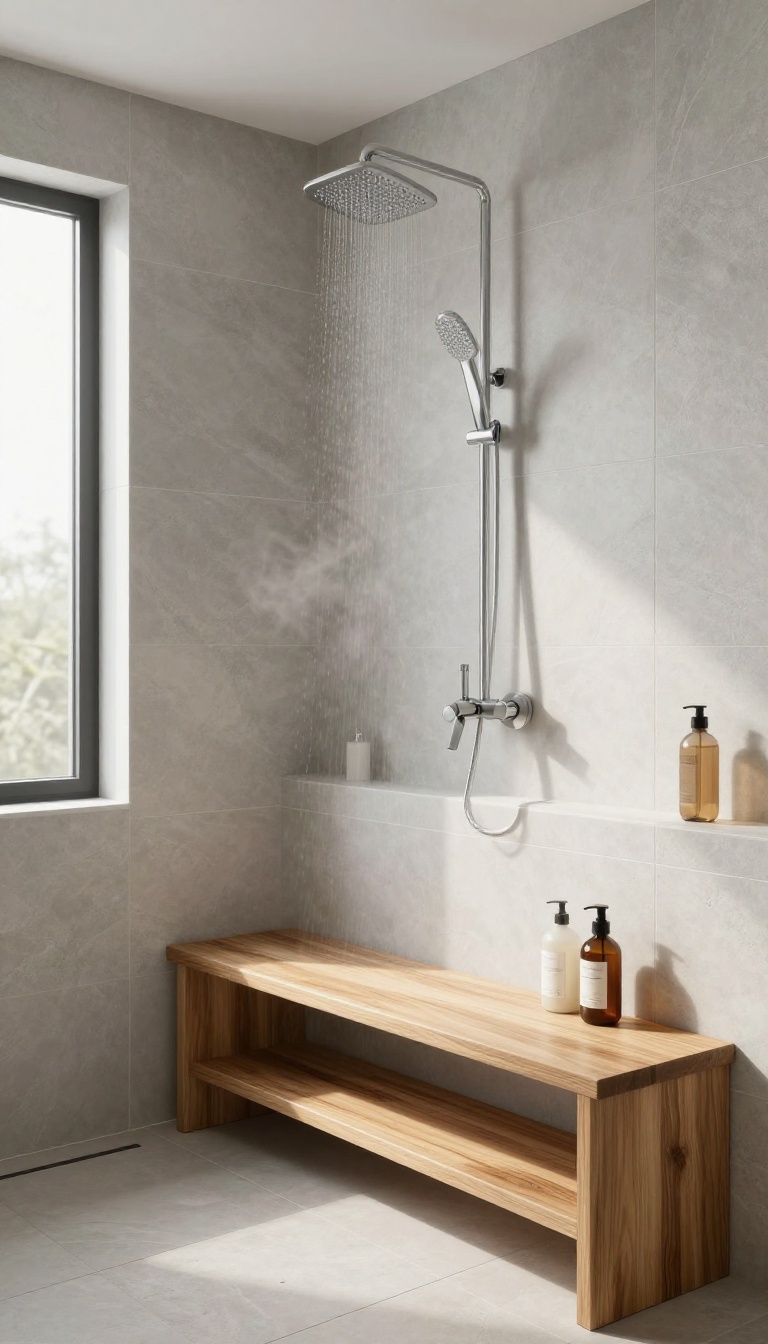
A built-in bench can turn a shower from purely functional to genuinely relaxing. Adding a teak wood top takes it a step further, introducing a natural warmth that stone and tile alone can't match. It's a simple upgrade that adds both comfort and style.
A bench seat is a practical addition for shaving legs, sitting in the steam, or just resting a foot while you scrub. When you top it with teak, you get a surface that's naturally water-resistant, warm underfoot, and beautiful to look at. The wood's rich golden-brown tones contrast nicely with most tile colors, creating a custom, spa-like feel.
Why Teak Works So Well
Teak is the go-to wood for bathrooms because it handles moisture like a champ. Its natural oils repel water, so it won't warp or rot easily. Plus, it feels warm and smooth—no more stepping onto cold stone.
You can leave it bare for a natural look or seal it for extra protection.
Built-in Vs. Drop-in Benches
A built-in bench is tiled to match your shower walls, creating a seamless, custom look. The teak top sits flush on top, adding that organic accent. A drop-in bench, on the other hand, is a freestanding teak bench you can move around or take out for cleaning.
Both work, but built-in feels more permanent and polished.
Placement And Size Tips
Place the bench along a side wall, not directly under the showerhead, so it stays dry when you're not sitting. Aim for a depth of 15 to 18 inches and a height of 17 to 19 inches for comfortable seating. If space is tight, a corner bench can fit without eating up too much room.
11. Recessed Lighting with a Dimmable Switch
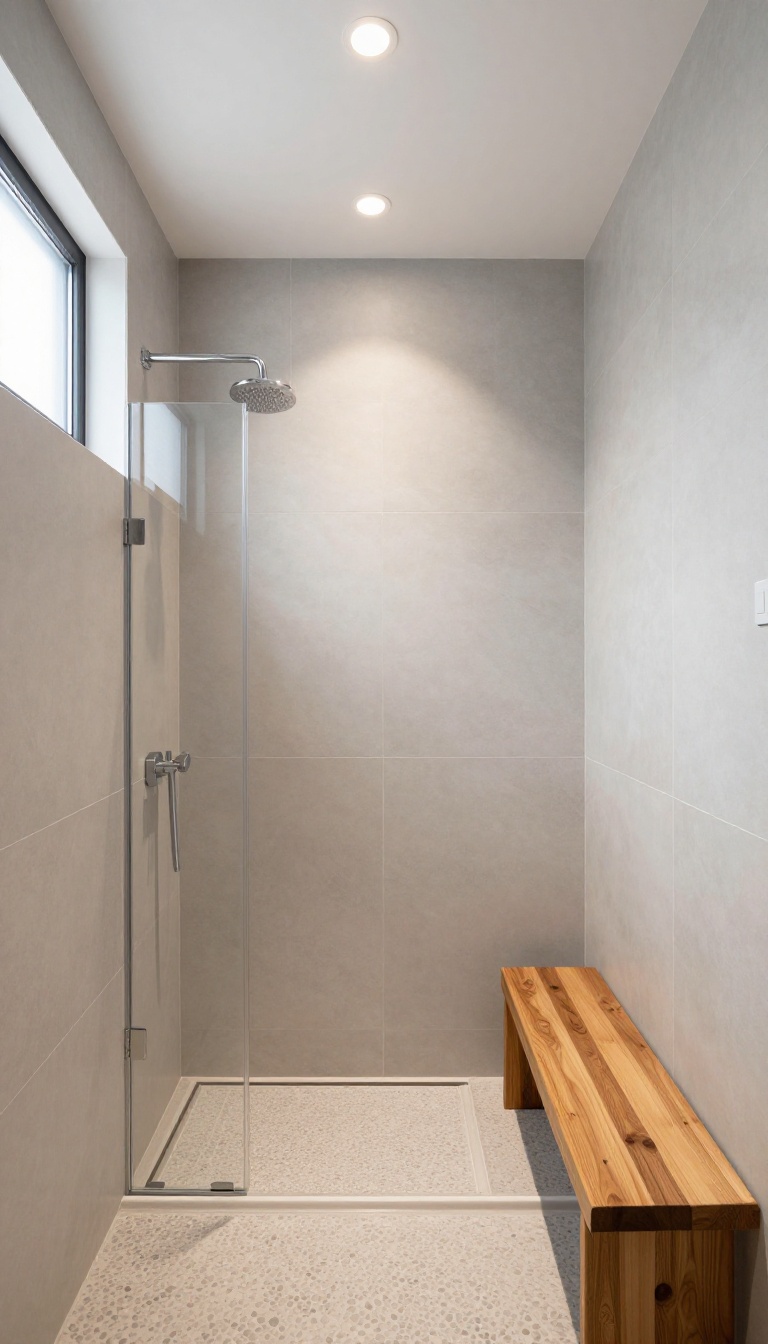
Lighting can make or break the feel of a shower, and recessed lights are a favorite for a reason. They sit flush with the ceiling, keeping the look clean and uncluttered. Add a dimmer, and you get total control over the mood—bright for a morning wake-up, soft for a wind-down at night.
With the right placement, recessed lights also highlight the textures and tiles you chose so carefully. They're a simple upgrade that makes a custom shower feel even more intentional.
Why Dimmers Matter
A dimmer switch gives you flexibility that a standard on/off switch just can't match. Crank it up to full brightness when you need to wake up or shave. Lower it to a gentle glow for a relaxing evening shower.
It's a small change that adds a layer of luxury without any extra fixtures.
Placement Tips For Even Light
Position recessed lights so they spread light evenly across the shower area. Avoid placing them directly above the showerhead, where they can cast shadows. Instead, aim for a spot that lights up the whole space, and consider adding a light over the bench or niche for extra visibility.
Pick The Right Bulbs
Choose LED bulbs with a warm color temperature, around 2700K to 3000K, to keep the space feeling cozy. Make sure they're rated for damp locations. And check that your dimmer is compatible with LED bulbs—some older dimmers can cause flickering or buzzing.
12. Shower System with a Thermostatic Valve
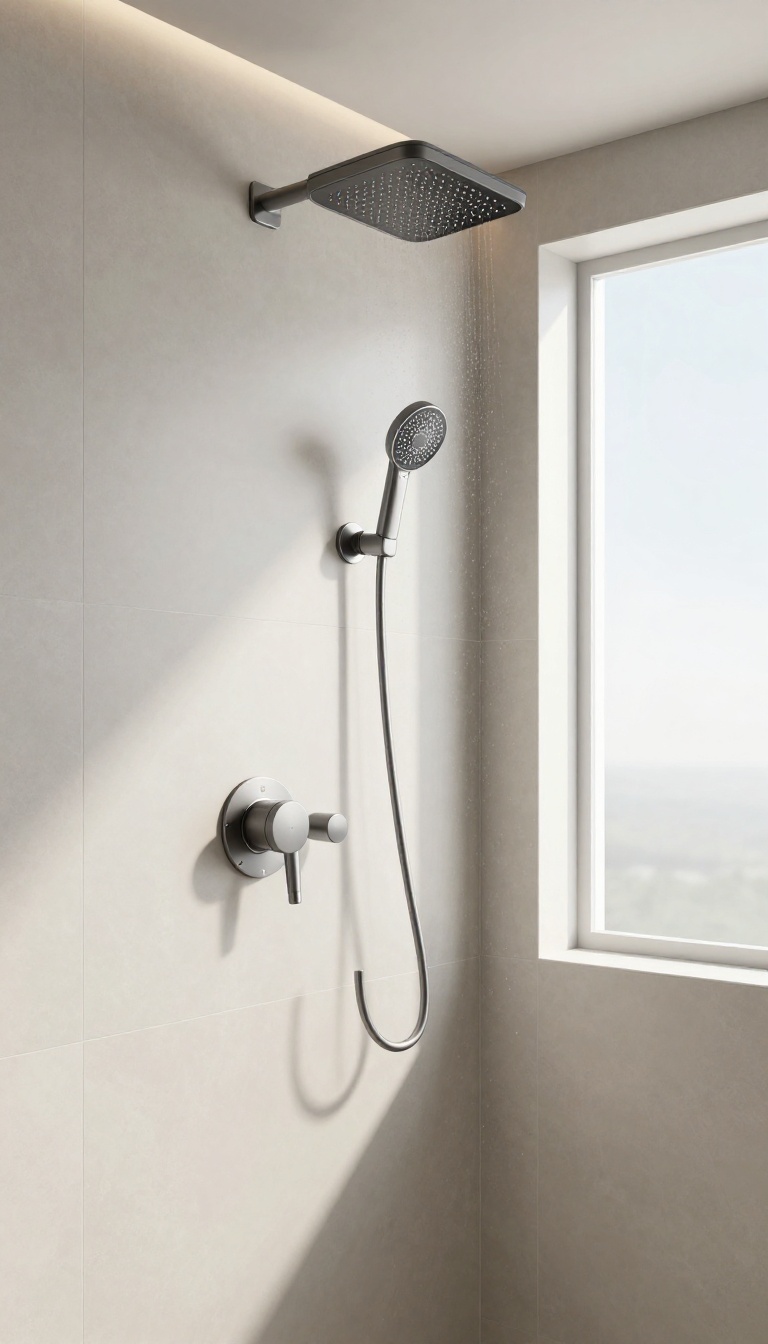
Ever had a shower turn icy when someone flushes a toilet or runs the washing machine? That sudden temperature swing is not just annoying—it can be genuinely unpleasant. A thermostatic valve solves that problem by keeping the water temperature steady no matter what else is happening in the house.
It's one of those upgrades that feels custom because it works so well. You set your preferred temperature once, and the valve automatically mixes hot and cold water to maintain it. No more fiddling with handles mid-shower.
It's a small change that makes a big difference in how your shower feels every single day.
A thermostatic valve is a plumbing fixture that controls the water temperature to a preset level. Unlike a standard pressure-balance valve, which only reacts to changes in water pressure, a thermostatic valve uses a wax thermostat or similar mechanism to actively adjust the mix of hot and cold water. This means the temperature stays constant even if the water pressure fluctuates.
It's a simple concept, but the effect is a shower that feels more precise and luxurious. For a master bath, this type of valve is especially valuable if you have multiple people using the shower or if your home's plumbing tends to cause temperature spikes. It also pairs well with other features like rainfall heads or body sprays, because you can set the temperature once and then focus on enjoying the water.
Why It Feels Custom
The biggest perk is the consistency. You dial in your ideal temperature and it stays there, shower after shower. That kind of reliability feels like a high-end spa feature.
Plus, many thermostatic valves come with separate controls for temperature and flow, so you can adjust the water pressure without changing the heat. That's a level of control you just don't get with a standard single-handle fixture.
Installation And Compatibility
Installing a thermostatic valve typically requires a bit more space behind the wall than a standard valve, so it's a good idea to plan for it during a remodel. You'll also want to check the valve's flow rate and ensure it's compatible with your water heater and showerhead. A licensed plumber can help you choose the right model and make sure it's installed correctly.
Once it's in, it's a set-and-forget upgrade.
Design Options
Thermostatic valves come in a range of styles, from sleek modern panels to classic round knobs. You can find them in finishes that match your other fixtures, like brushed nickel or matte black. Some models even feature digital displays that show the exact temperature.
That's a nice touch if you like precision. The design can be as minimal or as detailed as you want, so it's easy to integrate into your bathroom's look.
13. Large-Format Tiles with Minimal Grout Lines
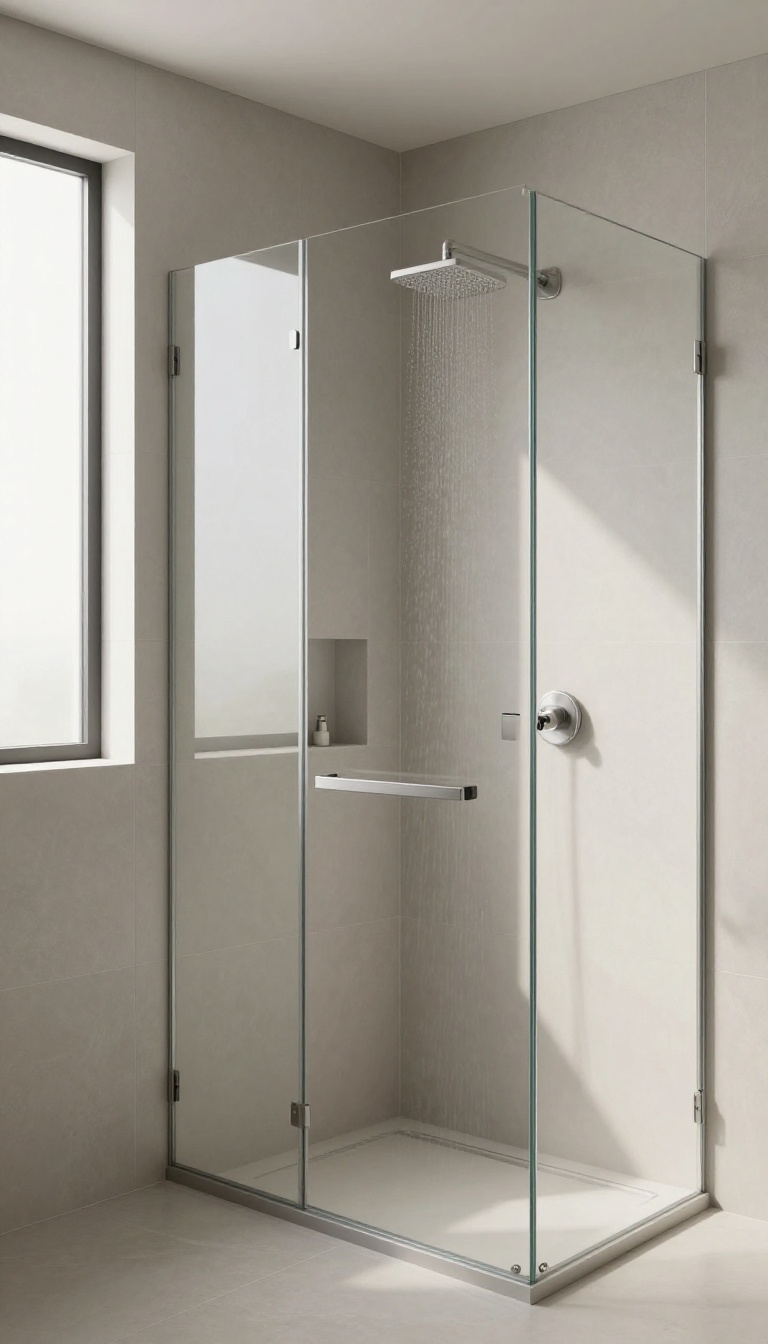
Grout lines are the unsung heroes of shower design—until they get grimy. Large-format tiles shrink those lines dramatically, giving your shower a seamless, spa-like look that's also easier to clean. It's a win-win for style and maintenance.
When you choose large-format tiles, you're not just picking a size; you're opting for a cleaner aesthetic. Fewer grout lines mean less visual clutter, making the shower feel more open and airy. Plus, with less grout to scrub, you'll spend less time on upkeep and more time enjoying your space.
Why Bigger Tiles Feel More Modern
Large tiles create a smooth, continuous surface that reads as high-end and contemporary. They minimize the busy pattern that smaller tiles often produce, letting the material itself—whether it's marble, porcelain, or concrete—take center stage. This simplicity is what gives modern bathrooms their calm, uncluttered vibe.
Choosing The Right Material
Not all large tiles are created equal. Porcelain and ceramic are durable and water-resistant, making them top picks for showers. Natural stone like marble or travertine adds luxury but needs sealing.
Consider your maintenance tolerance and style preference when picking the material.
Installation Tips For A Flawless Finish
Proper installation is key to avoiding lippage (uneven tile edges) and ensuring a smooth surface. Use a leveling system and hire a pro experienced with large formats. Also, plan your layout to minimize cuts, especially around niches and corners, for a polished result.
14. Niche with a Built-In Light
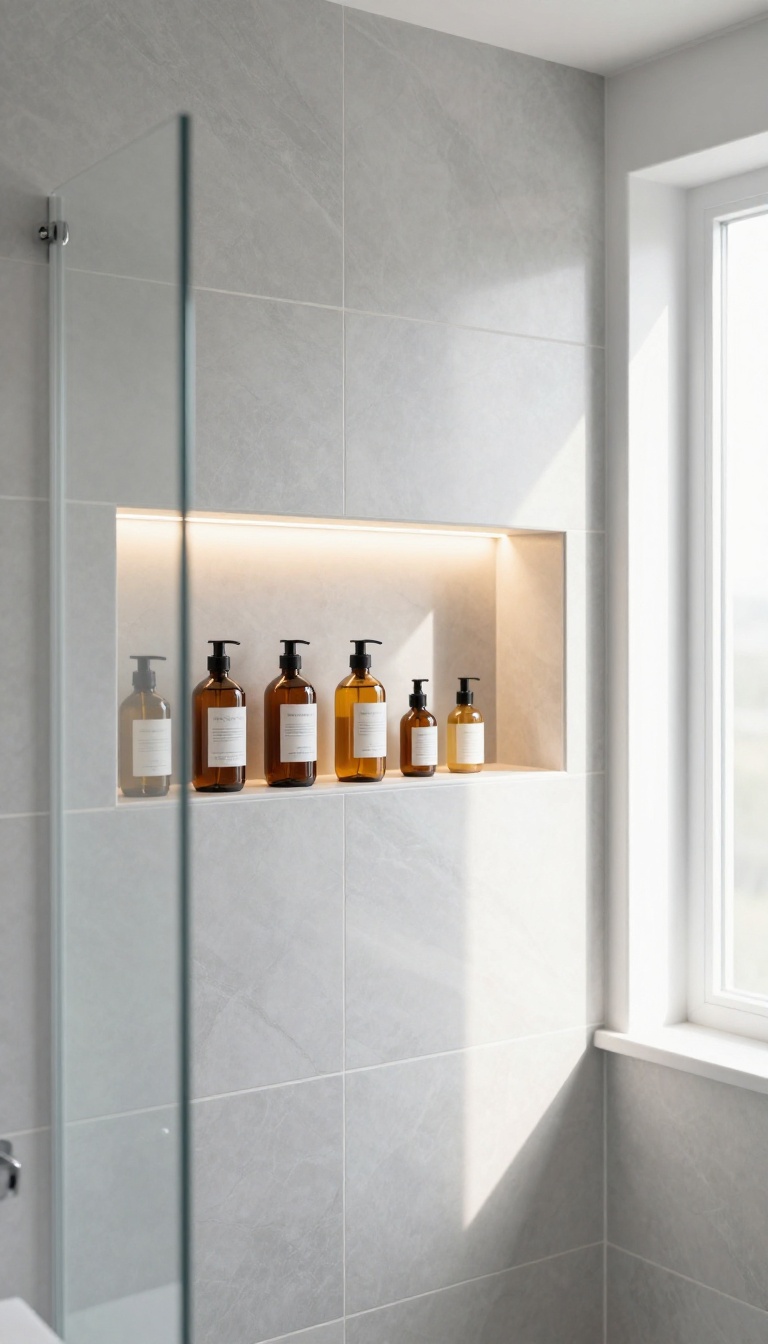
A shower niche is a practical spot for your shampoos and soaps, but it doesn't have to be purely utilitarian. Adding a small LED light inside the niche transforms it into a subtle focal point that also makes finding your products easier. It's a small detail that feels custom and high-end without a major overhaul.
A built-in light in your shower niche does double duty: it highlights your bottles and adds a soft glow that makes the whole shower feel more inviting. Whether you're grabbing your shampoo in the morning or winding down at night, the light ensures you can see everything clearly. Plus, it's a design touch that looks intentional and polished.
Pick The Right Light
For a wet area, choose a low-voltage LED fixture rated for damp or wet locations. Recessed puck lights are a popular option because they sit flush with the tile. You can also go with a slim strip light along the top or bottom edge of the niche.
Warm white (2700K-3000K) creates a relaxing spa vibe, while cool white is better for task lighting.
Placement And Wiring
The light should be installed so it doesn't cast shadows on your products. Typically, placing it at the top of the niche works well. Wiring needs to be planned during the tile installation, so it's easier to add during a remodel.
If you're not doing a full gut, you can use a battery-operated LED puck light that sticks to the tile and is controlled by a switch or motion sensor.
Make It A Focal Point
You can use the niche light to highlight a special tile or a decorative bottle. Some people add a dimmer switch to adjust the brightness for different moods. The light also helps the niche blend into the wall when it's off, making the shower feel more open and less cluttered.
15. Steam Shower for a Spa Experience
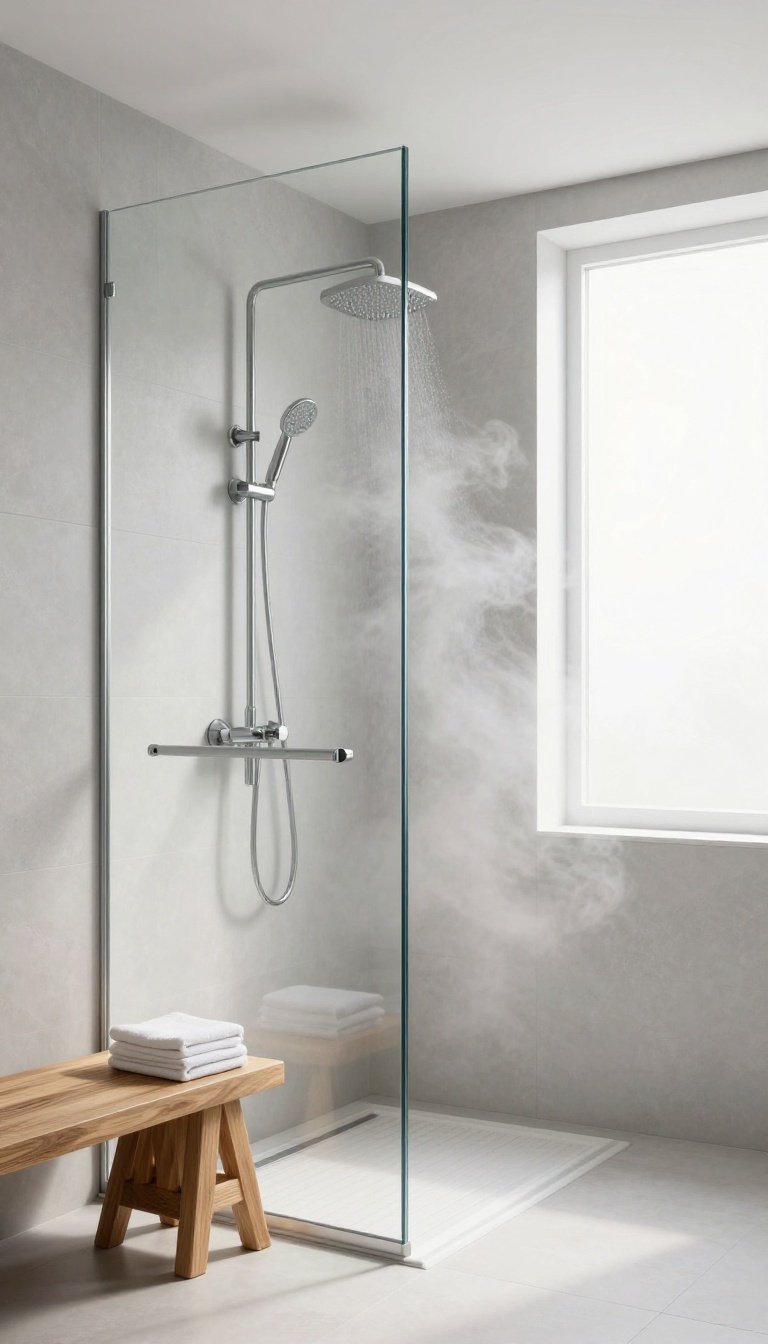
A steam generator turns your shower into a personal steam room, offering relaxation and potential health benefits. It's a feature that feels indulgent but is more achievable than you might think, especially if you're already planning a shower remodel.
How Steam Showers Work
A steam shower uses a sealed enclosure and a generator that heats water to create steam. The unit is typically installed outside the shower or in a nearby cabinet, with a control panel inside to adjust temperature and duration. You'll need a shower with a tight-fitting door and a ceiling that slopes to keep steam from escaping, plus a bench or seat to sit on while you enjoy the steam.
Health And Wellness Benefits
Steam showers are known for easing muscle tension, opening up sinuses, and promoting better circulation. The warm, moist air can also help with respiratory issues and leave your skin feeling soft. Many people use theirs as a daily ritual to unwind after a workout or a long day at work.
Design And Installation Considerations
When planning a steam shower, you'll need to choose a generator size based on the cubic footage of your enclosure. The shower itself should have non-porous surfaces like glass tile or acrylic, and you'll want a sloped ceiling to prevent dripping. A built-in bench is a must, and you might add aromatherapy or chromatherapy for an extra spa vibe.
While it's a bigger investment than a standard shower, the payoff in daily comfort is worth it for many homeowners.
FAQ
What is the most popular shower style for master baths?
Walk-in showers with frameless glass are currently very popular because they create an open, airy feel and are easier to clean than traditional doors.
How can I make my shower look custom without a full remodel?
Simple upgrades like swapping fixtures to matte black, adding a rain shower head, or installing a new glass door can instantly elevate the look.
What is the best tile for a shower floor?
Small-format tiles like mosaics are ideal for shower floors because they provide better traction and conform to slopes for drainage.
Should I choose a curbless shower?
Curbless showers are great for accessibility and a seamless look, but they require careful waterproofing and proper slope, so consult a professional.
How do I prevent mold in a shower?
Use proper ventilation, wipe down wet surfaces, and choose materials like large tiles with less grout, which are easier to keep clean and dry.
Conclusion
A fresh master shower doesn't have to mean a full gut job. Even swapping in one new idea—like a linear drain or a niche with warm lighting—can shift the whole feel of the space. Pick what fits your routine and your budget, and let the rest follow.
The best custom designs are the ones that make your morning easier and your evening slower. Start with a single upgrade that excites you, and build from there. Before long, you'll have a shower that feels clean, personal, and exactly right for how you live.