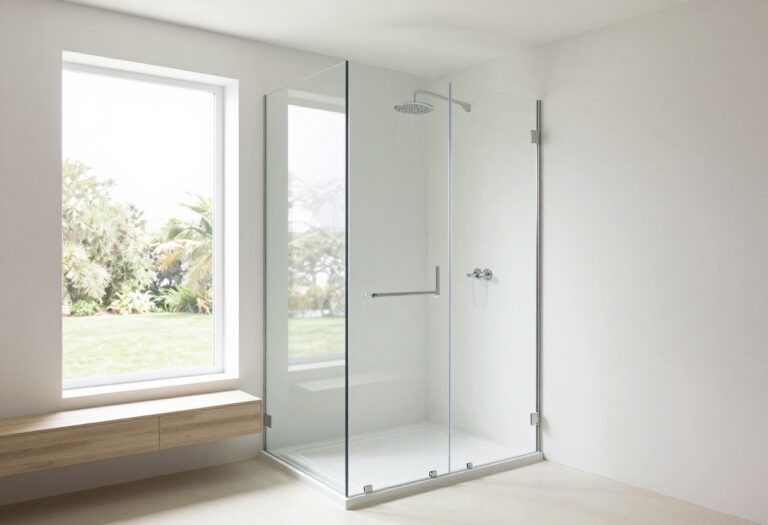
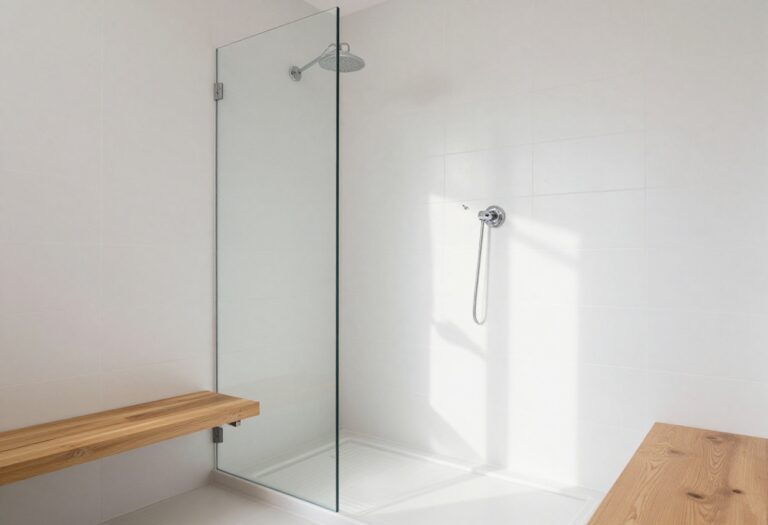
15 Refined Zero Entry Shower Ideas for a Clean, Custom Setup
Zero entry showers are a sleek, accessible upgrade for any bathroom. They ditch the traditional curb, making the space feel larger and more open.
But going curbless isn't just about removing a barrier—it's about thoughtful design that keeps water in and style high. Whether you're remodeling or building new, there are plenty of ways to make a zero entry shower work beautifully.
From choosing the right drain to adding built-in niches, every detail matters. Here are 15 refined ideas to help you create a clean, custom setup that fits your space and budget.
1. Curbless with a Linear Drain
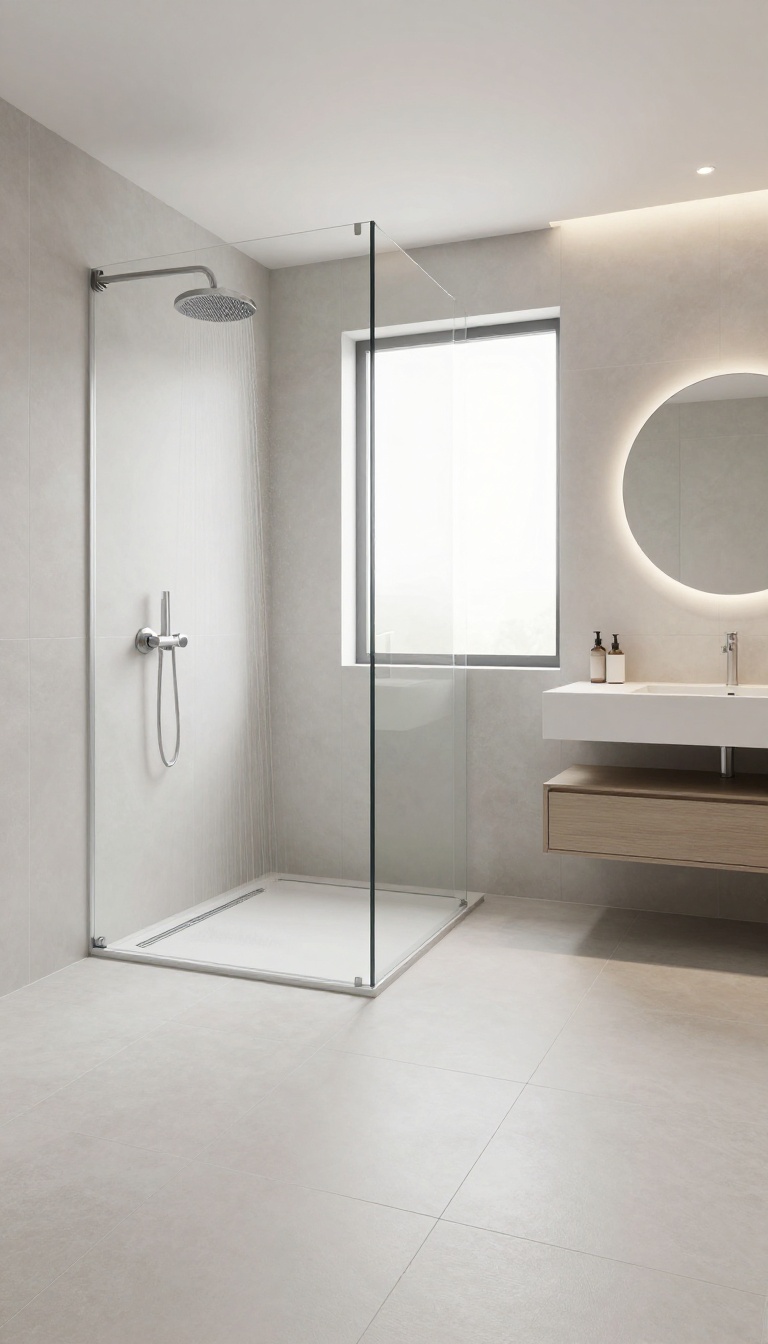
A curbless shower with a linear drain is the gold standard for modern, accessible design. Instead of a traditional center drain, a long, narrow drain sits flush with the floor, usually along the back wall or the entrance. This allows the floor to slope subtly in one direction, keeping water contained without any raised barrier.
The result is a seamless, open look that's both stylish and practical.
The linear drain isn't just about aesthetics—it's a functional upgrade. Because the drain is placed at one end, the floor can be pitched gently toward it, which is easier to walk on than the multi-directional slopes needed for a center drain. This makes the shower feel more spacious and reduces tripping hazards.
Plus, the wide drain opening handles high water flow efficiently, preventing puddling.
Why It Works So Well
The beauty of a linear drain is its flexibility. You can position it at the entrance to keep the rest of the bathroom dry, or place it against a wall to create a wet room effect. The single slope is more comfortable underfoot, and the long, narrow grate can be customized with tiles or stone to blend seamlessly with your floor.
It's a small change that makes a big impact on both form and function.
Installation Considerations
Keep in mind that a linear drain requires precise leveling and waterproofing. The floor needs to slope about 1/4 inch per foot toward the drain, so proper preparation is key. You'll also need to choose a drain that matches your tile thickness and layout.
It's a job best left to a professional unless you're experienced with tile and plumbing work.
Design Tips For A Polished Look
To make the most of a linear drain, opt for large-format tiles to minimize grout lines and enhance the seamless feel. Match the drain cover to your tile or choose a contrasting metal for a subtle accent. If you're worried about water splashing, add a fixed glass panel or a slight slope on the bathroom floor.
The goal is to keep the space open while ensuring water goes exactly where it should.
2. Use Large-Format Tiles for Fewer Grout Lines
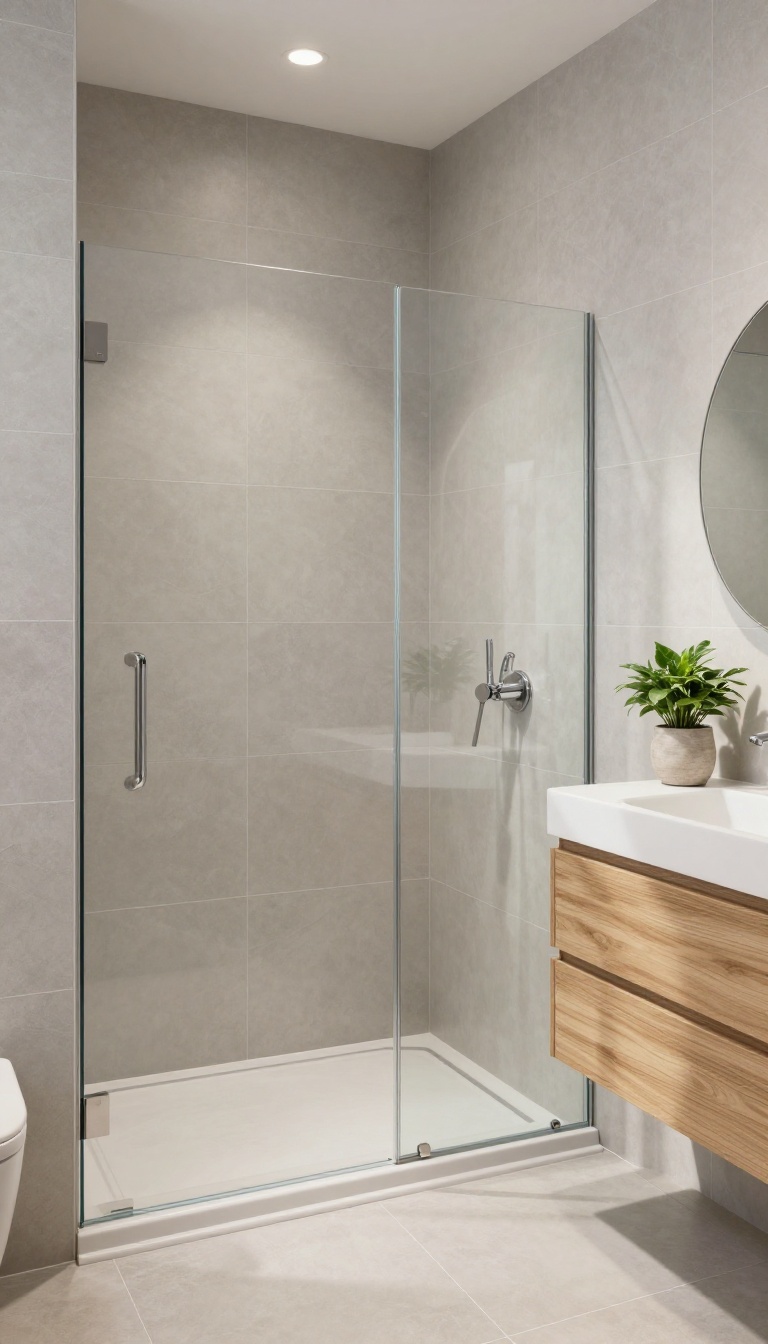
Grout lines are the first place soap scum and mildew like to hide. The more lines you have, the more scrubbing you'll do. Large-format tiles shrink that maintenance dramatically while giving your shower a sleek, modern look.
Big tiles also trick the eye into seeing more space. With fewer interruptions, the surface feels continuous and calm. That's a huge win for a zero entry shower, where openness is already the goal.
When you choose large-format tiles, you're cutting down on grout lines by a lot. Standard subway tile might have dozens of lines in a small area, but a 12×24 or 24×24 tile covers the same space with just a few. That means less time cleaning and fewer places for grime to build up.
The visual payoff is just as strong. Large tiles create a seamless, almost monolithic look that feels high-end and uncluttered. In a zero entry shower, this helps the floor and walls blend together, making the whole bathroom feel more expansive.
One thing to keep in mind: large tiles need a perfectly flat substrate. If the wall or floor has any dips, the tiles will show lippage. That's why it's worth investing in a good tile installer or using a self-leveling compound on the floor before tiling.
Why Fewer Grout Lines Matter
Every grout line is a tiny crack where moisture can sneak in and dirt can settle. With fewer lines, you have less surface area to clean and less chance of staining. This is especially important in a wet area like a shower, where hygiene is a top priority.
Plus, large tiles mean fewer joints to seal. Over time, grout can crack or discolor, and replacing it is a hassle. By using bigger tiles, you're reducing the long-term maintenance and keeping your shower looking fresh for years.
Choosing The Right Size And Finish
For a zero entry shower, 12×24 inch tiles are a popular choice because they're easy to handle and fit well in most spaces. If you want an even more seamless look, go for 24×24 or larger, but keep in mind that bigger tiles can be heavier and trickier to cut around drains and corners. Matte or textured finishes are great for the floor to prevent slipping.
On the walls, you can go with a polished or matte look depending on your style. Just make sure the tiles are rated for wet areas, especially if they're natural stone.
Installation Tips For A Flawless Finish
To avoid lippage, use a leveling system during installation. These small clips and wedges keep tiles perfectly aligned while the thinset dries. It's a small investment that makes a huge difference in the final look.
Also, plan your tile layout before you start. Center the tiles on the main sightline, like the shower entrance, so you don't end up with awkward thin cuts at the edges. This attention to detail will make the space feel intentional and polished.
3. Add a Glass Panel Instead of a Full Enclosure
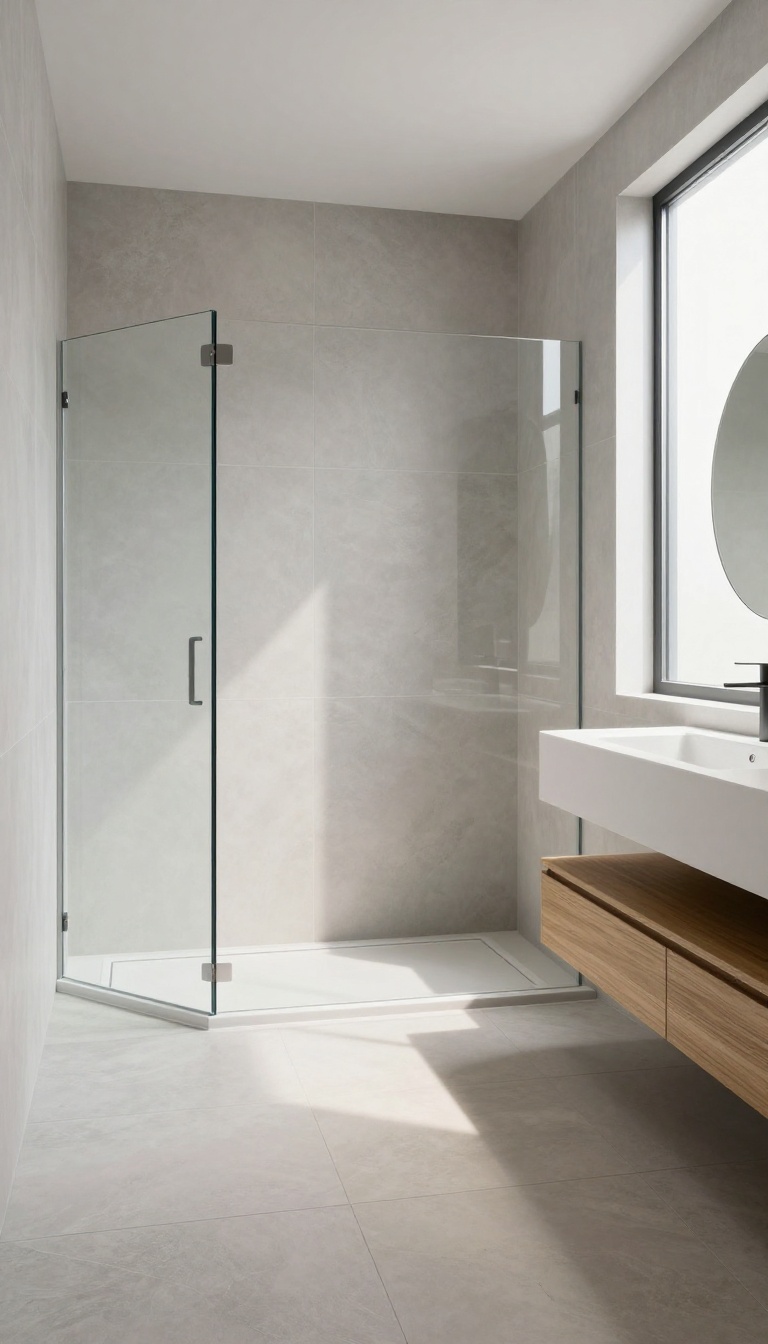
A full glass enclosure can make a zero entry shower feel boxed in, which defeats the purpose of going curbless. A single fixed glass panel offers the best of both worlds: it keeps water where it belongs while preserving that open, airy look. This approach works especially well in bathrooms where you want to show off large-format tile or a beautiful view.
It's a minimalist choice that lets the materials shine.
A single glass panel is a smart, stylish way to define the shower area without closing it off completely. It acts as a splash guard, directing water back toward the drain while leaving the rest of the space visually open. This design is ideal for wet-room-style layouts or bathrooms where a full enclosure would feel heavy.
Because the panel is fixed, you don't have to worry about a door swinging into the room or tracks collecting grime. It's also a budget-friendly option compared to custom glass doors with hinges and handles. The clean lines and unobstructed sightlines make the bathroom feel larger and more cohesive.
Why A Single Panel Works
The main job of any shower screen is to keep water off the floor, and a single panel does that effectively when placed correctly. It should extend far enough past the showerhead to catch spray, typically about 12 to 18 inches beyond the water stream. The panel also creates a subtle visual boundary without blocking light or making the space feel closed in.
This setup is especially practical for curbless showers because it maintains that seamless floor transition. You step right in, and the panel simply guides water back to the drain. It's a low-maintenance choice too—fewer glass surfaces mean less cleaning.
Choosing The Right Glass
When selecting glass, go for tempered safety glass with a thickness of at least 3/8 inch. Clear glass is the most popular because it disappears visually, but you can also choose frosted or tinted glass for more privacy or a decorative touch. If you want to minimize water spots, look for glass with a protective coating or apply a hydrophobic treatment after installation.
For the frame, you have options: frameless, semi-frameless, or framed. Frameless glass offers the cleanest look, with minimal hardware, but it requires thicker glass and precise installation. A semi-frameless panel with a slim metal channel along the wall or floor can be a more budget-friendly alternative that still looks sleek.
Installation And Placement Tips
The panel is usually mounted to the wall on one side and anchored to the floor with a metal channel or clips. If your shower is in a corner, the panel can attach to the adjacent wall, leaving the other side open. For a longer shower, you might use a panel that extends from the wall and then a small return panel to create an L-shape, which helps contain water better.
Make sure the panel is installed with a slight inward tilt at the top, about 1 to 2 degrees, to prevent water from running down the outside. Also, consider the distance from the showerhead: the panel should be placed so that water bounces off it and falls back into the shower area, not onto the bathroom floor. Hiring a professional for the installation is recommended, especially for frameless glass, because precise measurements and drilling are essential.
4. Incorporate a Built-In Bench
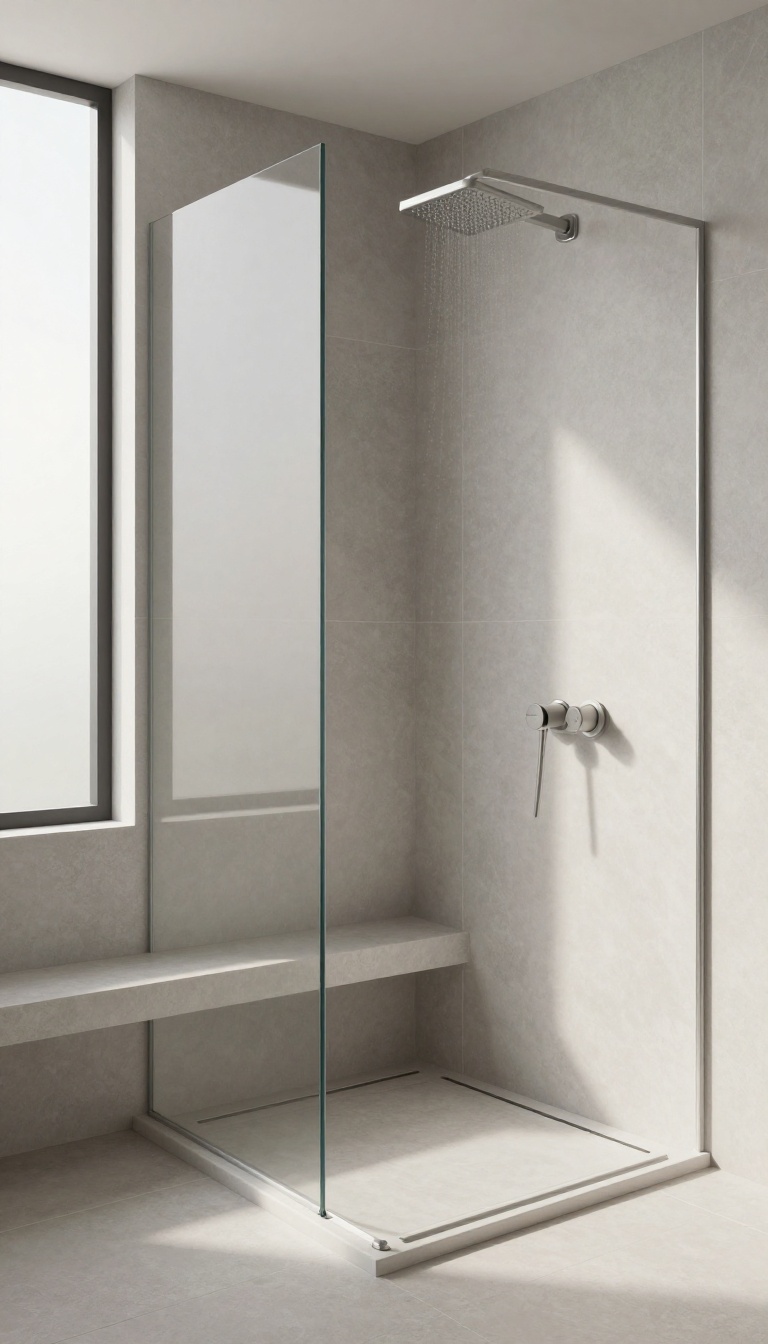
A built-in bench is more than just a place to sit—it's a game-changer for comfort and practicality. Whether you want to shave your legs safely or just enjoy a moment of calm under the warm water, a bench makes all the difference. Plus, it can be tiled to blend seamlessly with your shower walls or styled as a contrasting focal point.
Adding a built-in bench to your zero entry shower brings both function and style. It gives you a sturdy spot to sit, which is especially helpful if you have mobility concerns or simply like to take your time. You can design it to match your tile exactly for a seamless look, or choose a different material like natural stone or teak for a warm, spa-like touch.
Where To Place It
Think about how you move in the shower. A bench along the back wall is a classic choice, but a corner bench can save space and keep the layout open. If you have a linear drain, placing the bench opposite the drain helps water flow away efficiently.
Make sure there's enough room to stand comfortably—usually at least 30 inches of clear floor space.
Tiling And Materials
For a clean, custom look, use the same tile on the bench as on the walls. This creates a continuous visual line that makes the shower feel larger. If you want a bit of contrast, consider a different tile color or texture, like a pebble surface for the seat.
Waterproofing is key—make sure the bench is properly sloped and sealed to avoid pooling water.
Size And Shape
A typical bench is about 14 to 16 inches deep and 18 to 20 inches high, but you can adjust based on your needs. A longer bench can double as a shelf for toiletries, while a shorter one works well in compact showers. Rounded corners are safer and easier to clean than sharp edges.
5. Choose a Recessed Niche for Toiletries
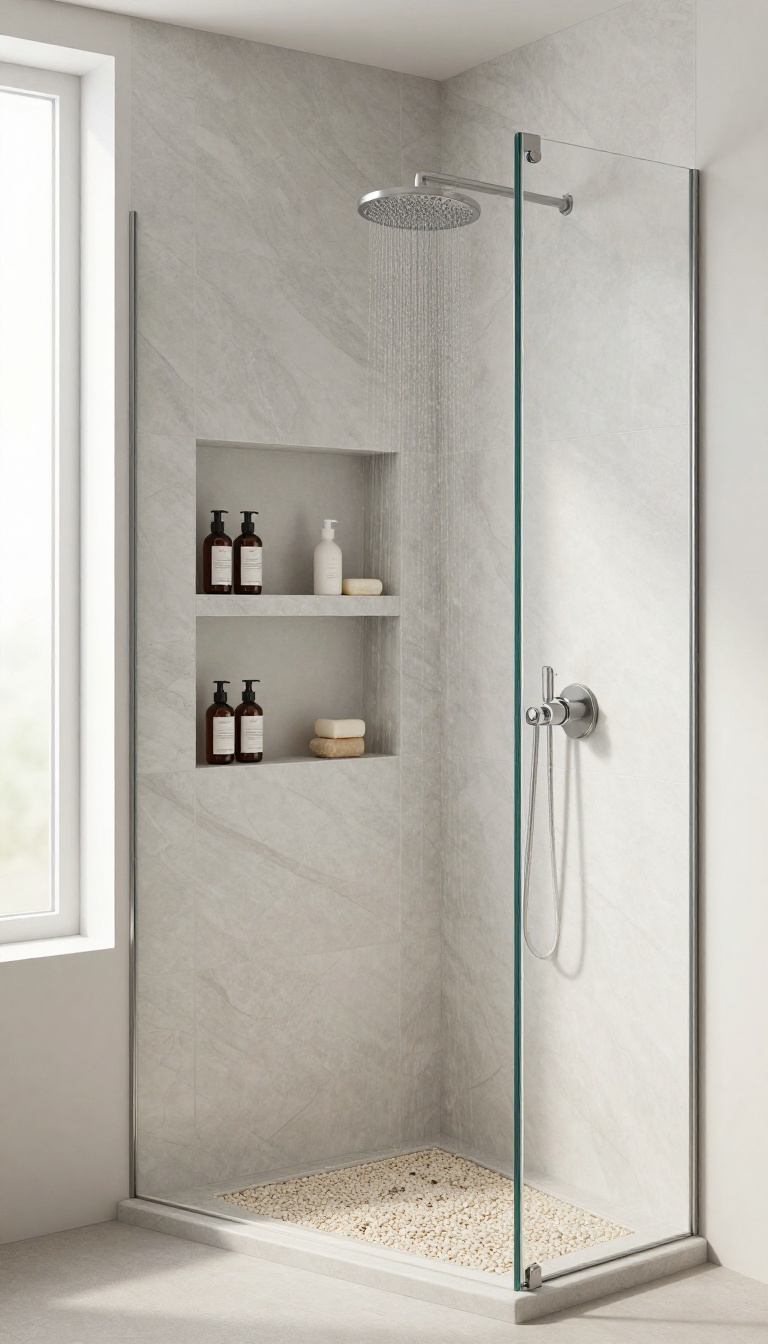
Shampoo bottles and soap bars tend to pile up on the floor or hang off the edge of a bench. A recessed niche tucks everything into the wall, keeping the shower floor clear and the look streamlined. It’s one of those details that feels custom but doesn’t require a major budget shift.
A recessed niche is a built-in shelf carved into the shower wall, usually between the studs. It keeps your essentials within easy reach while maintaining a clean, uncluttered appearance. Because it’s flush with the wall, there are no protruding corners to bump into or catch grime.
You can place it at a height that works for you, whether you’re standing or sitting. It also frees up floor space, which is especially valuable in a zero entry shower where you want an open, seamless feel.
Pick The Right Spot
Think about where you naturally reach for your shampoo or soap. A niche near the showerhead or along the side wall is common, but you can also place one near the bench if you have one. Consider the height—shoulder level for standing, or lower if you plan to sit.
Avoid placing it directly in the spray path, as it might collect water or make bottles slippery.
Size And Depth Matter
Standard niches are about 12 to 16 inches wide and 6 to 8 inches deep, but you can customize based on your products. Make sure it’s deep enough to hold larger bottles without them sticking out. If you want to store multiple items, consider a taller niche with two shelves.
Just remember that deeper niches can reduce wall space, so balance function with the overall look.
Finish It To Match Your Style
The niche can be tiled to blend in with the shower walls or made to stand out with a contrasting tile or a metal frame. Waterproofing is key—make sure the niche is properly sealed to prevent moisture from seeping behind the tile. A slight slope on the bottom shelf helps water drain back into the shower, avoiding puddles.
6. Go with a Matte Black or Brushed Nickel Fixture Finish
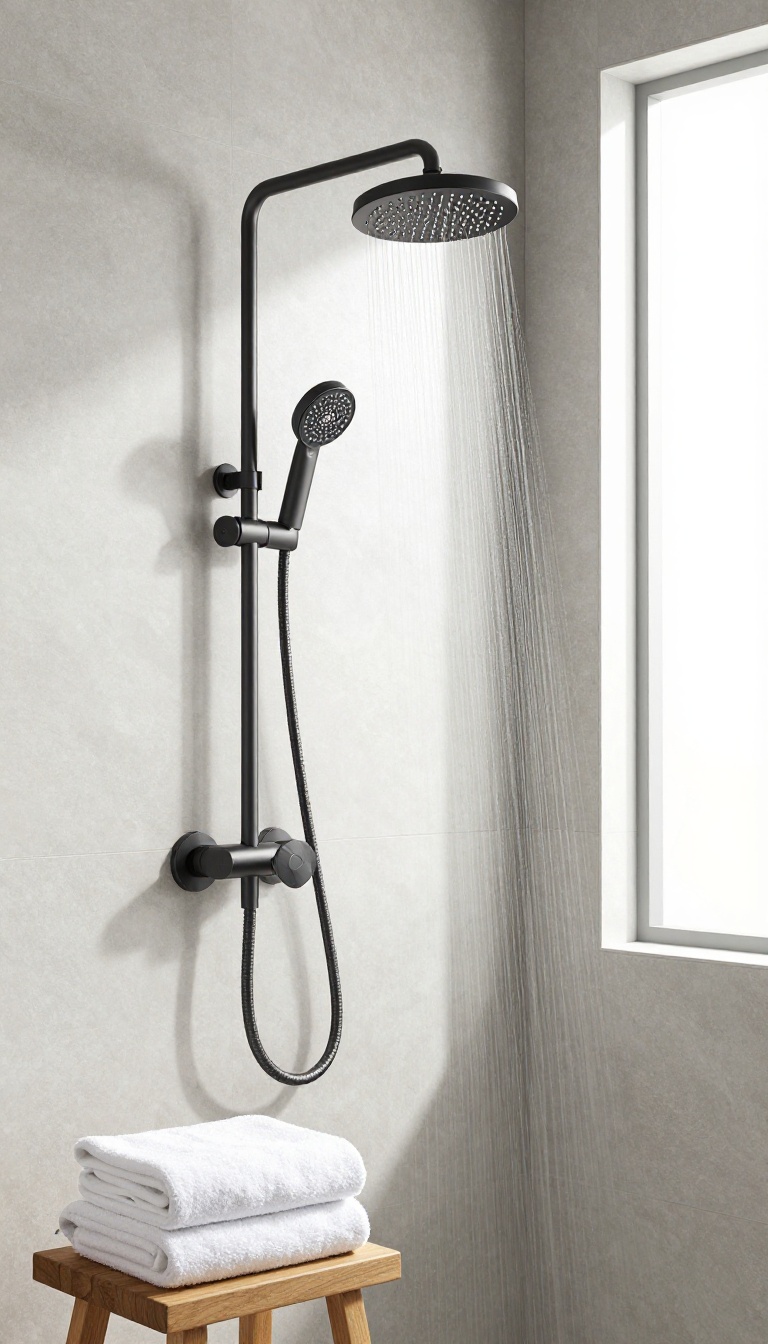
The finish on your shower fixtures might seem like a small detail, but it sets the tone for the entire space. Matte black and brushed nickel are two finishes that deliver a refined, contemporary look while standing up to the daily grind. Both options offer a subtle contrast against light tiles, giving your zero entry shower a crisp, custom feel.
Plus, they're more forgiving when it comes to water spots and fingerprints, so your shower stays looking cleaner between wipes.
Choosing the right fixture finish is about more than just color—it's about durability and maintenance. Matte black has a bold, modern edge, while brushed nickel offers a warm, timeless appeal. Both finishes resist corrosion and tarnishing better than chrome, making them smart investments for a high-moisture environment.
Why Finish Matters In A Curbless Shower
In a zero entry shower, fixtures are often more exposed because there's no curb to break up the visual line. That means your showerhead, handles, and drain cover become focal points. A matte black or brushed nickel finish can anchor the design and add a layer of sophistication that chrome just can't match.
These finishes also hide water spots and soap scum better than shiny chrome, so they look cleaner with less effort. If you're tired of polishing fingerprints, this is a practical upgrade.
Pairing Finishes With Tile And Grout
Matte black fixtures pop against white, gray, or beige tiles, creating a crisp, high-contrast look that feels intentional. Brushed nickel, on the other hand, blends seamlessly with warmer tones like cream, taupe, or travertine, giving the space a softer, more cohesive feel. Consider the undertones in your tile and grout.
If your tile has cool undertones, matte black will complement it nicely. For warm undertones, brushed nickel is a better match. You can also mix finishes within the same shower, but keep it consistent—stick to one finish for all visible fixtures to avoid a disjointed look.
Durability And Maintenance
Both matte black and brushed nickel are coated to resist corrosion and tarnishing, making them ideal for the constant moisture of a shower. Matte black has a powder-coated finish that's tough and scratch-resistant, while brushed nickel has a satin texture that hides minor wear. Cleaning is simple: a mild soap and water solution is all you need.
Avoid abrasive cleaners or scrub pads, as they can damage the finish. With proper care, these fixtures will look great for years.
7. Install a Rain Shower Head for a Spa Feel
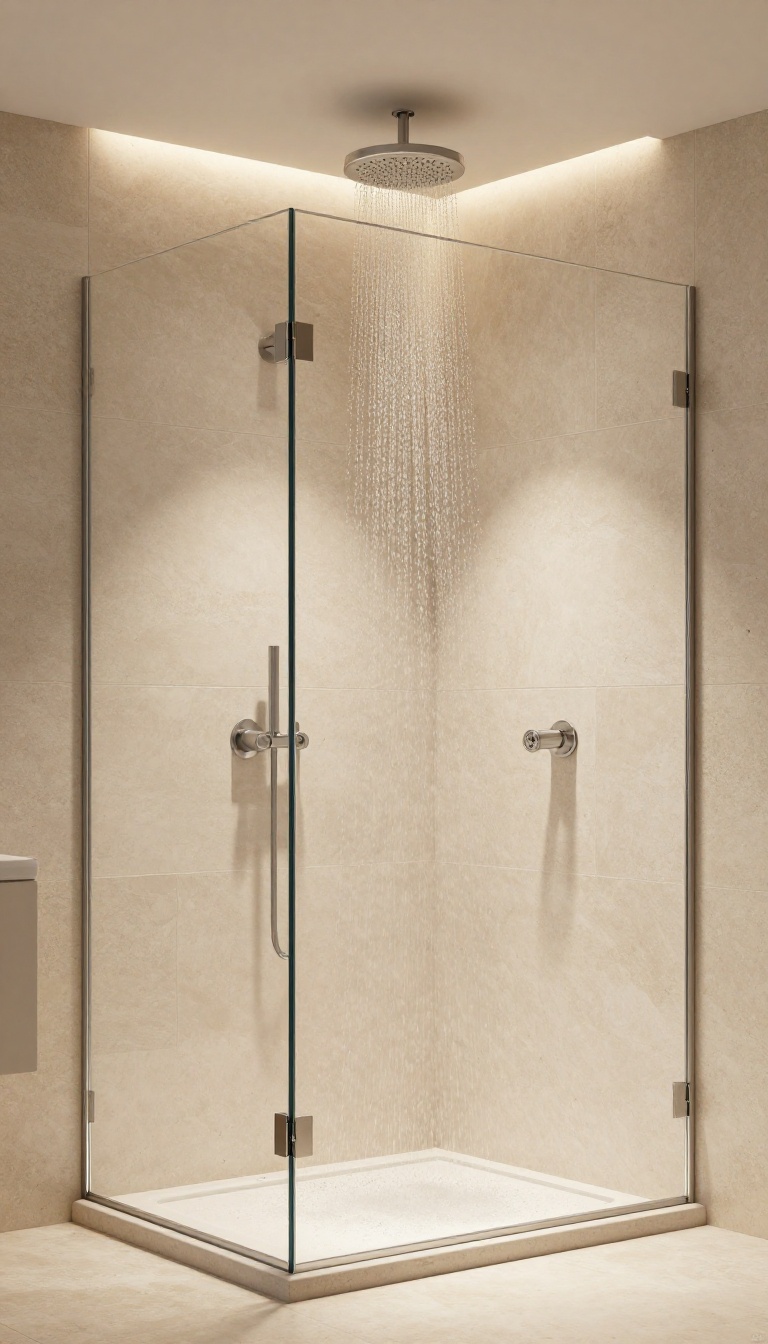
A rain shower head can turn an everyday rinse into a calming ritual. The wide, overhead design mimics a gentle downpour, making the shower feel more like a spa retreat. Pairing it with a handheld sprayer gives you the best of both worlds—luxury and practicality.
Why A Rain Head Works Well In A Zero Entry Shower
Because zero entry showers are open and often lack a curb, water can spread more easily. A rain head directs water straight down, reducing splashing and keeping the water closer to the drain. This helps maintain a drier bathroom floor and a more controlled shower experience.
Choosing The Right Rain Head Size And Mount
Rain heads come in various diameters, from 8 inches to 12 inches or more. Larger heads provide wider coverage, but they also require higher water pressure to work well. Consider a ceiling-mounted rain head for a seamless look, or a wall-mounted arm with an angled joint for flexibility.
Make sure the head is positioned directly above where you stand for the best effect.
Pairing With A Handheld Sprayer For Flexibility
A rain head alone can feel limiting when you need to rinse off specific areas or clean the shower. Adding a handheld sprayer gives you control for tasks like washing your hair, cleaning the walls, or assisting kids or pets. Choose a diverter valve that lets you switch between the rain head and handheld easily, or opt for a combo set that includes both.
Installation And Water Pressure Considerations
Rain shower heads often require a minimum water pressure of 40–50 psi to perform properly. If your home has low water pressure, you may need a pressure-boosting pump or a model designed for low-flow systems. Also, ensure your plumbing can handle the flow rate, and consider a thermostatic valve to maintain a consistent temperature while the rain head is in use.
8. Use a Textured or Non-Slip Floor Tile
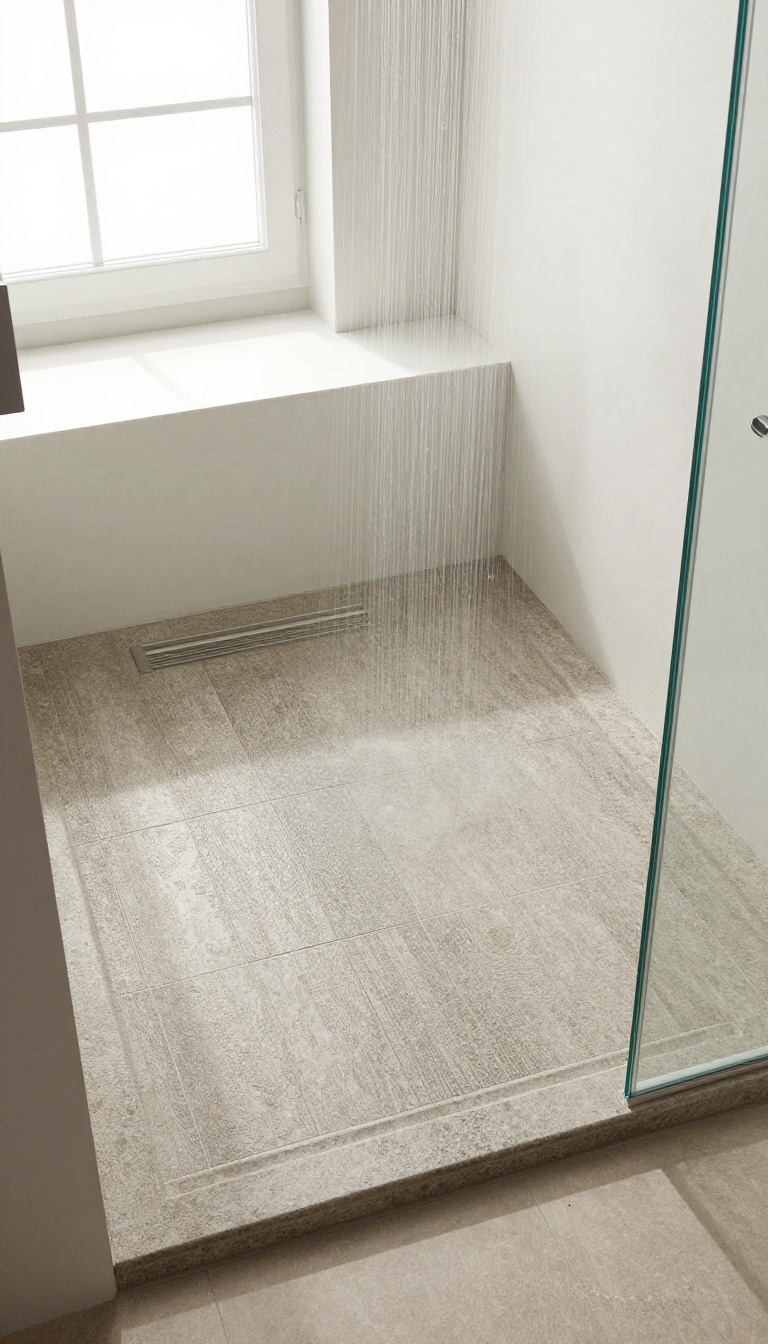
A zero entry shower looks amazing, but safety should never take a back seat. With no curb to step over, the floor can get slippery when wet, turning a relaxing rinse into a risky venture. That's where textured or non-slip tiles come in—they give you traction without sacrificing the sleek, seamless look you're after.
Modern tile options are anything but boring. You can find textured finishes in everything from natural stone to porcelain that mimics wood or concrete. So you get the grip you need and the style you want, all in one.
When choosing tiles for your zero entry shower, think about the texture level that works for your household. If you have kids, elderly family members, or just want extra peace of mind, go for a higher slip-resistance rating. But you don't have to settle for ugly, industrial-looking surfaces.
Many tiles are designed to look smooth while still offering plenty of grip underfoot. Also consider the size and pattern of the tiles. Smaller tiles with more grout lines naturally create more friction, which can be a subtle way to boost safety.
Larger tiles look sleek but might be more slippery, so weigh the trade-offs. And don't forget about maintenance—some textured surfaces are easier to clean than others, so pick one that fits your lifestyle.
Slip Resistance Ratings Explained
You'll often see terms like COF (coefficient of friction) or ratings like R10, R11, or R12. For a shower floor, aim for at least an R11 rating, which provides good traction even when wet. If you want extra peace of mind, look for tiles with a higher rating, but keep in mind that more texture can mean more cleaning effort.
A quick test: sprinkle a little water on the tile sample and see how it feels under your bare foot.
Best Tile Materials For Wet Areas
Porcelain and ceramic tiles are popular because they're durable and come in many textured finishes. Natural stone like slate, travertine, or pebble tiles also offer excellent slip resistance and a unique, organic look. But keep in mind that stone is porous and needs sealing to prevent stains and mold.
If you prefer a more modern vibe, look for porcelain that mimics concrete or wood—these often have subtle texture that's perfect for showers.
Design Tips For A Seamless Look
You can use the same textured tile on the shower floor and the rest of the bathroom floor for a truly seamless appearance. Or, if you want to define the shower area, use a contrasting textured tile or a different pattern. Just make sure the transition is smooth and level to keep the zero entry feel.
Also, consider using large-format tiles with a subtle texture to minimize grout lines, which are easier to clean and look more modern.
9. Add a Glass Shower Door with a Low Threshold
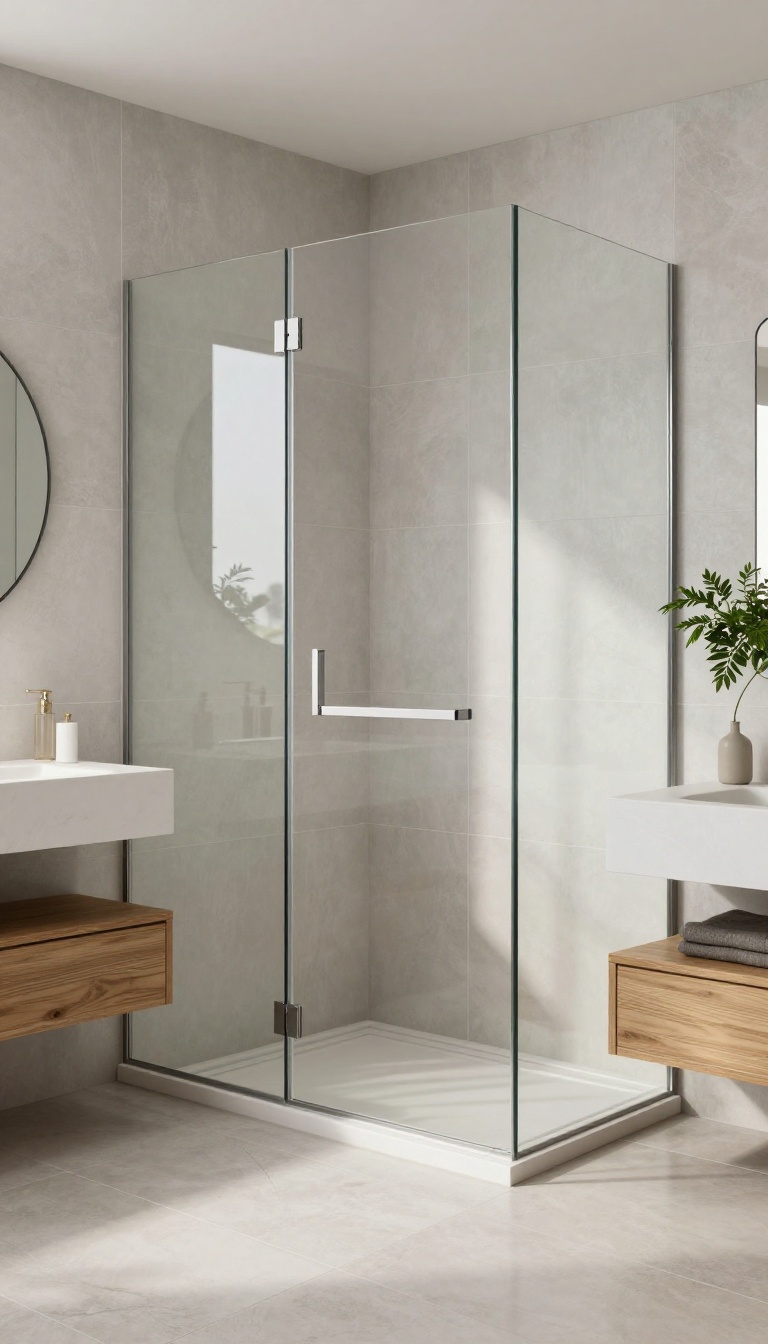
A completely open zero entry shower isn't always practical, especially if you're worried about splashing. A low-profile threshold paired with a glass door gives you the best of both worlds: a nearly flush entry that still contains water. This setup keeps the sleek, barrier-free look while adding a subtle separation.
The key is to keep the threshold as low as possible—just a slight lip to guide water—so it doesn't interrupt the seamless flow of the floor.
When you choose a low threshold, you're not sacrificing accessibility. The small step is minimal, often just an inch or two, making it easy to step over while still providing a functional water barrier. It's a smart compromise for bathrooms where a completely open design might lead to puddles on the floor.
The glass door itself adds a polished, custom feel. Frameless or semi-frameless options keep the view open, making the bathroom feel larger. Plus, the glass lets natural light bounce around, enhancing the airy vibe of a zero entry shower.
Pair this with a linear drain positioned right at the threshold to catch any water that sneaks past. This combo ensures your bathroom stays dry without needing a bulky curb.
Why Choose A Low Threshold?
A low threshold offers a middle ground between a full curb and a completely flat entry. It's perfect for those who want the open feel but need some water containment. The slight elevation is easy to navigate, especially compared to traditional curbs, and it can be finished with the same tile as the floor for a seamless look.
Glass Door Styles That Work
Frameless glass doors are a popular choice because they don't visually break the space. Hinged doors swing outward or inward, while sliding doors save space in tighter bathrooms. For a truly custom feel, consider a fixed panel with a small opening—this keeps the entry wide and open while still providing a barrier.
Installation Tips For A Flush Look
To keep the threshold low, plan the shower floor slightly sloped toward the drain. The threshold itself can be made from tile, stone, or a prefabricated low-profile piece. Ensure the glass door is installed with a small gap at the bottom to allow water to flow back into the shower, preventing any pooling outside.
10. Incorporate a Linear Drain with a Tile Insert
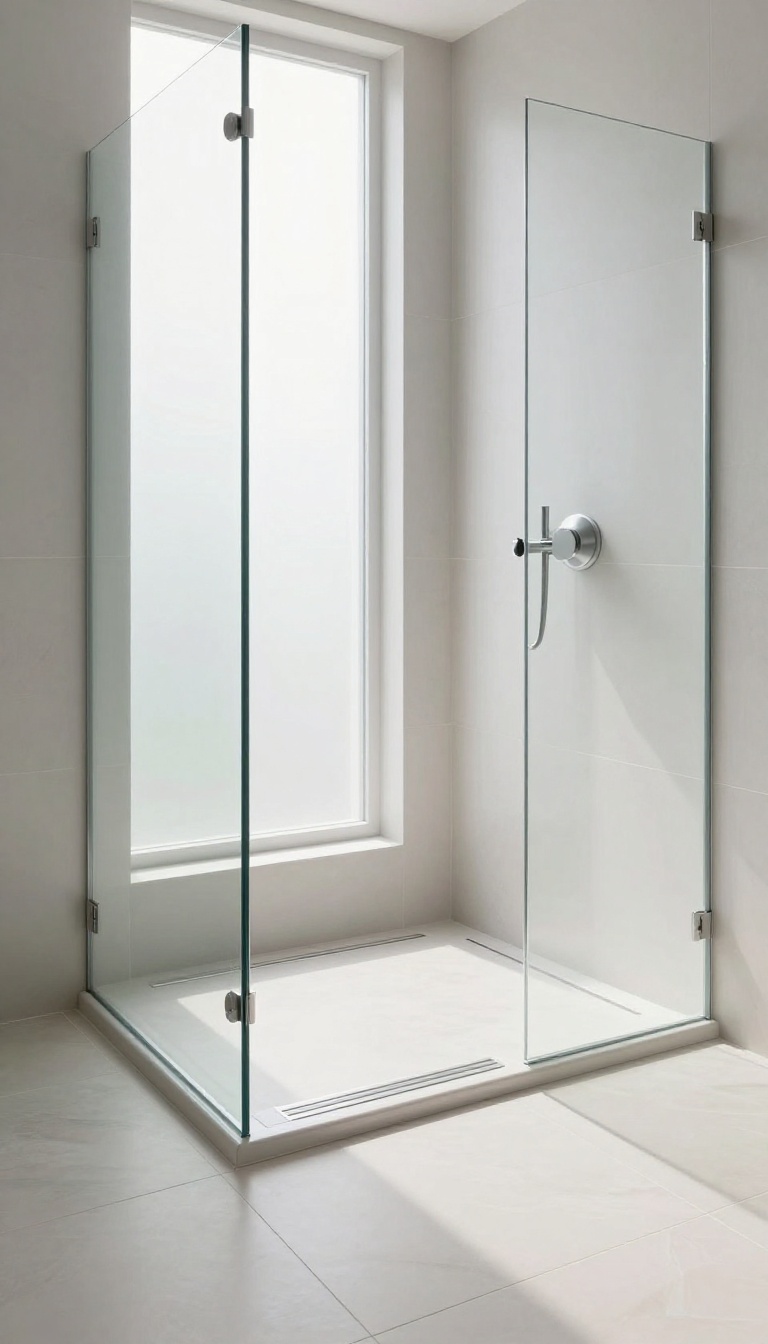
Drains are a necessary part of any shower, but they don't have to be an eyesore. A linear drain with a tile insert lets you hide the grate almost completely, creating a seamless floor that looks like one continuous surface. It's a small detail that makes a big difference in the overall aesthetic.
This approach works especially well with large-format tiles or natural stone, as the insert can be cut to match the exact tile pattern. The result is a clean, minimalist look that feels custom and high-end. Plus, linear drains are practical: they collect water efficiently and can be placed along the wall or at the entry to keep water from escaping.
Why Tile Inserts Work
Standard drains with metal grates break up the visual flow of the floor. A tile insert allows the drain to blend in, making the shower feel more open and less interrupted. It's a subtle upgrade that adds a touch of refinement without drawing attention to itself.
Installation Tips
When installing a linear drain with a tile insert, make sure the drain body is properly sloped to direct water. The tile insert should be cut precisely to fit, and the edges should be sealed to prevent water from seeping underneath. Hiring a professional for this step is often worth it, as a poorly installed drain can lead to leaks.
Maintenance Made Easy
One concern with tile inserts is cleaning. However, most linear drains come with a removable tray or basket that catches hair and debris. Simply lift it out, rinse it off, and wipe down the tile insert.
It's no more work than a standard drain, but the visual payoff is much greater.
11. Use a Single-Slope Floor for a Clean Look
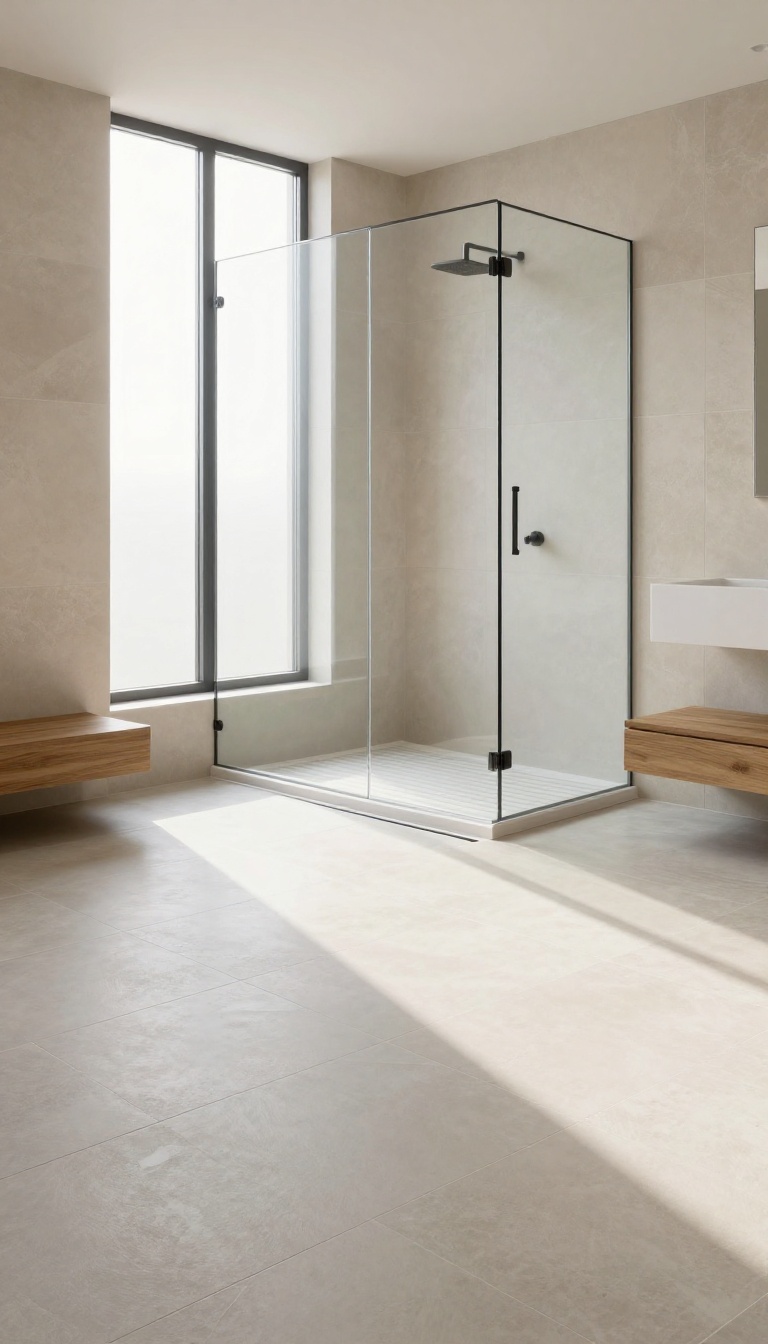
Most shower floors slope toward the drain from multiple directions, which can create a busy, patchwork feel. A single-slope floor simplifies that by tilting the entire surface in one direction, guiding water to a linear drain along one edge. The result is a cleaner, more uniform look that feels intentional and modern.
A single-slope design works especially well in larger showers or those with a linear drain placed against a wall. Because the floor is one continuous plane, it’s easier to clean and visually less cluttered. This approach also pairs nicely with large-format tiles, which can be laid in a consistent pattern without awkward cuts or angled grout lines.
Why Choose A Single Slope?
Beyond aesthetics, a single slope is more forgiving during installation. With only one direction to manage, the contractor can ensure a precise, even pitch without worrying about multiple intersecting slopes. This reduces the chance of low spots where water can pool, making the shower more functional and easier to maintain.
Pairing With Linear Drains
A linear drain is the natural partner for a single-slope floor. Placed along the low edge, it catches water efficiently while keeping the floor visually uninterrupted. You can choose a sleek, minimal drain cover that blends with the tile or a contrasting metal for a subtle design accent.
Tile Options That Work Best
Large-format tiles, such as 12×24 or 24×24, are ideal for single-slope floors because they minimize grout lines and emphasize the clean plane. Porcelain and natural stone are both durable choices, but ensure the tile has sufficient slip resistance for wet conditions. Textured finishes or matte surfaces provide extra grip without sacrificing style.
12. Add a Heated Floor for Comfort
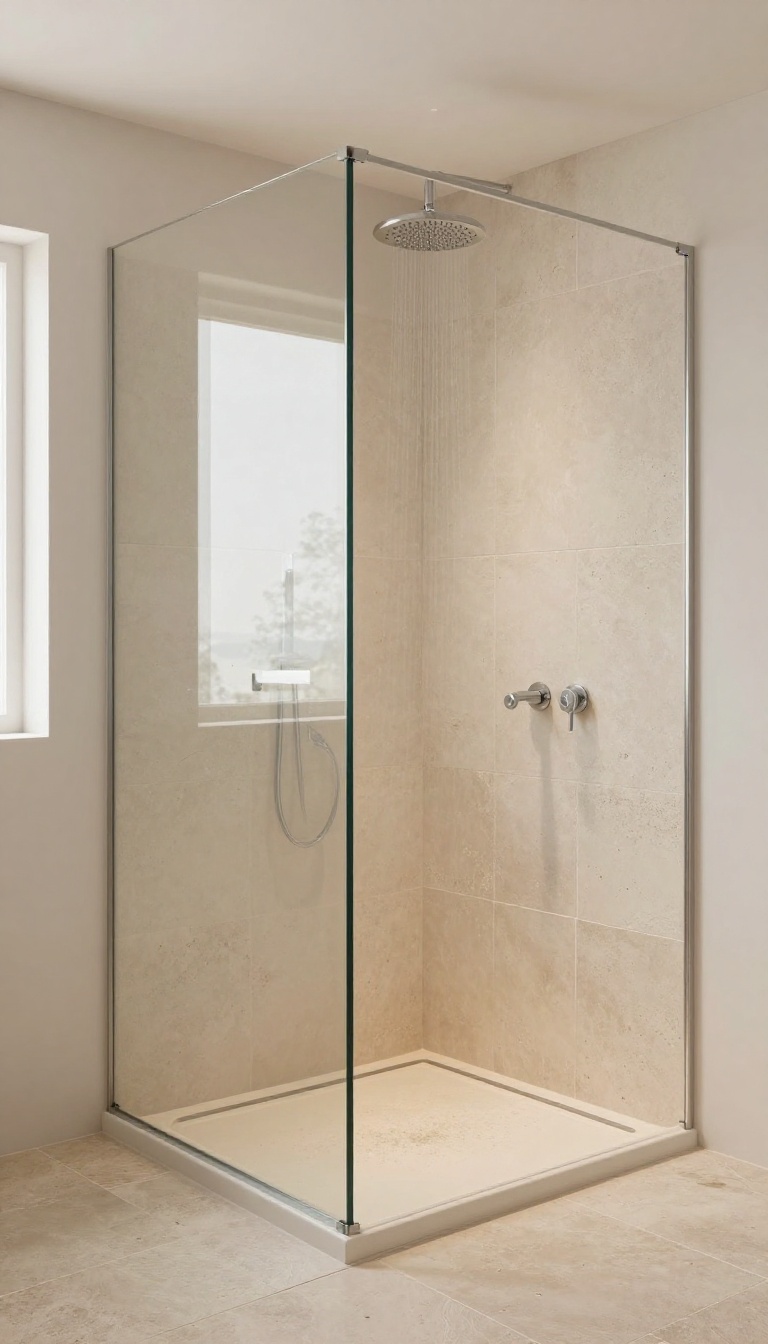
Stepping onto a cold tile floor first thing in the morning can be jarring, especially in a zero entry shower where the floor extends beyond the wet area. Radiant floor heating solves that by warming the surface from below, so every step feels cozy. It's a luxury that quickly becomes a daily necessity, and it's easier to install than you might think.
Radiant floor heating isn't just about toasty toes—it also helps dry the floor faster and can even reduce moisture-related issues. When you're already tearing up the floor for a curbless shower, adding heating is a smart upgrade. Here's what to consider to get it right.
How Radiant Heat Works In A Shower
There are two main types: electric mats or cables and hydronic (water-based) systems. For a single bathroom, electric is usually the most practical and cost-effective. The heating elements are embedded in a thin layer of mortar or self-leveling compound beneath your tile.
You can control it with a programmable thermostat, so it's warm when you need it and off when you don't.
Installation Tips For Zero Entry Showers
Coordinate with your installer to place the heating elements evenly across the entire floor, including the shower area. Make sure the system is rated for wet locations and is properly grounded. Also, check local building codes—some areas require a dedicated GFCI circuit.
It's best to install the thermostat outside the shower for safety and convenience.
Choosing The Right Flooring
Tile and stone work best with radiant heat because they conduct and retain warmth. Avoid thick carpet or vinyl, which can insulate and reduce efficiency. Porcelain tile is a popular choice—it's durable, water-resistant, and feels great underfoot when heated.
Just make sure your tile is rated for floor use and has good slip resistance.
13. Choose a Wall-Mounted or Ceiling-Mounted Shower System
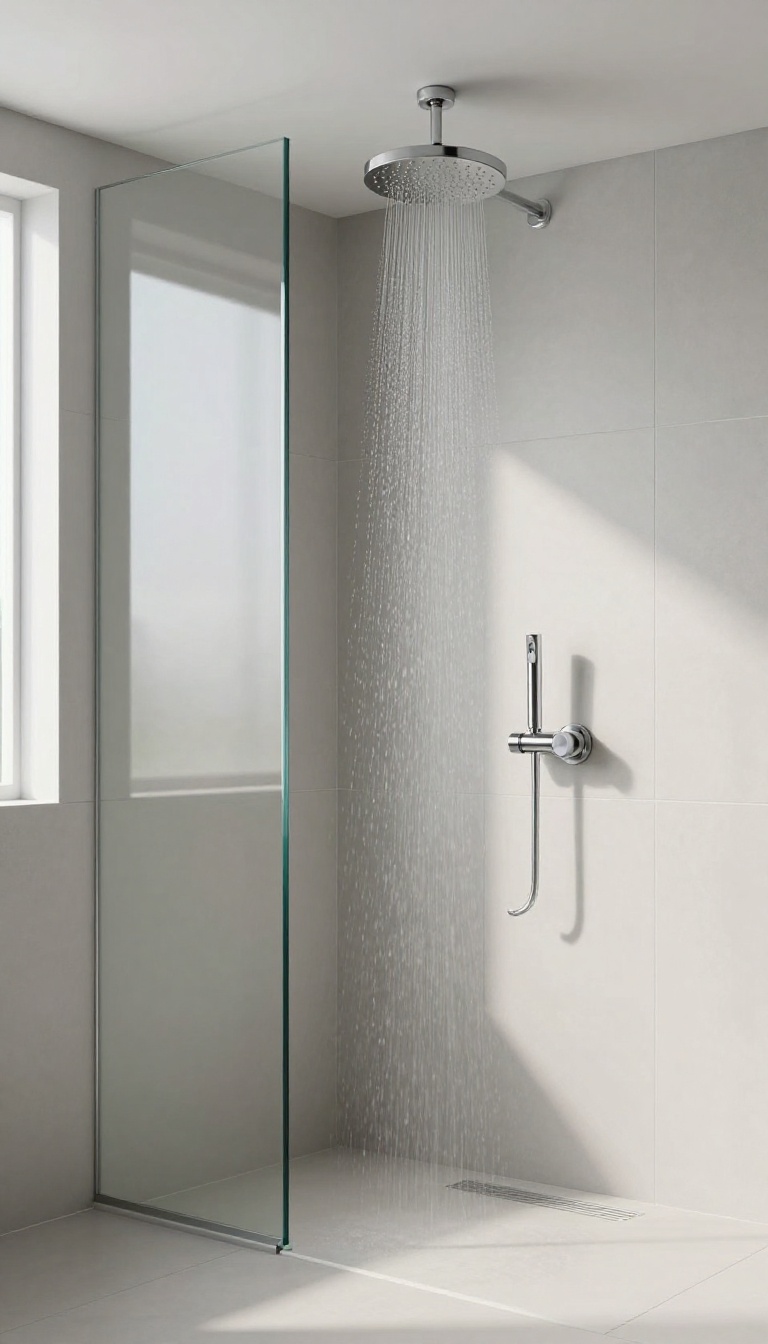
When you're designing a zero entry shower, the shower head placement can make or break the clean aesthetic you're after. Traditional setups often have a bulky arm protruding from the wall or a pipe running up to a head on a pole, which can clutter the visual space. Wall-mounted or ceiling-mounted shower systems offer a streamlined alternative that keeps the focus on the open, airy feel of the space.
These systems not only look sleeker but also free up floor area, making the shower feel even more spacious. Plus, with fewer nooks and crannies, cleaning becomes a breeze—no more scrubbing around a shower arm or pole. It's a smart, stylish choice that aligns perfectly with the minimalist vibe of a zero entry design.
Choosing between a wall-mounted and a ceiling-mounted system depends on your bathroom's layout and personal preference. Wall-mounted options are great for smaller spaces or when you want to keep the ceiling clean. Ceiling-mounted rain showers, on the other hand, add a touch of luxury and can make a small bathroom feel more expansive.
Both free up floor space and contribute to a clean, uncluttered look, but they also have practical considerations like water pressure and installation complexity.
Wall-mounted: Sleek And Space-saving
A wall-mounted system attaches directly to the wall, often with a horizontal arm that extends into the shower area. This keeps the floor completely clear, which is ideal for a zero entry shower where you want to avoid any trip hazards. It also allows you to position the shower head at the perfect height for your family, and many models come with a handheld attachment for added flexibility.
Installation is usually simpler than ceiling-mounted, making it a great option for retrofits.
Ceiling-mounted: Luxury And Openness
Ceiling-mounted systems, like rain showers, are a statement piece. They create a dramatic, spa-like feel and make the ceiling feel higher, enhancing the openness of a zero entry design. Since the water comes from directly above, it can make the showering experience feel more immersive.
However, they require access to the ceiling for plumbing, which might be more involved if you're not doing a full remodel. Also, ensure your water pressure can handle a larger shower head for a satisfying flow.
Installation And Maintenance Tips
Regardless of which you choose, proper installation is key. For wall-mounted systems, make sure the wall can support the weight, especially if you're adding a large shower head. For ceiling-mounted, check that the ceiling joists can accommodate the plumbing.
Both types should be installed by a professional to avoid leaks. As for maintenance, these systems are easier to clean since there's less hardware to scrub. Just wipe down the head and arm occasionally to prevent mineral buildup.
14. Incorporate a Niche with a Shelf or Two
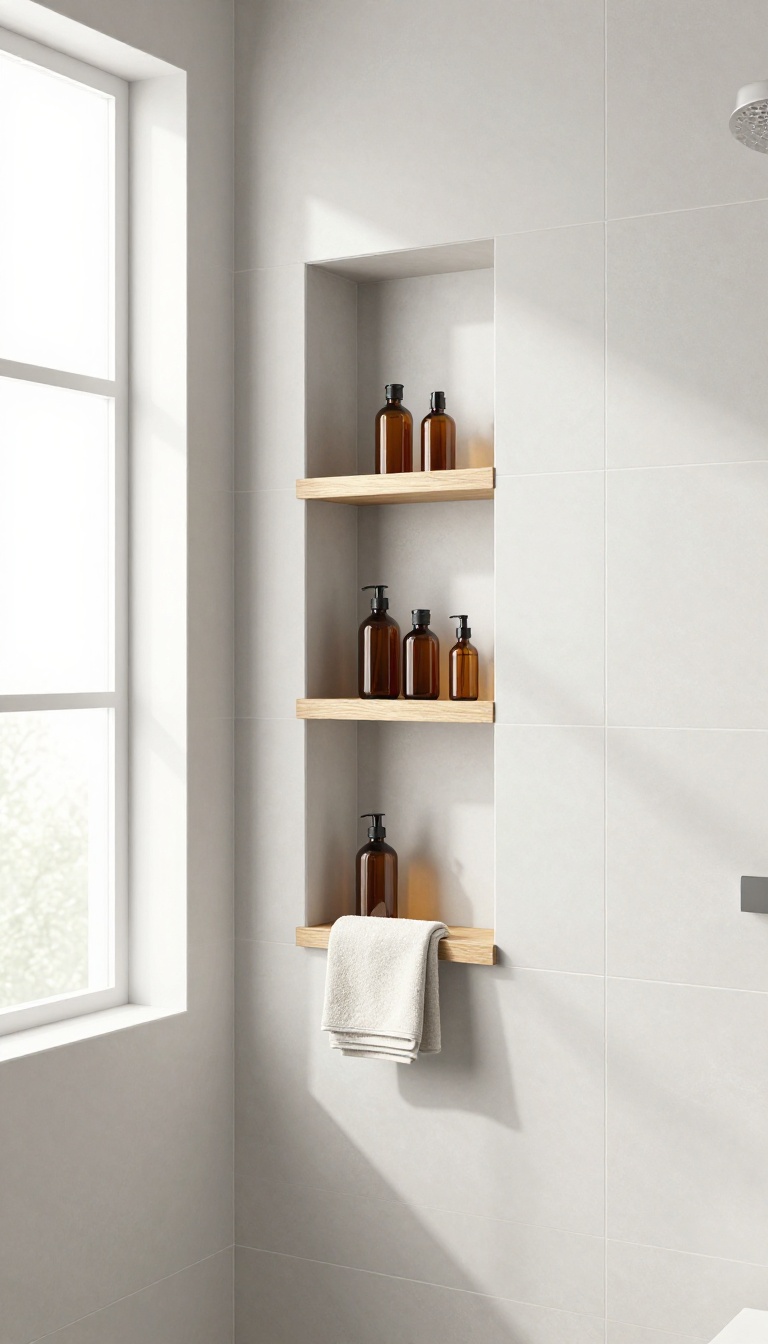
A niche is a built-in recess in the shower wall, and it’s one of the most practical upgrades you can make. Instead of sticking a caddy over the showerhead or letting bottles pile up on the floor, a niche keeps everything within reach and off the wet zone. Adding a shelf or two inside the niche takes it a step further.
You get dedicated spots for tall shampoo bottles and small items like razors or soap, so nothing gets lost or knocked over. It’s a simple change that makes the shower feel more organized and polished.
Plan The Size And Placement
Think about what you actually use in the shower. If you have tall conditioner bottles, measure their height and make sure the shelf spacing accommodates them. A good rule is to place the niche at chest height so you don’t have to bend or stretch.
Also consider the wall you’re using. An interior wall is easier to cut into, but an exterior wall might need extra insulation or waterproofing. Work with your contractor to find a spot that’s both functional and structurally sound.
Choose The Right Shelf Material
The shelf inside the niche needs to handle constant moisture. Tile is a popular choice because it matches the rest of the shower, but you can also use stone, solid surface, or even tempered glass. Glass shelves look sleek and let light pass through, but they can show water spots.
If you go with tile, make sure the shelf slopes slightly toward the drain so water doesn’t pool. A tiny angle is enough to keep things dry and prevent soap scum buildup.
Add Lighting For A Premium Touch
A niche is the perfect spot for a small LED light. It adds a subtle glow that makes the shower feel more luxurious and helps you see your products clearly. You can install a waterproof light strip along the top of the niche or use a recessed puck light.
Just make sure the lighting is rated for wet areas and installed by a professional if you’re not comfortable with electrical work. It’s a small detail that makes a big difference in the overall look.
Keep It Clean And Accessible
The whole point of a niche is to reduce clutter, so don’t overload it. Stick to the essentials—shampoo, conditioner, body wash, and maybe a loofah. If you have a lot of products, consider a larger niche with two shelves to keep things sorted.
Also, think about cleaning. A niche with smooth surfaces and no sharp corners is easier to wipe down. Avoid grout lines that trap grime by using larger tiles or a solid surface insert.
15. Use a Contrasting Accent Wall or Tile Pattern
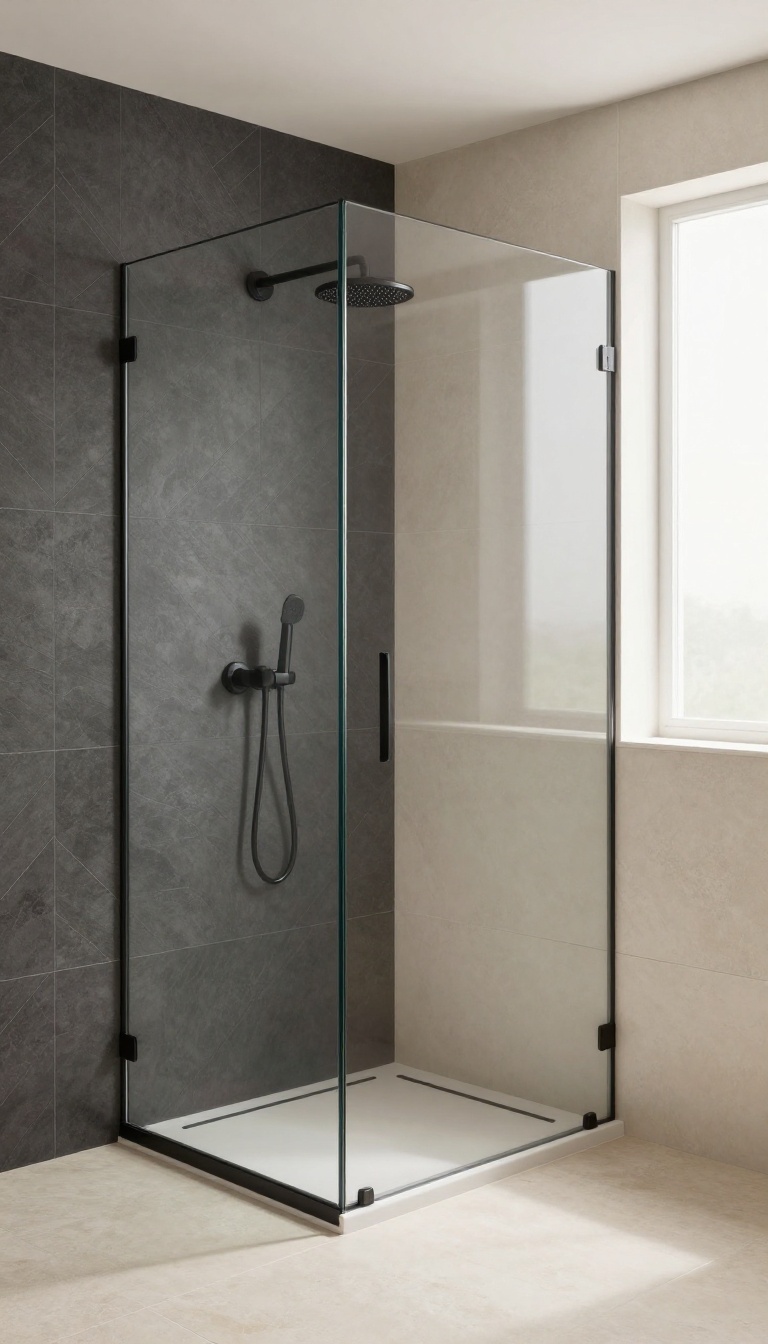
A zero entry shower already gives you a clean, open slate. But sometimes that simplicity can feel a little flat. Adding a contrasting accent wall or a bold tile pattern is a simple way to bring personality into the space without overwhelming it.
It’s not about going wild—just a single wall or a specific section that draws the eye. That little touch of contrast can make the whole shower feel intentional and custom, even if you’re working with a modest budget.
A contrasting accent wall or a unique tile pattern adds visual interest without overwhelming the space. It's a way to personalize the shower and make it feel more like a deliberate design choice rather than just a functional area.
Pick A Focal Point
Choose one wall—usually the one you face when showering—to be the accent. This could be a vertical strip behind the showerhead or the entire back wall. By limiting the contrast to a single area, you keep the rest of the shower calm and cohesive.
A dark tile on one wall against light surrounds is a classic look that adds depth without feeling busy.
Play With Tile Shapes And Layouts
You don’t have to stick to standard subway tiles. Consider large-format tiles, hexagons, or even a herringbone pattern for the accent wall. The shape and layout can create texture and movement, making the shower feel more dynamic.
Just keep the rest of the tiles simple so the accent doesn’t compete for attention.
Consider Contrasting Grout
If you prefer a subtle approach, use the same tile but switch up the grout color. White tiles with dark grout create a striking grid pattern, while beige tiles with white grout offer a softer contrast. This trick adds visual interest without introducing a new material or color, keeping the design clean and cohesive.
Balance With Neutral Surroundings
To make the accent wall stand out, keep the surrounding walls and floor in neutral tones. This allows the accent to be the star without becoming overwhelming. A single pop of color or pattern against a backdrop of white, gray, or beige keeps the space feeling open and airy, which is especially important in a zero entry shower where the floor extends beyond the wet area.
FAQ
Are zero entry showers more expensive than traditional showers?
They can be, due to the need for precise sloping and waterproofing. However, costs vary based on materials and labor. Simple designs with standard tiles can be budget-friendly.
Do zero entry showers require special waterproofing?
Yes, proper waterproofing is crucial. A licensed contractor will use a waterproof membrane and ensure the floor slopes correctly to prevent leaks.
Can I convert my existing shower to a zero entry?
It's possible but depends on your current setup. If you have a curb, it may need to be removed and the floor re-sloped. Consult a professional for an assessment.
How do I keep water from splashing out of a zero entry shower?
Use a linear drain placed away from the entrance, add a glass panel, or install a slight slope. Also, consider a shower curtain or door if needed.
Are zero entry showers safe for elderly or disabled individuals?
Yes, they are highly accessible. The lack of a curb reduces trip hazards, and you can add grab bars and a bench for extra safety.
Conclusion
Zero entry showers are a smart, stylish choice for any bathroom. They offer accessibility, easy cleaning, and a modern aesthetic that can transform your space. With the right drain, tile, and fixtures, you can create a clean, custom setup that fits your needs.
Whether you're planning a full remodel or a simple update, these ideas give you a solid starting point. Take your time, choose what works for your space, and enjoy the result—a shower that feels open, refined, and uniquely yours.