13 Savvy Shower Stall Tile Ideas to Improve Everyday Comfort
A better shower starts with the tile under your feet and the walls around you. The right choices can turn a basic stall into a space you actually look forward to using every morning.
You don't need a full gut job to make it happen. Small shifts in tile size, texture, and layout can fix common annoyances like slippery floors, cold surfaces, and grimy grout lines.
These 13 ideas focus on real comfort and low-maintenance living. Pick one or mix a few to make your shower work harder for you.
1. Go Large-Format to Cut Grout Lines
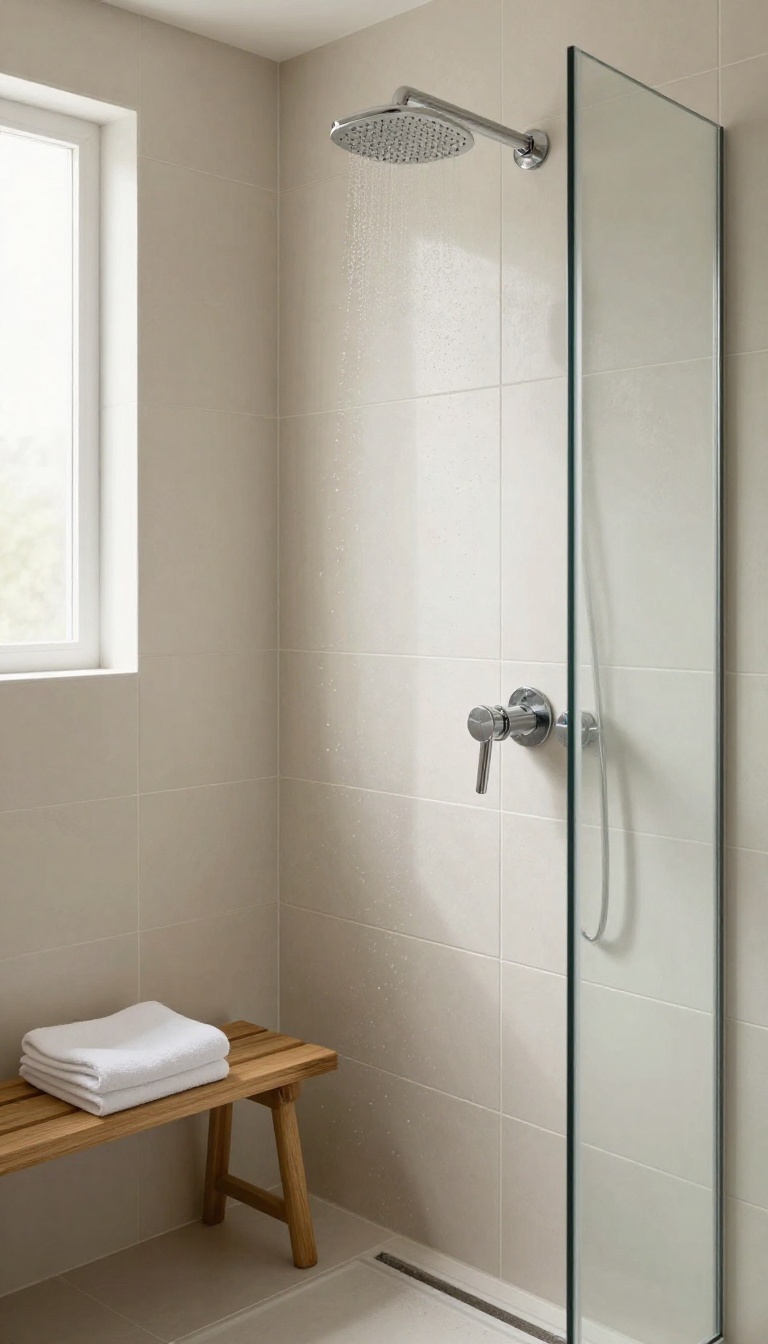
Grout lines are where shower maintenance goes to die. Every seam collects soap scum, hard water spots, and that faint gray film you can't quite scrub away. Large-format tiles flip that equation by covering more wall with fewer joints, so there's simply less surface area to fight with a brush.
The result isn't just easier cleaning. A stall wrapped in bigger tiles reads as calmer and more spacious, even when the footprint hasn't changed at all.
A standard 3×6 subway tile installed in a brick pattern creates dozens of grout lines in a single shower wall. Swap those for 12×24 tiles and that same wall drops to a handful of seams. Fewer seams mean fewer places for mildew to take hold, less grout to seal, and a quicker wipe-down on Saturday morning.
It's one of those upgrades that quietly pays you back every single week. Large-format doesn't mean you're stuck with a plain, sterile look. You can run tiles vertically to emphasize height, horizontally to widen a narrow stall, or in a stacked grid for a clean modern feel.
The scale does most of the visual work, so you can keep everything else simple and still end up with a shower that looks intentional.
Pick A Size That Fits Your Stall
A 12×24 tile is the sweet spot for most standard shower stalls. It's big enough to cut grout lines dramatically but still manageable for a DIY install with a rented wet saw. If your stall is on the smaller side, a 12×12 keeps things proportional without shrinking the space visually.
For larger walk-ins, 24×48 slabs can cover an entire wall with just a few seams, though you'll want a pro to handle the cuts and setting.
Plan Your Layout Before You Set Tile
Where those few grout lines land matters more than you'd think. Dry-fit a row on the floor first so you can see how the pattern reads from the showerhead. Avoid skinny slivers at the corners by shifting your starting point half a tile.
If you're using a linear drain, align a grout line with it for a cleaner look. A little planning now saves you from staring at an awkward cut every morning.
Choose Grout That Disappears
With fewer lines, each one gets more attention, so make them count. A grout color that closely matches your tile makes the seams fade into the background. Unsanded grout works for joints under 1/8 inch, while sanded or epoxy grout handles wider gaps and resists staining better.
Epoxy costs more upfront but shrugs off soap scum and mildew, which is exactly what you want in a wet zone.
Keep The Weight In Mind
Large porcelain tiles are heavier than they look, and a full wall of them adds real load. Make sure your backer board is rated for the weight and securely fastened to the studs. If you're tiling over existing walls, check that the substrate is flat and sound first.
A wobbly base will show through big tiles faster than small ones, so prep work isn't optional here.
2. Add Slip-Resistant Floor Tiles for Safety
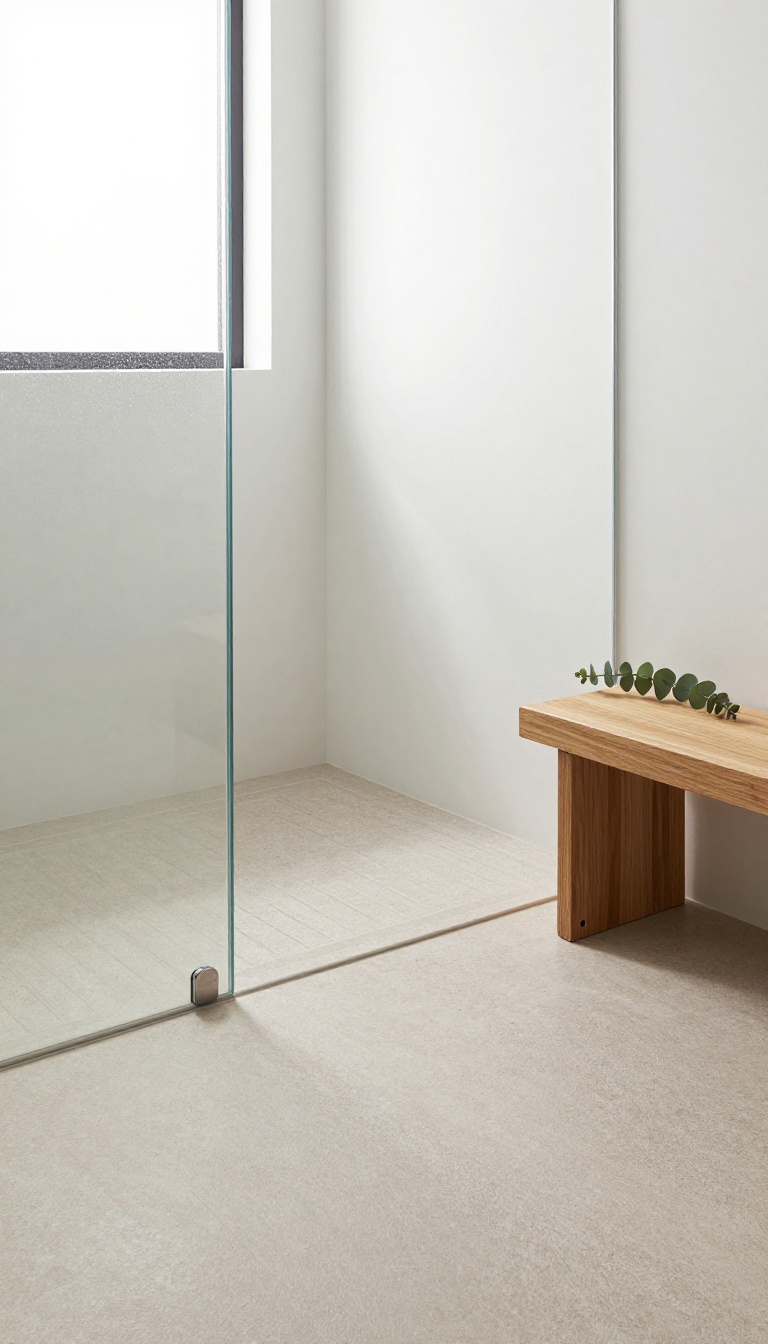
A slippery shower floor is an accident waiting to happen. One wrong step on a wet, glossy surface can turn a relaxing rinse into a trip to the ER. Slip-resistant tiles give you grip without sacrificing style, so you can step in and out with confidence.
The key is choosing a tile with enough texture to create friction when wet. Matte finishes and subtle raised patterns are your best friends here. They don't look industrial or ugly—many modern options blend right in with the rest of your design.
The DCOF rating is the number you want to check. It stands for Dynamic Coefficient of Friction, and it measures how slippery a tile is when wet. For shower floors, look for a rating of 0.
42 or higher. That's the industry standard for safety in wet areas. You'll find plenty of styles that meet that benchmark.
Porcelain and ceramic tiles often come with textured surfaces that feel comfortable underfoot. Natural stone like slate or travertine can work too, but you'll need to seal it regularly to keep it safe and clean.
What Dcof Actually Means
DCOF is a lab-tested number that tells you how much grip a tile provides when wet. The higher the number, the less likely you are to slip. Anything below 0.
42 is considered risky for shower floors, so always check the spec sheet before you buy.
Best Materials For Wet Floors
Porcelain and ceramic are top picks because they're dense, water-resistant, and easy to find with textured finishes. Natural stone offers a luxurious look but requires more upkeep. If you go that route, choose a honed or brushed finish rather than polished.
Installation Tips For Extra Grip
Even the best tile needs proper installation. Ask your installer to use a small grout joint—usually 1/8 inch or less—to reduce the chance of water pooling. You can also add a subtle slope toward the drain so water doesn't linger on the surface.
3. Use a Linear Drain to Improve Water Flow
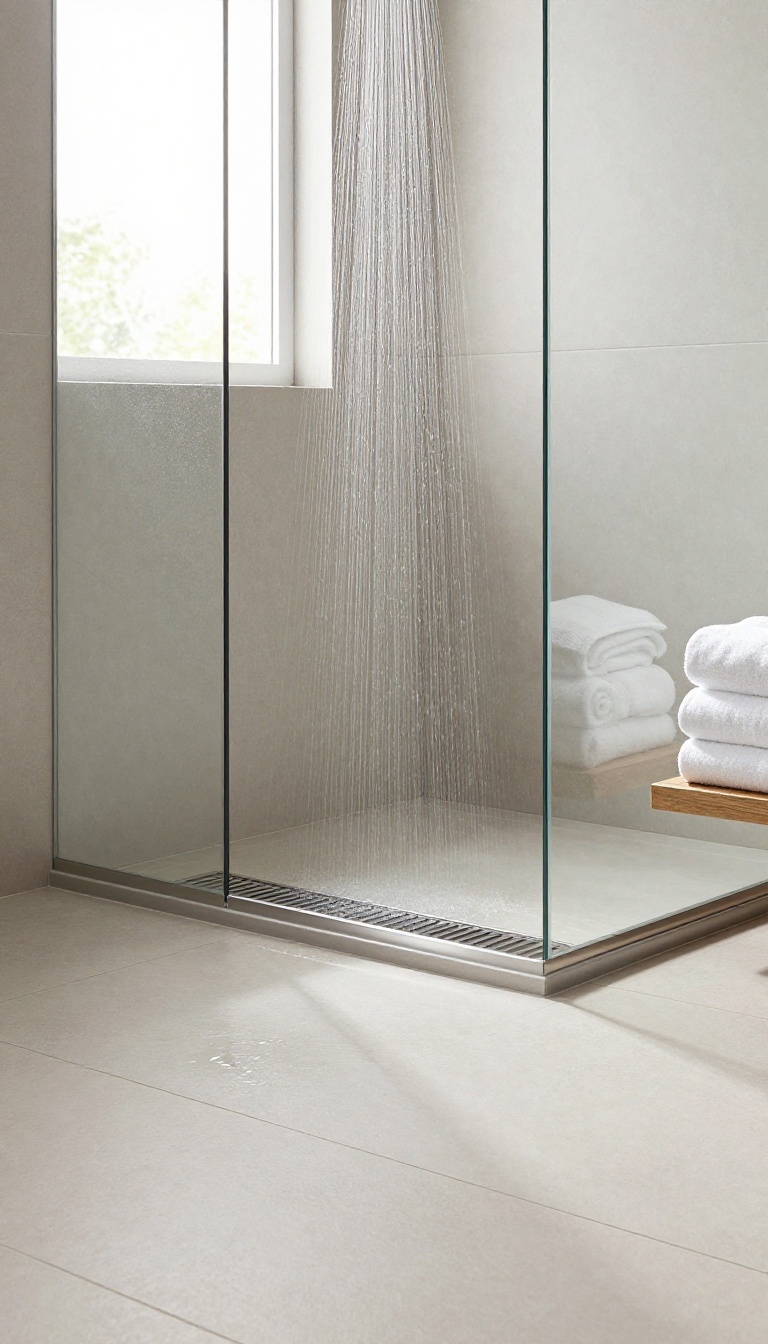
Standing water in a shower is one of those quiet annoyances you tolerate until you finally fix it. A linear drain solves that problem by collecting water along a straight channel instead of a single center point. That one change lets the floor slope in just one direction, so water leaves fast and the surface stays drier underfoot.
It also opens up your tile options. Because the drain runs edge to edge, you can lay large-format tiles across the floor with fewer cuts and less visual clutter. The result looks clean and modern without trying too hard.
A linear drain is a long, narrow channel set into the shower floor, usually against one wall or at the entry. Water sheets toward it and exits through a removable grate. Because the slope only needs to run one way, the floor stays flatter and feels more stable when you step in.
That flatter floor is the real comfort win. Traditional center drains force a four-way slope, which can make big tiles wobble or pool in low spots. A linear drain removes that guesswork and keeps the whole surface working as one smooth plane.
Here's what to think about before you commit.
Why Water Flow Feels Better
With a single-direction slope, gravity does the work faster. Water doesn't have to travel across a bowl-shaped floor to find the drain. It slides straight into the channel and disappears.
That means less standing water around your feet and fewer cold puddles after you shut the tap off. Over time, a drier floor also means less soap scum buildup and fewer slippery spots.
Tile Size And Layout Options
Linear drains shine with large tiles. You can run 12×24 or even bigger slabs across the floor with minimal grout lines. Fewer grout lines mean less scrubbing and a cleaner look.
You can also match the drain grate to your tile for a nearly invisible finish, or pick a stainless or matte black grate to make it a design detail. Either way, the layout stays simple and intentional.
Installation And Maintenance Notes
These drains need a properly built sloped bed and a waterproof membrane, so this is a job for a pro. The extra labor and materials usually cost more than a standard center drain setup. Maintenance is easy if you choose a drain with a removable grate and a hair-catching basket.
Lift the grate, rinse the basket, and you're done. A quick wipe now and then keeps the channel flowing freely.
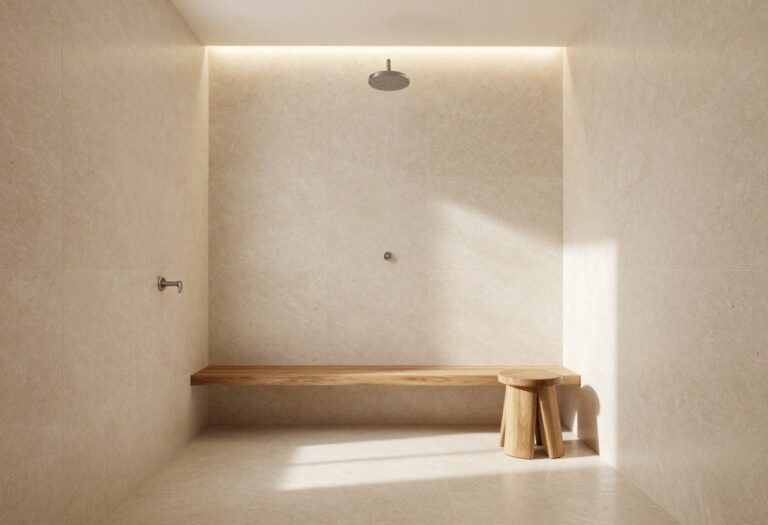
4. Choose Warm-Toned Tiles for a Cozy Feel
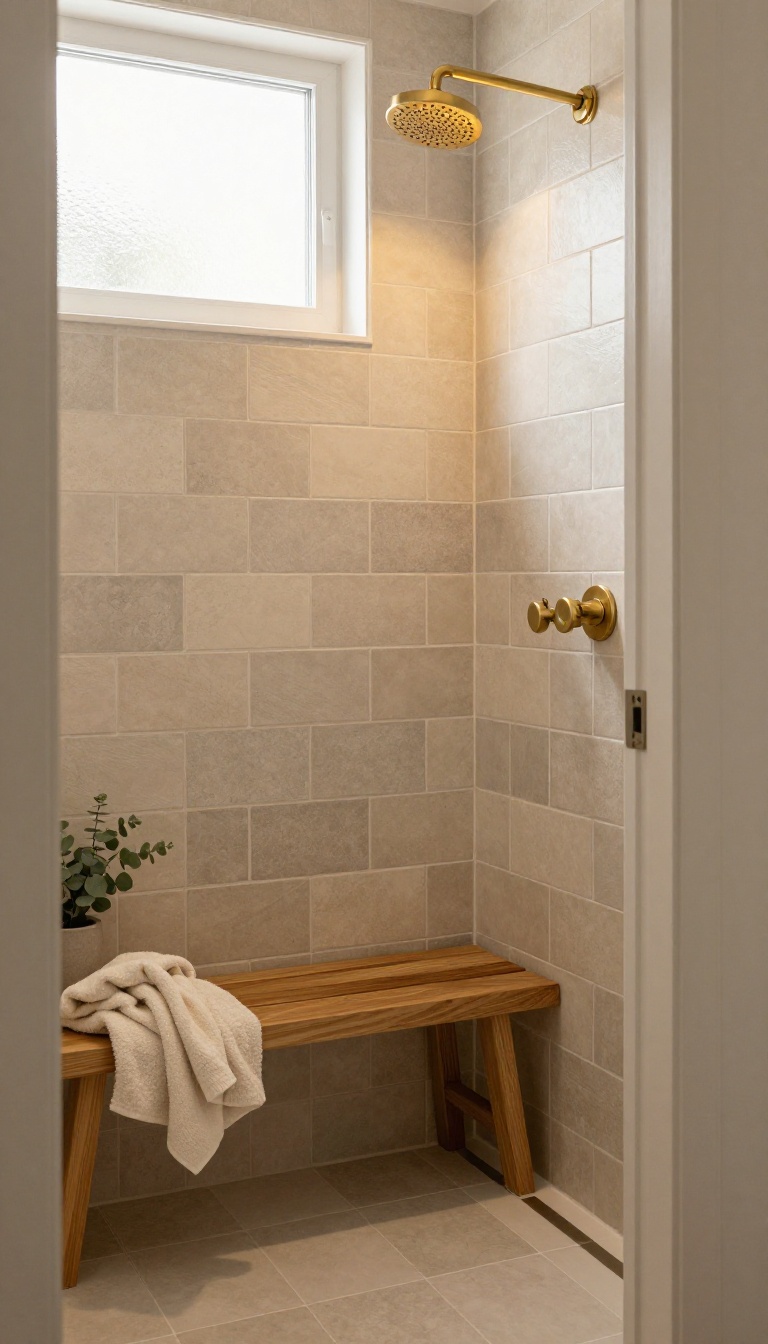
Cool grays and stark whites can make a shower feel like a hospital corner. Warm tones—beige, terracotta, soft taupe, and greige—soften the whole space and take the edge off early mornings. They also hide water spots better than glossy white, so the stall looks cleaner between scrubs.
Warm tones don't mean boring. You can go subtle with sandy beige or make a statement with clay and rust. The key is picking a shade that feels inviting, not muddy.
Pair it with the right accents and lighting, and your shower becomes the coziest spot in the house.
Best Warm Shades For A Shower Stall
Beige is the classic choice—it's neutral, forgiving, and works with almost any fixture finish. Terracotta brings a Mediterranean, earthy vibe that feels instantly warm. Warm gray (often called greige) splits the difference, adding depth without going cold.
For a bolder look, try muted rust or caramel. All of these tones reflect light in a softer way than cool whites, so the space feels less stark.
Pairing Warm Tiles With Wood And Lighting
Wood accents are a natural match. A teak bench, a cedar niche, or even a wood-look porcelain plank on one wall adds texture and warmth. For lighting, skip the harsh overhead fluorescent and use a warm-white LED (2700K–3000K).
A dimmer switch lets you soften the glow for evening showers. Brass or bronze fixtures also complement warm tiles better than chrome, which can look icy against beige.
Keeping Warm Tiles Low-maintenance
Matte and textured warm tiles hide soap scum and hard water spots better than glossy ones. Choose a medium-size format—like 4×12 or 6×6—to reduce grout lines without making the stall feel busy. Seal the grout with a penetrating sealer every year or two, and wipe the walls with a squeegee after each use.
That's it. Warm tones do the rest.
5. Install a Tile Niche for Built-In Storage
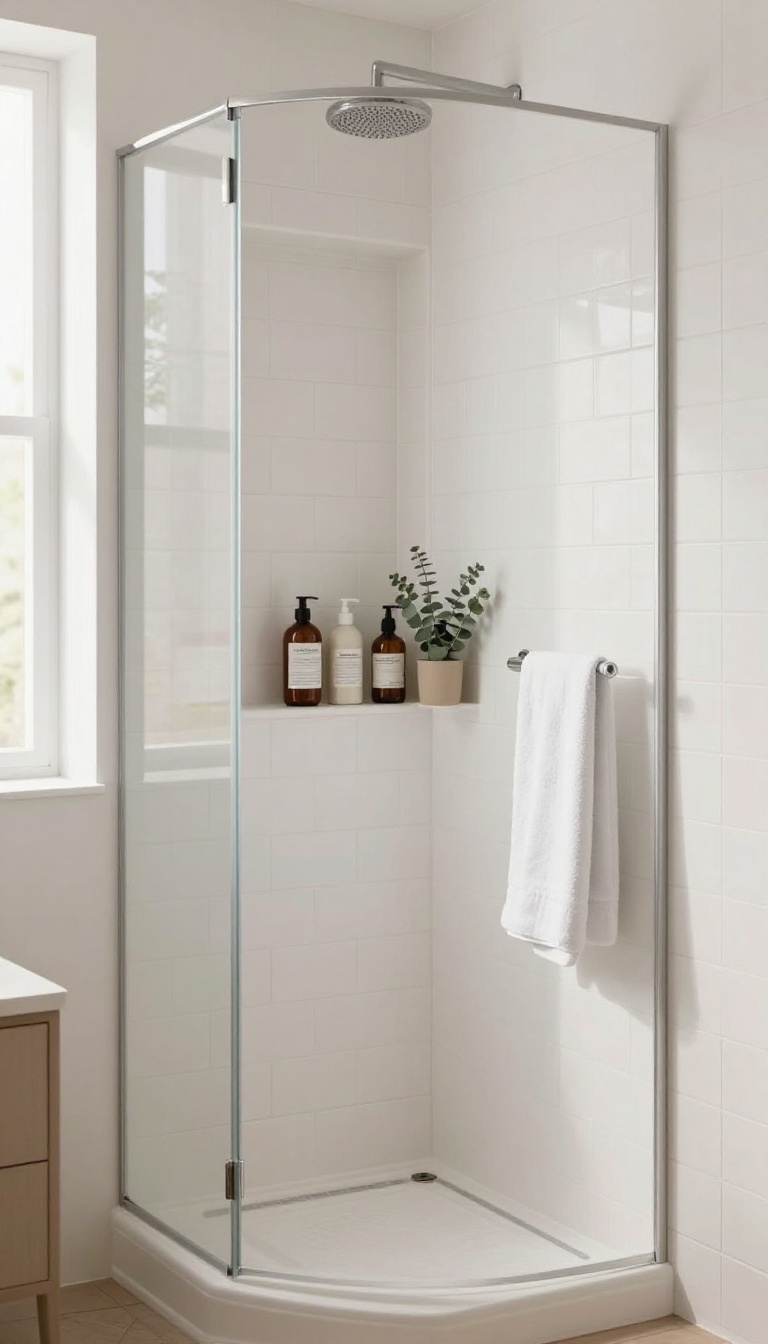
A recessed tile niche solves a problem you might not realize you have until it's gone: bottles crowding the shower floor and knocking around your feet. By carving storage directly into the wall, you free up space and keep everything within arm's reach. The best part?
You can tile the niche to match your walls for a look that feels custom, not cluttered.
A niche isn't just a shelf—it's a permanent upgrade that makes your shower feel more spacious and organized. You'll never have to bend down for shampoo again, and the floor stays clear of tripping hazards. Plus, a well-placed niche adds a touch of luxury without expanding your footprint.
Where To Place It
The ideal spot is on the wall opposite the showerhead, about waist to chest height. That way, water doesn't spray directly into it, and you can grab what you need without stepping out of the stream. For smaller stalls, a vertical niche saves space while holding more bottles.
Sizing It Right
Measure your tallest bottle before you frame the niche. A depth of 4 inches fits most products, but 6 inches gives you room for larger items. Width-wise, 12 to 16 inches is standard, but you can go wider if you like to stock up.
Tiling For A Seamless Look
Use the same tile as your walls to make the niche blend in, or choose a contrasting color or mosaic for a focal point. Just make sure the tile is waterproof and easy to clean. A slight slope on the bottom shelf helps water drain out.
Waterproofing Matters
The niche is a wet area, so proper waterproofing is non-negotiable. Apply a waterproof membrane over the framing and seal all corners before tiling. This prevents moisture from seeping behind the walls and causing mold or rot.
6. Try a Vertical Stack for a Taller Look
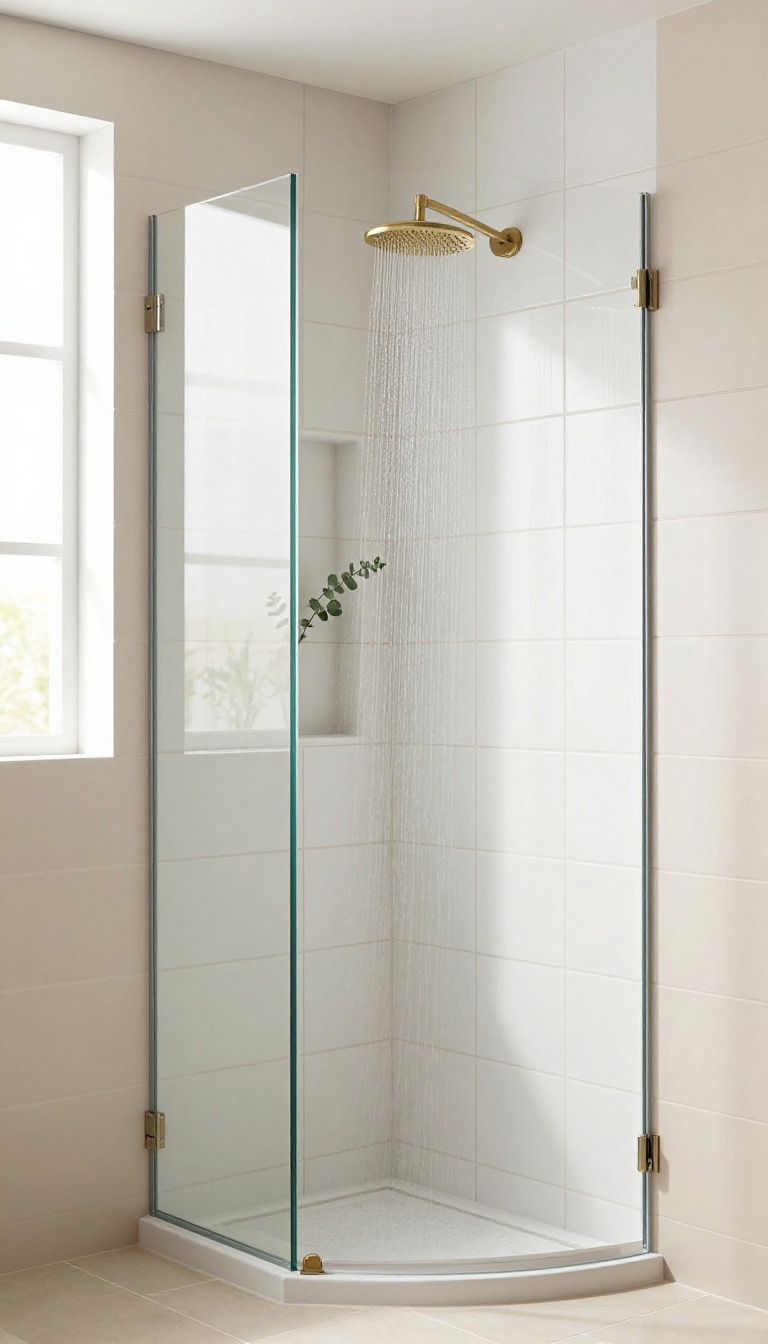
A vertical stack is exactly what it sounds like: tiles lined up in straight columns from floor to ceiling. Instead of a staggered brick pattern, the grout lines run continuously up the wall, and that simple shift changes how your eye moves through the space. When your gaze travels upward without interruption, a low ceiling stops feeling like a lid.
The shower reads as taller, more open, and a little more intentional. It's one of the easiest layout changes you can make, and it costs nothing extra in materials.
You're not adding height to the room. You're just giving the eye a path that goes up instead of side to side. That's the whole trick, and it works in showers of almost any size.
Why It Works
Horizontal lines pull the eye across the room, which emphasizes width. Vertical lines pull the eye up, which emphasizes height. In a standard 8-foot shower stall, that upward pull is what makes the ceiling feel farther away.
Stacked tiles also create a clean, orderly rhythm. There's no busy offset pattern competing for attention, so the walls feel calmer and more spacious.
Best Tile Shapes For Stacking
Rectangular tiles shine here. A 4-by-12 or 6-by-18 inch tile stacked vertically gives you long, unbroken lines that maximize the height effect. Subway tiles work too, but turn them on their end so the long side runs up.
Square tiles can be stacked, but the effect is subtler. If you want the full benefit, go with a tile that's at least twice as tall as it is wide.
Grout And Spacing Tips
Keep grout lines thin, around 1/16 to 1/8 inch. Thick grout joints break up the vertical line and weaken the effect. A grout color close to your tile color makes the lines nearly disappear, which stretches the look even more.
If you want a bit of contrast, choose a grout one or two shades darker than the tile. Just avoid high-contrast grout if your main goal is height.
Where It Works Best
Vertical stack is a natural fit for narrow showers and stalls with low ceilings. It also works well on a single accent wall if you don't want to commit to the pattern everywhere. In a large walk-in shower, you can stack the back wall and run the side walls horizontally for a bit of visual contrast.
Either way, the vertical wall becomes the focal point.
7. Mix Matte and Glossy Finishes for Depth
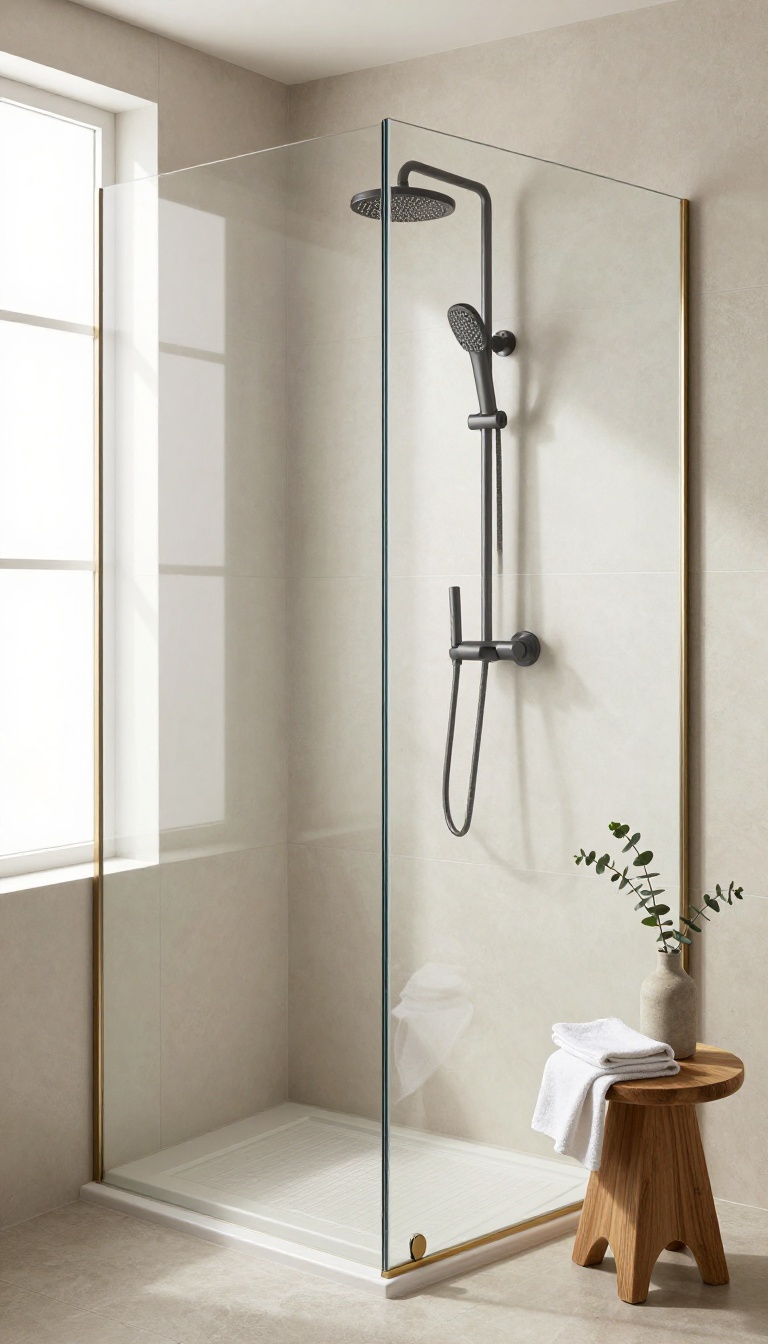
Matte and glossy tiles each bring their own personality to a shower. Matte finishes feel soft, grounded, and easy on the eyes. Glossy tiles bounce light around and make a small stall feel bigger.
Put them together, and you get a space with quiet contrast that doesn't rely on loud patterns or bold colors. It's a simple trick that adds depth without making the room feel busy.
The trick is knowing where each finish works best. You don't want to cover every surface in the same sheen, because that's when things start to feel flat. Instead, let each finish do a specific job.
Matte handles grip and calm. Glossy handles light and energy. When you split them by surface, the whole shower feels more intentional and more comfortable to use.
Matte On The Floor For Grip And Calm
Shower floors get wet, and wet floors get slippery. A matte finish gives you more texture underfoot, which means better traction when you're stepping in or out. It also hides water spots and soap scum better than a shiny surface.
That means fewer visible smudges between cleanings. A matte floor in a warm gray, sand, or soft charcoal keeps the base of your shower feeling steady and low-key. It won't compete with the walls, and it won't glare at you when the light hits.
Glossy On The Walls To Open Things Up
Glossy wall tiles reflect light, and that reflection makes a shower feel larger and brighter. In a small stall, that's a real comfort upgrade. You get more visual space without knocking down a wall.
A glossy finish also wipes down easily, so soap and hard water don't cling as much. Choose a light color like white, pale blue, or soft green, and the walls will almost glow. The shine adds a clean, fresh look that feels welcoming first thing in the morning.
Where To Draw The Line
You don't need a hard border between the two finishes. A simple horizontal line at the top of the curb or a few inches above it works fine. Some people run glossy tile all the way to the floor on the walls and keep only the floor matte.
Others use a matte accent band in the middle of glossy walls for a subtle break. Either way, keep the transition clean. A straight, level line looks deliberate.
A wavy or uneven one looks like a mistake. If you're using different tile sizes too, line up the grout joints where the finishes meet. That small detail makes the whole thing look custom.
Keeping It Easy To Clean
Mixing finishes doesn't mean more work. Matte floors still need a quick scrub now and then, but they hide daily wear well. Glossy walls wipe down fast with a squeegee or a soft cloth.
Just avoid abrasive cleaners on the glossy side, since they can dull the surface over time. A mild soap and water mix handles most messes. If you have hard water, a quick squeegee after each shower keeps spots from building up.
The combo stays low-maintenance as long as you use the right products for each finish.
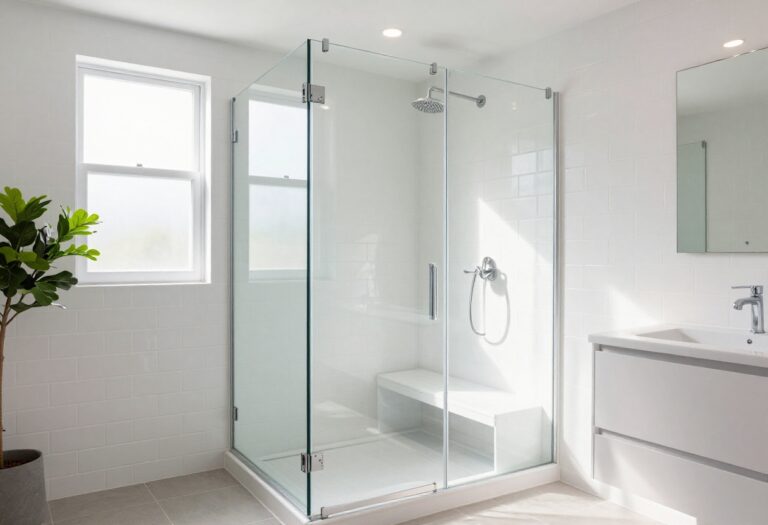
8. Add a Bench with Tile That Matches
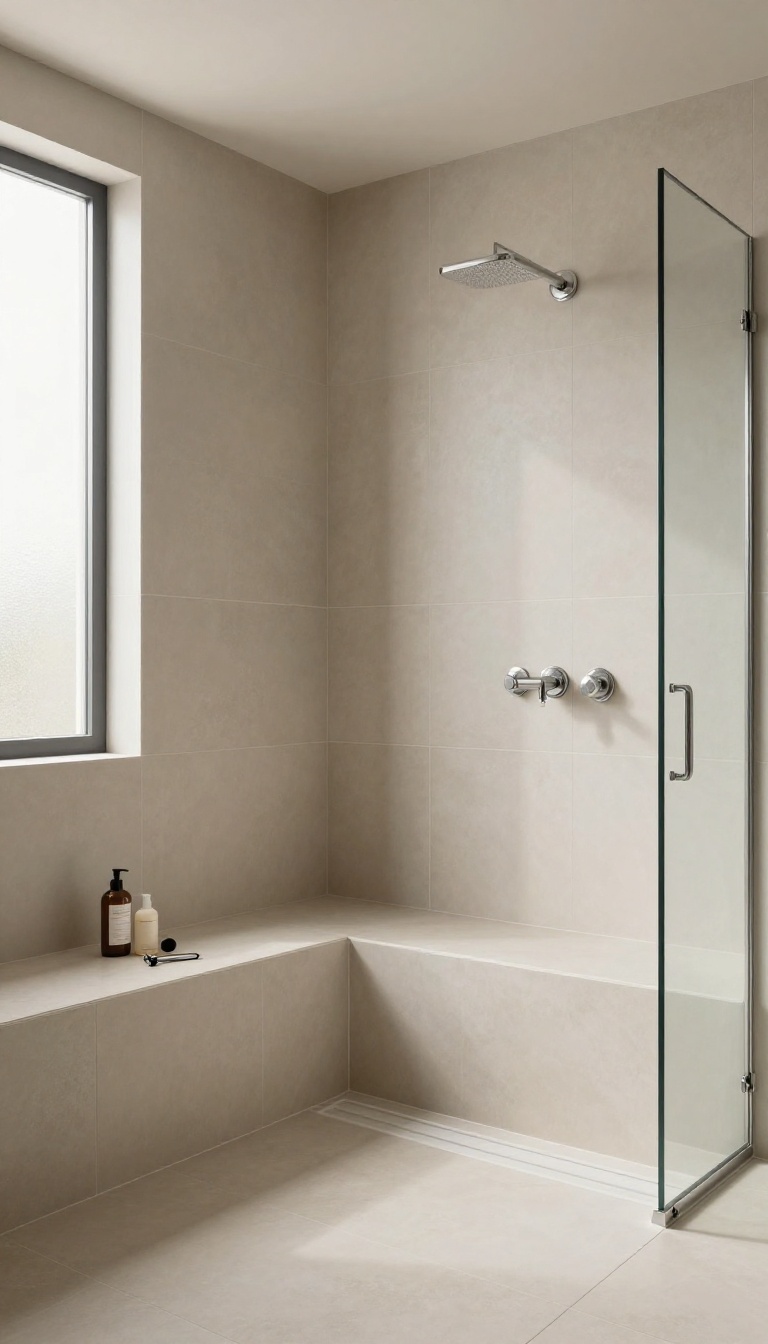
A tiled bench turns dead shower space into a spot where you can sit, shave, or prop up a foot without wobbling on one leg. It's one of those upgrades you don't think about until you use it, and then you wonder how you ever managed without it. Matching the tile to your walls keeps the look seamless, so the bench feels built in rather than tacked on.
A bench doesn't just add comfort. It gives you a place to set shampoo bottles, a ledge for a razor, and a surface that's easier to wipe down than a crowded corner. When you tile it to match the surrounding walls, the whole stall reads as one clean, intentional design instead of a patchwork of materials.
You can build a bench as a floating slab, a corner wedge, or a full-width seat that spans the back wall. Each shape changes how the shower feels and how you move through it. The right pick depends on your stall size, your budget, and how much storage you actually need.
Pick A Bench Shape That Fits Your Stall
A floating bench mounts to the wall with no legs, which keeps the floor open and makes cleaning a breeze. It works well in medium to large stalls where you have room to stretch out. A corner bench tucks into a dead angle and frees up the center of the shower.
It's a smart choice for smaller stalls because it uses space that would otherwise sit empty. A full-width bench runs wall to wall and doubles as a shelf for products. If you like a streamlined look and want maximum seating, this is the one to consider.
Match The Tile Without Making It Disappear
Using the same tile on the bench and walls creates a smooth, built-in look. The bench blends into the background, which can make a small shower feel bigger. If you want the bench to stand out a little, flip the tile pattern or use a contrasting grout color on just the bench.
You still get a cohesive palette, but the seat reads as a deliberate feature. Keep the bench tile slip-resistant if you plan to sit or step on it. A matte finish or a tile with some texture gives you grip when the surface is wet.
Make The Bench Work Harder With Built-in Storage
A bench with a slight slope toward the drain keeps water from pooling on the seat. That small detail prevents mildew and makes the surface safer to sit on. Add a low ledge behind the bench for bottles, or recess a niche above it for razors and soap.
You get storage without cluttering the floor or hanging a caddy over the showerhead. If you have the space, a bench with a drawer or a lift-up lid hides extra supplies. It's a clever way to keep the shower looking tidy while storing everything you need within reach.
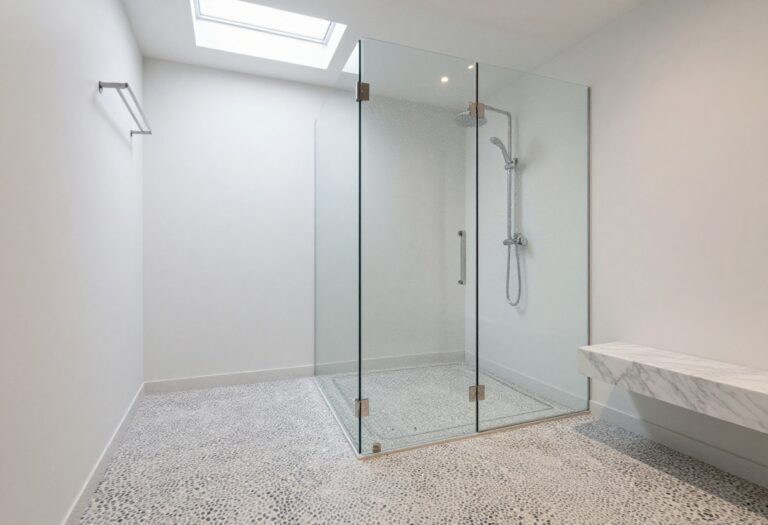
9. Use Mosaic Tiles on the Shower Floor
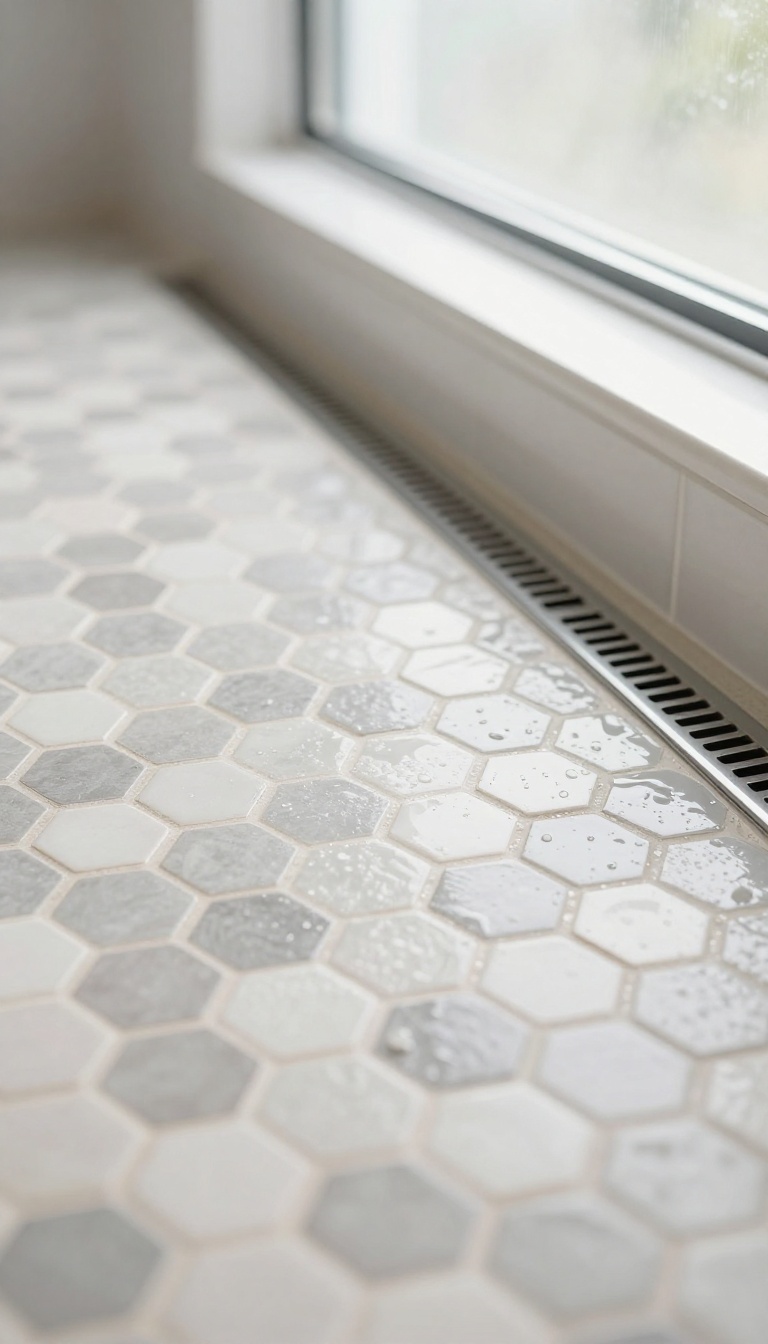
Mosaic tiles—those small squares or irregular shapes that come in sheets—are a smart pick for shower floors. They give you better traction than large-format tiles because all those grout lines create a natural grip. Plus, they bend and conform to the slight slope a shower floor needs for drainage, so you don't have to fight with cutting big tiles around the drain.
Mosaics also bring a bit of pattern and personality right where you stand. You can go subtle with a single color or play with a mix that adds visual interest without overwhelming the space. And because they're small, they're easier to replace if one gets damaged.
Just keep in mind that more grout lines mean more cleaning, so choose a grout that resists stains and mildew.
Why Mosaics Grip Better
The key is the grout lines. Every little gap between tiles creates a texture that your feet can catch, even when wet. Large tiles have fewer seams, so they can feel slicker.
Mosaics break up the surface just enough to give you confidence without feeling rough or uncomfortable.
Working With Slopes And Drains
Shower floors need a slight slope toward the drain, and big tiles can't easily follow that curve. Mosaic sheets flex to match the contour, so you get proper drainage without awkward cuts or lippage. That means fewer puddles and a cleaner-looking install.
Pattern And Color Options
You're not stuck with plain white. Mosaics come in hexagons, penny rounds, squares, and more. Use a single hue for a calm look, or mix a few shades to create a subtle gradient or border.
A little pattern underfoot can wake up an otherwise simple shower.
Keeping It Clean
More grout means more places for soap scum to hide. Pick a darker or epoxy grout that resists staining, and seal it if needed. A quick squeegee after each shower goes a long way.
If you hate scrubbing, choose larger mosaics to reduce the number of lines.
10. Choose Porcelain for Low Maintenance
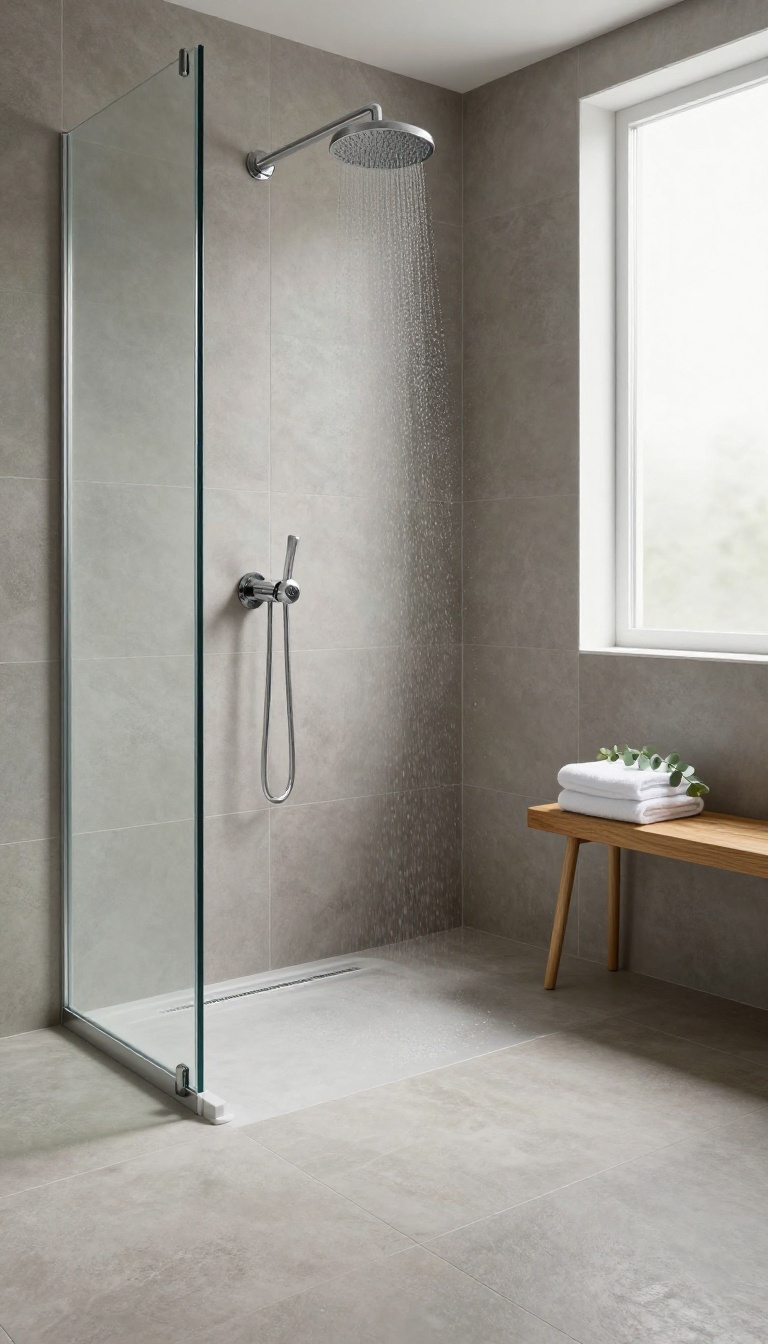
Porcelain tiles are the low-maintenance hero of shower stalls. They resist water, stains, and scratches better than many alternatives, so they stay looking fresh with minimal effort. If you want a shower that practically cleans itself, porcelain is a smart pick.
Porcelain is denser and less porous than ceramic, which means it doesn't soak up water or hold onto soap scum. That density also makes it tough against scratches and chips, so it holds up in busy households. You won't have to baby it or scrub as often.
Beyond durability, porcelain comes in a wide range of styles. You can find it in matte, glossy, wood-look, or stone-look finishes. That means you don't sacrifice design for practicality.
One thing to note: porcelain can be slippery when wet, especially polished varieties. But many manufacturers offer textured or matte options that provide better grip. Always check the slip resistance rating if you're using it on the floor.
Why Porcelain Beats Other Tiles
Porcelain's low porosity makes it resistant to moisture, stains, and bacteria. It won't swell, crack, or discolor like some natural stones. And it's harder than ceramic, so it stands up to daily wear and tear.
Cleaning Is A Breeze
A quick wipe with a damp cloth or a mild cleaner is usually all it takes. No sealing, no special products, no scrubbing grout lines until your arm aches. Porcelain's smooth surface doesn't give grime a place to hide.
Style Options That Work
You can get porcelain that looks like marble, travertine, or even concrete. Large-format tiles mean fewer grout lines, which means less cleaning. And with rectified edges, you can get tight, almost seamless joints.
11. Add a Border or Accent Stripe for Interest
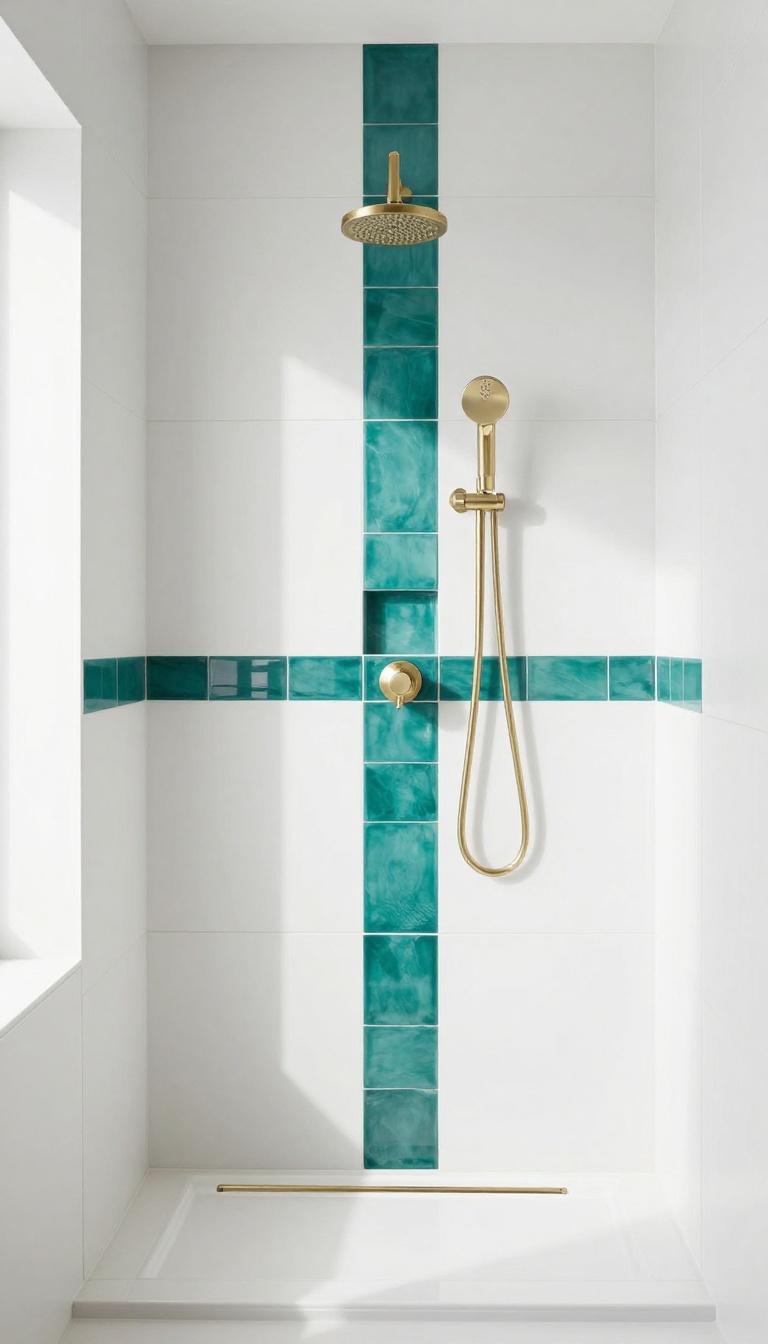
A single band of contrasting tile can do more for a shower stall than you might expect. It breaks up a large field of tile, adds a focal point, and gives the eye somewhere to rest. Think of it as jewelry for your walls—small, intentional, and surprisingly effective.
The best part? You don't need to commit to a full redesign. A border or accent stripe works with almost any tile layout, and it's a budget-friendly way to inject color, texture, or pattern.
Whether you go subtle or bold, it's an easy upgrade that makes the space feel custom.
Accent stripes come in all shapes and sizes. You can run a horizontal band around the shower at eye level, frame a niche, or create a vertical column that draws the eye upward. The goal is to add visual interest without overwhelming the space.
Placement matters more than the tile itself. A stripe that's too high or too low can feel random, while one that aligns with fixtures or architectural lines looks intentional. Take a step back and imagine how the band will relate to your showerhead, controls, and any built-in shelves.
Where To Place Your Accent Band
The most common spot is a horizontal stripe at chest or eye level, but you can also run it vertically along a corner or frame a niche. If you have a bench or a curb, a stripe that lines up with those features creates a cohesive look. Just avoid placing it where it will be hidden by a shower curtain or door.
Choosing Tile For Contrast
Contrast is key. If your main tile is matte and neutral, try a glossy or textured accent in a complementary color. Glass, stone, or even a different shape—like hexagons or penny rounds—can add pop without shouting.
Keep the accent tile easy to clean, especially if it's in a high-splash zone.
Installation Tips For A Clean Look
Accent stripes require careful planning to line up with grout lines and fixtures. Dry-fit your tiles before you commit, and consider using a laser level to keep things straight. If you're hiring a pro, show them inspiration photos so they understand the look you're after.
A little extra prep ensures the stripe looks deliberate, not like an afterthought.
12. Install Heated Floor Tiles for Warmth
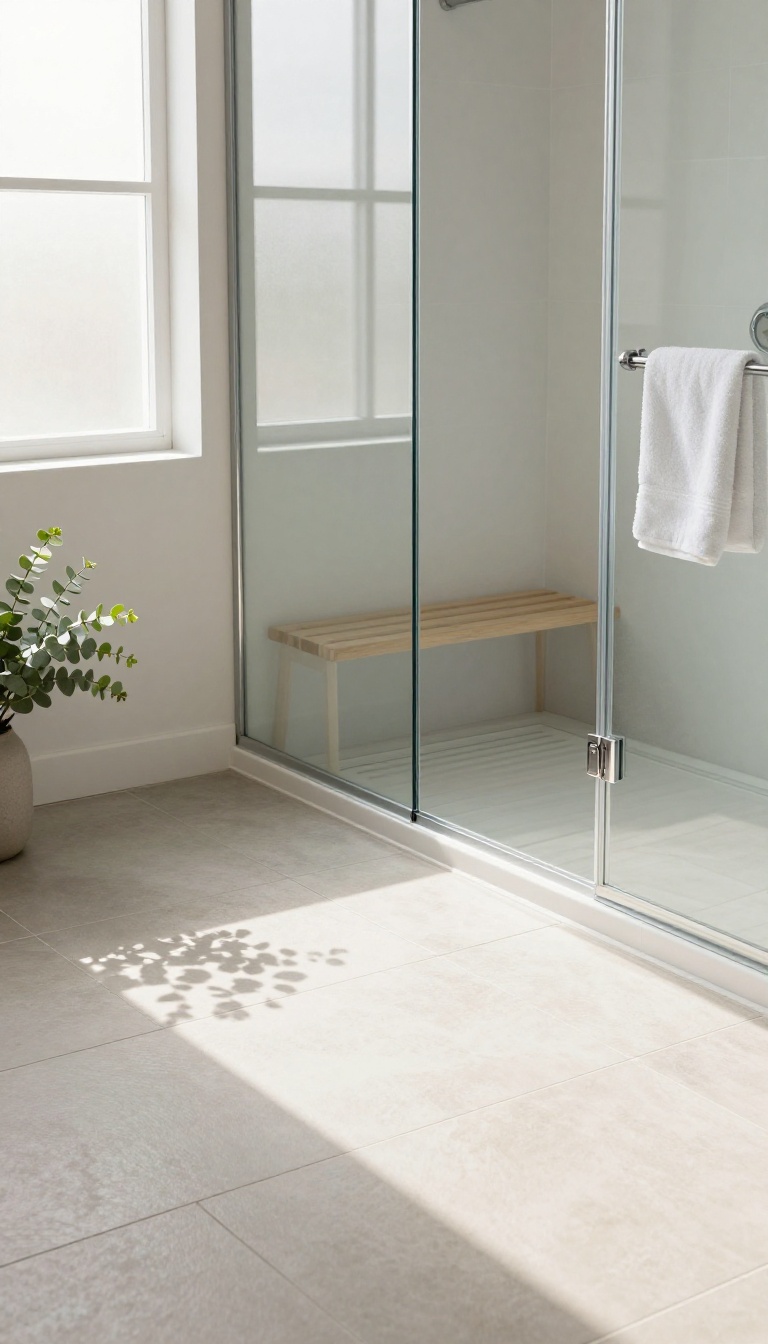
Stepping onto a freezing tile floor first thing in the morning is a small misery you don't have to live with. Heated floor tiles warm the surface under your feet, so your shower starts comfortably instead of with a jolt. The system hides beneath the tile, which means you keep the look you want while adding warmth you'll feel every single day.
Most people assume heated floors belong in luxury builds with luxury budgets. In reality, electric floor heating is one of the more affordable upgrades you can make during a shower remodel, especially if you're already pulling up old tile. The mats or cables sit under the new tile, so the installation piggybacks on work you're doing anyway.
It also plays nicely with nearly every tile material. Porcelain, ceramic, natural stone, and even mosaic sheets all work over a heating element. You're not locked into one look to get the warmth.
How It Actually Works
Electric floor heating comes in two main forms: mats and loose cables. Mats are mesh sheets with heating wire woven in, and they roll out over the subfloor in minutes. Loose cables give you more freedom around drains, benches, and odd corners.
A thermostat controls the whole thing. Some models include a programmable schedule, so the floor is warm when you wake up and off when you leave for work. That scheduling is where the real energy savings live.
What It Costs
Expect to pay somewhere between $5 and $12 per square foot for materials, depending on the system. A typical shower stall is small, so the total often lands in the low hundreds rather than thousands. Labor adds to that if you're not doing the tile work yourself.
But since the heating goes in during a remodel you're already paying for, the extra cost is mostly materials and a bit more time.
Tile Types That Pair Well
Porcelain and ceramic are the easiest match because they conduct heat evenly and hold up to temperature swings. Natural stone works too, though it warms a little more slowly. Large-format tiles feel great underfoot with heat, but smaller mosaics actually warm up faster because there's more grout between them.
Either way, you get a floor that feels good on bare feet.
A Few Practical Notes
Always put the heating element on a dedicated circuit and have a licensed electrician handle the wiring. A floor sensor should sit in the mortar so the thermostat reads the actual tile temperature, not just the air. Skip heating under fixed benches or vanities where nobody stands.
And if you're tiling over a concrete slab, an insulating underlayment helps the heat go up into the room instead of down into the slab.
13. Use Grout Color to Hide or Highlight
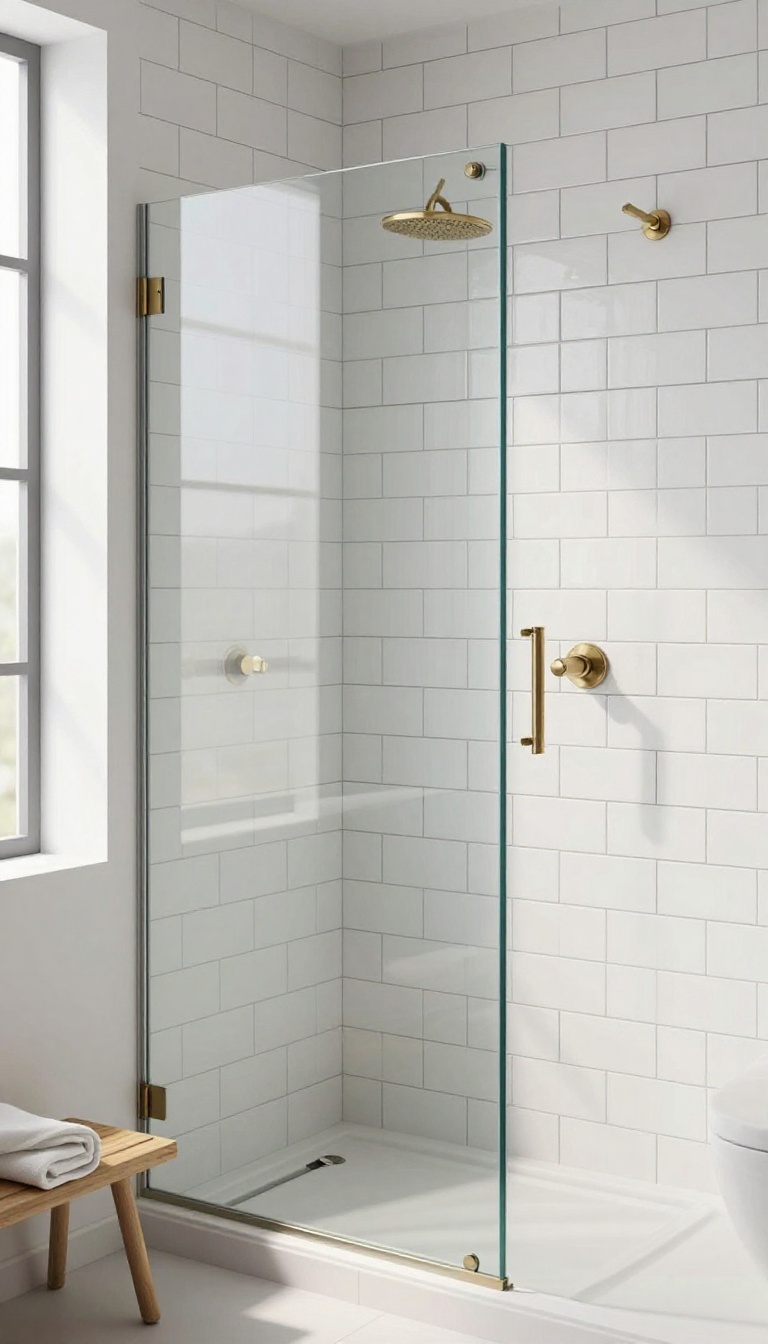
Grout is the quiet detail that shapes how your tile reads from across the room. Pick a grout that matches your tile, and the whole wall turns into one smooth, seamless surface. Go with a contrasting color, and suddenly every tile has a crisp outline that pops.
Neither choice is better—it just depends on the look you want and how much visual busyness you can live with.
Most people spend hours picking tile and about five minutes picking grout. That's backwards. Grout color changes the entire personality of a shower stall, sometimes more than the tile itself.
It can make a busy pattern calm down or turn a plain field of white tile into something graphic and deliberate. The good news is that grout is one of the cheapest decisions in the whole project, so you can afford to think about it properly.
Matching Grout For A Seamless Look
When grout matches the tile, the lines between tiles basically disappear. A white subway tile with white grout reads as one continuous surface, which makes small showers feel bigger and calmer. This approach also forgives slight installation imperfections because your eye isn't drawn to every joint.
If you want a quiet, spa-like stall that feels open and uncluttered, matching grout is the easy win. Just know that light grout shows dirt faster, so seal it well and keep a soft brush handy.
Contrasting Grout For A Graphic Punch
Dark grout against light tile—or the reverse—turns your walls into a pattern. It highlights the tile shape, whether that's a classic subway, a hexagon, or a large-format rectangle. This look has more energy and can make a simple tile feel custom.
The trade-off is that crooked tiles and uneven spacing become obvious, so it rewards careful installation. If you love bold, high-contrast design, this is the move. If you'd rather not see every wobble, skip it.
How Grout Color Affects Cleaning And Upkeep
Grout color isn't just about looks—it changes how often you'll want to scrub. Light grout on a shower floor shows soap scum, hard water spots, and mildew quickly. Dark grout hides a lot of that, but it can also show white mineral buildup.
A mid-tone grout, like a warm gray or taupe, tends to be the most forgiving of both. Whatever you choose, seal it every year or two and squeegee the walls after showering. That habit matters more than the color itself.
Choosing Grout That Fits Your Tile And Space
Think about the size of your shower and the tile you've picked. Small tiles with contrasting grout can look busy fast, so matching grout often works better in tight stalls. Large tiles with matching grout can feel flat, so a subtle contrast adds definition.
If you're unsure, ask for a grout sample stick and hold it against your tile in the actual light of your bathroom. What looks good in a showroom can shift completely under your own bulbs.
FAQ
What's the best tile for a shower floor?
Mosaic or textured porcelain tiles with a slip-resistant rating work best. They provide grip and handle water well.
How do I keep shower tile clean?
Squeegee after each use and clean weekly with a mild cleaner. Avoid abrasive scrubbers that can dull the surface.
Can I install tile over existing tile?
Sometimes, if the old tile is in good shape and the surface is prepared properly. But it's often better to remove and start fresh.
Are large tiles harder to install?
They can be trickier to handle and require a flat substrate. Hiring a pro is wise if you're not experienced.
What tile is best for a small shower?
Light-colored, large-format tiles can make a small shower feel bigger. Avoid busy patterns that can overwhelm the space.
Conclusion
Comfort in a shower rarely comes from one dramatic upgrade. It comes from small, deliberate choices that fit how you actually move through your morning.
Pick the tile idea that fixes your biggest daily annoyance first, live with it for a week, and adjust from there. Get that one right, and the rest of the stall tends to follow.