10 Inspiring Standing Shower Ideas with Crisp, Custom Design
A standing shower can redefine your bathroom's look and feel, turning a daily necessity into a moment of calm. The right design—whether it's a frameless glass enclosure or a bold tile accent—can make the space appear larger, brighter, and more intentional. But with so many options, it's easy to feel overwhelmed.
That's why we've rounded up ten standout ideas that balance aesthetics and practicality. Each one focuses on a specific element, from layout to materials, so you can pick what resonates with your space and taste. No fluff, just actionable inspiration.
Whether you're planning a full remodel or a simple refresh, these ideas will help you create a shower that feels custom and crisp. Let's dive in.
1. Frameless Glass for an Open, Airy Feel
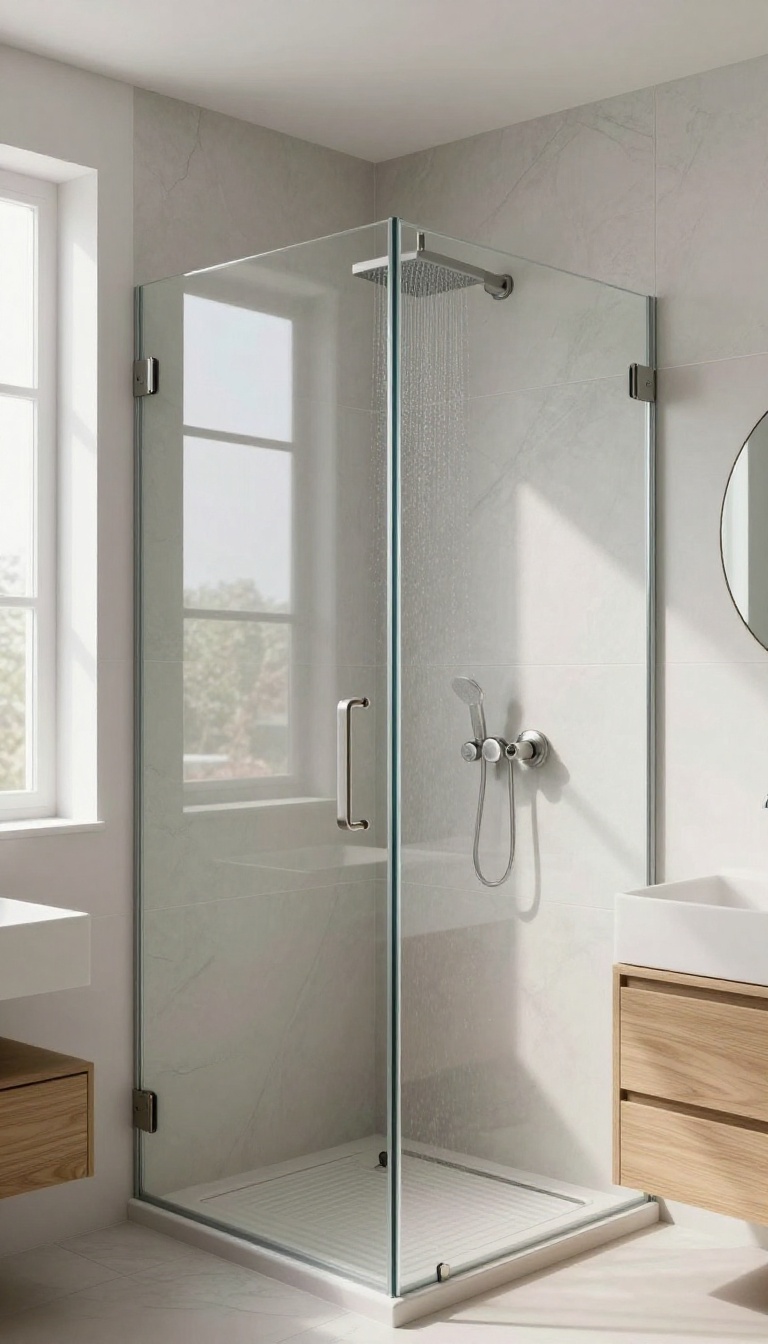
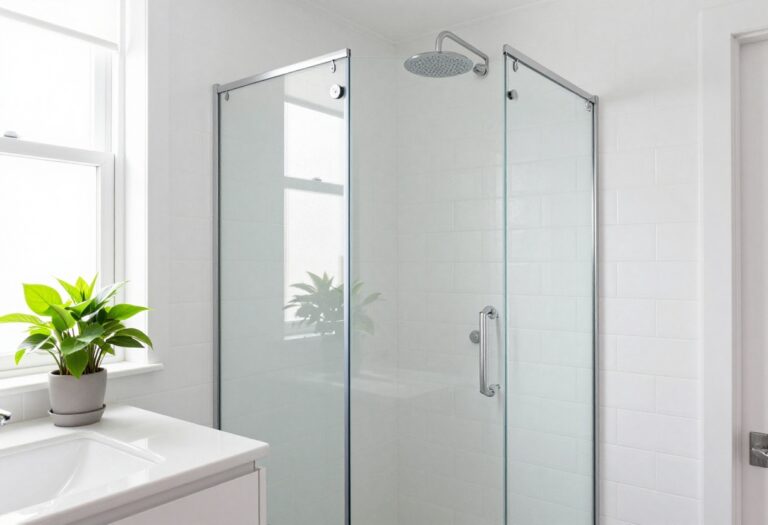
Frameless glass is the go-to choice when you want your shower to disappear into the background. Without bulky frames or tracks, the eye travels straight to your tile, fixtures, and the natural light flooding the space. It's a clean, minimal look that instantly makes a bathroom feel larger and more polished.
A frameless glass enclosure relies on thick tempered glass panels held together by minimal hinges and clips. The lack of metal framing means fewer places for soap scum and grime to hide, making cleanup easier. Plus, the transparent barrier keeps the shower visually connected to the rest of the bathroom, which is a game-changer for smaller spaces.
Choose The Right Glass Thickness
Most frameless showers use 3/8-inch or 1/2-inch tempered glass. Thicker glass feels more substantial and premium, but it also weighs more and requires sturdier hinges. For a standard residential shower, 3/8-inch is usually plenty, while 1/2-inch adds a touch of luxury and better sound insulation.
Consider your door swing and wall support before deciding.
Maximize Natural Light
If your bathroom has a window or skylight, frameless glass lets that light travel throughout the room. Even without a window, the clear panels reflect and bounce light from overhead fixtures, making the space feel brighter. Pair with light-colored walls and a glossy tile to amplify the effect.
Keep Hardware Minimal
The beauty of frameless glass is the seamless look, so choose hinges and handles that blend in. Brushed nickel or matte black are popular choices that add a subtle accent without drawing attention. A simple, slim handle is often all you need—avoid ornate designs that clutter the clean aesthetic.
2. Bold Tile Patterns That Steal the Show
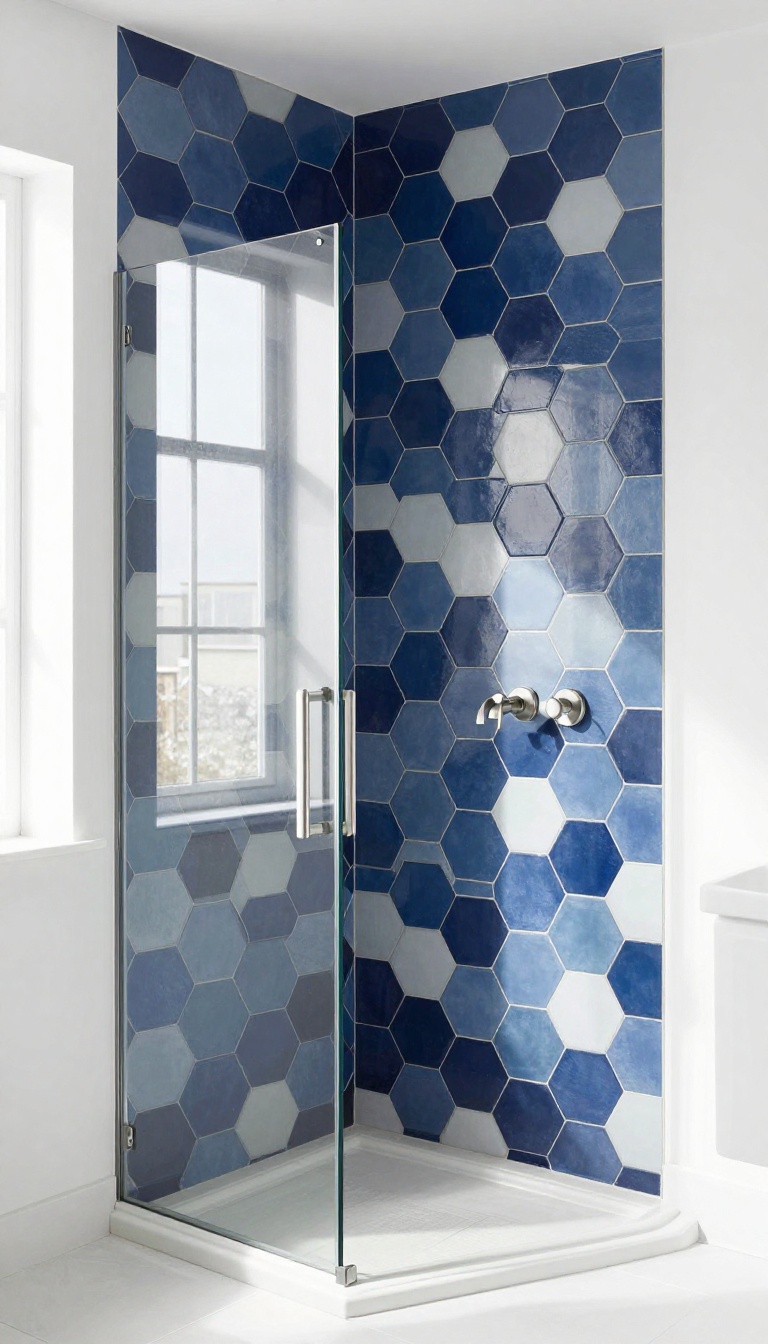
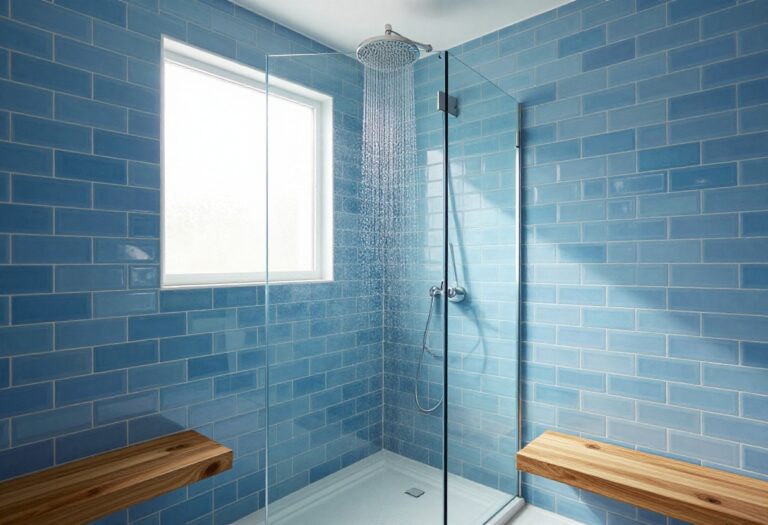
Tiles are the quickest way to inject personality into a standing shower. While plain white subway tile is timeless, a bold pattern can turn your shower into the most memorable part of the bathroom. The trick is to choose a pattern that feels intentional, not chaotic.
Bold tile patterns work because they create a focal point that draws the eye. Whether you go for a dramatic herringbone layout or a playful geometric print, the right pattern can make a small space feel dynamic and custom. The key is to balance the pattern with the rest of the bathroom so it doesn't overwhelm.
Large-format Tiles For A Seamless Look
Large-format tiles, like 12×24 or 24×48 inches, minimize grout lines and create a sleek, modern appearance. They work especially well in small showers because fewer lines make the space feel more expansive. Choose a subtle pattern like a soft marble or concrete look to keep it elegant.
Hexagon Tiles For A Playful Touch
Hexagon tiles are a versatile choice that adds texture without being too loud. You can arrange them in a classic honeycomb pattern or mix shades for a subtle gradient effect. They look great in matte finishes and work well with both modern and traditional bathrooms.
Vertical Subway Tiles To Add Height
Subway tiles are a classic, but laying them vertically changes the entire vibe. This layout draws the eye upward, making your shower ceiling feel higher. It's a simple twist on a familiar look that adds unexpected interest without going overboard.
Creating A Feature Wall That Pops
If you're not ready to commit to bold patterns on every wall, pick one wall to make a statement. A feature wall with a bold geometric pattern or a vibrant color can become the shower's centerpiece. Keep the other walls neutral to let the pattern shine.
3. Walk-In Showers with a Curbless Entry
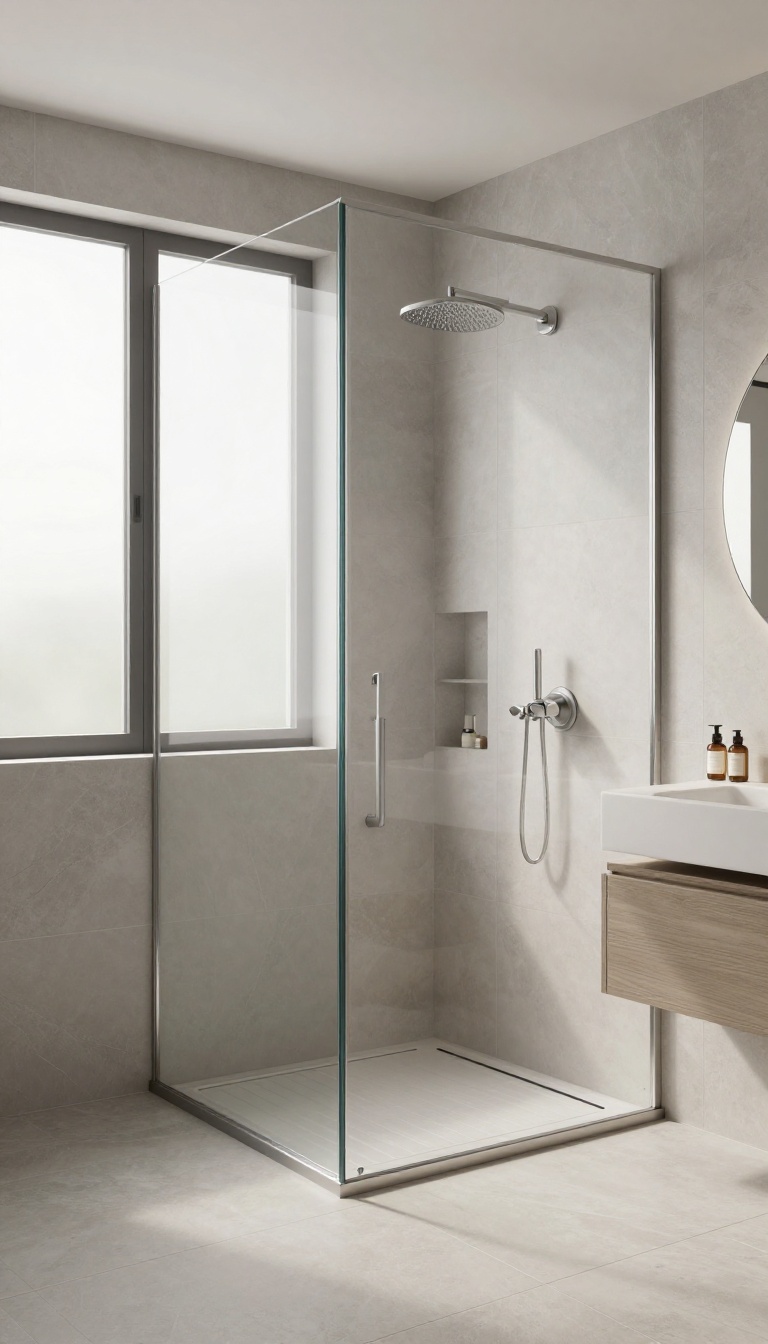
Stepping into a shower without tripping over a curb feels almost effortless. That’s the magic of a curbless design—it blends the shower floor with the rest of the bathroom, creating one continuous surface. This idea is perfect for anyone who values clean lines, easy access, and a more open feel.
Curbless showers are a smart choice for modern bathrooms. They eliminate the traditional barrier, making the space feel larger and more unified. Plus, they’re a breeze to clean—no edges to scrub or catch grime.
Whether you’re planning for aging in place or just love a minimalist look, this design delivers both style and function.
Why Go Curbless?
The biggest draw is the seamless transition. Without a curb, water flows directly into a linear drain, so the floor stays level. This not only looks sleek but also reduces trip hazards, making it safer for kids, older adults, or anyone with mobility concerns.
Plus, it opens up the visual space, making a small bathroom feel more expansive.
Key Design Considerations
Before you commit, think about waterproofing. Since there’s no curb to contain water, you’ll need a properly sloped floor and a reliable linear drain. Choose non-slip tiles for safety, and ensure the floor outside the shower is slightly lower or has a gentle slope to prevent water from spreading.
Also, consider the structural requirements—your bathroom floor may need reinforcement to accommodate the recessed shower pan.
Style Ideas For A Curbless Shower
You can dress up a curbless shower in many ways. Use large-format tiles to minimize grout lines and enhance the seamless look. Add a glass panel or screen to keep water in without closing off the space.
For a spa-like vibe, pair natural stone with a rainfall showerhead. The key is to keep the design cohesive with the rest of the bathroom, so the shower feels like a natural extension.
4. Rainfall Showerheads for a Spa-Like Experience
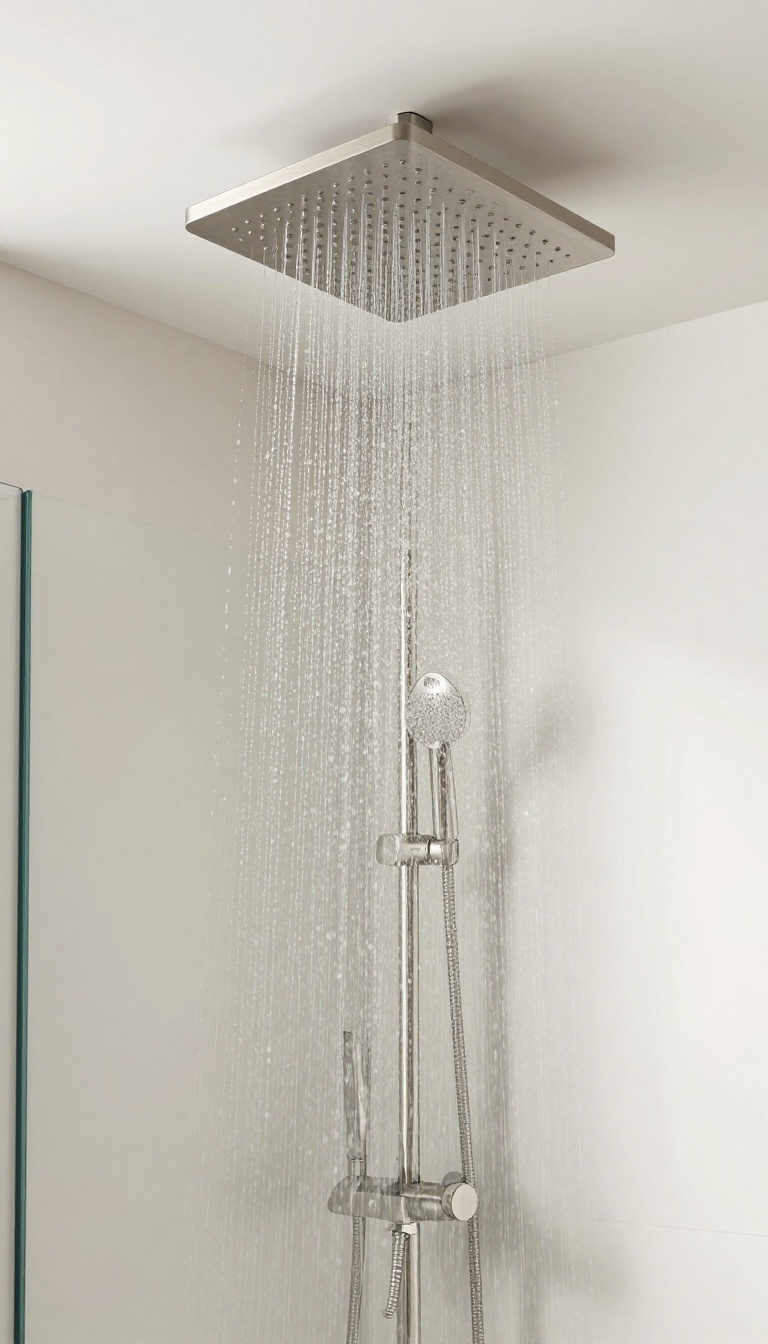
A ceiling-mounted rainfall showerhead can turn your daily rinse into a gentle, immersive downpour. It’s a simple upgrade that instantly adds a touch of luxury, making your standing shower feel like a private spa retreat. To get the most out of it, pair it with a handheld sprayer for flexibility and a thermostatic valve to keep the temperature just right.
When you install a rainfall showerhead, you’re not just changing the fixture—you’re changing the whole feel of your shower. The wide, overhead spray mimics natural rain, creating a calming effect that’s hard to beat. It’s especially nice if you have the ceiling height to mount it flush, so the water falls straight down without any awkward angles.
Plus, the minimalist look of a ceiling-mounted head keeps your shower crisp and uncluttered.
Choosing The Right Size And Finish
Rainfall heads come in various diameters, typically from 8 to 12 inches. A larger head covers more area, but make sure your water pressure can handle it—otherwise, you might get a weak drizzle. For finish, brushed nickel or matte black adds a modern touch, while chrome keeps things classic.
Pick one that matches your other fixtures for a cohesive look.
Pairing With A Handheld Sprayer
A handheld sprayer is a practical addition, especially for rinsing off or cleaning the shower walls. Mount it on a slide bar so you can adjust the height, and use a diverter valve to switch between the rainfall head and the handheld. That way, you get the best of both worlds without compromising on style.
Installing A Thermostatic Valve
Thermostatic valves keep the water temperature steady, so you won’t get hit with a sudden cold blast when someone flushes a toilet. They also let you set a preferred temperature and turn the shower on and off without losing your perfect setting. It’s a small investment that adds a lot of comfort and control.
5. Built-In Niches and Shelves for Smart Storage
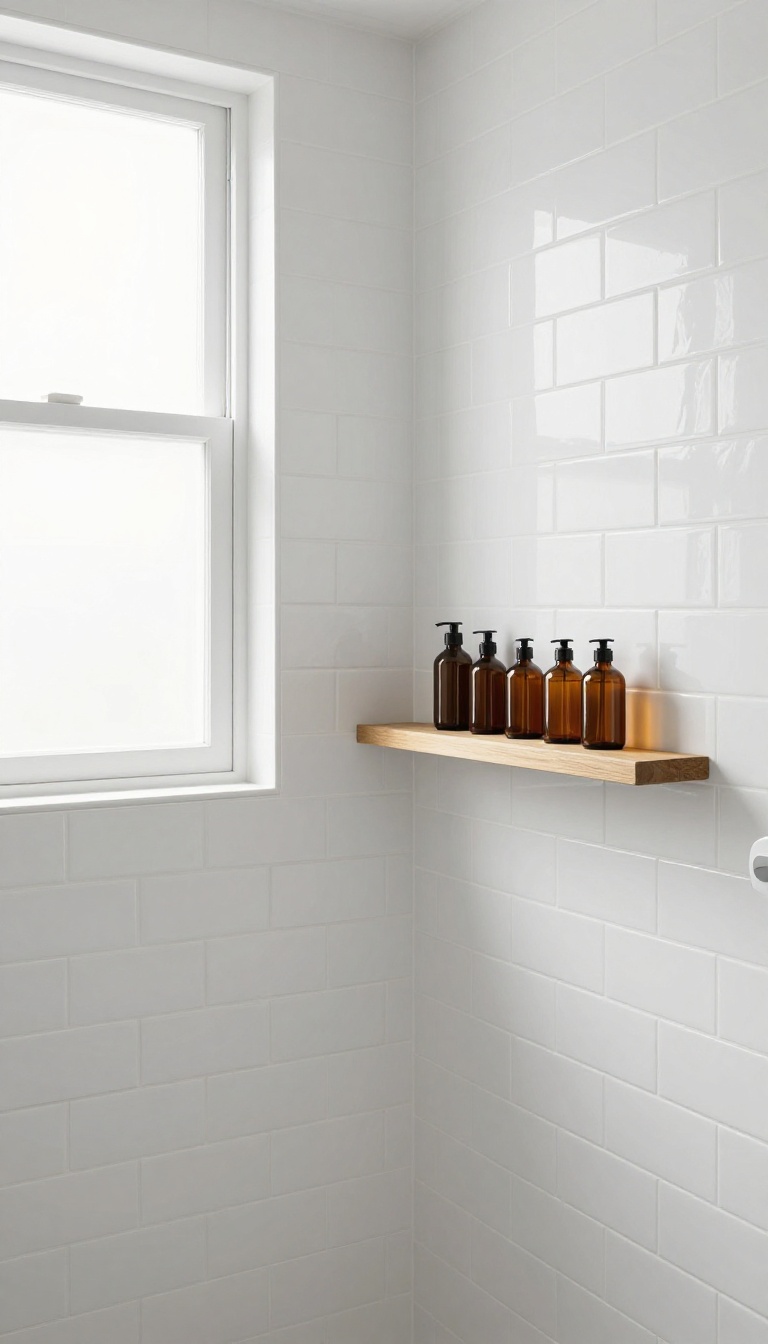
Shower caddies can get messy, and suction cups eventually lose their grip. Built-in niches and shelves offer a cleaner, more permanent solution that keeps everything within reach without cluttering your space. They're a simple addition that can make your shower feel more organized and custom.
Built-in storage isn't just about function—it's a design opportunity. You can match the tile for a seamless look or choose a contrasting material to make the niche stand out. The key is to plan the placement carefully so it's convenient but not in the way.
Placement And Size
Think about where you naturally reach for shampoo or soap. A niche at chest height near the showerhead is usually ideal. For a standard shower, a niche that's about 12 inches wide and 8 inches tall works well.
If you have the space, consider two niches at different heights for bottles and smaller items like razors.
Materials And Finishes
Match your shower tile for a subtle, integrated look, or use a contrasting tile, metal, or stone to make the niche pop. Waterproof materials are a must, and don't forget a slight slope at the bottom so water doesn't pool. If you're using floating shelves, choose materials like teak or stainless steel that can handle moisture.
Styling And Organization
Keep things tidy by grouping similar items together. Use matching pump bottles for shampoo and conditioner, and store smaller items in a small tray or basket. Avoid overfilling—leave some breathing room so the niche doesn't look cluttered.
A well-organized niche can be a subtle focal point that adds to the shower's crisp design.
6. Matte Black Fixtures for a Bold Contrast
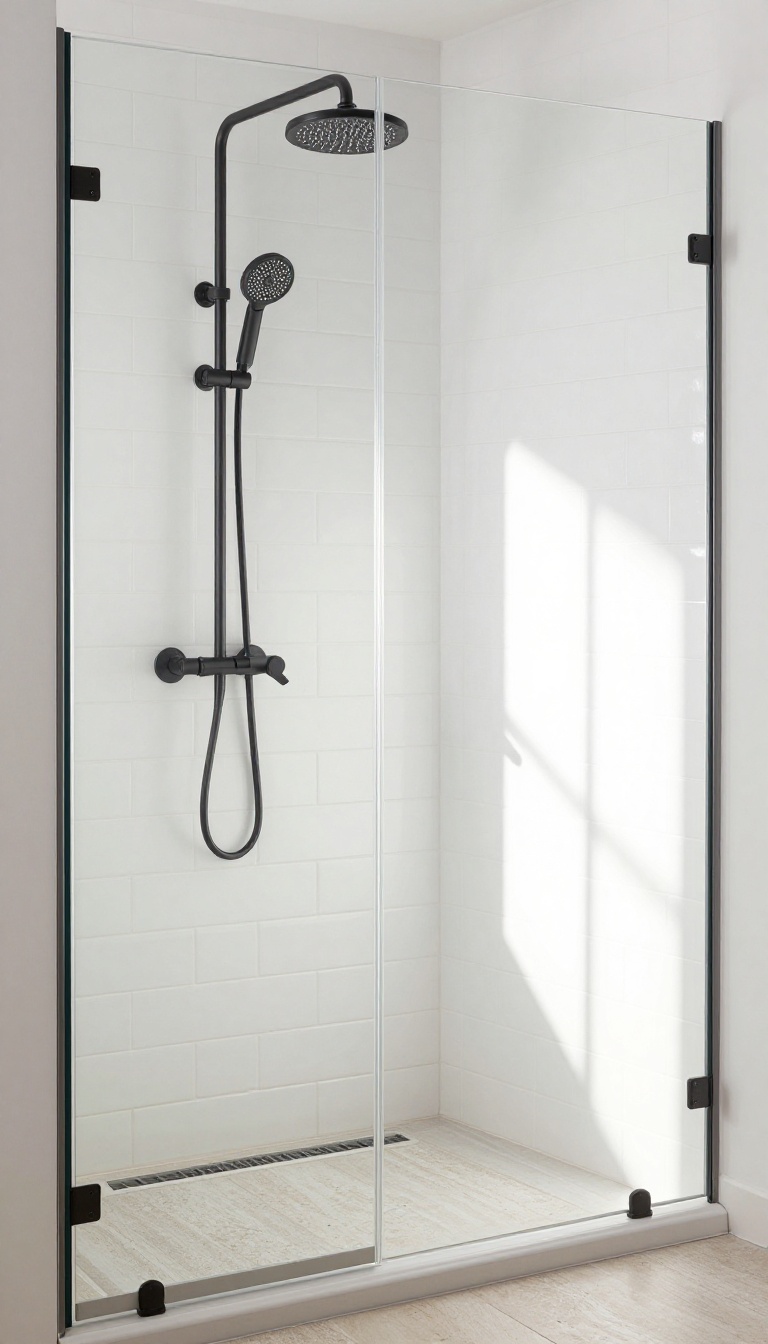
Sometimes the smallest details make the biggest splash. Swapping out shiny chrome or brushed nickel for matte black fixtures instantly gives your shower a modern, grounded feel. The dark finish against light tiles creates a crisp, high-contrast look that feels deliberate and custom—without a major renovation.
Matte black works because it anchors the eye. In a mostly white or light gray shower, black showerheads, handles, and frames add definition and depth. It's a simple swap that upgrades the entire space, making it feel more intentional and polished.
Why Matte Black Works
The finish has a soft, almost velvety texture that doesn't glare or reflect light the way chrome does. That means it blends into the background when you want it to, but still provides a strong visual anchor. It also hides water spots and fingerprints better than shiny finishes, so it stays looking cleaner between wipes.
Pairing With Tile And Grout
For the best effect, pair matte black with white or light-colored tiles—think classic subway tile, large-format white porcelain, or soft gray stone. Dark grout can add extra drama, while white grout keeps the look airy. If you're feeling bolder, a dark accent wall behind the fixtures makes the black pop even more.
Mixing Finishes Without Going Overboard
You don't have to go all black. Choose two or three key pieces—like the showerhead and handle—and keep the rest neutral. Mixing matte black with brushed nickel or brass can work if you keep the undertones consistent.
Just avoid adding too many different metals in one small space.
7. Natural Stone for an Organic, Timeless Look
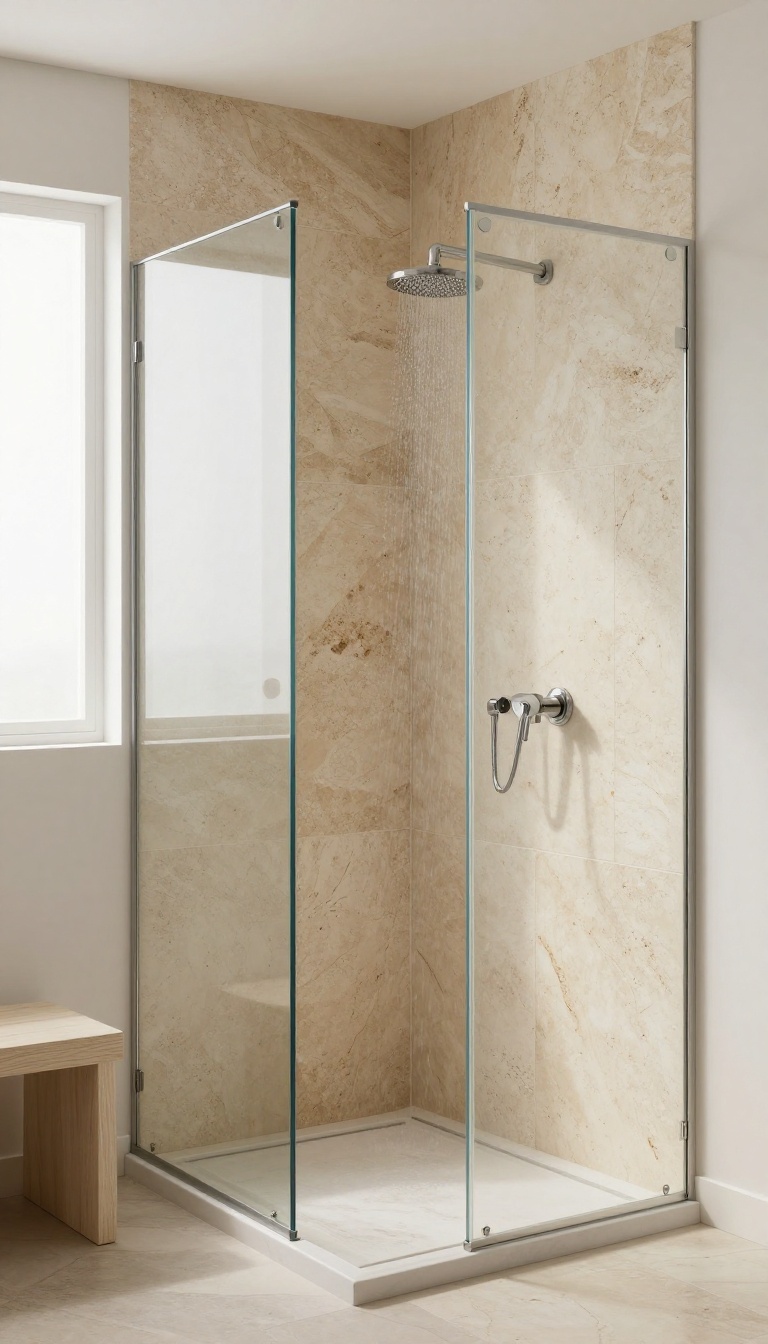
Natural stone brings a quiet, grounded elegance that few materials can match. Each tile or slab carries its own veining and texture, so your shower feels one-of-a-kind from the moment you step in. It’s a choice that leans into nature, creating a spa-like retreat right in your home.
When you choose stone, you’re not just picking a surface—you’re setting a mood. The earthy tones and tactile surfaces make the space feel warm and inviting, even on the coldest mornings. Plus, stone ages beautifully, developing a patina that only adds to its character.
It’s a timeless investment that never goes out of style.
Pick The Right Stone For Your Shower
Travertine, slate, and marble are popular choices, but each has its own personality. Travertine offers a soft, porous look that feels rustic and warm. Slate brings a darker, more dramatic vibe with its rugged surface and natural cleft.
Marble, on the other hand, adds a touch of luxury with its smooth, polished finish. Consider the overall style of your bathroom—if you want a calm, earthy feel, travertine or slate might be your best bet. If you’re after something more refined, marble could be the way to go.
Sealing And Maintenance Made Simple
Stone is porous, so it needs a bit of care to stay in top shape. A high-quality sealer will protect against water and stains, and you’ll want to reapply it every year or so. Daily upkeep is easy—just wipe down the walls with a squeegee after use to prevent soap scum buildup.
With the right routine, your stone shower will look stunning for decades.
Mix Stone With Other Materials
You don’t have to cover every surface in stone. Pairing it with glass, wood, or even ceramic tiles can create a balanced, modern look. For example, use large-format stone tiles on one accent wall and keep the rest simple with white subway tile.
Or combine a stone bench with a sleek glass enclosure for contrast. The key is to let the stone be the star without overwhelming the space.
8. Corner Showers That Maximize Small Spaces
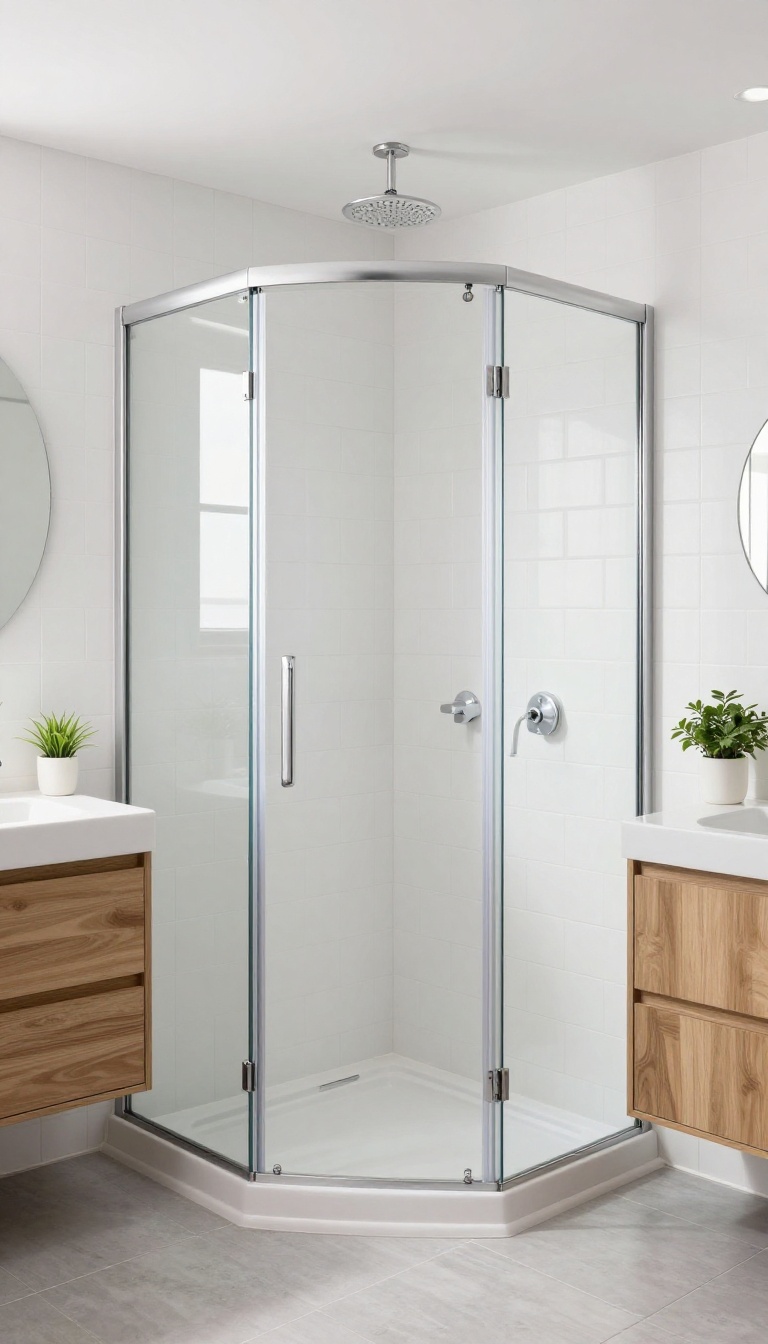
When square footage is tight, every inch counts. A corner shower can be a smart solution, slipping into an unused nook while keeping the rest of the bathroom open and airy. With the right glass and fixtures, it doesn't have to feel cramped—just crisp and intentional.
Corner showers are a classic choice for small bathrooms, but they often get a bad rap for feeling boxy. The trick is to use curved or angled glass doors that soften the lines and make the space feel larger. Clear glass, rather than frosted or patterned, keeps the eye moving and avoids visual clutter.
Compact fixtures, like a slim rain showerhead or a corner caddy, complete the look without overwhelming the space.
Why A Corner Shower Works
A corner shower uses space that might otherwise go unused, especially in bathrooms with an awkward layout. Placing it diagonally frees up wall space for a vanity or toilet, making the room feel more open. Plus, the glass panels let light pass through, so the shower doesn't create a dark, heavy corner.
Choosing The Right Door And Glass
Curved or angled glass doors are the secret to making a corner shower feel less confining. A curved door adds a soft, elegant arc, while an angled door creates a modern, geometric look. Go with clear, frameless glass to keep the view unobstructed and make cleaning easier.
If privacy is a concern, consider a textured film on the lower half, but keep the top clear.
Smart Fixtures And Storage
In a small corner shower, every fixture should earn its place. A rain showerhead mounted on the ceiling can feel luxurious without taking up wall space. For storage, use a slim corner caddy or a recessed niche to keep shampoo and soap off the floor.
Choose compact fixtures in a brushed nickel or matte black finish to add a touch of style without visual weight.
9. Linear Drains for a Clean, Modern Finish
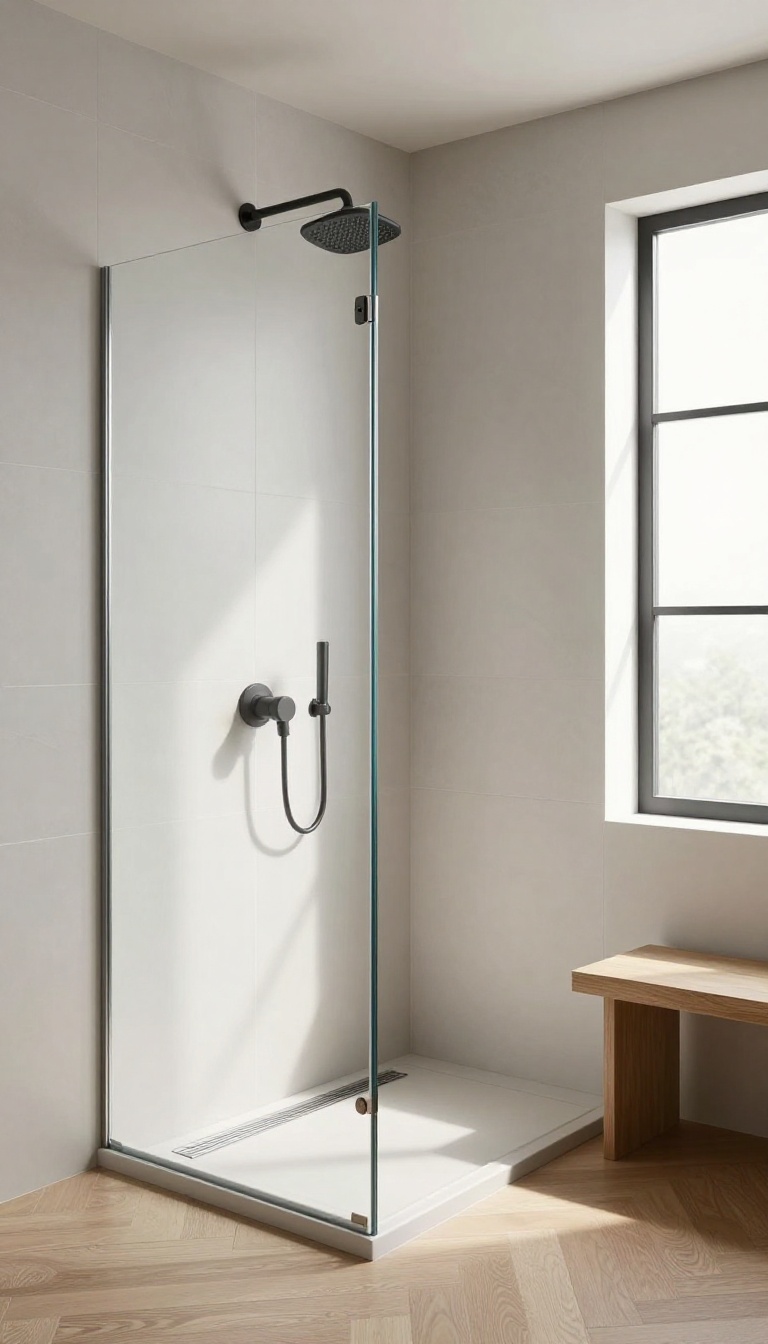
Traditional center drains often interrupt the flow of a shower floor, creating a subtle bump or requiring a sloped mosaic. Linear drains offer a sleek alternative that sits flush against the tile, allowing for a completely flat, continuous surface. This design choice not only looks sharp but also improves drainage efficiency, making it a favorite in contemporary bathrooms.
Linear drains are long, narrow channels that collect water along one edge of the shower floor, rather than at a central point. This simple shift in placement opens up a world of design possibilities, from large-format tiles that run unbroken to barrier-free entries. The result is a shower that feels more open, modern, and easier to clean.
Why Choose A Linear Drain?
Beyond the obvious aesthetic appeal, linear drains offer practical benefits. They eliminate the need for a sloped floor in all directions, which means you can use larger tiles and even natural stone without worrying about water pooling. The single slope toward the drain also makes cleaning simpler, as there are fewer grout lines and no awkward corners where grime tends to collect.
Design Options And Placement
Linear drains can be installed at the back of the shower, along the entrance, or even in the center for a dramatic effect. Placing one at the entrance creates a seamless, walk-in look, while a back-wall placement allows for a completely level floor. You can choose from a variety of finishes—stainless steel, brushed nickel, or even tile-insert covers that blend invisibly with your floor.
Installation And Maintenance Tips
Proper installation is key to ensuring your linear drain performs well and looks great. Make sure the drain is set with a slight pitch toward it, and use a waterproofing membrane to protect against leaks. For maintenance, most linear drains have a removable grate that makes cleaning the trap easy.
A quick rinse with warm water and a brush keeps things fresh.
10. Accent Lighting to Set the Mood
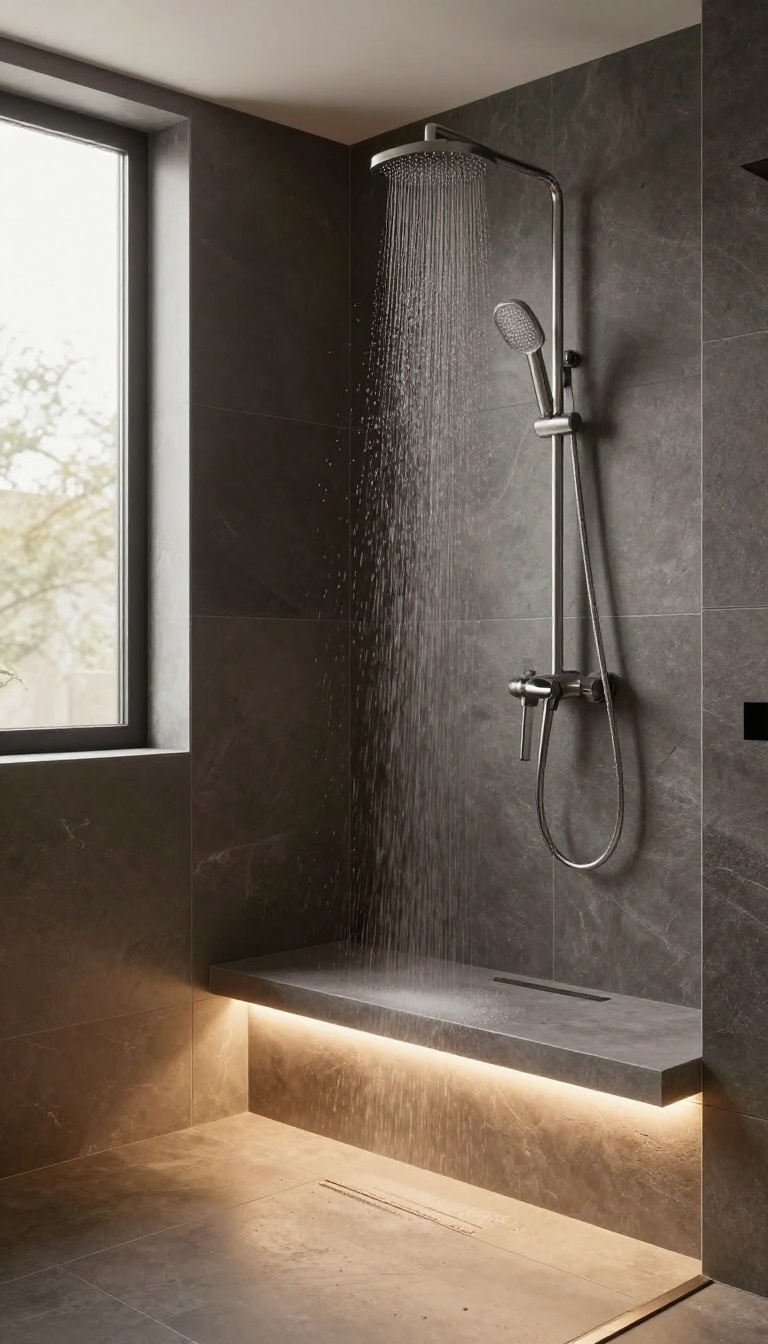
Lighting can make or break the feel of a shower, yet it's often an afterthought. The right accent lighting doesn't just help you see—it shapes the entire atmosphere, turning a functional space into a personal retreat. Think about how a soft glow changes your perception of the room.
With LED strips or recessed lights, you can highlight textures and create depth, making the shower feel more inviting and custom. Dimmable options add flexibility, so you can go from bright and energizing to calm and soothing with a simple switch.
When planning accent lighting, consider both placement and color temperature. Warm white tones create a cozy, spa-like vibe, while cooler tones mimic daylight and are great for morning showers. Place lights strategically—under benches, along niches, or behind translucent panels—to draw the eye to architectural details without overwhelming the space.
Safety is also key. Ensure all fixtures are rated for damp or wet locations, and consult a professional for installation. With the right setup, your shower can feel like a five-star hotel every day.
Choosing The Right Light Type
LED strip lights are versatile and easy to install, perfect for outlining shelves or creating a backlit effect. Recessed lights offer a cleaner, more integrated look, ideal for ceilings or walls. For a dramatic touch, consider a waterproof pendant or wall sconce—just make sure they're rated for wet areas.
Placement Ideas For Maximum Impact
Highlight a feature wall with vertical strips on either side, or tuck lights under a floating bench to create a floating effect. Inside niches, small pucks can illuminate shampoo bottles and add a subtle glow. For a truly custom feel, install a light above the showerhead to cast a gentle wash over the water.
Dimmer Controls And Smart Features
Dimmers are a game-changer for setting the mood. Pair them with smart home systems so you can adjust lighting from your phone or via voice commands. Some systems even allow you to program different scenes—like a bright 'morning' setting and a dim 'evening' one—so you get the perfect ambiance every time.
FAQ
What is the best material for a standing shower?
The best material depends on your style and budget. Glass is popular for its transparency and ease of cleaning, while tile offers endless design options. Natural stone adds luxury but requires more maintenance.
How can I make a small standing shower look bigger?
Use clear glass instead of opaque enclosures, choose light-colored tiles, and minimize visual clutter. A curbless entry and a linear drain can also create a seamless look that expands the space.
What is the difference between a walk-in shower and a standing shower?
A walk-in shower typically has no door or a partial glass panel, while a standing shower often has a full enclosure. Walk-ins are more accessible and open, while standing showers offer more containment.
How do I clean a glass shower without streaks?
Use a squeegee after each use to remove water spots. For deeper cleaning, a mixture of white vinegar and water works well. Avoid abrasive cleaners that can scratch the glass.
Can I install a standing shower myself?
It depends on your skill level. Simple swaps like replacing a showerhead are DIY-friendly, but full installations involving plumbing and waterproofing are best left to professionals to avoid leaks and damage.
Conclusion
These ten ideas show that a standing shower can be both functional and a design highlight. Whether you prefer the sleekness of frameless glass or the warmth of natural stone, there's a style to fit your home and taste.
Start with one or two changes that excite you most, and build from there. A crisp, custom shower is within reach—and it might just become your favorite part of the day.