11 Rustic Bathroom Shower Ideas for a Stylish, Usable Finish
Stepping into a shower that feels like a retreat doesn't require a full remodel. Rustic style brings warmth and character through natural materials, earthy tones, and thoughtful details. Whether you're updating a guest bath or your master suite, these ideas help you create a space that's both beautiful and practical.
Rustic doesn't mean rough or unfinished—it's about embracing textures that age well and feel inviting. Think wood-look tiles, matte black fixtures, and pebble floors that are as safe as they are scenic.
The goal is to balance rugged charm with everyday comfort. From simple swaps to bigger projects, each idea below focuses on making your shower stylish and easy to live with.
1. Wood-Look Tile for Warmth Without Worry
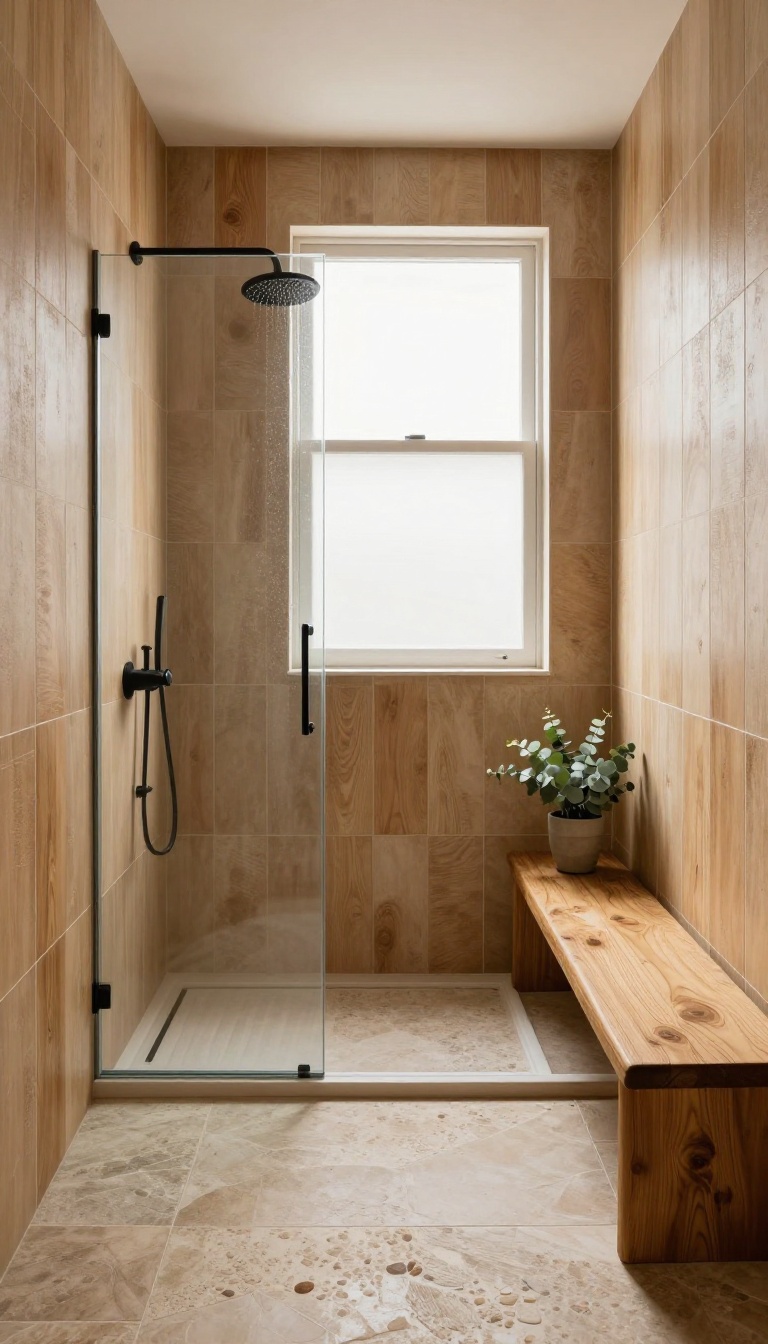
If you love the look of wood but worry about moisture, wood-look tile is your best friend. It mimics the grain and texture of real timber while standing up to water, humidity, and daily wear. You get that cozy, rustic cabin feel without the upkeep that real wood demands.
Wood-look porcelain or ceramic tile gives you the rustic appeal of timber but with the water resistance you need. Choose planks in warm oak or weathered gray, and install them in a staggered pattern for a natural feel. This option is low-maintenance and won't warp or rot.
Pick The Right Shade And Finish
Warm honey tones bring a sunlit, welcoming vibe, while cool grays evoke a more modern, coastal rustic feel. Matte or textured finishes add grip and look more authentic than glossy ones. If you want extra realism, go for tiles with slight variations in color and grain.
Mix Textures For Depth
Pair wood-look tile with natural stone or pebble accents to break up the surface and add visual interest. A pebble floor or a stone niche can create a spa-like contrast that enhances the rustic mood. Just keep the palette cohesive—stick to earthy neutrals.
Mind The Grout Lines
Use a thin grout line (1/8 inch or less) and match the grout color to the tile to let the wood grain shine. Wider lines can make the tile look fake. For a seamless look, consider rectified edges that allow for tighter spacing.
2. Pebble Floor for a Natural Foot Massage
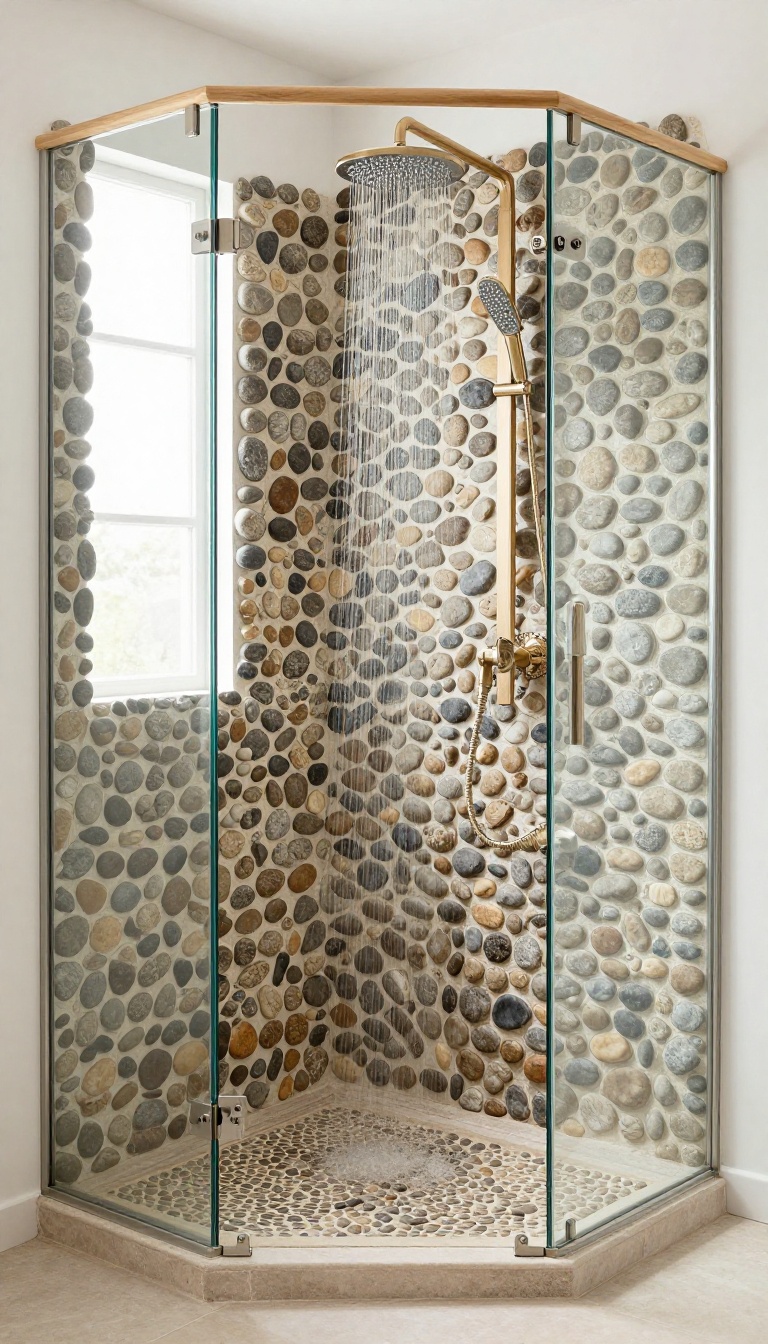
Stepping onto a pebble floor is like giving your feet a mini spa treatment every time you shower. The smooth, rounded stones massage pressure points and improve circulation, turning a daily routine into a moment of relaxation. Plus, the natural texture adds a rustic touch that feels organic and grounding.
A pebble floor is more than just a visual statement—it's a functional upgrade that enhances your shower experience. The uneven surface stimulates your feet, promoting better blood flow and reducing fatigue. It's also naturally slip-resistant, making it a safe choice for families and older adults.
With proper installation and sealing, pebble floors are durable and easy to maintain, offering long-lasting beauty and comfort.
Choosing The Right Pebbles
Select smooth river stones in varying sizes for a natural look and comfortable feel. Avoid sharp or overly large stones that could be uncomfortable underfoot. Opt for stones in earthy tones like gray, tan, or brown to complement a rustic aesthetic.
Ensure they are suitable for wet areas and have a non-slip surface.
Installation And Grout
Proper installation is key to a pebble floor that lasts. Use a flexible, waterproof adhesive and grout designed for wet areas. Leave slight gaps between stones for drainage and to maintain the massaging effect.
Seal the grout and stones with a penetrating sealer to prevent staining and moisture damage. Hiring a professional is recommended for best results.
Cleaning And Maintenance
Pebble floors are surprisingly easy to clean. Sweep or vacuum to remove debris, then mop with a mild cleaner. Avoid harsh chemicals that can erode the sealer.
Reseal the floor every few years to keep it protected. The textured surface helps hide soap scum and mineral deposits, so it stays looking fresh with minimal effort.
3. Exposed Shower Head and Fixtures in Oil-Rubbed Bronze
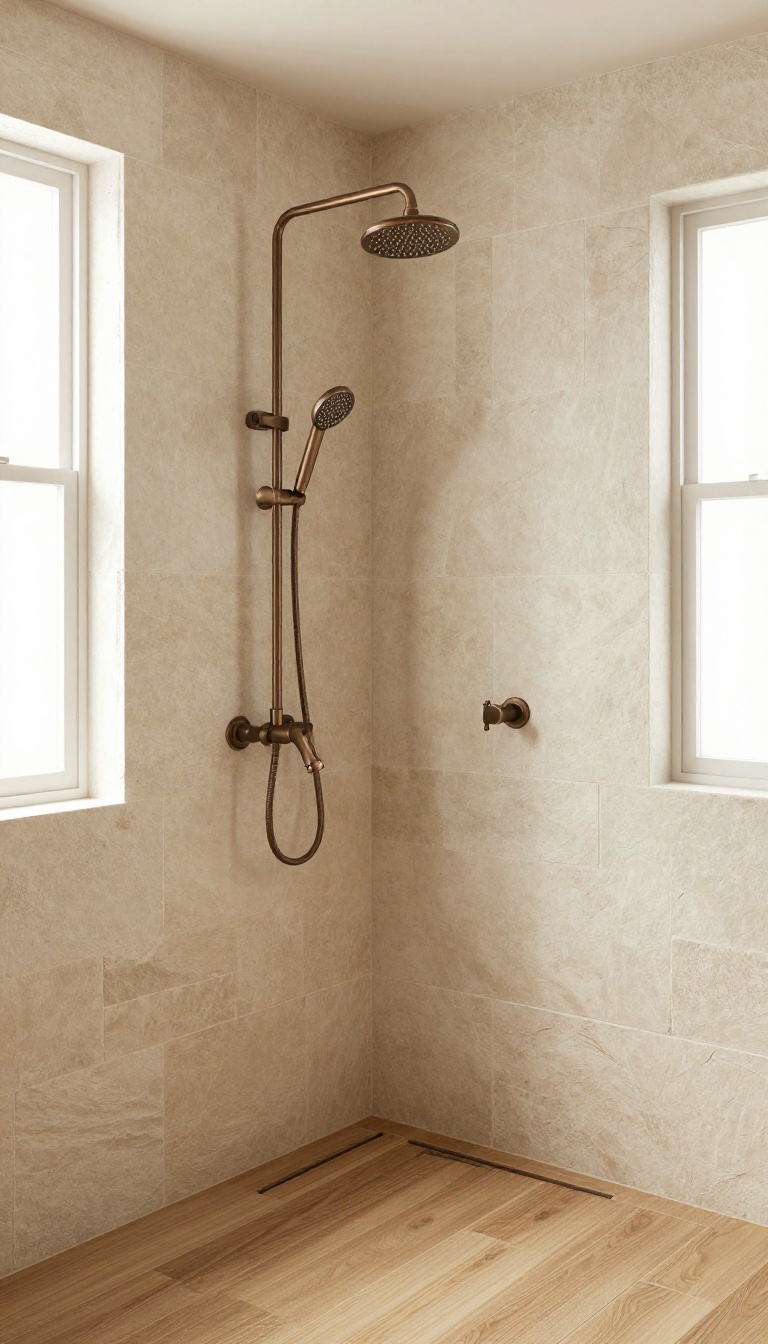
Shiny chrome can feel cold and clinical, especially in a rustic bathroom. Swapping it for oil-rubbed bronze or matte black instantly warms up the space and ties in beautifully with wood and stone elements. An exposed rain shower head with a curved arm does more than just look good—it creates a spa-like feel and often improves water pressure by delivering water directly overhead.
This simple change is a high-impact upgrade that doesn't require a complete overhaul. You can swap out just the shower head and handles, or go further with a full fixture set. The dark, muted finish hides water spots and fingerprints, so it stays looking clean with minimal effort.
Over time, the patina deepens, adding character that fits the rustic vibe perfectly.
Why Oil-rubbed Bronze Works
Oil-rubbed bronze has a rich, dark brown finish with subtle copper undertones. It doesn't reflect light like chrome, which softens the overall look and makes the space feel cozier. The finish is also durable—it resists corrosion and tarnishing, so it holds up well in humid shower environments.
Plus, it pairs effortlessly with natural materials like wood-look tile, stone, and even concrete.
Choosing The Right Shower Head
An exposed rain shower head mounted on a curved arm is a classic rustic choice. Look for one with a wide face (at least 8 inches) to get that full-coverage rainfall effect. If you prefer a handheld option, choose a model with a brushed bronze or matte black finish and a flexible metal hose.
Ensure the arm extends far enough from the wall so you don't bump your head, and consider a swivel joint for easy angle adjustment.
Mixing Finishes And Materials
Don't be afraid to mix oil-rubbed bronze with other rustic elements. Pair it with a wooden bench, a pebble floor, or a sliding barn door for a cohesive look. If you have other metal accents in the room, like towel bars or cabinet pulls, try to keep them in the same finish family.
A little variation is fine, but too many different metals can feel chaotic. Stick to one dominant dark finish and let the natural textures shine.
Installation Tips And Considerations
Before you buy, check your current plumbing setup. Exposed shower heads often require a ceiling mount or a longer arm, so make sure you have the right connections. If you're not comfortable with DIY, hire a professional to avoid leaks.
Also, consider water pressure—rain shower heads can feel gentle, so if you like a stronger spray, look for one with adjustable flow or a built-in pressure booster. Finally, don't forget to clean the head regularly to prevent mineral buildup, especially if you have hard water.
4. Barn Door Shower Enclosure
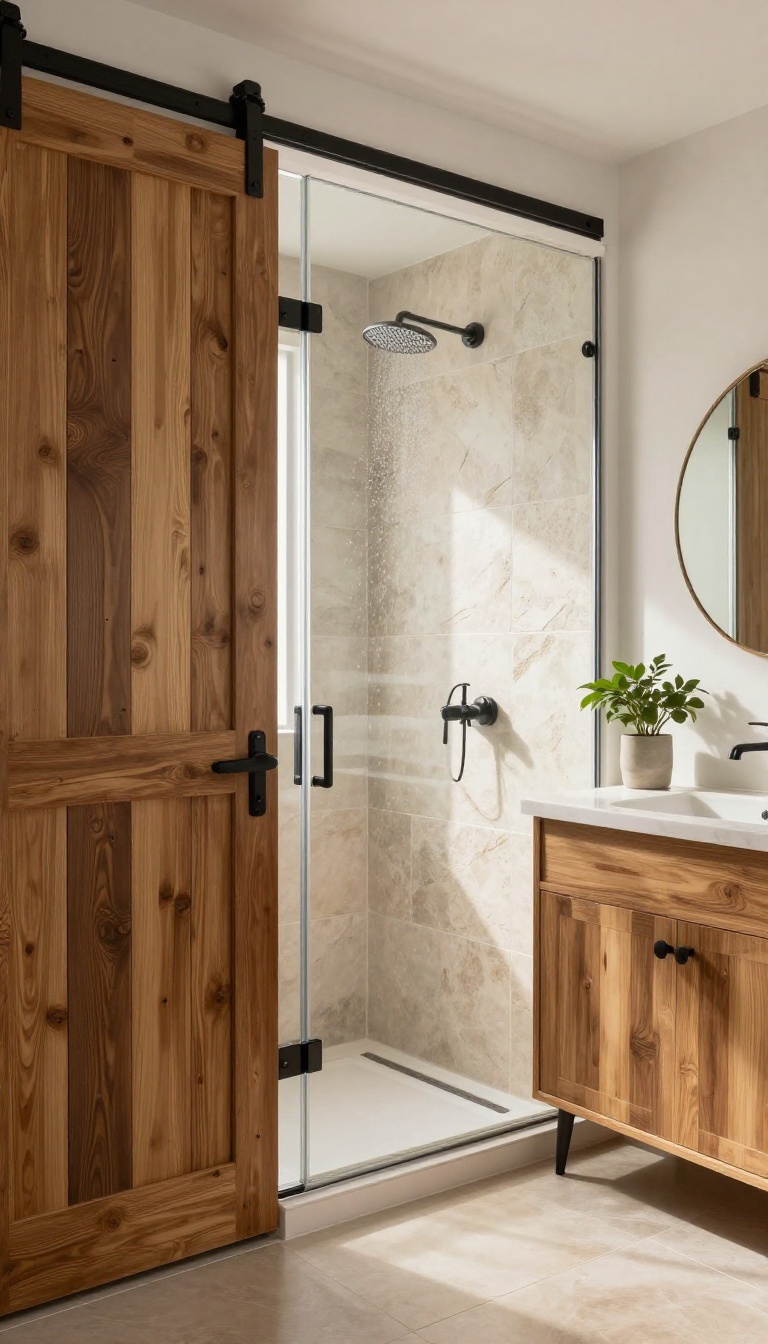
A barn door shower enclosure is a smart way to add rustic character without eating up floor space. Instead of a traditional swinging door, a sliding barn door glides along a track, making it ideal for tight bathrooms. The wood and metal combo instantly brings that farmhouse feel, and you can customize it to match your exact style.
Barn doors are more than just a pretty face—they solve real space problems. In a small bathroom, a hinged shower door can be a nuisance, but a barn door slides out of the way neatly. Plus, the hardware itself becomes a design feature, adding an industrial touch that pairs beautifully with natural textures.
Choosing The Right Wood And Finish
Not all wood is created equal when it comes to moisture. Solid teak or cedar are naturally water-resistant, but they can be pricey. A more budget-friendly option is to use a moisture-resistant MDF or a hardwood with a good waterproof sealant.
For the track, matte black or oil-rubbed bronze fits the rustic vibe and hides water spots well.
Privacy And Light Control
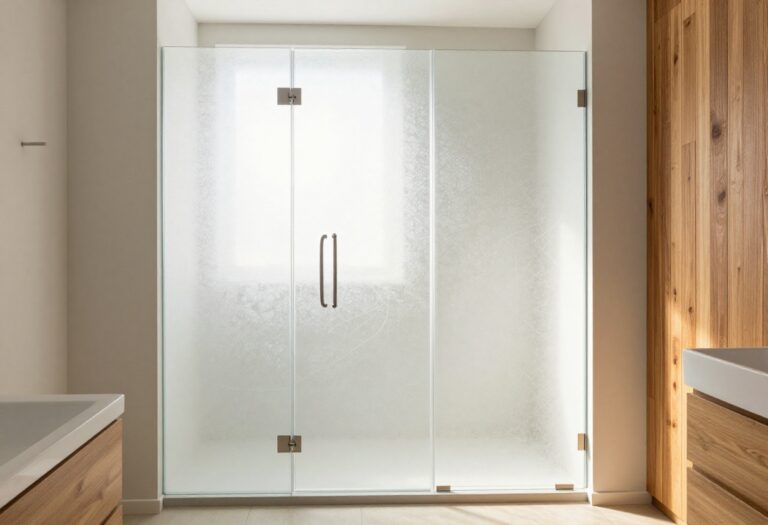
You don't want to feel like you're on display every time you shower. A frosted glass insert is a classic choice—it lets in light while keeping things private. Or, for a more traditional look, you can use a wood panel with a small window.
If you prefer an open feel, consider a half-glass design that still offers some coverage.
Installation Tips And Hardware
Installing a barn door requires a sturdy wall to support the weight. Make sure the track is level and the door has enough clearance to slide without hitting anything. Use heavy-duty brackets and rollers rated for the door's weight.
If you're not handy, hiring a professional is worth the peace of mind, especially since water and electricity are involved.
Styling Around The Door
Once the door is in, think about how it fits with the rest of the bathroom. Pair it with a vessel sink on a reclaimed wood vanity and some open shelving with rolled towels. Add a few green plants to soften the look.
The door can also become a place to hang a towel hook or a small shelf, making it functional as well as stylish.
5. Natural Stone Accent Wall
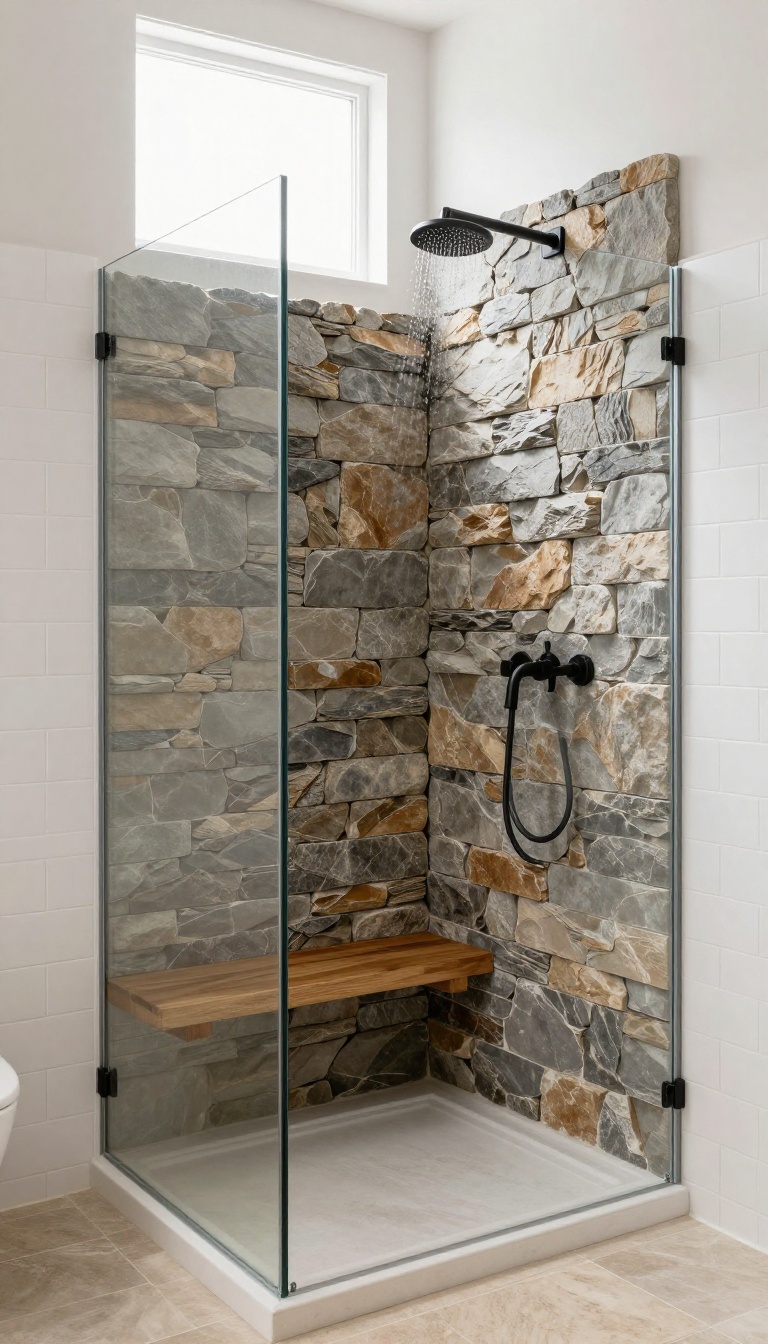
A natural stone accent wall brings the outdoors in with a rugged, textural presence that instantly warms up a shower. Unlike flat tile, stacked stone or slate creates shadows and variation that catch the light and make the space feel more organic. It's a bold look, but it doesn't have to dominate—placing it behind a bench or along one side adds just the right amount of rustic drama.
Natural stone is a classic choice for rustic design because it feels timeless and grounded. The key is to pick the right stone and treat it properly so it stays beautiful for years. Beyond looks, stone adds a tactile element that makes every shower feel a little more like a spa.
Choosing The Right Stone
Stacked stone veneer panels are an easy option because they come in mesh-backed sheets, making installation faster and more uniform. Slate tiles offer a more traditional look with their cleft surface and earthy shades of gray, brown, and rust. For a smoother feel, river rock tiles provide a pebbled texture that's gentle underfoot.
Whichever you pick, make sure it's rated for wet areas and can handle constant moisture.
Placement And Design Tips
A full wall of stone can be overwhelming, so consider using it on one accent wall or behind the shower bench. This creates a natural focal point without making the space feel like a cave. Pairing stone with lighter materials like white or cream tile helps balance the visual weight.
Also, think about the stone's color palette—warm earth tones blend well with wood-look tile, while cooler grays work with matte black fixtures.
Sealing And Maintenance
Natural stone is porous, so sealing is non-negotiable. Use a high-quality penetrating sealer that protects against water and stains without altering the stone's appearance. Reapply the sealer every year or as recommended by the manufacturer.
For daily cleaning, use a pH-neutral stone cleaner and avoid harsh chemicals that can etch the surface. A soft brush or sponge will handle soap scum without scratching.
6. Reclaimed Wood Shower Bench
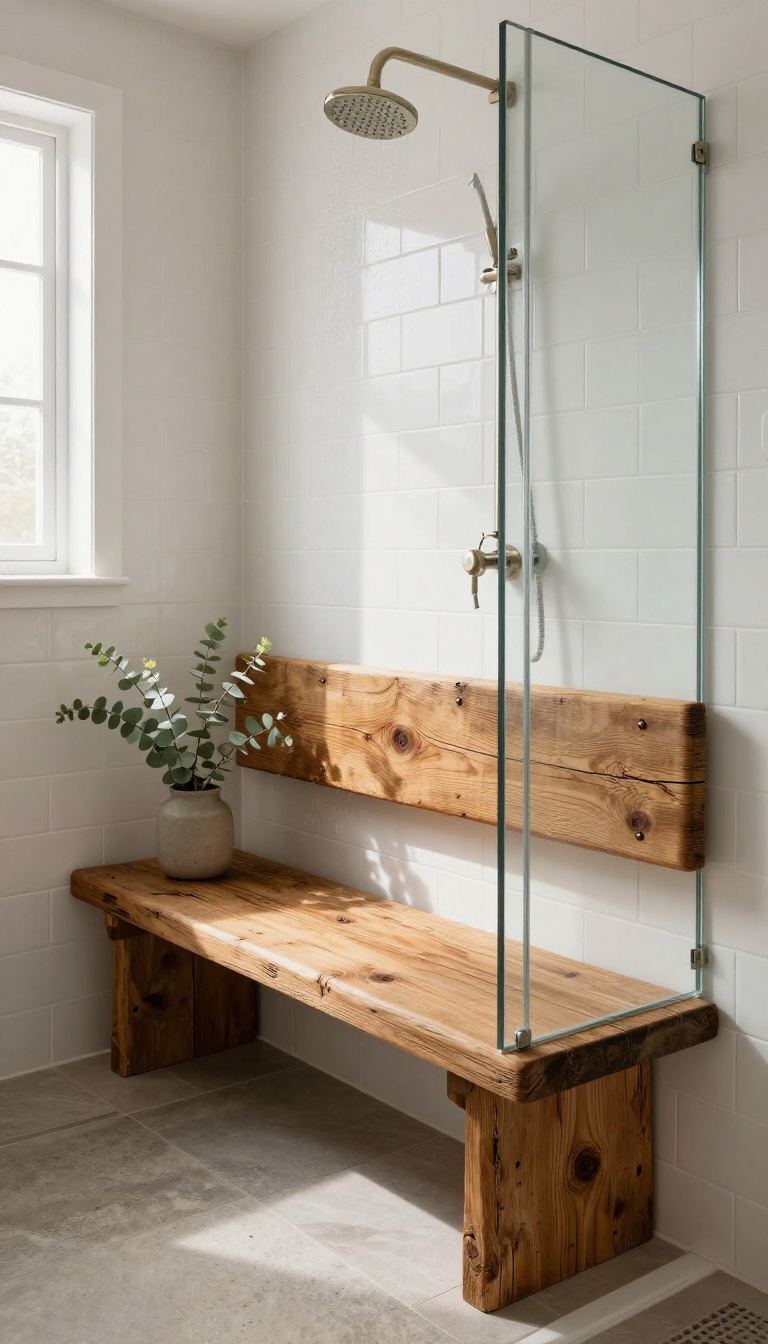
A shower bench is one of those features you don't realize you need until you have one. It's a spot to sit while shaving your legs, a safe place to steady yourself, and a ledge for your shampoo bottle so it's not cluttering the floor. Reclaimed wood takes that practicality and adds a layer of warmth and history that fits right into a rustic bathroom.
Reclaimed wood brings a sense of age and authenticity that new wood just can't match. Whether it's sourced from old barns, factories, or wine barrels, each piece has its own character—nail holes, grain patterns, and weathered textures that tell a story. In a shower, that character becomes a focal point, turning a simple bench into a conversation starter.
Why Reclaimed Wood Works In Wet Areas
You might wonder if wood belongs in a shower at all. The trick is choosing the right type and treating it properly. Woods like teak and cedar are naturally resistant to moisture and rot, making them ideal choices.
If your reclaimed wood isn't one of those, you can apply a high-quality waterproof sealant to protect it from water damage. With the right prep, a reclaimed wood bench can handle daily use and last for years, adding a rustic, organic touch that tile alone can't achieve.
How To Choose And Install Your Bench
Look for pieces that are thick enough to support weight and have a smooth, splinter-free surface. You can either build a freestanding bench or mount one to the wall. If you're handy, a simple floating design with hidden brackets gives a clean look and makes cleaning the floor underneath easier.
Make sure to seal all sides, including the bottom and ends, to prevent water from seeping in. Place it where it's convenient but not in the direct line of the shower spray to help it dry faster.
Styling Around The Bench
Once your bench is in place, think about what goes around it. A small potted plant or a stack of folded towels adds a spa-like feel. You can also use the bench to display rustic accessories like a wooden soap dish or a glass jar filled with bath salts.
Keep the area clutter-free so the bench remains the star. Pair it with natural stone or pebble flooring to enhance the earthy vibe, and you've got a shower that feels both grounded and luxurious.
7. Matte Black Shower Trim and Accessories
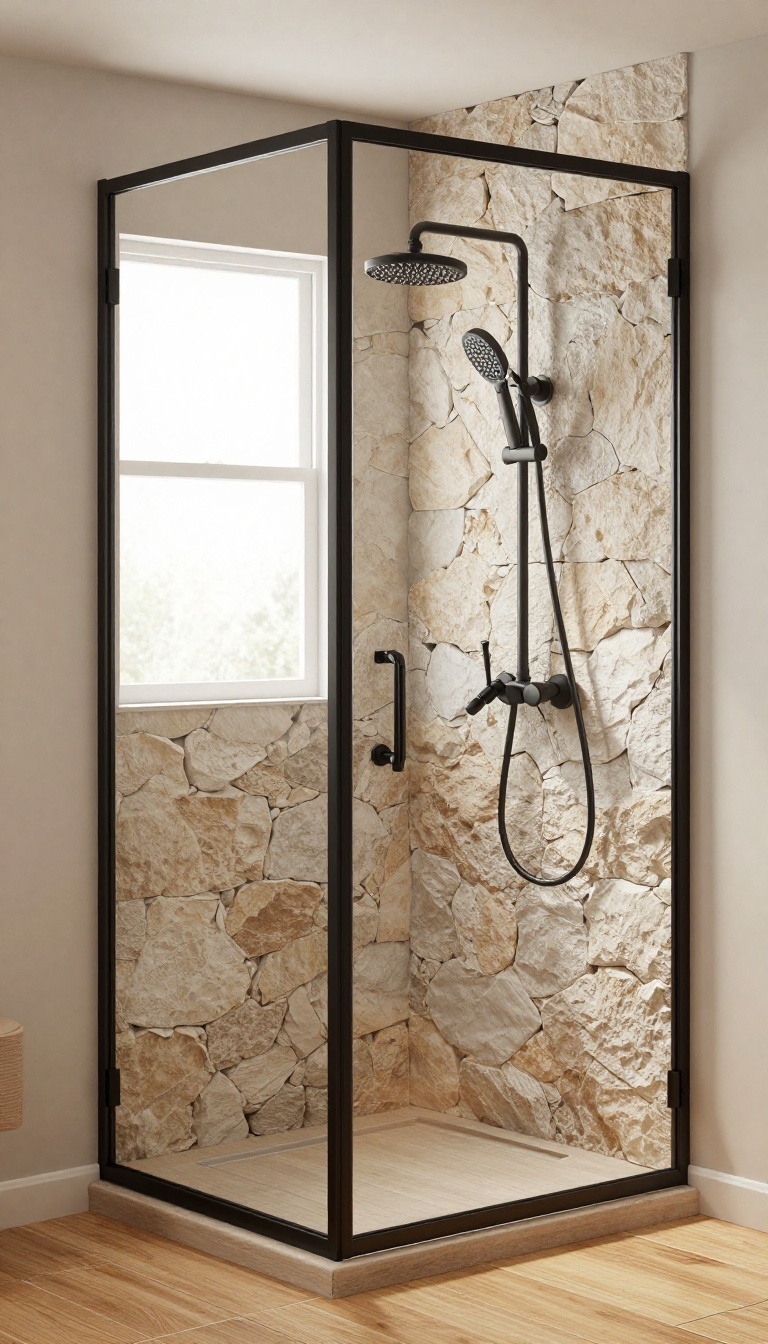
If your rustic shower leans heavily on warm wood and natural stone, a matte black finish can anchor those textures with a grounded, modern edge. Unlike polished chrome or brushed nickel, black doesn't compete with the organic materials—it quietly frames them. It's a small change that makes a big visual impact, especially when you coordinate the trim, handles, and even the shower door frame.
Matte black works because it absorbs light rather than reflecting it, which keeps the focus on the wood and stone around it. It also hides water spots and fingerprints far better than shiny metals, so it stays looking clean with minimal effort. Pair it with oil-rubbed bronze or aged copper for a more traditional rustic feel, or keep it all black for a crisper, more contemporary take.
Choose The Right Fixtures
Start with the shower valve and handle—these are the pieces you touch every day. A matte black lever or cross-handle feels solid and substantial, especially when paired with a black rain showerhead overhead. If you have a handheld sprayer, match its finish and hose for a cohesive look.
Don't forget the little details like the shower arm flange and escutcheon plate; they should all be the same black tone to avoid mismatched grays.
Frame The Glass
If your shower has a glass door, consider a black-framed enclosure instead of clear or silver. The black frame echoes the trim and hardware, tying the whole space together. It also adds a subtle industrial-rustic vibe that works beautifully with wood-look tile or a stone accent wall.
For a frameless look, use black hinges and a black handle—those small touches still carry the theme without overwhelming the glass.
Accessorize With Function
Matte black isn't just for plumbing—it's also great for shower accessories. A black corner caddy, soap dish, or towel ring can hold your essentials while reinforcing the design. Look for pieces with a textured or brushed finish to match the matte look.
If you want a softer touch, add a wooden shelf or a teak bench nearby; the contrast between dark metal and light wood is exactly what rustic style needs.
Balance With Warmth
Too much black can feel heavy, so balance it with warm, light surfaces. Use white or cream subway tile on the walls, a light wood vanity, or a pebble floor to keep the space airy. The matte black then becomes an accent rather than the main event.
If you're unsure, start with just the trim and handles, then add more black pieces once you see how it grounds the room.
8. Copper Pipes as Exposed Plumbing
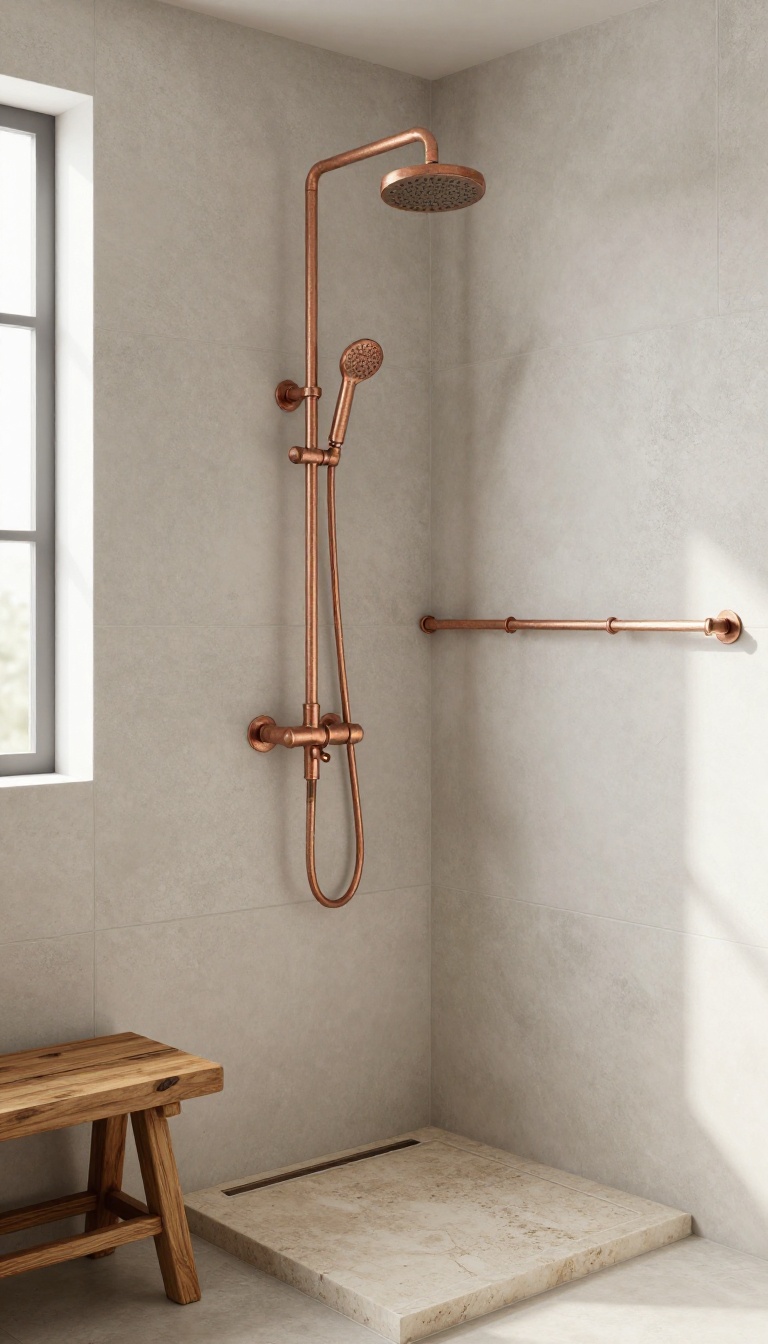
If you're drawn to industrial-rustic style, exposed copper pipes can become a striking focal point in your shower. The warm metallic tones of copper pair beautifully with wood, neutral tiles, and even concrete, adding a touch of refined ruggedness. Plus, copper develops a natural patina over time, giving your bathroom a unique, evolving character that fits the rustic ethos perfectly.
Exposed copper plumbing isn't just about looks—it's a practical choice for those who appreciate the beauty of functional design. By keeping pipes visible, you skip the extra work of hiding them behind walls, which can save on renovation costs and make future repairs easier. However, this approach demands careful installation to prevent leaks and ensure safety, as copper pipes are more exposed to temperature changes and potential damage.
Designing With Copper
When planning exposed copper pipes, think about the overall layout. A vertical pipe running from the floor to the showerhead can create a clean, sculptural line. You might also consider a horizontal run along the wall to add visual interest.
Pair the copper with matte black or brushed nickel fixtures for a modern twist, or keep it all copper for a cohesive, warm look. Use pipe clips or straps that match the finish to keep everything tidy.
Installation And Maintenance Tips
Hiring a professional plumber is wise, but if you're DIY-inclined, ensure you use proper fittings and soldering techniques. Copper pipes should be supported every few feet to prevent sagging. After installation, check for leaks by running water and inspecting all joints.
To maintain the shine, you can polish occasionally, but many homeowners embrace the patina that develops over time—it adds character and reduces upkeep. Just be aware that acidic water can accelerate corrosion, so consider a water softener if needed.
Finishing Touches
To enhance the industrial-rustic vibe, combine copper pipes with other natural elements. A reclaimed wood shelf or a stone soap dish can complement the metal. Use warm LED lighting to highlight the copper's glow.
For the showerhead itself, a rain-style head in a matching finish can tie the look together. Remember to keep the rest of the bathroom decor simple so the copper remains the star.
9. Textured Concrete Shower Walls
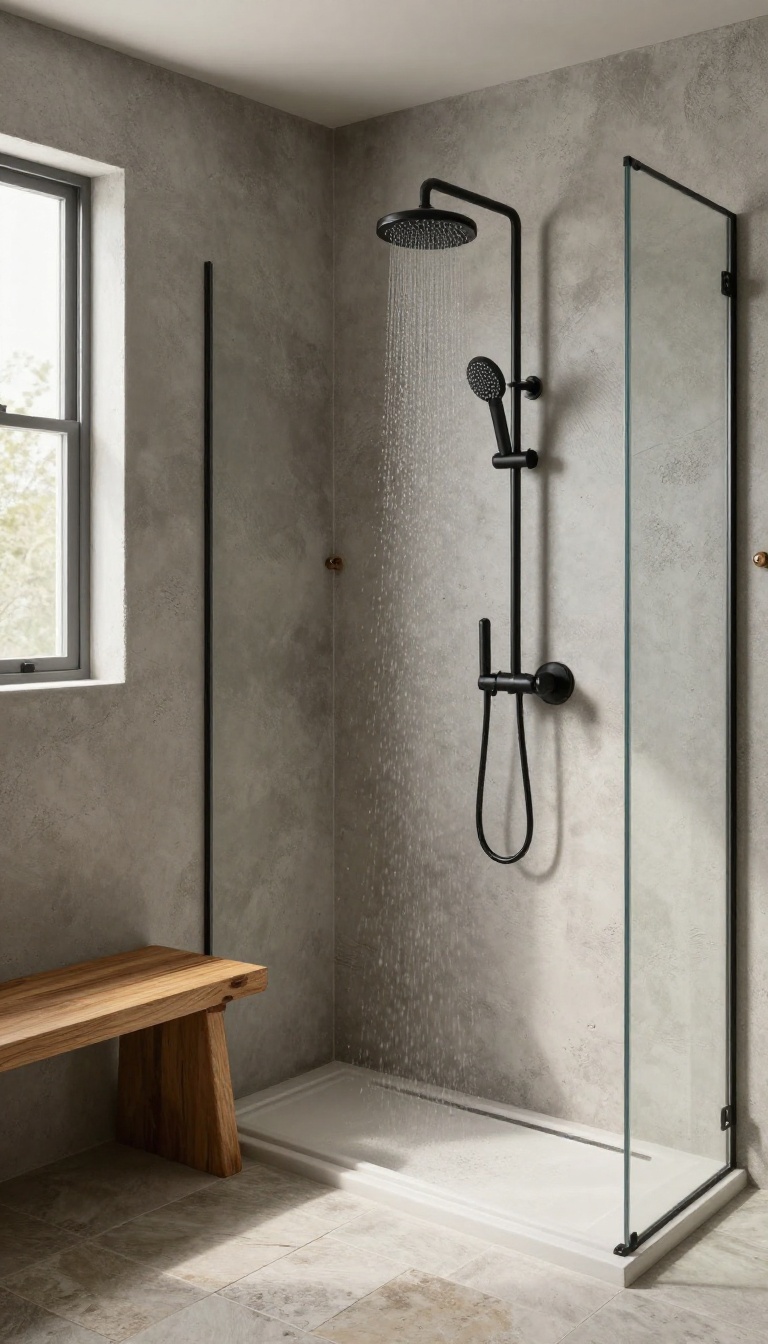
Concrete isn't just for industrial lofts—it brings a quiet, grounded texture that fits rustic bathrooms surprisingly well. Poured or paneled, these walls can be tinted to match warm earth tones or left with a raw, natural gray. The key is sealing them properly so they stay easy to clean and moisture-proof.
Concrete walls add a tactile, almost sculptural quality to a shower. They pair beautifully with wood accents, black fixtures, and natural stone floors. Because concrete absorbs heat, it can feel cool at first, but it also holds warmth once the water runs.
For a rustic finish, ask for a matte sealer instead of a glossy one—it keeps the surface looking organic while protecting against water damage. You can also add subtle texture with a brush or trowel during installation, which helps hide water spots and adds character.
Why Concrete Works In A Rustic Shower
Concrete's raw, unfinished look aligns perfectly with rustic design's emphasis on natural materials. It doesn't try to imitate anything else—it simply is what it is. The muted, earthy tones (think warm grays, soft browns, or even a hint of ochre) blend well with wood-look tiles, stone floors, and matte black fixtures.
Plus, concrete is incredibly durable and can last for decades with proper care.
Poured Vs. Paneled: Which Is Right?
Poured concrete walls are seamless and fully customizable, but they require a skilled installer and more time to cure. Paneled concrete (large precast slabs) is quicker to install and can be replaced more easily if needed. For a DIY-friendly option, consider concrete-look tiles or overlays that mimic the texture without the heavy installation.
Think about your budget, timeline, and whether you want a truly custom feel.
Sealing And Maintenance Tips
Always use a high-quality, penetrating sealer designed for wet areas. Reapply every one to three years depending on wear. Clean with a mild, pH-neutral cleaner—avoid harsh acids or abrasive scrubbers.
To keep the rustic vibe, skip the glossy topcoat and opt for a matte finish. Wipe down walls after each shower to prevent soap scum buildup, and ensure your bathroom has good ventilation to reduce moisture.
10. Rustic Wood and Wire Glass Shelving
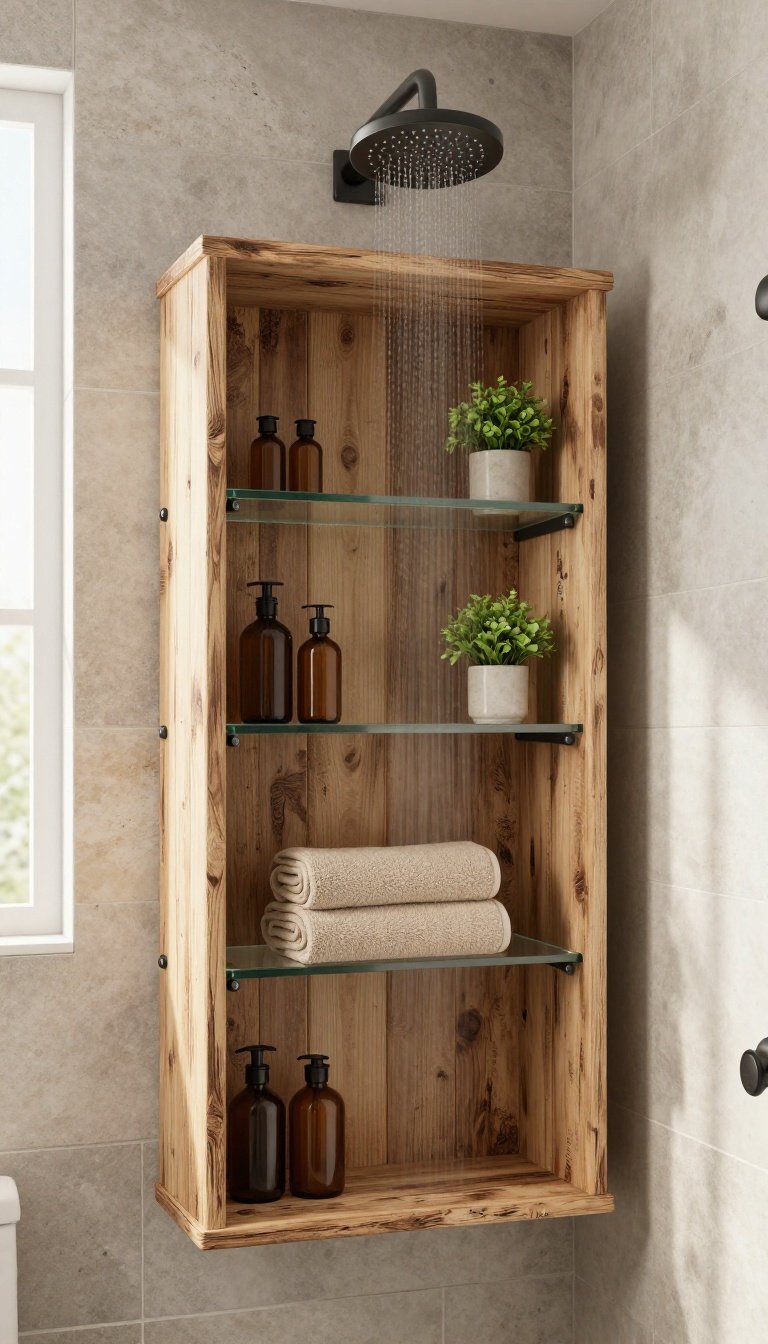
Storage in a rustic shower can be tricky—you want things within reach without letting clutter ruin the vibe. That's where wood and wire glass shelving shines. It combines the warmth of reclaimed wood with the airy feel of glass, so your shower stays functional and open.
These shelves are more than just a place to put your shampoo. They become part of the design, adding texture and a handcrafted touch. Plus, they're surprisingly easy to install and customize to fit your space.
Why This Combo Works
The reclaimed wood brings that rustic, lived-in feel, while the glass keeps the shelf from looking bulky. Black iron brackets add an industrial edge that ties the whole look together. It's a balance of rugged and refined that fits right into a rustic bathroom.
Installation Tips
Mount the shelves into studs for safety, especially if you're holding heavy bottles. Use a level to keep them straight, and consider a waterproof sealant on the wood to protect it from moisture. Floating shelves with hidden brackets can give a cleaner look, but exposed black iron brackets add to the rustic charm.
What To Put On Them
Use them for daily essentials like shampoo, conditioner, and body wash. Rolled towels add a spa-like touch and keep them dry. A small plant or a jar of bath salts can bring in a bit of life and color.
Just keep it tidy—open shelves show everything.
Caring For Your Shelves
Wipe down the glass and brackets regularly to prevent water spots and rust. Check the wood for any signs of moisture damage and reseal if needed. With a little upkeep, these shelves will look great for years.
11. Wainscoting with Beadboard and a Wood Cap
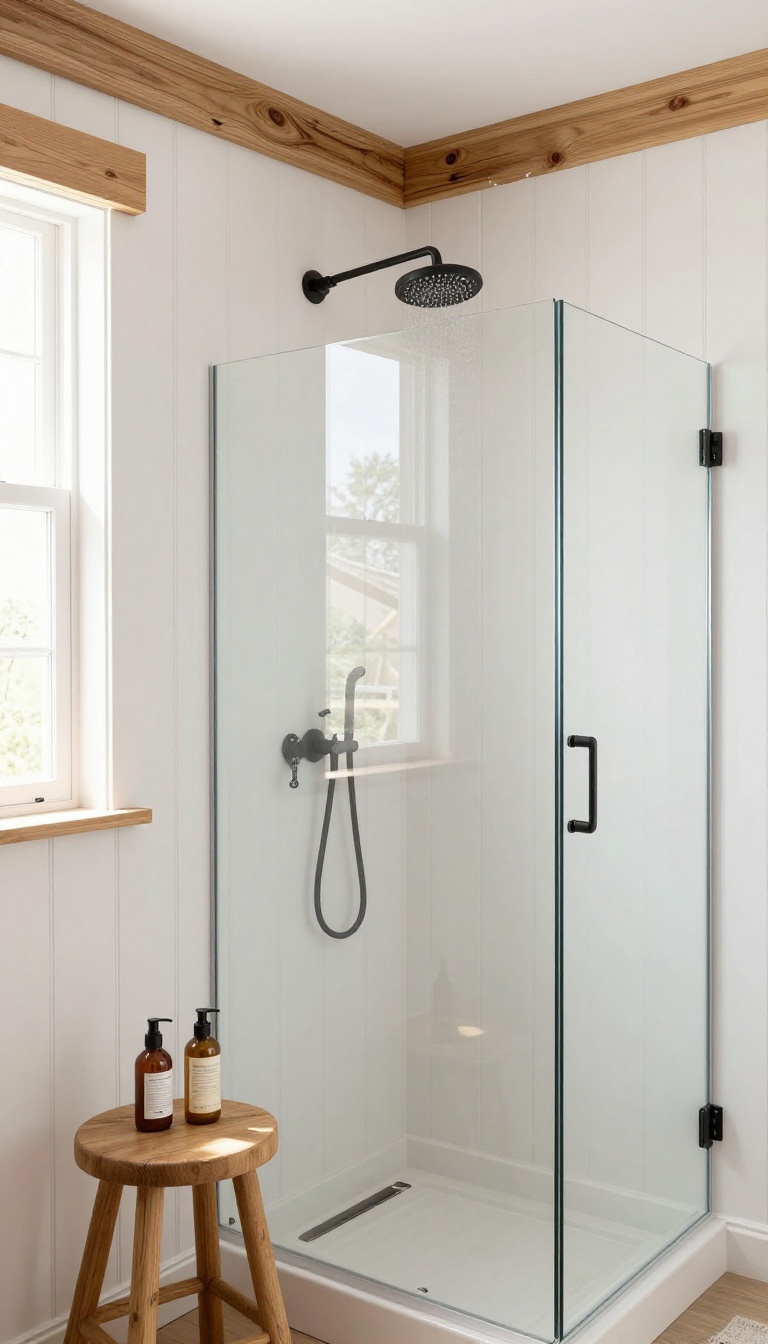
Wainscoting isn't just for dining rooms—it can transform a shower into a cozy, cottage-like retreat. Beadboard panels on the lower half of the walls add texture and warmth, while a solid wood cap provides a practical shelf. This idea blends classic charm with rustic durability, making it a standout choice for a stylish, usable finish.
Beadboard wainscoting brings a timeless, cottage feel to any bathroom. In a shower, it adds visual interest and a sense of structure without overwhelming the space. The wood cap not only finishes the look but also creates a handy ledge for shampoo bottles or a bar of soap, keeping everything within easy reach.
Why Beadboard Works In A Shower
Beadboard's vertical grooves draw the eye upward, making the shower feel taller and more open. Its classic pattern pairs beautifully with rustic elements like stone floors or matte black fixtures. Plus, the texture adds a subtle tactile quality that plain tile can't match, giving the space a handcrafted feel.
Choosing The Right Materials
For wet areas, opt for moisture-resistant beadboard made from PVC or marine-grade plywood. Solid wood caps should be sealed with a waterproof finish to prevent warping. If you love the look of real wood, consider using teak or cedar—they handle humidity well and develop a lovely patina over time.
Installation And Waterproofing Tips
Install beadboard over a waterproof backing board, and seal all seams with silicone caulk. Use a marine-grade varnish or epoxy paint for the wood cap and panels to ensure they withstand constant moisture. Leave a small gap between the wainscoting and the shower floor to prevent water wicking, and finish with a matching trim for a polished edge.
Styling The Ledge
The wood cap becomes a natural shelf for everyday essentials. Keep it uncluttered by choosing a few attractive bottles or a small wooden tray. You can also add a tiny potted plant or a smooth river stone for a rustic touch—just make sure everything is safe for a damp environment.
FAQ
Is rustic shower design practical for everyday use?
Yes, when you choose the right materials. Opt for water-resistant options like porcelain wood-look tile, sealed natural stone, and treated woods. These hold up well to moisture and are easy to clean.
What are the best waterproof materials for a rustic shower?
Porcelain and ceramic tiles that mimic wood or stone are excellent. Also consider acrylic panels with a wood texture, and ensure any real wood is sealed with a waterproof finish. Pebble floors and concrete are also durable if properly sealed.
How do I keep a rustic shower clean and mold-free?
Regular cleaning with a squeegee after each use helps. Use a mild cleaner suitable for the materials. Ensure good ventilation to reduce humidity.
Seal grout and natural stone periodically to prevent mold and staining.
Can I incorporate rustic elements without a full remodel?
Absolutely. Simple changes like swapping fixtures, adding a wood bench, or installing a barn door can make a big difference. Even adding rustic shelving or a textured shower curtain can bring the style in.
What colors work best in a rustic shower?
Earthy tones like warm browns, greys, greens, and creams are ideal. These colors mimic nature and pair well with wood, stone, and metal accents. Avoid overly bright or cool tones to maintain the rustic feel.
Conclusion
Rustic shower ideas are more than just a trend—they create a space that feels grounded and welcoming. By mixing natural textures with practical materials, you can design a shower that's both beautiful and built to last.
Start with one or two changes that speak to you, and build from there. Whether it's a wood-look tile floor or a simple fixture swap, each step brings you closer to a bathroom you'll love stepping into every day.