10 Marble Walk-In Shower Ideas for a Calm, Functional Finish
A marble walk-in shower changes how the whole bathroom feels before you even step inside. The right slab, edge, and drain detail turn a routine rinse into something closer to a hotel ritual, and the space stays easy to live with day after day. Marble earns its reputation, but only when the layout supports it.
Slope, sealing, and lighting matter as much as veining, so the finish looks calm instead of cold or fussy. Get those basics right and the material does the rest.
The ten ideas below cover seamless slab walls, mosaic accents, curbless entries, built-in benches, and low-maintenance lookalikes. Each one pairs a specific look with the practical details that keep it working.
1. Full-Height Marble Slab Walls for a Seamless Look
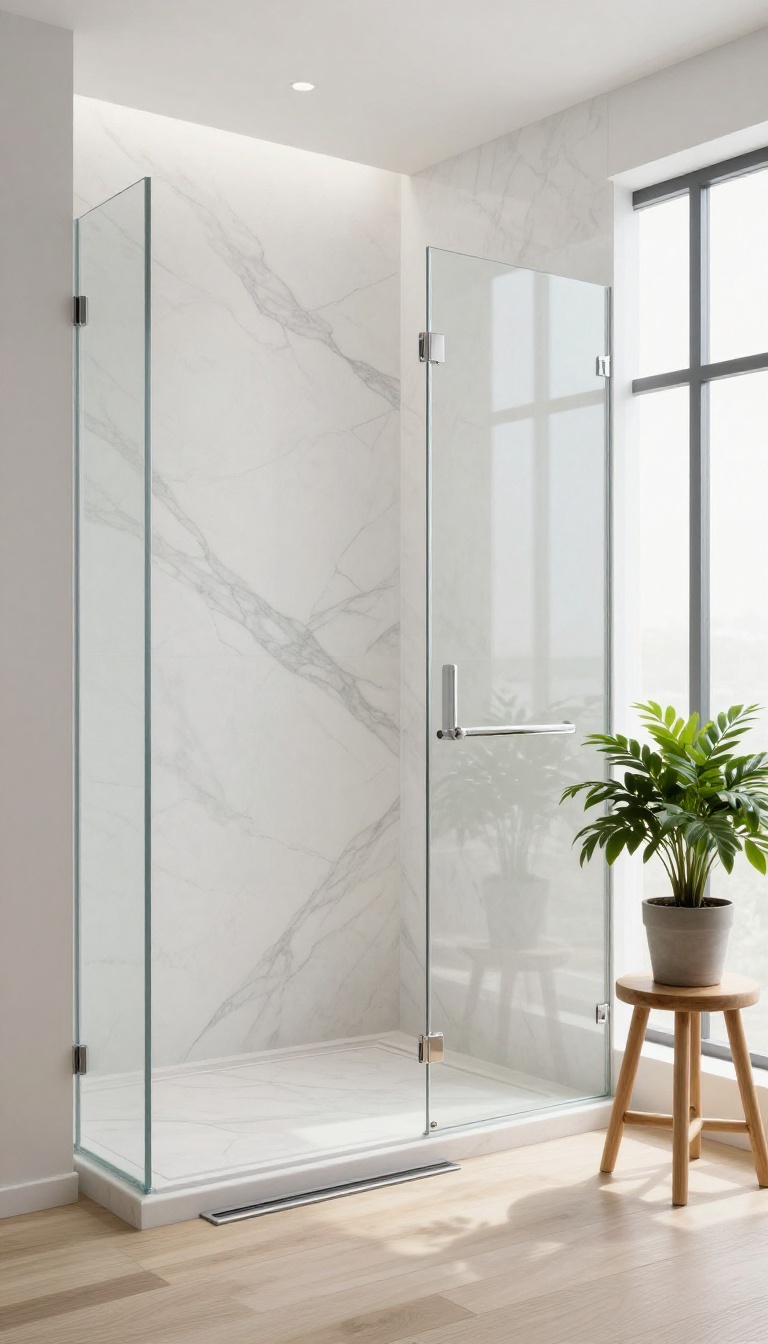
Floor-to-ceiling marble slabs turn a walk-in shower into a single, uninterrupted surface. You get fewer grout lines, which means less scrubbing and a cleaner visual flow. The effect feels calm and expansive, especially in modern bathrooms where simplicity rules.
Large-format marble slabs are quarried and cut to cover big areas with minimal seams. In a walk-in shower, that means the walls can rise from the floor to the ceiling without the usual grid of tiles breaking up the view. The result is a quiet, hotel-like backdrop that makes the space feel bigger and more intentional.
Beyond looks, fewer joints mean fewer places for soap scum and mildew to hide. You still need proper waterproofing behind the stone, but the surface you touch and clean stays smooth and easy to wipe down. It’s a practical upgrade that pays off every week.
Why Slabs Beat Tiles
Tiles come with dozens of grout lines, and each one collects dirt over time. Slabs cut that down to a handful of seams, so cleaning takes minutes instead of an afternoon. The continuous veining also looks more natural because the stone pattern isn’t chopped into squares.
Installation Basics
Slabs are heavy, so you’ll need a pro who can handle the weight and cut precise openings for fixtures. A waterproof membrane goes on first, then the stone is set with thin-set and sealed. Planning the slab layout before cutting keeps the seams aligned and the waste low.
Design Details That Matter
Bookmatched slabs mirror the veining for a dramatic focal wall, while a honed finish feels softer underfoot. Pair the marble with a linear drain and a frameless glass panel to keep the look open. A simple bench in the same stone ties it all together without adding visual noise.
2. Marble Mosaic Accent Strip for Subtle Contrast
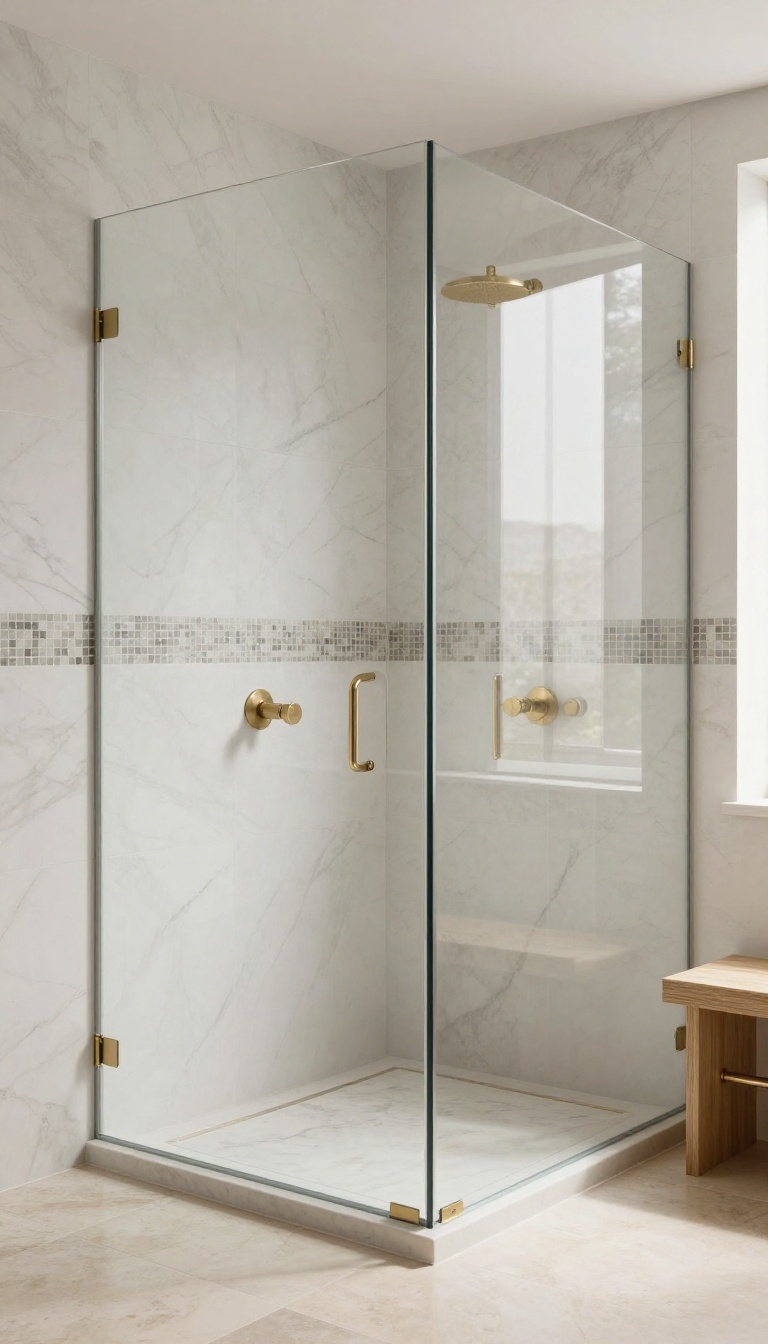
A thin line of marble mosaic can do more for a walk-in shower than a full wall of busy tile. It adds a quiet rhythm that breaks up large fields of stone without stealing the show. Think of it as a visual pause—a place for the eye to rest between slabs or big-format tiles.
The strip works because it's narrow. You get contrast in texture and tone, but the overall calm stays intact. It's a small detail that makes the shower feel considered rather than plain.
Marble mosaic strips come in countless patterns, from tiny hexagons to slim herringbone. The key is keeping the band slim—usually 2 to 4 inches wide—so it reads as an accent, not a divider. You can run it horizontally at eye level, vertically along a corner, or even follow the line of a bench or niche.
Placement matters more than the pattern itself. A horizontal strip near the top of the tile field draws the eye up and makes the ceiling feel taller. A vertical strip can emphasize height or separate a dry entry zone from the wet area.
Either way, the mosaic introduces a subtle change in scale that keeps the shower from looking like a showroom sample. Color choices range from tone-on-tone (white marble with white marble) to gentle contrasts like gray, taupe, or soft green. Stay within the same stone family if you want a seamless look, or pick a complementary hue for a bit more personality.
Just avoid high-contrast blacks and brights unless you want the strip to be the star. Maintenance is simple: seal the mosaic just like the rest of the marble, and clean with a pH-neutral stone cleaner. The smaller grout lines can trap soap scum if you use bar soap, so liquid body wash keeps things easier.
A squeegee after each shower helps too.
Where To Place The Strip
Horizontal bands work well at chest or eye level, especially on a tall wall. Vertical strips suit narrow showers or corners where you want to add height. You can also frame a niche or bench with mosaic for a built-in look.
Choosing The Right Mosaic
Match the mosaic to your field tile in thickness so the surface stays flush. Honed finishes blend quietly; polished adds a little shimmer. Keep the pattern simple—small hexagons, penny rounds, or slim rectangles all read as calm.
Sealing And Cleaning
Marble mosaic needs the same sealing schedule as larger tiles—every 6 to 12 months. Use a penetrating sealer, not a topical coating. For daily care, a soft cloth and stone-safe cleaner are all you need.
3. Curbless Entry with Linear Drain and Marble Slope
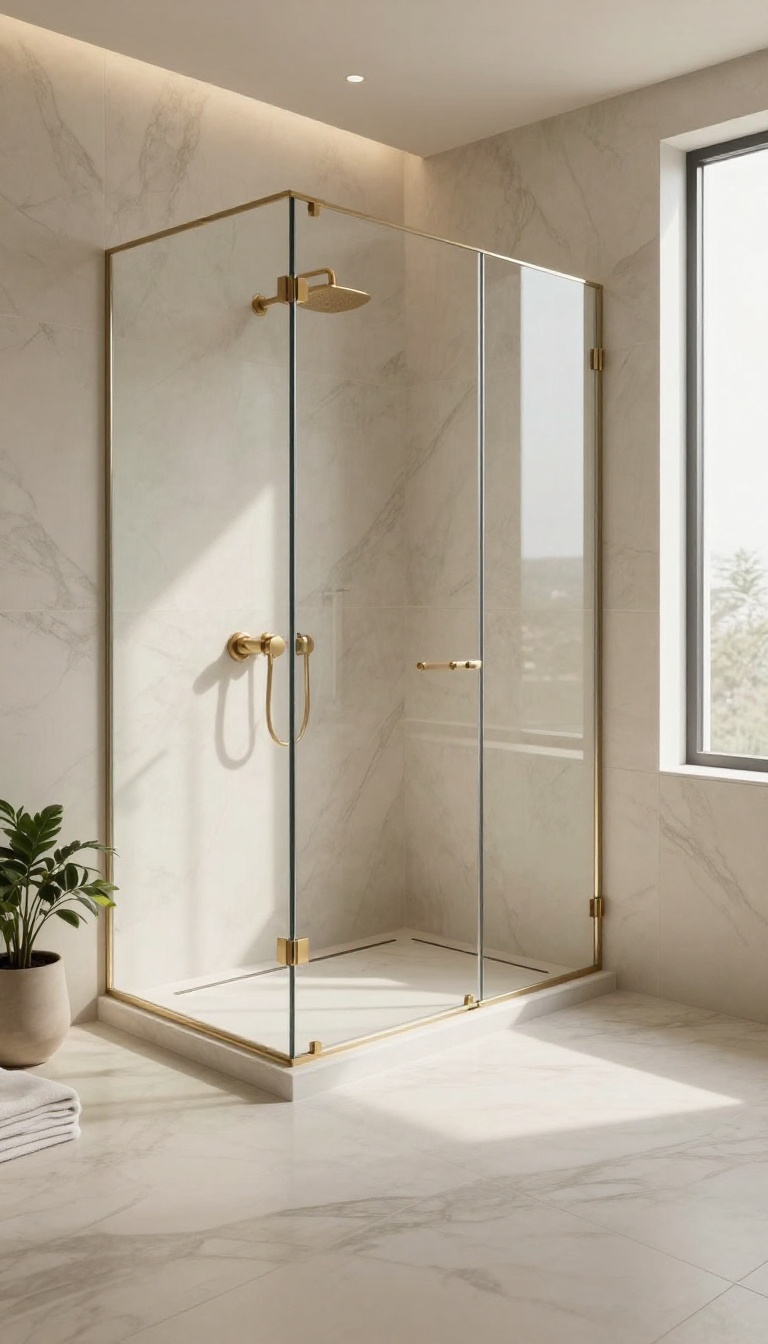
A curbless entry removes the one thing that makes most walk-in showers feel like a compromise: the lip you have to step over. The floor runs straight from bathroom tile into the shower with nothing to trip on, which matters more as you get older or if anyone in the house has mobility issues. The trick is that water still has to go somewhere.
You solve that with a linear drain and a gentle slope cut into the marble itself, so the surface stays visually flat while doing quiet work underneath.
Done well, this setup looks like the shower floor simply continues the room. Done poorly, it becomes a puddle with expensive stone around it. The difference comes down to three details: drain placement, slope percentage, and how the marble is finished at the entry edge.
A linear drain gives you a long, narrow channel instead of a round hole, which lets you slope the floor in one direction rather than four. That single-plane slope is easier to build, easier to tile, and far easier to keep clean.
Why A Linear Drain Changes The Layout
A linear drain sits along one wall or at the entry, and the marble slopes toward it in one clean plane. That means fewer cuts, fewer grout lines converging at a low point, and no weird birdbath dip in the middle of the floor. You also get more design freedom.
The drain can run wall to wall, or you can size it to the shower width and center it under the spray. Either way, the marble reads as a continuous surface instead of a floor built around a drain.
Getting The Slope Right
Standard slope for a shower floor runs about a quarter inch per foot toward the drain. With a linear drain, you can sometimes go slightly less because the water has a shorter, straighter path, but don't push it too far. A tile setter or stone fabricator should cut that slope into the substrate, not rely on thick thinset to fake it.
Marble is heavy and unforgiving, so the pitch needs to be built in from the start. Test it with a level and a bucket of water before the final stone goes down.
Marble Choices That Handle A Wet Floor
Polished marble on a shower floor is a slip risk, plain and simple. Honed or brushed finishes give you grip without looking rough, and they hide water spots better than a mirror shine. Small mosaic tiles also help because the extra grout lines add traction.
If you want large-format marble on the floor, ask about a slight texture or an anti-slip treatment. It won't change the look much, but it changes how the floor feels underfoot.
The Entry Edge And Water Control
Without a curb, water can creep toward the bathroom floor if the slope stops short of the entry. A small linear drain placed just inside the shower opening catches splash and runoff before it escapes. You can also add a subtle threshold strip or a slight pitch at the doorway.
It's barely visible, but it gives water one more reason to stay where it belongs. Pair that with a glass panel or door, and the curbless look stays clean without turning the whole bathroom into a wet room.
4. Built-In Marble Bench for Seating and Storage
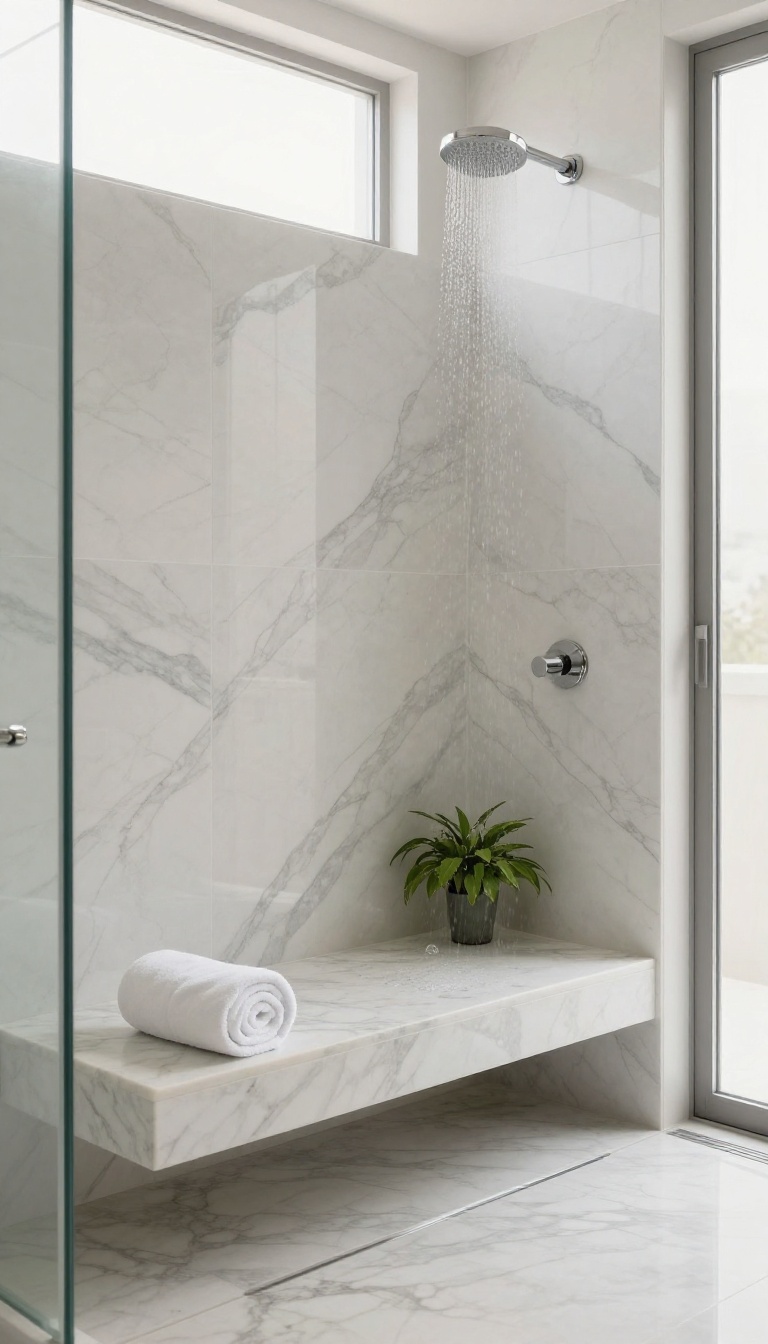
A marble bench turns an empty corner into the most useful spot in the shower. It gives you a place to sit while you shave, scrub, or just let the hot water work on your shoulders. And because it's built from the same stone as the walls, it disappears into the design instead of breaking it up.
The real win is what you don't see. A floating bench hides shampoo bottles, razors, and loofahs behind its front edge, so the floor stays clear and the marble stays the star. You get storage without a single wire rack or plastic caddy in sight.
Floating Vs. Full-height
A floating bench mounts to the wall with no legs, which keeps the floor open and makes cleaning a two-minute job. It works best on a wall that's already getting slab support. A full-height bench runs from wall to wall and doubles as a shelf, but it eats more floor space.
Pick floating for tight showers and full-height when you want a built-in ledge for towels or candles.
Where To Put It
Place the bench opposite the showerhead, not under it. That way you can sit without water spraying your face, and the stone stays drier between uses. If your shower is long and narrow, tuck the bench into the far end and angle the drain toward the entry.
You'll still get full standing room in the middle.
Drainage And Sealing Details
Slope the bench top toward the drain, even just a quarter inch. Standing water is marble's enemy, and a flat bench will pool. Seal the stone every six to twelve months, and caulk the seam where the bench meets the wall instead of grouting it.
That joint moves with the house, and caulk won't crack the way grout does.
Matching The Stone
Use the same slab for the bench as the walls if you can. Bookmatched pieces look seamless, and a mitered front edge hides the thickness so it reads like one solid block. If you're on a budget, a contrasting marble works too, but keep the finish the same.
Honed on both keeps the look soft and hides water spots better than polished.
5. Niche Shelving in Marble for Shampoo and Soap
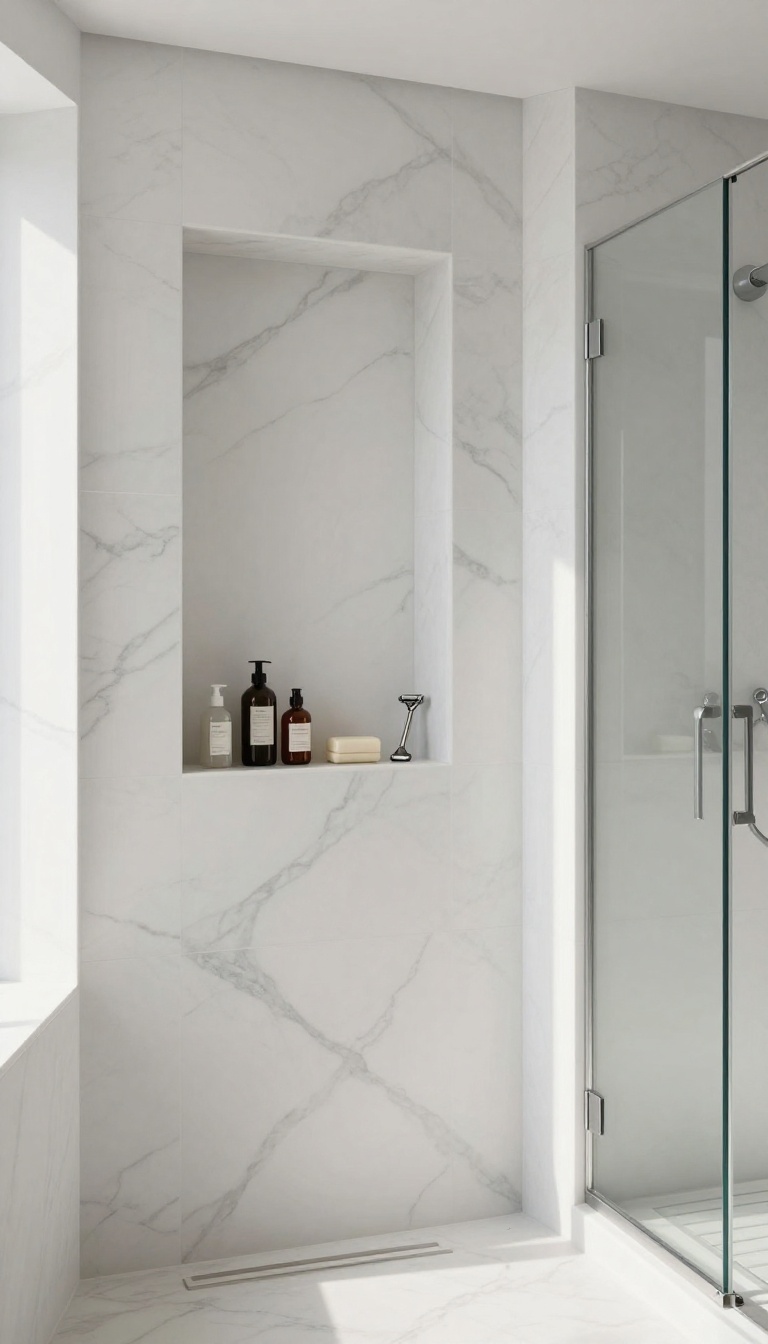
Recessed niches lined with marble keep toiletries off the floor. They blend into the wall and are easy to wipe clean. A niche is basically a small shelf carved into the wall between studs.
The marble lining gives it a seamless look and a surface that won't stain or scratch. You get storage without adding bulk or clutter. Everything sits within reach, and the shower stays open and calm.
A niche solves the bottle problem without a hanging caddy or a corner rack. It tucks shampoo, soap, and a razor into the wall so the floor stays clear. Marble makes it feel intentional instead of like an afterthought.
Sizing And Placement
A single niche between 12 and 16 inches wide works for most showers. Make it 14 to 16 inches tall if you keep tall bottles, or split it into two shelves for smaller items. Place the bottom shelf around waist height so you're not bending or reaching.
Marble Lining And Edges
Line the niche with the same marble as the walls for a seamless look. Use a solid piece for the back and sides if you can, or miter the edges so you don't see tile cuts. A slight slope on the bottom shelf helps water drain out instead of pooling.
Sealing And Cleaning
Seal the marble in and around the niche just like the rest of the shower. Wipe it down with a squeegee or soft cloth after use to keep soap scum from building up. Avoid acidic cleaners that can etch the surface.
6. Marble Tile with Heated Floor for Warmth Underfoot
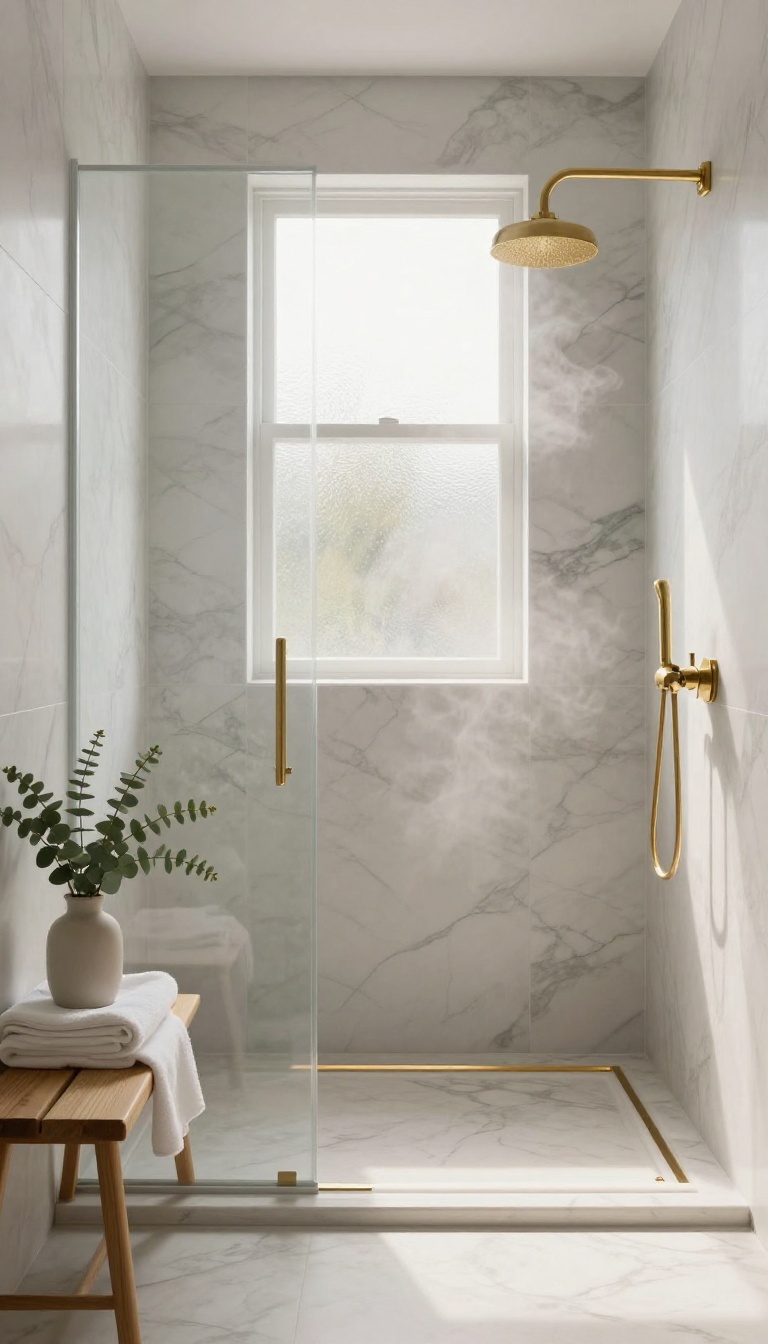
Marble has a reputation for feeling chilly, especially first thing in the morning. Radiant floor heating flips that script, turning the stone into a warm, welcoming surface. It’s a small upgrade that makes a big difference in daily comfort, particularly if you live somewhere with real winters.
The idea is simple: you install electric heating mats or cables under the marble, then connect them to a thermostat. The floor warms evenly, so you never get that shock of cold on bare feet. It’s a practical luxury that pairs perfectly with a walk-in shower.
Marble and warmth don’t usually go together in people’s minds. Stone floors feel cool, and in a shower, that coolness can be amplified by water and bare skin. Radiant heating solves that problem without changing the look of your marble one bit.
You get the same elegant, seamless surface, but it’s comfortable to step onto year-round. The system runs quietly and invisibly, and it can be zoned so you only heat the shower area or the whole bathroom. For anyone in a cold climate, it’s almost a no-brainer.
Beyond comfort, heated floors can help with moisture. A warm floor dries faster, which means less standing water and a lower chance of mildew in grout lines. It’s a subtle benefit that adds up over time.
Installation is easiest during a remodel, but it can be retrofitted if you’re willing to pull up the floor. The cost varies by size and system, but the payoff in daily comfort is hard to beat.
How Radiant Heating Works Under Marble
Electric radiant heating uses a thin mat or loose cable laid over the subfloor, then covered with a layer of thinset and your marble tile. A thermostat controls the temperature, and many models come with programmable schedules or smartphone apps. Because marble conducts heat well, it distributes warmth evenly across the surface.
You won’t get hot spots or cold corners. The system runs on standard household current, so it doesn’t require a major electrical overhaul in most cases.
Comfort And Practical Benefits
The main draw is comfort. Stepping out of a warm shower onto a heated marble floor feels indulgent, and it makes the whole bathroom more inviting on chilly mornings. Heated floors also help keep the room dry.
Warmth speeds evaporation, so water doesn’t linger. That can mean less squeegeeing and fewer damp towels. For anyone with joint pain or circulation issues, the gentle warmth is a welcome bonus.
Installation Tips And Considerations
Plan the heating layout before you set the marble. You’ll want to avoid placing mats under fixtures like the toilet or vanity, and you should keep them away from the drain area to prevent damage. A programmable thermostat lets you set a schedule so the floor is warm when you need it and off when you don’t.
That saves energy and keeps the system efficient. If you’re working with a contractor, discuss the floor height—adding heating mats can raise the finished floor slightly, which may affect door clearances or transitions.
7. Frameless Glass Enclosure to Showcase Marble Veining
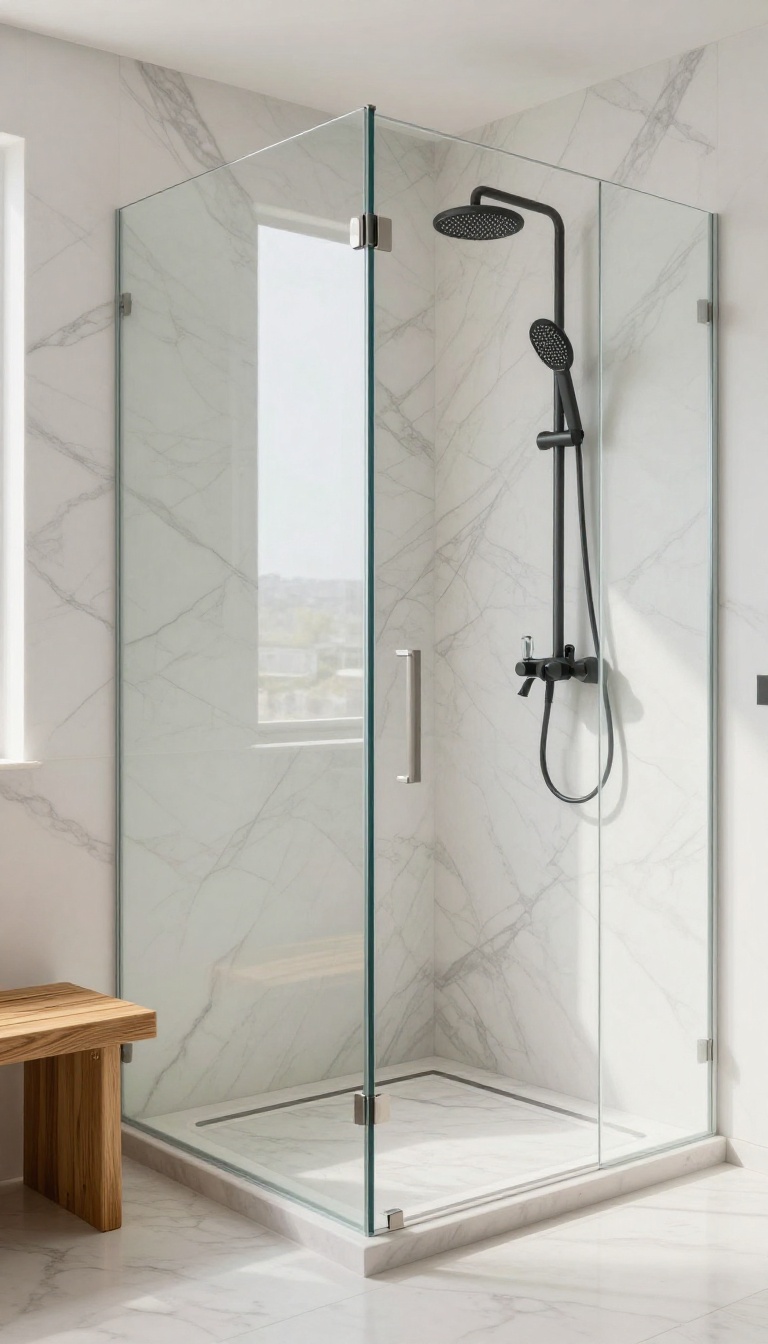
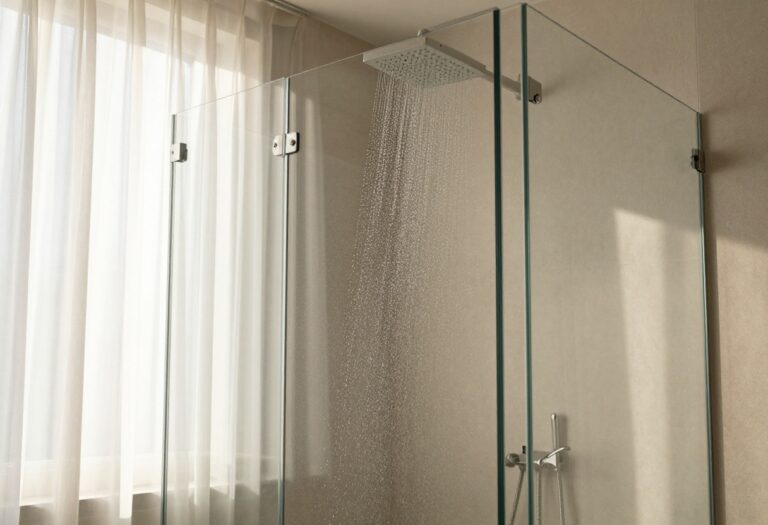
Glass is the one surface in a marble shower that should disappear. When it does its job, the stone reads as one continuous piece from floor to ceiling, and the veining flows without a frame chopping it into panels. Frameless enclosures cost more up front, but they buy you a cleaner sightline and far less hardware to scrub.
The trick is picking glass that stays invisible instead of quietly tinting everything behind it. Standard clear glass carries a green edge that gets more obvious as panels get thicker. Low-iron glass is made without the iron that causes that cast, so whites stay white and warm marbles keep their warmth.
Hardware choices matter just as much as the glass itself. Slim clips, a discreet header, or a channel set into the tile keep the focus on the marble rather than the metal.
Why Low-iron Glass Wins
Regular glass looks clear in a showroom and slightly green once it's thick and stacked against a light stone. Low-iron, sometimes sold as ultra-clear, removes that tint so the marble shows its true color. It costs roughly 20 to 30 percent more, and for pale or heavily veined slabs it's worth every dollar.
Hardware That Steps Back
Skip chunky frames and go with minimal clips or a single top rail. Match the finish to your fixtures so the eye reads one material, not three. A channel recessed into the floor tile hides the bottom edge and keeps the threshold nearly invisible.
Sizing Panels For The Space
Bigger panels mean fewer seams and a more seamless look, but they also weigh more and cost more to install. A fixed panel plus one door is usually the sweet spot for a walk-in shower. Measure twice, because frameless glass leaves no trim to hide a gap.
8. Bookmatched Marble Panels for a Dramatic Focal Wall
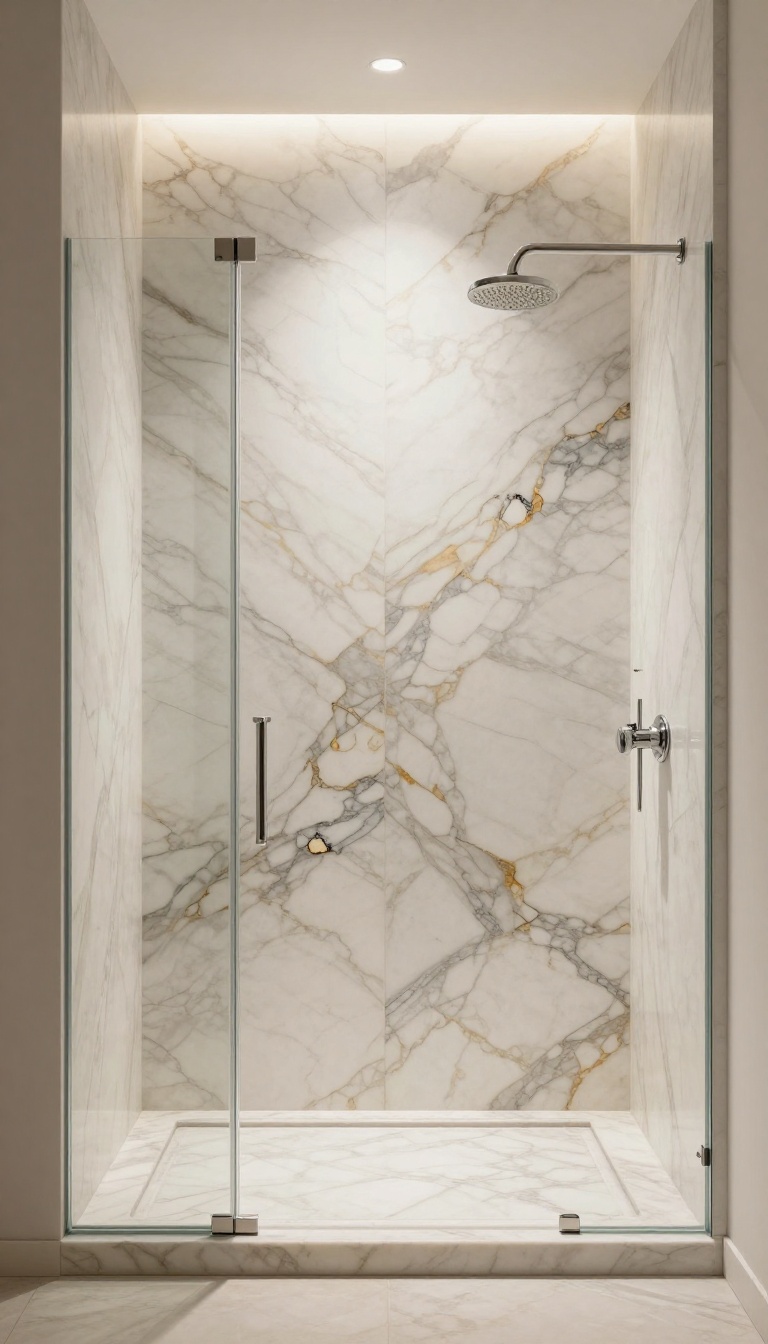
Bookmatched marble panels take two slabs cut from the same block and open them like a book. The veining mirrors itself across the seam, creating a symmetrical pattern that looks intentional and almost sculptural. Put that on one wall of your walk-in shower and you get a built-in focal point without adding a single decoration.
The effect works because marble is already a natural artwork. Bookmatching just gives it a stage. Instead of veining that runs in one direction, you get a butterfly or mirror image that draws the eye up and across the wall.
It's a bold move, but it doesn't have to feel busy. Keep the rest of the shower quiet and let that one wall do the talking.
Bookmatching is one of those details that separates a nice marble shower from a memorable one. The technique is simple: a fabricator takes two consecutive slabs from the same quarry block, slices them, and opens them like pages in a book. The veins meet at the center seam and mirror outward.
That symmetry reads as deliberate. It tells your eye that someone planned this wall, not just tiled it. And because the pattern is natural, it never feels printed or repetitive.
The trick is restraint. Use bookmatched panels on one wall only. If you mirror every surface, the shower starts to feel like a funhouse.
One dramatic wall, three calm ones. You'll also want to think about where the seam lands. Centering it on the showerhead wall or the main sightline from the bathroom door gives you the best payoff.
Off-center seams can still work, but they change the rhythm of the room. Finally, lighting matters more here than with a standard slab. A wash of light from above or the side keeps the veining readable without glare.
Recessed lighting or a dimmable sconce nearby helps the pattern show up morning and night.
Why The Mirror Effect Works
Symmetry is calming. Your brain doesn't have to work to make sense of a bookmatched wall, so the pattern feels restful even when the veining is dramatic. It's the same reason a well-hung gallery wall feels better than a random one.
Bookmatching also makes a small shower feel taller. The mirrored veins pull the eye upward, which adds visual height without changing the footprint. In a tight bathroom, that's a free upgrade.
Choosing The Right Slabs
Not every marble bookmatches well. You want slabs with strong, continuous veining and enough contrast to read from a few feet away. Subtle, cloudy marbles can look washed out when mirrored.
Ask your fabricator to lay the slabs out before cutting. A dry layout lets you see the mirror before it's permanent. If the seam looks off, you can flip or swap slabs while it's still easy.
Also check the slab thickness and finish. Polished marble gives a sharper mirror effect; honed marble softens it. Both work, but they feel different underfoot and in the light.
Placement And Seam Strategy
The seam is the star of a bookmatched wall, so treat it like a design line. Centering it on the shower valve or the main view from the door usually looks best. If your shower has a niche, you can align the seam with the niche edge or center it inside the niche for a nested effect.
Just decide before the rough-in, because the framing and blocking need to match. On a long wall, you might bookmatch two pairs instead of one. That gives you two mirrored moments instead of one giant one.
It's a good option when a single pair would stretch too wide and lose its punch.
Keeping It Practical
Bookmatched marble needs the same care as any marble shower: seal it, dry it, and use a squeegee if you want to keep the polish crisp. The seam itself should be tight and filled with a color-matched epoxy so it doesn't collect soap scum. Budget-wise, bookmatched panels cost more because you're buying matched slabs and paying for careful fabrication.
If the price is steep, bookmatch just the showerhead wall and use a complementary slab or large-format tile on the others. You still get the focal moment without the full-room price tag.
9. Marble and Wood Mix for Warmth and Balance
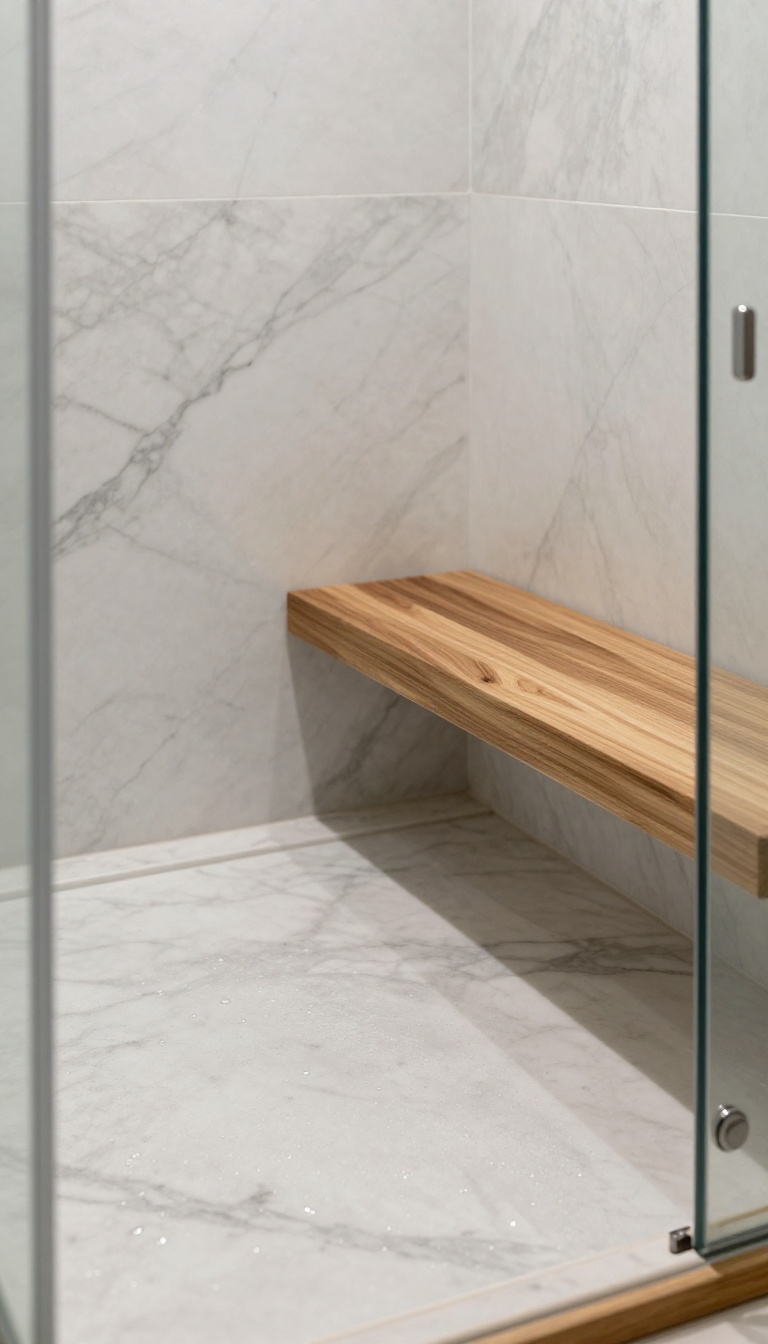
Marble brings the cool, polished look, but wood keeps it from feeling like a spa in a snowstorm. A teak bench or a walnut trim strip adds just enough organic texture to soften all that stone. The contrast works because the two materials speak different languages—one sleek and reflective, the other matte and grainy.
Together they balance each other out without fighting for attention.
You don't need much wood to change the mood. A single teak floor mat or a slim walnut shelf can make the whole shower feel warmer and more inviting. The trick is picking the right spots and treating the wood so it survives the steam.
Here's how to mix them without turning your shower into a maintenance project.
Where Wood Works Best
Benches, floor mats, and trim are the three sweet spots. A teak bench gives you a place to sit and shave, and it warms up the corner instantly. A slatted floor mat lets water drain while adding a soft landing underfoot.
Trim pieces—like a walnut strip along the curb or a thin shelf—frame the marble without covering it up. Skip wood on walls or ceilings; those areas get too wet and too hard to seal properly.
Pick The Right Species
Teak and walnut are the two reliable choices. Teak is naturally oily and resists rot, so it handles constant moisture better than almost any other wood. Walnut is denser and darker, which adds a rich contrast against white or gray marble.
Avoid oak, pine, or anything porous—they'll swell, crack, or grow mildew within a year. If you want a lighter look, iroko or mahogany work too, but they cost more and need the same sealing routine.
Sealing And Care That Actually Works
Even teak needs help in a shower. Oil it every three to six months with a food-safe mineral oil or a dedicated teak sealer. That keeps water from soaking in and slows the natural graying.
For floor mats, lift them after each shower so the underside dries. A quick wipe with a damp cloth once a week stops soap scum from building up. If you skip the sealing, the wood will still look okay for a while, but it'll get rough and dark faster than you'd like.
10. Low-Maintenance Marble Alternatives That Look Real
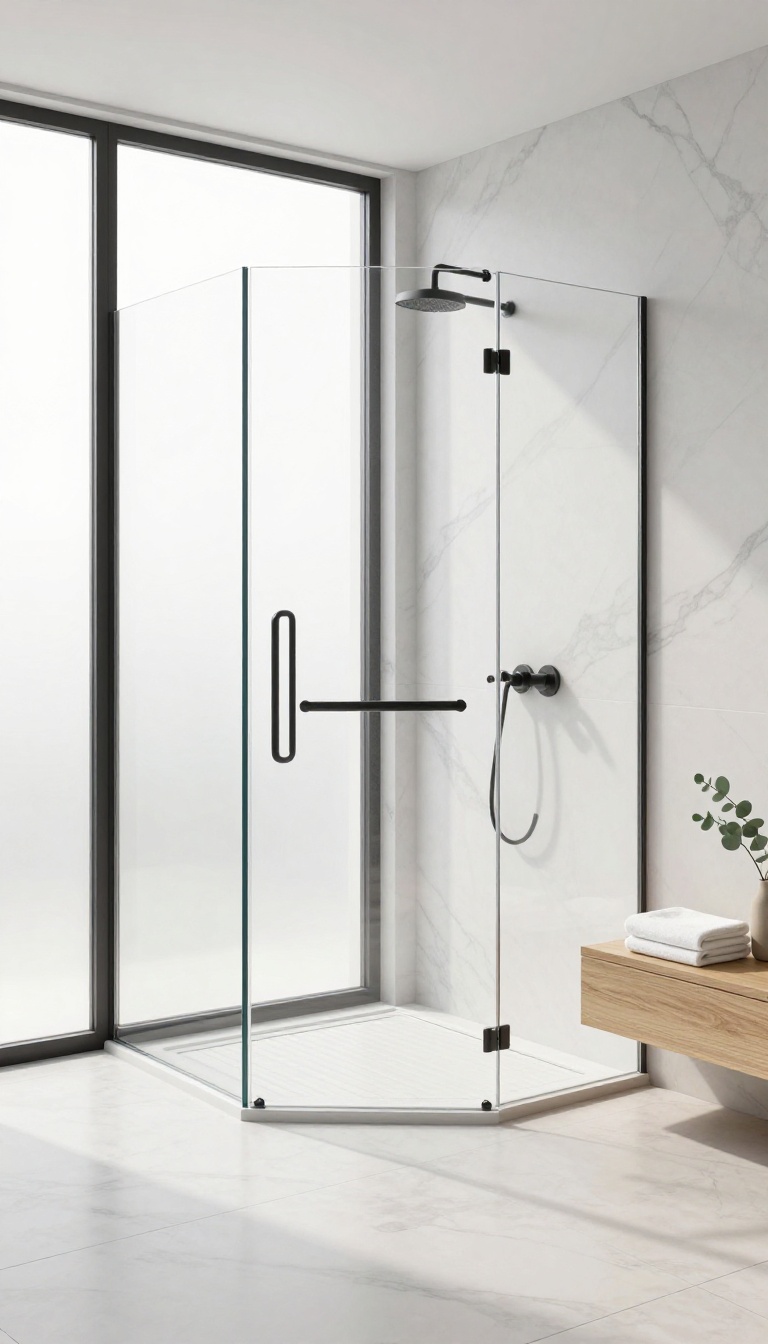
Real marble in a shower is beautiful, but it asks for attention. It etches from shampoo, stains from hard water, and needs sealing more often than most people want to think about. If you love the look but not the upkeep, porcelain and quartz slabs are the quiet heroes here.
They copy the veining and soft color shifts of natural stone without the drama. You get the same calm, finished feel with a surface that shrugs off daily use. That trade-off is why so many walk-in showers now skip marble altogether and still look like they didn't.
Porcelain and quartz give you the marble look without the maintenance list. They stay calm under real-life use, which is exactly what a walk-in shower needs.
Porcelain Slabs That Read As Marble
Large-format porcelain slabs now come with veining that looks surprisingly close to the real thing. The patterns run through the body, so edges and corners don't give away the secret. Because porcelain is non-porous, it won't etch from soap or stain from water spots the way marble can.
You clean it with mild soap and water, and that's about it. No sealing, no re-polishing, no worry. Look for slabs with soft, diffused veining rather than high-contrast streaks.
The calmer the pattern, the more it reads like natural marble instead of a printed copy.
Quartz Slabs For A Softer, Warmer Feel
Quartz has a slightly warmer touch than porcelain, which helps in a shower that already leans cool. It's engineered stone, so the color and pattern stay consistent from slab to slab. That consistency matters when you're wrapping walls and a bench in the same material.
You won't get the wild variation that natural marble sometimes throws at you. The result feels intentional and easy to live with. Quartz still needs a quick wipe-down after showers to keep hard water from building up.
But it doesn't need sealing, and it resists the acids that dull real marble over time.
Where They Work Best In A Walk-in Shower
Use these lookalikes on the walls, the shower floor, and the bench for a seamless, low-stress finish. A matching linear drain cover keeps the floor plane clean and simple. If you want a touch of real marble, save it for a small accent like a niche back or a threshold.
That way you get the genuine material where it shows, without asking it to survive daily shampoo duty. Keep the grout lines thin and the color close to the slab. Fewer lines mean fewer places for soap scum to hide, and the whole shower reads as one calm surface.
What To Check Before You Buy
Ask for a sample and look at it under your actual bathroom lighting. Porcelain and quartz can shift warmer or cooler depending on the bulbs, and you want the calm look you pictured. Check the slab size against your wall dimensions so you can plan seams in quiet spots.
A seam that lands at eye level will bother you more than any veining ever will. Finally, confirm the finish. A matte or honed surface hides water spots better than a high polish, and it still gives you that soft marble glow.
FAQ
Is marble a good choice for a walk-in shower?
Yes, marble is durable and beautiful, but it requires sealing and regular maintenance to prevent stains and etching. It works well if you keep up with care.
How do I keep marble shower walls clean?
Use a pH-neutral cleaner and a soft cloth. Avoid acidic or abrasive products, and dry the walls after each use to prevent water spots.
Can I use marble tiles on the shower floor?
You can, but choose a honed or tumbled finish for better grip. Smaller tiles with more grout lines also improve traction.
What is the most affordable way to get a marble look?
Porcelain or quartz slabs that mimic marble are more affordable and easier to maintain. They offer a similar aesthetic without the natural stone upkeep.
Do I need a professional to install a marble walk-in shower?
Yes, marble installation requires experience with stone cutting, sealing, and waterproofing. Hiring a pro ensures a proper, long-lasting result.
Conclusion
Marble can feel intimidating, but the best walk-in showers use it with restraint. Pick one idea that fits your layout and budget, then let the stone carry the room. You do not need slab walls on every side to get that calm, finished look.
Start with the piece that matters most, live with it for a week, and adjust from there. Swap the grout, change the hardware, or add a bench later. Get the marble right first, and the rest of the bathroom tends to fall into place.