11 Bathroom Shower and Tub Ideas with Warm, Inviting Details
Cold tile, harsh overhead light, and a plastic liner that sticks to your legs. Most bathrooms are built for function, not comfort, and you feel it every morning. The fix rarely means a full gut renovation.
Small, warm touches, like wood underfoot or a towel that actually feels good, change how the room treats you. Below are eleven ideas that lean into texture, heat, and soft light. Some cost a weekend and a few hundred dollars.
Others are worth saving for. Either way, each one makes the space feel less like a utility and more like a place you want to linger.
1. Add a Teak or Bamboo Shower Mat for Instant Warmth
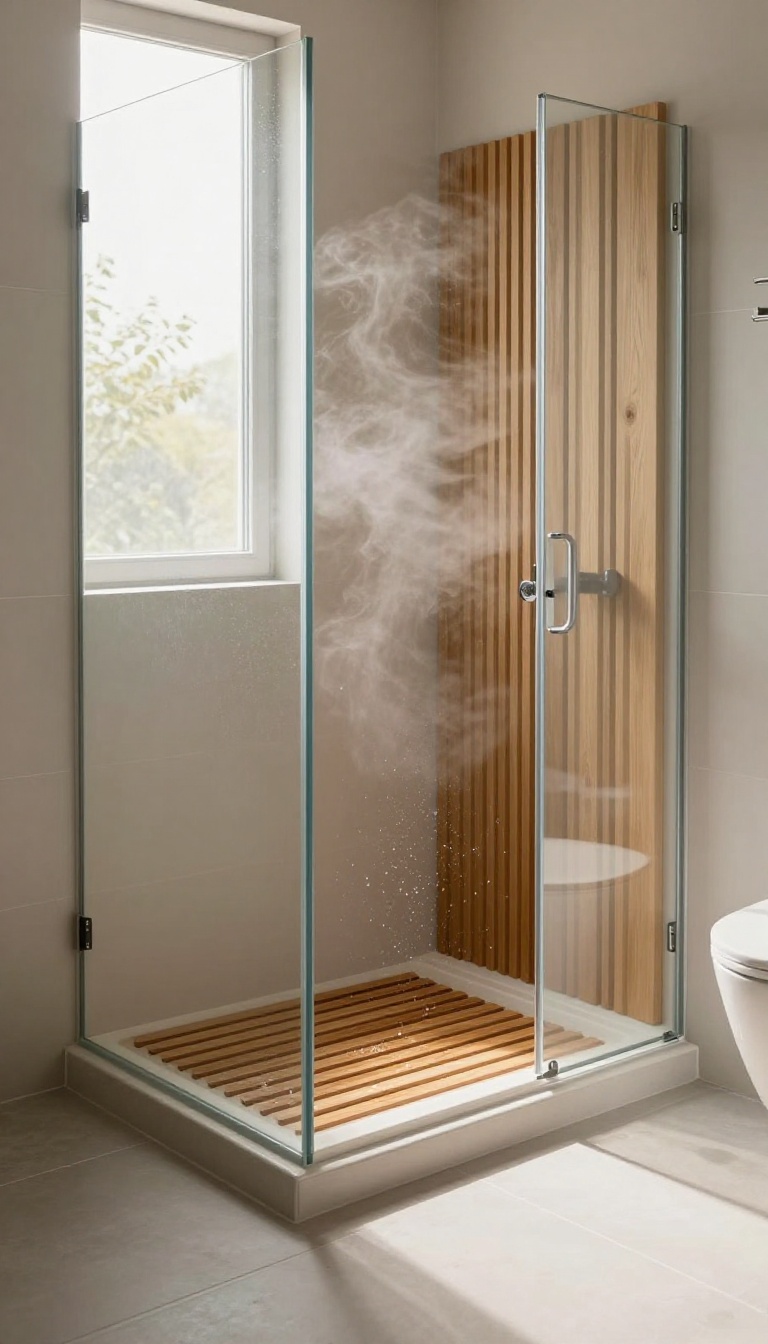
Stepping out of hot water onto freezing tile is a rude wake-up call. A slatted wood mat fixes that in about five seconds. It sits right on top of your existing shower floor, so there's no demo, no grout, no plumber.
Teak and bamboo both handle constant moisture far better than most woods, which is why they've been the go-to choice for spas and boat decks for decades. The slats let water run straight through instead of pooling underneath, so the mat dries fast and doesn't turn into a science experiment. Beyond the temperature fix, wood adds a texture that tile and glass can't.
It breaks up all that hard, glossy surface and makes a modern shower feel a little more grounded and organic.
Why Wood Beats A Bath Mat
Fabric bath mats soak up water, stay damp, and need washing constantly. A wood mat drains, airs out, and looks intentional instead of temporary. It also won't slide around under your feet the way a soggy cotton mat does.
Teak Vs. Bamboo
Teak is denser and naturally oily, so it resists rot and warping with almost no maintenance. It costs more, but a good teak mat can last years outdoors, let alone in a shower. Bamboo is the budget-friendly pick.
Look for solid, treated bamboo rather than thin composite strips, and expect to replace it sooner. Either way, check that the feet or risers keep the wood off the floor so air can move underneath.
Sizing And Care
Measure your shower floor before you buy, and leave a little gap around the drain. A mat that covers the drain defeats the purpose. Rinse it weekly, wipe it down, and let it dry standing up when you can.
Once or twice a year, a light oiling keeps teak from drying out and cracking. That's the whole maintenance routine.
2. Install a Curbless Walk-In Shower with Radiant Floor Heating
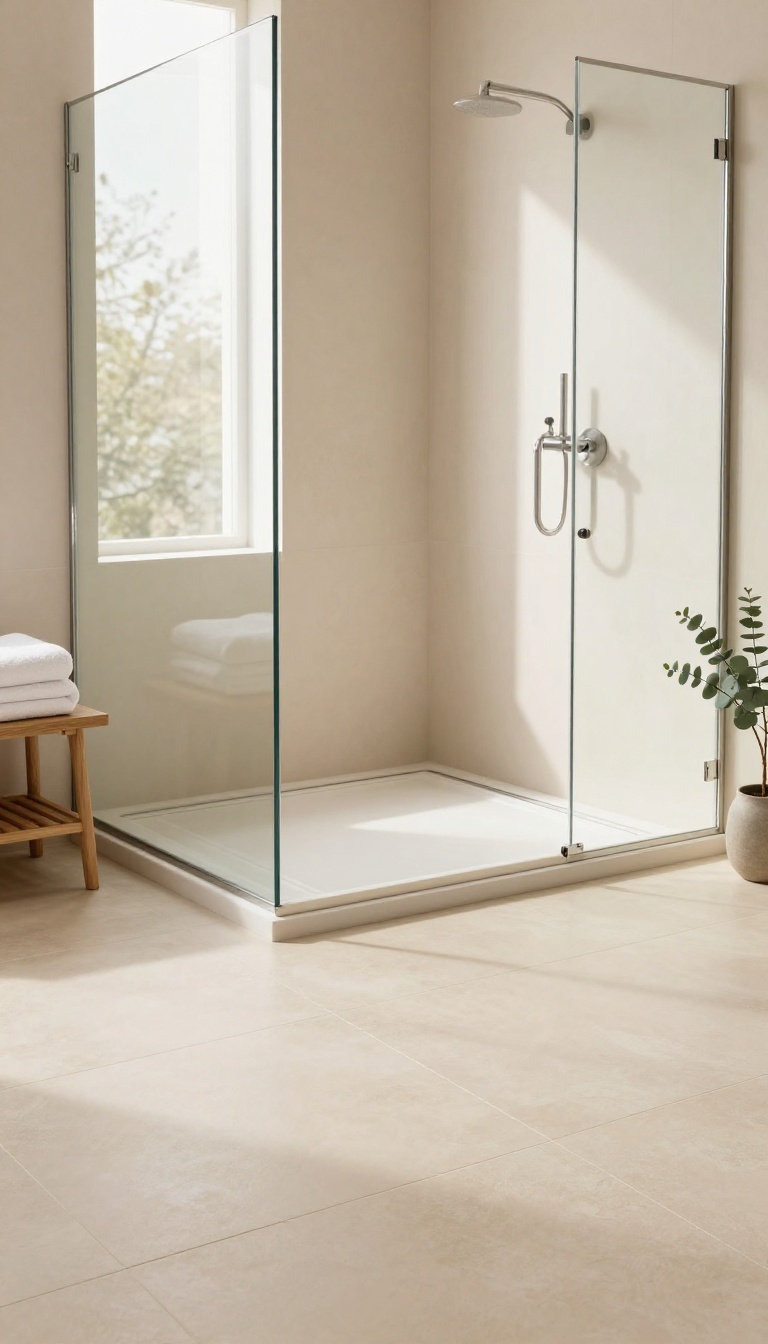
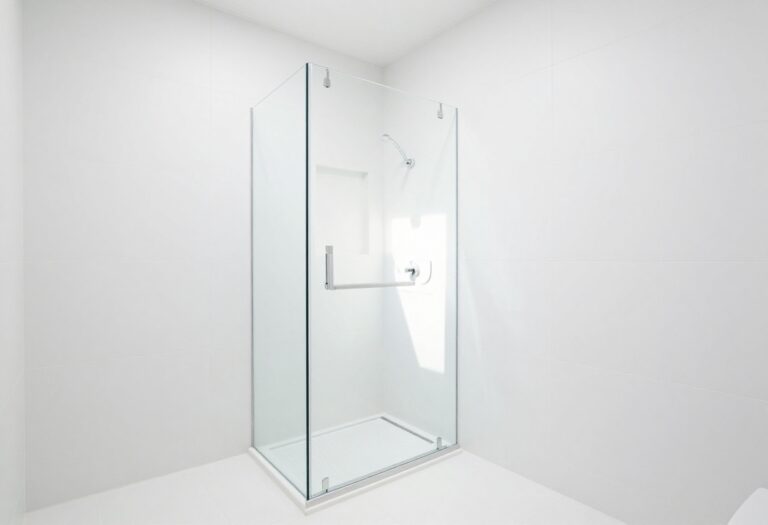
A curb is a small thing that causes a lot of trouble. It trips you in the dark, collects soap scum in the corners, and forces a step that never feels graceful. Remove it, and the whole shower changes character.
Pair that zero-threshold entry with heated tile and you get something better than a bathroom upgrade. You get a floor that feels warm the second you step in, barefoot, at 6 a. m.
Curbless showers used to be a custom-only detail. Now they're common enough that most tile setters have done a dozen, and the parts are easy to source. The trick is planning the slope and waterproofing before anything gets glued down.
Radiant heat underneath is the part people underestimate. It turns a cold surface into the best part of the room, and it costs less to run than most people assume.
Why The Zero-threshold Entry Works
Without a curb, the shower reads as part of the bathroom instead of a box inside it. That matters in small spaces, where every visual break makes the room feel tighter. It's also safer.
No step means no stubbed toe, no wobble on the way out, and no grab bar needed just to get in. For anyone thinking ahead about aging in place, this is one of the smartest moves you can make.
Getting The Slope And Waterproofing Right
A curbless floor needs a gentle slope, usually a quarter inch per foot, so water runs to the drain without pooling. Your installer builds that pitch into the substrate, not the tile. Waterproofing is non-negotiable.
A bonded membrane over the whole wet area keeps moisture out of the framing, and it's what lets you skip the curb in the first place. Ask to see the membrane before tile goes down.
Adding Radiant Heat Under The Tile
Electric floor heating mats roll out over the waterproofed substrate and sit just below the tile. They warm up in minutes and hold a steady, even temperature. Put the thermostat on a schedule so the floor is already warm when you walk in.
A simple timer costs little and makes the whole setup feel intentional rather than fussy.
Details That Keep It Feeling Warm
Large-format tile with tight grout lines cuts down on visual noise and feels better underfoot. A linear drain along the back wall keeps the slope subtle and the floor looking clean. Finish with a teak or stone bench, a niche for bottles, and a hand shower on a slide bar.
None of it is expensive on its own, but together it turns a wet room into a place you actually want to stand.
3. Wrap Your Tub in a Wood Panel or Slat Surround
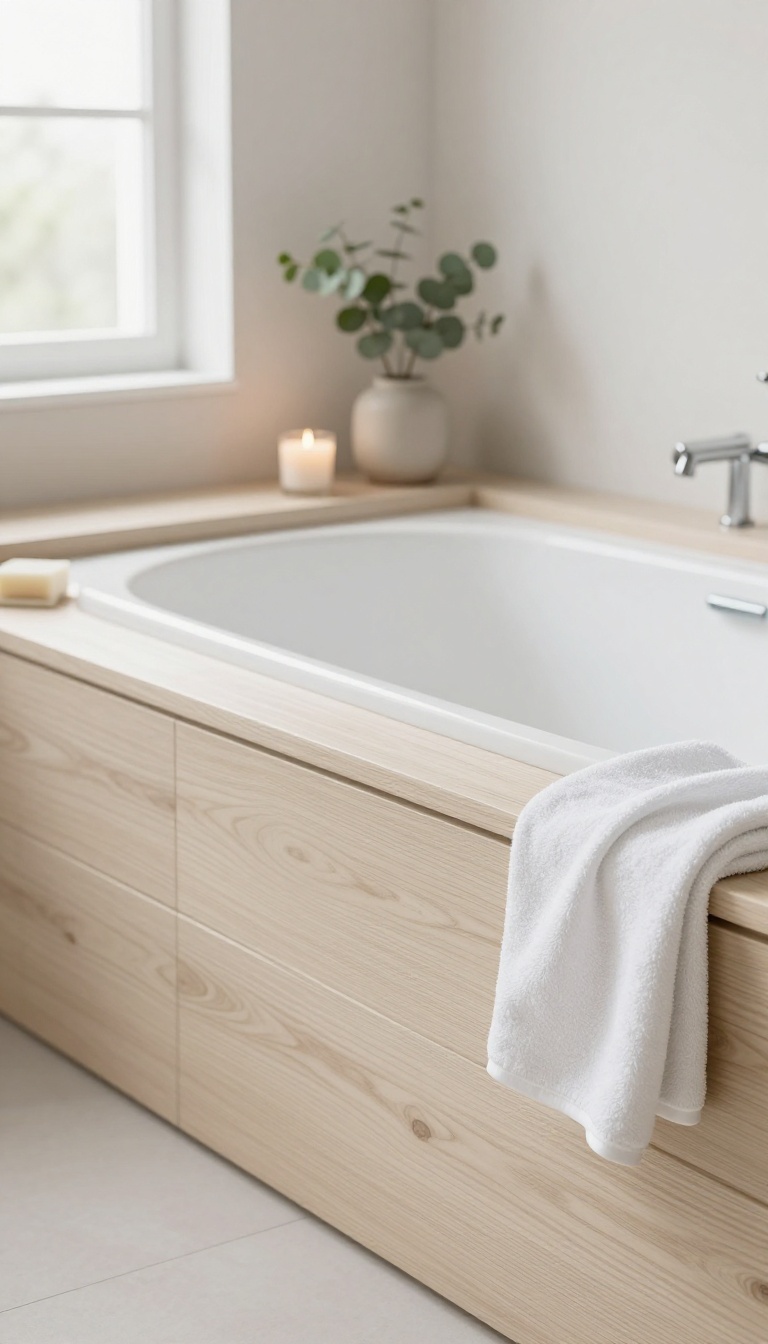
A standard tub is basically a big white box, and it looks like one. Wrapping it in wood gives that box a custom, furniture-like presence that anchors the whole room. You get warmth, texture, and a place to rest a candle or a bar of soap.
Wood also hides the plumbing access panel and any less-than-perfect tile edges around the tub. It softens the hard surfaces that make bathrooms feel cold and echoey. The result reads as intentional, not builder-grade.
You do not need a freestanding tub to pull this off. A drop-in or alcove tub with a simple wood surround can look just as considered, often for a fraction of the cost.
A wood surround works because it changes the tub from a fixture into a piece of furniture. The eye reads it as a built-in bench or a low cabinet, which makes the whole room feel more designed. It also gives you a natural spot to set a book, a drink, or a towel within arm's reach.
The trick is choosing a wood and finish that can handle steam and splashes without warping or growing mildew. Not every species or stain is up to the job, but the right ones hold up beautifully for years.
Pick A Wood That Can Take The Steam
Teak, ipe, and white oak are the usual suspects for wet areas because they resist moisture and rot naturally. Cedar and cypress are solid budget-friendly options if you seal them well. Avoid soft porous woods like pine unless you are prepared to refinish them often.
For slats, look for kiln-dried lumber so it will not twist after install. If you want a painted look, use a marine-grade primer and a bathroom-specific topcoat. The finish matters as much as the species.
Vertical Slats Vs. Horizontal Panels
Vertical slats draw the eye up and make a low tub area feel taller. They also create a nice rhythm that breaks up a long wall. Horizontal panels feel more like wainscoting and can make a small room feel wider.
Either direction works, but keep the gap between slats consistent, usually a quarter to half an inch. That spacing lets air move through so moisture does not get trapped. It also keeps the look clean instead of heavy.
Plan For Plumbing And Access
Before you nail anything down, figure out how you will reach the drain, overflow, and faucet connections. A removable panel held with magnets or screws is the simplest solution. It looks seamless but pops off when a plumber needs in.
Leave a small air gap between the wood and the tub edge so water can drain instead of sitting. Seal the top edge where it meets the tub with a flexible caulk that can handle movement. That one detail prevents a lot of future headaches.
Finish And Maintain It Like A Deck
Treat the wood with a penetrating sealer or a marine-grade oil, not a thick film finish that can peel. Reapply every year or two depending on how much the shower sprays near it. A quick wipe-down with a damp cloth keeps soap scum from building up.
If you go with slats, a soft brush gets dust out of the gaps without scratching. Skip harsh bleach cleaners, which dull the finish and dry out the grain. A little routine care keeps the surround looking custom for a long time.
4. Choose a Freestanding Tub with a Sculptural, Organic Shape
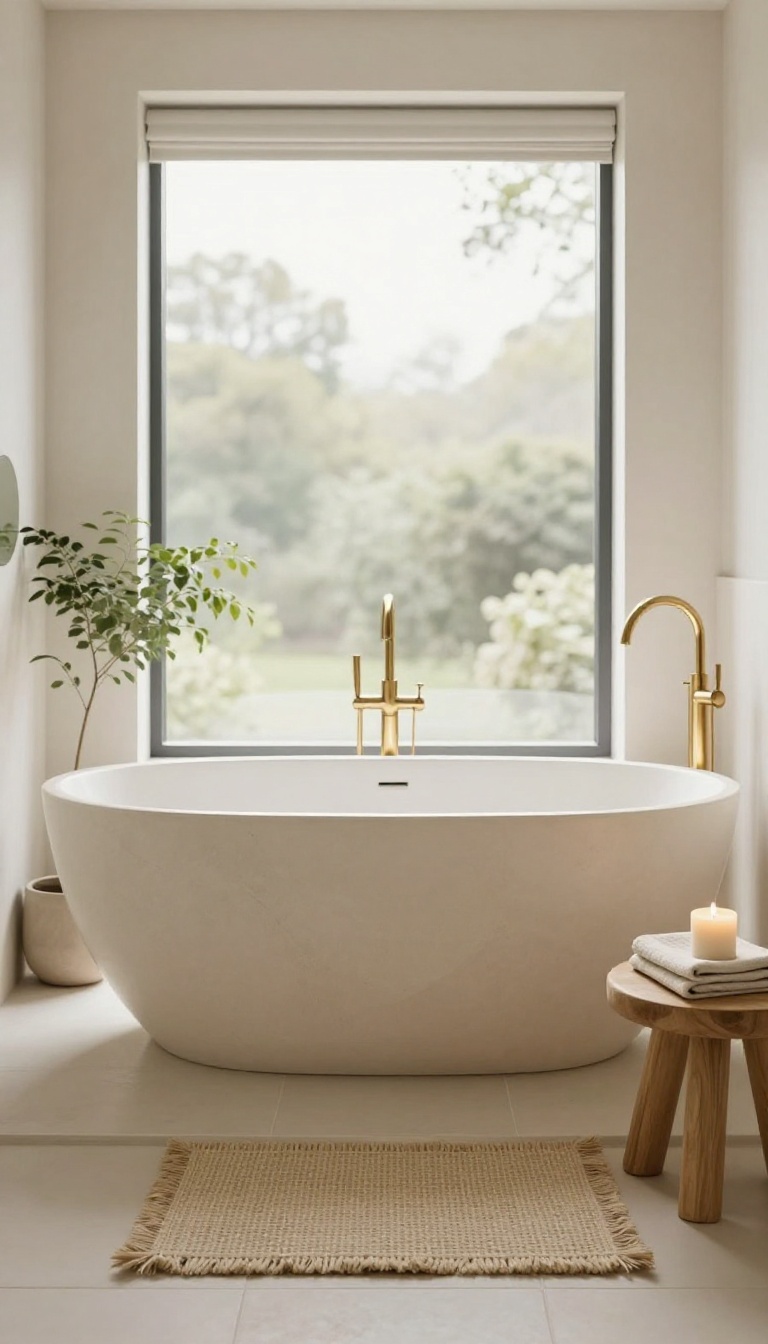
A built-in tub disappears into the room. A freestanding one commands it. Curved, oval, or gently asymmetrical, these tubs turn bath time into something you plan for instead of rush through.
The shape matters as much as the function. Organic curves soften hard tile lines and make the whole bathroom feel more relaxed. You're not just upgrading the tub.
You're giving the room a centerpiece that actually earns the space it takes up.
Freestanding tubs come in a range of materials, and each one changes the feel. Acrylic stays warm to the touch and keeps costs down. Stone resin holds heat longer and looks like carved rock.
Cast iron is heavy and classic but takes forever to warm up. Size is the first real decision. A 55- to 60-inch tub fits most bathrooms without swallowing the floor.
Anything longer needs clearance on all sides, usually 4 to 6 inches, so you can clean around it and step in safely. Placement matters more than you'd think. Tucking it under a window gives you light and a view.
Angling it in a corner adds drama. Centering it under a pendant light makes it the obvious focal point. Once the tub is in, the details around it do the heavy lifting.
A small stool for a candle and a book. A textured runner that feels good under bare feet. Warm-toned fixtures that pick up the curve of the tub instead of fighting it.
Pick A Shape That Fits Your Body And Your Room
Oval tubs are the most forgiving. They work in tight corners and open floors alike. If you like to stretch out, look for a double-ended design with sloped backs on both sides.
Asymmetrical shapes add movement but need more floor space. Measure your room twice before committing. A tub that looks graceful in a showroom can feel cramped once it's home.
Material Changes Everything
Acrylic is light, affordable, and easy to install. It also cools down faster, so you'll want to refill sooner. Stone resin costs more but keeps water warm for longer soaks.
Cast iron is the traditional choice. It's durable and feels solid, but it's heavy enough that you may need to reinforce the floor. Solid surface tubs sit in the middle: warm, repairable, and available in matte finishes that hide water spots.
Make The Surround Feel Warm, Not Clinical
Skip the cold tile slab underfoot. A small teak mat or a washable rug in a warm neutral keeps your feet happy when you step out. Add a floor-mounted faucet with a hand shower.
It looks clean, reaches the tub easily, and frees up the wall for art or a towel hook. A dimmer on the overhead light lets you drop the brightness for evening baths without losing visibility.
5. Layer in Warm Lighting with Dimmable Sconces and a Small Chandelier
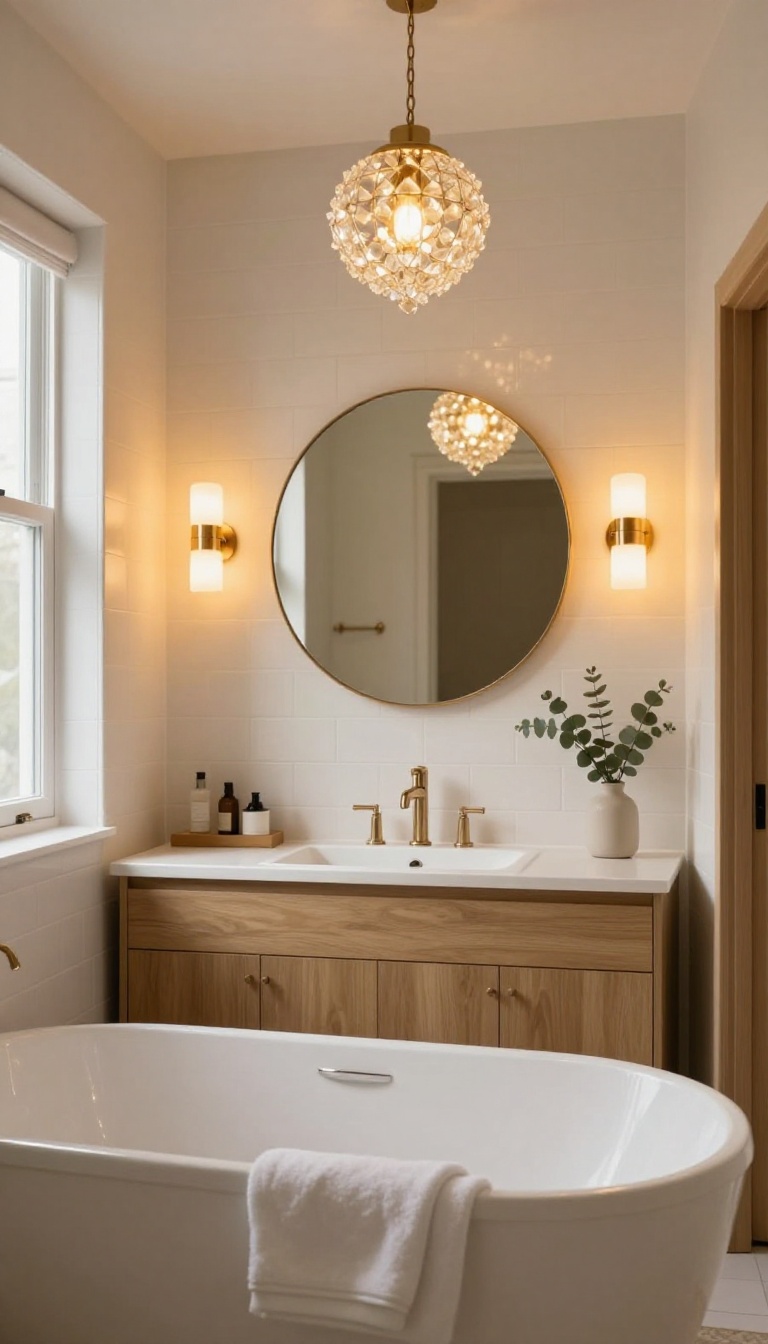
One bright light in the center of the ceiling flattens everything. It makes the room feel clinical, and it's the opposite of relaxing when you're trying to unwind. Layering your lighting fixes that without touching the plumbing.
The goal is simple: give yourself options. Bright when you're cleaning, soft when you're soaking, and a warm glow in between. Dimmable fixtures and a small chandelier do most of the heavy lifting.
Start by ditching the single overhead as your only source. Add wall sconces on either side of the mirror, put them on a dimmer, and swap the bulbs to something warm. A small chandelier over the tub adds a focal point and a little sparkle.
You don't need a designer budget. Big-box stores sell dimmable sconces that look custom, and a chandelier can be a plug-in model if you don't want to hire an electrician. The key is controlling the brightness so you can shift the mood with a single slide.
Pick The Right Bulbs
Warm white bulbs in the 2700K to 3000K range make skin tones look good and cast a cozy glow. Skip anything labeled daylight or cool white in a bathroom. Those belong in a garage.
If your fixtures are dimmable, make sure the bulbs are too. Otherwise you'll get a flicker or a buzz that ruins the whole effect.
Place Sconces At Eye Level
Mount sconces at about 60 to 66 inches from the floor, or roughly at your eye level. That puts light on your face instead of the top of your head. It's more flattering and more useful for shaving or makeup.
If you have a double vanity, use two sconces instead of one long bar. It spreads the light evenly and looks more intentional.
Hang A Chandelier Over The Tub
A small chandelier or pendant above a freestanding tub adds instant warmth. Keep it at least 7 feet from the floor so you don't bump your head. If you have a shower nearby, choose a damp-rated fixture.
Plug-in versions work if you don't want to run new wiring. Just tuck the cord along the ceiling or wall and secure it with clips. It's a renter-friendly trick that still looks polished.
6. Use a Textured Stone or Pebble Shower Floor for a Natural Feel
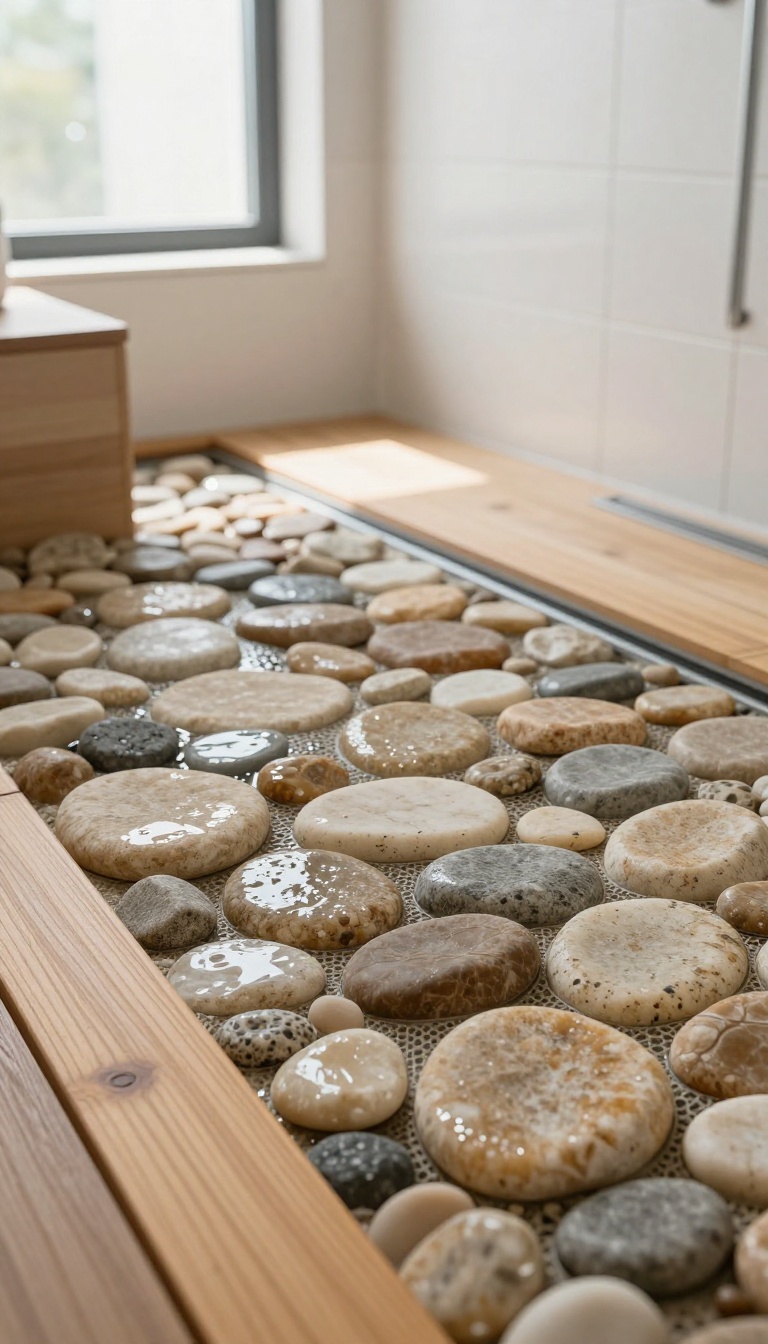
Smooth porcelain looks clean in photos, but it turns slick the second water hits it. A pebble or tumbled stone floor gives your feet something to grip and your eyes something to rest on. It also hides water spots and soap scum far better than a glossy surface.
The texture reads as warm and organic, like a creek bed or a worn path. That softens the hard edges of a standard shower. And because the stones vary in size and color, the floor never looks flat or factory-made.
Pebble floors are usually set as mesh-backed sheets, so installation moves faster than you might expect. You still need a sloped mortar bed underneath for drainage, but the pebbles themselves conform to the shape. Tumbled marble, travertine, and slate tiles work the same way if you want a flatter surface with a softer finish.
One trade-off: tiny grout lines between pebbles can trap soap and mildew. Sealing the stone and grout helps, and a squeegee after each shower keeps it cleaner longer. If you want less upkeep, choose larger tumbled tiles with wider grout lines instead of small pebbles.
Comfort matters too. Bare feet on cold stone feel better than bare feet on cold ceramic, but it is still stone. A heated floor mat underneath or a teak duckboard on top adds a layer of warmth without hiding the texture.
Pebble Sheets Vs. Tumbled Tile
Pebble sheets give you the most organic look, with rounded stones that massage your soles. They need a bit more scrubbing because of all the grout joints. Tumbled tile offers a similar earthy feel with fewer crevices and a more even surface.
Pick pebbles for a spa-like vibe and tumbled tile for easier cleaning.
Make Drainage A Priority
Texture does not fix a bad slope. Your installer needs to pitch the mortar bed toward the drain before setting any stone. Pebbles can create small dams if they sit too flat, so check that water flows freely after the first few showers.
A linear drain helps too, especially with larger stones.
Keep It Clean Without Scrubbing All Day
Seal the stone and grout right after installation, then reseal once a year. A gentle pH-neutral cleaner and a soft brush handle most messes. Skip harsh acids, which dull the stone.
A daily squeegee takes thirty seconds and cuts deep cleaning way down.
7. Hang a Linen or Waffle-Weave Shower Curtain Instead of Plastic
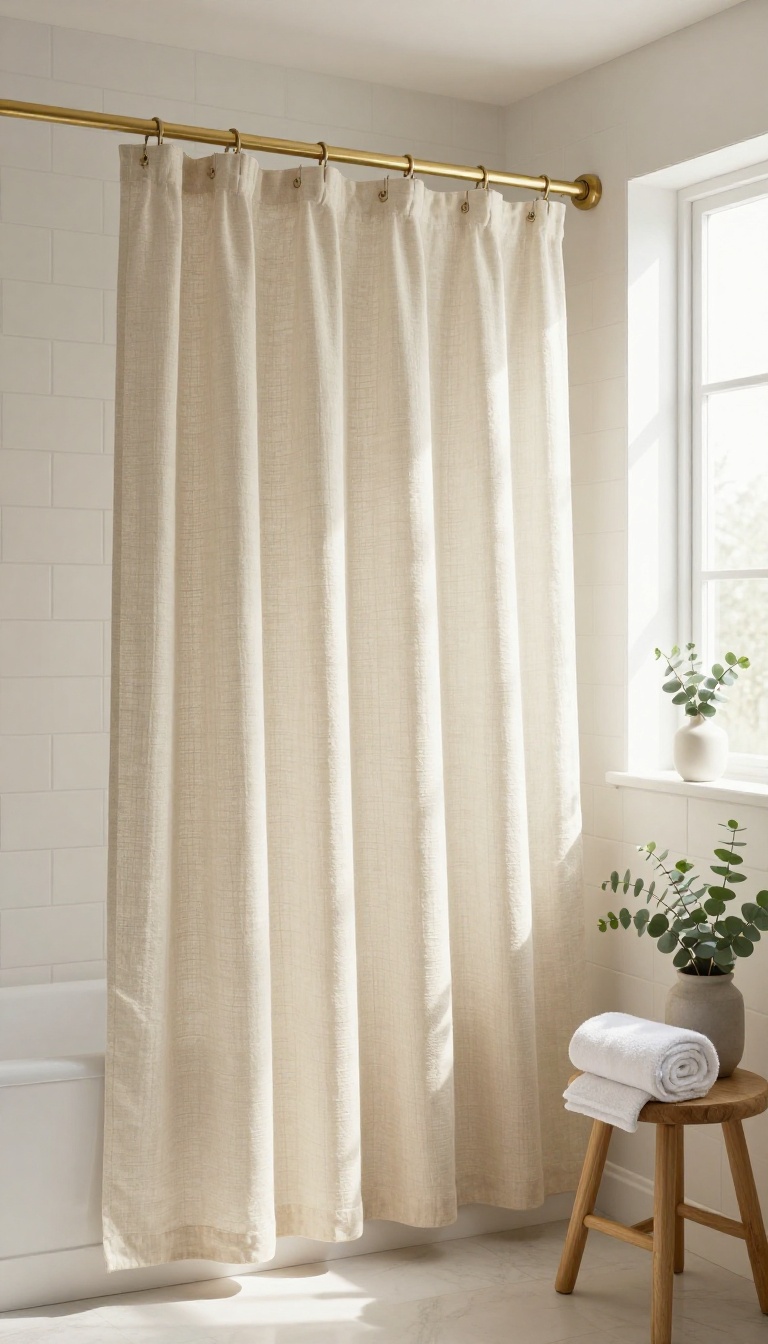
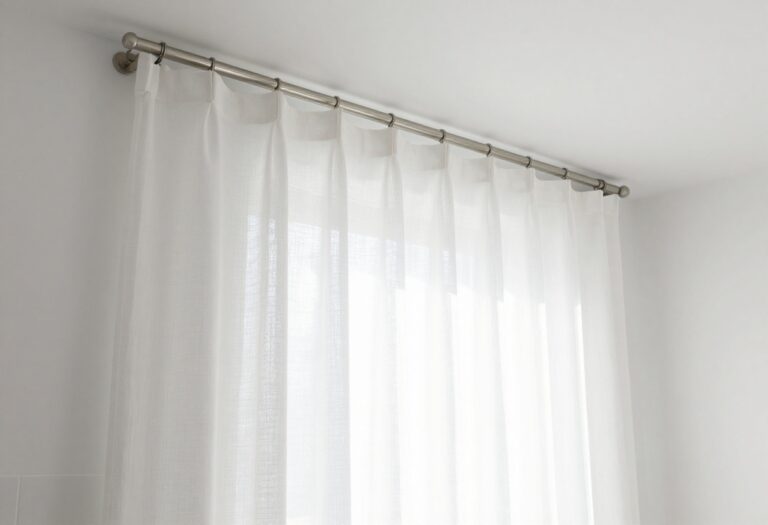
That vinyl liner clinging to your leg mid-shower is a small daily annoyance you've probably stopped noticing. But swap it for linen or waffle-weave fabric, and the whole bathroom feels softer, quieter, and more intentional. The curtain becomes a design element, not just a splash guard.
Fabric curtains hang with weight and drape, so they don't billow or stick. They also absorb sound instead of bouncing it around, which makes the room feel calmer. And the texture—whether it's slubby linen or a crisp waffle grid—adds warmth that plastic simply can't match.
You don't need a custom order or a big budget. Most fabric curtains cost between $30 and $80, and they install in minutes. The only real adjustment is a liner, which you'll still need to keep water off the fabric.
A fabric shower curtain changes more than looks. It changes how the room sounds, how it feels against your skin, and how finished the space appears. Once you make the switch, plastic feels like a missed opportunity. ### Why Fabric Beats Plastic Plastic and vinyl curtains are waterproof, cheap, and easy to wipe down.
They're also stiff, shiny, and prone to clinging. Fabric curtains breathe, so air moves through them and they dry faster than you'd expect. That breathability keeps mildew at bay as long as you hang them to dry fully.
The sound difference is real. A fabric curtain muffles the echo of a hard-tiled bathroom, making showers feel less like standing in a gym locker room. It's a small luxury you notice every time you step in. ### Linen vs.
Waffle-Weave Linen has a relaxed, slightly rumpled look that suits farmhouse, coastal, and minimalist bathrooms. It's lightweight, dries quickly, and gets softer with every wash. The natural texture hides water spots better than smooth cotton.
Waffle-weave is thicker and more structured. It has a honeycomb pattern that adds visual interest without a print. It feels spa-like and holds its shape well, though it takes a bit longer to dry.
Both work, so pick based on the mood you want. ### The Liner Rule You Can't Skip Fabric curtains are not waterproof. You still need a liner behind them, either a thin vinyl one or a washable fabric liner. Hang the liner inside the tub and the decorative curtain outside, so water stays contained.
Choose a liner that's a few inches shorter than the outer curtain so it doesn't peek out. Clear or white liners disappear; patterned liners can add a hidden layer of interest. Replace liners every few months, or wash fabric liners weekly. ### Hanging and Care Tips Use a curved rod if you have a standard tub—it adds elbow room and keeps the curtain from touching you.
Hang the curtain with rings that glide easily, and leave a few inches of space at the bottom for airflow. Wash fabric curtains every month or two on a gentle cycle, then hang them to dry. Skip the dryer, which can shrink linen and warp waffle-weave.
A quick steam or iron on low removes wrinkles if you care about crispness. ### Styling It With the Rest of the Room A fabric curtain is a chance to tie your colors together. Pull a shade from your tile, towels, or wall art. A neutral linen curtain lets bold accents shine; a waffle-weave in a soft color becomes the accent itself.
Don't forget the rod. A matte black or brushed brass rod looks intentional, while a flimsy white one undermines the upgrade. It's a $20 swap that makes the whole setup feel custom.
Why Fabric Beats Plastic
Plastic and vinyl curtains are waterproof, cheap, and easy to wipe down. They're also stiff, shiny, and prone to clinging. Fabric curtains breathe, so air moves through them and they dry faster than you'd expect.
That breathability keeps mildew at bay as long as you hang them to dry fully. The sound difference is real. A fabric curtain muffles the echo of a hard-tiled bathroom, making showers feel less like standing in a gym locker room.
It's a small luxury you notice every time you step in.
Linen Vs. Waffle-weave
Linen has a relaxed, slightly rumpled look that suits farmhouse, coastal, and minimalist bathrooms. It's lightweight, dries quickly, and gets softer with every wash. The natural texture hides water spots better than smooth cotton.
Waffle-weave is thicker and more structured. It has a honeycomb pattern that adds visual interest without a print. It feels spa-like and holds its shape well, though it takes a bit longer to dry.
Both work, so pick based on the mood you want.
The Liner Rule You Can't Skip
Fabric curtains are not waterproof. You still need a liner behind them, either a thin vinyl one or a washable fabric liner. Hang the liner inside the tub and the decorative curtain outside, so water stays contained.
Choose a liner that's a few inches shorter than the outer curtain so it doesn't peek out. Clear or white liners disappear; patterned liners can add a hidden layer of interest. Replace liners every few months, or wash fabric liners weekly.
Hanging And Care Tips
Use a curved rod if you have a standard tub—it adds elbow room and keeps the curtain from touching you. Hang the curtain with rings that glide easily, and leave a few inches of space at the bottom for airflow. Wash fabric curtains every month or two on a gentle cycle, then hang them to dry.
Skip the dryer, which can shrink linen and warp waffle-weave. A quick steam or iron on low removes wrinkles if you care about crispness.
Styling It With The Rest Of The Room
A fabric curtain is a chance to tie your colors together. Pull a shade from your tile, towels, or wall art. A neutral linen curtain lets bold accents shine; a waffle-weave in a soft color becomes the accent itself.
Don't forget the rod. A matte black or brushed brass rod looks intentional, while a flimsy white one undermines the upgrade. It's a $20 swap that makes the whole setup feel custom.
8. Build a Built-In Bench or Ledge for Towels and Candles
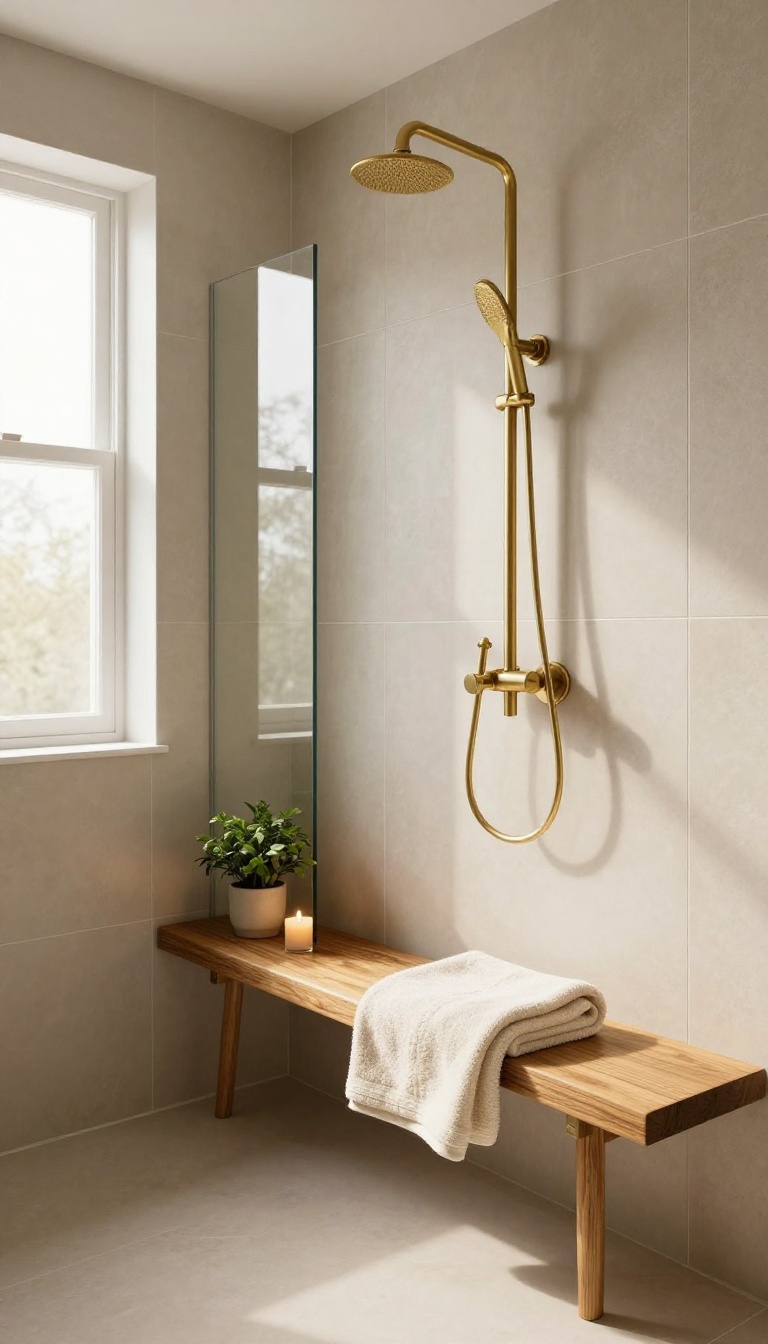
A shower that only holds a bar of soap and a bottle of shampoo feels like a utility closet. Adding a built-in bench or ledge changes that. It gives you a place to set a folded towel, a candle, or a small plant—turning the shower into a spot that feels cared for.
This isn't about clutter. It's about intentional storage that doubles as a warm, lived-in detail. The best part?
You don't need a massive shower to make it work.
A built-in bench or ledge solves two problems at once. It gives you somewhere to sit, shave, or rest a foot while rinsing off. And it creates a natural shelf for the things that make a shower feel cozy instead of clinical.
You can go simple with a floating corner ledge, or go bigger with a full bench that spans one wall. Either way, the key is to make it look like it belongs—not like an afterthought bolted on. When done right, this detail adds function without stealing floor space.
It also gives your eye something warm to land on besides tile and glass.
Pick The Right Spot
Place your bench or ledge where it won't get blasted by the main shower spray. A corner opposite the showerhead works well. So does a low ledge along the back wall.
If you're building a bench, make it deep enough to sit on—around 15 to 18 inches. For a ledge, 4 to 6 inches is plenty for a candle, a small towel, or a bar of soap. Keep it within arm's reach of the door or curtain so you can grab a towel without stepping out and dripping everywhere.
Choose Materials That Handle Water
Teak, cedar, and ipe are classic choices for shower benches because they naturally resist rot and look better as they age. A simple slatted teak bench lets water drain through and adds instant warmth. For a built-in look, use the same tile or stone as your shower walls.
A marble or quartz ledge feels luxurious and wipes clean easily. Just make sure it's sealed properly. Avoid untreated wood, porous limestone, and anything that stains easily.
You want materials that can handle daily steam and splashes without looking tired in a year.
Style It Without Overdoing It
A rolled towel, a candle in a glass jar, and a small eucalyptus sprig are enough. You're aiming for a spa vibe, not a shelf at a home goods store. Rotate items based on the season.
In winter, a cedar bundle and a warm amber candle feel cozy. In summer, a small fern or a bar of lemon soap keeps it fresh. Skip anything that will rust, melt, or turn into a science project.
And if you have kids, keep breakables up high or skip them altogether.
Make It Practical For Everyday Use
If you're using the bench for sitting, add a slight slope so water runs off. A 1 to 2 percent tilt is enough. For ledges, a small lip keeps bottles from sliding off.
Install a hook or two nearby for a loofah or a hand towel. That way your bench stays clear for the good stuff. And don't forget to dry the surface after your shower if you're using wood.
A quick wipe with a squeegee or towel keeps it looking new for years.
9. Add a Towel Warmer or Heated Towel Bar Near the Tub
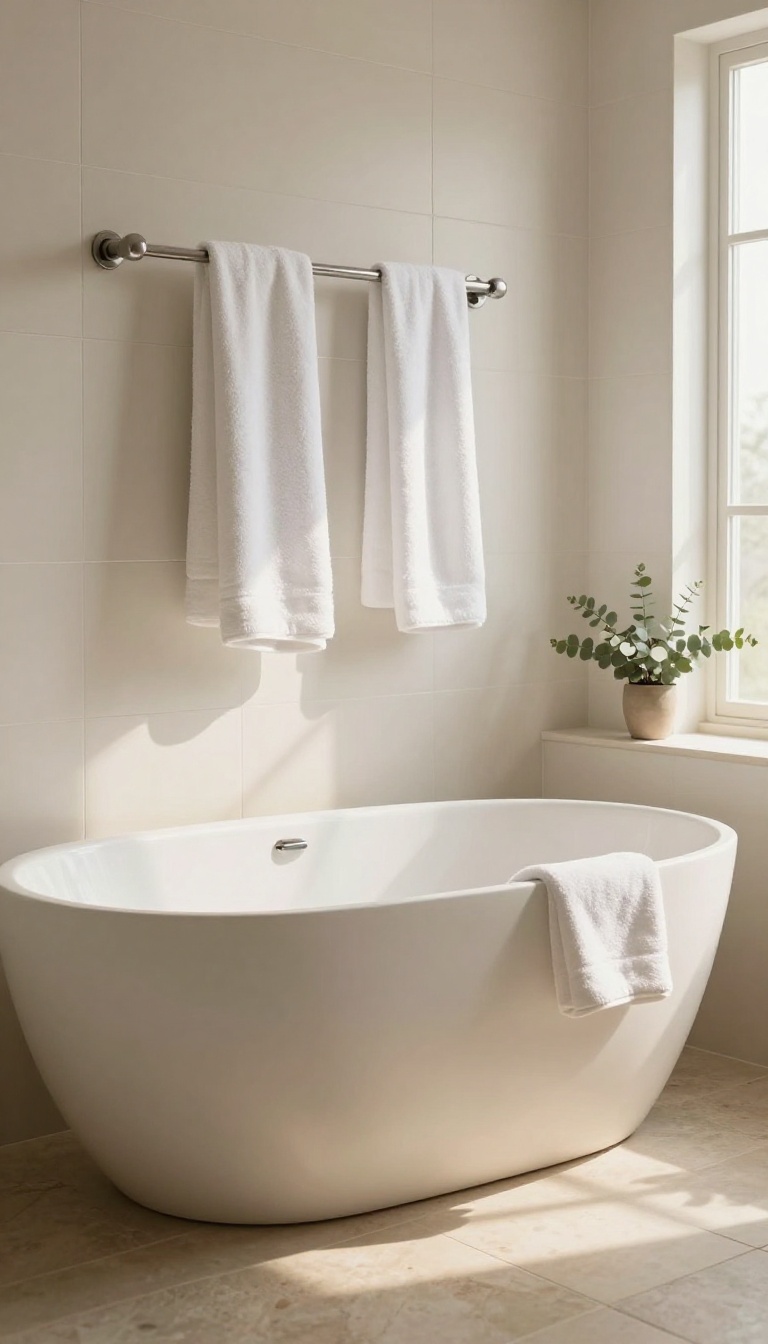
There's a particular kind of misery in wrapping yourself in a cold, damp towel after a long soak. A towel warmer solves that in one move. It also gives you a dedicated spot to hang towels so they dry properly instead of mildewing on a hook.
These come in two main styles: wall-mounted bars and freestanding racks. Both warm towels, but they suit different bathrooms. Pick based on your space and how much you want to spend.
A towel warmer isn't a luxury you'll forget about after a week. It becomes part of the routine. You flip it on before you shower, and by the time you step out, the towel is toasty.
That small comfort changes the whole feel of the room. Beyond warmth, these units keep towels off the floor and away from damp walls. That means less laundry and fewer musty smells.
If your bathroom runs humid, this is a quiet fix that works in the background.
Wall-mounted Vs. Freestanding
Wall-mounted bars save floor space and look built-in. They're ideal for small bathrooms or tight spots next to the tub. You'll need to hardwire them or plug into an outlet, so plan the location carefully.
Freestanding racks roll or sit anywhere. They're easier to install and can move if you rearrange the room. The trade-off is they take up floor space and may need a nearby outlet.
Choose based on your layout and how permanent you want the setup.
Warmth And Drying Power
Most warmers heat to around 120–140°F, which is enough to feel cozy without scorching. Some models have timers so you don't leave them running all day. Look for even heat distribution, or you'll get hot spots and cool corners.
Drying matters as much as warming. Bars with spacing let air circulate around the towel. That helps prevent that damp, sour smell.
If you hang towels tightly together, they stay wet longer, defeating the purpose.
Style And Placement Tips
Match the finish to your other fixtures—brushed nickel, matte black, chrome, or brass. A warmer can look like a design piece, not just an appliance. Place it within arm's reach of the tub or shower so you're not dripping across the room.
Keep it away from direct water spray. Even though they're built for damp rooms, constant splashing can shorten the lifespan. A spot just outside the splash zone works best.
If you have a freestanding tub, a low rack beside it feels natural and keeps towels handy.
10. Incorporate Warm Tile Colors and Patterns Like Terracotta or Zellige
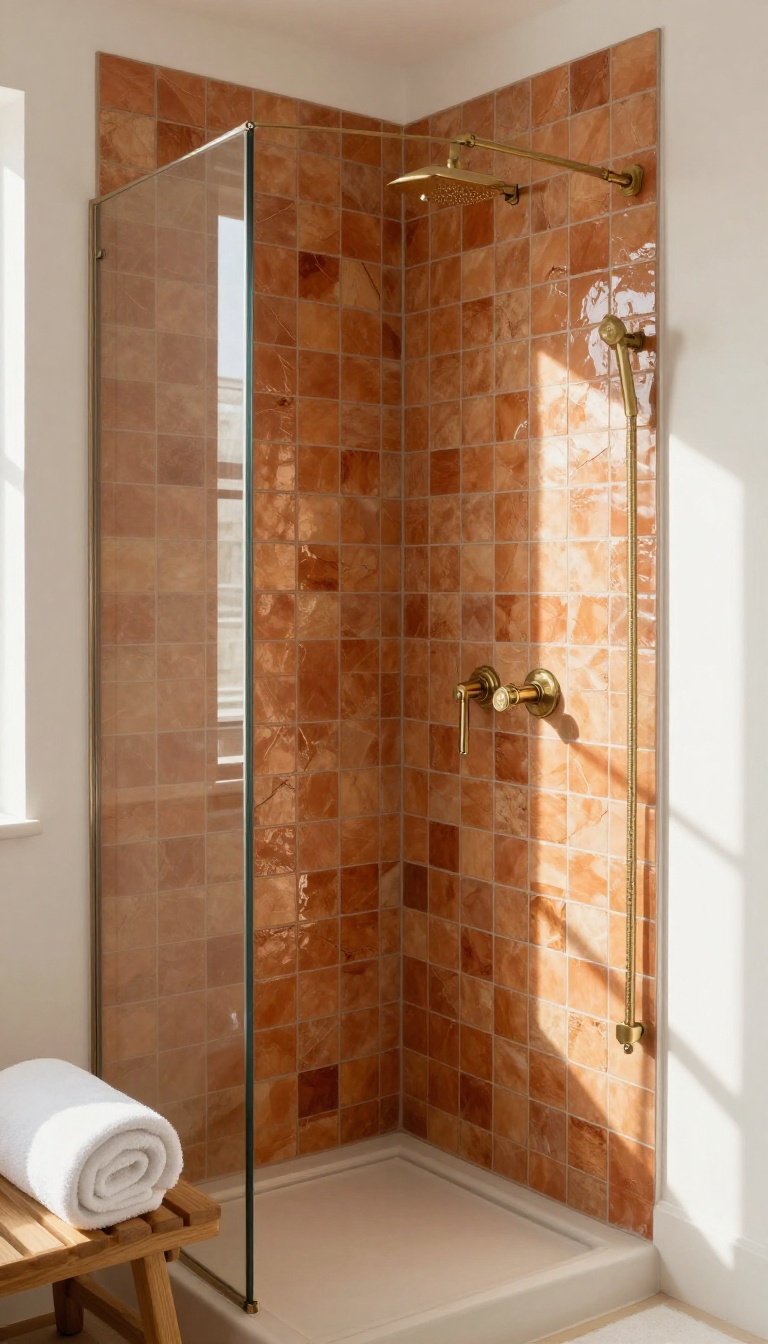
Gray tile had a good run, but it can leave a bathroom feeling like a hotel lobby in February. Swap in earthy tones and handmade-look tiles, and the whole room warms up without touching the plumbing. Terracotta, zellige, and other warm ceramics bring color and texture that make walls and floors feel intentional.
You do not need to tile every surface. One accent wall or a shower niche is often enough to shift the mood.
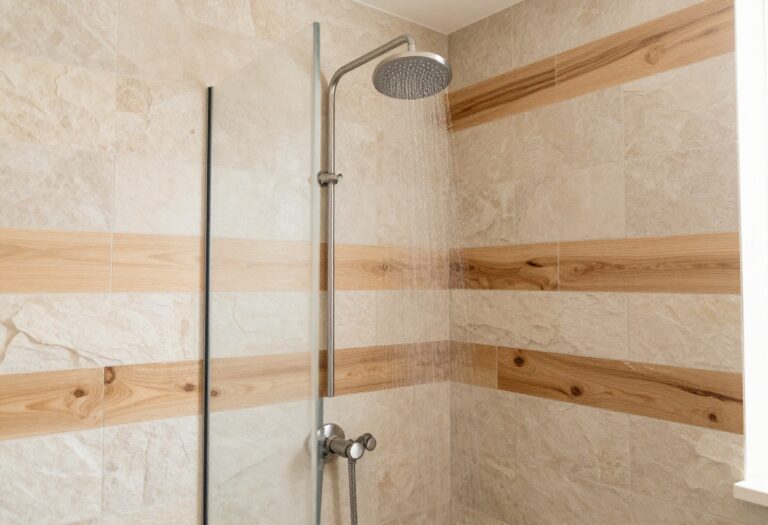
Warm tile works because it reflects light differently than flat porcelain. The slight unevenness in handmade tiles creates soft shadows that read as cozy rather than clinical. Even a small patch of terracotta behind a sink or along a shower bench can make the space feel grounded.
Pair these tiles with warm white bulbs and wood or brass fixtures to keep the palette cohesive. The goal is a bathroom that feels lived-in, not staged.
Why Terracotta Works In A Shower
Terracotta brings a sun-baked, Mediterranean feel that instantly softens a bathroom. It is naturally porous, so seal it well if you use it inside a shower. Glazed terracotta is a safer bet for wet zones because it wipes clean and resists staining.
Use it on the floor for a warm underfoot feel, or on a shower wall for a rustic focal point. Just avoid pairing it with cool gray grout, which fights the warmth.
Zellige Tiles Add Shimmer And Depth
Zellige tiles are handmade in Morocco, and no two are exactly alike. Their glossy, uneven surface catches light and makes a shower wall sparkle without being flashy. They work beautifully in small showers because the subtle color shifts keep the space from feeling flat.
Choose a warm tone like honey, sage, or dusty rose instead of bright white. Seal them properly, and they will hold up fine in a wet environment.
Mixing Warm Tiles Without Clashing
You can combine terracotta and zellige if you keep the undertones consistent. Stick to one dominant color and let the other tile play a supporting role, like a zellige accent strip in a terracotta shower. Use grout that matches the tile rather than contrasting, which keeps the look calm.
Add a wood stool or a woven basket to tie the textures together. When in doubt, fewer tile types always look more polished.
Where To Use Warm Tile For Maximum Impact
The shower niche is a great spot for a pop of zellige because it draws the eye without overwhelming the room. A terracotta floor in a small bathroom adds warmth underfoot and hides water spots better than light tile. If you have a tub surround, consider running warm tile from tub to ceiling for a cozy, enclosed feel.
Even a simple backsplash behind the sink can carry the theme. Start small if you are unsure, then expand later.
11. Finish with Plants, Wood Trays, and Soft Accessories
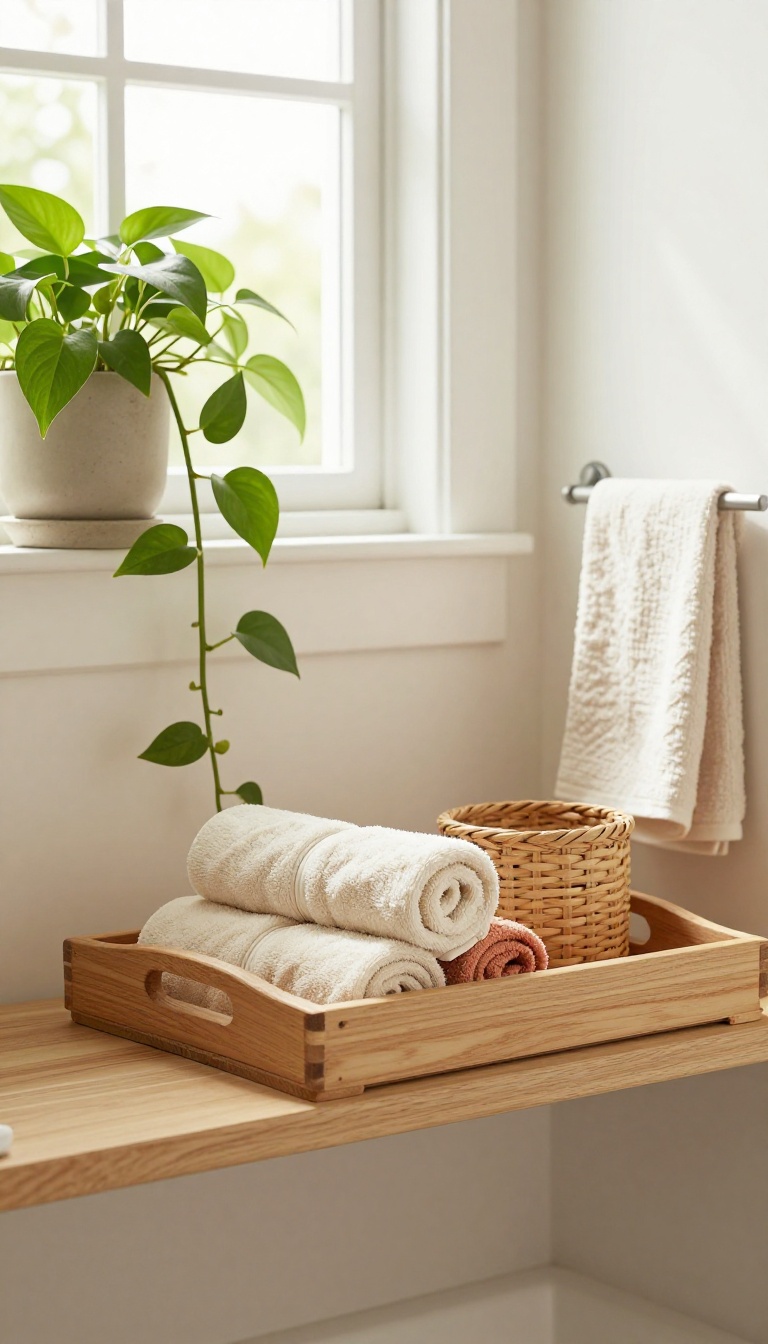
A bathroom can have great tile, a perfect showerhead, and still feel unfinished. The missing piece is usually the soft stuff: something alive, something warm under your hand, something that says a person actually lives here. Plants, wood, and textiles do that work without a single power tool.
This is the last five percent that makes the other ninety-five feel intentional. It's also the cheapest step on this list, which is a nice place to end up. You can pull it together in an afternoon with a cart and a return receipt.
Start with one plant, one tray, and one stack of towels. Add more only if the room still feels empty after a week.
Accessories are where bathrooms go from 'remodeled' to 'lived in. ' They add humidity tolerance, texture, and a reason to slow down. The trick is choosing items that survive steam and splashes without constant babysitting. You don't need a styling degree.
You need a plant that likes wet air, a tray that won't warp, and towels you actually want to touch. Everything else is optional. Keep the palette tight.
Two materials and one color story will always look better than a shelf full of random finds.
Pick A Plant That Thrives In Steam
Most houseplants hate bathrooms. A few absolutely love them. Pothos, snake plants, and philodendrons handle humidity and low light without drama, and they look good draped over a shelf or sitting on the tub ledge.
If your bathroom has zero windows, go with a snake plant or a ZZ plant. They tolerate fluorescent light and forgetful watering. Skip ferns unless you have a window and a spray bottle habit.
Keep the pot small and the saucer tight. A giant planter on a wet floor is a slip waiting to happen. One healthy plant beats three sad ones.
Use A Wood Tray To Corral The Clutter
A wooden bath tray across the tub does two jobs: it holds your book and candle, and it stops bottles from lining the rim like a store shelf. Teak and bamboo handle moisture best. Oil them twice a year and they'll last.
On the vanity, a small wood tray keeps soap, lotion, and a candle in one tidy zone. It also protects the counter from rings and drips. Group in odd numbers and leave some breathing room.
Avoid untreated pine and particle board. They swell, crack, and look worse than the clutter they replaced.
Layer Towels Like You Mean It
Rolled towels in a basket or on an open shelf add height and color without any construction. Stick to two or three rolls, not a wall of them. A single folded stack on a stool works just as well.
Choose towels with a low twist or a waffle weave. They dry faster, feel lighter, and don't hold that damp basement smell. White and warm neutrals hide wear better than you'd think.
Add a bath mat with some pile underfoot. Cold tile is the enemy here. A plush mat in front of the shower changes the whole morning.
Add Warm Light And A Little Scent
Swap the bare bulb for a warm LED or add a small lamp on the counter. 2700K is the sweet spot. It makes skin look better and turns a harsh room soft in one move.
A candle or a reed diffuser near the tub adds scent without plug-in chemicals. Keep it simple: eucalyptus, cedar, or a clean citrus. Strong floral scents in a small room get old fast.
If you have the space, a small stool or bench gives you a place to set a towel or a cup of coffee. It also fills an awkward corner that would otherwise collect dust.
FAQ
What is the easiest way to make a shower feel warmer?
Start with a teak or bamboo mat and a fabric shower curtain. Both add warmth instantly and cost very little.
Do heated floors work under a shower?
Yes, many radiant floor systems are safe for wet areas when installed by a pro with the right waterproofing.
Can I add a wood surround to an existing tub?
Often, yes. You can build a simple frame around a standard tub, but check for access to plumbing and use moisture-resistant wood.
What kind of lighting is best for a warm bathroom?
Dimmable wall sconces and a small pendant or chandelier on a separate switch give you soft, adjustable light.
How do I keep a fabric shower curtain from getting moldy?
Use a liner inside the fabric curtain, wash the fabric regularly, and run the exhaust fan after every shower.
Conclusion
Warmth in a bathroom rarely comes from one big move. It comes from layered choices: a wood stool, a soft rug, a dimmer switch you actually use. Pick two or three ideas from this list and let them settle before adding more.
Start with whatever bothers you most, whether that is lighting, storage, or a cold tile floor. Fix that first, then build outward. The room will feel warmer without a full remodel, and you can adjust as you go.