11 Well-Planned Small Bathroom Walk-In Shower Ideas
Walk-in showers are a dream for many homeowners, but when your bathroom is small, the idea can feel out of reach. The good news? With careful planning, you can have a sleek, open shower that fits your space and your budget.
It’s not about squeezing in a luxury spa—it’s about making smart choices that make your bathroom feel bigger and work harder. From choosing the right layout to picking materials that don’t overwhelm, every detail matters.
You don’t need a massive renovation budget to get a high-end look. Sometimes, the simplest changes—like swapping a bulky curb for a flush entry or adding a glass panel instead of a full enclosure—make all the difference.
1. Go Curbless for a Seamless Look
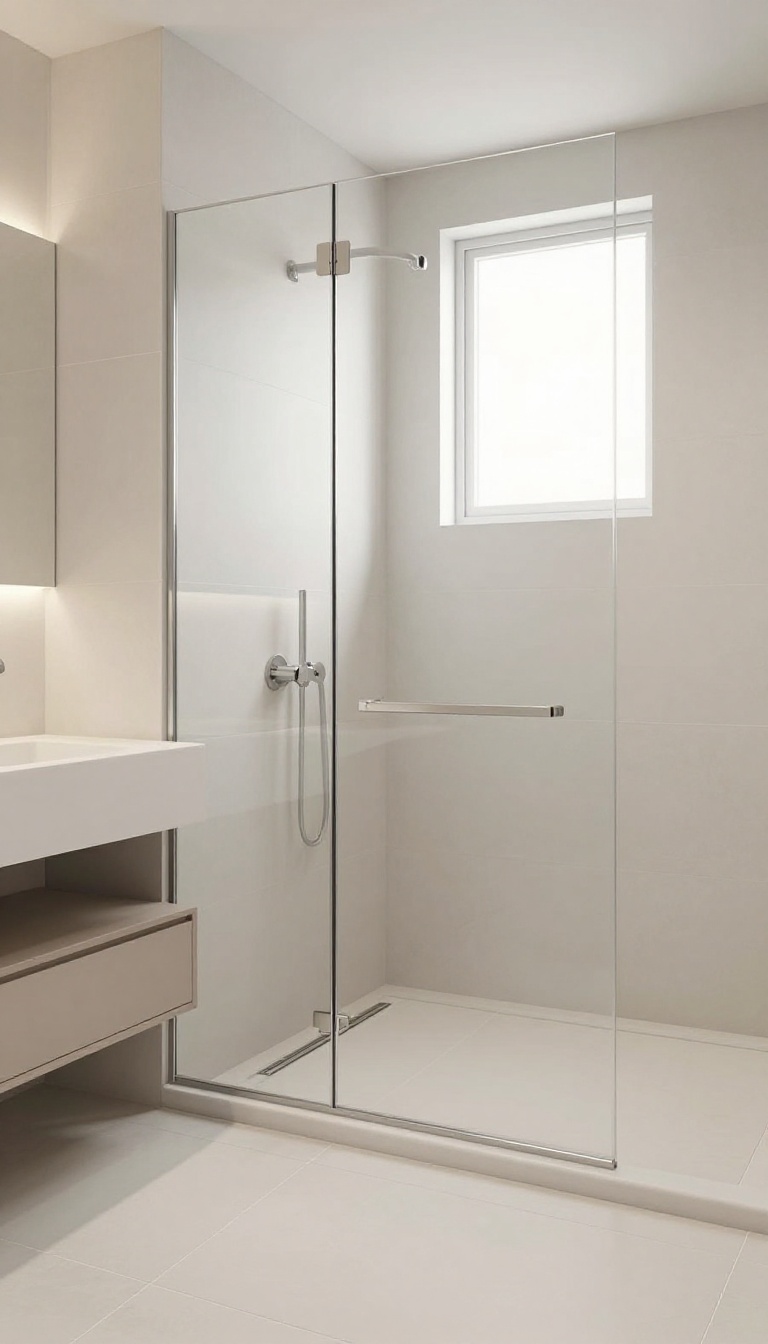
A curbless shower is a game-changer in a small bathroom. By removing the step-over barrier, you create a smooth, continuous floor that makes the space feel larger and more open. It also adds a modern touch that instantly upgrades the look of your bathroom.
The absence of a curb not only looks sleek but also makes the shower more accessible, which is a smart long-term investment. With a linear drain placed at the edge, water stays contained without any visual interruption. This design trick is especially effective when you use the same tile throughout the bathroom, blurring the line between shower and floor.
Plan The Slope Right
A curbless shower relies on a precise floor slope to direct water toward the drain. Work with a professional to ensure the gradient is subtle but effective. Typically, a slope of about 1/4 inch per foot is recommended, but it can be adjusted based on your drain placement and shower size.
Choose A Linear Drain
A linear drain is your best friend here. It sits flush with the floor and can be placed along the wall or at the shower entrance. This allows for a completely flat surface, which is easier to clean and looks minimal.
Plus, you can tile right over it for a seamless finish.
Keep The Tile Consistent
To maximize the seamless effect, use the same tile on the bathroom floor and inside the shower. This creates a continuous visual flow that makes the room feel larger. Large-format tiles or luxury vinyl planks work well because they have fewer grout lines, which adds to the clean look.
2. Use a Single Glass Panel Instead of a Door
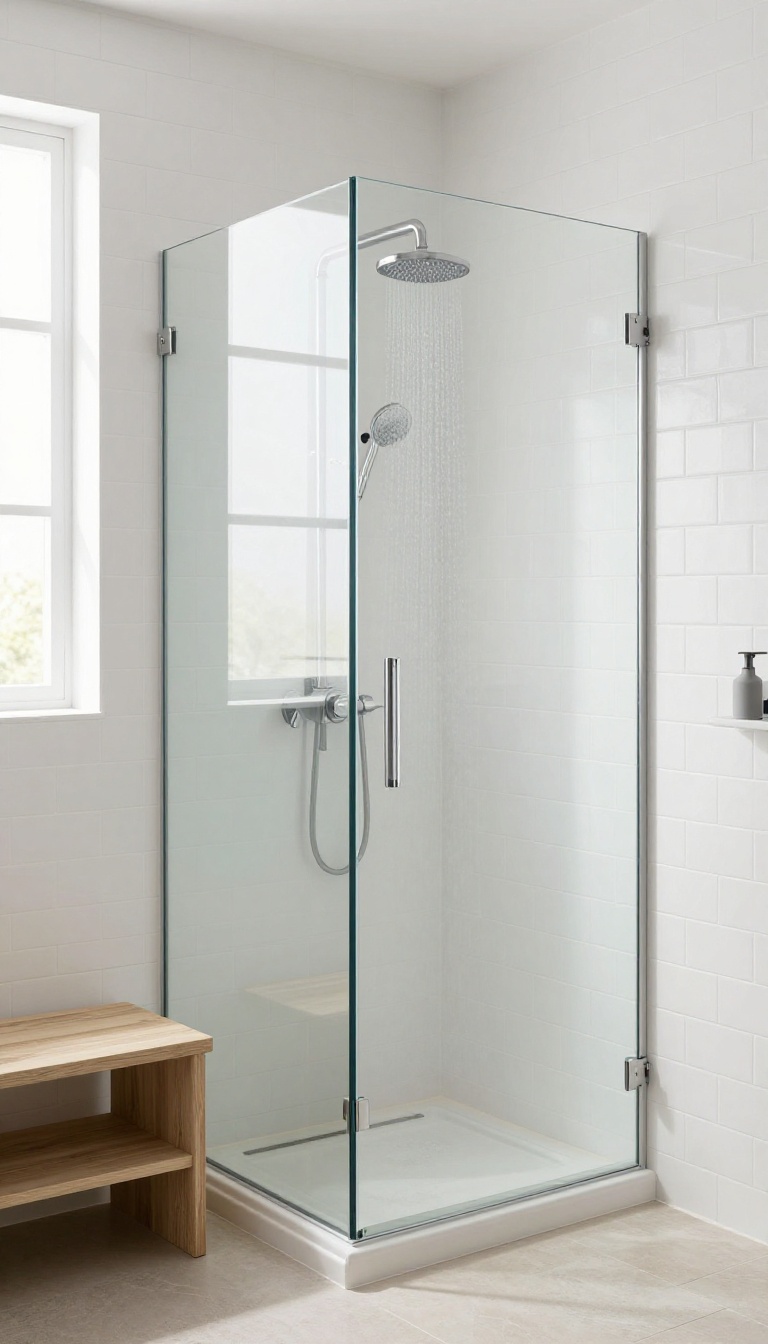
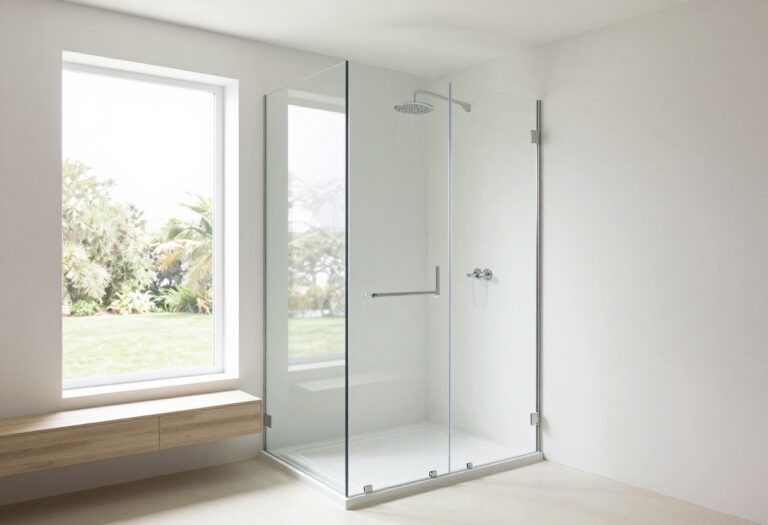
A shower door can eat up valuable floor space, especially when it swings open. Swapping it for a fixed glass panel changes the whole feel of the room. You get that open, airy look without sacrificing function.
A single glass panel acts as a sleek barrier that keeps water where it belongs while visually opening up the shower. Because there’s no moving hardware or track, the shower feels less boxed in. It also simplifies cleaning—no hinges or handles to scrub.
Why It Works In Small Bathrooms
In a tight space, every inch counts. A door that swings inward or outward needs clearance, which can interfere with nearby fixtures. A fixed panel sits flush along one side, leaving the rest of the shower open.
This makes the bathroom feel larger and more accessible.
How To Keep Water Contained
The trick is to angle the panel slightly toward the shower head or install a small threshold at the opening. You can also use a gentle slope in the floor to guide water toward the drain. Most people find that a well-placed panel does the job without needing a full enclosure.
Glass Options To Consider
Clear glass is the most popular choice because it lets light pass through, making the space feel bigger. If privacy is a concern, go with frosted or textured glass. For a modern look, try a black-framed panel or even a frameless design for a seamless appearance.
3. Opt for a Corner Shower to Save Space
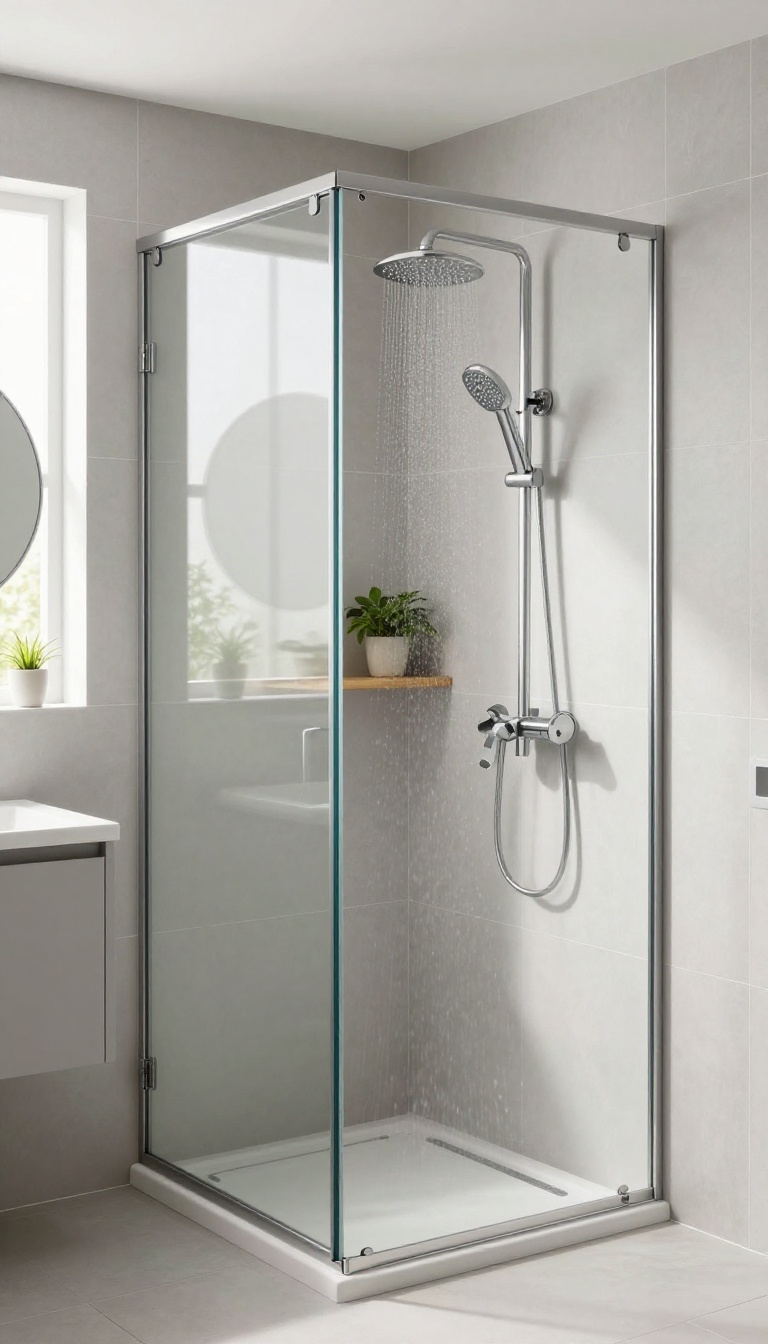
Corners often go underused in small bathrooms, but they’re prime real estate for a walk-in shower. Tucking the shower into a corner frees up the center of the room, making the space feel more open and easier to move around. This layout works especially well in narrow or square bathrooms where every inch counts.
You can still get a spacious shower feel without sacrificing the rest of the room’s functionality.
A corner shower is a smart way to maximize a small bathroom’s footprint. By using two walls, you avoid the need for extra partitions and keep the visual flow uninterrupted. This setup also allows you to place the vanity and toilet along the opposite wall, creating a balanced, efficient layout.
One of the biggest advantages is the flexibility in size. You can make the shower as compact or as generous as your space allows, and you can choose from a variety of shapes—square, quarter-round, or neo-angle—to fit the corner perfectly. With the right glass enclosure, the shower can feel open and airy, not cramped.
Choose The Right Shape
Square corner showers are the most common and offer a roomy interior, but they can feel bulky if the bathroom is very small. A neo-angle shower with a cut-off corner takes up less visual space and adds a modern touch. Quarter-round showers are another option, though they tend to be smaller and better suited for powder rooms.
Think about how you’ll use the shower. If you need elbow room, a square or neo-angle might be best. If you’re just looking for a quick rinse, a smaller quarter-round could work fine and leave more floor space for other fixtures.
Use Glass Panels For An Open Feel
A full glass enclosure or even a single glass panel can make a corner shower feel less boxed in. Frameless glass keeps sightlines clear, so the eye travels across the room without interruption. This trick makes the bathroom appear larger than it actually is.
If you’re worried about water splashing out, consider a fixed glass panel on one side and a door on the other. That way, you get the open look but still keep the floor dry.
Plan The Plumbing Early
Corner showers often require moving or rerouting plumbing, especially if the existing pipes are on the opposite wall. This can add to the renovation cost, so it’s worth planning ahead. If you’re working with a tight budget, try to position the shower near existing water lines to minimize extra work.
Also, think about where the showerhead and controls will go. Placing them on an exterior wall might require extra insulation, but it’s a minor detail that can affect comfort and energy efficiency.
4. Choose Large-Format Tiles to Minimize Grout Lines
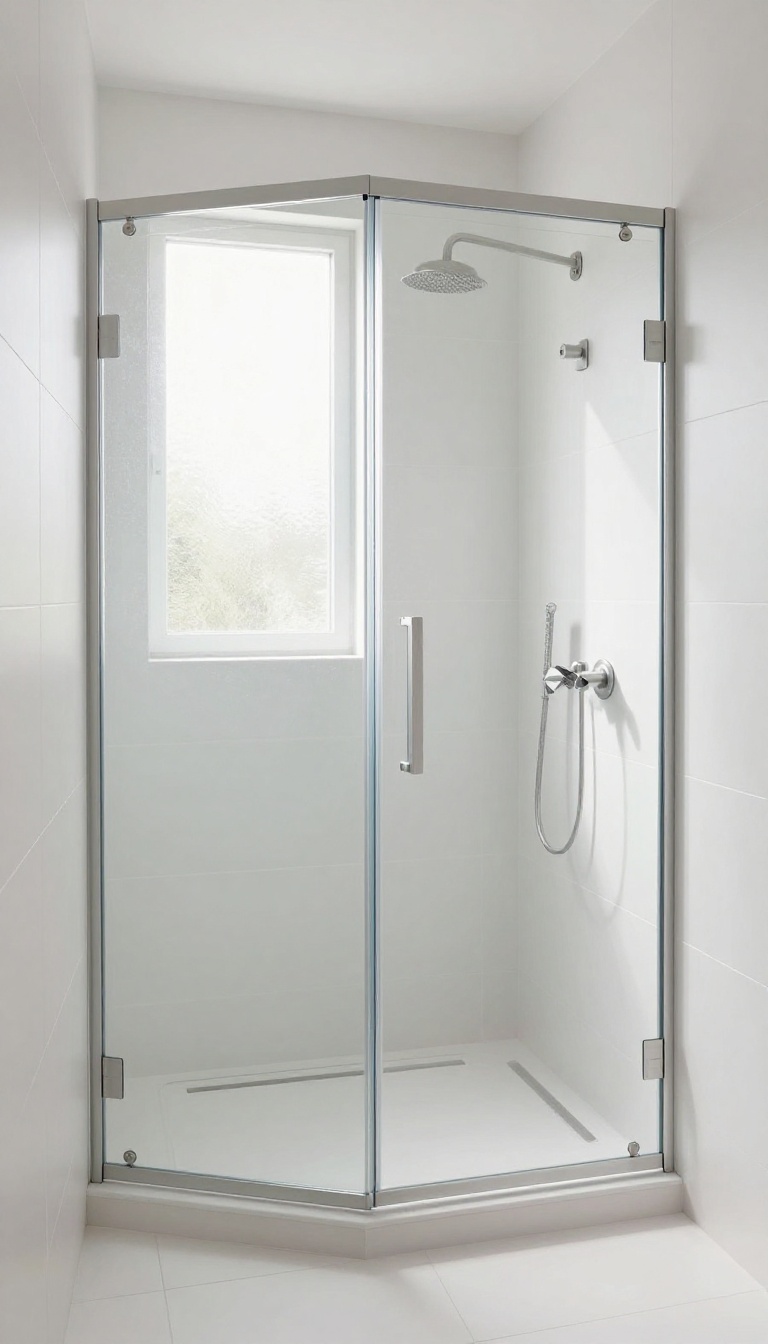
Grout lines are like visual noise in a small bathroom—they break up the surface and make the space feel busier than it is. Large-format tiles solve that by covering more wall and floor area with fewer interruptions. The result is a clean, seamless look that reads as more open and airy.
Plus, fewer grout lines mean less scrubbing and sealing, which is a win for anyone who wants a low-maintenance shower.
Large-format tiles, typically 12×24 inches or larger, are a smart choice for small walk-in showers. They reduce the number of grout lines, creating a smooth, uninterrupted surface that visually expands the space. This is especially effective when you use the same tile on the walls and floor, blurring the boundaries and making the shower feel larger than it actually is.
Beyond aesthetics, fewer grout lines mean fewer places for soap scum and mildew to hide, making cleanup a breeze. When shopping, look for rectified tiles with tight edges for an even slimmer grout joint, and consider a matte finish to reduce glare and add a touch of sophistication.
Why Large Tiles Work In Small Spaces
Large tiles trick the eye into seeing more space because there are fewer visual breaks. In a small shower, every inch counts, and a continuous surface makes the area feel more expansive. Additionally, large tiles can be installed with minimal grout lines, which not only looks cleaner but also reduces the chance of water seeping into the substrate.
This is a practical advantage that also enhances durability.
Choosing The Right Size And Finish
While oversized tiles like 24×48 inches are trendy, they can be tricky to install in tight corners. For a small walk-in shower, 12×24 or 16×32 inches often work best. A matte or textured finish provides better slip resistance and hides water spots better than glossy tiles.
Also, consider a large-format porcelain tile, which is dense, water-resistant, and available in a wide range of styles that mimic natural stone or concrete.
Installation Tips For A Seamless Look
To minimize grout lines even further, use a grout color that closely matches the tile. This creates a nearly invisible joint. Opt for a thin grout line, around 1/8 inch, and use a high-quality, stain-resistant grout.
If you're hiring a pro, ask for a 'rectified' tile that can be installed with very tight joints. For DIYers, large tiles require a perfectly flat substrate to avoid lippage, so take time to prep the surface properly.
5. Install a Linear Drain for a Flat Floor
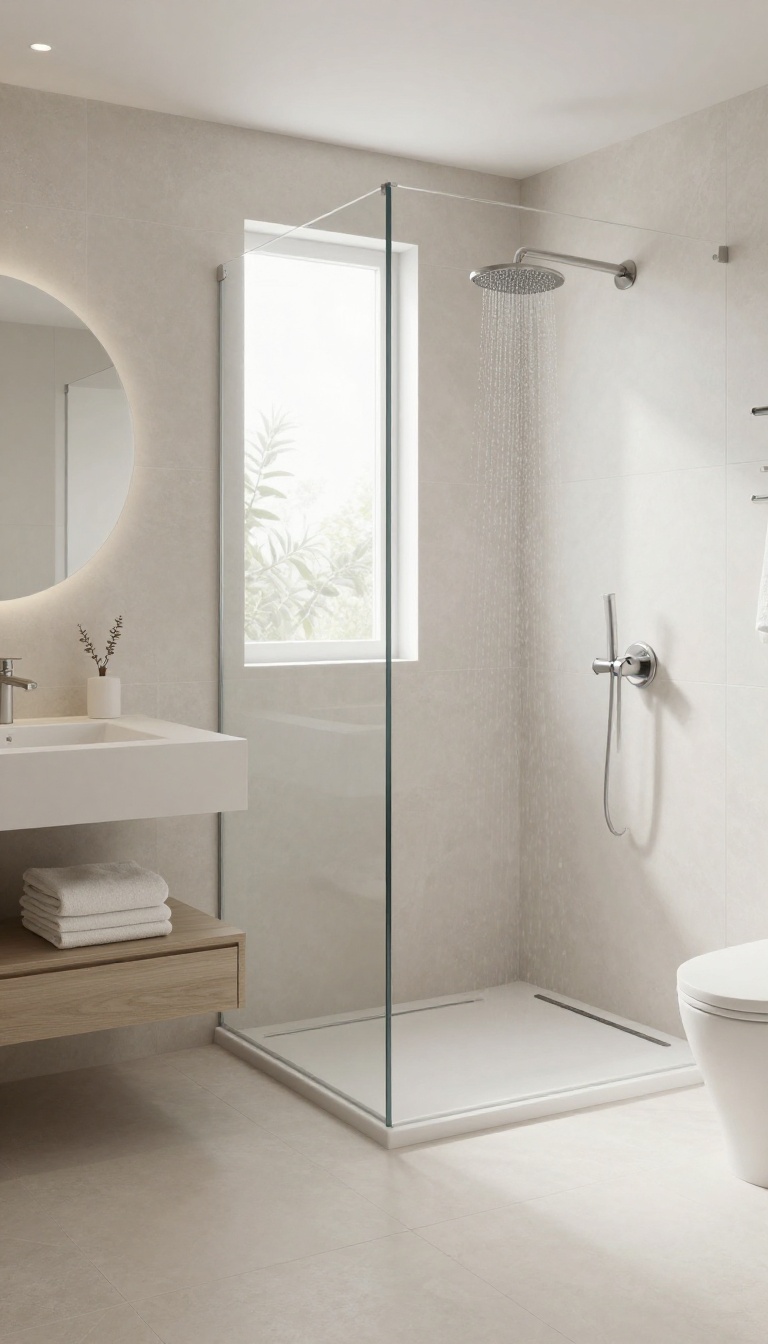
A linear drain might not be the first thing you think of when planning a shower, but it’s a quiet game-changer. Instead of the usual center drain that forces a noticeable slope in every direction, a linear drain sits along one edge or wall. That simple shift lets you keep the floor almost perfectly flat, which opens up design options you can’t get otherwise.
For a small bathroom, that flat floor means you can skip the curb entirely. The shower becomes a seamless part of the room, making the space feel larger and more open. It’s a practical upgrade that also looks incredibly clean and modern—exactly what a compact walk-in shower needs.
A linear drain is a long, narrow trough that collects water along one side of the shower floor. Because it only needs a slight slope in one direction, the rest of the floor can stay level. That’s what makes a curbless entry possible—there’s no raised lip to trip over or visually break up the space.
In a small bathroom, this flat floor is a huge advantage. It lets you tile continuously from the bathroom floor right into the shower, which visually expands the room. You also avoid the awkward step-over that traditional curbs create, making the shower easier to access for everyone.
Beyond the look, linear drains are easier to keep clean. They’re often removable for quick wipe-downs, and the flat surface means no standing water pooling around your feet. It’s a small change that makes a big difference in both form and function.
Why A Flat Floor Works In Small Spaces
A flat floor is a visual trick that makes a small bathroom feel bigger. When the shower floor matches the rest of the bathroom, your eye doesn’t stop at a curb or a change in height. The continuous line of tile creates a seamless flow that opens up the room.
It also makes cleaning easier. Without a curb, there’s no lip to catch dirt or grime. You can simply sweep or mop the entire floor without worrying about a transition point.
That’s a win for anyone who wants a low-maintenance bathroom.
Choosing The Right Linear Drain
Not all linear drains are the same. Look for one with a removable grate that’s easy to lift out for cleaning. You’ll also want to pick a finish that blends with your fixtures—stainless steel or brushed nickel are popular choices that stay looking sharp.
Consider the size and placement. A longer drain along the back wall or near the entrance can handle more water flow. Make sure it’s installed with a slight pitch toward the drain so water doesn’t pool anywhere else.
A professional can help you get the slope just right.
Installation Tips For A Curbless Look
The key to a curbless shower is getting the floor height right. The bathroom floor should be slightly higher than the shower floor, or you can recess the shower pan during construction. That way, water naturally flows toward the linear drain without needing a curb.
Work with a contractor who has experience with linear drains. The waterproofing and slope are critical, and getting them wrong can lead to leaks. Also, plan the tile layout so the drain sits flush with the surrounding floor—this creates that seamless, minimalist look you’re after.
6. Add a Built-In Niche for Storage
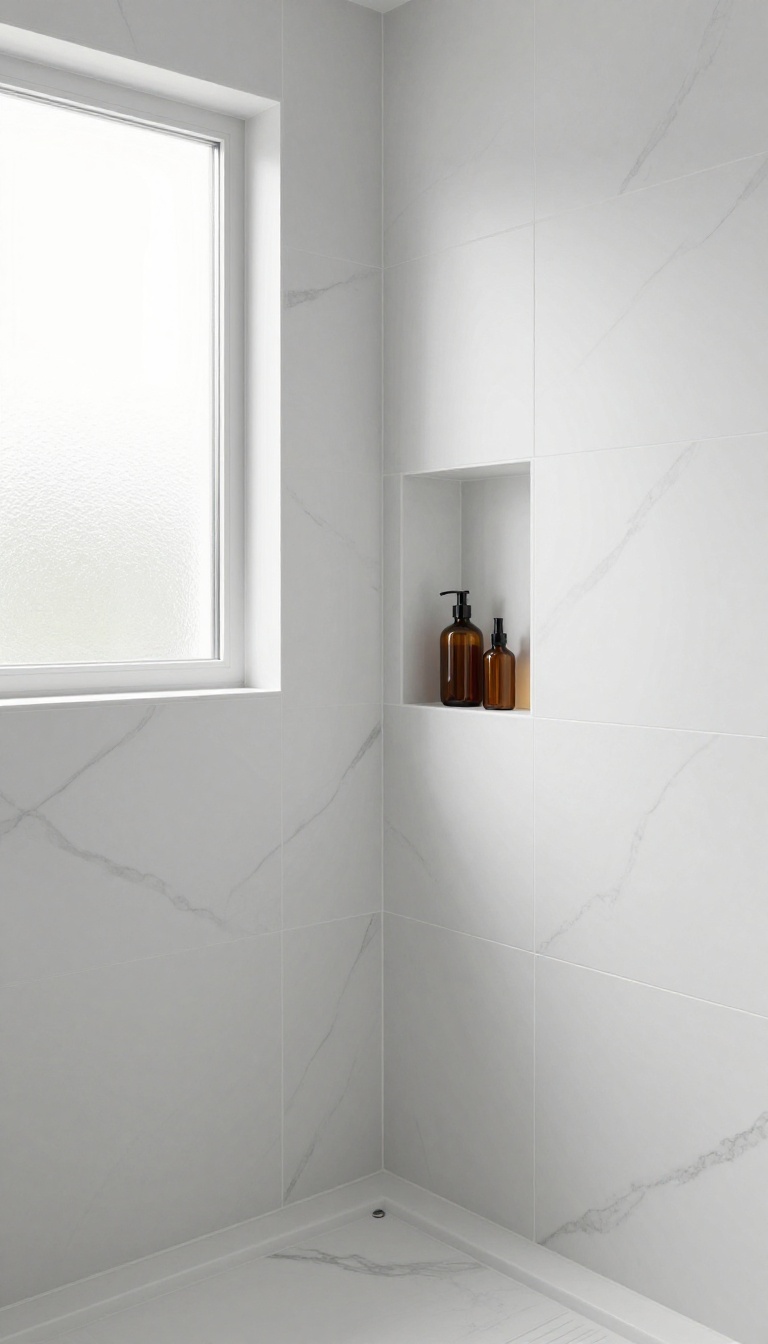
Shampoo bottles and soap bars can quickly clutter a small shower, making it feel cramped. A built-in niche solves this by providing a recessed shelf that keeps everything within easy reach without eating into your floor space. It’s a simple upgrade that adds both function and a touch of polish to your walk-in shower.
A built-in niche is one of those details that feels luxurious but is surprisingly practical. Instead of hanging a wire caddy or balancing bottles on a corner shelf, you get a sleek, flush storage spot that’s easy to clean and looks like it was always part of the design. In a small bathroom, every inch counts, and a niche uses the wall cavity, so you don’t sacrifice any walking room.
Choose The Right Size And Placement
Think about what you’ll actually store—shampoo, conditioner, body wash, maybe a razor. A niche that’s about 12 inches wide, 12 inches tall, and 4 to 5 inches deep works for most bottles. Place it at chest or shoulder height so you can grab products without bending or stretching.
If you have a shower bench, a lower niche can hold soap or a loofah.
Match Materials To Your Shower Walls
The niche should blend seamlessly with your tile or waterproof panel. If you’re using large-format tiles, you can cut a piece to fit the niche’s back, or use a contrasting tile to make it a design feature. For a seamless look, use the same tile on the niche walls and floor.
Ensure the niche has a slight slope toward the drain so water doesn’t pool.
Keep It Clean And Mold-free
A niche is easy to wipe down, but you need to make sure it’s properly waterproofed behind the tile. Use a waterproof membrane and seal all edges. Choose grout that’s mold-resistant, and consider a solid surface insert that has no grout lines at all.
This cuts down on cleaning time and keeps your shower looking fresh.
7. Use Light Colors to Make the Space Feel Bigger
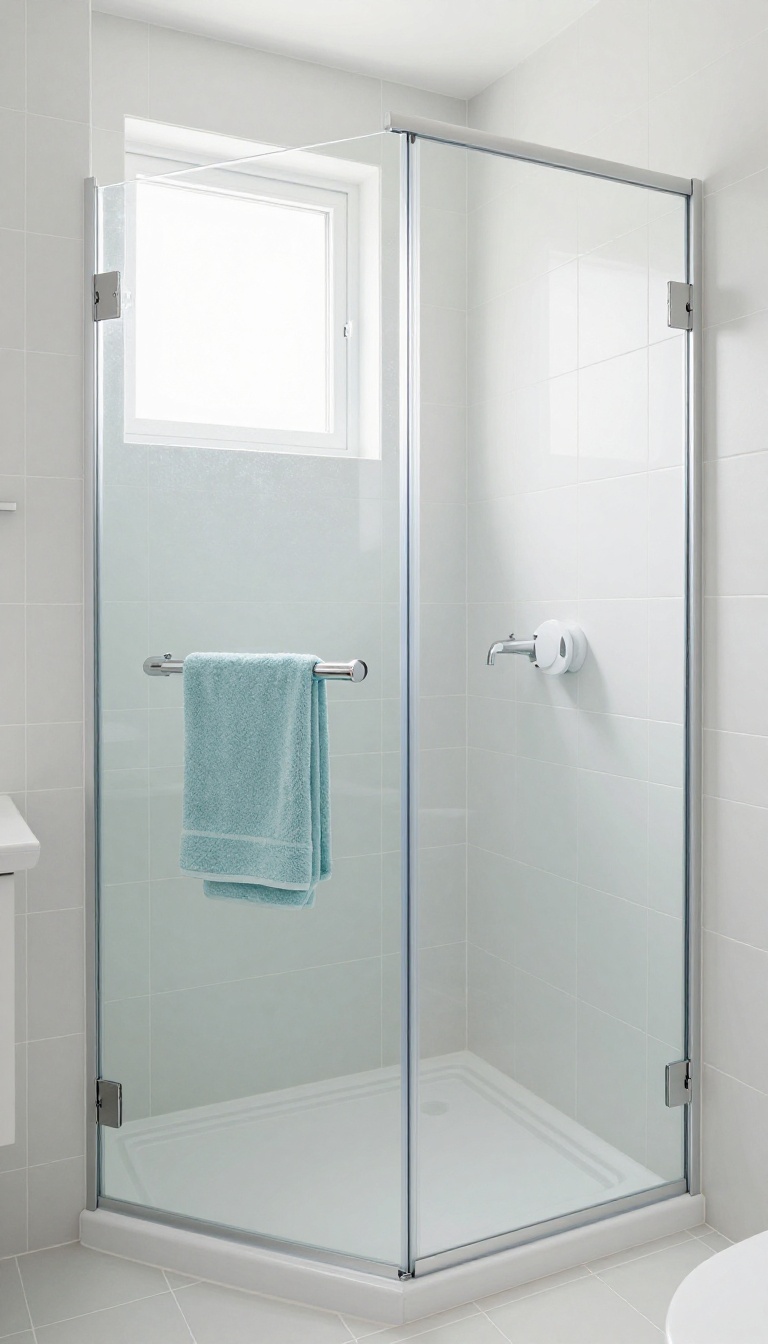
When you're working with a small bathroom, the color palette you choose can do a lot of heavy lifting. Light colors—think soft whites, pale grays, and gentle pastels—reflect natural and artificial light, which instantly opens up the room. It's a simple trick that makes the space feel larger and more inviting.
But it's not just about picking any light shade. The key is to use it consistently across walls, tiles, and even the ceiling to create a seamless flow. Pairing those light surfaces with white grout helps eliminate visual interruptions, so your eye travels smoothly around the room without stopping at busy lines.
Light colors are a classic choice for small bathrooms because they bounce light around, making the area feel airy and less confined. When you opt for light tiles and paint, you're essentially creating a blank canvas that reflects both natural light from windows and artificial light from fixtures. This effect is especially powerful in a walk-in shower, where you want the space to feel open and refreshing.
One of the biggest mistakes people make is using dark grout with light tiles. That contrast creates a grid pattern that visually shrinks the space. Instead, choose white or light gray grout to blend with the tiles, giving the walls a smooth, continuous look.
This simple swap can make a huge difference in how expansive the bathroom feels. Another trick is to carry the same light color from the shower onto the bathroom walls. When the shower and the rest of the room share a similar palette, the eye doesn't see a hard boundary, which makes the whole area feel larger.
You can even paint the ceiling a shade lighter than the walls to draw the eye upward, adding a sense of height. Don't forget about the floor. Light-colored flooring, whether it's tile, vinyl, or stone, can also help open up the space.
If you're worried about maintenance, choose a light porcelain tile that's durable and easy to clean. The goal is to create a cohesive, bright environment that feels like a retreat, not a cramped closet.
Pick The Right Light Tiles
Not all light tiles are created equal. Large-format tiles with a matte or subtle glossy finish work best because they have fewer grout lines, which means less visual clutter. Glossy tiles reflect more light, but they can be slippery when wet, so consider a textured finish for the shower floor.
For walls, you can go with a polished ceramic or porcelain tile in a soft white or light gray.
Match Your Grout To The Tiles
White grout is your best friend in a small bathroom. It blends seamlessly with light tiles, creating a smooth surface that doesn't break up the space. If you're using a slightly off-white tile, pick a grout that's a shade lighter or the same color.
Avoid dark grout unless you're intentionally going for a bold pattern, which can make the room feel smaller.
Coordinate With Paint And Fixtures
Your wall paint should complement the tile color. A soft white, cream, or pale gray works well. Keep the trim and ceiling in the same family to avoid harsh contrasts.
For fixtures, consider brushed nickel or chrome—they reflect light without adding too much visual weight. Even your shower curtain or glass panel should be light or clear to maintain that open feel.
8. Incorporate a Bench for Comfort and Function
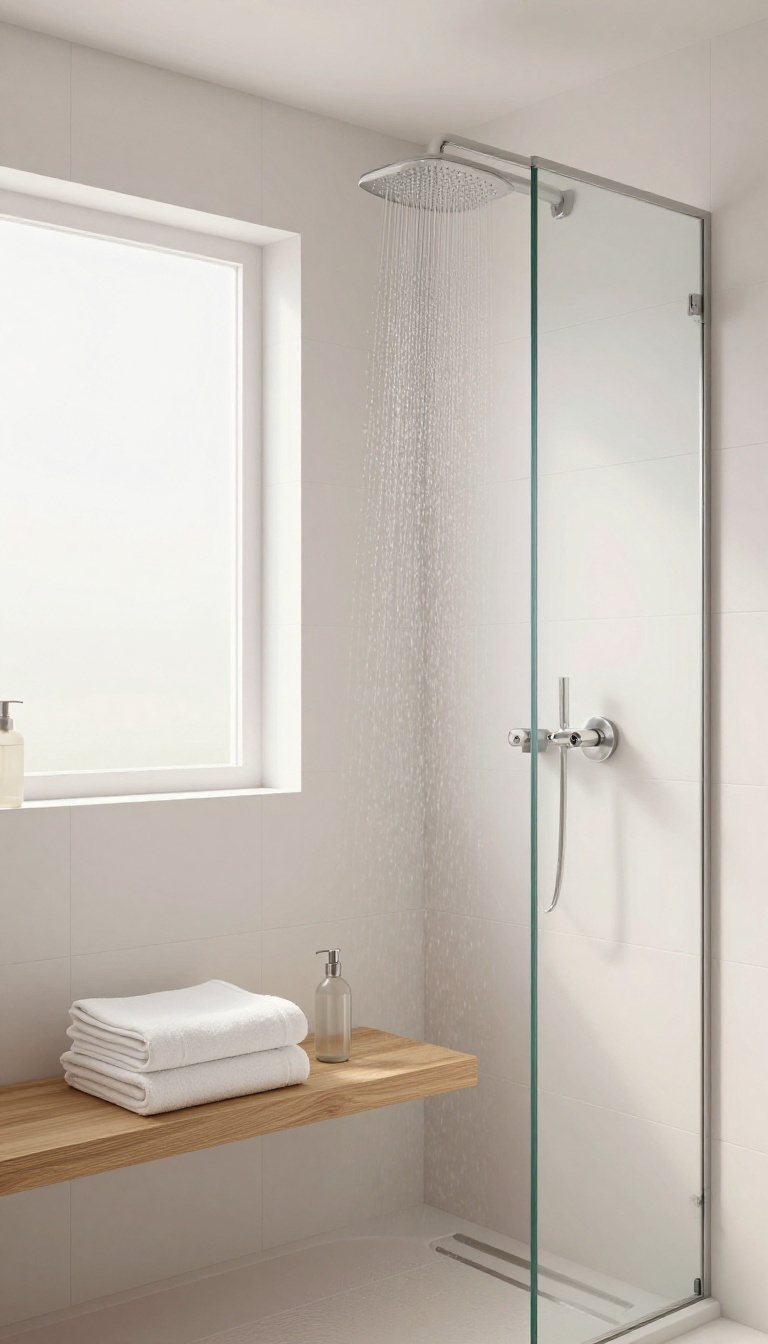
A bench in a small walk-in shower might sound like a luxury you can't afford, but it's actually a smart, space-saving addition. It gives you a place to sit while shaving your legs or just to steady yourself, and it can double as a handy ledge for your shampoo and soap. The trick is to choose a design that doesn't eat up your limited floor space.
When you're tight on square footage, every inch counts. A slim bench or corner seat can make your shower feel more spacious and inviting, not less. Floating benches are a great option because they leave the floor open, making the area easier to clean and visually lighter.
Plus, they add a modern touch that fits right in with a walk-in shower's clean lines.
Floating Vs. Floor-mounted
Floating benches are attached to the wall, so they don't take up any floor space. They create a sleek, airy look and are easier to clean under. Floor-mounted benches are sturdier and can support more weight, but they can make the space feel more cramped.
For a small bathroom, floating is usually the way to go—unless you need extra stability or have mobility concerns.
Material Matters
Choose a material that can handle constant moisture and is easy to maintain. Teak is a popular choice because it's naturally water-resistant and doesn't get too slippery. Stone or quartz benches look elegant but can be cold and heavy.
If you go with a floating bench, make sure it's properly anchored to the wall and can support your weight safely.
Placement And Size
Think about where the bench will be most useful. A corner seat can tuck neatly out of the way, while a long, slim bench along one wall can double as a shelf. Keep it proportional to the shower—too big and it overwhelms, too small and it's not practical.
Aim for a depth of 12 to 15 inches so you can sit comfortably without taking up too much room.
9. Choose a Frameless Glass Enclosure for Clarity
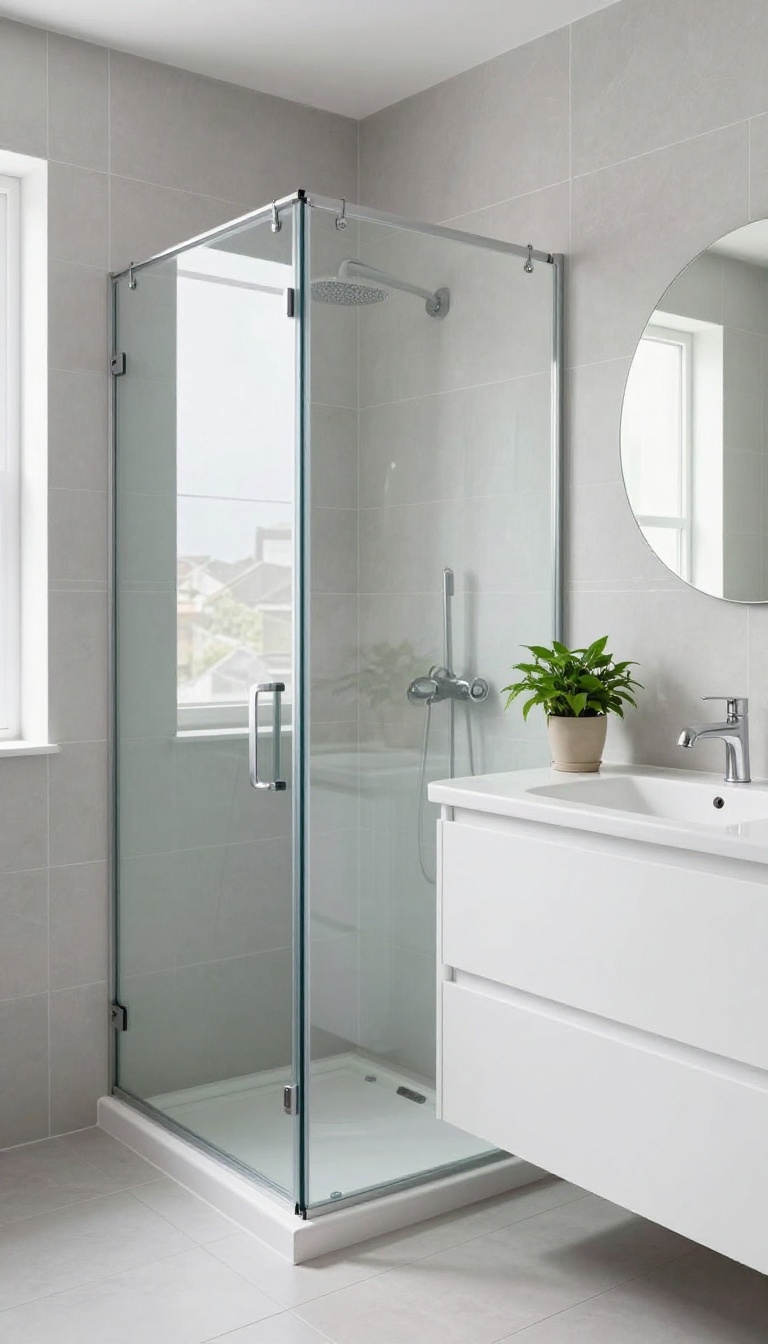
If you want your small bathroom to feel open and airy, the shower enclosure can make or break the effect. Frameless glass does exactly what its name suggests: it removes the bulky metal frames that often box in a shower and visually chop up the room. The result is a clear, unobstructed view that lets your eye travel across the entire space, making it feel larger than it actually is.
Frameless glass is a sleek, modern choice that pairs well with almost any design style. Without the visual weight of frames, the glass becomes almost invisible, allowing your tile, fixtures, and even the wall color to take center stage. Plus, the lack of metal tracks means fewer places for soap scum and grime to hide, making cleaning easier.
While frameless glass can be a bit pricier than framed options, the sense of openness it brings to a compact bathroom is worth the investment.
Why Frameless Feels Bigger
The magic of frameless glass lies in its transparency. With no frames to break up the sightline, your eye can travel from the shower to the rest of the bathroom without interruption. This continuous visual flow tricks the brain into perceiving more space.
In a small bathroom, that illusion is everything. You get the function of a shower without the visual clutter that typically comes with an enclosure.
Installation And Safety Considerations
Frameless glass uses thicker tempered glass (usually 3/8 or 1/2 inch) and heavy-duty hinges and clamps to stay secure. Because of the weight, proper installation is crucial. It's best to hire a professional who can ensure the glass is level and the hardware is anchored correctly.
Also, consider a glass door that swings both ways or a sliding panel to save space. And don't forget to choose a glass with a protective coating to resist water spots and make cleaning a breeze.
Pairing With Other Design Elements
Frameless glass is a blank canvas that works beautifully with other small-bathroom strategies. For instance, using large-format tiles on the shower wall creates a seamless look that extends beyond the glass. You can also add a niche for toiletries to keep the shower floor clutter-free.
And since the glass is clear, you can play with bold tile patterns or a striking vanity without worrying about the shower competing for attention.
10. Maximize Vertical Space with a High Showerhead
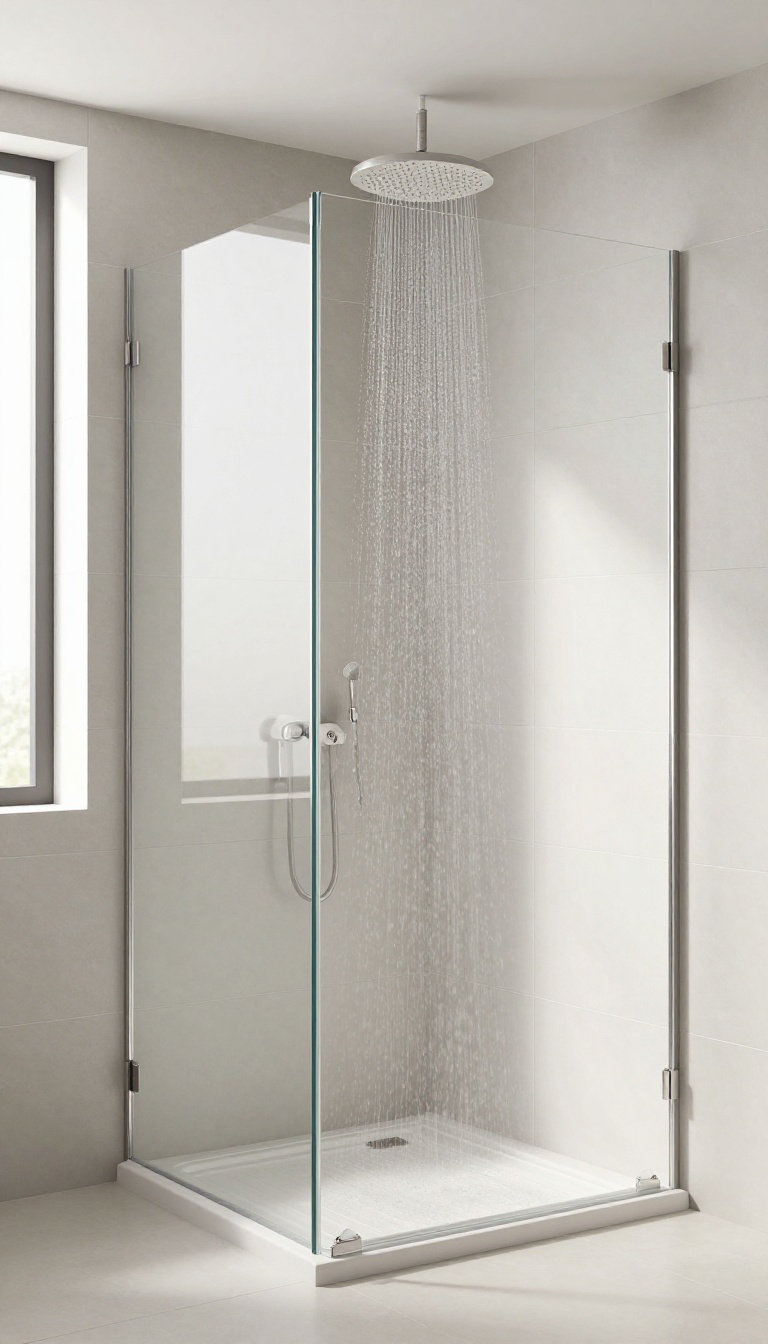
When floor space is tight, look up. A high-mounted showerhead uses the vertical plane, which is often underutilized in small bathrooms. This simple switch can make your shower feel more spacious and add a touch of luxury without sacrificing any square footage.
Rain showerheads mounted on the ceiling or a high wall create a gentle, spa-like cascade. Alternatively, a handheld showerhead on a sliding bar offers flexibility and easy cleaning. Both options draw the eye upward, making the room feel taller and more open.
Installing a high showerhead is a smart move for small walk-in showers. It frees up wall space for storage or grab bars and gives you a more enjoyable shower experience. Plus, it’s a relatively easy upgrade that can be done during a renovation or as a standalone project.
Why High Placement Works In Small Spaces
In a compact shower, every inch counts. A high showerhead keeps the lower walls clear, allowing you to install corner shelves or a niche without interference. It also prevents the feeling of a cramped, boxed-in space by drawing the eye upward.
This visual trick can make the ceiling seem higher and the overall area more expansive.
Rain Showerheads Vs. Handheld Options
A rain showerhead, mounted on the ceiling or high on the wall, delivers a steady, gentle flow that feels luxurious. It’s perfect if you prefer a fixed, hands-free experience. On the other hand, a handheld showerhead on a sliding bar gives you the flexibility to adjust the height and direct water where you need it.
This is great for rinsing off, cleaning the shower, or bathing pets or kids.
Installation Tips For A Polished Look
When installing a high showerhead, ensure the water pressure is adequate for the height. Consider a pressure-balanced valve to maintain consistent temperature. For a sleek appearance, use a flush-mount rain head or a curved arm that complements your fixtures.
If you’re not handy, hire a professional to avoid leaks and ensure proper waterproofing around the ceiling or wall mount.
11. Keep the Shower Open to the Room
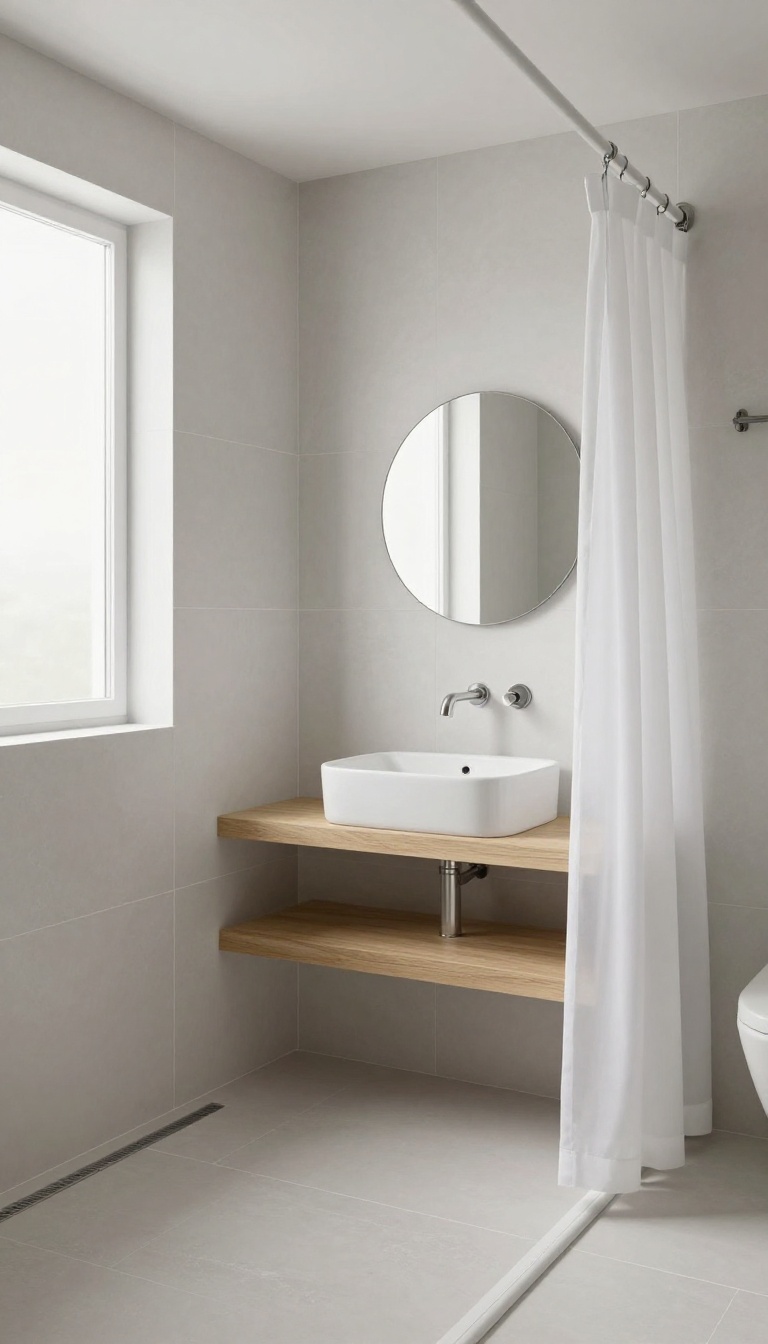
Who says a shower needs a door or a full enclosure? By leaving the shower completely open to the rest of the bathroom, you can make a small space feel twice as large. This design trick removes visual barriers, letting the eye travel freely from one end of the room to the other.
The key is to create a subtle separation without closing things off. A gentle slope in the floor directs water to a linear drain, while a simple shower curtain (or even nothing at all) keeps things private when needed. The result is a minimalist, spa-like vibe that feels airy and uncluttered—even in a tight footprint.
An open shower is a bold choice, but it’s surprisingly practical for small bathrooms. Without walls or glass, you gain precious visual space and eliminate the hassle of cleaning tracks and panels. The trick is to make the wet area feel intentional—not just a corner with a drain.
Use materials that flow seamlessly from the rest of the bathroom, like large-format tiles that continue from floor to wall. Add a slight slope (about 1/4 inch per foot) toward a linear drain placed along the wall or at the entrance. For privacy, a ceiling-mounted shower curtain can be pulled across when needed, but left open most of the time to keep the room feeling expansive.
This setup works best in bathrooms where the toilet and vanity are at least a few feet away, so splashes aren’t an issue. With careful planning, an open shower can be the most liberating feature of your small bathroom.
Why Open Showers Work In Small Spaces
Open showers are a natural fit for small bathrooms because they remove the visual clutter of doors and panels. Without a barrier, the eye travels from the shower to the rest of the room, making the space feel larger. Plus, you don’t have to worry about door swing radius or glass maintenance—just a clear, open area that’s easy to clean and access.
Design Details That Make It Work
To pull off an open shower, you need a few key design elements. First, a linear drain is essential—it sits flush with the floor and catches water efficiently. Second, choose a non-slip floor tile with a subtle texture to avoid slips when wet.
Third, consider a slight curb or a change in floor height to define the shower zone without closing it off. Finally, position the showerhead on a wall that directs water away from the rest of the room, and add a slight slope to guide water to the drain.
Privacy And Splash Control
Privacy is a common concern with open showers, but there are easy fixes. A ceiling-mounted shower curtain or a freestanding privacy panel can be pulled into place when needed. For splash control, use a showerhead with a wide spray pattern and position it so the water hits the wall rather than the opening.
You can also add a small glass panel on one side if you want a bit of separation without full enclosure. These simple additions give you the best of both worlds—openness when you want it, and privacy when you don’t.
FAQ
How much does it cost to install a walk-in shower in a small bathroom?
Costs vary widely based on materials and labor, but a basic walk-in shower in a small bathroom can range from $3, 000 to $8, 000. Curbless designs and custom glass will add to the price, while using standard sizes and simple tiles can keep it lower.
Do walk-in showers make a small bathroom feel bigger?
Yes, because they eliminate the visual barrier of a shower door or curtain, making the floor space appear larger. Using light colors and large tiles enhances this effect.
What is the minimum size for a walk-in shower?
A comfortable minimum is about 36 x 36 inches, but you can go smaller (30 x 30) if space is extremely tight. Just ensure there's enough room to move and that the door or opening is at least 24 inches wide for accessibility.
Can I convert my existing bathtub into a walk-in shower?
Yes, it's a common project. You'll need to remove the tub, adjust the plumbing, and install a new shower base and waterproofing. It's a significant remodel but can be done in a few days to a week.
Are walk-in showers safe for seniors or people with mobility issues?
Absolutely. Curbless entries eliminate tripping hazards, and adding a bench, grab bars, and a handheld showerhead can make them very accessible. It's a popular choice for aging in place.
Conclusion
A walk-in shower can transform a cramped bathroom into a functional, stylish retreat. With these 11 ideas, you can create a space that feels open and inviting, no matter how small your bathroom is. Start by assessing your layout and budget, then pick the ideas that fit your needs.
Remember, the best design is one that works for your daily routine. Whether you go curbless or keep it simple with a glass panel, the goal is to make your bathroom a place you enjoy using. Happy remodeling!