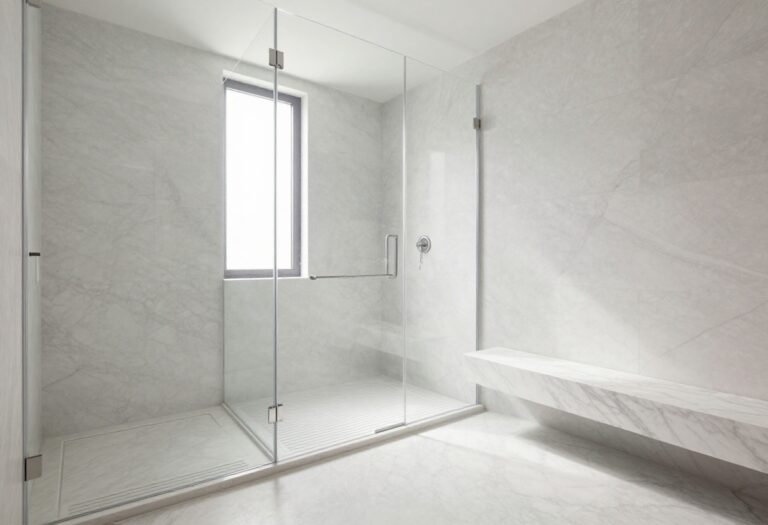
13 Toilet and Shower Room Ideas for a Simple, Stylish Finish
Transforming a compact toilet or shower room into a serene, stylish space doesn't require a massive renovation budget—just a few smart swaps. The right fixtures, textures, and layout tweaks can make even the smallest bathroom feel open, airy, and effortlessly put-together.
From floating vanities that trick the eye to heated floors that pamper bare feet, these 13 ideas focus on practical upgrades with a high visual payoff. Each suggestion is simple to implement, whether you're tackling a full remodel or refreshing a single corner.
Ready to turn your daily routine into a mini retreat? Let's dive into the details that make all the difference.
1. Swap in a Floating Vanity for Instant Airiness
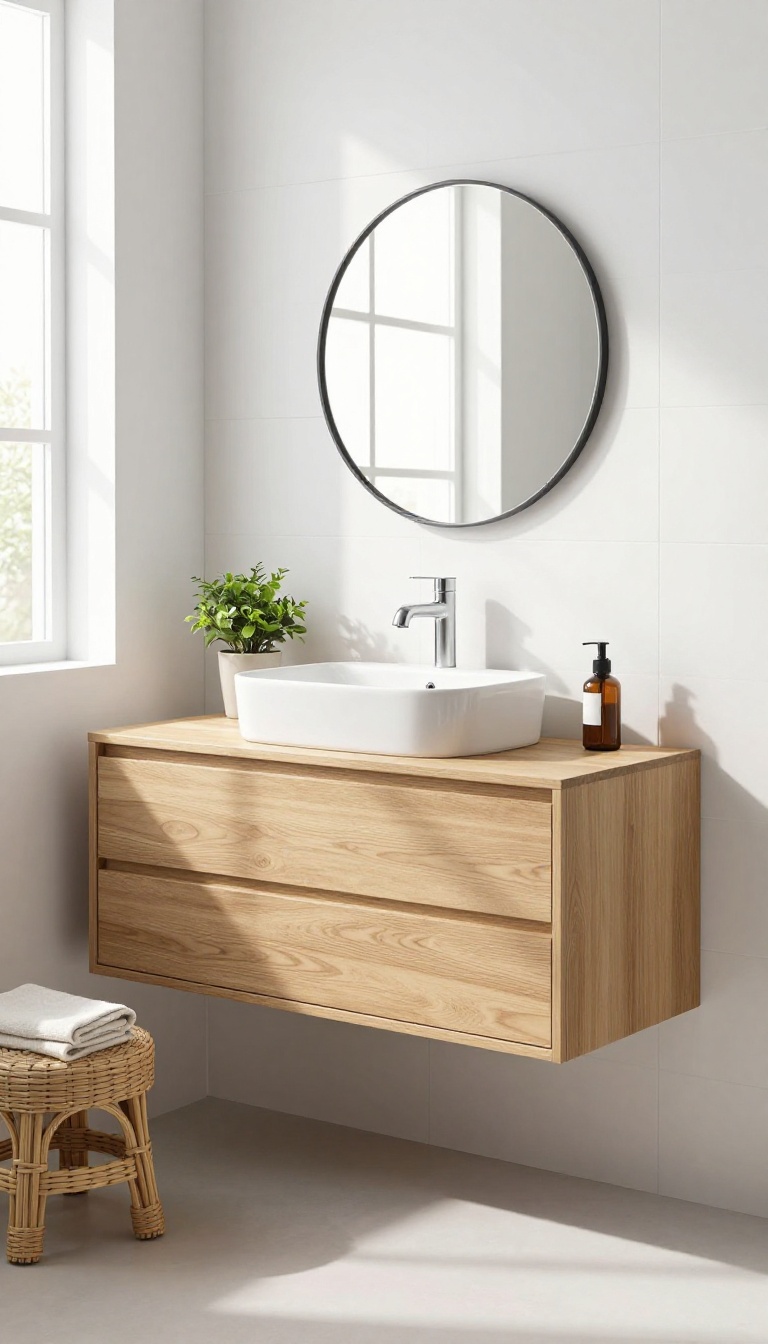
A floating vanity is one of those small changes that quietly transforms a bathroom. By lifting the cabinet off the floor, you open up visual space and make the room feel less boxy. It also gives you a spot to tuck a stool or a small scale, which is handy in tight quarters.
Beyond the look, a wall-mounted vanity makes cleaning a breeze. No more chasing dust bunnies around awkward baseboards—just a quick sweep under the unit. The key is choosing a style that balances open space with enough storage to keep your daily essentials out of sight.
Why Floating Works In Small Rooms
When floor area is limited, every inch counts. A floating vanity exposes more of the floor, which tricks the eye into seeing a larger room. That visual break also lets you add a heated towel rail or a low basket underneath without crowding the space.
Choosing The Right Materials
Go for moisture-resistant materials like solid oak, teak, or a quality MDF with a waterproof finish. A matte or satin sheen hides water spots better than high gloss. Pair it with a vessel sink or an integrated basin for a seamless look that’s easy to wipe down.
Storage That Keeps Things Tidy
Hidden storage is your friend. Look for a vanity with soft-close drawers and built-in dividers for toiletries and cleaning supplies. If you prefer open shelving, use matching baskets or glass jars to keep the visual noise low and the style consistent.
2. Upgrade to a Rainfall Shower Head for a Spa Feel
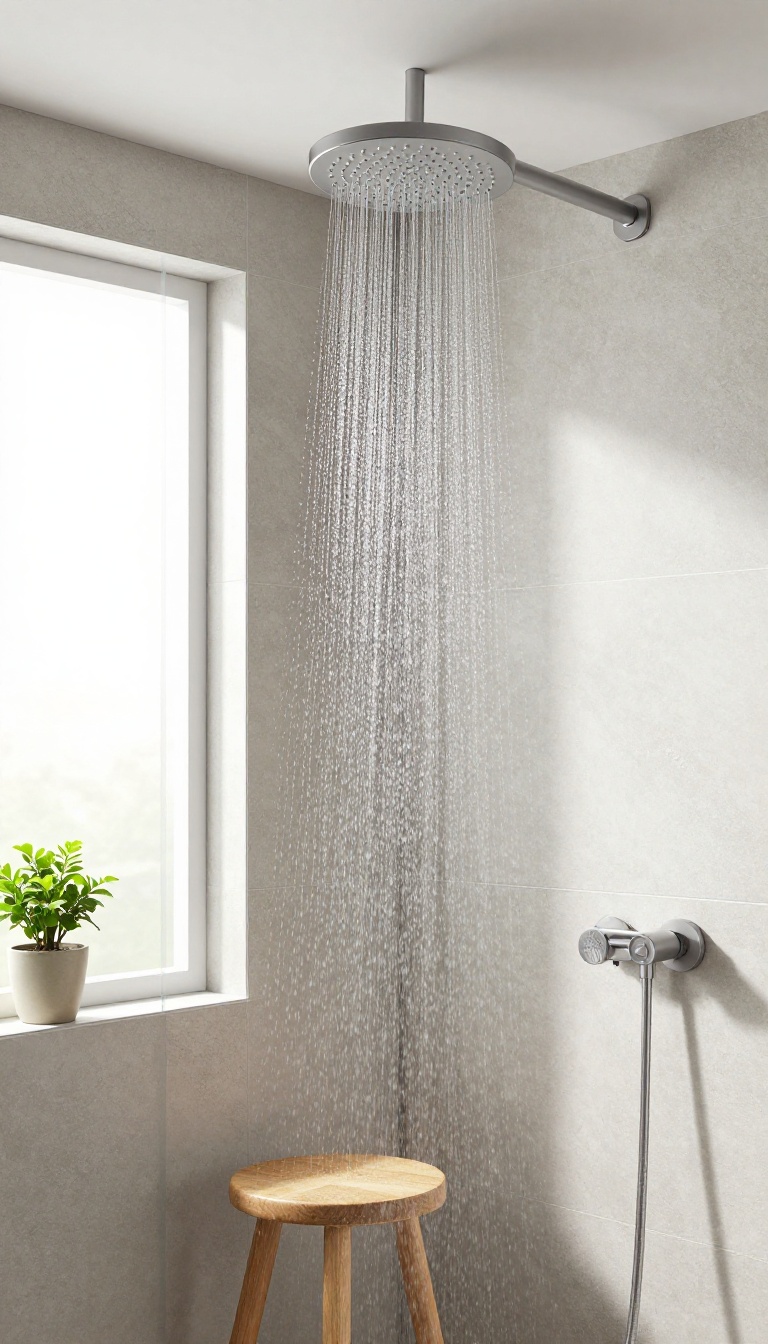
If your current shower feels more like a dribble than a downpour, swapping in a rainfall shower head is a game-changer. It’s one of those simple upgrades that makes a small bathroom feel like a luxury hotel. And the best part?
You don’t need a plumber or a big budget to make the switch.
A rainfall shower head delivers a gentle, immersive flow that mimics natural rain. It’s an easy swap that instantly elevates your daily shower experience. But not all rainfall heads are created equal—here’s what to consider before you buy.
Choosing The Right Size And Style
Rainfall heads come in diameters from 6 to 12 inches or more. A larger head covers more surface area, but make sure it fits your shower space and water pressure. If you have low water pressure, look for a model with a wider spray pattern or an integrated flow compensator.
Also, decide between a ceiling-mounted or wall-mounted arm—ceiling-mounted offers the true rainfall effect, while wall-mounted is easier to install in existing showers.
Installation Tips For A Smooth Swap
Most rainfall heads use a standard 1/2-inch thread, so they can replace your existing head in minutes. Wrap plumber's tape around the threads to prevent leaks. If you’re mounting on the ceiling, you may need an extension arm or a flexible hose.
For a clean look, consider a head with a ball joint that lets you angle the spray. Always turn off the water supply before you start.
Maintenance And Long-term Care
Rainfall heads have many nozzles that can clog with mineral deposits, especially in hard water areas. Soak the head in vinegar every few months to dissolve buildup. Wipe it dry after use to prevent water spots.
With a little care, your rainfall head will keep delivering that spa-like experience for years.
3. Add a Heated Towel Rail for Warmth and Luxury
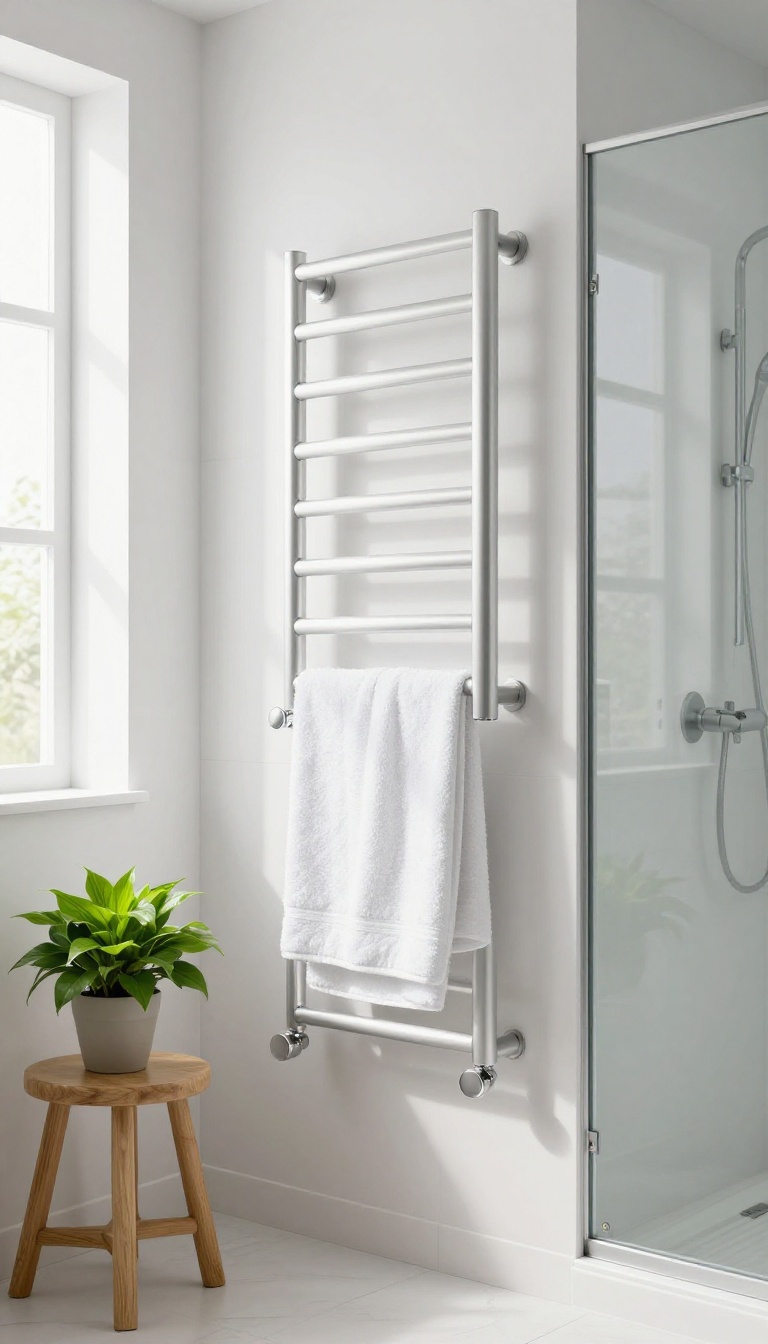
Few upgrades deliver as much comfort per square foot as a heated towel rail. It turns the simple act of drying off into a cozy ritual, especially on chilly mornings. Beyond the immediate warmth, it also helps keep towels fresh and mildew at bay, making it a smart addition to any compact bathroom.
Why It’s Worth The Splurge
Heated towel rails aren’t just about that toasty feeling when you grab your towel. They actively dry your towels between uses, which cuts down on that musty smell that can linger in small, humid spaces. That means less frequent washing and a more hygienic bathroom overall.
Plus, they double as a subtle radiator, taking the chill off the room without eating up floor space.
Choosing The Right Style For Your Space
You’ve got options when it comes to design. Classic ladder rails are great for hanging multiple towels, while sleek flat-panel designs offer a more modern look. Think about the finish—chrome, brushed nickel, or matte black—and how it complements your existing fixtures.
If your bathroom is tight, look for a model that mounts flush against the wall or even a compact version that fits over the door.
Installation And Placement Tips
Placement is key. The most practical spot is near the shower or bath, so you can grab a warm towel without stepping out into the cold. But make sure it’s not directly in the spray zone unless it’s rated for wet areas.
Electric models are easier to retrofit since they just need a nearby outlet, while hydronic ones tie into your heating system—better if you’re already doing a full remodel. Whichever you choose, professional installation is usually worth the peace of mind.
4. Install a Wall-Mounted Toilet for a Clean Look
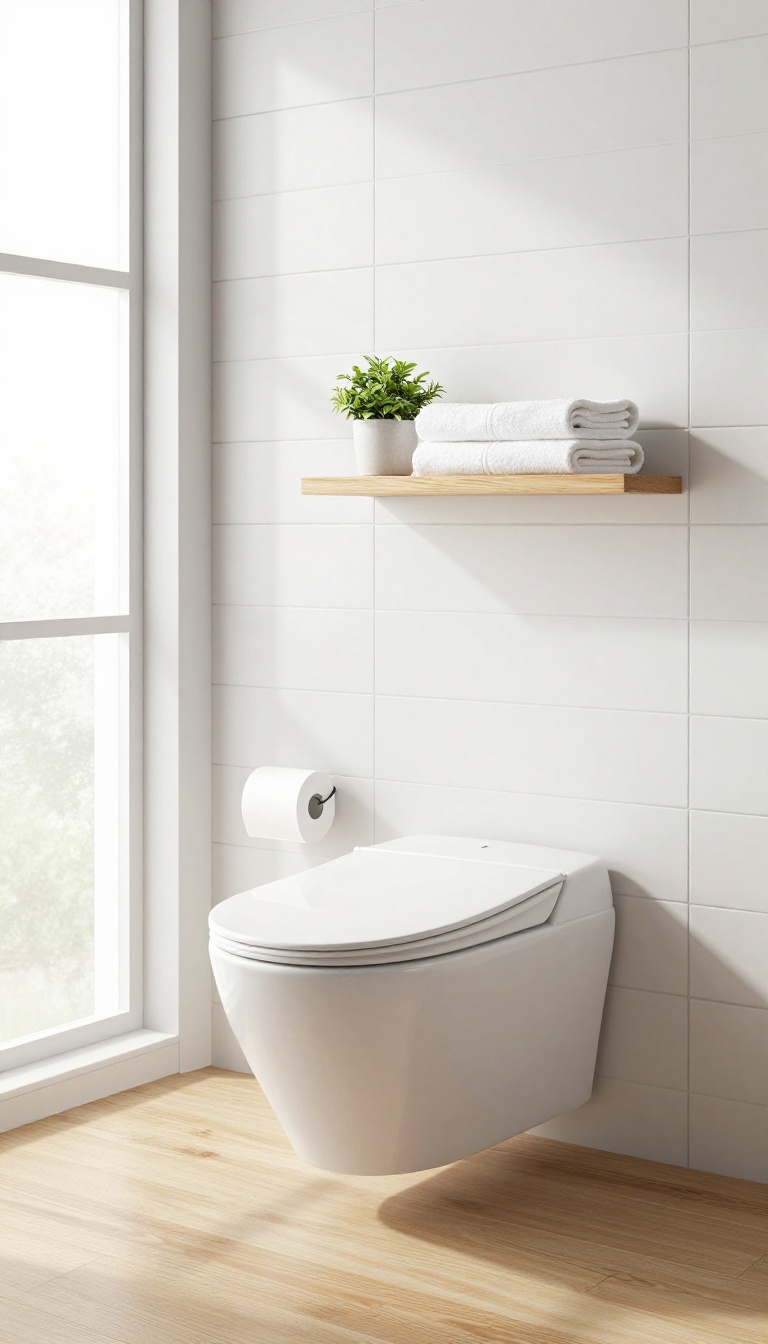
If you're tired of scrubbing around a bulky pedestal, a wall-mounted toilet might be your new best friend. It frees up floor space, making the room feel larger and infinitely easier to clean. Plus, the sleek, floating design adds a modern touch that instantly elevates the style of any bathroom.
Wall-mounted toilets are a smart choice for both small and spacious bathrooms. By hiding the tank inside the wall, they create a seamless, minimalist look that's both functional and fashionable. The elevated bowl also allows you to adjust the height to your liking, ensuring comfort for everyone in the household.
Why Choose A Wall-mounted Toilet?
Beyond the obvious aesthetic appeal, wall-mounted toilets offer practical benefits. The space beneath the bowl is completely open, so you can mop or sweep without any obstacles. This design also makes it easier to clean the floor and the toilet itself, reducing the buildup of grime in hard-to-reach corners.
Installation Considerations
While the look is worth it, installation requires a bit more planning. You'll need to install a carrier frame inside the wall, which adds to the upfront cost. However, many homeowners find the long-term ease of cleaning and the modern appearance well worth the investment.
It's best to hire a professional for the rough-in to ensure everything is level and secure.
Style And Comfort Tips
When choosing a model, look for one with a comfort-height seat and a dual-flush option for water efficiency. Pair it with a floating vanity or a wall-mounted sink to create a cohesive, airy feel. The concealed tank also gives you extra shelf space above, perfect for storing extra towels or decorative items.
5. Use Large-Format Tiles to Minimize Grout Lines
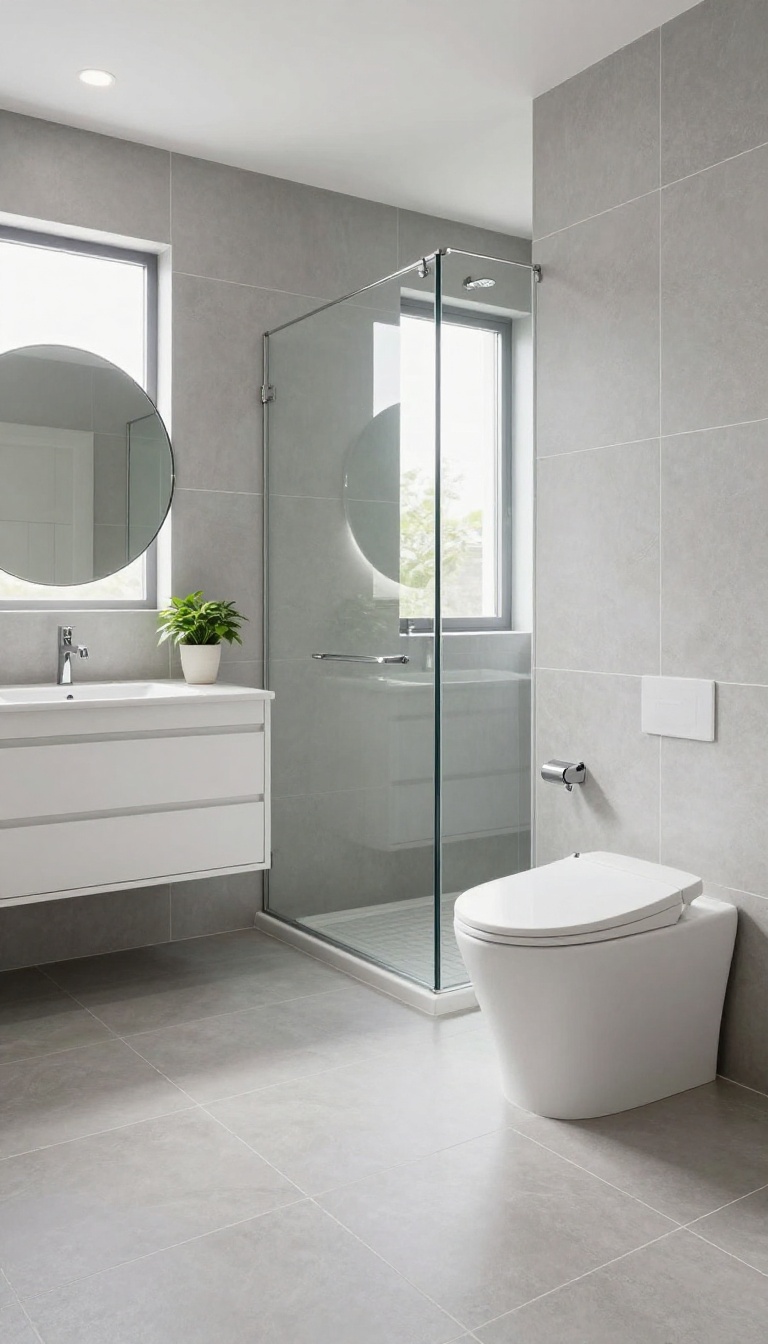
Grout lines can be a magnet for grime, especially in a compact toilet or shower room where moisture lingers. Large-format tiles solve this by reducing the number of joints, which means less scrubbing and a cleaner look. Plus, fewer lines create a seamless, expansive feel that tricks the eye into seeing more space.
Large-format tiles are a smart choice for small bathrooms. They minimize grout lines, making the walls and floor appear continuous and unbroken. This visual continuity helps the room feel larger and more open.
From a practical standpoint, fewer grout lines mean less surface area for mold and mildew to take hold, which is a huge win for maintenance.
Why Grout Lines Matter In Small Spaces
In a tight room, every line can visually chop up the space, making it feel even smaller. Traditional small tiles create a busy grid that draws attention to the boundaries. Large-format tiles, on the other hand, offer a clean, uninterrupted surface that lets the eye travel smoothly, giving the illusion of more square footage.
Choosing The Right Size And Finish
When selecting large-format tiles, consider sizes like 12×24 or 24×48 inches. Larger tiles are ideal for floors and shower walls. For a truly seamless look, opt for a matte or subtle textured finish that hides water spots and soap scum better than high-gloss.
Also, ensure the tiles are rated for floor use if you're installing them underfoot.
Installation Tips To Keep It Seamless
Proper installation is key to minimizing grout lines. Use leveling clips to keep tiles perfectly flush, and choose a grout color that closely matches the tile to make lines less noticeable. For walls, consider a large-format tile that can be installed with minimal spacing, and always hire a professional if you're not confident—misaligned large tiles can ruin the effect.
6. Incorporate a Glass Shower Screen Instead of a Curtain
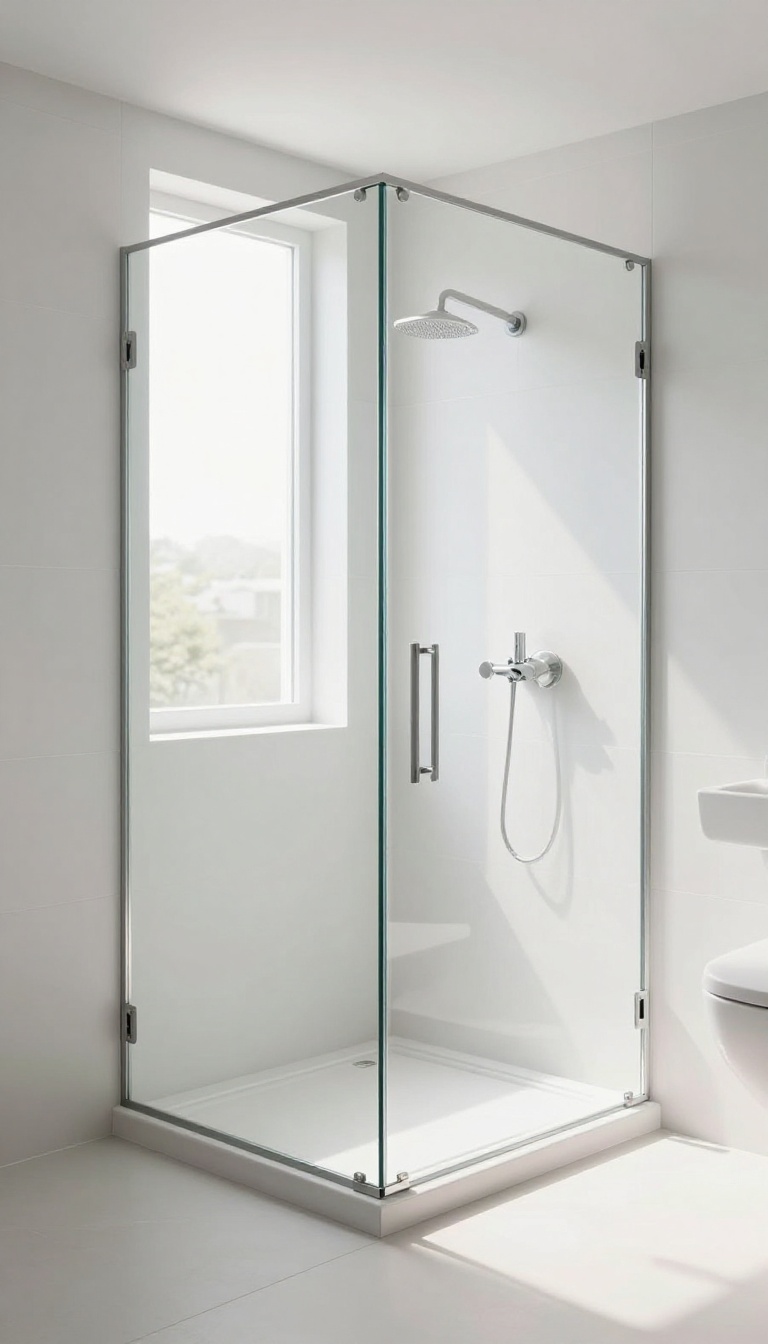
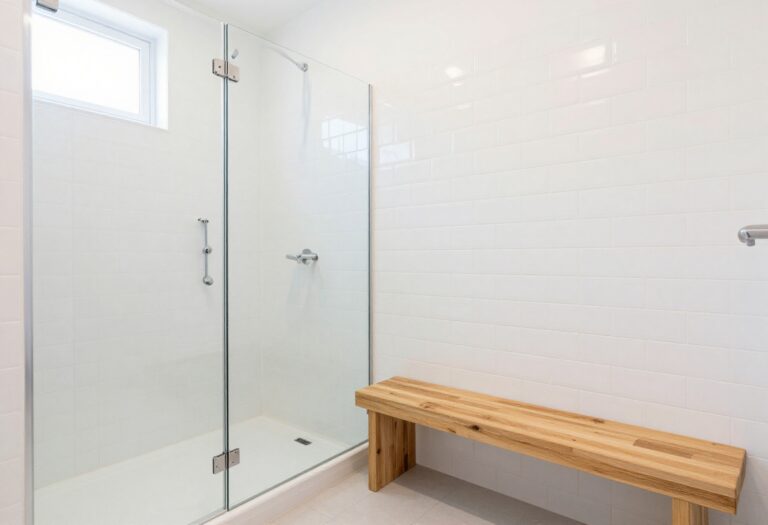
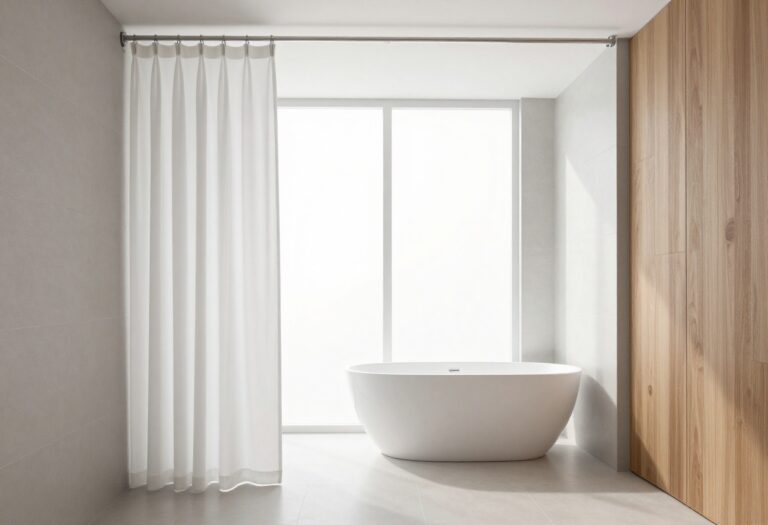
Trading a shower curtain for a glass screen is one of those upgrades that instantly makes a small bathroom feel more open. Without the visual barrier of fabric, your eye travels further, and the room appears larger. Plus, glass is far easier to keep clean and never looks dated.
A frameless glass shower screen is a simple swap that delivers a big payoff. It lets natural light flow through, making the space feel brighter and more spacious. And because there’s no curtain to billow or stick to you, the showering experience feels more open and luxurious.
Over time, you’ll also save money by not replacing curtains or liners every few months.
Why Frameless Beats Curtained
Frameless glass screens are sleek and minimal, with no metal tracks or frames to collect grime. They create a clean, seamless look that works in any style, from modern to traditional. Curtains, on the other hand, can harbor mold and mildew, especially in a humid toilet or shower room.
Switching to glass eliminates that problem and makes your morning routine feel a bit more spa-like.
Choosing The Right Glass
When selecting a glass screen, consider thickness and finish. Tempered glass is a must for safety, and a 3/8-inch or 1/2-inch thickness feels substantial and durable. For privacy or a touch of style, you can opt for frosted or textured glass, which still lets light through but obscures the view.
If you prefer a bit of framing, a semi-frameless option offers a middle ground between full frame and frameless.
Installation And Maintenance Tips
Proper installation is key to preventing leaks and ensuring stability. Hire a professional if you’re not comfortable with DIY, as precise measurements and leveling are crucial. Once installed, keep the glass sparkling by using a squeegee after each shower and cleaning with a mixture of vinegar and water weekly.
This prevents hard water stains and keeps the glass looking crystal clear.
7. Add a Built-In Niche for Shower Storage
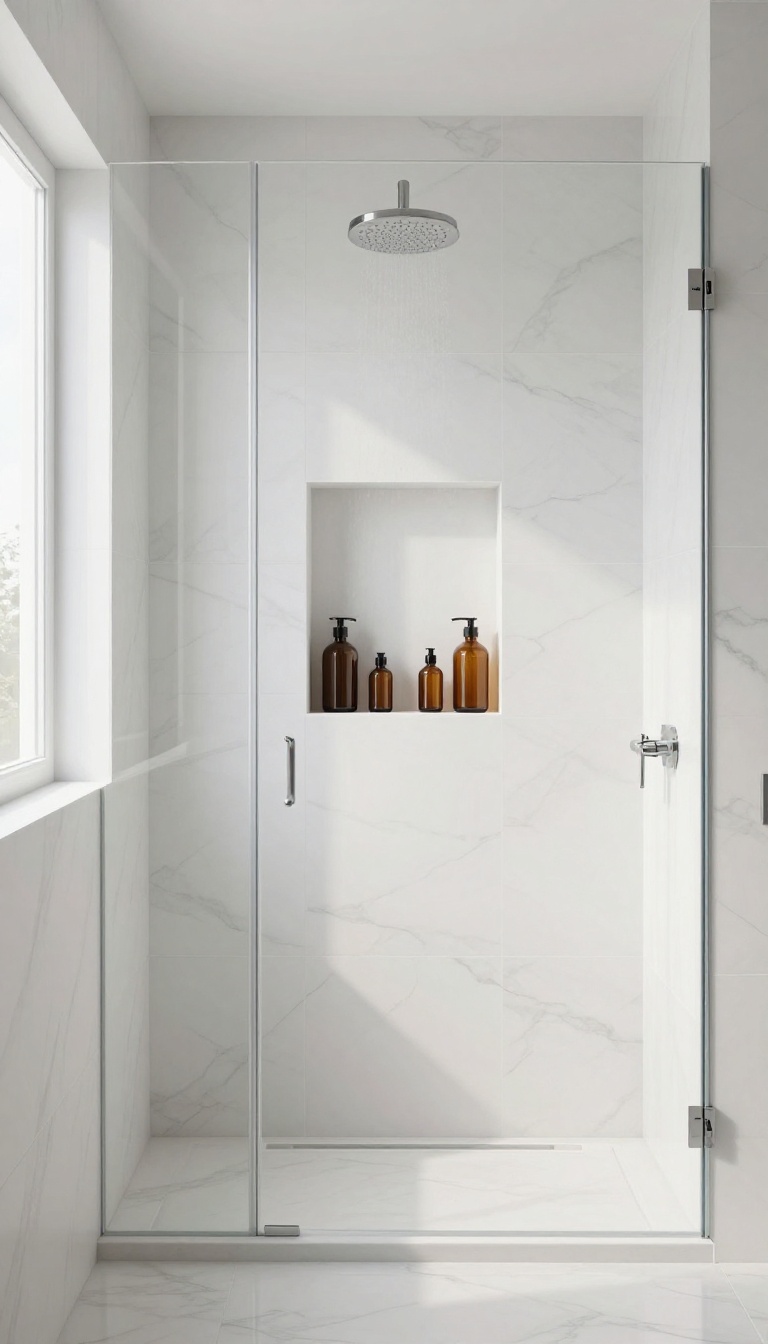
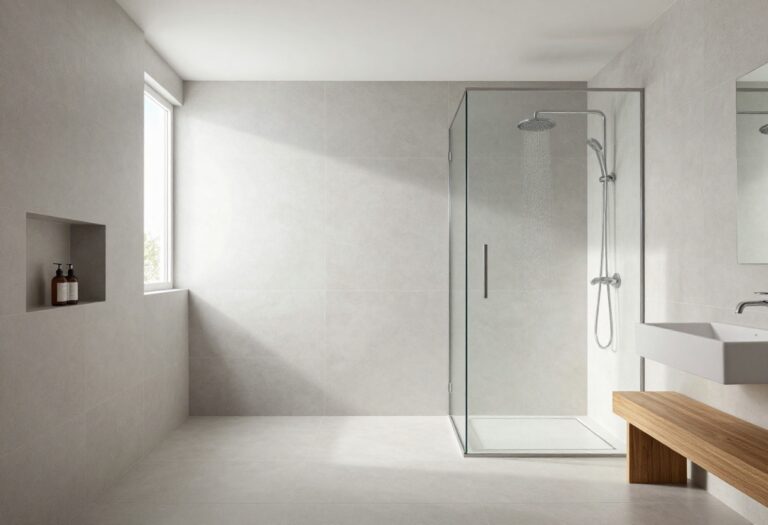
Shampoo bottles cluttering the corner or hanging from a caddy can make even a nice shower feel messy. A built-in niche gives you a sleek, recessed shelf that keeps everything within reach but out of sight. It’s a simple addition during a remodel, and the payoff is a cleaner, more custom look that also adds value to your home.
A niche is essentially a shelf carved into the wall, usually between the studs. Because it doesn’t protrude, it won’t get in the way or collect grime like a metal caddy. You can place it at a convenient height, and with the right tiling, it becomes a seamless part of the shower design.
Choosing The Right Spot
Think about where you naturally reach for products. A niche near the showerhead or on the opposite wall is common. Place it about shoulder to chest height for easy access.
If you have multiple family members, consider a taller niche or two smaller ones at different heights.
Sizing And Depth
Standard niches are about 12 to 16 inches wide and 6 to 8 inches tall, but you can customize. Ensure the depth is enough for standard bottles—usually 3 to 4 inches—but not so deep that bottles get lost. A slight slope on the bottom helps water drain back into the shower.
Tiling And Finishing Touches
The niche can be tiled with the same tiles as the wall for a seamless look, or you can use contrasting tiles or a decorative insert to make it a focal point. Add a matching shelf or a small ledge for extra storage. Consider a frameless glass shelf if you need more space.
8. Choose Matte Black Fixtures for a Bold Contrast
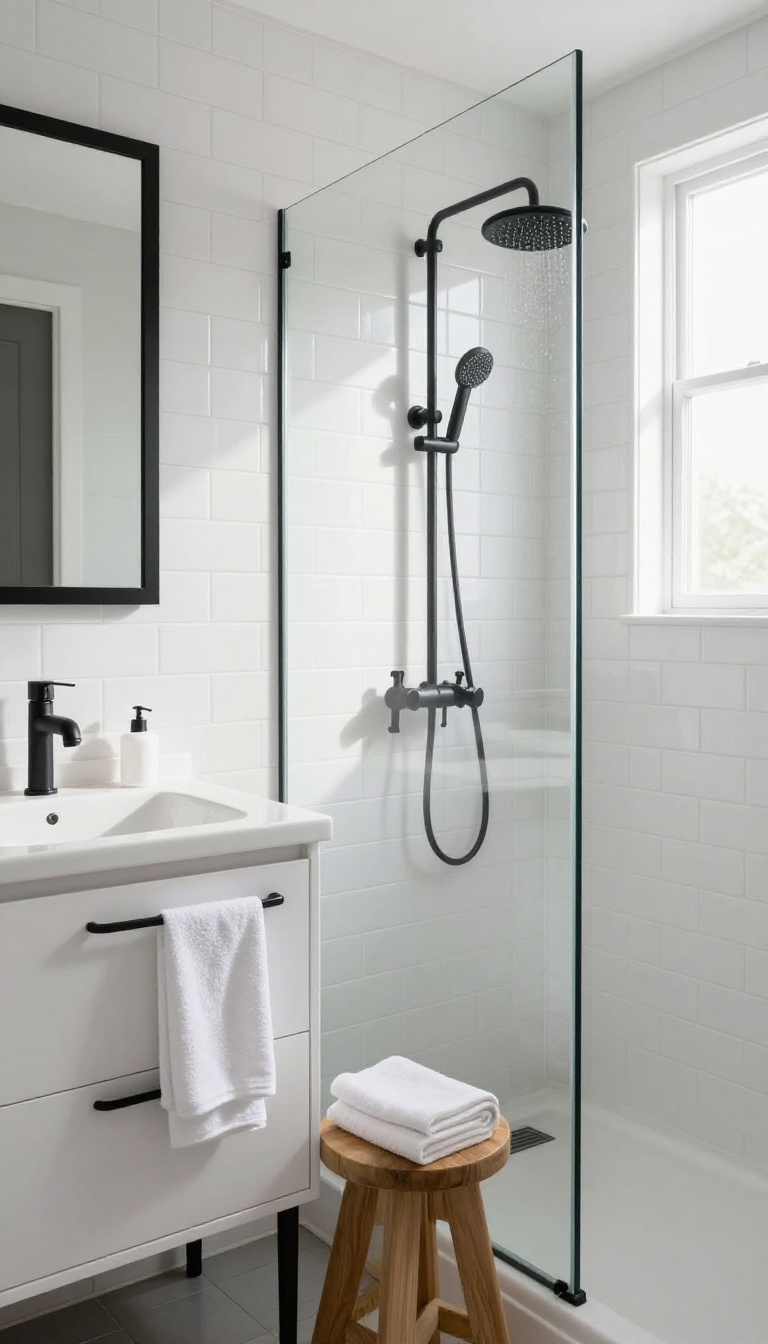
Matte black is having a serious moment in bathroom design, and it’s easy to see why. Unlike shiny chrome, black fixtures add a grounded, modern feel that instantly elevates a compact space. They also hide water spots and fingerprints much better, which means less time scrubbing and more time enjoying your stylish retreat.
Matte black faucets, showerheads, and handles bring a sophisticated edge that works beautifully with neutral palettes like white, gray, or beige. The dark finish creates a striking focal point without overwhelming the room, making it perfect for small toilet and shower rooms. Plus, the matte texture is forgiving—no streaks or smudges to worry about after every use.
Why Matte Black Works In Small Spaces
In a compact bathroom, too many shiny surfaces can feel busy and chaotic. Matte black absorbs light rather than reflecting it, which adds depth and a sense of calm. It also provides a crisp contrast against light tiles or white fixtures, drawing the eye and making the space feel more intentional.
Pairing Matte Black With Warm Tones
Matte black isn’t just for stark, modern looks. Pair it with warm wood tones, brass accents, or soft pastel tiles to create a cozy, inviting atmosphere. The black grounds these warmer elements, preventing them from feeling too sweet or dated.
Try a matte black showerhead with a wooden bench or a black-framed mirror against a sage green wall.
Easy Swaps That Make A Big Impact
You don’t need to redo the entire plumbing to embrace this trend. Simply swap out your existing faucet, showerhead, or cabinet handles for matte black versions. Even a black toilet roll holder or towel ring can tie the look together.
These small changes are budget-friendly and can be done in an afternoon.
9. Install a Backlit Mirror for Flattering Light
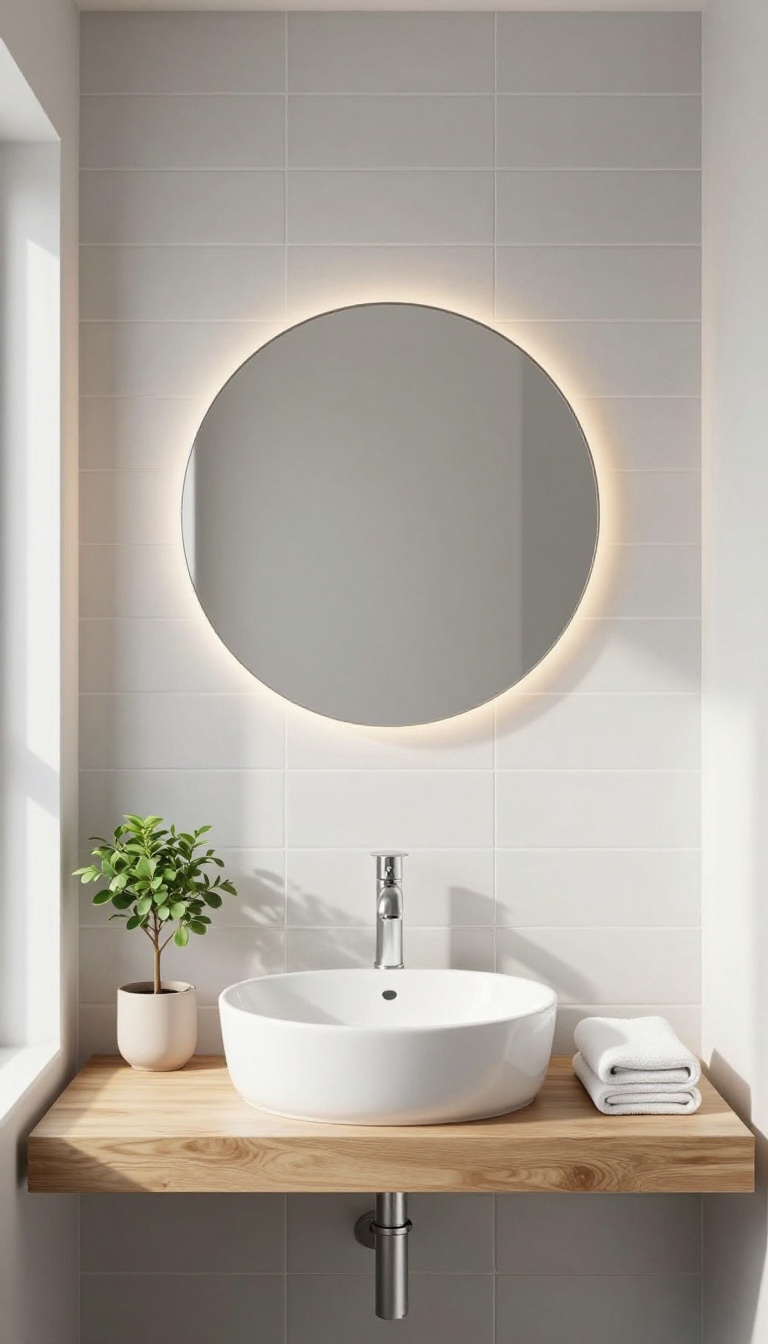
Good lighting in a toilet or shower room can make all the difference, especially when you're trying to get ready in the morning or wind down at night. A backlit mirror offers even, shadow-free illumination that's perfect for grooming tasks like shaving or applying makeup. Plus, the soft glow it casts adds a warm, inviting ambiance that transforms the space into a mini spa.
Backlit mirrors are more than just a pretty face. They provide functional lighting that eliminates harsh shadows on your face, making daily routines easier and more enjoyable. The integrated LED lights are energy-efficient and long-lasting, so you won't have to worry about frequent bulb changes.
And because the light comes from behind the mirror, it creates a beautiful halo effect that flatters your reflection and enhances the overall mood of the room.
Choose The Right Size And Shape
When selecting a backlit mirror, consider the size of your vanity and the wall space available. A round or oval mirror softens the angles of a rectangular vanity, while a large rectangular mirror can make a narrow room feel wider. Measure the area carefully to ensure the mirror fits comfortably without overwhelming the space.
Also, think about the style—whether you prefer a sleek, frameless design or one with a slim metal frame to match your fixtures.
Pick The Perfect Color Temperature
The color temperature of the LED lights affects both the functionality and the mood. Cool white light (around 4000K-5000K) mimics daylight and is ideal for precise grooming tasks. Warm white light (around 2700K-3000K) creates a cozy, relaxing atmosphere, perfect for unwinding in the bath.
Some mirrors come with adjustable color temperatures, allowing you to switch between bright task lighting and soft ambient glow depending on your needs.
Installation Tips And Considerations
Backlit mirrors typically require a nearby power source, so you may need to hire an electrician if you don't have an outlet close by. Most models are hardwired, but some plug-in versions are available for easier installation. Make sure the mirror is rated for damp locations if it will be in a shower area.
Also, consider adding a dimmer switch to control the brightness and set the perfect mood for any time of day.
10. Add a Heated Floor for Underfoot Comfort
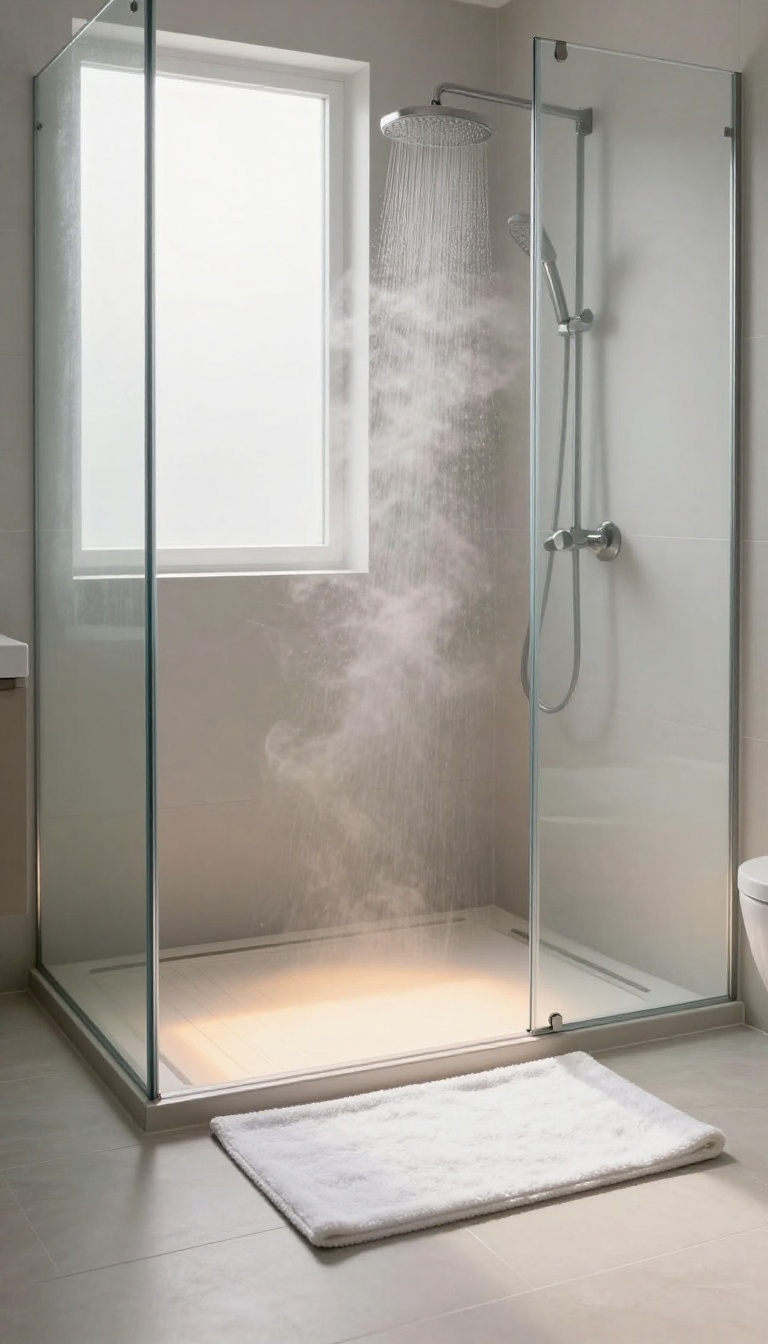
Stepping out of a warm shower onto a cold tile floor is a jolt nobody enjoys. Radiant floor heating solves that problem by warming the surface from below, so your feet stay cozy even on the chilliest mornings. It’s a luxury that feels indulgent, but it also serves a practical purpose: the gentle heat helps evaporate moisture, speeding up drying and reducing the risk of slips.
Heated floors are more than a pampering perk—they’re a smart investment for any bathroom. The warmth radiates evenly, eliminating cold spots, and because it heats the floor directly, it can actually make the whole room feel warmer without cranking up the thermostat. Plus, the quick drying effect means less standing water and fewer chances for mold or mildew to take hold.
Types Of Heating Systems
You have two main options: electric mats or cables, and hydronic (water-based) systems. Electric systems are easier to install, especially in retrofits, since they sit under the tile and connect to the electrical grid. Hydronic systems are more efficient for larger areas but require a boiler and more complex plumbing, making them better suited for new builds or major renovations.
Installation Considerations
If you’re remodeling, adding a heated floor is straightforward—just lay the heating element over the subfloor and pour self-leveling compound before tiling. For existing bathrooms, you might need to raise the floor slightly, which can affect door clearances. Check your local building codes and hire a licensed electrician for the wiring to ensure safety and compliance.
Cost And Energy Efficiency
The upfront cost varies based on the system and room size, but you can expect to pay a few hundred to a couple thousand dollars. However, running costs are surprisingly low—many systems draw less power than a hair dryer. Plus, the comfort and reduced heating bills from not cranking up the thermostat can offset the initial expense over time.
Pairing With Flooring Materials
Heated floors work best with materials that conduct heat well, like ceramic, porcelain, or natural stone. These tiles warm up quickly and retain heat effectively. Avoid thick carpet or vinyl, which can insulate the heat and reduce efficiency.
If you love the look of wood, consider engineered wood that’s rated for radiant heat, but always check with the manufacturer.
11. Use a Pocket Door to Save Space
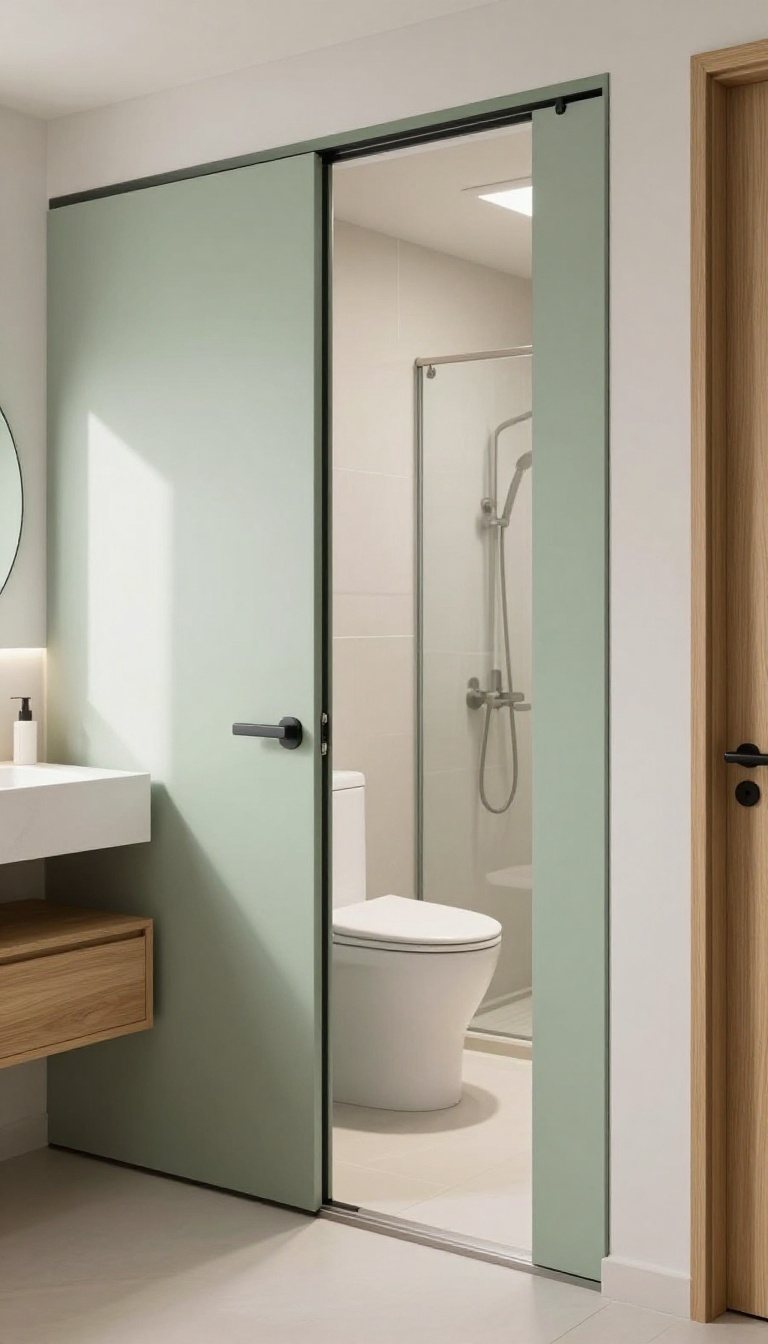
In a compact toilet or shower room, every inch counts, and a traditional swinging door can eat up precious floor area. A pocket door slides neatly into the wall cavity, eliminating the need for clearance space. This simple swap can make your small bathroom feel more open and functional, especially if you're working with a tight footprint.
When you replace a hinged door with a pocket door, you free up the area in front of the toilet or shower that would otherwise be reserved for the door's swing. That extra space can be used for a larger vanity, a more comfortable shower, or simply to make the room feel less cramped. Pocket doors are also a stylish choice, offering a sleek, flush appearance when closed.
What To Consider Before Installing
Before you commit to a pocket door, check that the wall you plan to slide it into is not load-bearing and has enough cavity depth. You'll also need to account for the hardware and track, which can add a bit of thickness to the wall. If you're not comfortable with a DIY installation, it's worth hiring a professional to ensure smooth operation and proper support.
Choosing The Right Pocket Door Kit
Pocket door kits come in various sizes and finishes. Look for one with ball-bearing rollers for quiet, effortless gliding. Soft-close mechanisms are a nice touch, preventing the door from slamming.
For a bathroom, consider a moisture-resistant material like solid core or treated wood to withstand humidity.
Styling Your Pocket Door
Once your pocket door is installed, you can style it to blend with your bathroom's aesthetic. Paint it the same color as the walls for a seamless look, or choose a contrasting shade to make it a feature. Adding a minimalist handle or a recessed pull keeps the surface clean and modern.
12. Incorporate Natural Elements Like Wood and Stone
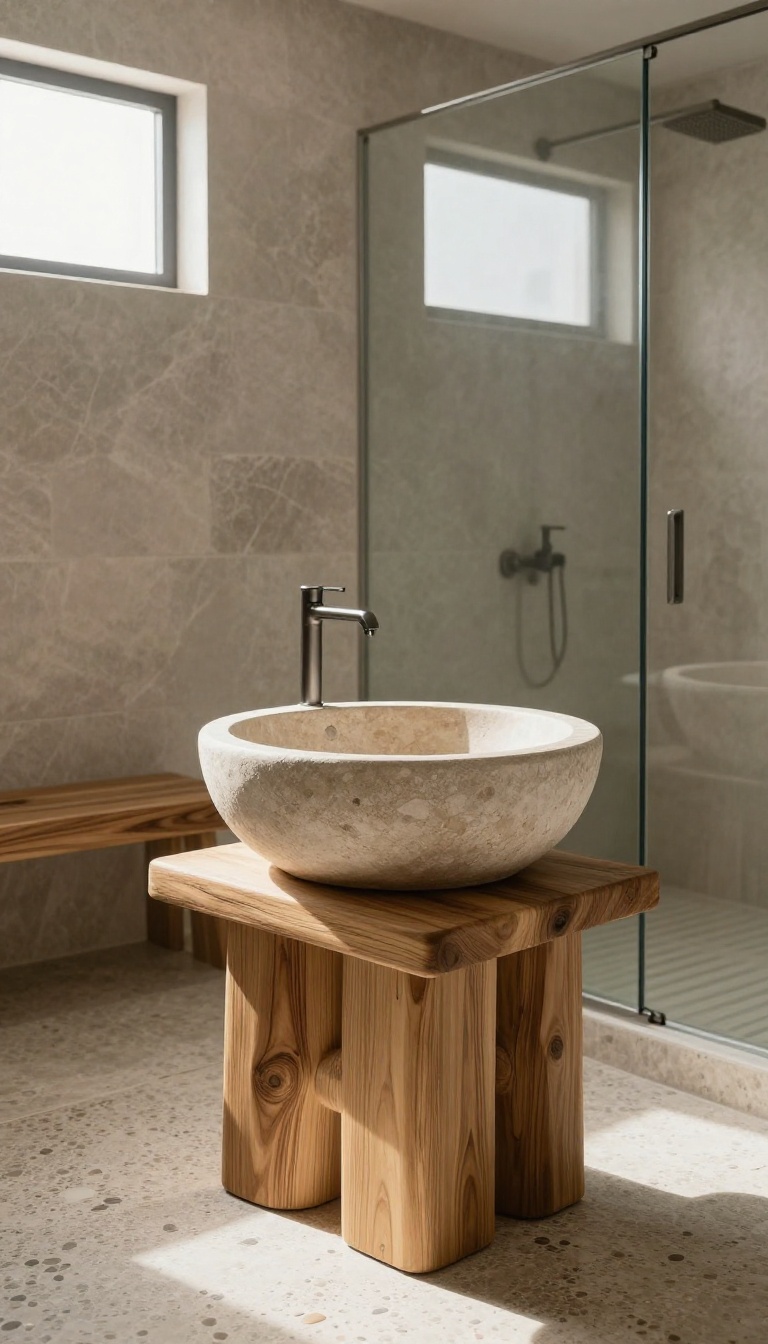
Nature has a way of making any space feel instantly more grounded and inviting, and the bathroom is no exception. While the room is often dominated by tiles and porcelain, adding organic touches like wood and stone can soften the look and add a layer of warmth that's hard to replicate with synthetic materials. The key is choosing the right materials that can handle the humidity without compromising on style.
When you bring in natural elements, you're not just adding texture—you're creating a sensory experience. The grain of wood and the cool touch of stone can make a small toilet or shower room feel like a private spa. Best of all, you don't have to go full rustic.
Even a single accent, like a wooden stool or a stone vessel sink, can shift the entire vibe of the room.
Choose Moisture-resistant Woods
Not all wood is suited for damp environments, so it's important to pick species that can handle the moisture. Teak is a top choice because it's naturally water-resistant and holds up beautifully in showers. You can use it for a shower bench, a bath mat, or even a slatted floor panel.
If you prefer a lighter look, bamboo is another sustainable option that's surprisingly durable. Just make sure to seal any wood that isn't naturally resistant, especially if it's near the shower or sink.
Add Stone Textures Without The Weight
Natural stone like slate, marble, or travertine adds a luxurious feel, but it can be heavy and expensive. Porcelain tiles that mimic stone are a practical alternative—they give you the same visual effect with better durability and easier maintenance. Use them on a feature wall behind the vanity or as a shower surround.
For a subtle touch, consider a stone pebble mat or a small stone countertop around the sink.
Balance Warmth And Coolness
The contrast between warm wood and cool stone is what makes this combination work so well. If you have a lot of stone or tile, introduce wood through accessories like a wooden mirror frame, a teak shelf, or a bamboo storage basket. On the flip side, if your room is mostly wood-toned, a stone sink or a slate accent wall can add that grounding, earthy feel.
The goal is to create a balanced, harmonious space that feels intentional, not cluttered.
13. Add a Touch of Greenery with Low-Light Plants
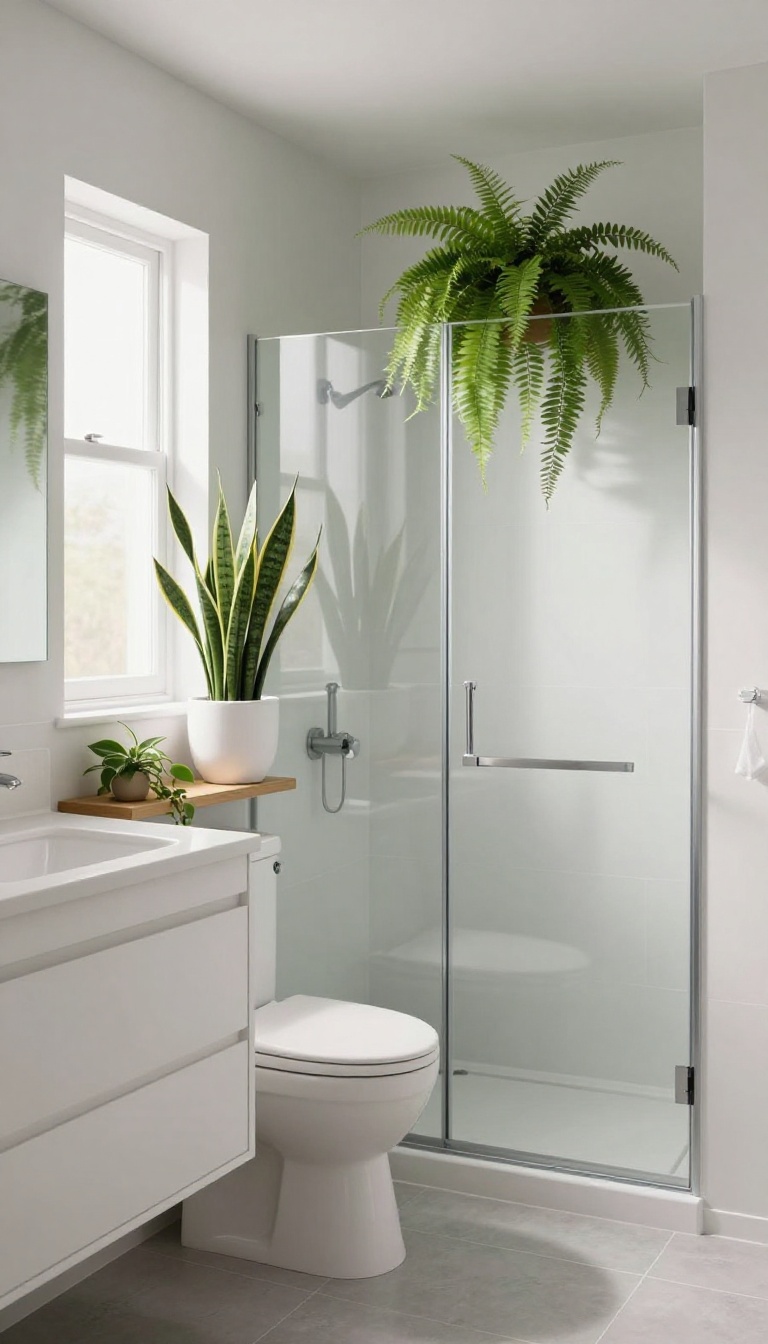
A bathroom can feel sterile and cold, but a few well-placed plants change that instantly. They bring softness, color, and a bit of life into a space that's often all tile and chrome. The trick is picking the right ones—plants that love humidity and don't need much sunlight.
Ferns, snake plants, and pothos are all great choices for a toilet or shower room. They thrive in the steamy, low-light conditions that would make other houseplants sulk. Plus, they help purify the air, which is a nice bonus when you're stuck in a small room.
Adding greenery to a bathroom is more than just decoration. It creates a spa-like vibe, improves air quality, and gives your eyes a rest from hard surfaces. Even a single plant on the back of the toilet can make the room feel more welcoming.
Before you buy anything, check the lighting. A windowless powder room might only support the toughest plants, like snake plants or ZZ plants. If you have a small window or a skylight, you can try ferns or peace lilies.
Always consider the humidity—bathrooms are naturally moist, which most of these plants love.
Choosing The Right Plants
Not all plants are cut out for bathroom life. Low-light champions include snake plants, ZZ plants, pothos, and philodendrons. If you want something with more texture, Boston ferns and maidenhair ferns do well in steamy conditions but need a bit more attention.
Peace lilies are another option—they tolerate low light and even bloom indoors. Avoid cacti and succulents, which prefer dry air and bright sun.
Placement Tips For Small Spaces
In a tight toilet or shower room, every surface matters. Try placing a plant on the back of the toilet tank, a corner shelf, or a floating ledge. Hanging plants from the ceiling or a high hook can save floor space and add visual interest.
Just make sure they're out of the way of daily traffic and not blocking any plumbing access. A plant near the shower can enjoy the steam, but keep it clear of direct spray.
Caring For Bathroom Plants
Most low-light plants need watering only when the top inch of soil feels dry. Overwatering is a common mistake, especially in a humid bathroom. Make sure pots have drainage holes to prevent root rot.
Wipe leaves occasionally to keep them dust-free, and rotate the pots every few weeks so they grow evenly. If you notice yellowing leaves or mold on the soil, cut back on watering and improve air circulation.
FAQ
What is the most cost-effective way to update a toilet and shower room?
Simple swaps like changing the showerhead, adding a new mirror, or updating fixtures can make a big difference without a full remodel.
How can I make a small toilet and shower room look bigger?
Use large-format tiles, a floating vanity, and a glass shower screen to create a seamless, open feel. Light colors also help reflect light.
Are wall-mounted toilets worth the extra cost?
They offer a sleek look and easier cleaning, but installation is more complex and costly. If you value aesthetics and have the budget, they're a great choice.
What type of lighting is best for a bathroom?
Layered lighting works best: overhead for general light, task lighting around the mirror, and accent lighting for ambiance. Backlit mirrors are a popular choice.
How do I prevent mold and mildew in a shower room?
Ensure proper ventilation with an exhaust fan, use mold-resistant materials, and wipe down wet surfaces regularly. Heated towel rails also help reduce dampness.
Conclusion
With these ideas in hand, your toilet and shower room can move beyond purely functional to feel calm, tidy, and genuinely inviting. Start with one or two changes that address your biggest pain point, whether that's storage, light, or a dated finish. Small upgrades often make the biggest difference.
Take your time picking materials and details that suit how you actually use the space. A simple, stylish finish is about making smart choices that work hard for you every day.