10 Must-See Stand-Up Shower Ideas for a Fresh, Refined Space
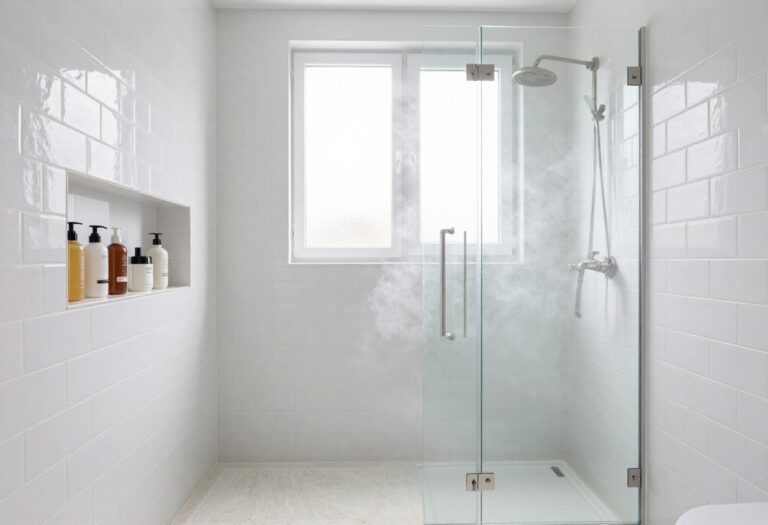
A stand-up shower can be the most used spot in your bathroom, yet it's often the last to get a style upgrade. You don't need a full remodel to make it feel fresh and refined—just a few smart choices can change the whole vibe.
Whether you're dealing with a compact corner or a spacious walk-in, these ideas focus on making your shower both beautiful and practical. Think about what you want from your shower: a quick morning rinse that wakes you up, or a slow evening unwind that washes the day away.
The right design can turn that everyday moment into something you actually look forward to.
1. Frameless Glass Enclosure for an Open Feel
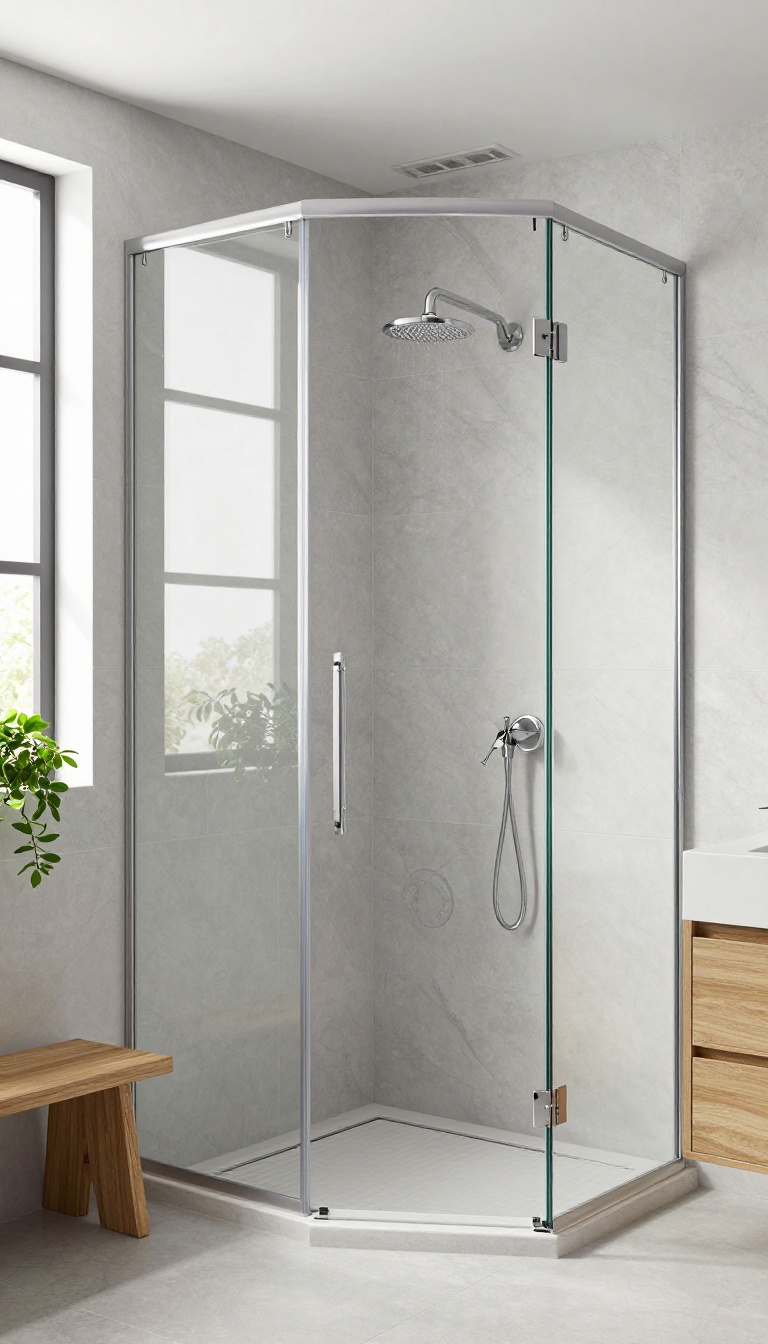
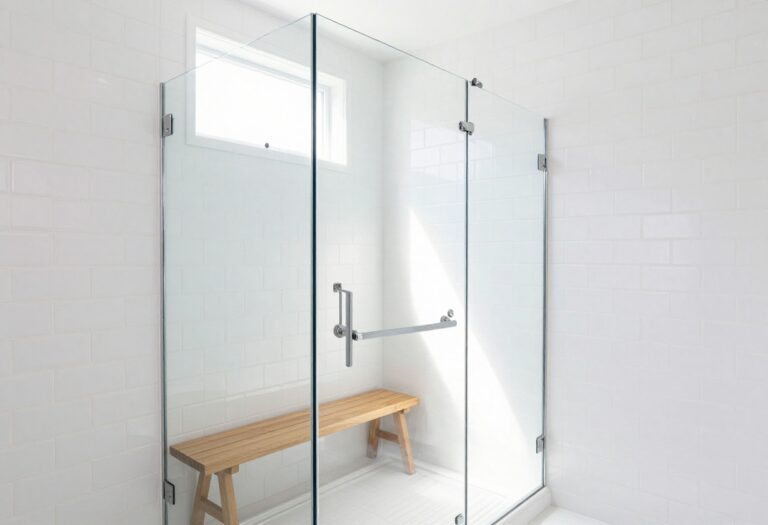
If your shower feels cramped or dated, the enclosure might be the culprit. Frameless glass doors and panels remove the visual clutter of metal frames and create a seamless, airy look. They also let your tile work shine, making the whole space feel more intentional and refined.
Why Frameless Works
Frameless glass uses thicker tempered glass (usually 3/8 or 1/2 inch) and minimal hardware, so it feels sturdy yet invisible. Without a frame, there are fewer places for soap scum and grime to hide, making cleaning a breeze. Plus, the open sightline makes a small bathroom appear larger.
Installation Considerations
You'll need a professional for most frameless installations because the glass is heavy and must be perfectly aligned. The shower area should be level, and you might need a reinforced header or floor support. It's a bit more upfront cost, but the payoff in looks and function is worth it.
Design Tips
Pair frameless glass with a sleek rain showerhead or a handheld wand for a spa-like feel. Keep the hardware finish consistent—brushed nickel or matte black are popular choices. To avoid water pooling, install a slight slope toward the drain and use a quality bottom seal.
2. Built-In Niche Shelving That Keeps Things Tidy
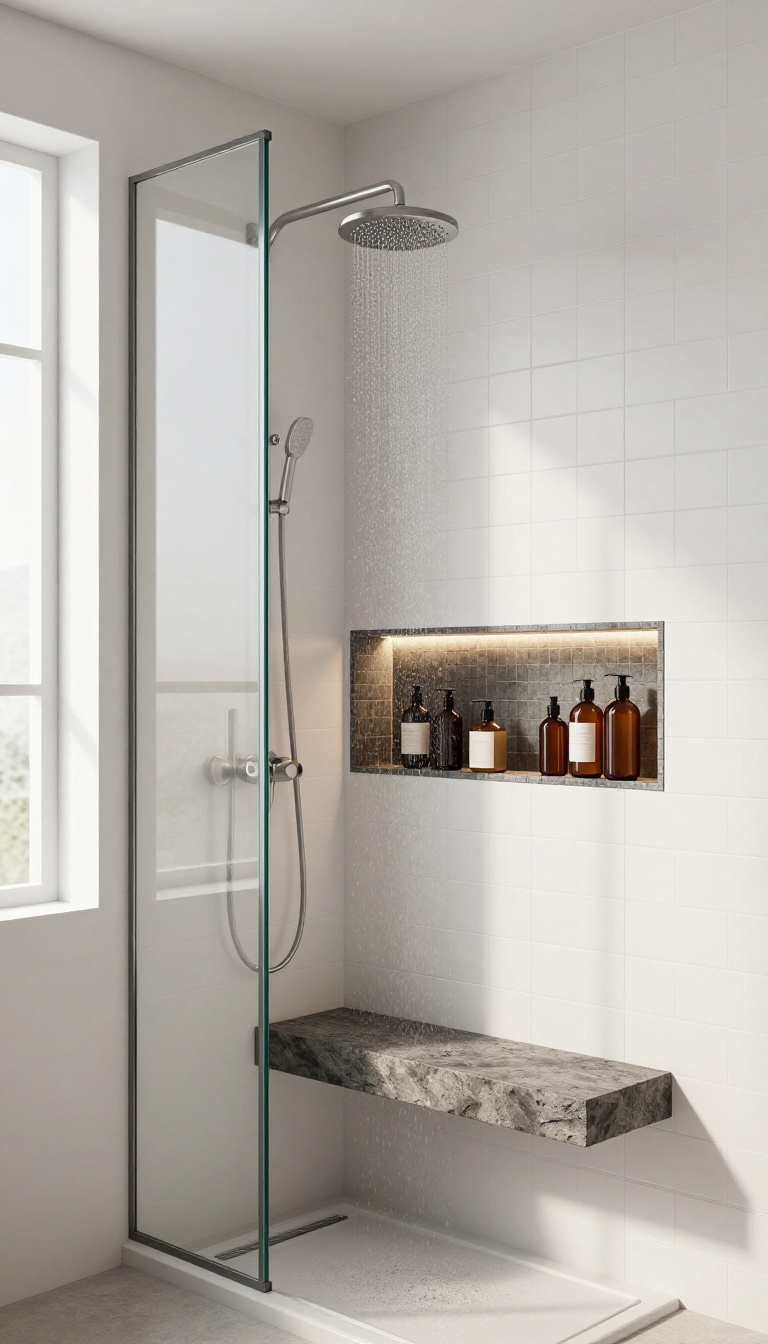
Tired of knocking over bottles in the shower or seeing them lined up on the floor? A recessed niche solves that by giving your essentials a dedicated spot that's out of the way. It's a simple upgrade that instantly makes the space feel more organized and intentional.
A built-in niche is more than just a shelf—it's a design feature that adds depth and character to your shower. You can place it at a convenient height for shampoo and soap, or go with a taller niche for larger bottles. The key is to plan the size and location carefully so it feels seamless, not like an afterthought.
Choosing The Right Tile For Contrast
One of the easiest ways to make a niche pop is by using a contrasting tile. If your shower walls are light, try a dark or patterned tile inside the niche. This creates a focal point that draws the eye and adds a touch of luxury.
Alternatively, a simple linear design—like a horizontal slot—can give a modern, minimalist look without being flashy.
Placement And Size Considerations
Think about what you'll store in the niche. If it's just shampoo and body wash, a single shelf at shoulder height works well. For a family, you might want a taller niche with two shelves.
Also, consider the shower's width—a niche that's too wide can make the space feel cramped. A good rule of thumb is to keep it around 12 to 16 inches wide and 6 to 8 inches deep.
Adding Lighting For A Premium Feel
If you're doing a full renovation, consider adding a small LED light above or inside the niche. This subtle glow not only makes it easier to find your products but also gives the shower a spa-like ambiance. It's a detail that feels high-end without breaking the bank.
3. Rainfall Showerhead for a Spa-Like Experience
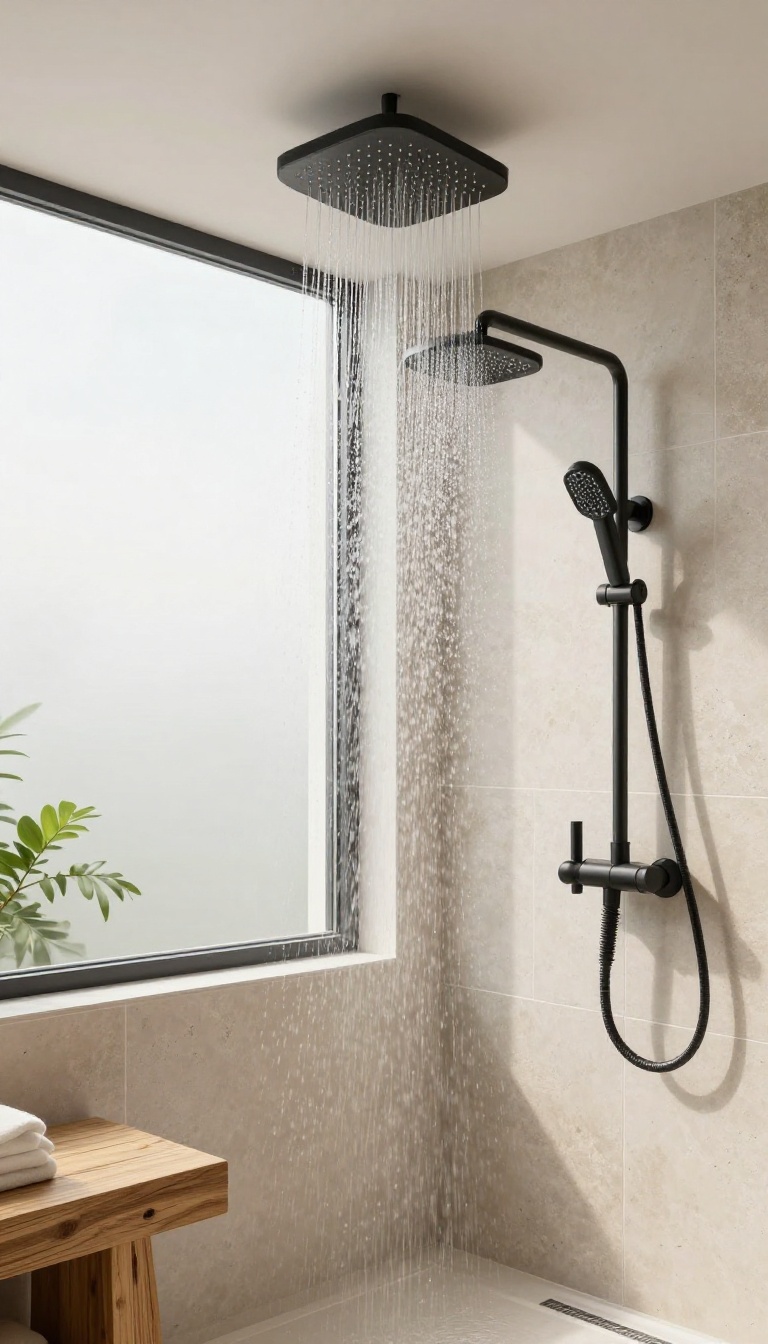
A rainfall showerhead is one of the simplest ways to bring a touch of luxury into your daily routine. Mounted on the ceiling, it mimics the sensation of standing in a warm summer downpour, delivering a gentle yet immersive flow that feels completely different from a standard wall-mounted head. This upgrade doesn't require a major renovation—most models can be installed with a basic ceiling mount and a flexible hose.
Whether you're renovating or just swapping out a fixture, a rainfall head can turn your shower into a personal retreat without breaking the bank.
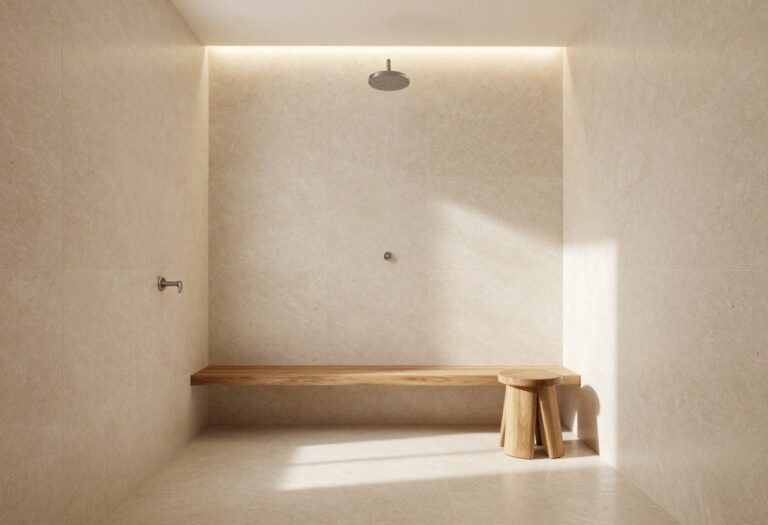
The key to a spa-like experience is the water pressure and spread. Rainfall heads are designed to cover a wider area, so you don't have to keep adjusting your position. Look for models with a diameter of at least 8 inches for that full-body coverage.
Also, consider the finish—matte black or brushed nickel can add a modern touch, while chrome keeps things classic. One thing to keep in mind: ceiling-mounted heads work best in showers with adequate ceiling height. If your ceiling is low, a wall-mounted rainfall head with an angled arm can still give you that effect without feeling cramped.
Choosing The Right Size And Flow
Rainfall showerheads come in various sizes, from 6 inches to over 12 inches. A larger head provides a more enveloping spray, but it also requires a higher water flow rate to maintain pressure. Check your home's water pressure—if it's low, a smaller head might be more effective.
Also, look for models with adjustable flow settings so you can switch between a soft rain and a more invigorating spray.
Installation Tips For Ceiling Mounts
If you're handy, a ceiling mount is a doable weekend project. You'll need to access the ceiling joists to secure the bracket and run the water line from the existing shower valve. If that sounds intimidating, a professional plumber can handle it in a few hours.
For an easier route, consider a showerhead that mounts on the wall but extends overhead with an arm—this gives you the rainfall feel without major plumbing changes.
Pairing With Other Spa Features
To really lean into the spa vibe, pair your rainfall head with a built-in bench, a handheld wand for easy cleaning, or even a steam generator. Adding a thermostatic valve lets you preset your perfect temperature, so you don't have to fiddle with handles. These extras make your shower feel like a high-end wellness space.
4. Textured Tiles for Safety and Style
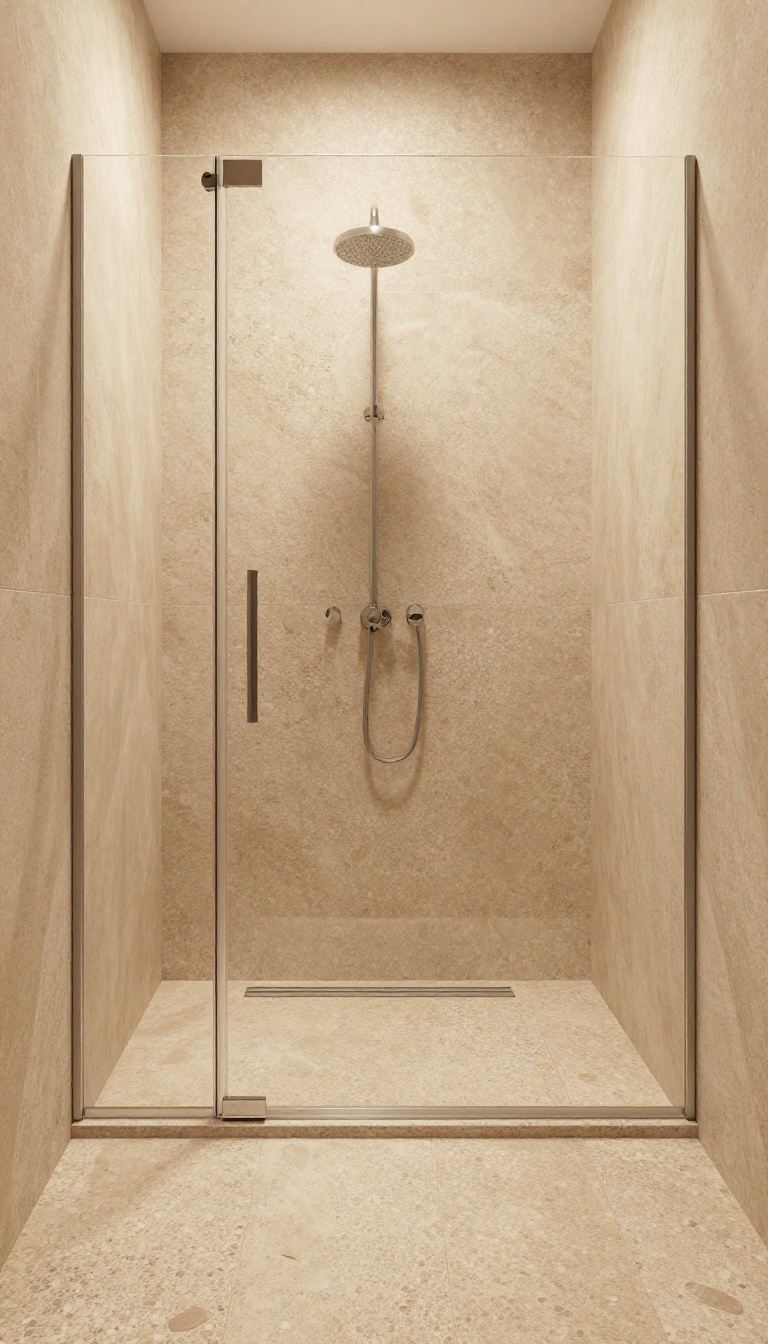
Slippery shower floors are a real concern, especially when soap and water get involved. But you don't have to sacrifice looks for safety. Textured tiles offer a smart solution that adds both grip and visual interest to your stand-up shower.
From natural stone to modern porcelain, these tiles come in a variety of materials and patterns that can transform your shower into a spa-like retreat. They also feel great underfoot, adding a tactile element that makes your shower experience more enjoyable.
Textured tiles are a practical and stylish choice for any stand-up shower. They provide the traction you need to prevent slips, while also adding a layer of depth and character to the space. Whether you choose a subtle texture or a more pronounced pattern, these tiles can elevate the overall design of your bathroom.
One of the best things about textured tiles is their versatility. You can use them on the floor for maximum safety, or create an accent wall that becomes the focal point of your shower. With so many options available, it's easy to find a style that matches your personal taste and complements the rest of your bathroom decor.
Pebble Tiles: A Natural Foot Massage
Pebble tiles are a popular choice for shower floors because they offer excellent traction and a unique, spa-like feel. The smooth, rounded stones are gentle on your feet and provide a subtle massage with every step. They come in mesh-backed sheets, making installation relatively easy, and they're available in a range of colors from earthy grays to warm beiges.
One thing to keep in mind with pebble tiles is that the grout lines can be a bit tricky to clean. However, sealing the tiles and grout properly can help minimize maintenance. If you love the idea of a natural, organic look, pebble tiles are a fantastic option.
Slate And Quarry Tiles: Rustic Charm With Grip
Slate and quarry tiles are known for their natural cleft surfaces, which provide excellent slip resistance. These materials bring a rustic, earthy vibe to your shower, making them perfect for a farmhouse or industrial-style bathroom. Slate, in particular, is available in rich shades of gray, green, and purple, adding a touch of sophistication.
Because slate is a natural stone, it's porous and requires sealing to prevent staining. Quarry tiles, on the other hand, are unglazed ceramic tiles that are highly durable and water-resistant. Both options are great for creating a textured, safe shower floor that stands up to daily use.
Textured Porcelain: Modern Safety And Style
If you prefer a more modern look, textured porcelain tiles are an excellent choice. These tiles are designed to mimic the look of natural stone or wood while offering the durability and low maintenance of porcelain. Many textured porcelain tiles have a matte finish with subtle ridges or bumps that provide grip without being too rough underfoot.
You can find textured porcelain in a variety of styles, from large-format tiles that create a seamless look to smaller tiles with intricate patterns. They're also available in a range of colors, so you can easily match them to your bathroom's color scheme. With textured porcelain, you get the best of both worlds: safety and style.
Accent Wall Ideas With Textured Tiles
While the floor is the most important place for slip resistance, adding textured tiles to an accent wall can enhance the visual appeal of your shower. Consider using a vertical strip of pebble tiles behind the showerhead, or create a feature wall with large slate tiles. This adds depth and interest without overwhelming the space.
Another idea is to use textured tiles in a niche or shelf area to break up the monotony of smooth tiles. Mixing textures can create a dynamic, layered look that feels custom and high-end. Just be sure to balance the textures so they complement rather than compete with each other.
5. Linear Drain for a Sleek, Minimal Look
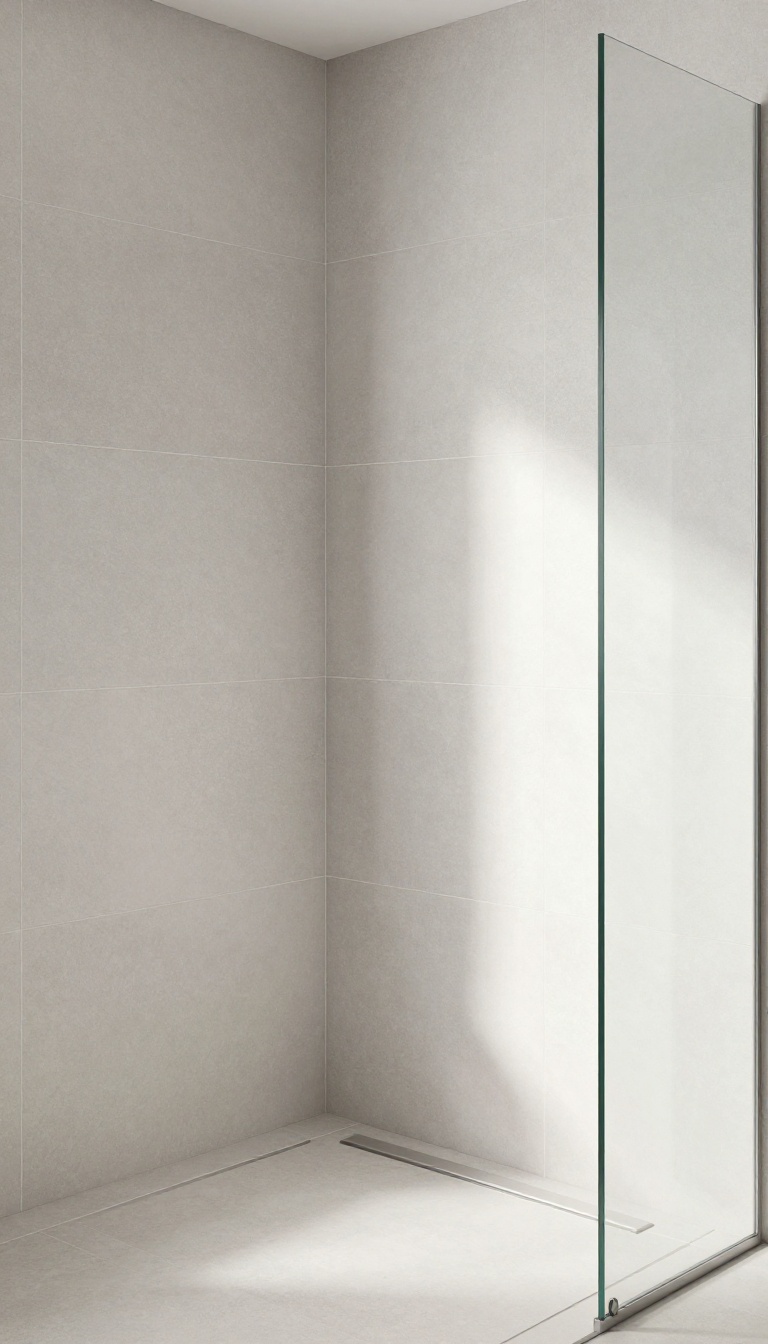
Most showers default to a central drain, but that little grate often becomes the visual anchor of the floor. A linear drain flips that idea by sitting flush along one edge, letting the tile run uninterrupted from wall to wall. The result is a cleaner, more open surface that feels intentional and modern.
Beyond the aesthetic upgrade, a linear drain makes practical sense. Because it's installed with a slight slope toward one side, water flows in a single direction instead of pooling around your feet. That also means you can use larger format tiles or even natural stone without the awkward cuts and slopes required by a traditional center drain.
Cleaning gets easier too—just pop off the grate and wipe out the channel, no more scrubbing around a round cover.
Why It Works In Small Showers
In a compact stand-up shower, every inch counts. A linear drain can be placed at the entrance or along the back wall, which helps create a barrier-free entry. That makes the space feel larger and more open, especially if you pair it with a frameless glass panel.
It also gives you more flexibility with the shower floor layout, so you're not stuck designing around a fixed drain location.
Tile Options That Shine
Since the drain sits at the edge, you can run large-format porcelain or even marble slabs across the entire floor without interruption. This creates a seamless, spa-like look that's easy to wipe down. If you prefer a bit of texture, consider a subtle linear pattern in the tile that echoes the drain line.
Just avoid small mosaic tiles if you want that uninterrupted feel—they tend to break up the clean sightline.
Installation And Maintenance Tips
A linear drain requires a bit more planning during installation because the floor needs a precise slope toward the channel. It's a job best left to a professional unless you're comfortable with tile work. Once it's in, maintenance is straightforward: remove the grate and rinse the channel with warm water.
Some models come with a removable trap that makes cleaning even easier. Look for a drain with a large debris basket to keep hair and soap scum from clogging the line.
6. Bench or Fold-Down Seat for Comfort and Convenience
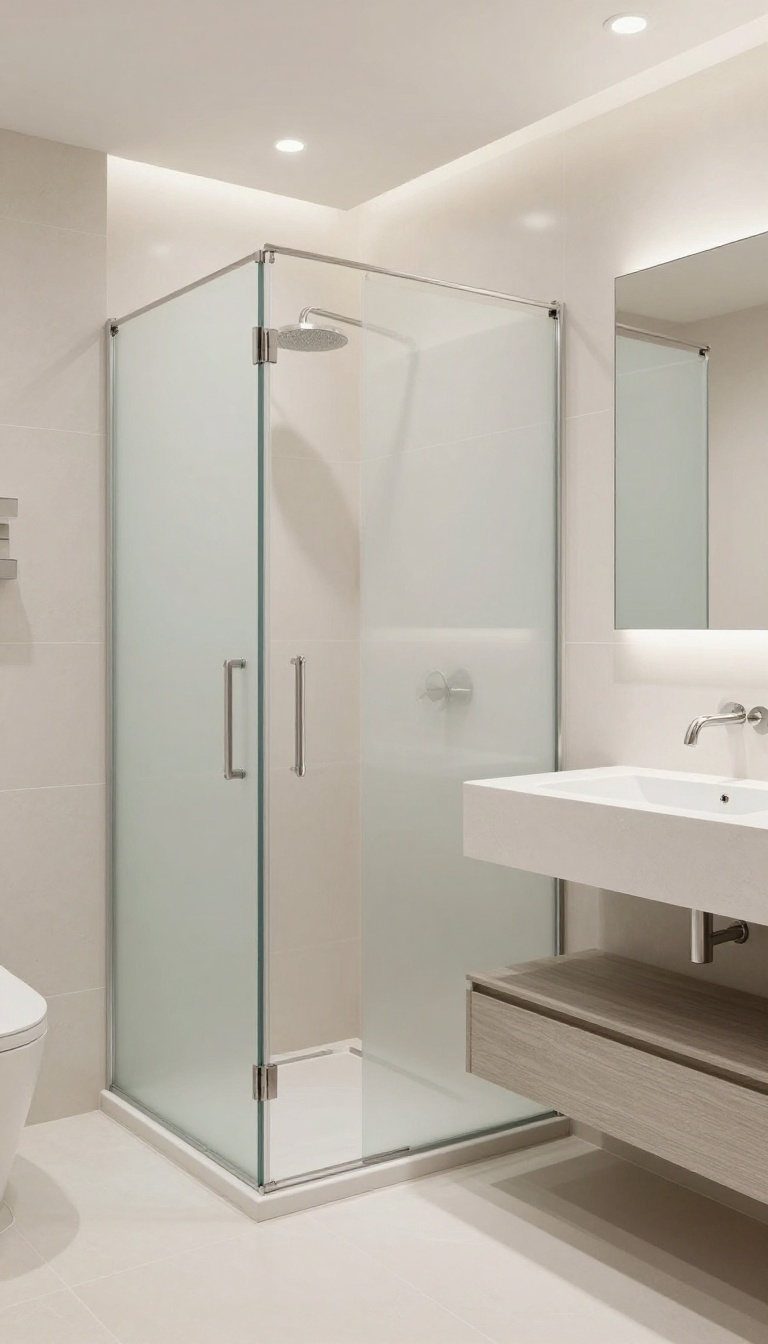
A place to sit might not be the first thing you think of when planning a shower, but once you have one, you'll wonder how you managed without it. Whether you're shaving your legs, washing your feet, or just needing a moment to breathe, a bench or fold-down seat changes the whole experience. It's a small addition that brings a big dose of comfort and a spa-like feel to your daily routine.
Adding a seat to your stand-up shower is about more than just somewhere to rest. It's a practical feature that makes the space more usable for everyone, from kids to older adults. A built-in bench can be a sleek design element, while a fold-down teak seat offers flexibility without taking up permanent floor space.
Whichever you choose, you'll find that having a seat encourages you to slow down and enjoy your shower a little more.
Built-in Benches For A Seamless Look
If you're planning a remodel or have the space, a built-in bench made of tile, stone, or solid surface can be a stunning focal point. It blends seamlessly with your shower walls and can be designed to match your exact style. A built-in bench is also sturdy and easy to clean, making it a practical choice for a permanent fixture.
Think about placing it near the controls or under the showerhead for easy access.
Fold-down Teak Seats For Flexibility
For smaller showers or those who prefer a minimalist look, a fold-down teak seat is a brilliant option. Teak is naturally water-resistant and looks beautiful in any bathroom. These seats mount to the wall and fold up when not in use, keeping the floor clear and the space feeling open.
They're perfect for occasional use and can be installed at any height that suits you.
Safety And Accessibility Benefits
A shower seat isn't just a luxury—it's a safety feature. It provides a stable place to sit, which can prevent slips and falls, especially for those with mobility issues or who simply feel unsteady on their feet. It also makes tasks like shaving or washing easier and safer.
Even if you don't need it every day, having a seat gives you peace of mind and makes your shower more inclusive for all members of your household.
Placement And Design Tips
When adding a seat, think about where it will be most useful. Place it near the shampoo shelf or within reach of the controls. Make sure it doesn't block the door or interfere with your movement.
For a cohesive look, match the seat material to your shower's palette—teak adds warmth, stone feels natural, and acrylic is modern and easy to maintain. Consider adding a small shelf or niche nearby to hold your shower essentials.
7. Smart Shower System with Digital Controls
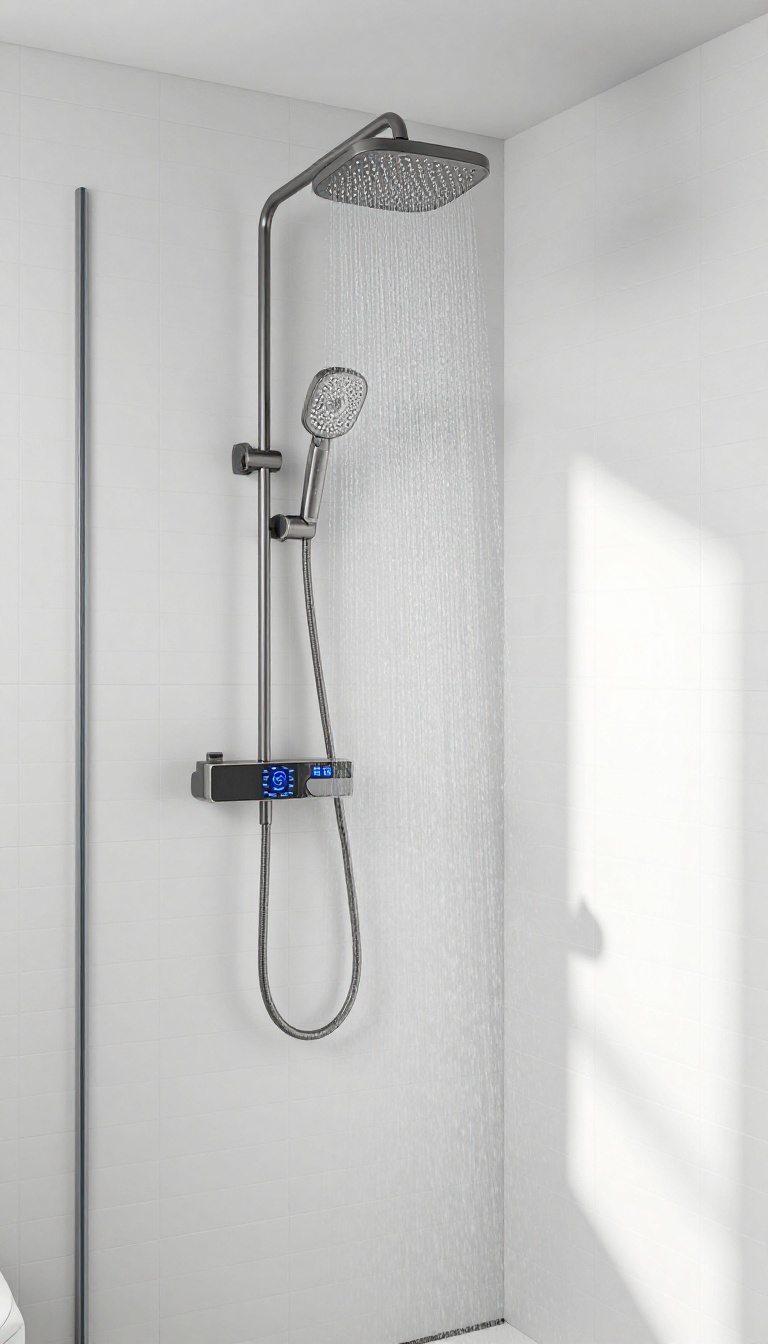
Remember the last time someone turned on the cold water while you were mid-shampoo? Digital controls put an end to that surprise. Instead of fiddling with a handle and waiting for the temperature to settle, you set it once and it stays there.
It's a small upgrade that makes a big difference in how your shower feels every day.
A digital valve replaces the traditional mixing valve, letting you dial in the exact temperature and flow with a touchscreen or a sleek remote. Some systems even come with presets, so each person in the house can save their perfect shower settings. You can start the water from your phone or use voice commands with your smart home assistant.
It's the kind of convenience that feels futuristic but is actually straightforward to install and use.
Why Go Digital?
The biggest draw is consistency. You no longer have to guess or adjust mid-shower. Digital controls hold the temperature steady, even if someone flushes a toilet or runs a washing machine.
Plus, you can set a maximum temperature to prevent accidental scalding, which is a smart safety feature if you have kids or elderly family members.
Features That Matter
Look for a system that offers both temperature and flow control. Some models have a pause button, so you can soap up without wasting water, and then resume right where you left off. Voice control is another nice touch—just say "start my shower" and it begins warming up.
Presets are especially handy if you share the bathroom; everyone gets their own button.
Installation Tips
You'll need a licensed plumber to swap out your old valve, and it's easier if you're already doing a bathroom update. The digital controller can be mounted on the wall inside or outside the shower, depending on the model. Make sure to choose a system that works with your existing water pressure and pipe setup.
It's a bit of an investment, but the daily comfort is worth it.
8. Matte Black Fixtures for a Bold Contrast
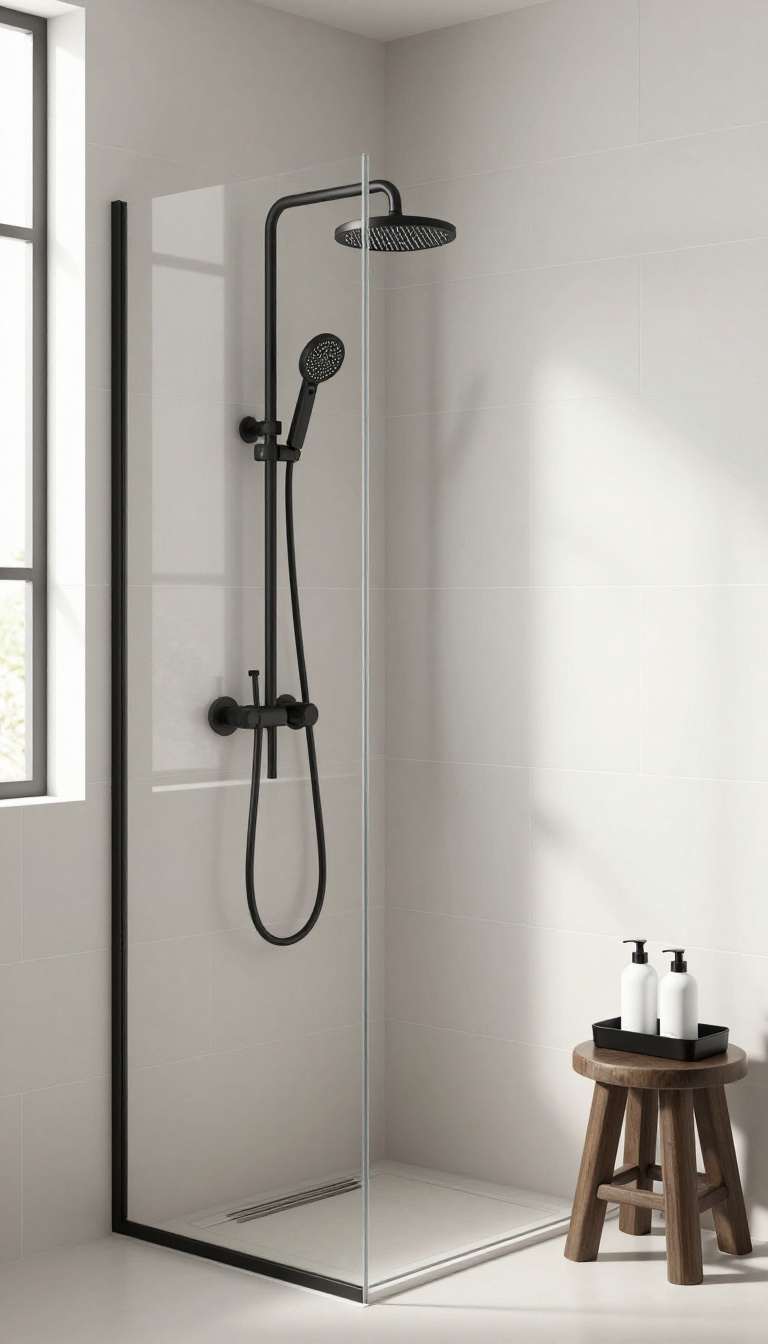
Chrome has been the default for years, but matte black is having a serious moment. It adds depth and a touch of drama without feeling heavy. Plus, it's surprisingly practical—fingerprints and water spots don't stand a chance.
Swapping out your fixtures is one of the easiest upgrades you can make. You don't need to redo the tile or change the plumbing. Just a few new pieces can transform the whole look.
The contrast against light tiles is what really makes it pop. It gives the shower a crisp, modern edge that feels intentional.
Why Matte Black Works
Matte black doesn't reflect light the way chrome does, so it creates a solid visual anchor. It pairs beautifully with white, gray, or even soft pastel tiles. The finish also hides hard water stains and smudges better than shiny surfaces.
That means less scrubbing and more enjoying your shower.
Which Fixtures To Switch
You don't need to replace everything at once. Start with the showerhead and the handle or knob. If you have a hand shower, that's another easy swap.
For a cohesive look, match the finish on your shower caddy or shelf too. Even small touches like a black drain cover can tie it together.
Mixing Metals And Textures
Matte black is surprisingly versatile. It can stand alone or mix with other finishes. If you have brushed nickel or brass elsewhere, a matte black shower can still work.
Just keep the undertones in mind. For texture, pair it with natural stone or wood-look tiles. That contrast between matte black and organic materials is stunning.
9. Heated Floor or Towel Warmer for Year-Round Comfort
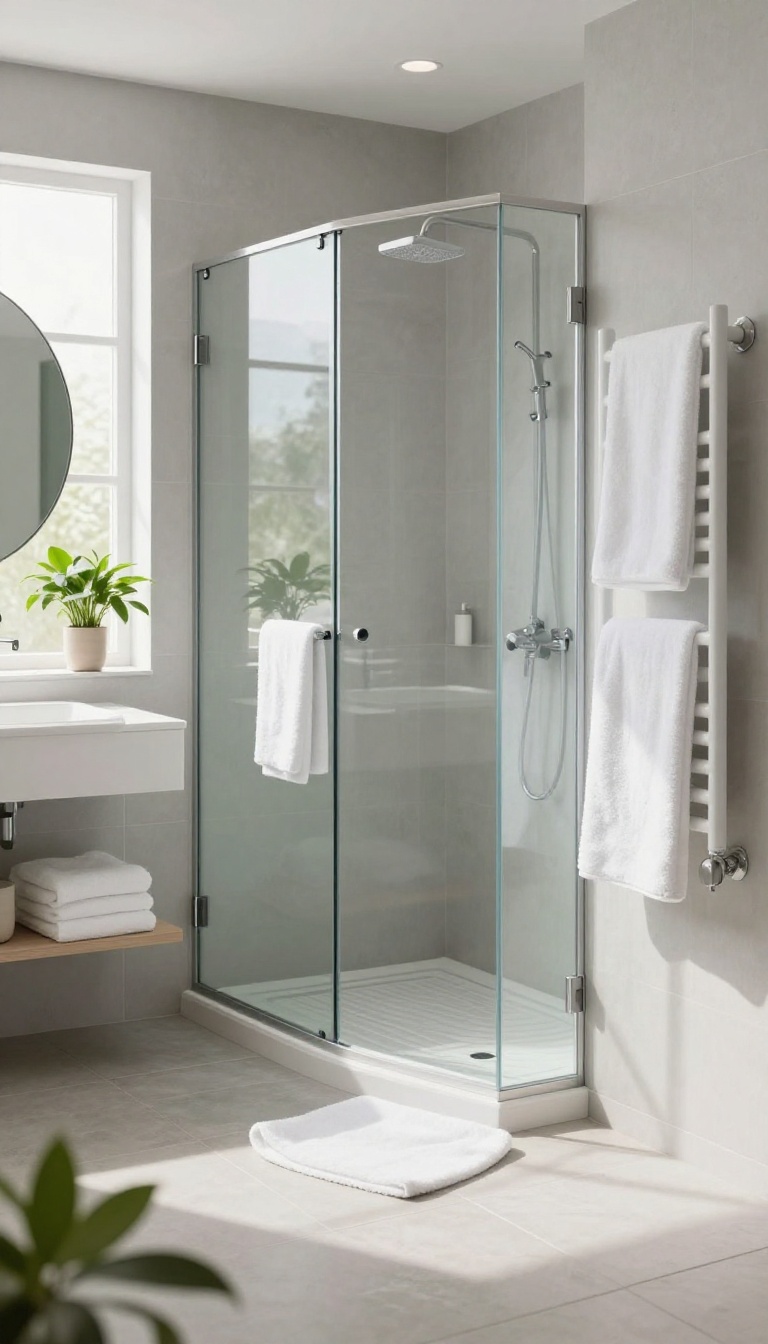
Stepping out of a warm shower onto a cold tile floor is a jolt nobody wants, especially during the chillier months. A heated floor or a towel warmer can eliminate that shock and wrap you in comfort before you even dry off. It’s a small luxury that turns your daily routine into a cozy ritual, and it’s more accessible than you might think.
Radiant Floor Heating: Warmth From The Ground Up
Radiant floor heating works by running warm water or electric cables beneath your tiles, warming the surface evenly. It’s not just about the feet—it also helps dry the floor faster, reducing the chance of slips and keeping the bathroom feeling fresh. If you’re remodeling, electric mats are a straightforward addition; if you’re not, you can still install a heated floor mat that plugs in and sits on top of the tile.
The upfront cost may seem like a splurge, but the daily comfort and energy efficiency often make it worth it.
Towel Warmers: A Cozy Touch After Every Shower
A towel warmer does exactly what it says—it heats your towels to a toasty temperature, so you can wrap yourself in warmth the second you step out. There are two main types: wall-mounted racks that plug in and stay on, and freestanding units you can move around. Some even come with timers, so you can set them to warm up right before your usual shower time.
It’s a simple pleasure that feels like a spa treat, and it also helps towels dry faster, which cuts down on musty smells.
Installation Tips And Considerations
Before you commit, think about your bathroom’s layout and your budget. Radiant floor heating is best installed during a renovation, but if that’s not on the table, a heated floor mat is a quick, low-cost alternative. For towel warmers, make sure you have a nearby outlet or plan for hardwiring by an electrician.
Also, check the heating capacity—some models are better for larger towels or multiple towels. A little planning goes a long way in making this upgrade seamless.
10. Large-Format Tiles for Fewer Grout Lines
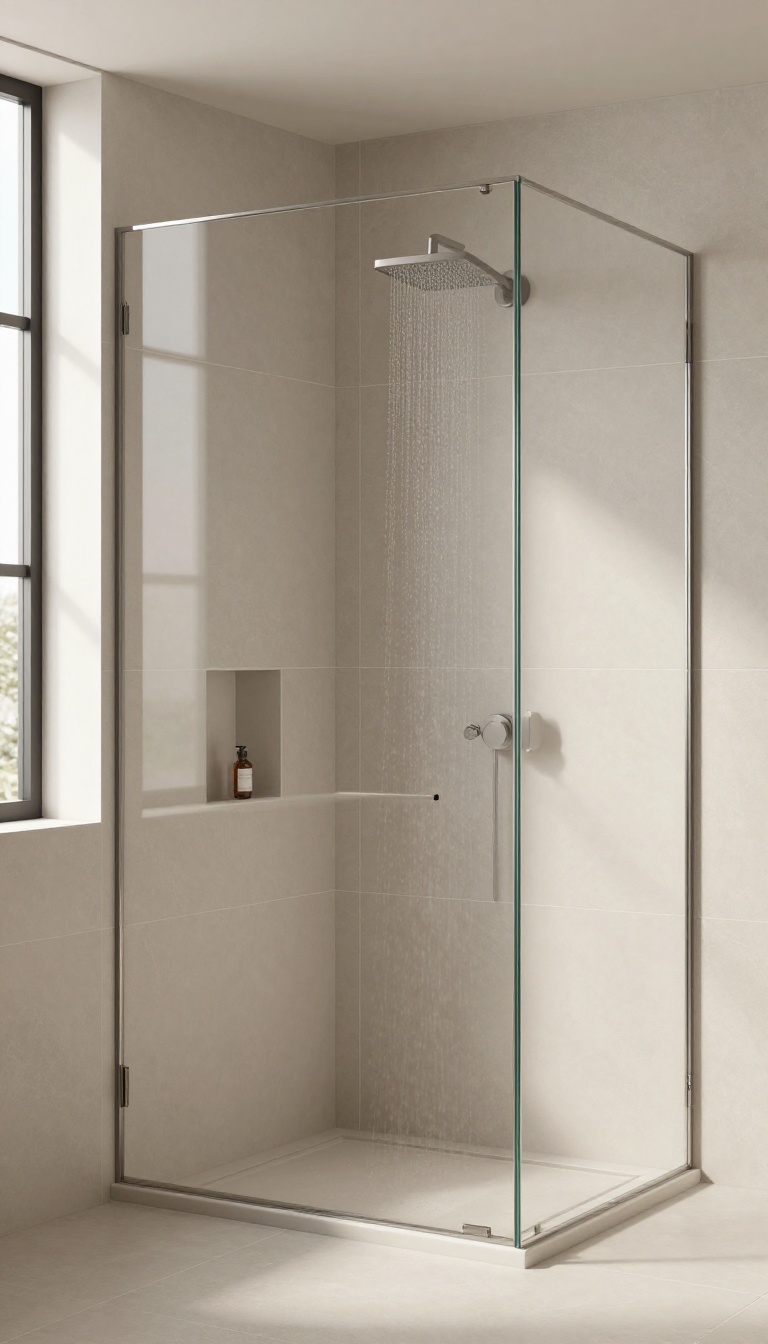
Grout lines are like the fine print of a shower—they demand attention, collect grime, and make cleaning a chore. Large-format tiles slash those lines dramatically, giving you a sleek, seamless surface that feels more like a spa than a utility room. They're a favorite among designers for good reason: fewer lines mean less maintenance, a more expansive look, and a cleaner aesthetic overall.
Large-format tiles, typically 12×24 inches or larger, are a game-changer for stand-up showers. By covering more surface area with each tile, you drastically reduce the number of grout joints, which are notorious for trapping soap scum and mildew. The result is a shower that looks modern and feels more open, especially in compact spaces where every inch counts.
Plus, the minimal grout lines create a continuous visual flow that makes the walls and floor appear as one cohesive surface.
Why Bigger Tiles Work Better
The magic of large-format tiles lies in their ability to trick the eye. With fewer interruptions in the surface, the shower feels larger and more luxurious. They also simplify cleaning—fewer grout lines mean less scrubbing and fewer places for mold to hide.
For busy households, this is a practical win that doesn't sacrifice style.
Choosing The Right Large-format Tile
Not all large-format tiles are created equal. Porcelain and ceramic are popular for their durability and water resistance, while natural stone like marble adds a high-end touch but requires more upkeep. Consider the finish: matte tiles offer better slip resistance for the floor, while glossy tiles on walls can reflect light and brighten the space.
Always check the tile's slip rating for floor use.
Installation Tips For A Seamless Look
Proper installation is key to achieving that clean, grout-free appearance. Use a leveling system to keep tiles perfectly flush, and opt for a thin grout line (1/8 inch or less) with a color that matches the tile. For a truly seamless effect, some homeowners go for rectified tiles that have been cut to exact dimensions, allowing even tighter joints.
Hiring an experienced installer who's comfortable with large formats is worth the investment.
FAQ
What is the best material for a stand-up shower floor?
For safety and durability, consider textured porcelain or natural stone tiles. They offer good traction and are easy to clean. Avoid smooth marble or large-format tiles that can be slippery when wet.
How can I make a small stand-up shower feel larger?
Use frameless glass, light-colored tiles, and a linear drain to create a seamless look. Also, consider a wall-mounted showerhead and a corner bench to free up floor space.
Do I need a shower door or a curtain?
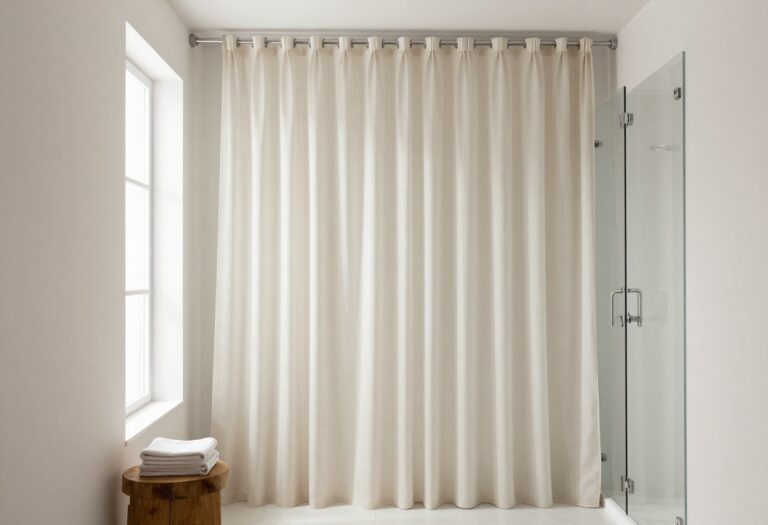
A frameless glass door gives a modern, open feel and is easier to clean than a curtain. However, a high-quality curtain with a liner is a budget-friendly option that can still look stylish.
What is the ideal shower head height?
For a rainfall showerhead, aim for about 84 inches from the floor, or adjust based on the tallest user. For a handheld, install it at a height that's comfortable to reach, usually around 72 inches.
How often should I clean my stand-up shower?
To prevent soap scum and mildew, wipe down surfaces after each use and do a deep clean weekly. Use a squeegee on glass and a mild cleaner on tiles to keep everything looking fresh.
Conclusion
Refreshing your stand-up shower doesn't have to be a massive project. Even one or two of these ideas can make a noticeable difference in how your bathroom looks and feels. Start with what excites you most, whether it's a new showerhead or a simple tile upgrade.
Remember, the goal is to create a space that you enjoy using every day. Take your time, pick the ideas that fit your style and budget, and enjoy the transformation. Your morning routine will thank you.