11 Easy Walk-In Tile Shower Ideas for a Simple, Stylish Look
Walk-in showers are having a moment, and the tile you choose makes all the difference. You don't need a massive budget or a designer to get a polished look—just a few smart material and layout choices. These 11 ideas range from classic to bold, so you can find the perfect fit for your style and maintenance tolerance.
From timeless subway tile to playful hexagons, each option brings its own personality. You'll also pick up practical tips on grout, texture, and placement to make the space both beautiful and easy to live with.
Ready to plan your shower refresh? Let's dive in.
1. Classic White Subway Tile: Timeless and Budget-Friendly
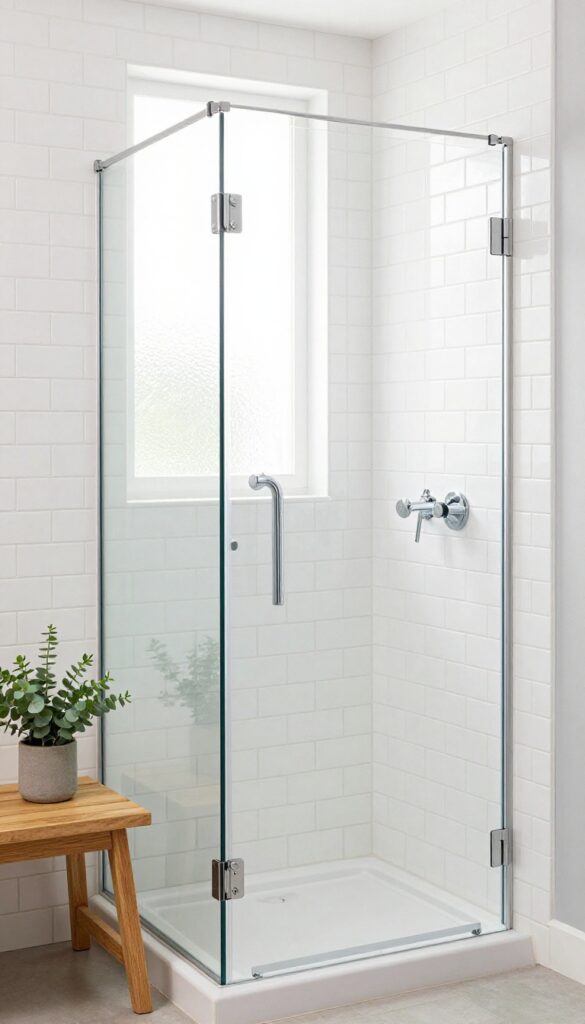
White subway tile is the little black dress of bathroom design—always appropriate, endlessly versatile, and surprisingly affordable. It’s a favorite among homeowners and contractors alike because it works with virtually any style, from farmhouse to modern. You can dress it up with a herringbone pattern or keep it simple with a straight stack, and it will still look sharp years down the road.
Subway tile earns its reputation for good reason. It’s easy to install, which can save you money on labor if you’re hiring a pro, and the material cost is one of the lowest in the tile world. Plus, the glossy finish reflects light, making your shower feel brighter and more open.
The real trick is in the details—grout color and layout can completely change the vibe, so you have room to play without spending extra.
Grout Choices That Change Everything
Light grout (like white or warm gray) blends with the tile for a seamless, airy look. Dark grout (charcoal or black) creates a bold grid that adds visual interest and hides dirt better. If you want a middle ground, go with a light gray that offers contrast without being too stark.
Layouts That Elevate The Classic
The standard brick pattern is safe, but you can try a vertical stack for a modern twist, or a herringbone for a touch of elegance. A diagonal layout adds movement and makes the space feel larger. Each option uses the same tile, so you can get a custom look without the custom price.
Pairing With Other Materials
Subway tile plays well with others. Use it on the walls and pair with a contrasting floor tile, like hexagonal porcelain or natural stone. Or, create a feature wall with large-format tiles and keep the rest in subway for balance.
It’s an easy way to add personality without overwhelming the space.
2. Large Format Tiles: Fewer Grout Lines, Sleeker Look
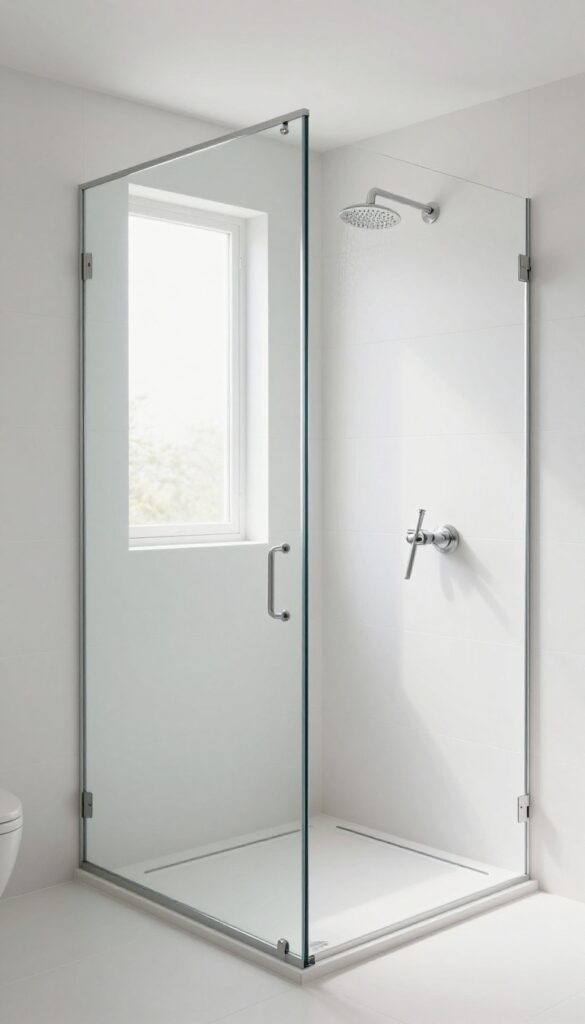
If you want a clean, modern shower without the hassle of scrubbing grout, large format tiles are a game-changer. These oversized slabs—think 12×24 or 24×48 inches—minimize grout lines, which means less maintenance and a more streamlined appearance. Plus, they can make a compact shower feel surprisingly spacious.
Large format tiles work wonders in walk-in showers by reducing visual clutter. With fewer grout lines, the eye travels smoothly across the surface, creating a calm, open feel. They’re also a practical choice for busy households—less grout to clean means less time on your hands and knees.
Choose a matte finish to soften the look and add a subtle, contemporary touch that hides water spots better than glossy alternatives.
Why Size Matters
The bigger the tile, the fewer the grout lines—and that’s a big win for both style and upkeep. Large tiles also trick the eye into seeing more square footage, making a small shower feel more expansive. When you’re working with a tight space, this optical illusion is your best friend.
Matte Vs. Glossy
Matte finishes are having a moment, and for good reason. They offer a soft, velvety texture that feels modern and understated, while also being more forgiving with hard water stains and soap scum. Glossy tiles reflect light and can brighten a dark shower, but they show every drop.
For a low-maintenance, stylish look, matte is the way to go.
Installation Tips
Large tiles require a perfectly flat surface to avoid lippage—that annoying unevenness where one tile edge sits higher than the next. Use a leveling system and make sure your substrate is smooth. Also, consider a larger trowel to get proper coverage.
If you’re not confident, hire a pro; the investment is worth it for that flawless finish.
3. Vertical Stacked Tile: A Modern Twist on a Classic
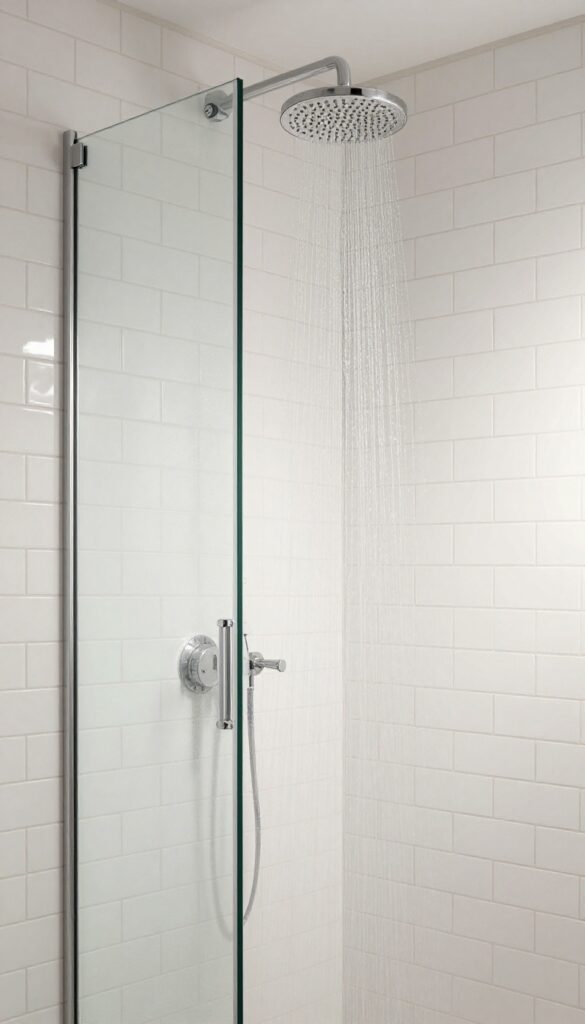
Subway tile is a perennial favorite, but the way you lay it can completely change the vibe. Instead of the usual offset brick pattern, try stacking the tiles vertically. This simple tweak draws the eye upward, making the ceiling feel higher and giving the shower a sleek, contemporary edge.
It's a budget-friendly way to update a timeless material.
Vertical stacking works beautifully with both classic white subway tile and more modern rectangular tiles in larger sizes. The clean, uninterrupted lines create a sense of order and calm, which is perfect for a spa-like retreat. Plus, the vertical orientation can make a narrow shower feel more spacious, as the eye naturally travels up the wall.
Why Vertical Stacking Works
The vertical lines add height, making the space feel taller and more open. It's also a subtle way to break away from the expected without going bold. The effect is clean and minimal, which pairs well with almost any fixture or accent.
Best Tiles For This Look
You can use standard 3×6 subway tiles, but for a more modern feel, try larger rectangles like 4×12 or 6×12. Matte finishes work particularly well, as they reduce glare and hide water spots. If you want a bit of texture, consider a beveled edge for a touch of depth.
Grout And Color Tips
To keep the vertical lines crisp, choose a grout color that closely matches the tile. This creates a seamless look. If you want to emphasize the pattern, go with a contrasting grout.
Just remember that darker grout hides stains better, while lighter grout can brighten the space.
4. Neutral Stone-Look Porcelain: Natural Beauty Without the Maintenance
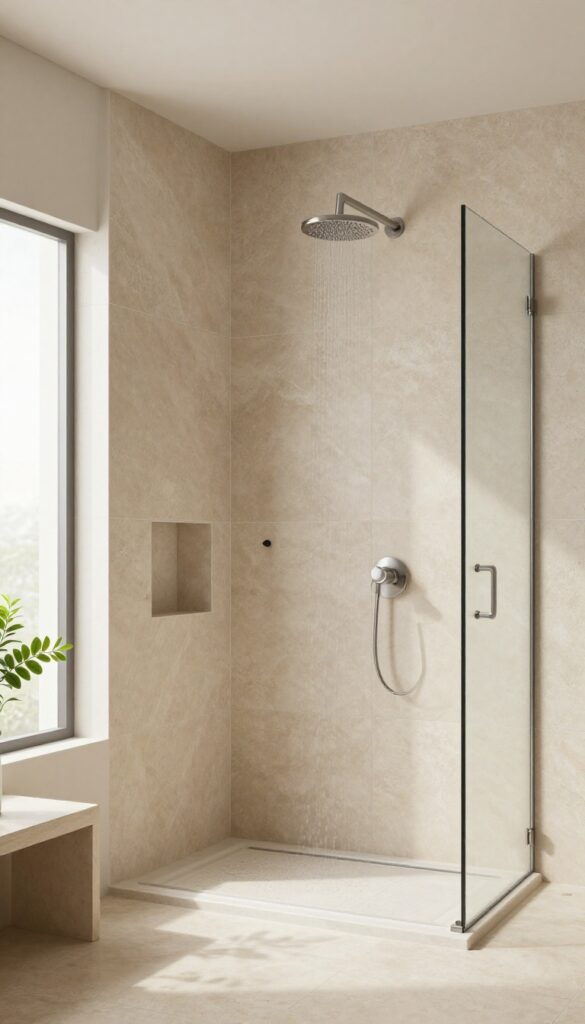
Craving the elegance of natural stone but dreading the upkeep? Stone-look porcelain delivers that high-end aesthetic with a fraction of the fuss. It’s a smart choice for busy bathrooms where style and practicality need to coexist.
Porcelain tiles that mimic natural stone have come a long way. They capture the veining and texture of marble or travertine, but they’re tougher, more water-resistant, and don’t require sealing. Plus, they come in a range of neutral tones—soft beiges, warm grays, and creamy whites—that blend effortlessly with any bathroom palette.
Why Choose Stone-look Porcelain?
The main draw is low maintenance. Natural stone is porous and prone to staining, so it needs regular sealing and careful cleaning. Porcelain, on the other hand, is non-porous and resists moisture, making it ideal for a wet environment like a shower.
It’s also more durable and less likely to chip or crack, so it’ll look great for years with minimal effort.
Picking The Right Tone And Texture
When choosing stone-look tiles, consider the overall mood you want. Lighter shades like ivory or light gray can make a small shower feel more spacious and airy. Darker tones, such as charcoal or espresso, add drama and coziness.
For texture, look for tiles with a matte or slightly textured finish—they provide better slip resistance and feel more authentic underfoot than glossy options.
Layering And Grout Tips
To enhance the natural look, use a grout color that blends with the tile rather than contrasts sharply. This creates a seamless, monolithic appearance. You can also play with tile size: large-format planks reduce grout lines and simplify cleaning, while smaller mosaics offer more traction and visual interest.
Pairing different stone-look tiles—like a large-format wall with a mosaic floor—adds depth without overwhelming the space.
5. Hexagon Tile: A Playful Yet Sophisticated Pattern
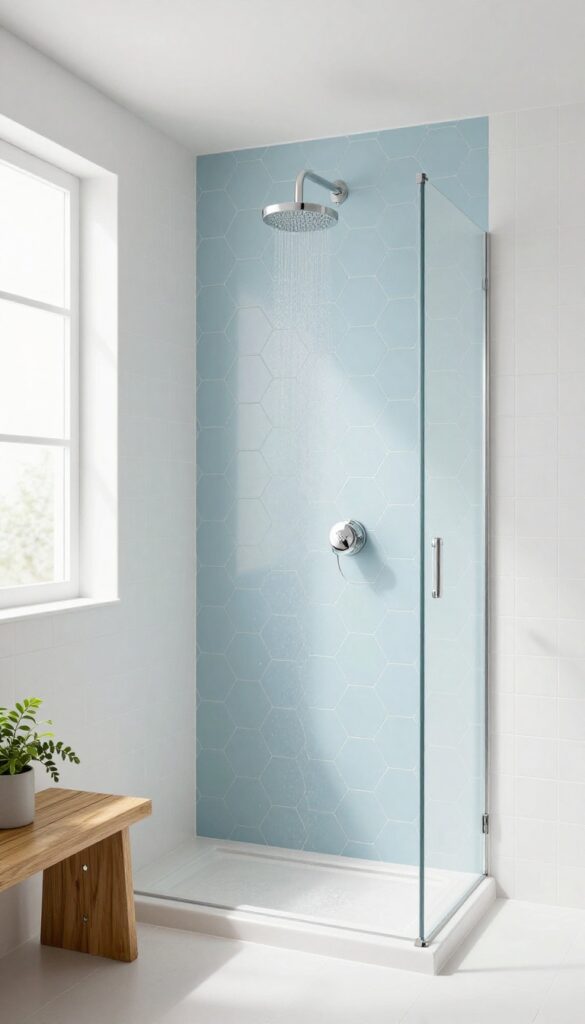
Hexagon tile brings a fresh twist to the shower without going overboard. The six-sided shape adds just enough visual interest to keep things from feeling flat, while still looking clean and intentional. Whether you scatter them across the floor or create a feature wall, hexagons have a way of making a space feel custom and considered.
One of the best things about hexagon tile is how flexible it is. You can keep it subtle with a single color, or mix in a few contrasting tiles for a bit of whimsy. The shape itself does the heavy lifting, so you don't need busy patterns or loud colors to get a stylish look.
Plus, hexagons work well in both small and large showers, adapting to the scale of your space.
Floor Focus: Hexagons Underfoot
Using hexagon tile on the shower floor is a smart move. The smaller tiles create more grout lines, which give your feet extra grip when the floor is wet. That’s a practical bonus that also looks great.
You can choose a uniform color for a seamless look, or mix a few accent tiles in for a subtle mosaic effect. Either way, the floor becomes a subtle focal point that ties the whole shower together.
Accent Wall: Hexagons As A Feature
If you want to keep the rest of the shower simple, a hexagon accent wall is a perfect compromise. Pick one wall—usually the one behind the showerhead or bench—and cover it with hexagons. You can keep the rest of the shower in a neutral solid tile for balance.
The contrast adds depth and interest without overwhelming the space. For a bit more personality, try a soft pastel or a matte finish that catches the light differently.
Size And Color: Making The Right Call
Hexagon tiles come in a range of sizes, from small mosaic sheets to larger individual tiles. Smaller hexagons (around 2 inches) create a busier, more textured look, while larger ones (4 inches or more) feel more modern and minimal. In terms of color, classic white or light gray is a safe bet that keeps the shower bright and airy.
If you’re feeling bolder, you can introduce a single accent color—like navy or sage—for a pop of personality. Just keep the rest of the palette neutral so the hexagons stay the star.
6. Contrasting Accent Stripe: Add Visual Interest with a Single Row
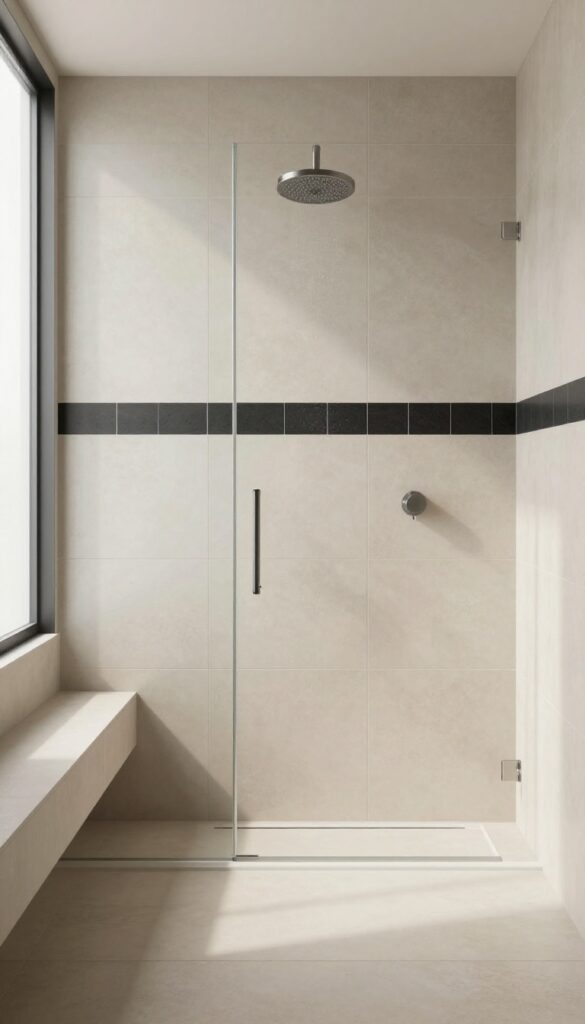
A single row of contrasting tile can break up a large expanse of neutral color without committing to a full accent wall. It’s a simple trick that adds depth and a custom feel to your walk-in shower. Choose a dark blue, black, or even a metallic tile for a subtle pop that draws the eye.
Placing one row of contrasting tile at eye level or just above the shower bench creates a natural focal point. It’s a low-risk way to experiment with color or texture, and it works with almost any tile style—from subway to large format. You can also use the stripe to visually separate different zones, like the main shower area from the bench or niche.
Choosing The Right Contrast
Pick a color that complements your main tile but stands out enough to be noticed. For a classic look, try a matte black stripe on white subway tile. If you prefer a softer touch, a light blue or green can add a hint of color without being too bold.
Consider the grout color too—matching it to the accent tile can make the stripe feel more integrated.
Placement Tips For Best Effect
The stripe works best when placed at a height that’s naturally in your line of sight, typically 54 to 60 inches from the floor. If your shower has a niche or a bench, align the stripe with those features to create a cohesive look. For a more dynamic feel, you can run the stripe vertically behind the showerhead or horizontally across the back wall.
Mixing Textures And Finishes
Don’t limit yourself to color—play with texture too. A glossy accent stripe against matte main tiles adds a subtle sheen, while a pebble or mosaic stripe introduces tactile interest. Just make sure the accent tile’s thickness matches the main tile to avoid a noticeable ledge.
Also, consider the maintenance: smooth tiles are easier to clean than textured ones, so balance style with practicality.
7. Matte Black Fixtures with Light Tile: A Bold, Modern Combo
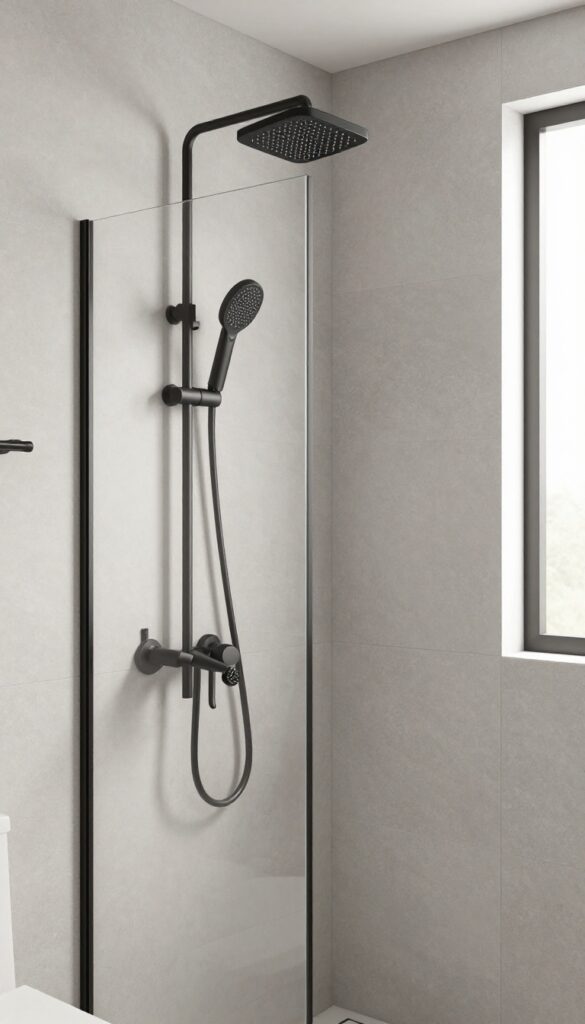
If you want a bathroom that feels both crisp and grounded, this pairing is a shortcut. Light tile opens up the space and reflects natural light, while matte black fixtures add a strong, graphic anchor. The result is a look that's polished without feeling cold or overly fussy.
It's a favorite for good reason—it's simple to execute and instantly elevates the room.
Start with your tile. White, beige, or light gray are all great canvases. Large-format tiles in these shades keep grout lines minimal, letting the black fixtures pop without competition.
If you prefer a bit more texture, a subtle wave or linear pattern in a light tone can add interest without stealing the show. The key is to keep the tile light and relatively neutral so the black hardware becomes the star. Now for the fixtures.
Matte black is the way to go—it's softer than glossy black and hides water spots better. Choose a showerhead, valve trim, and handles with clean, simple lines. A rain showerhead in matte black looks especially striking against a light tile wall.
Don't forget the little details: a black shower caddy, a black towel bar, or black-framed glass doors can tie the whole look together. The contrast doesn't have to be jarring. The trick is to balance the two elements.
If your tile is very white and bright, the black will feel more dramatic. If you pick a warmer off-white or greige, the overall mood becomes softer and more inviting. Either way, you're creating a clean, modern aesthetic that's easy to live with.
Choosing The Right Tile Finish
Glossy tile reflects light and makes the black fixtures stand out even more, but it can show water spots and soap scum. A matte or satin finish on the tile is more forgiving and pairs beautifully with matte black hardware. For the floor, consider a slightly textured tile to prevent slips.
Porcelain and ceramic are practical choices that come in many light shades.
Mixing Metals: To Do Or Not To Do
Sticking with all matte black is the safest bet for a cohesive look. But if you want a touch of warmth, consider adding a brass or gold accent somewhere—like a small shelf or a faucet handle. The trick is to keep it minimal so the black remains the dominant metal.
Too many mixed metals can make the space feel busy.
Lighting And Accessories
Lighting plays a big role in this combo. Warm LED bulbs (around 2700K) soften the contrast and make the space feel cozy. Cooler bulbs will make it feel more spa-like.
Add a simple black-framed mirror or a black-framed glass shower door to reinforce the theme. A wooden bath mat or a few green plants can add warmth and break up the monochrome.
8. Textured Tile: Add Depth and Slip Resistance
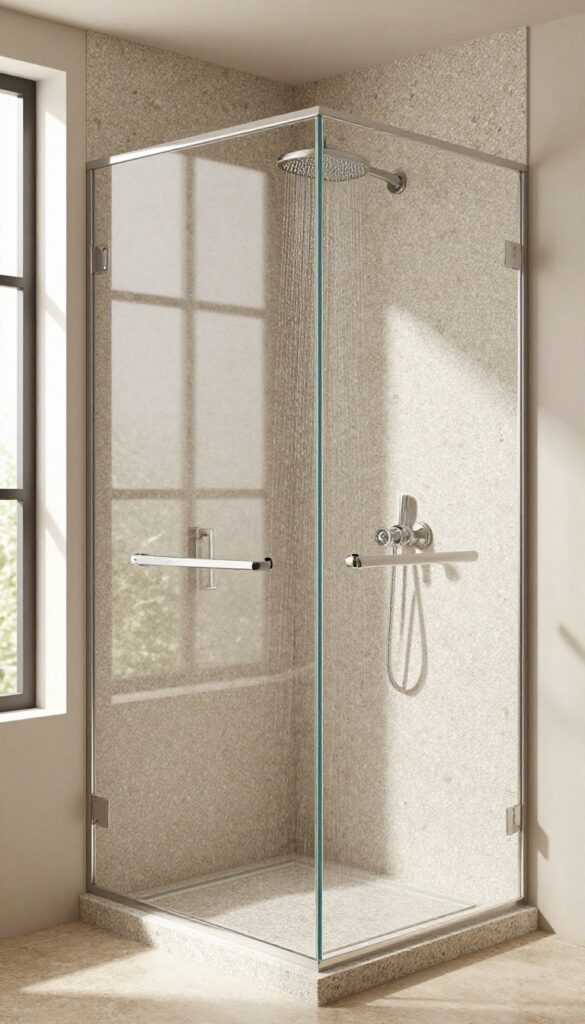
Textured tile is a smart choice for anyone who wants both style and safety in a walk-in shower. The raised patterns and uneven surfaces give your shower a tactile, spa-like quality while also providing extra grip underfoot. It's a practical upgrade that doesn't sacrifice aesthetics.
When you choose textured tile, you're not just picking a pretty surface—you're making a functional decision. The ridges, ripples, or pebbles create natural traction, which is especially important on shower floors where water and soap make things slippery. Plus, the texture adds a subtle visual interest that plain smooth tile can't match.
You can use it on the floor for safety, or extend it up the walls for a cohesive, organic look that feels like a high-end retreat.
Why Texture Matters
In a wet environment, slip resistance is non-negotiable. Textured tile provides that extra grip without needing to add sticky mats or adhesive strips. Many textured options have a high Coefficient of Friction (COF), making them ideal for shower floors.
The texture also helps hide water spots and soap scum, so your shower stays cleaner-looking between scrubs.
Popular Textured Tile Styles
You've got plenty of stylish choices. Pebble tiles—whether natural stone or porcelain—offer a bumpy, organic surface that feels amazing underfoot. Rippled or wavy tiles bring a modern, sculptural vibe, while textured subway tiles add a fresh twist on a classic.
For a more subtle approach, look for tiles with a matte finish and a slight sandpaper-like feel.
Where To Use Textured Tile
The shower floor is the most obvious spot, but don't stop there. An accent wall of textured tile can become the focal point of your shower, adding depth and a touch of luxury. You could also use it on a bench or niche to tie the look together.
Just keep in mind that heavily textured walls can be harder to clean, so balance style with practicality.
Design Tips And Grout Considerations
When working with textured tile, choose a grout color that complements the tile without competing for attention. For pebble tiles, a sanded grout works best to fill the gaps. Also, consider the scale of the texture—larger patterns can make a small shower feel busy, so opt for smaller, tighter textures in compact spaces.
And always seal natural stone to protect it from moisture.
9. Penny Tile: Retro Charm with a Modern Edge
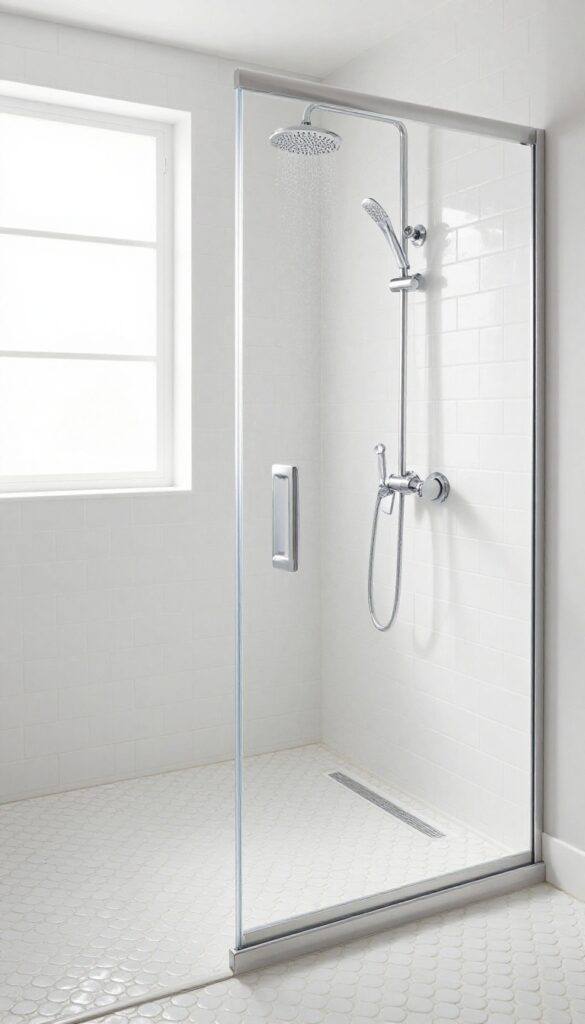
Penny tile brings a playful, vintage vibe that still feels fresh today. Those small, round circles create a textured surface that catches light and adds visual interest without being loud. Whether you cover the whole floor or just one accent wall, penny tile gives your shower a custom look that’s both charming and easy to live with.
The key to making penny tile work in a walk-in shower is balance. Because the pattern is busy, pair it with clean, simple fixtures and a neutral palette. Use it on the floor for a subtle retro feel, or go bolder with an accent wall behind the bench.
Grout color matters too—choose a contrasting shade to make the circles pop, or a matching tone for a more seamless look.
Choosing The Right Color
Classic white penny tile is timeless and brightens the space. Gray offers a softer, more modern alternative that hides soap scum better. If you want a hint of color, consider soft blues or greens that echo the ocean.
Stick to one color for a cohesive look, or mix two shades for a playful checkerboard effect.
Grout And Maintenance
Because penny tiles have many small joints, grout lines are more numerous. Use a high-quality, stain-resistant grout and seal it properly to avoid discoloration. Darker grout hides dirt better but may make the tile look heavier.
Lighter grout brightens the space but needs more regular cleaning. Choose based on your maintenance tolerance.
Placement Ideas
For a classic look, lay penny tile on the shower floor and pair it with larger subway tile on the walls. If you want more impact, create a single accent wall behind the showerhead or soap niche. You can also run penny tile in a vertical stripe to elongate the space.
Keep the rest of the shower simple so the penny tile remains the star.
10. Herringbone Pattern: A Classic Layout That Feels Custom
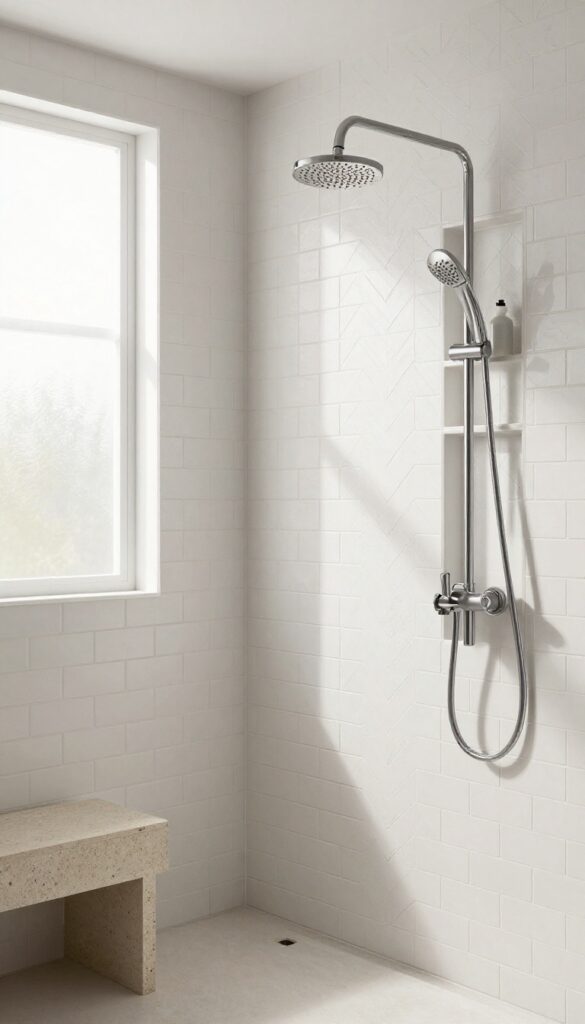
Few tile layouts say "custom" as instantly as herringbone. The zigzag pattern adds a sense of movement and texture, even when you stick with plain white subway tile. It’s a timeless choice that works in both modern and traditional bathrooms, and it doesn’t require any fancy materials—just a bit more planning and patience during installation.
The herringbone pattern involves laying rectangular tiles at a 45-degree angle so they form a continuous V shape. This layout draws the eye upward, making the shower feel taller, and it adds a subtle visual rhythm that plain stacked or running bond patterns lack. You can use it on the entire shower wall or just one focal area, like the niche or the wall behind the bench.
Because the pattern is so striking, it pairs well with simple, neutral tiles—white, gray, or beige—to let the layout shine. Keep the grout color close to the tile for a seamless look, or choose a contrasting grout to emphasize the zigzag. While installation takes longer than straight layouts, the result is worth the extra effort and will give your shower a high-end feel without the high-end price tag.
Where To Use Herringbone
You don’t have to cover every wall in herringbone to get the effect. A single accent wall behind the shower bench or the wall with the showerhead can create a strong focal point. You can also use it inside the shower niche or as a backsplash-like strip above the tile wainscot.
This keeps the installation time down and lets the pattern feel like a deliberate design choice rather than an overwhelming one.
Tile Size And Shape Matter
Classic subway tile (3×6 inches) is the most common choice for herringbone, but you can also use larger rectangular tiles like 4×12 or 6×24 inches for a more modern, streamlined look. Larger tiles mean fewer grout lines and a cleaner appearance, but they also make the pattern less intricate. Smaller tiles create more visual detail and can be easier to fit around corners and fixtures.
Think about the scale of your shower and how much pattern you want to live with.
Installation Tips To Keep In Mind
Herringbone requires more cuts and careful alignment than a straight layout, so it’s a job best left to an experienced tiler unless you’re confident in your DIY skills. Make sure the wall is perfectly flat before you start, as any dips or bumps will be more noticeable with this pattern. Also, plan your layout ahead of time to avoid thin slivers of tile at the edges—starting with a full tile at the center of the wall helps keep things balanced.
11. Niche and Shelf Accents: Combine Function with Style
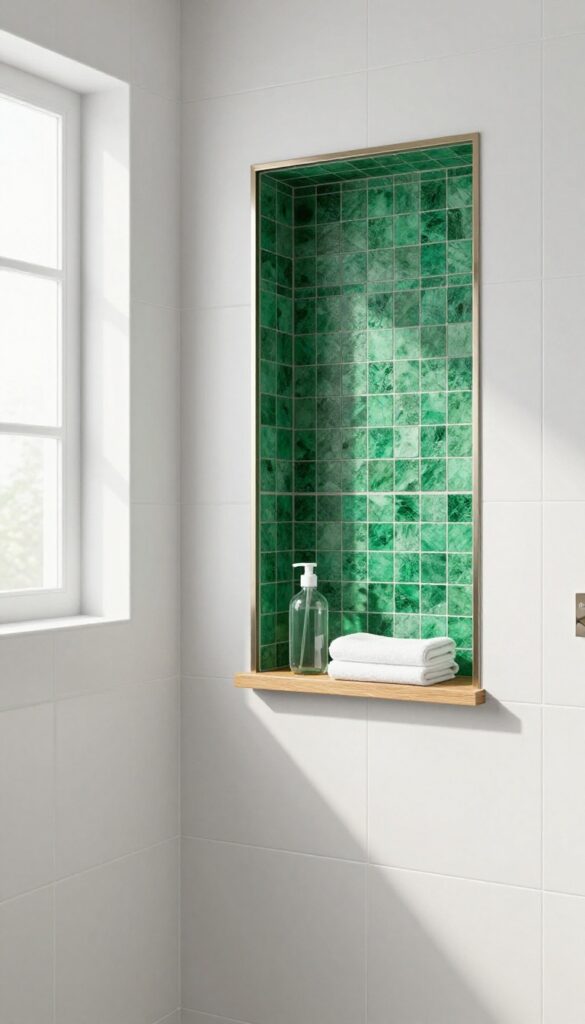
A shower niche or built-in shelf is more than just a spot for your shampoo—it's a chance to show off. Swapping in a different tile inside that recessed area instantly draws the eye and adds a layer of design without overwhelming the whole space. It's a small change that packs a big visual punch.
Think of the niche as a mini canvas. While the rest of your shower might be a calm, neutral backdrop, the niche can be a playful mosaic, a bold geometric pattern, or a rich, contrasting color. This approach lets you experiment with a trend or a favorite material in a low-commitment way.
If you ever tire of it, you're only changing a small area, not the entire shower.
Choose A Contrasting Tile
Pick a tile that stands out from your main wall. If your walls are large-format white, go for a dark blue or emerald green. If you have a warm beige, try a cool gray or a patterned cement tile.
The contrast makes the niche pop and gives the eye a place to rest.
Play With Texture And Finish
Texture can make the niche feel special even if you stick to a similar color. A glossy subway tile inside a matte field tile, or a ribbed tile next to smooth porcelain, adds subtle depth. You can also use a metallic or glass tile for a hint of sparkle.
Frame It With A Border
If you want the niche to feel intentional, add a border of contrasting tile or a metal trim around the opening. This frames the accent and makes it look like a deliberate design feature, not just a functional cutout.
Match The Accent To Other Fixtures
Coordinate the niche tile with your faucet finish or other bathroom accents. For example, if you have brushed brass fixtures, a brass-toned tile inside the niche can tie the whole look together. This creates a cohesive, custom feel.
FAQ
What is the best tile for a walk-in shower?
Porcelain or ceramic tiles are ideal for walk-in showers because they're durable, water-resistant, and low-maintenance. Large format tiles reduce grout lines, making cleaning easier.
How can I make a small walk-in shower look bigger?
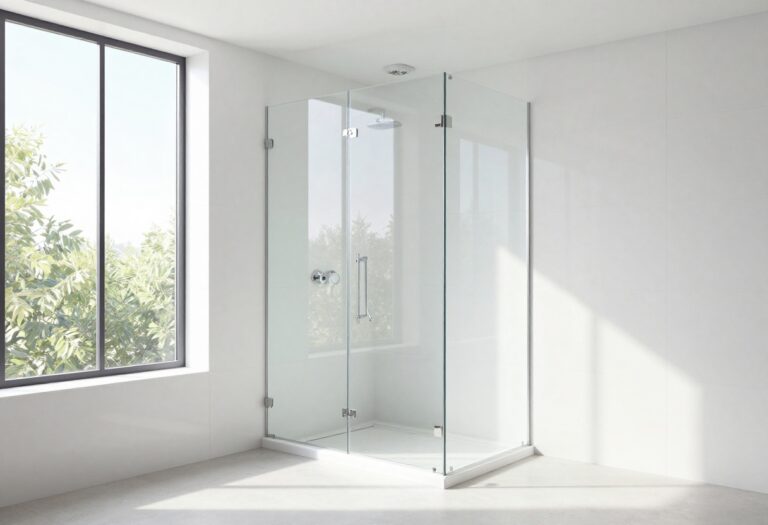
Use large, light-colored tiles with minimal grout lines. A glass shower door and a niche for storage can also open up the space. Avoid busy patterns that can make it feel cramped.
Do I need to seal natural stone tile in a shower?
Yes, natural stone is porous and needs sealing to prevent water damage and staining. However, porcelain tiles that mimic stone don't require sealing and are a practical alternative.
What is the most slip-resistant tile for a shower floor?
Textured tiles like pebble, matte, or those with a high coefficient of friction (COF) are best for shower floors. Small tiles like penny tiles also provide good traction due to many grout lines.
Can I install walk-in shower tile myself?
Yes, if you have basic DIY skills and the right tools. Simple patterns like subway or large format are easier. However, complex patterns like herringbone may require professional help for best results.
Conclusion
Choosing the right tile for your walk-in shower doesn't have to be complicated. These 11 ideas show that simple, thoughtful choices can create a stylish and functional space. Whether you prefer classic subway or modern large-format, there's an option that fits your taste and budget.
Remember to consider maintenance and safety, and don't be afraid to mix a few ideas for a personalized look. With a little planning, you can enjoy a beautiful walk-in shower for years to come.