11 Shower Room Ideas for Comfort Without Wasted Space
Ever stepped out of a cramped shower and felt more frustrated than refreshed? A shower room should be a place to unwind, not a puzzle of awkward corners and missing storage.
The good news is you don't need a massive renovation to make it work better. These 11 ideas focus on smart choices that add comfort and make the most of every inch, whether you're dealing with a tiny ensuite or a compact family bathroom.
From clever shelving to lighting tricks, you'll find practical ways to upgrade your daily routine without sacrificing space.
1. Install a Corner Caddy for Vertical Storage
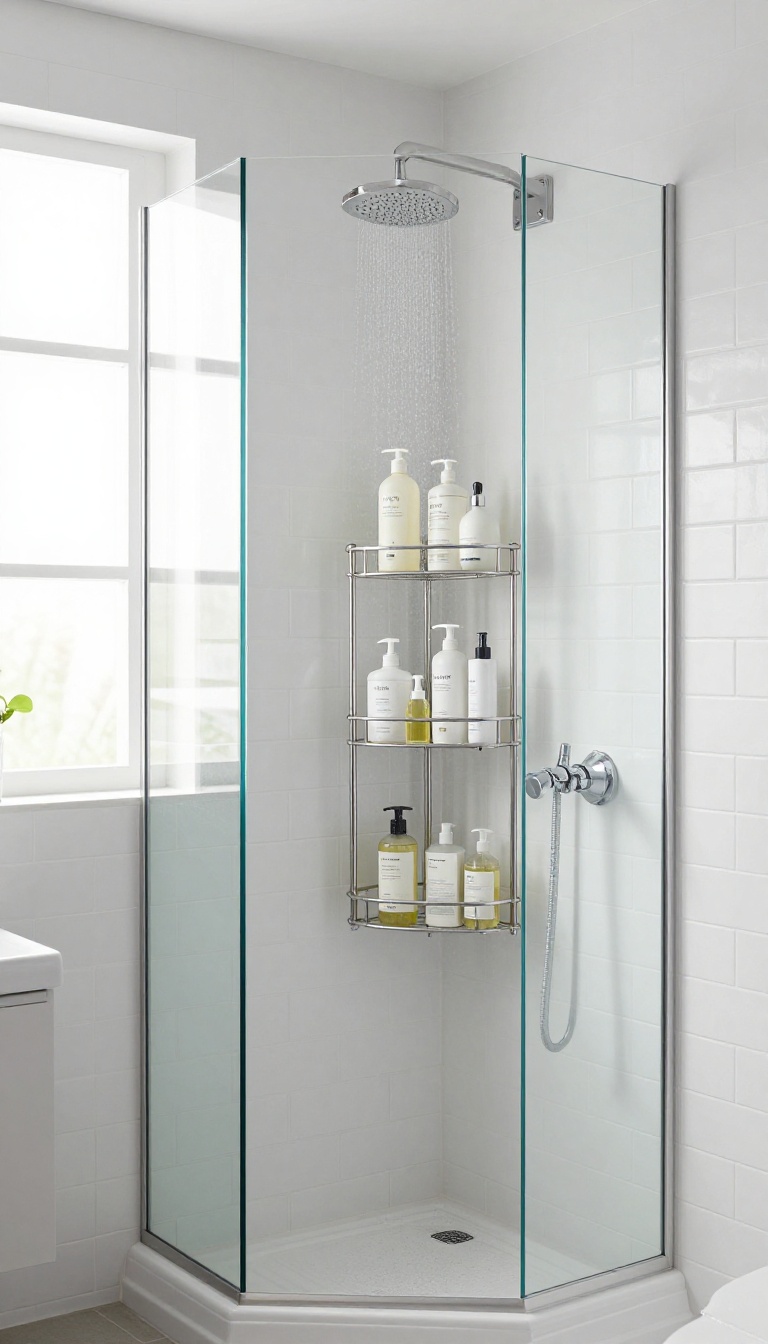
Corners in a shower often become dead zones—too narrow for shelves, too awkward for hooks. But that vertical strip of wall can hold a surprising amount of gear. A tiered corner caddy turns unused space into a tidy home for your daily essentials.
Instead of letting bottles pile up on the floor or window ledge, you keep everything within easy reach. And because it stacks upward, you free up floor space and make the shower feel less cluttered.
The key to a good corner caddy is choosing one that fits your shower's dimensions and your habits. Measure the corner height and the depth of the shelves you need. Look for rust-resistant materials like stainless steel or aluminum, especially if you have hard water.
Also, consider how it mounts: tension poles are easy to install without drilling, but adhesive or screw-mounted options are sturdier for heavier bottles. Think about what you'll store. A three-tier caddy is usually enough for a single person, while a four-tier version suits a family.
Place the caddy at a height where the top shelf is shoulder-level, so you don't have to stretch or bend. Keep the most-used items—shampoo, conditioner, body wash—on the middle shelf, and reserve the top for less frequent items like face masks or razors.
Choosing The Right Material
Stainless steel is the go-to for durability, but it can show water spots. A matte black or white powder-coated finish hides smudges better. If you prefer a warmer look, bamboo caddies are eco-friendly but need occasional sealing to resist moisture.
Avoid cheap plastic that can warp or crack over time.
Placement Tips For Easy Reach
Mount the caddy on the wall opposite the showerhead, so you're not reaching through the spray. If you have a handheld shower, place it on the side wall for easy access. Keep the top shelf at shoulder height and the bottom shelf above knee level to prevent bending.
Leave a few inches of clearance from the ceiling or showerhead to avoid splashing.
Maximizing Corner Space
Corners are often underused because they're hard to reach. A corner caddy with a triangular shape fits snugly and uses the space efficiently. Some models have rotating shelves, which make it easier to see and grab items.
If your shower has a ledge or niche, you can combine a corner caddy with a small shelf to create a multi-level storage system.
2. Choose a Slimline Shower Tray to Free Up Floor Space
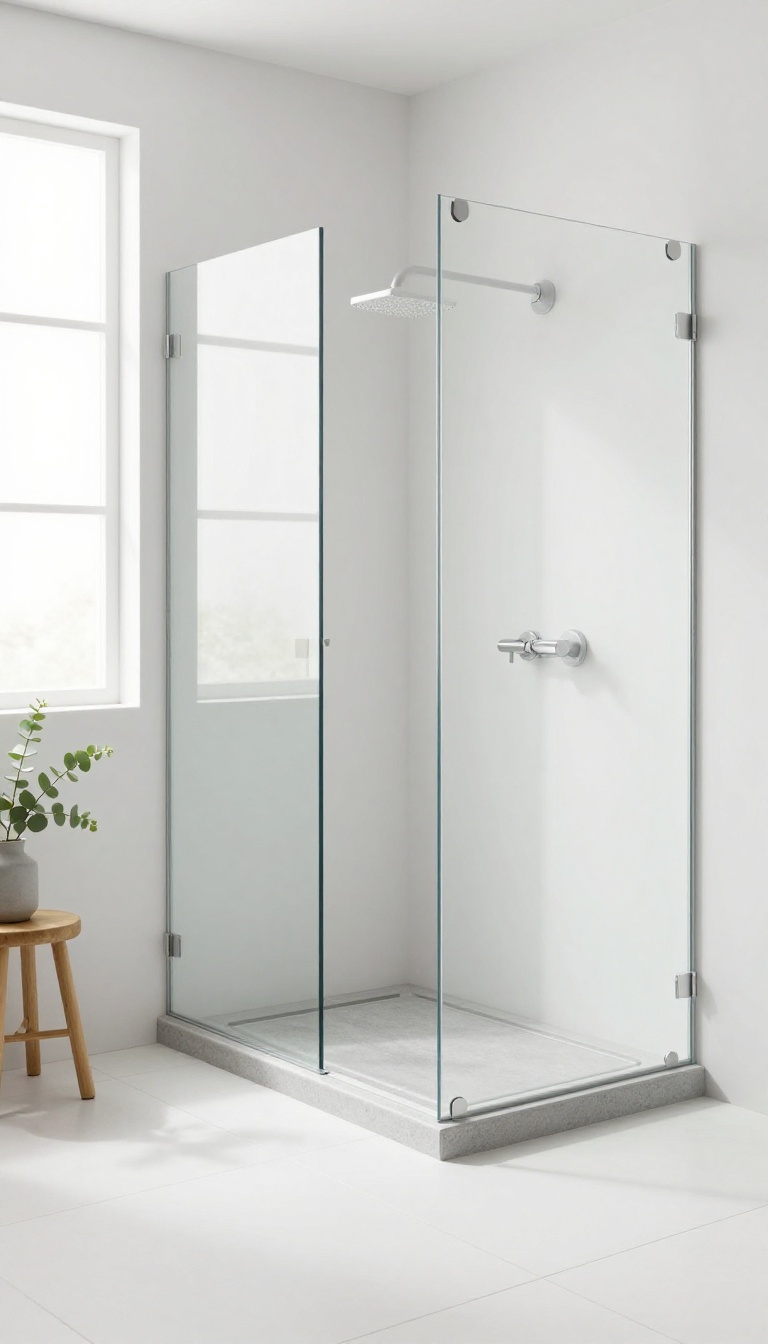
A bulky shower tray can eat up visual and physical space, making a small room feel even tighter. Swapping it for a slim, low-profile model instantly opens up the floor and creates a cleaner, more spacious look. It's one of the simplest upgrades you can make, and it doesn't require a full remodel.
Low-profile trays sit closer to the floor, which removes the step-up that many traditional trays have. This not only looks sleeker but also makes the shower easier to step into, especially for kids or older family members. The reduced height also lets you use larger floor tiles that run straight through, visually expanding the room.
Because slim trays are typically thinner, they can be installed with less subfloor buildup. That means you might gain a few extra inches of ceiling height, which makes the room feel airier. Plus, the minimalist design pairs well with glass screens or curtains, keeping the focus on the open space rather than the tray itself.
Why Low-profile Works In Tight Spots
In a compact shower room, every inch matters. A standard tray with a high edge breaks the sightline and makes the floor look choppy. A slim tray sits almost flush with the surrounding floor, so your eye travels uninterrupted from wall to wall.
That continuity tricks the brain into seeing more space than there actually is.
What To Look For In A Slim Tray
Focus on the material and the thickness. Acrylic trays are lightweight and affordable, but stone resin or composite options offer better durability and a more premium feel. Check the load rating to ensure it can handle everyday use.
Also, look for a tray with a built-in fall (slope) that directs water efficiently without needing a high edge.
Installation Tips For A Seamless Look
For the best effect, tile right up to the tray and use a matching grout color. If you can, recess the tray slightly into the floor so it sits perfectly level. That creates a wet-room style appearance without the full waterproofing hassle.
Always follow the manufacturer's instructions for support and sealing to avoid leaks.
3. Add a Built-In Niche for a Streamlined Look
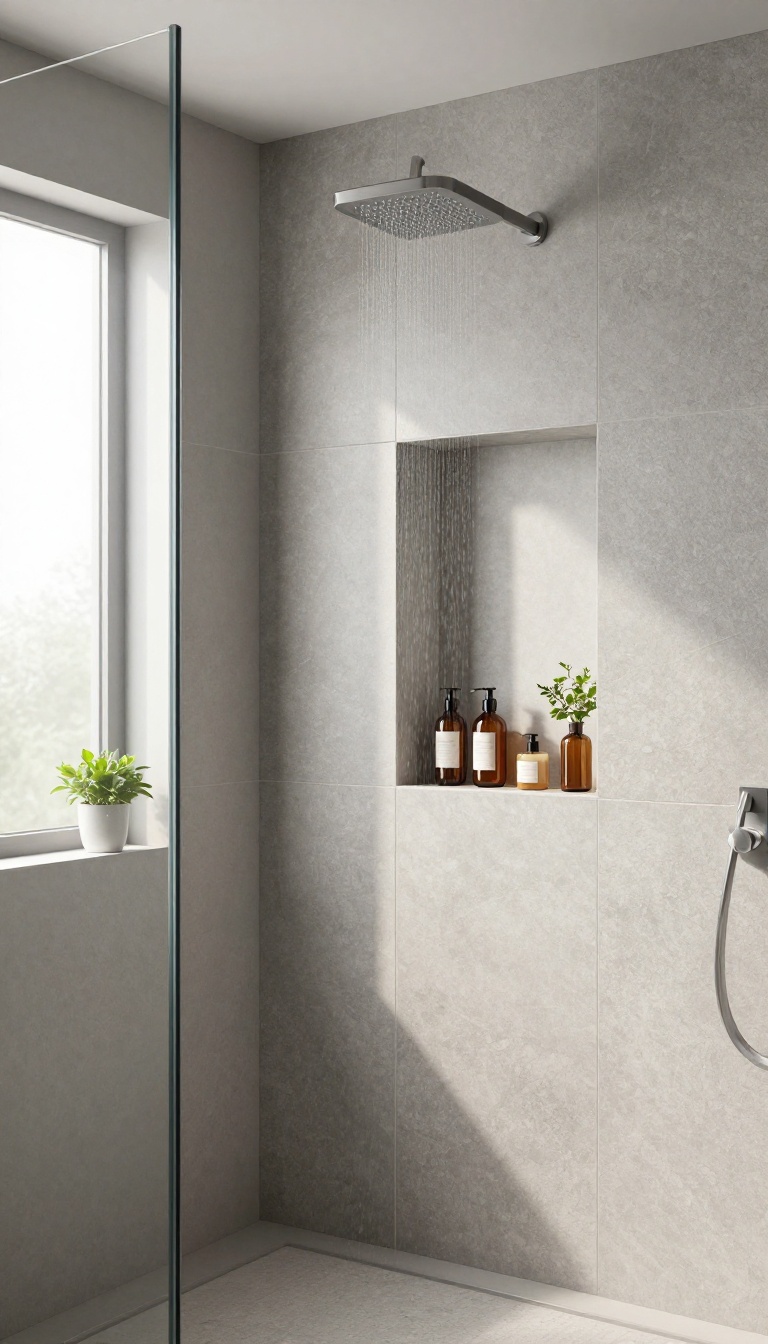
Wall-mounted shelves and caddies can start to feel cluttered, especially in a compact shower. A built-in niche offers a cleaner alternative that keeps your essentials within reach without eating into your space. It’s a simple upgrade that blends storage seamlessly into the wall.
A recessed shelf in the shower wall provides storage without protruding, keeping the area clean and uncluttered. This idea works particularly well in small bathrooms where every inch counts. By tucking bottles and soaps into the wall, you free up floor space and eliminate visual clutter.
Choose The Right Size And Placement
Think about what you’ll store: tall shampoo bottles, a bar of soap, maybe a razor. A niche that’s about 12 inches wide and 6 inches deep handles most daily items. Place it at shoulder height or slightly lower, where it’s easy to grab without bending or reaching.
If you’re building from scratch, consider two smaller niches instead of one large one—they’re easier to keep tidy and less likely to collect water.
Pick Materials That Resist Moisture
The niche will be constantly wet, so choose waterproof materials. Tile is a classic choice, but make sure the seams are sealed properly. You can also use solid surface materials like quartz or marble, which have fewer grout lines and are easier to clean.
Whatever you pick, ensure the bottom slopes slightly toward the shower so water doesn’t pool.
Add Lighting For A Touch Of Luxury
A small LED light inside the niche can make the shower feel more inviting and practical. It helps you find your shampoo in the early morning and adds a subtle glow that feels high-end. Just make sure the fixture is rated for wet locations and installed by a professional if you’re not comfortable with electrical work.
4. Use a Sliding Door Instead of a Hinged One
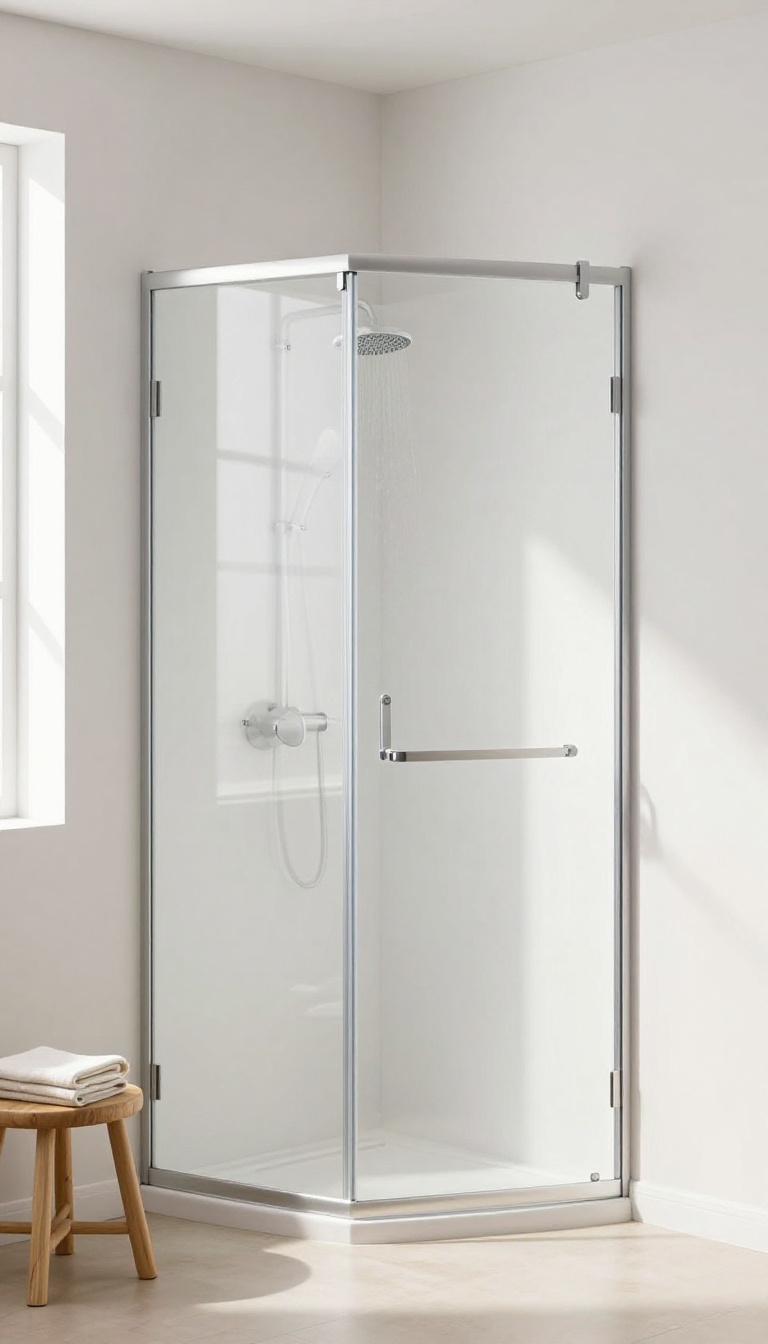
A hinged shower door might look classic, but it needs a clear swing radius of about 60 centimeters to open and close properly. In a tight shower room, that's valuable floor space you simply can't spare. Sliding doors glide along a track, so they take up zero extra room when opened.
That means you can step in and out without dodging a heavy glass panel, and the shower feels more open and accessible.
Swapping a hinged door for a sliding one is one of the simplest ways to reclaim space in a compact shower. The door stays within the shower footprint, so you can place a towel rack or a small stool right next to the opening without worrying about clearance. Plus, sliding doors are easier to use for people with mobility issues, since there's no heavy door to push or pull.
The track system might need a bit more cleaning, but the space you save is worth it.
Why Swinging Doors Waste Space
Hinged doors need a clear area to swing outward, which often conflicts with nearby fixtures like a toilet or a vanity. Even if the door opens inward, it eats into the shower's interior, making it feel cramped. Sliding doors eliminate that problem entirely—they run on a track above and below, so they never intrude into the surrounding room.
In a narrow bathroom, this can make the difference between feeling squeezed and feeling comfortable.
How To Choose The Right Sliding Door
Look for doors with smooth-gliding rollers and a low bottom track to avoid tripping. Tempered glass is a must for safety, and a frameless design gives a sleek, modern look that also makes the shower feel larger. If you're worried about water splashing out, choose a door with a slight overlap or a magnetic seal.
Measure your opening carefully—sliding doors come in standard sizes, but you can get custom ones if needed.
Installation And Maintenance Tips
Installing a sliding shower door is a manageable DIY project if you're handy, but professional installation ensures a perfect fit and proper sealing. Clean the tracks regularly to prevent soap scum and grime from building up, which can make the door stick. Use a squeegee after each shower to keep the glass clear and reduce water spots.
With minimal care, a sliding door will last for years and keep your shower room feeling open and uncluttered.
5. Incorporate a Fold-Down Shower Seat
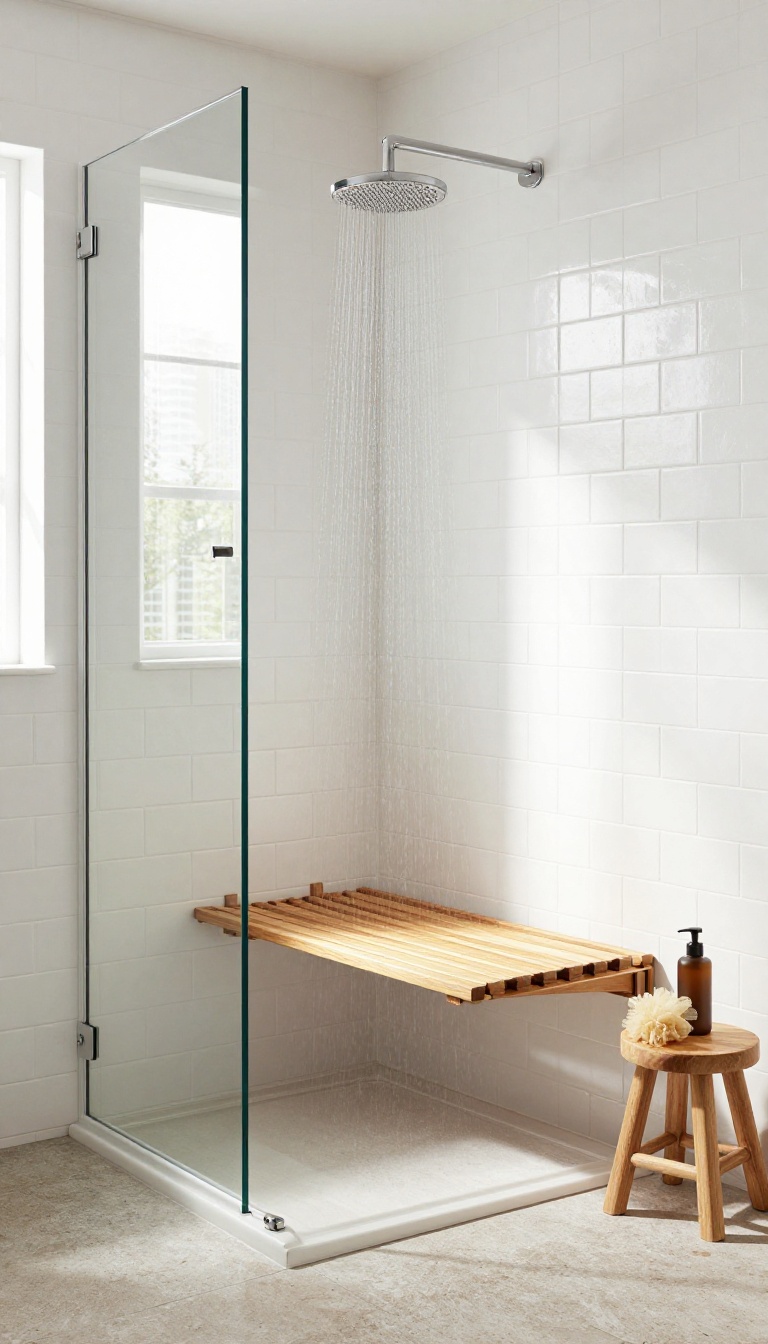
Standing through an entire shower can be tough on the legs, especially after a long day or for anyone with mobility concerns. A fold-down seat solves that without permanently eating into your floor space. It’s there when you need it, then flips up against the wall to disappear.
A fold-down shower seat is a smart addition that brings both comfort and practicality to a compact shower room. Unlike a fixed bench or stool, it doesn't block movement or make the space feel smaller when not in use. You get a sturdy place to sit for shaving, washing your feet, or just relaxing under the warm water, and then you fold it away to reclaim the room.
This makes it ideal for small ensuites, family bathrooms, or anyone who values flexibility.
Why Choose A Fold-down Seat?
The biggest advantage is space efficiency. A fold-down seat mounts flush against the wall, taking up only a few inches when closed. That leaves the shower floor completely open for standing or moving around.
For older adults or those with balance issues, it offers a safe spot to sit without requiring a permanent fixture. Plus, it’s a simple upgrade that doesn't demand a full remodel.
Materials And Durability
Look for seats made from moisture-resistant materials like teak, plastic, or aluminum with a waterproof finish. Teak adds a warm, natural look but needs occasional sealing. Plastic or resin seats are low-maintenance and easy to clean.
Make sure the hinges and mounting brackets are rust-proof, ideally stainless steel, so the seat stays sturdy and smooth over time.
Installation Tips
Install the seat at a comfortable height—usually around 17 to 19 inches from the shower floor. It must be anchored into wall studs, not just tile, to support weight safely. If you're not confident with DIY, hire a professional to ensure a secure fit.
Also, consider the fold direction: it should swing up and out of the way without interfering with shower controls or shelves.
Styling And Placement
Place the seat on a wall that doesn't get direct spray from the showerhead to keep it dry and prevent soap buildup. Match the seat's finish to your fixtures—brushed nickel or matte black for a modern look, or wood tones for a spa vibe. A fold-down seat can also double as a temporary shelf for toiletries when you're not using it, adding extra utility.
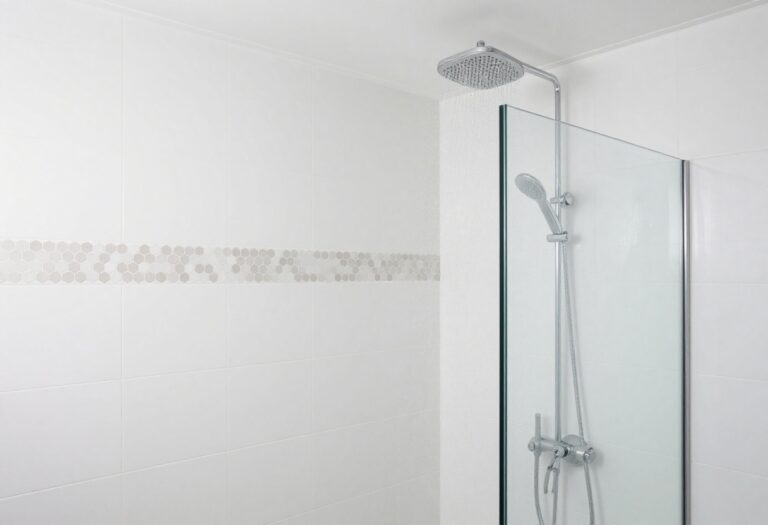
6. Install a Rainfall Showerhead with a Handheld Combo
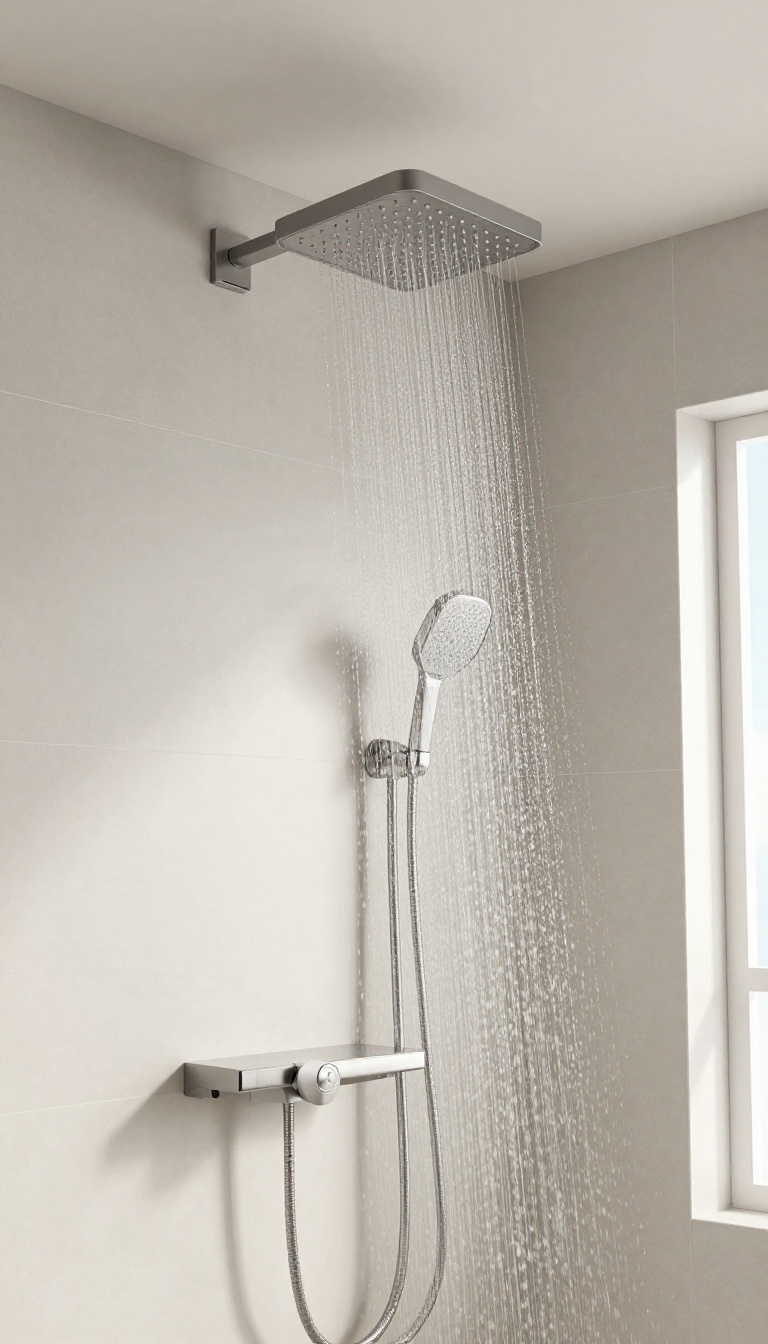
Rain showers feel luxurious, but they often leave you bending down to rinse off soap or clean the corners. Pairing a ceiling-mounted rainfall head with a handheld sprayer gives you the best of both worlds: that drenching, spa-like flow plus the flexibility to target exactly where you need it. It's a smart upgrade that doesn't eat up any extra floor space.
This combo is a game-changer for small shower rooms. The rainfall head is mounted overhead, so it doesn't protrude into the space like a traditional wall-mounted showerhead. The handheld is usually attached to a slide bar or a wall bracket, keeping it out of the way when not in use.
You get a relaxing overhead stream for everyday showers, and the handheld is perfect for rinsing hard-to-reach spots, washing pets, or cleaning the shower walls and floor.
Why A Handheld Makes A Difference
A handheld sprayer isn't just for convenience—it's a practical tool. It makes it easier to rinse off after shaving, wash your hair without contorting, and clean the shower itself. For families, it's great for bathing kids or rinsing off sandy feet.
And if you have mobility issues, a handheld can be used while sitting on a shower bench, reducing the need to stand for long periods.
Choosing The Right Combo For Your Space
Look for a model with a diverter valve so you can switch between the rainfall head and the handheld without losing water pressure. A slide bar with a height adjustment gives you more control, but if space is tight, a simple wall-mounted holder works just as well. Check the reach of the hose—a 60-inch hose is usually enough for most shower stalls, but measure yours to be sure.
Installation Tips To Save Space
Mount the rainfall head directly above where you stand, about 7 to 8 feet from the floor, to avoid splashing water outside the shower area. The handheld holder can be placed on an adjacent wall, within easy reach but not in the way. If you're not comfortable with plumbing, a plumber can usually swap out your existing showerhead in under an hour, and the upgrade is well worth the cost.
7. Add a Heated Towel Rail for Warmth and Drying
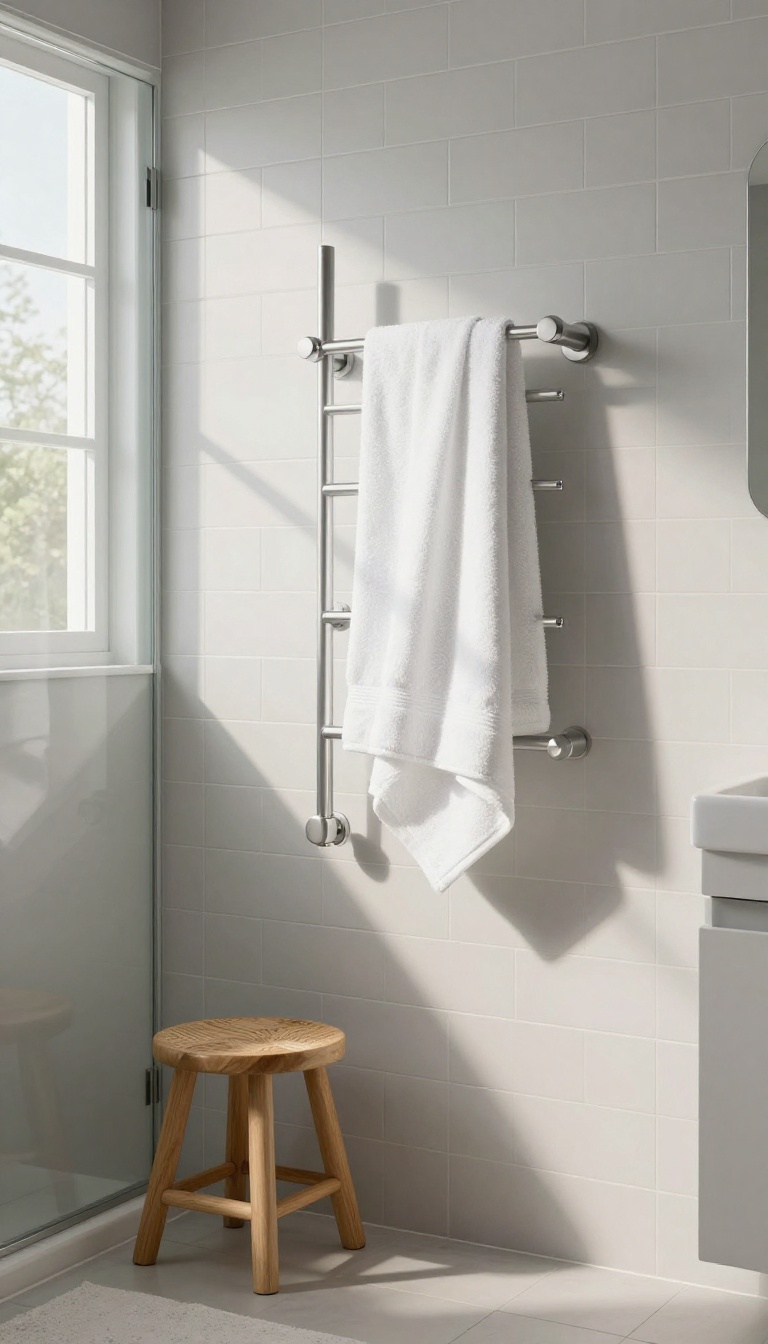
There’s nothing quite like stepping out of a shower into a warm, dry towel. A heated towel rail delivers that little luxury while also tackling the dampness that can linger in a compact shower room. It doesn’t demand much floor space either, making it a smart addition for tight layouts.
Beyond the comfort factor, a heated rail helps towels dry faster, which means less musty smell and fewer trips to the laundry. It’s a simple upgrade that pays off every single day, especially in cooler months.
A heated towel rail might sound like a splurge, but it’s actually one of the most practical space-savers you can add. Unlike a bulky towel rack or a freestanding warmer, a wall-mounted rail sits flat against the wall and uses vertical space. That leaves the floor free for other things, like a stool or a small hamper.
The warmth also does more than just cozy up your towels. It helps reduce humidity in the room, which can prevent mold and mildew from taking hold. That’s a big win in a small, often steamy space.
Plus, you’ll never have to deal with a cold, damp towel again—that alone makes it worth it.
Choose The Right Size And Style
When picking a heated rail, think about the available wall space. A slim, vertical model works well in narrow corners, while a horizontal one can double as a towel bar. Look for options with a low profile that don’t stick out too far.
Also, consider the finish—chrome is classic, but matte black or brushed nickel can blend with modern decor.
Place It Near The Shower, Not Inside
The best spot is just outside the shower, within arm’s reach of the door or opening. That way, you can grab a warm towel without dripping water across the floor. Avoid placing it directly above a bathtub or shower where it might get splashed constantly.
A dry location keeps the rail safe and the towels truly warm.
Think About Installation And Power
Heated rails come in electric or hydronic versions. Electric ones are easier to install and can be plugged into a standard outlet, while hydronic models tie into your central heating system. For a small shower room, an electric rail is often the simplest choice.
Just make sure it’s IP-rated for bathroom use and installed by a professional if you’re not confident with wiring.
8. Use Large-Format Tiles to Minimize Grout Lines
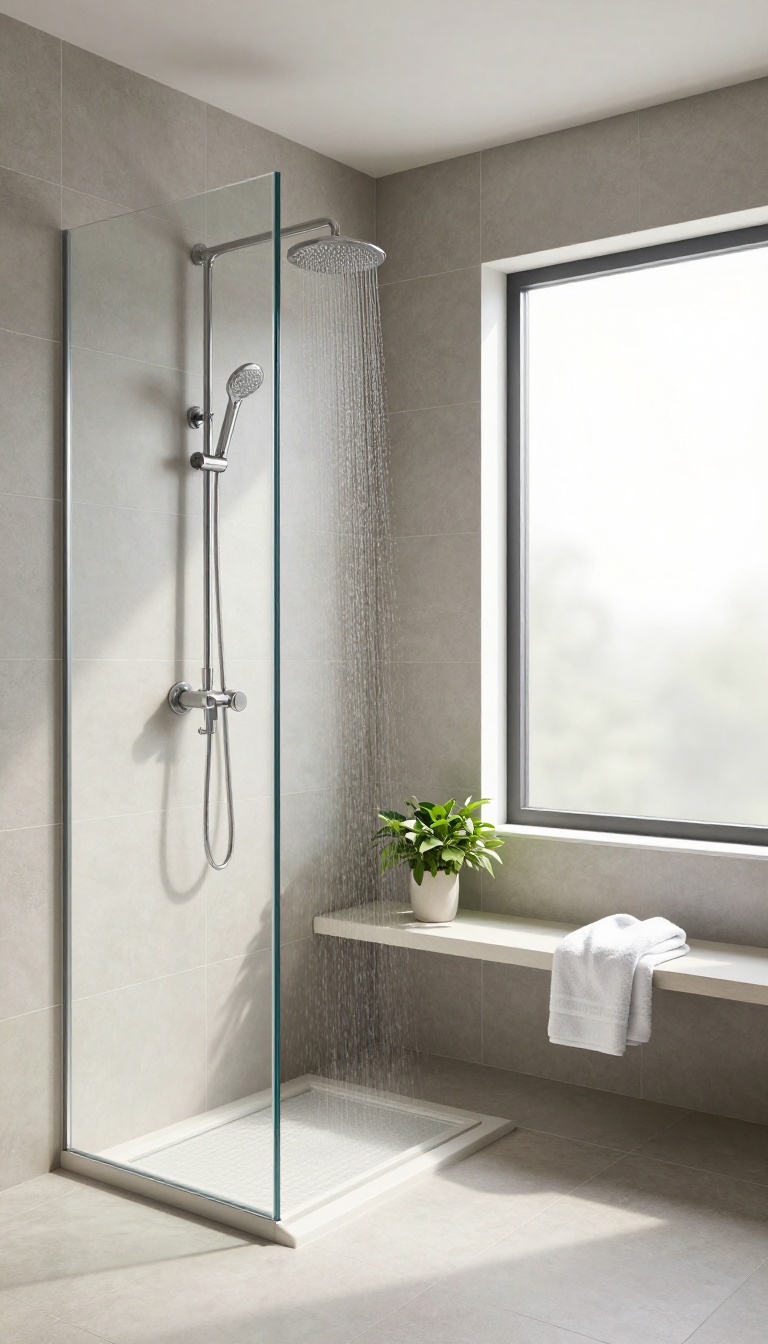
Grout lines are the unsung heroes of shower design—until they start looking dirty or make a small space feel busy. Large-format tiles change the game by cutting down on those lines dramatically. The result?
A cleaner, more open look that also happens to be easier to maintain.
When you choose big tiles, you're not just picking a style; you're making a practical choice that affects how your shower feels and functions. Fewer grout lines mean less surface area for soap scum and mildew to hide, which is a win for anyone who doesn't love scrubbing. Plus, the visual continuity tricks the eye into seeing more space, making your compact shower feel more expansive than it really is.
Why Fewer Grout Lines Matter
Grout is porous and prone to staining, so every line is a potential problem spot. With large tiles, you have fewer seams to seal and clean. That's less time spent on maintenance and more time enjoying your shower.
The smooth, uninterrupted surface also reflects light better, brightening up the whole room.
Choosing The Right Tile Size
For shower walls, tiles that are at least 12×24 inches are a solid starting point. Even bigger formats, like 24×48 inches, can work in larger showers. Just make sure your walls are flat enough to handle the larger size—uneven surfaces can cause lippage, where one tile edge sticks up higher than its neighbor.
A professional installer can assess your walls and recommend the best size.
Installation Tips For A Flawless Finish
Large tiles need a bit more care during installation. Use a leveling system to keep everything even, and apply thin-set adhesive with a larger trowel to ensure full coverage. Also, consider using rectified tiles—they're cut precisely so the edges are perfectly square, which allows for tighter grout lines.
This gives you that sleek, modern look without the maintenance hassle.
9. Install a Recessed Medicine Cabinet with Mirror
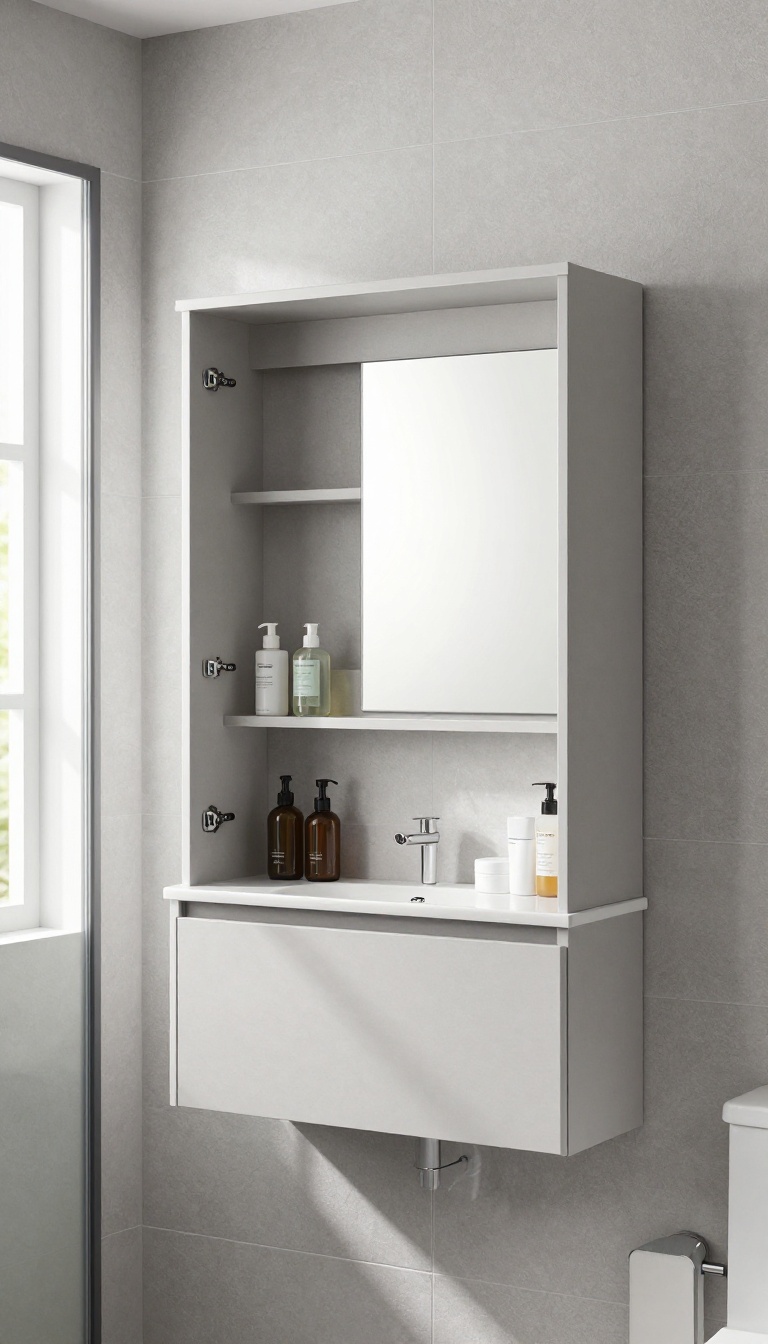
Wall space in a shower room is precious, and every inch counts. A traditional cabinet that hangs on the wall can eat up valuable room and make the space feel cramped. Recessing a mirrored cabinet into the wall solves that problem by keeping the surface flush and clean.
This simple swap gives you a spot for toiletries and a mirror for grooming, all without stealing any floor or walking space. It’s a practical upgrade that blends storage with function, making your shower room feel more open and organized.
A recessed medicine cabinet with a mirror is a smart way to add storage and reflection without making the room feel smaller. By fitting into the wall cavity, it keeps the visual line smooth and frees up space that a surface-mounted cabinet would otherwise occupy. This is especially useful in compact shower rooms where every centimeter counts.
The mirror surface also helps bounce light around, making the room feel brighter and more spacious. Plus, having a mirror right in the shower area is handy for shaving, applying skincare, or checking your look before heading out. It’s a dual-purpose fixture that earns its place without clutter.
Choosing The Right Size And Depth
Before you buy, measure the wall cavity to see how much depth you have to work with. Standard recessed cabinets are around 3 to 4 inches deep, but some are shallower. If your wall is thin, look for a slim model that still fits your essentials.
Also, consider the width and height – you want it to be proportional to the space and not overwhelm the wall. A good rule of thumb is to match the cabinet size to the mirror area you need, keeping it practical and visually balanced.
Installation Tips For A Flush Finish
Installing a recessed cabinet involves cutting a hole in the drywall and securing the box between studs. It’s a job that requires precision, so measure carefully and use a level to ensure it’s straight. If you’re not comfortable with DIY, hiring a professional is worth it to avoid damaging pipes or wiring.
Once installed, the cabinet should sit flush with the wall, with the mirror door closing seamlessly. This clean look is what makes the space feel uncluttered.
Maximizing Storage Inside
Inside the cabinet, use adjustable shelves to fit different item heights. Store daily essentials like toothbrushes, razors, and small skincare bottles on the shelves, and use the door’s interior mirror for quick tasks. You can also add small baskets or trays to keep things tidy.
Since the cabinet is recessed, it doesn’t protrude, so you can keep it stocked without worrying about bumping into it. This keeps your shower room organized and your countertops clear.
10. Add a Glass Shower Screen Instead of a Curtain
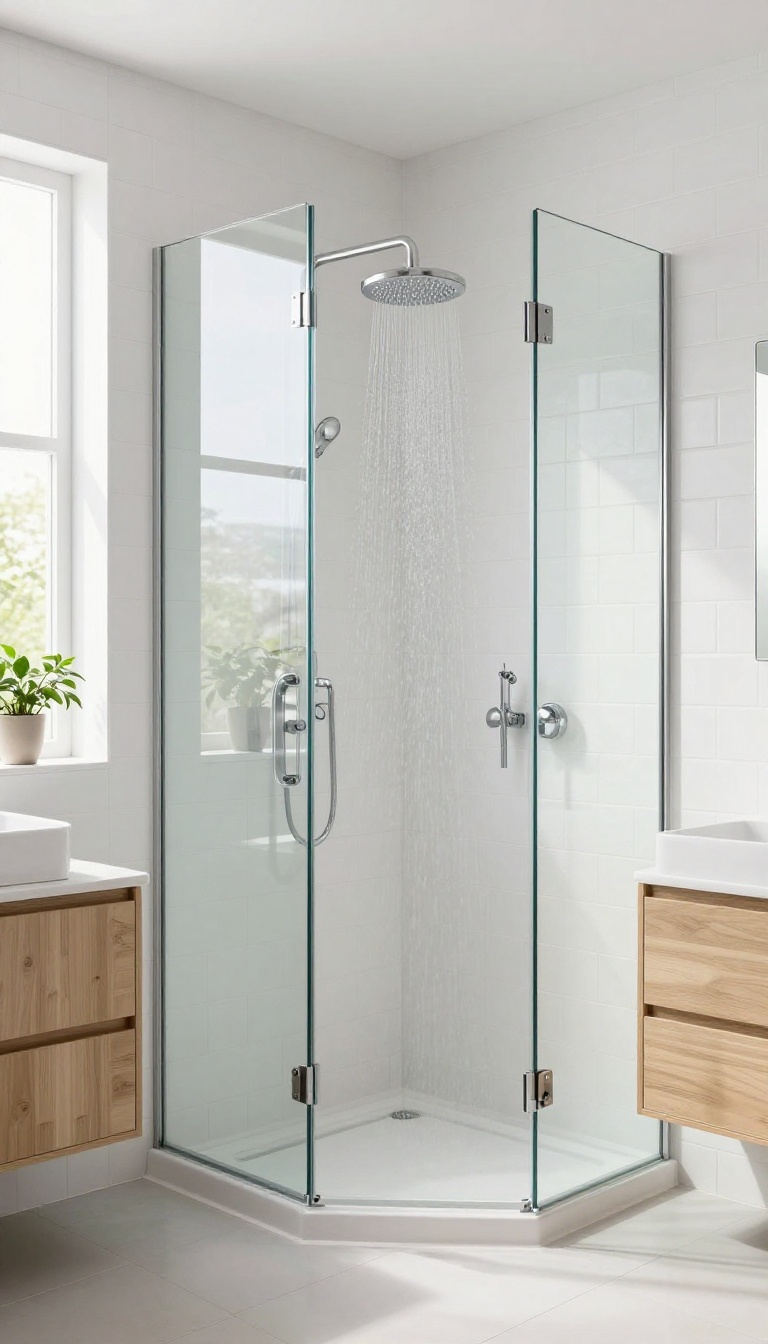
Curtains can feel heavy and make a small shower room feel even more cramped. They also block light and can be a magnet for soap scum and mildew. Swapping yours for a clear glass screen is a simple change that makes a big difference.
A clear glass screen opens up the room visually and lets in more light, making the space feel larger. It also gives the shower a sleek, modern look that works with any style. Plus, glass is easier to clean than fabric, and you won't have to deal with a damp curtain clinging to you while you shower.
Why Glass Beats Curtains
Curtains create a visual barrier that cuts the room in half. Glass, on the other hand, keeps the line of sight open, so the eye travels across the whole space. That makes the bathroom feel more spacious and airy.
You also get more natural light, which is a huge plus in a small room.
Choosing The Right Glass Screen
You have a few options: fixed panels, hinged doors, or sliding screens. For a compact space, a fixed panel is often the best because it doesn't swing into the room. If you need a door, a hinged one that opens outward can work, but make sure there's enough clearance.
Sliding screens are great for tight spots where a swing door would hit the toilet or vanity. Go for clear glass to keep the open feel, and consider a frameless design for a minimalist look.
Keeping The Glass Spotless
Glass screens do show water spots and soap scum, but a quick daily wipe with a squeegee keeps them looking brand new. You can also treat the glass with a water-repellent coating to make cleaning easier. And unlike curtains, you don't have to worry about mold or replacing them every few months.
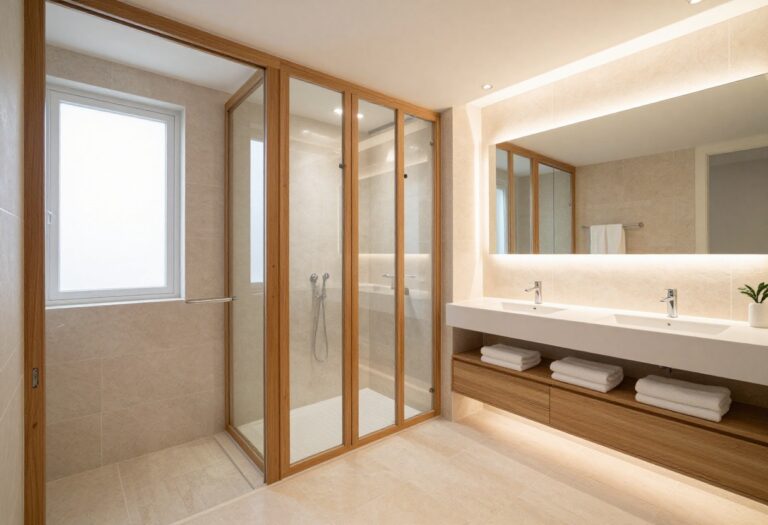
11. Use a Light Color Palette with Accent Lighting
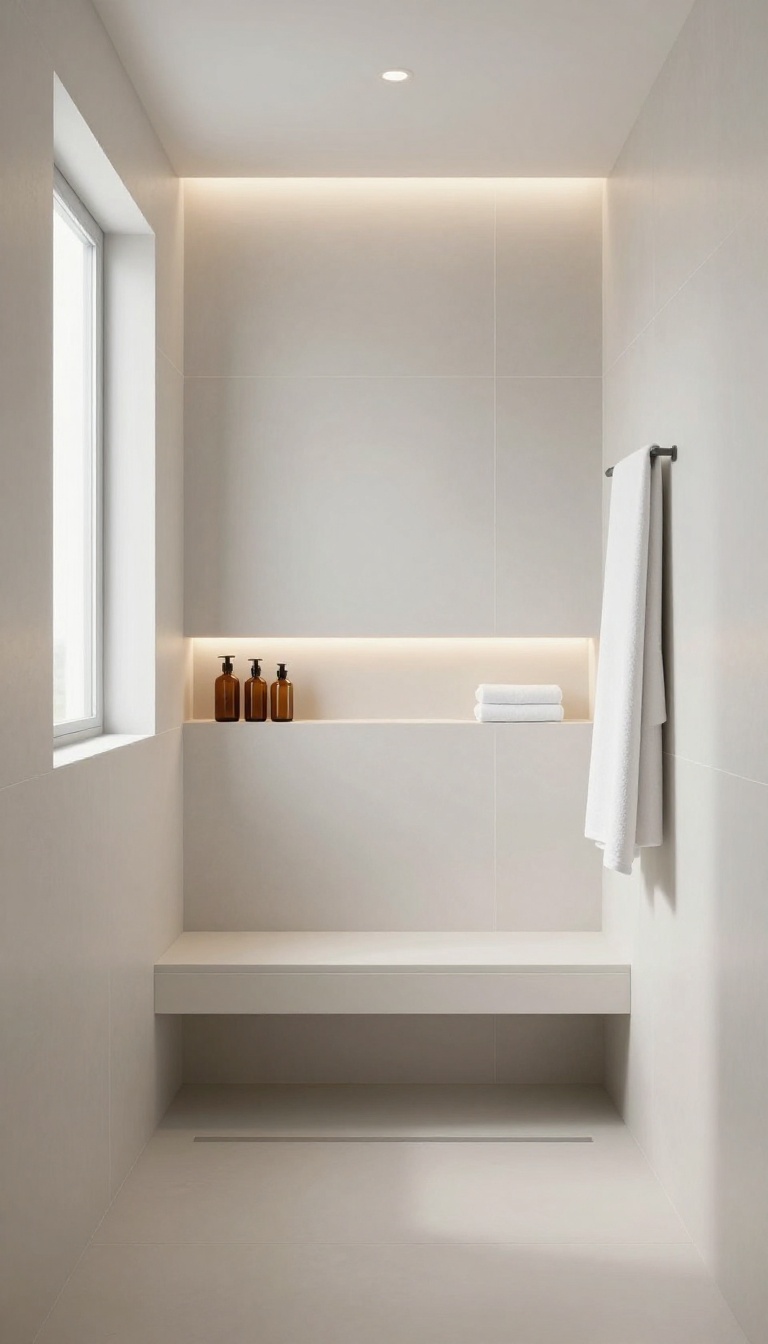
Ever notice how a bright, airy bathroom feels instantly more spacious? That's the magic of light colors. They bounce light around, making even a tight shower room feel open and calm.
But paint alone can look flat. That's where accent lighting comes in, adding depth and highlighting the features you love most.
Pairing light walls and tiles with strategic accent lighting is a simple way to transform your shower room without knocking down walls. The light palette does the heavy lifting for space perception, while accent lighting adds a layer of warmth and sophistication. It's a combination that works in any size bathroom, but it's especially powerful in compact spaces where every visual trick counts.
Why Light Colors Work
Light colors like soft whites, pale grays, and light beiges reflect both natural and artificial light. This makes the room feel larger and less enclosed. They also hide water spots and soap scum better than dark shades, which means less visible grime and a cleaner look overall.
Plus, a light palette is timeless, so you won't need to repaint every few years.
Choosing Accent Lighting
Accent lighting is about focusing light where you want it. Recessed spotlights above the shower niche can make your shampoo bottles look like a display. LED strips under a floating vanity or along a shelf add a soft glow that's easy on the eyes.
A small waterproof picture light over a piece of art can also draw the eye and make the space feel curated.
Balancing Brightness And Mood
You don't want the room to feel like an operating theater. Mix your main ceiling light with dimmable accent lights to create different moods. For a morning shower, bright and energetic.
For an evening soak, warm and relaxing. Use a dimmer switch for the accent lights and keep the main light separate. That way, you control the vibe.
FAQ
What is the best way to maximize space in a small shower room?
Use vertical storage like corner caddies, install a sliding door, and choose a slim shower tray. Also, consider built-in niches and recessed shelving to keep the floor clear.
Are walk-in showers a good idea for small bathrooms?
Yes, walk-in showers with a glass screen can make a small bathroom feel more open and are easier to access. Just ensure proper drainage and waterproofing.
How can I make my shower room feel more luxurious without a big budget?
Add a rainfall showerhead, heated towel rail, and use large-format tiles. Good lighting and a neutral color palette also add a high-end feel.
What type of shower door is best for a compact space?
Sliding or bi-fold doors are best for compact spaces because they don't swing outward, saving valuable floor space.
Can I install a shower seat in a small shower?
Yes, a fold-down seat is ideal. It provides comfort when needed and folds up to save space when not in use.
Conclusion
With these 11 ideas, you can turn your shower room into a comfortable, efficient space that feels larger than it is. Start with one or two changes that address your biggest pain points, and build from there. Even small tweaks can make a big difference in how you enjoy your daily routine.
Remember, the goal is to create a space that works for you, not against you. So pick what suits your needs and budget, and enjoy a more relaxing shower experience.