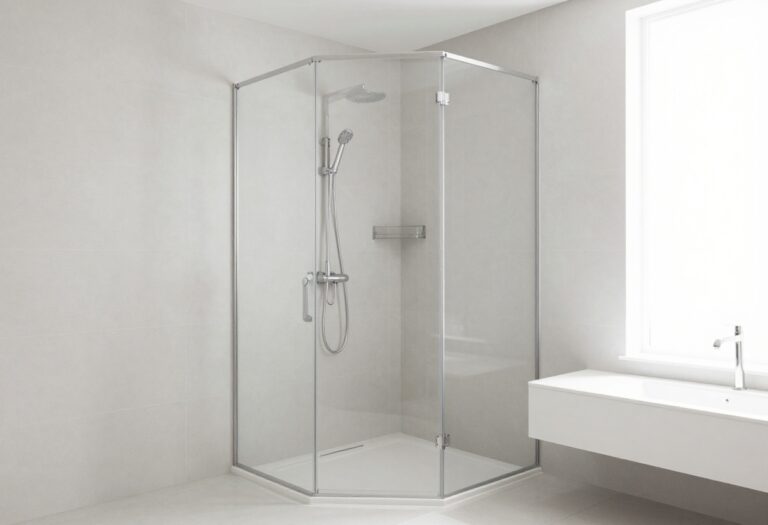
15 Small Stand-Up Shower Ideas with Easy, Elegant Character
Small stand-up showers often feel like a design afterthought, but they don't have to. With the right tricks, even a cramped corner can look airy, elegant, and surprisingly functional.
The key is choosing ideas that pull double duty—saving space while adding character. From clever storage hacks to tile choices that trick the eye, these 15 approaches are budget-friendly and remodel-friendly.
You can tackle a few simple swaps one weekend or plan a full refresh with these as your guide. Let's walk through the best ways to make your compact shower feel bigger, brighter, and more intentional—without sacrificing style or comfort.
1. Go Vertical with Storage
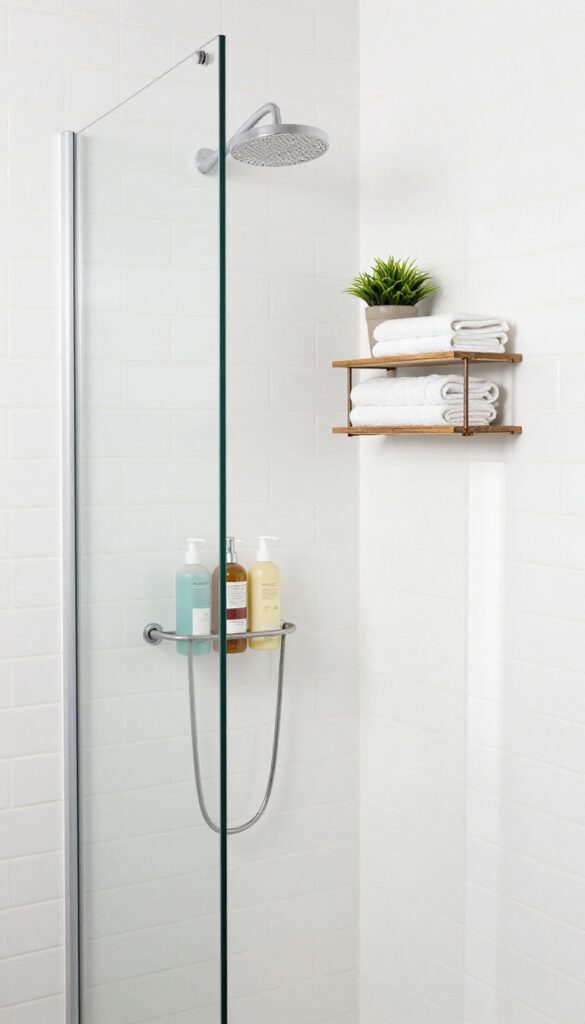
When floor space is tight, the only way to go is up. Vertical storage makes use of the often-ignored wall area above shoulder height, keeping your shower essentials organized without cluttering the floor or bench. It's a simple shift in thinking that can transform a cramped shower into a streamlined, spa-like retreat.
Tall, narrow shelving units or corner caddies are your best friends in a small shower. They tuck neatly into corners or along walls, providing multiple tiers for shampoo, conditioner, soap, and razors. By elevating your storage, you free up floor space for movement and make the shower feel less crowded.
Plus, having everything within easy reach means no more bending down or stretching awkwardly for your products.
Choose Slim, Corner-friendly Units
Look for caddies that are designed to fit into corners, as they maximize unused space without protruding into the shower. Slim, floor-standing towers with multiple shelves are also great, especially those with a small footprint. Materials like rust-proof aluminum or coated steel ensure durability in a wet environment.
Install Floating Shelves For A Clean Look
Floating shelves made of waterproof materials like teak or sealed bamboo add a touch of elegance while keeping items off the floor. Install them at different heights to accommodate bottles of varying sizes. This not only looks sleek but also keeps the shower feeling open and airy.
Use Over-the-door Or Tension Rod Caddies
If you have a glass door or a curtain rod, consider a caddy that hangs over the top or uses tension rods. These are easy to install without drilling and provide ample storage for everyday items. They're perfect for renters or those who want a quick, non-permanent solution.
2. Choose Large-Format Tiles
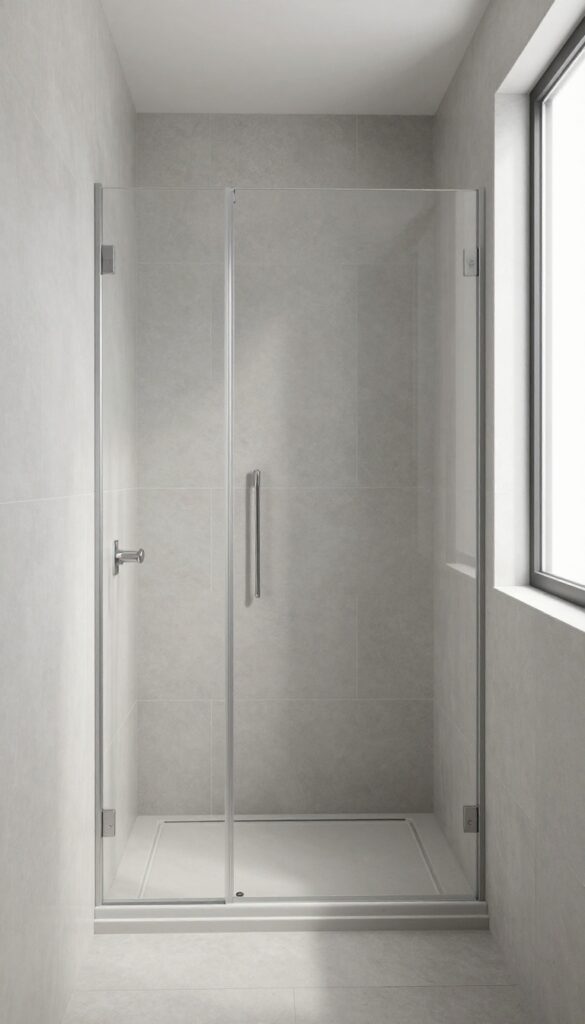
Grout lines are the busy little lines that draw your eye to every corner, and in a small shower, they can make the walls feel like a checkerboard. Large-format tiles are the quiet upgrade that changes the whole vibe. Bigger tiles mean fewer grout lines, which visually expands the space and makes cleaning a breeze.
When you swap out small mosaics for large slabs, the shower instantly feels more open. The eye glides over the surface without stopping at every seam, which tricks the brain into seeing more square footage. Plus, fewer grout lines mean less scrubbing—that's a win for anyone who'd rather spend time enjoying the shower than cleaning it.
Why Bigger Tiles Work
Large tiles reduce visual clutter. With fewer lines to break up the surface, the walls read as one continuous plane, making the space feel taller and wider. It's the same reason a solid-color rug makes a small room feel bigger than a busy pattern.
Sizing And Layout Tips
Go with tiles that are at least 12×24 inches, or even larger if your walls allow. Installing them in a running bond (offset) pattern adds subtle movement without overwhelming the space. For a truly seamless look, consider rectified tiles with thin grout lines—just make sure your installer uses a leveling system.
Material And Finish Choices
Porcelain and ceramic are durable and budget-friendly, while natural stone like marble or travertine adds a touch of luxury. A matte finish hides water spots better than glossy, and it gives a soft, modern feel. If you're worried about slipping, choose a tile with a textured surface or add a non-slip mat.
3. Install a Frameless Glass Door
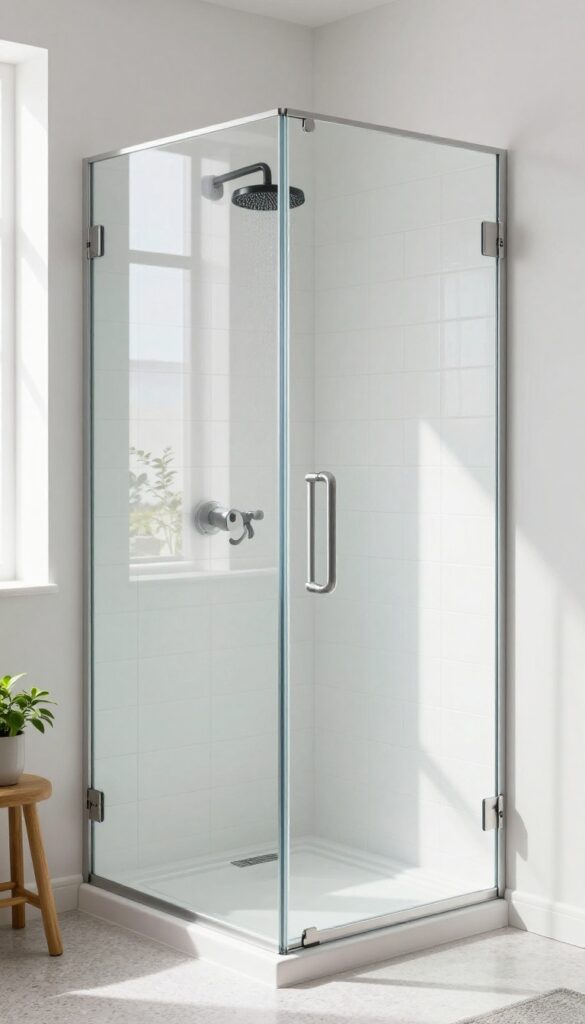
A frameless glass door is one of those upgrades that instantly changes how a small shower feels. Instead of a bulky frame and opaque panels, you get a clear barrier that lets your eye travel all the way to the back wall. That visual continuity is what makes the space seem larger and more open.
Swapping a framed door for a frameless one is a straightforward way to add elegance without eating up square footage. The lack of metal framing means fewer visual interruptions, and the glass itself can be treated to resist water spots and soap scum. Plus, frameless doors often come with sleek hinges and minimal hardware that blend into the background.
Why It Feels Bigger
Frameless glass doesn't block the view, so your eye travels from the bathroom into the shower without stopping. That unbroken line makes the entire room feel more spacious. In a small stand-up shower, this is a game changer because every bit of perceived space counts.
Choosing The Right Glass
Look for tempered glass that's at least 3/8 inch thick for durability. Clear glass is the best choice if you want to maximize openness, but you can also go with a light frosted finish for a bit more privacy. Just avoid heavily textured glass, as it can trap grime and make the shower feel smaller.
Installation Tips
While you can hire a pro, many frameless doors come in kits that are DIY-friendly. Make sure the walls are plumb and the floor is level before you start. Use quality hinges and seals to prevent leaks, and always follow the manufacturer's instructions.
If you're unsure, a professional install is worth the investment.
4. Add a Built-In Niche
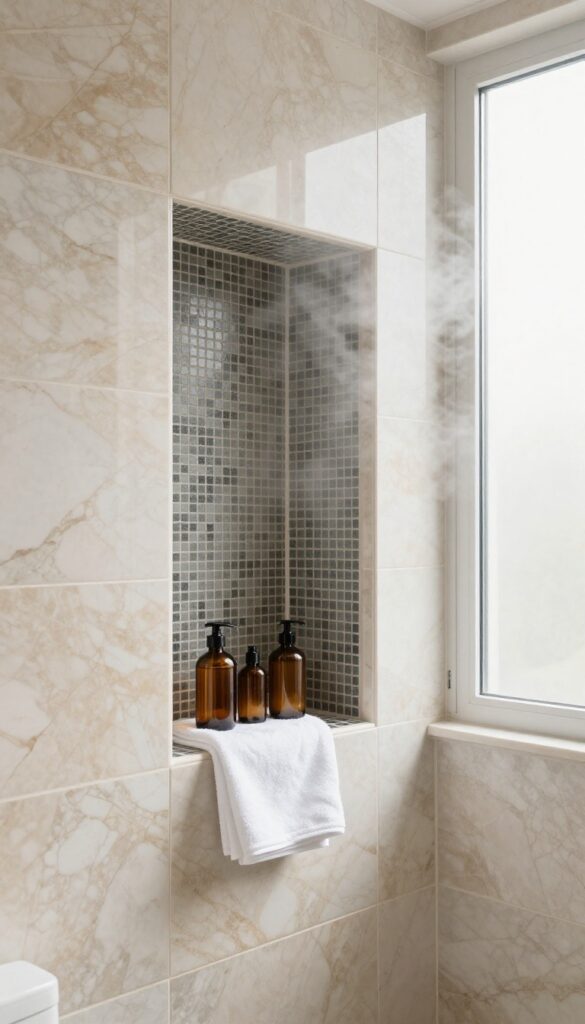
A built-in niche is the quiet workhorse of small shower design. It carves out a neat cubby in the wall, giving you a spot for all your bottles without a single clunky caddy invading your space. In a stand-up shower where every inch matters, this simple recess can make the whole room feel more open and organized.
When you're short on space, the last thing you want is a metal basket eating up precious elbow room. A niche tucks storage right into the wall, so your shampoo, soap, and scrubber sit flush and out of the way. It's a sleek, permanent solution that also adds a touch of custom craftsmanship to your shower.
Why A Niche Beats A Caddy
Shower caddies are handy, but they hang off the showerhead or hook over the door, taking up visual space and collecting soap scum. A niche is built in, so it's always clean-looking and never in your way. Plus, it can hold more than you'd expect—think taller bottles or a stack of washcloths—without cluttering the walls.
Where To Place It
The sweet spot is usually on a side wall, around chest height, so you can reach everything without bending or stretching. If your shower has a corner, a triangular niche can fit neatly there. Just make sure it's not directly under the showerhead, or you'll end up with a soggy shelf and water pooling on your products.
Styling The Niche
Make it a design feature, not just a hole in the wall. Use the same tile as the rest of the shower for a seamless look, or pick a contrasting tile to create a little focal point. Adding a small shelf inside lets you stack items, and a niche with a slight angle can help water drain off instead of collecting.
5. Use a Light Color Palette
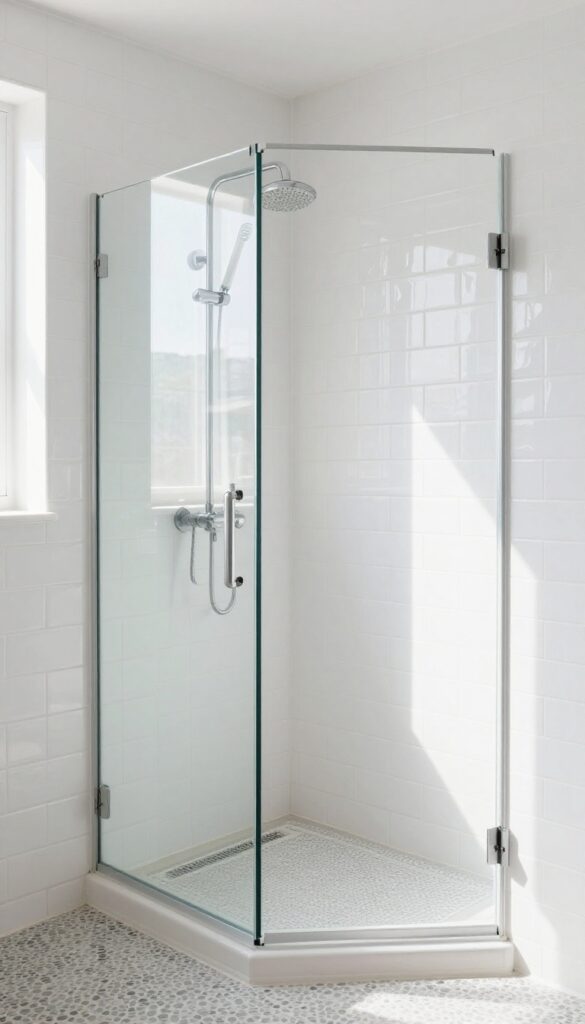
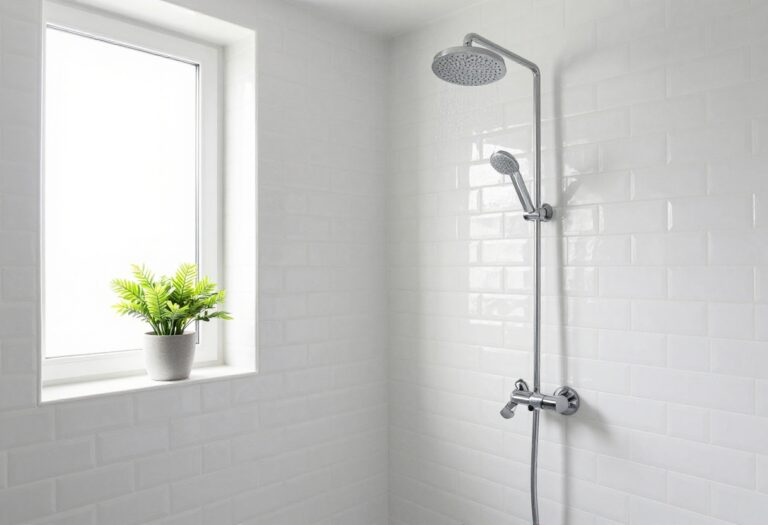
Light colors are a small shower's best friend. They bounce light around, making the space feel open and airy instead of closed in. Think white, soft gray, or pale blue—these shades create a calm, spa-like vibe that's easy to live with.
Choosing light colors for your shower walls and fixtures does more than just brighten the room. It visually expands the space, making it feel larger than it actually is. Plus, light tones are forgiving—they hide water spots and soap scum better than dark colors, so your shower looks cleaner with less effort.
White And Off-white: The Classic Brightener
White is the go-to for small showers because it reflects the most light. But pure white can feel stark, so consider warm off-whites like ivory or cream for a softer look. Pair white tiles with white grout for a seamless effect that makes the walls recede, tricking the eye into seeing more space.
Soft Gray: Elegant And Easy
Soft gray is a versatile choice that adds a touch of sophistication without darkening the room. Light gray tiles, like a pale greige, work well with both cool and warm accents. It's a great middle ground if you want a neutral that's not as stark as white but still keeps things bright.
Pale Blue: A Hint Of Color
Pale blue brings a subtle hint of color that feels refreshing and spa-like. It's especially nice if you want a bit of personality without going bold. Lighter shades like powder blue or sky blue keep the shower feeling airy, and they pair beautifully with white fixtures and chrome or brushed nickel hardware.
6. Incorporate a Rainfall Showerhead
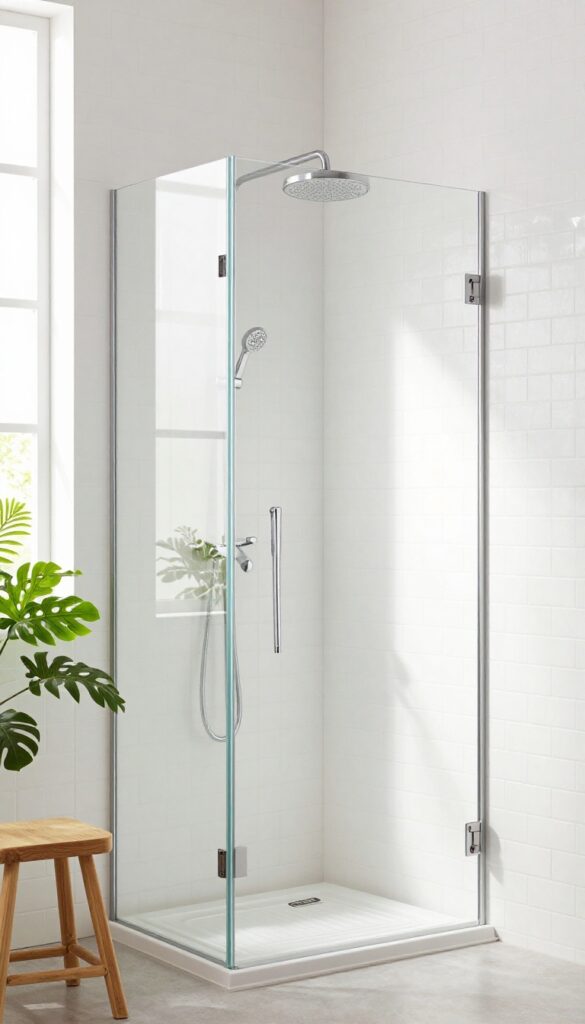
A rainfall showerhead is a simple swap that instantly upgrades the feel of a compact stand-up shower. The wide, gentle flow mimics natural rain, turning a quick rinse into a calming ritual. It’s a small change with a big impact on how the space looks and feels.
Even in a tight corner, a rainfall showerhead can make the experience feel more luxurious without taking up extra room. Because it’s mounted overhead, it frees up wall space and adds a sleek, modern focal point. Plus, the even water distribution means you don’t need to move around much to get wet, which is perfect for small enclosures.
Choose The Right Size
Rainfall showerheads come in various diameters, so pick one that fits your shower’s footprint. A head that’s too large can overwhelm a small space and make water splash out. Aim for an 8- to 10-inch diameter for most standard stalls, and consider a square or round design that complements your fixtures.
Mind The Water Pressure
Rainfall heads often require a bit more water pressure to perform well. If your home has low pressure, look for a model with a built-in pressure booster or choose one with a wider spray pattern that works at lower flow rates. Test the pressure before committing, or consult a plumber to ensure a satisfying shower.
Mount It Smartly
In a small shower, the placement of the rainfall head matters. Install it directly above where you stand, keeping it centered to avoid water hitting the walls and creating a mess. If ceiling mounting isn’t possible, a wall-mounted arm that extends overhead can still give you that rainfall effect without taking up visual space.
7. Add a Shower Bench or Seat
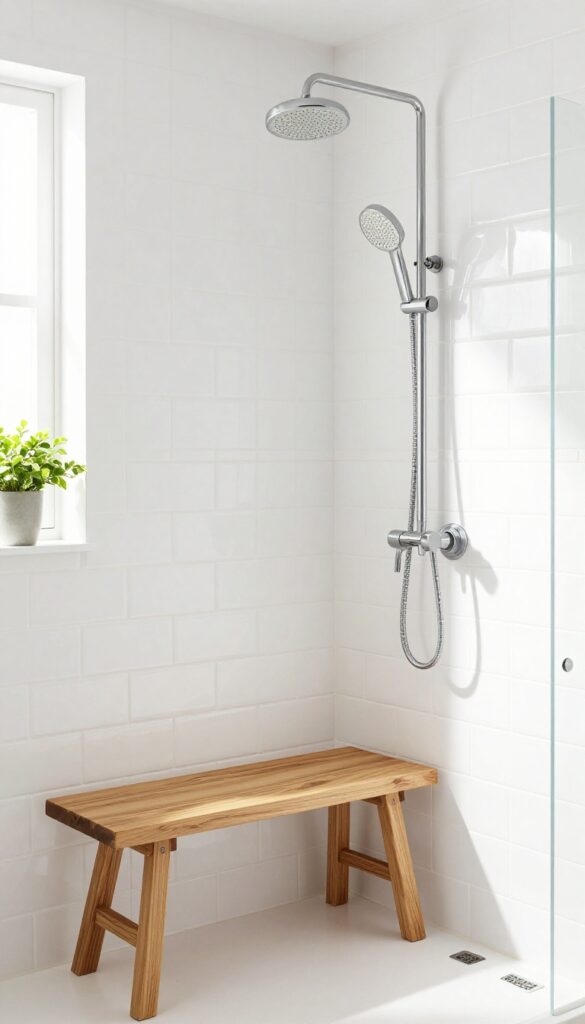
A place to sit might be the last thing on your mind when space is tight, but a slim bench can change how you use the shower. It's not just about comfort—it's about practicality. A corner seat or a small teak stool gives you a spot to rest a foot for shaving or just to pause and enjoy the warm water.
And when done right, it adds a spa-like touch that makes the whole shower feel more intentional.
A shower bench doesn't have to eat up your floor space. The key is choosing a compact design that fits neatly into a corner or against a wall. You can find ready-made corner benches that tuck right in, or you can build a simple tiled seat that blends with your walls.
Either way, you get the function without the clutter. Plus, it's a feature that looks like you planned it from the start—even if you're adding it later.
Choose The Right Spot
The best spot for a bench is usually in a corner opposite the showerhead. That keeps it out of the main water flow and leaves the center open. If your shower has a window, placing the bench under it can create a nice little nook.
Just make sure there's enough room to move around—about 12 inches of clearance in front is comfortable.
Pick A Material That Works
Teak is a favorite because it's water-resistant and looks warm and natural. It also doesn't get as slippery as some other materials. If you prefer a built-in look, a tiled bench with a slight slope for drainage is a solid choice.
Stone or marble adds elegance but can be pricey and needs sealing. Think about maintenance and comfort—you want something that feels good and lasts.
Keep It Slim And Simple
A bench doesn't have to be big to be useful. A slim stool or a narrow corner seat takes up minimal space but gives you a place to sit or prop a foot. You can even use a fold-down teak seat that flips up when not in use—perfect for super tight showers.
The idea is to get the benefit without sacrificing your room to move.
8. Install a Handheld Showerhead
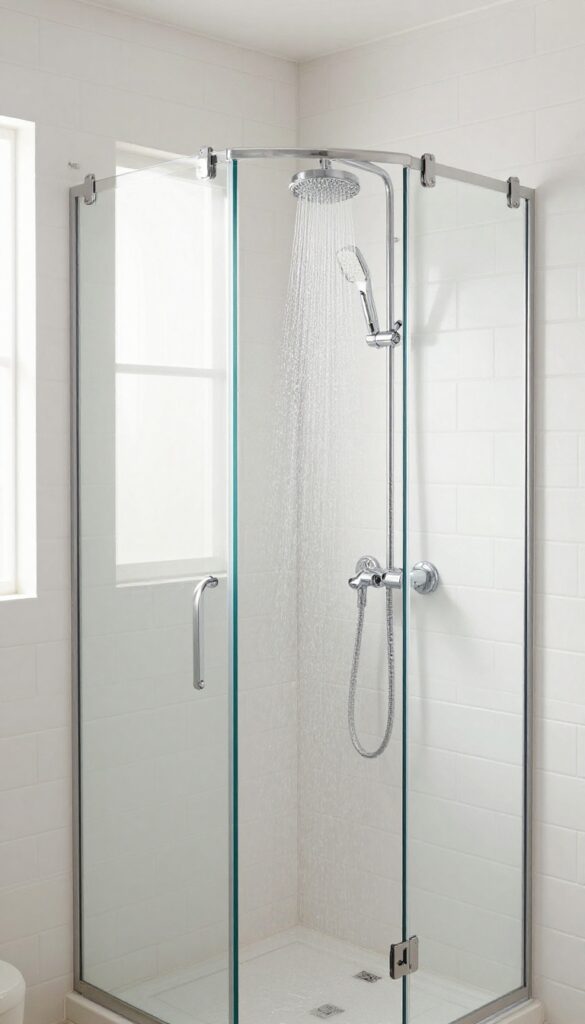
A handheld showerhead is one of those small upgrades that makes a big difference in a compact stand-up shower. It’s not just about convenience—it’s about flexibility. You can direct the water exactly where you need it, whether you’re rinsing off after a workout or cleaning the shower walls.
What’s great is that installing one doesn’t require a full remodel. Many models attach to your existing shower arm, and you can choose a sliding bar mount to adjust the height. That means everyone in the house gets a comfortable shower experience, regardless of their height.
A handheld showerhead adds a layer of practicality that fixed heads simply can’t match. In a small shower, where every inch counts, being able to move the spray makes washing easier and more efficient. Plus, it’s a budget-friendly upgrade you can often do yourself in under an hour.
Why It Works In A Small Shower
Small showers often have awkward angles or limited space to move around. A handheld showerhead lets you reach every part of your body without twisting or stretching. It’s also a lifesaver for cleaning—you can spray down the walls and corners without getting soaked yourself.
For families, it’s perfect for rinsing kids or pets, and it’s easier to use while seated if you have a bench or shower chair.
Choosing The Right Model
Look for a model with a long, flexible hose—at least 60 inches—so you have plenty of reach. A pause button on the handle is handy for conserving water while you soap up. Also, consider a handheld with multiple spray settings, like a gentle mist or a powerful massage, so you can tailor the flow to your mood.
If you have hard water, choose a model with rubber nozzles that are easy to wipe clean.
Installation Tips
Most handheld showerheads come with a diverter that screws onto your existing shower arm, so you can switch between the fixed head and the handheld. If you want a more permanent setup, you can install a sliding bar mount that lets you adjust the height. Make sure to use plumber’s tape on the threads to prevent leaks.
If you’re not comfortable with DIY, a plumber can handle it quickly, but it’s a simple enough task for most homeowners.
9. Use a Shower Curtain Instead of a Door
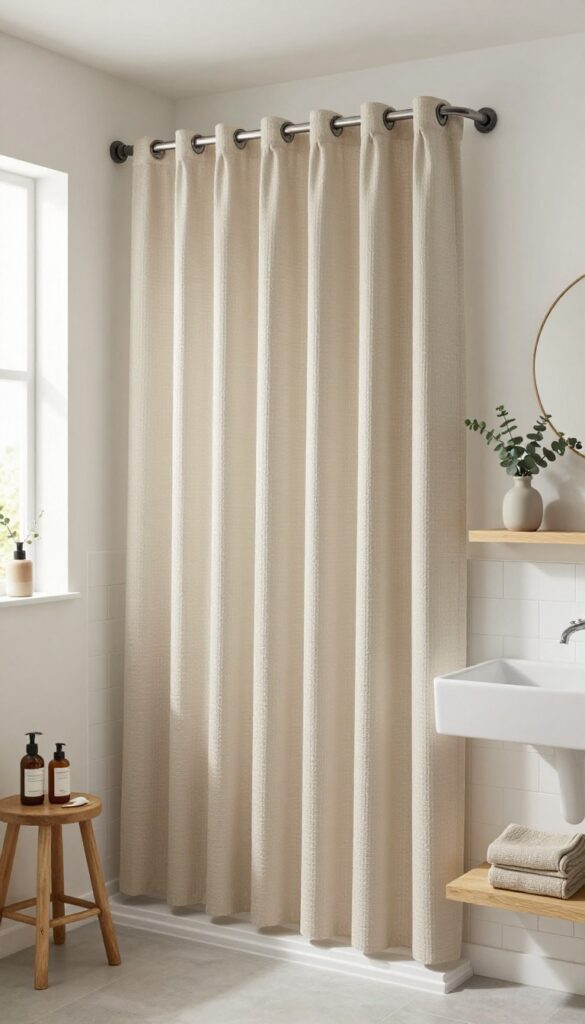
A glass door can feel like a heavy commitment, both visually and physically, in a tiny shower. It takes up swing space, needs constant cleaning, and can make a small area feel boxed in. A shower curtain, on the other hand, is light, flexible, and full of personality.
Swapping a door for a curtain instantly opens up the room, both in feel and in actual usable space. You can push the curtain aside completely when not in use, and the lack of a track or frame means no hard edges to bump into. Plus, changing the curtain is the easiest way to refresh the whole bathroom's look without any tools.
Pick A Fabric That Flows
Skip the stiff vinyl liners and go for a fabric curtain that drapes softly. Waffle weave, linen blends, or even a quick-dry polyester with a nice texture can add warmth and movement. A fabric curtain also muffles sound and feels more luxurious than plastic, making the shower feel less utilitarian.
Hang It High And Wide
Mount the rod as close to the ceiling as possible and extend it a few inches beyond the shower opening on each side. This trick makes the ceiling look higher and the shower feel more spacious. Use a curved rod to add extra elbow room inside, and you'll get that spa-like openness without a single pane of glass.
Let The Pattern Do The Work
In a small space, a bold pattern on the curtain can act as the room's main focal point. Choose something with a large scale—like oversized leaves, geometric shapes, or a dramatic stripe—to draw the eye and distract from the shower's compact size. Keep the rest of the bathroom neutral so the curtain becomes the star.
10. Add a Heated Towel Rack
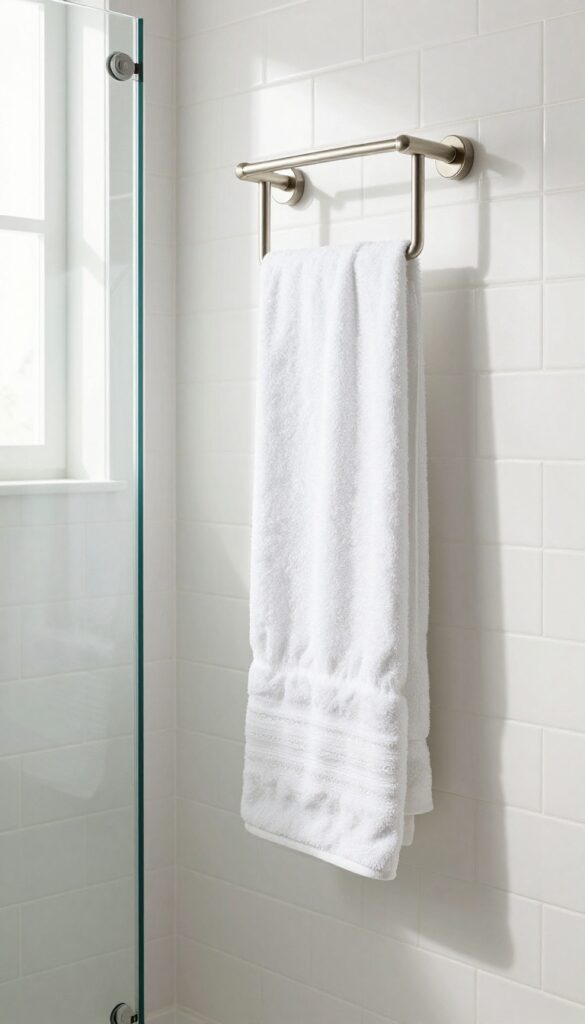
Stepping out of a warm shower into a chilly bathroom is a shock you can easily avoid. A heated towel rack is a small luxury that makes a big difference, especially in a compact space. It warms your towel, keeps it dry, and adds a touch of spa-like comfort without taking up much room.
A heated towel rack does more than just warm towels—it also helps reduce moisture in the air, which can prevent mildew and musty smells in a small bathroom. Plus, it turns your daily routine into a little ritual of comfort.
Choose The Right Size
Measure the available wall space near your shower. Wall-mounted racks come in various widths, so pick one that fits without crowding the area. A slim, vertical model works well in tight corners, while a horizontal one can double as a handy grab bar.
Pick A Style That Matches
Heated towel racks come in finishes like chrome, brushed nickel, or matte black. Choose one that complements your shower fixtures and overall bathroom style. A sleek, modern design adds a clean look, while a classic ladder style brings warmth and character.
Installation Made Simple
Most heated towel racks are hardwired or plug into a standard outlet. If you're not comfortable with electrical work, hire a pro or choose a plug-in model that's easy to install. Place it near the shower so you can grab a warm towel right when you step out.
11. Incorporate a Pebble Floor
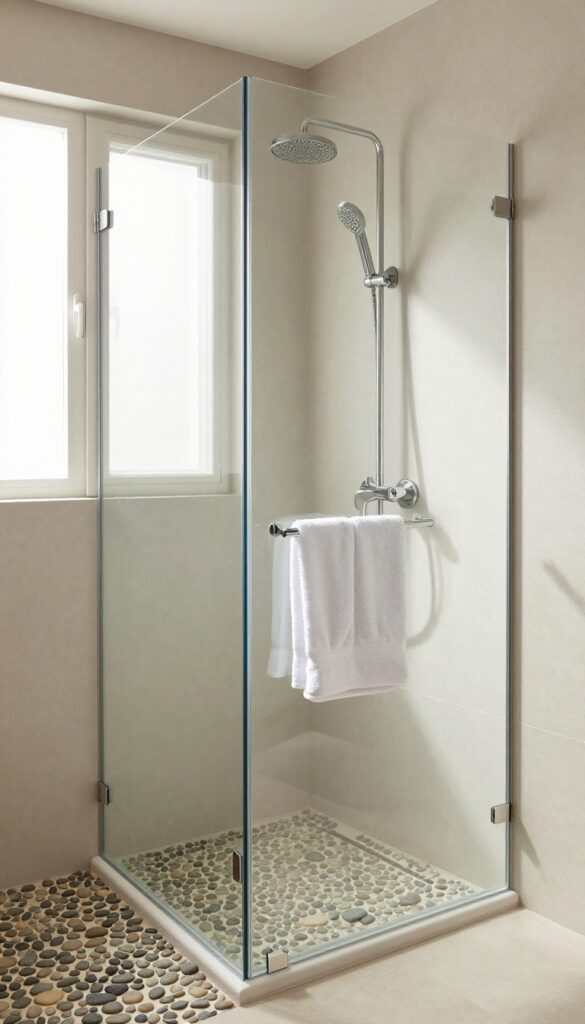
Stepping onto a smooth, cold tile floor first thing in the morning is a jolt you don't need. A pebble floor, whether as full tile or a removable mat, turns that first step into a mini foot massage. It's a simple swap that adds texture and a spa-like feel to any small shower.
Pebble flooring is more than just a visual upgrade—it's a sensory one. The rounded stones feel wonderful underfoot, and they provide natural traction, which is a big safety win in a wet shower. Plus, the organic look softens the hard edges of a compact space, making it feel more inviting and less like a utilitarian box.
Why Pebbles Work In Small Showers
In a tight shower, every inch counts. Pebble tiles are typically thin, so they don't eat up much floor space. Their textured surface also helps prevent slips, which is especially important when you're stepping in and out.
And because the stones come in various shades—from cool gray to warm beige—they can tie together your tile and fixtures for a cohesive look.
Full Tile Vs. Pebble Mat
You have two main options: permanent pebble tiles or a removable pebble mat. Full tile gives you a seamless, high-end finish and covers the entire floor, but it requires more installation effort and cleaning. A pebble mat, on the other hand, is a budget-friendly, diy-friendly choice.
You can simply lay it down and pick it up to clean, making it perfect for renters or anyone who likes to switch things up.
Choosing The Right Pebble Finish
Pebble tiles come in different finishes—polished, tumbled, or natural. Polished pebbles look sleek and modern but can be slippery when wet. Tumbled pebbles have a matte, slightly rough surface that offers better grip and a more organic feel.
For a small shower, go with tumbled stones in a light color to keep the space bright and open. Darker pebbles can make the floor feel smaller and show soap scum more easily.
Installation And Maintenance Tips
If you're installing pebble tiles, use a white or light-colored grout to keep the floor looking airy. Make sure the tiles are properly sealed to prevent water damage and staining. For cleaning, a soft brush and mild cleaner work best to get into the crevices.
Avoid harsh chemicals that can dull the stones. With a little care, your pebble floor will stay beautiful for years.
12. Use a Corner Shower Caddy with Hooks
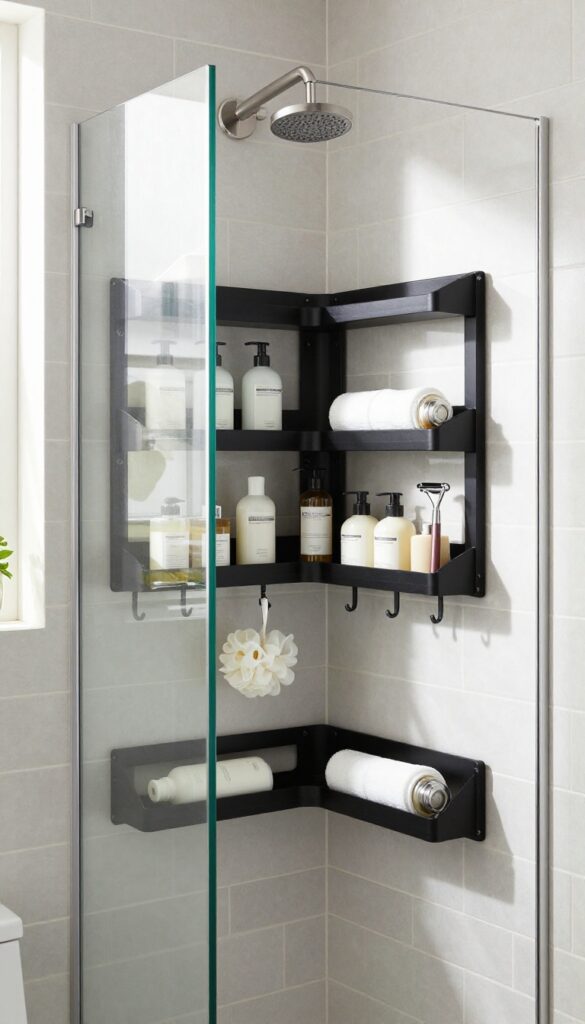
When floor space is at a premium, vertical storage becomes your best friend. A corner caddy with hooks takes advantage of unused wall space and keeps everything within easy reach. It's a simple swap that can declutter your shower and make it feel more organized.
A corner shower caddy with hooks is a game-changer for small stand-up showers. It tucks neatly into the corner, freeing up floor space and keeping your essentials off the ledge. The hooks are perfect for hanging loofahs, razors, or even a small shower cap, so they dry quickly and stay out of the way.
This caddy not only maximizes storage but also adds a touch of elegance with its sleek design.
Why Corner Placement Works
Corners are often underutilized in small showers. By placing a caddy in the corner, you're using space that would otherwise go to waste. It keeps the shower floor clear, making the space feel larger and safer.
Plus, it's within easy reach without taking up valuable wall space that might be needed for other fixtures.
Choosing The Right Material
Look for caddies made from rust-resistant materials like stainless steel or aluminum. These hold up well in humid environments and are easy to clean. A matte black or brushed nickel finish can add a modern touch, while a chrome finish offers a classic look that matches most fixtures.
Hooks That Do More
The hooks on these caddies aren't just for show. They're perfect for hanging items that need to air dry, like loofahs and washcloths. Some caddies even come with small baskets or shelves for soap and shampoo, giving you multiple storage options in one compact unit.
Installation Tips
Most corner caddies are easy to install—no drilling required. They use adhesive strips or tension poles that grip the walls securely. Just make sure the surface is clean and dry before applying.
If you prefer a more permanent solution, you can screw it into the wall, but the no-drill options are great for renters.
13. Install a Shower Curtain with a Curved Rod
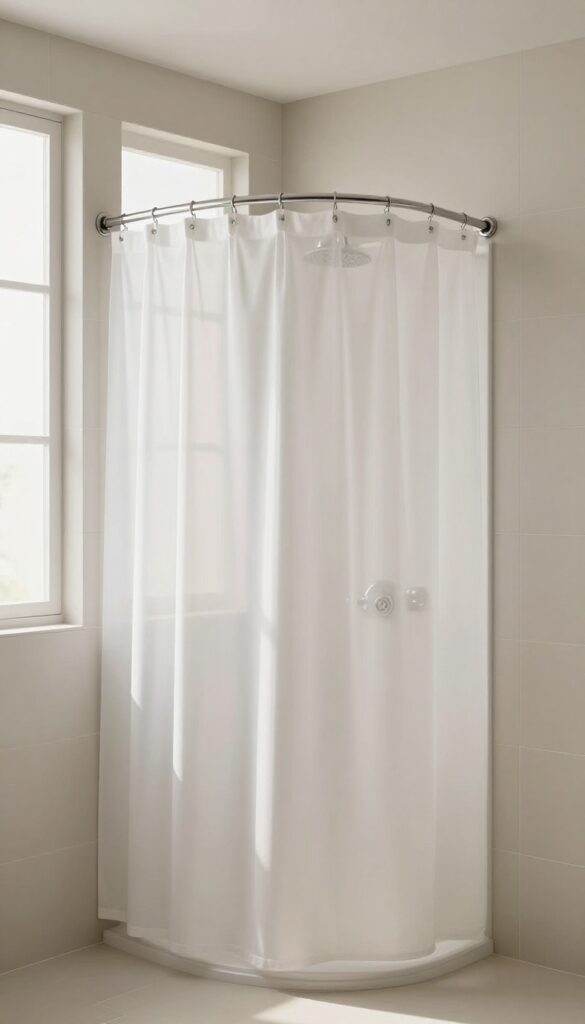
A curved rod is the simplest trick to make a small stand-up shower feel more spacious. It bows outward, giving you extra elbow room without changing the footprint. The best part?
It's a budget-friendly swap you can do in an afternoon.
The curved rod works by adding about 6 to 8 inches of extra space at the center of the shower, where you need it most. This means less chance of the curtain clinging to your body and more room to move. It also makes the shower feel less claustrophobic, even if the actual floor space hasn't changed.
For a small stand-up shower, this simple upgrade can transform the daily experience from cramped to comfortable.
Choosing The Right Curved Rod
Look for a rod that's sturdy and easy to install. Tension rods are the easiest option—they require no drilling and can be adjusted to fit your shower width. If you prefer a more permanent solution, choose a wall-mounted curved rod with brackets.
Make sure the rod is made of rust-resistant materials like stainless steel or aluminum, especially in a humid bathroom environment.
Selecting A Curtain That Complements The Space
The curtain itself plays a big role in the overall look. For a small shower, opt for a light-colored or semi-transparent curtain to let in more light and make the space feel airier. A fabric curtain with a subtle pattern can add elegance, while a simple white or cream curtain offers a clean, timeless look.
Avoid heavy, dark curtains that can make the shower feel smaller.
Tips For A Polished Installation
When installing the curved rod, position it so the curve extends outward into the bathroom, not into the shower. This maximizes the interior space. Use a level to ensure the rod is straight, and follow the manufacturer's instructions for secure mounting.
If you're using a tension rod, check it periodically to ensure it stays tight, especially if you have kids who might pull on the curtain.
14. Add a Mirror or Reflective Surface
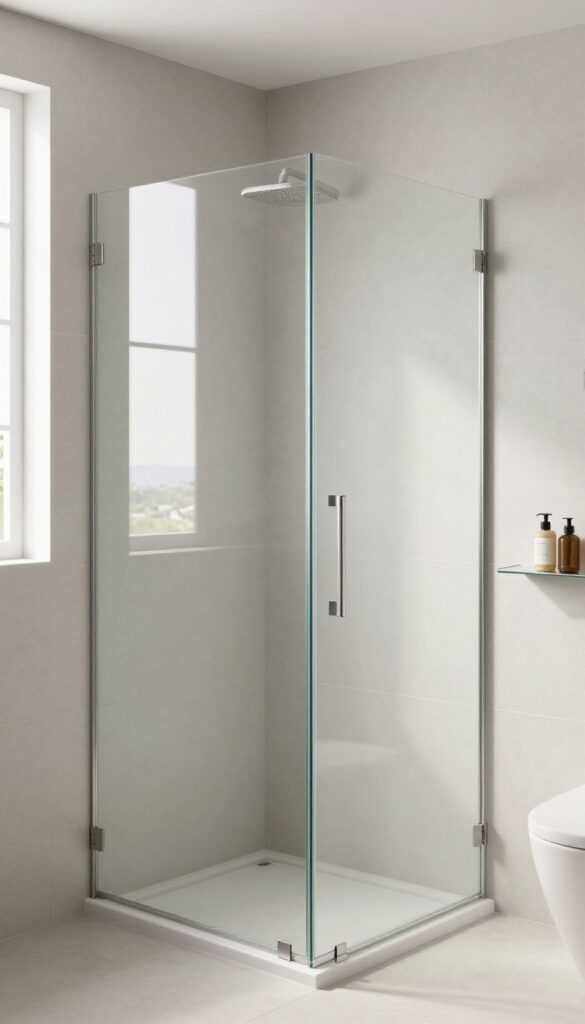
A mirror might seem out of place in a shower, but it's a clever trick that opens up a tiny space. Even a small reflective surface can bounce light around and create the illusion of depth. You don't need a full-length mirror—just a strategic accent can do wonders.
Reflective surfaces work by tricking the eye into seeing more space than there is. In a small stand-up shower, every inch counts, and a mirror or shiny tile can make the walls feel like they're further away. It's a simple, affordable upgrade that adds elegance without taking up any floor space.
Where To Place A Mirror
The best spot is opposite a light source, like a shower window or a bright bathroom light. Mount a small, water-resistant mirror on the side wall, or use a mirrored niche inside the shower. Avoid placing it where it'll get constantly splashed—keep it at least a few inches away from the direct spray.
Mirrored Accents That Work
If a full mirror feels risky, consider mirrored tiles as an accent strip. They're durable, easy to clean, and add a sleek, modern touch. You can also use a small mirrored shelf or a reflective back panel in a niche—these provide function and the same space-expanding effect.
Safety And Maintenance Tips
Make sure any mirror is rated for bathroom use and properly sealed to prevent moisture damage. Clean it regularly with a squeegee to avoid water spots. For extra safety, choose a shatterproof acrylic mirror—it's lighter and safer than glass in a wet area.
15. Use a Bold Accent Tile
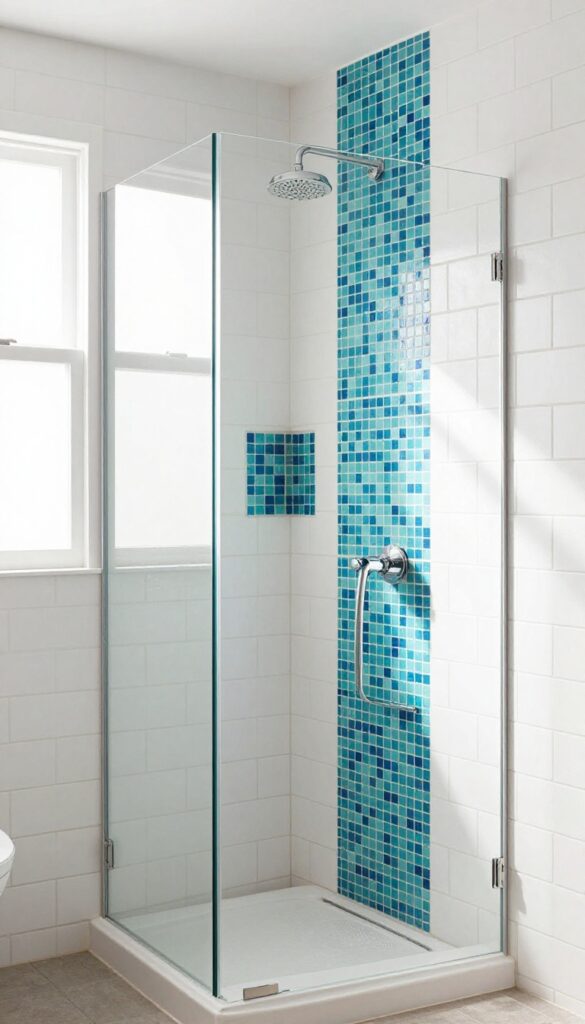
A single strip of colorful or patterned tile can add a pop of personality without overwhelming the small space. It’s a low-commitment way to inject style, and you can change it later if you get tired of it. The trick is to keep the rest of the shower neutral so the accent really stands out.
When you’re working with a tiny shower, every design choice matters. A bold accent tile is a smart move because it draws the eye and adds visual interest without taking up any extra room. You can use it as a niche liner, a border, or a full-height strip behind the fixtures.
The key is to choose a tile that contrasts with the main wall color, whether that’s a bright mosaic, a dark geometric pattern, or a glossy finish that catches the light.
Pick The Right Spot
The best place for an accent tile is where your eye naturally lands when you step in. That could be the back wall, the shower floor, or a horizontal band at waist height. If you have a shower niche, lining it with a bold tile is a classic move that adds depth and a custom feel.
Avoid placing the accent too close to the corners where it might get lost.
Match The Scale To The Space
In a small shower, large-format tiles can make the space feel bigger, but a bold pattern might be too busy. Instead, opt for smaller mosaics or a linear strip that doesn’t overpower. If you love a big pattern, use it sparingly—maybe just on the floor or as a single vertical stripe.
The goal is to add character without making the shower feel cramped.
Coordinate With Your Fixtures
Your accent tile should work with the rest of the shower’s hardware. If you have brushed nickel or matte black fixtures, pick a tile that complements those tones. For example, a cool blue tile pairs well with chrome, while a warm terracotta looks great with brass.
You don’t have to match perfectly, but a little coordination goes a long way.
FAQ
What is the best tile size for a small stand-up shower?
Large-format tiles (12×24 inches or bigger) are ideal because they minimize grout lines, creating a seamless look that visually expands the space.
How can I make a small shower feel more spacious?
Use light colors, a frameless glass door, and a rainfall showerhead. Also, consider a curved shower rod or a clear glass panel to open up the area.
Is it possible to add storage to a small shower without clutter?
Yes, use vertical storage like a tall caddy or a built-in niche. These keep items off the floor and within easy reach without taking up visual space.
What is the most budget-friendly way to update a small shower?
Swapping out the showerhead, adding a new curtain, or installing a corner caddy are affordable changes that make a big difference.
Can I install a shower bench in a tiny shower?
Absolutely. Choose a slim corner bench or a foldable teak stool that doesn't take up much room and can be easily moved if needed.
Conclusion
Small stand-up showers prove that style doesn't need square footage. Whether you lean on vertical shelving, bold tile, or a clever curtain choice, each tweak adds character without eating up space. Pick the one that solves your biggest daily gripe first—maybe it's storage or a brighter feel—and let that guide the rest.
Even a single swap can make your morning routine feel more intentional. Start with what feels doable this weekend, and enjoy the payoff every time you step in.