20 Spring Cleaning Checklist Ideas for a Total Reset
Spring isn't just about blooming flowers—it's your chance to hit the reset button on your home. A thorough clean can make your space feel lighter, brighter, and more organized. But where do you start?
You don't need to tackle everything at once.
A smart checklist breaks the work into manageable chunks, so you can actually enjoy the process. Whether you have a whole weekend or just a few hours, these 20 ideas will guide you through a total reset. Think of this as your roadmap to a cleaner, calmer home.
Each idea targets a specific area or task, from the kitchen to your digital life. Ready to transform your space? Let's dive in.
1. Declutter Room by Room

Decluttering is the foundation of any effective spring reset. By clearing out what you no longer need, you create space for order and calm. This step isn't about perfection—it's about making decisions that lighten your load.
Tackling one room at a time prevents overwhelm. Start with a full-room sweep: remove everything that doesn't belong, then sort items into keep, donate, or toss piles. This clears the canvas for deep cleaning and helps you see your space with fresh eyes.
The Three-pile Method
Grab three boxes or bags labeled Keep, Donate, and Toss. As you go through each item, make a quick decision—no second-guessing. Keep only what you use or love, donate usable goods, and toss anything broken or worn out.
One Room At A Time
Focus on a single room until it's done. Moving from room to room without finishing leads to half-done piles everywhere. Finish one space completely before moving to the next for a sense of accomplishment.
What To Do With Donations
Schedule a pickup or drop off donations immediately after decluttering. If you let bags sit, they often end up back in the house. Many charities offer free pickup, so take advantage of that to keep momentum going.
2. Deep Clean the Kitchen
The kitchen works hard all year, so it deserves some serious attention during your spring reset. A deep clean here not only makes meal prep more pleasant but also helps your appliances run efficiently. Let's break down the key areas to focus on.
Tackle The Oven And Stovetop
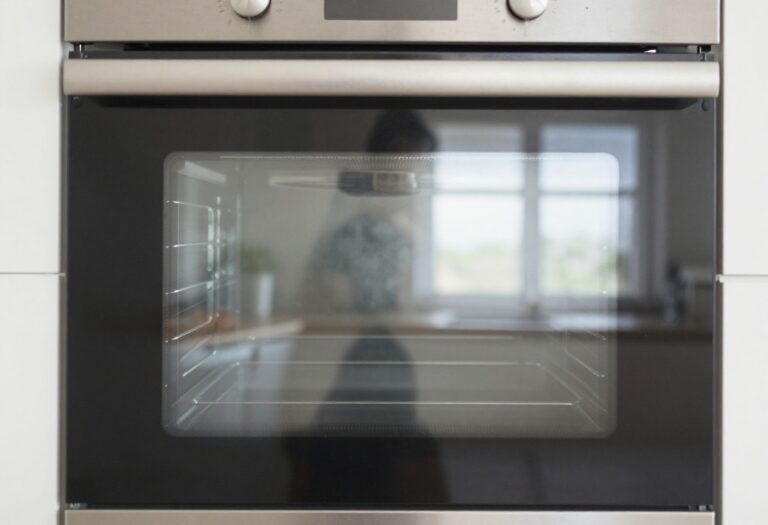
Start with the oven—remove racks and soak them in warm, soapy water. Use a baking soda paste to scrub the interior, then wipe clean. For the stovetop, remove burner grates and knobs, and clean each piece separately.
A clean oven means better cooking and no lingering smells.
Don't Forget The Fridge Coils
Pull your refrigerator away from the wall and vacuum the coils at the back or bottom. Dusty coils make the fridge work harder, increasing your energy bill. While you're at it, wipe down the exterior and check the door seals for debris.
Refresh Cabinet Interiors And Surfaces
Empty one cabinet at a time, toss expired items, and wipe shelves with a gentle cleaner. Use a microfiber cloth to reach corners. Then move to countertops, backsplash, and under appliances.
A sparkling kitchen sets the tone for the whole house.
3. Refresh the Bathroom
Bathrooms take a beating with daily use, but a deep reset can make them feel brand new. Focus on the details that often get overlooked—clean grout, a sparkling showerhead, and fresh linens. When everything shines, your morning routine instantly feels more luxurious.
Scrub Grout And Tiles
Grout lines trap soap scum and mildew, making even clean tiles look dingy. Mix baking soda and hydrogen peroxide into a paste, apply it to grout lines, let it sit for 10 minutes, then scrub with a stiff brush. Rinse well and seal the grout to keep it clean longer.
Descale Showerheads And Faucets
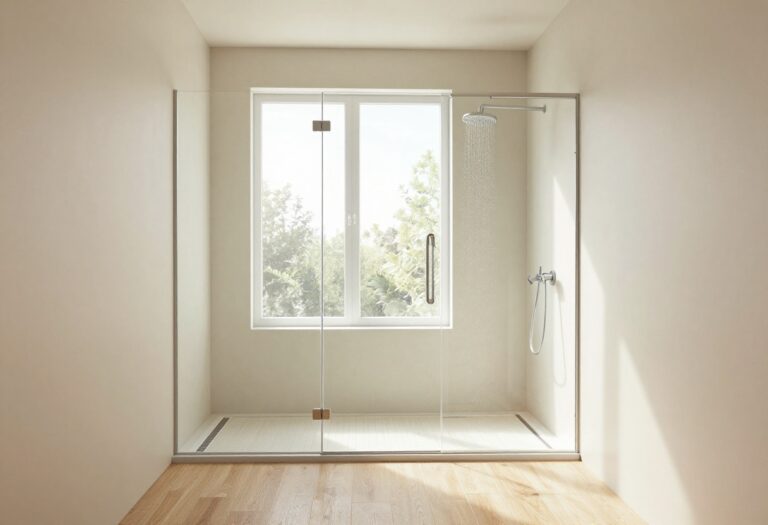
Mineral buildup reduces water pressure and looks unsightly. Remove the showerhead and soak it in white vinegar for an hour. For fixed fixtures, fill a plastic bag with vinegar, tie it around the head, and leave it overnight.
Wipe away residue and enjoy a powerful spray again.
Wash Or Replace Shower Curtains
Fabric liners can go in the washing machine with a cup of vinegar and a little detergent. Plastic curtains often get grimy—wipe them down with a bleach solution or toss them if they're beyond saving. A fresh curtain instantly lifts the whole room.
Organize The Medicine Cabinet
Pull everything out and check expiration dates. Toss old prescriptions, dried-out nail polishes, and crusty tubes of sunscreen. Wipe down shelves, then group items by category—first aid, daily vitamins, hair products.
A tidy cabinet makes mornings smoother.
4. Wash Windows and Screens
Let the light in. After months of grime and winter residue, your windows are probably due for a deep clean. Washing windows and screens not only improves your view but also brightens every room naturally.
Remove And Wash Screens
Start by carefully removing each window screen. Lay them flat on a driveway or in the yard. Use a soft brush and a bucket of warm soapy water to gently scrub both sides.
Rinse with a hose and let them air dry completely before reinstalling.
Clean Window Glass Inside And Out
Mix a solution of water and a few drops of dish soap or use a dedicated glass cleaner. For interior windows, wipe with a microfiber cloth or a squeegee for a streak-free finish. For exterior windows, a squeegee with a long handle works best.
Work from top to bottom, wiping the blade after each pass.
Tackle Tracks And Frames
Don't forget the window tracks and frames. Use an old toothbrush or a small brush to dislodge dirt and debris from the tracks. Vacuum up the loose particles, then wipe with a damp cloth.
For stubborn grime, a paste of baking soda and water can help.
5. Tackle the Bedroom Closet
Your bedroom closet is a magnet for clutter. Over the year, it collects clothes you never wear, random accessories, and dust bunnies. A total reset here makes getting dressed easier and frees up mental space.
Let's strip it down and rebuild it smarter.
Start by pulling everything out—every shirt, shoe, and hanger. Vacuum the floor and wipe down shelves and rods. As you go, create a donate pile for anything you haven't worn in a year.
Then, sort by category (tops, bottoms, dresses) and by season. Store off-season items on high shelves or under the bed. Use matching hangers for a clean look and group similar colors together.
This system saves time and keeps your closet organized long after spring.
Empty And Clean
Take everything out of the closet. This forces you to see what you own and gives you a blank slate. Vacuum the floor, wipe down shelves, and dust the rod.
Don't forget the corners—they collect lint and dust.
Declutter Ruthlessly
Be honest with yourself. If you haven't worn something in a year, it's time to let it go. Try the hanger trick: turn all hangers backward, and after you wear an item, turn it forward.
After a few months, anything still backward can go.
Organize By Category And Season
Group similar items together: all T-shirts, all jeans, all dresses. Within each group, arrange by color. Store off-season clothes in bins on the top shelf or under the bed.
This makes seasonal swaps easy and keeps your daily closet clutter-free.
6. Clean Upholstery and Curtains
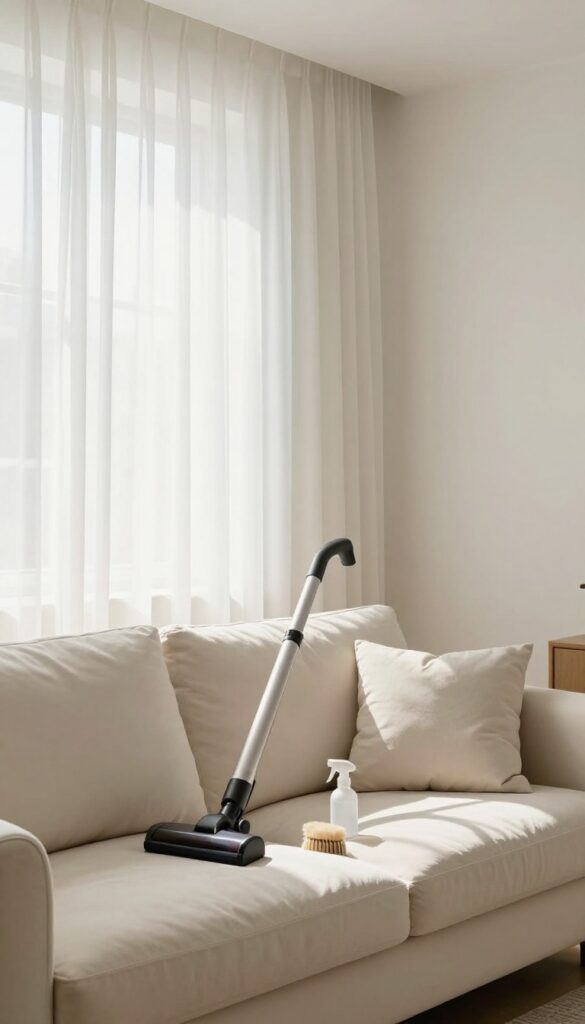
Your sofa and curtains have been silently collecting dust, pet dander, and allergens all winter. Giving them a proper refresh not only makes your living space look cleaner but also improves indoor air quality. You don't need professional help—just a bit of time and the right approach.
Vacuum Deeply
Start by removing all cushions and vacuuming every crevice with an upholstery attachment. Pay special attention to seams, under the cushions, and along the base where crumbs and dust hide. For fabric sofas, use a stiff brush to loosen embedded dirt before vacuuming.
Spot Clean Stains
Check the manufacturer's cleaning code (W, S, WS, or X) before applying any cleaner. For water-safe fabrics, mix a small amount of mild detergent with water and blot stains gently—never rub. For solvent-only fabrics, use a dry-cleaning product or call a professional.
Freshen Curtains
Most curtains can be machine-washed on a gentle cycle with cold water, but always check the label first. If they're dry-clean only, use a fabric steamer to kill dust mites and remove wrinkles. For a quick refresh, toss them in the dryer on a no-heat setting with a damp towel to capture dust.
7. Organize the Pantry
The pantry is the heart of your kitchen, but it can easily become a black hole of half-used bags and expired spices. A spring reset here saves you time, money, and stress when you're cooking. Let's turn that chaos into a well-oiled system.
Start by pulling everything out and sorting items into keep, donate, and toss piles. Check expiration dates—if you can't remember buying it, it's probably past its prime. Wipe down all shelves and surfaces before putting things back.
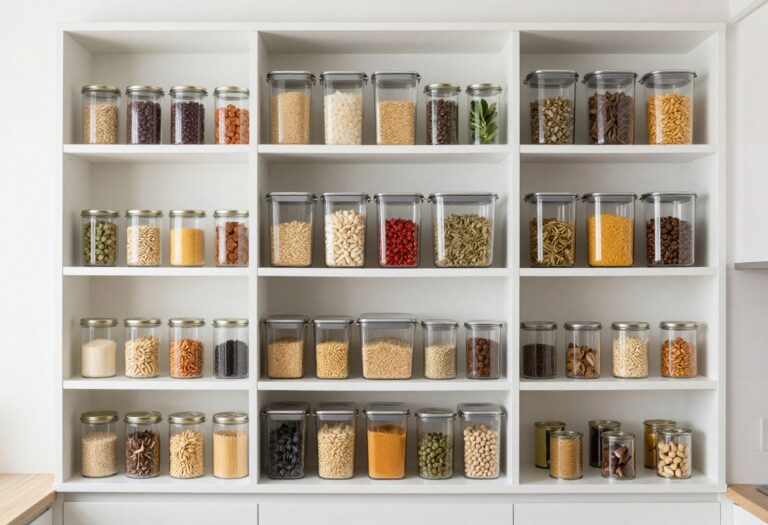
Group similar items together: baking supplies, canned goods, grains, snacks. Use clear containers for staples like flour, sugar, and pasta so you can see what you have at a glance. Label everything with contents and dates.
Consider adding shelf risers or lazy Susans to maximize vertical space and make items accessible. A tidy pantry not only looks great but makes meal prep faster and reduces food waste.
Empty And Audit
Take everything off the shelves and lay it out on the counter or table. This gives you a clear picture of what you own. Check each item's expiration date and toss anything that's expired or stale.
Donate unopened non-perishables you won't use. This step alone can free up significant space.
Deep Clean Shelves
With the pantry empty, vacuum crumbs and dust from every corner. Wipe down shelves with a mild cleaner or vinegar solution. Don't forget the door and handles—they collect grease and grime.
Let everything dry completely before restocking.
Group And Contain
Organize items by category: baking, canned goods, pasta, snacks, etc. Transfer open bags of rice, cereal, and nuts into airtight clear containers. This keeps them fresh and makes your pantry look uniform.
Use baskets or bins for smaller packets like seasoning mixes or tea bags.
Label And Maintain
Label each container and shelf section so everything has a home. Use a label maker or simple chalkboard stickers. Consider a first-in, first-out system for perishables.
Set a reminder to do a quick pantry audit every few months to keep it from getting chaotic again.
8. Dust and Polish Furniture
Dust accumulates everywhere, but it's especially noticeable on furniture. A proper dusting routine not only makes your home look cleaner but also helps extend the life of your pieces. The trick is to work from top to bottom so you don't have to redo any surfaces.
Start High, Finish Low
Begin with ceiling fans and light fixtures, then move to shelves, and finally tabletops. This way, any dust that falls will land on areas you haven't cleaned yet. Use a microfiber cloth or an extendable duster to reach high spots without straining.
Choose The Right Cloth
Microfiber cloths are excellent for trapping dust rather than spreading it around. For wood furniture, use a slightly damp cloth to pick up grime, then follow with a dry cloth. Avoid feather dusters, which often just redistribute particles.
Polish Wood Surfaces
After dusting, apply a quality furniture polish or a homemade mix of olive oil and vinegar. Use a soft cloth and work in the direction of the grain. Buff gently for a streak-free shine.
This step not only beautifies but also protects the wood from drying out.
9. Wash Bedding and Linens
Your bed is your sanctuary, but it also collects sweat, dead skin cells, and dust mites over time. A spring reset means fresh, clean bedding that feels like a hotel experience. This is one of those tasks with instant payoff—you'll notice the difference the moment you crawl in.
Strip And Sort
Start by stripping all beds, including guest rooms and kids' rooms. Sort by fabric type and color: whites, darks, and delicates. Check care labels for temperature recommendations—most cotton and polyester blends can handle hot water, but silk or linen may need a gentle cycle.
Wash On Hot
Set your washer to the hottest setting recommended for the fabric. Hot water kills dust mites and removes body oils more effectively than warm or cold. Add a scoop of oxygen-based bleach for whites or a cup of white vinegar to brighten colors and soften fabric naturally.
Don't Forget Extras
Gather all throw blankets, decorative pillows (if washable), and guest linens. Mattress protectors and pillow protectors should be washed every season—they trap allergens and sweat. If you have duvets or comforters, check the size; you may need to take them to a laundromat with industrial machines.
Dry And Refresh
Tumble dry on medium heat with wool dryer balls to reduce static and fluff. For a fresh scent, add a few drops of lavender or eucalyptus essential oil to a damp cloth and toss it in. Make the bed immediately while sheets are still slightly warm—it feels amazing and reduces wrinkles.
10. Deep Clean Carpets and Rugs
Carpets and rugs are like sponges—they absorb dirt, dust, and odors over time. A deep clean not only refreshes their appearance but also improves indoor air quality. You don't need to be a pro to get great results; a little effort goes a long way.
Start With A Thorough Vacuum
Before any deep cleaning, vacuum every inch of your carpets and rugs. Use slow, overlapping passes to pull up embedded dirt. Don't forget edges and under furniture—these spots often hide the most grime.
Spot-treat Stains Right
Mix a solution of white vinegar and water (1: 1 ratio) and blot stains gently—never scrub, as that can damage fibers. For tougher spots, use an enzyme-based cleaner. Always test on a hidden area first.
Go Deep With Steam Or Shampoo
Rent a carpet cleaner from a hardware store or hire a professional for a steam clean. Follow the machine's instructions, and use a cleaning solution suited for your carpet type. Let it dry completely before walking on it.
11. Organize the Entryway
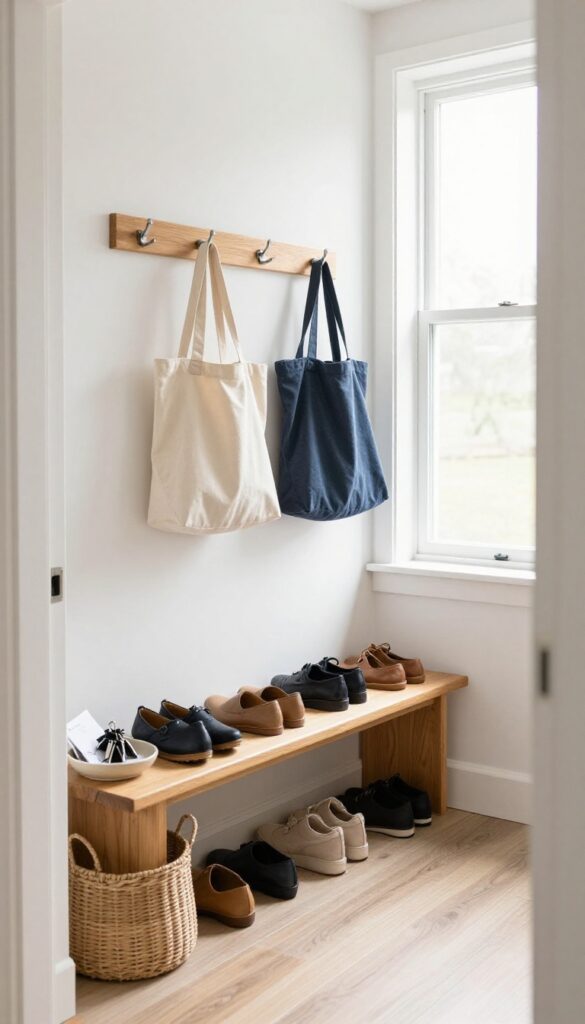
The entryway sets the tone for your entire home. If it's cluttered with coats, shoes, and mail, that chaos follows you inside. A quick reset here makes coming home feel welcoming and keeps daily routines smooth.
Start by pulling everything out—coats, shoes, bags, and that pile of mail. Sort items into keep, donate, and trash piles. Wipe down surfaces and vacuum the floor.
Then, install hooks at different heights for family members and a slim shoe rack or bench with storage. Use a small tray or bowl for keys and mail to prevent pile-ups. A well-organized entryway saves time and reduces stress every time you walk in or out.
Clear The Clutter
Remove everything from the entryway and decide what truly belongs there. Seasonal items can go to a closet. Donate shoes and coats that no longer fit.
Shred old mail and recycle catalogs. A clean slate makes organizing easier.
Add Smart Storage
Maximize vertical space with hooks and shelves. A wall-mounted coat rack with multiple hooks works wonders. Add a narrow console table with drawers for mail and small items.
A shoe rack or cubby keeps footwear off the floor and easy to grab.
Create A Daily Routine
Designate a spot for keys, wallets, and bags—a small bowl or tray works perfectly. Hang a mirror for last-minute checks. Encourage family to put away items immediately.
A five-minute tidy each evening keeps the entryway ready for the next day.
12. Clean Light Fixtures and Fans
Light fixtures and ceiling fans are easy to overlook, but they collect dust and grime that dulls your lighting and spreads allergens. When you take the time to clean them, your rooms instantly feel brighter and fresher. This is a quick win that makes a surprising difference in your home's atmosphere.
Start by turning off the power to your fixtures and fans. Use a microfiber duster or an extendable duster to remove loose dust from blades and shades. Then, wipe down each surface with a damp cloth—mild soap and water work well for most materials.
For glass globes, remove them if possible and wash in warm, soapy water. Let them dry completely before reattaching. While you're at it, replace any burnt-out bulbs and consider upgrading to LED bulbs for better light and energy savings.
Brighter rooms feel more energetic and inviting.
Dusting Techniques
For ceiling fans, use a pillowcase or a specialized fan duster to trap dust instead of spreading it around. Work from top to bottom, cleaning the blades first, then the motor housing and pull chains. For chandeliers and intricate fixtures, a soft brush attachment on your vacuum can be gentle yet effective.
Cleaning Shades And Globes
Glass, plastic, and fabric shades each need different care. Glass can handle a soak in soapy water, while plastic should be wiped gently to avoid scratches. Fabric shades are best cleaned with a lint roller or a vacuum brush.
Always check the manufacturer's instructions if you're unsure.
Bulb Replacement And Upgrades
Replace any bulbs that are dim or flickering. Consider switching to LEDs—they last longer, use less energy, and produce a cleaner light. Match the color temperature to the room: warm white (2700K) for cozy spaces, cool white (4000K) for kitchens and bathrooms.
13. Wash Walls and Baseboards
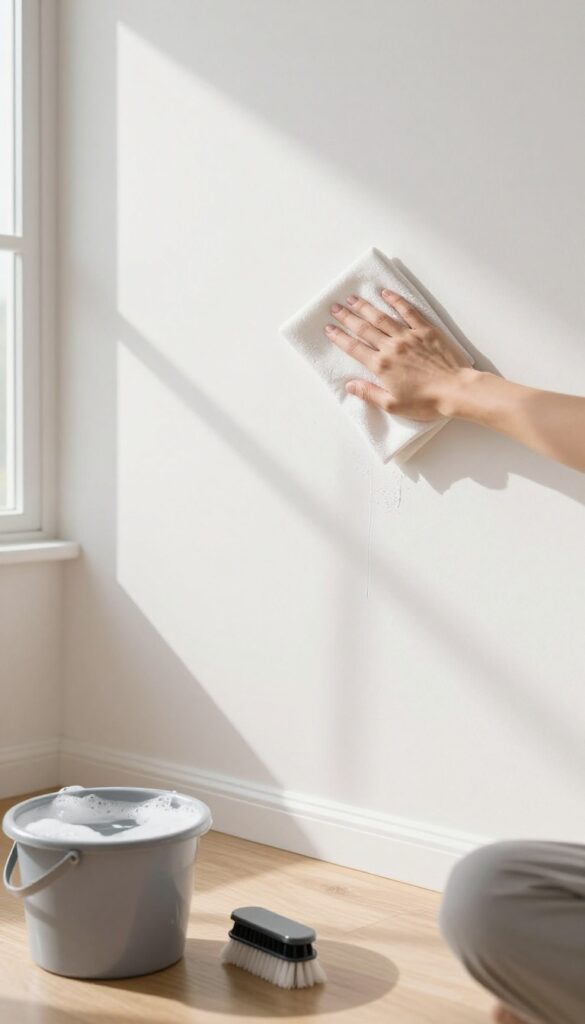
Walls and baseboards are the silent workhorses of your home, quietly collecting dust, fingerprints, and mystery splatters. Giving them a proper wash can instantly brighten a room and make the whole space feel fresher. It's one of those tasks that makes a bigger visual difference than you'd expect.
Grab a bucket of warm water mixed with a mild detergent—dish soap works great. Use a soft sponge or microfiber cloth, starting from the top of the wall and working your way down. For stubborn spots, let the soap sit for a minute before gently scrubbing.
Rinse the sponge frequently to avoid spreading dirty water. Baseboards and door frames often need extra attention; a small brush can help get into corners. Dry with a clean towel to prevent streaks or water damage.
What You'll Need
Gather a bucket, mild detergent (like dish soap or a gentle all-purpose cleaner), a soft sponge or microfiber cloth, a small brush for crevices, and a dry towel. Avoid harsh chemicals that might strip paint or leave residue.
High-traffic Hotspots
Focus on areas around light switches, door handles, and hallways where hands and shoulders brush against the wall. Kitchens and dining rooms often have grease splatters, so use a slightly stronger degreaser there. Check corners for cobwebs too.
Pro Tips For Best Results
Test a small hidden area first to ensure the paint is washable. Use two buckets—one for soapy water, one for rinsing—to keep things efficient. Wipe in straight vertical strokes to avoid lap marks.
For flat paint, use a dry sponge or special wall cleaner to avoid damage.
14. Organize Digital Files
Your digital life deserves the same fresh start as your physical space. Cluttered desktops, overflowing inboxes, and scattered files add a layer of mental noise that can drain your focus. A digital spring cleaning clears that fog and makes everything easier to find.
Tame Your Inbox
Start with email. Delete old newsletters, spam, and conversations you no longer need. Unsubscribe from mailing lists you never read.
Use filters or labels to sort incoming messages automatically. Aim for inbox zero—it’s satisfying and keeps you from drowning in digital clutter.
Declutter And Structure Your Files
Go through your downloads folder, desktop, and documents. Delete duplicates, outdated files, and anything you haven't touched in months. Create a simple folder system (e. g. , Work, Personal, Finances) and move everything into place.
Use clear, consistent file names so you can search later.
Backup And Sync
Once everything is organized, back up important files to an external drive or cloud storage. Set up automatic backups if you haven't already. This step protects your data and gives you peace of mind.
Consider syncing key folders across devices so you can access them anywhere.
15. Clean Out the Fridge
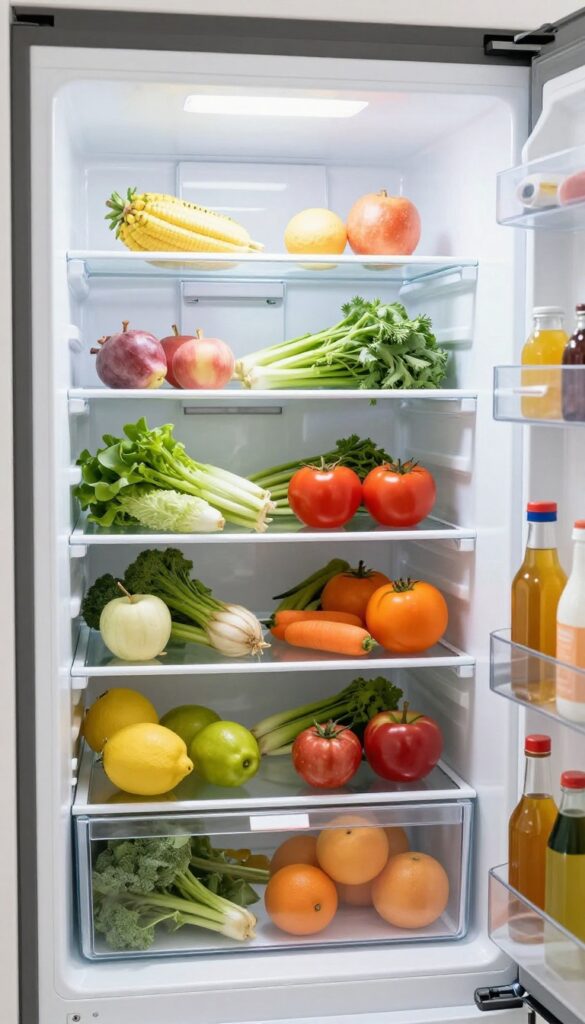
Your fridge works hard all year, but it's easy to forget about until something smells off. A deep clean not only removes expired food and spills but also helps your appliance run more efficiently. Plus, you'll actually see what you have, which means less food waste and easier meal prep.
Start by pulling everything out—shelves, drawers, condiments, leftovers. Check expiration dates and toss anything past its prime. Wipe down all surfaces with warm soapy water or a mild vinegar solution.
Don't forget the door seals and the vegetable crisper. While the shelves are out, give them a good scrub and let them dry completely before reassembling.
Tackle The Freezer
The freezer often gets neglected. Remove everything, check for frost buildup, and defrost if needed. Wipe down the interior and organize items by category—meats, veggies, frozen meals.
Label and date anything you plan to keep for more than a month.
Organize For The Long Haul
Once everything is clean, think about how you use your fridge. Group similar items together: dairy on one shelf, condiments on the door, produce in designated drawers. Use clear bins to corral small items and keep leftovers visible.
A little organization now saves time later.
Maintenance Tips
To keep your fridge fresh longer, place an open box of baking soda on a shelf to absorb odors. Wipe up spills as soon as they happen. And every few months, do a quick sweep—check for expired items and give the interior a once-over.
Your fridge will thank you.
16. Refresh Outdoor Spaces
After spending months cooped up indoors, your patio or backyard deserves some attention. A quick refresh turns it into a welcoming extension of your home. Start by clearing debris and giving surfaces a good scrub.
Sweep And Wash Hard Surfaces
Patios, decks, and walkways accumulate dirt, leaves, and mildew over winter. Sweep thoroughly, then use a pressure washer or a stiff brush with soapy water to remove grime. Pay extra attention to corners and under furniture.
Clean And Repair Outdoor Furniture
Wipe down tables and chairs with mild detergent. Check for rust, loose screws, or cracked plastic. Tighten bolts and apply touch-up paint if needed.
Cushions can be spot-cleaned or machine-washed if removable.
Tackle The Grill
Remove the grates and soak them in warm, soapy water. Scrub off residue with a grill brush. Wipe down the interior and exterior, and check gas lines or charcoal trays for damage.
A clean grill cooks better and lasts longer.
Trim And Tidy Plantings
Cut back dead branches, prune overgrown shrubs, and pull weeds from garden beds. Rake up fallen leaves and debris. Edge along walkways for a crisp look.
Healthy plants make your outdoor space feel cared for.
17. Organize the Garage or Shed
Garages and sheds often become dumping grounds for everything that doesn't fit inside the house. Over time, boxes pile up, tools get buried, and you can barely park your car. But with a focused reset, this space can become functional again—whether you use it for parking, projects, or storage.
Start by clearing everything out and sorting into keep, donate, and trash piles. This is your chance to finally deal with that mysterious box from three moves ago. Once you've pared down, you can set up a system that actually works.
A tidy garage or shed makes daily life easier—no more hunting for a hammer or tripping over garden hoses. The key is to create zones for different activities and store items where you can see and reach them. Below are the steps to transform this often-neglected area.
Sweep And Sort
Push everything out onto the driveway or lawn. Sweep the floor thoroughly—garages collect dirt, leaves, and cobwebs. As you sort, group items by category: tools, sports equipment, gardening supplies, holiday decorations, and car care.
Be ruthless about discarding broken items or things you haven't used in years.
Dispose Of Hazardous Waste
Old paint cans, used motor oil, batteries, and pesticides can't go in the regular trash. Check your local waste disposal guidelines for drop-off locations or pickup schedules. Properly disposing of these items is not only responsible but also frees up valuable shelf space.
Install Smart Storage
Wall-mounted shelving, pegboards, and ceiling racks are your best friends in a garage. Store frequently used tools on a pegboard within arm's reach. Use clear bins for smaller items and label everything.
Heavy items like lawnmowers or snow blowers belong on the floor, but keep them along the walls to maximize parking space.
Create A Maintenance Station
Dedicate a small area for car care and tool maintenance. Hang a utility hook for the garden hose, keep a bucket for washing supplies, and store a small vacuum for car interiors. Having a designated spot makes it easier to keep things clean long-term.
18. Clean Appliances Inside and Out
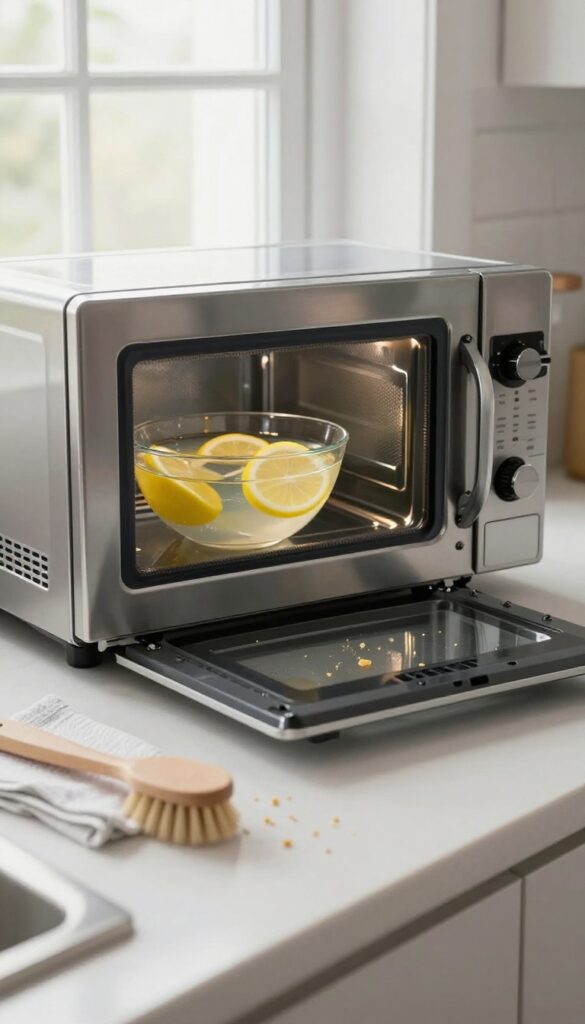
Your appliances work hard every day, but they rarely get the attention they deserve. A deep clean not only makes them look new again but also helps them run more efficiently and last longer. This spring, give your microwave, toaster, coffee maker, dishwasher, and washing machine the reset they need.
Start by wiping down the exterior of each appliance with a damp cloth and mild cleaner. Don't forget handles, buttons, and crevices where grime hides. For stainless steel, use a dedicated cleaner to avoid streaks.
Then move inside—remove crumbs, descale coffee makers, and deodorize dishwashers with a vinegar cycle. Your washing machine needs a cleaning cycle too, especially if you notice musty odors. A little effort now prevents breakdowns and keeps your appliances performing like new.
Microwave And Toaster
For the microwave, heat a bowl of water with lemon slices for two minutes—the steam loosens stuck-on food. Wipe the interior easily. For the toaster, unplug it, shake out crumbs into the sink, and use a soft brush to reach the heating elements.
A damp cloth on the outside finishes the job.
Coffee Maker And Dishwasher
Run a descaling solution through your coffee maker to remove mineral buildup. For the dishwasher, place a cup of white vinegar on the top rack and run a hot cycle. Then sprinkle baking soda on the bottom for a second rinse to eliminate odors and stains.
Washing Machine
Check the rubber gasket for mold and wipe it down with a bleach solution. Clean the detergent drawer and run an empty hot cycle with two cups of vinegar. This removes residue and keeps your machine smelling fresh.
19. Sort and Donate Unused Items
Clutter accumulates quietly. That sweater you haven't worn in two years? It's taking up space.
This step is about making decisions—keep, toss, or donate. The goal is to free up room for the things you actually use and love.
Start by gathering items from closets, shelves, and drawers. Sort them into piles: keep, donate, and discard. Be honest with yourself.
If you haven't used it in a year, it's probably time to let it go. Donate gently used clothes, books, and household goods to a local charity. Many organizations offer free pickup, making it easy.
Letting go of excess lightens your physical and mental load.
Where To Start
Begin with one room or category, like all clothes or all books. Set a timer for 30 minutes to avoid burnout. Use three boxes labeled Keep, Donate, and Trash.
Work quickly—don't overthink each item.
Donation Options
Research local charities, thrift stores, or shelters that accept your items. Some offer scheduled pickups. For books, consider libraries or schools.
For electronics, check e-waste recycling programs.
The Mental Benefit
Decluttering isn't just about space—it's about peace of mind. Each item you donate is a weight lifted. You'll feel lighter and more organized, ready to enjoy your refreshed home.
20. Create a Maintenance Schedule
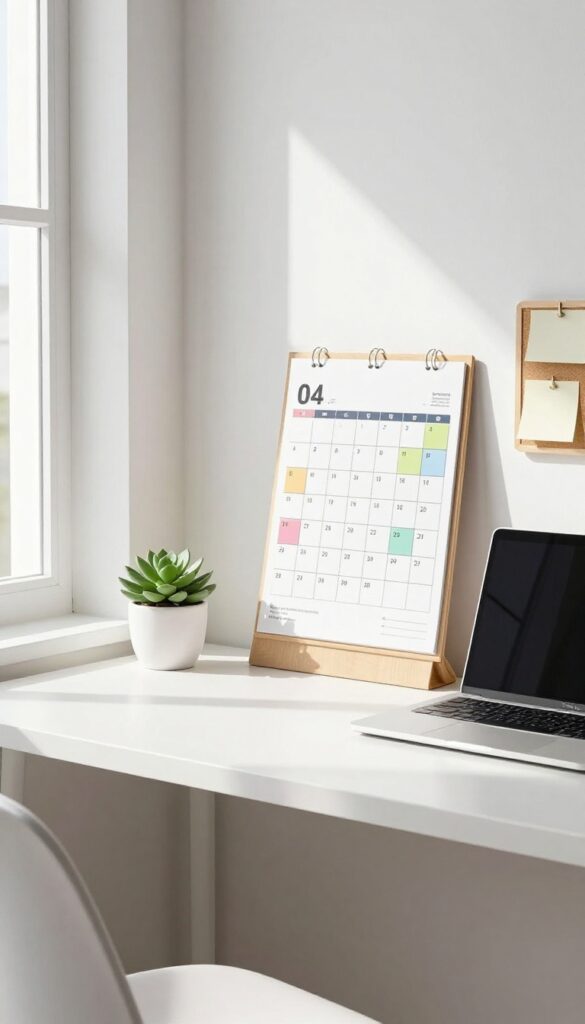
You've put in the work to deep clean your home—now you need a plan to keep it that way. A maintenance schedule takes the guesswork out of regular chores and prevents messes from piling up again. Think of it as your home's personal calendar, ensuring nothing slips through the cracks.
Building a schedule doesn't have to be complicated. Start by listing monthly tasks like changing air filters, vacuuming vents, and wiping down baseboards. Then add seasonal deep cleans for windows, carpets, and appliances.
Use a digital calendar or a simple wall chart to set reminders. Consistency is key—even 15 minutes a week can make a huge difference.
Monthly Must-dos
Focus on tasks that keep your home running smoothly. Change HVAC filters every 30 days to improve air quality and efficiency. Vacuum all vents and returns to reduce dust buildup.
Wipe down ceiling fans and light fixtures. Don't forget to check smoke and carbon monoxide detectors—replace batteries if needed.
Seasonal Deep Cleans
Each season brings its own maintenance needs. In spring, wash windows inside and out, and deep clean carpets. Summer is perfect for servicing your AC and cleaning the grill.
Fall calls for gutter cleaning and furnace inspection. Winter: tackle the oven, fridge coils, and organize closets.
Staying On Track
Use a shared family calendar or a cleaning app to assign tasks. Set recurring reminders on your phone for monthly chores. For seasonal tasks, pick a specific weekend each quarter.
Reward yourself after completing big jobs—maybe a takeout night or a relaxing bath. The goal is to make maintenance a habit, not a burden.
FAQ
How long does a full spring cleaning take?
It depends on your home size and how thorough you go. Most people spend a weekend (2-3 days) for a complete reset. Breaking tasks into daily chunks works too.
What's the best order to spring clean?
Start with decluttering, then clean from top to bottom (ceilings to floors) and from the inside out (rooms to common areas). This prevents re-dusting.
Do I need special cleaning products?
Not really. Basic supplies like microfiber cloths, all-purpose cleaner, vinegar, baking soda, and a squeegee cover most tasks. You can DIY many solutions.
How often should I spring clean?
Once a year is standard, but you can do a lighter version each season. Focus on deep-cleaning tasks that aren't part of your weekly routine.
Can I spring clean if I have limited time?
Absolutely. Pick 3-5 high-impact tasks from the list, like cleaning windows, decluttering one room, and deep-cleaning the kitchen. Even small efforts make a difference.
Conclusion
Spring cleaning doesn't have to mean spending your whole weekend scrubbing baseboards. Pick just three or four checklist items that feel most urgent to you—maybe the pantry organization or the window washing—and start there. Small wins build momentum fast.
The real reset happens when you stop trying to do everything at once. Focus on the spaces that will make the biggest difference in your daily life, and let the rest wait until next season. Your home will feel fresher, and you won't burn out.