11 Design Ideas for Shower Tiles with Neat, Functional Style
Tiles do more than cover walls—they set the tone for your entire shower. But with so many options, it's easy to get overwhelmed. The key is to find a style that looks sharp and stands up to daily use without turning into a cleaning nightmare.
You don't need a huge budget or a designer to make smart choices. Simple tweaks like tile size, grout color, or layout can change the whole feel of the space. Whether you're renovating or just refreshing, these ideas focus on neatness and function first.
Here are 11 shower tile concepts that balance good looks with real-world practicality. Each one is easy to adapt to your own bathroom, no matter the size or style.
1. Large-Format Tiles for Fewer Grout Lines
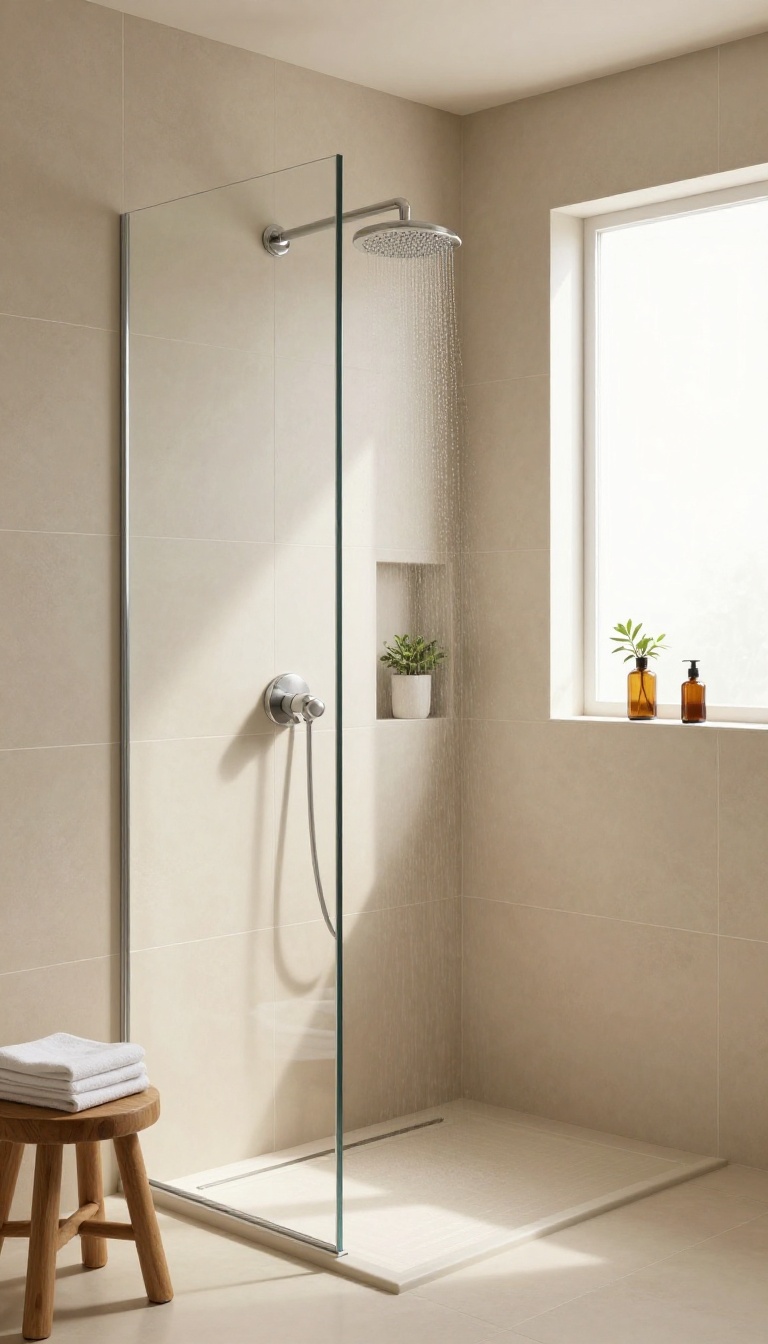
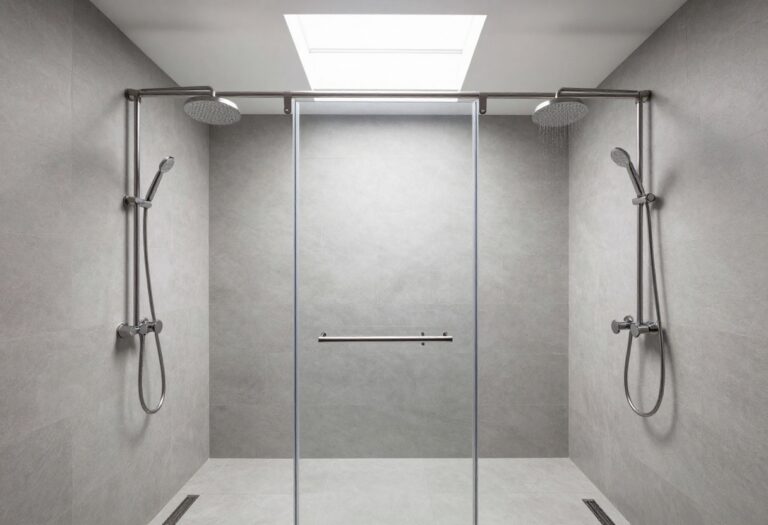
If you're tired of scrubbing grout, large-format tiles are a game-changer. These oversized slabs—typically 12×24 inches or bigger—cut down on the number of grout lines, which means less surface area for soap scum and mildew to build up. The result is a shower that looks sleek and modern while being noticeably easier to maintain.
Large-format tiles also work wonders in small bathrooms. Because they cover more wall area with fewer interruptions, they create a seamless, expansive look that makes the shower feel bigger than it actually is. Plus, the minimal grout lines give the space a clean, almost monolithic appearance that fits both contemporary and classic designs.
Why Fewer Grout Lines Matter
Every grout line is a potential hiding spot for dirt and moisture. With large tiles, you have dramatically fewer of those lines, which means less time scrubbing and less risk of grout discoloration. It's a simple upgrade that pays off in both aesthetics and hygiene.
Making Small Showers Look Bigger
The continuous surface of large-format tiles tricks the eye into seeing more space. When the tiles run from floor to ceiling without frequent breaks, the shower feels taller and wider. This is especially effective in cramped corners or alcove showers where every inch counts.
Choosing The Right Large Tile For Your Shower
Not all large tiles are the same. Porcelain and ceramic are popular for their durability and water resistance, while natural stone adds a luxurious touch but needs more sealing. Also, consider the finish: matte tiles hide water spots better than glossy ones, making them a practical choice for a busy household.
2. Textured Neutrals for Slip Resistance and Warmth
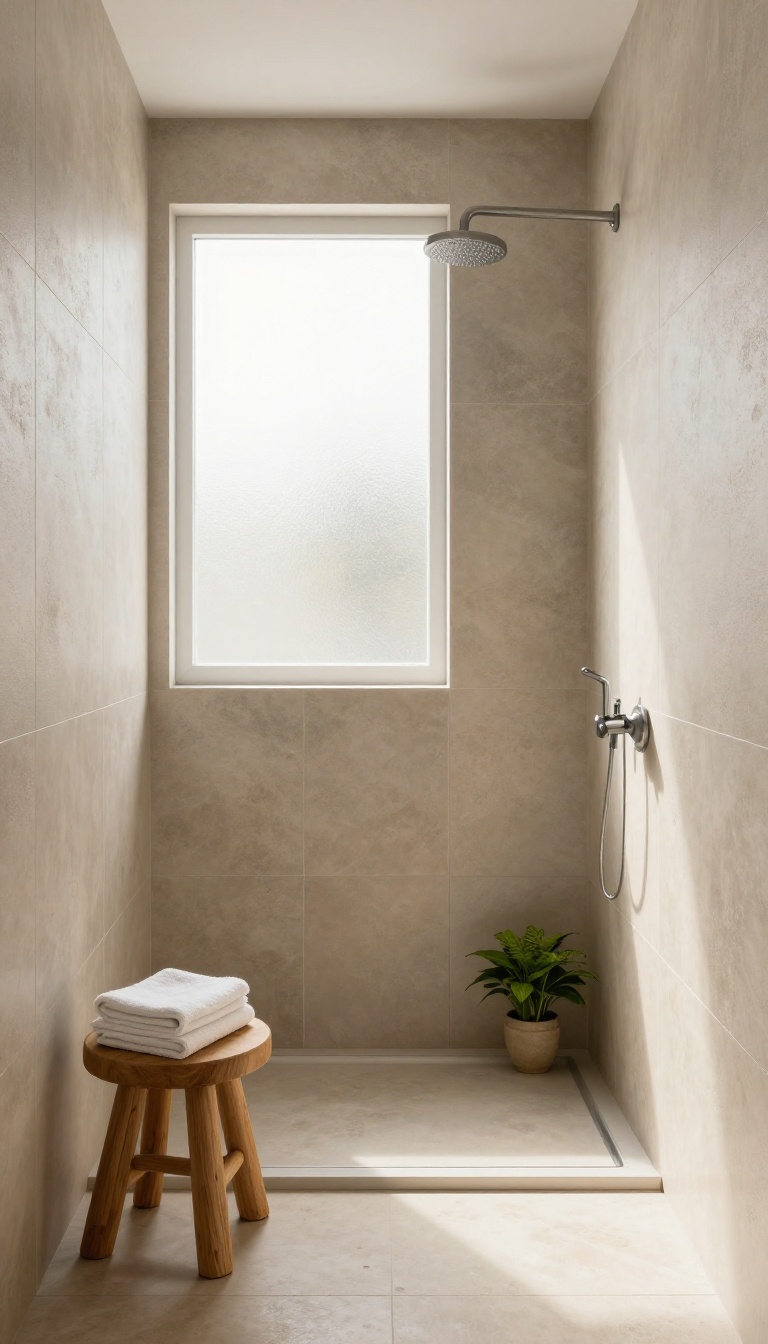
Neutral tiles in matte or textured finishes are a practical choice for showers. They provide better traction underfoot, reducing the risk of slips, and they're forgiving when it comes to water spots and soap scum. Plus, the warm tones of beige, gray, and off-white create a cozy, spa-like atmosphere that never feels stark or clinical.
When you step out of a hot shower, the last thing you want is a slippery floor. Textured neutral tiles offer a secure footing without sacrificing style. Their muted colors also help hide the everyday buildup that can make glossy tiles look dingy.
This combination of safety and low maintenance makes them a smart pick for busy households.
Why Matte Finishes Work Best
Matte tiles have a slightly rough surface that increases friction, even when wet. Unlike polished tiles, they don't reflect light, so they don't show every water droplet or smudge. This means less time wiping down walls and more time enjoying your shower.
Choosing The Right Neutral Tone
Warm whites with a hint of cream feel inviting, while soft grays add a modern edge. Beige and taupe bring earthy warmth that pairs well with natural wood accents. Pick a shade that complements your existing fixtures and vanity to create a cohesive look.
Pairing With Grout Colors
For a seamless, clean appearance, match your grout to the tile color. If you want to add subtle definition, choose a slightly darker grout. Avoid stark white grout with light neutrals, as it can look harsh and highlight stains.
3. Vertical Stacked Layout for Height and Clean Lines
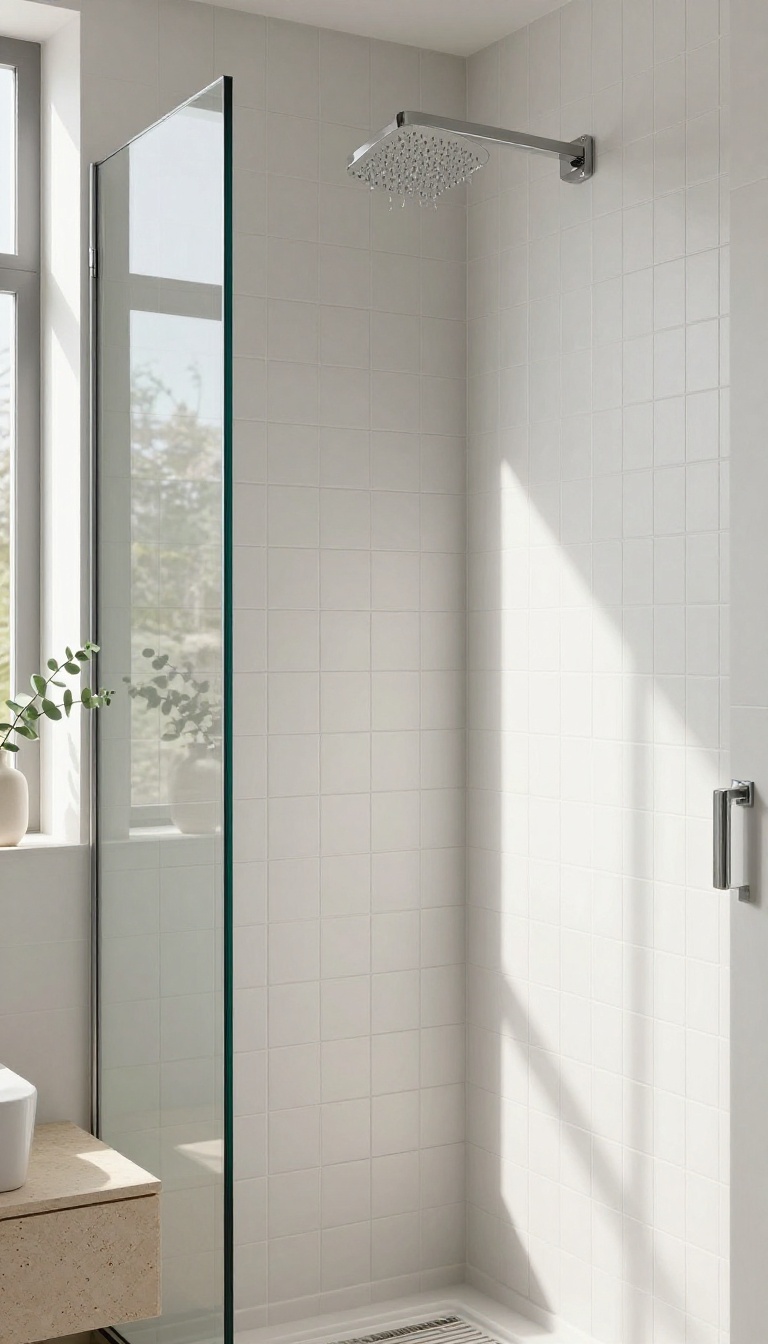
If you want to make your shower feel taller without adding a single inch, the vertical stacked layout is a clever trick. By laying rectangular tiles in a brick offset but running upward instead of sideways, you create a continuous vertical rhythm that draws the eye from floor to ceiling. It's a simple pattern that adds structure and interest without the visual noise of more complex designs.
The vertical stack is all about clean, uninterrupted lines. It works especially well in showers with lower ceilings or compact footprints, because the vertical motion makes the space feel more open and airy. The offset joints—each row shifted by half a tile—keep the pattern from feeling too rigid, while the overall effect stays tidy and modern.
Plus, it's an easy layout for any installer to execute, which keeps labor costs down and avoids the headache of intricate cuts.
Why It Works So Well
The vertical orientation naturally guides your gaze upward, which is a classic trick to make a room feel taller. The offset joints add a subtle texture that prevents the wall from looking flat or boring. And because the pattern is so straightforward, it doesn't compete with other elements in your bathroom—it supports them.
Whether you pair it with a bold vanity or a simple glass shower door, the tiles stay in the background while still doing their job.
Best Tile Shapes And Sizes
This layout shines with rectangular tiles in a 3×6, 4×12, or even 6×24 format. The longer the tile, the more dramatic the vertical push. Smaller rectangles like 3×6 give a classic subway feel, while larger format tiles create a more contemporary, seamless look.
Avoid square tiles—they won't create the same directional effect. And don't forget to consider the grout lines: thinner grout lines (1/8 inch or less) keep the pattern crisp and modern, while wider lines add a more traditional touch.
Installation Tips And Tricks
The vertical stack is beginner-friendly, but a few tips can make it even smoother. Start with a level line at the bottom and use spacers to keep the offset consistent. Because the pattern is repetitive, it's easy to check your work as you go.
If you're using large-format tiles, make sure the wall is perfectly flat to avoid lippage. And always dry-lay a few rows first to see how the pattern falls—especially around corners and niches—so you can plan cuts ahead of time.
Style Pairings That Pop
This layout is versatile enough to work with many aesthetics. For a spa-like vibe, pair it with soft gray or beige tiles and a matte finish. For a more dramatic look, go with dark charcoal or navy tiles and white grout to emphasize the vertical lines.
You can also mix it up by using a contrasting tile in the shower niche or behind the fixtures to add a focal point without breaking the clean lines. The key is to let the vertical pattern be the star—keep other elements simple.
4. Hexagon Mosaic for Subtle Detail and Grip
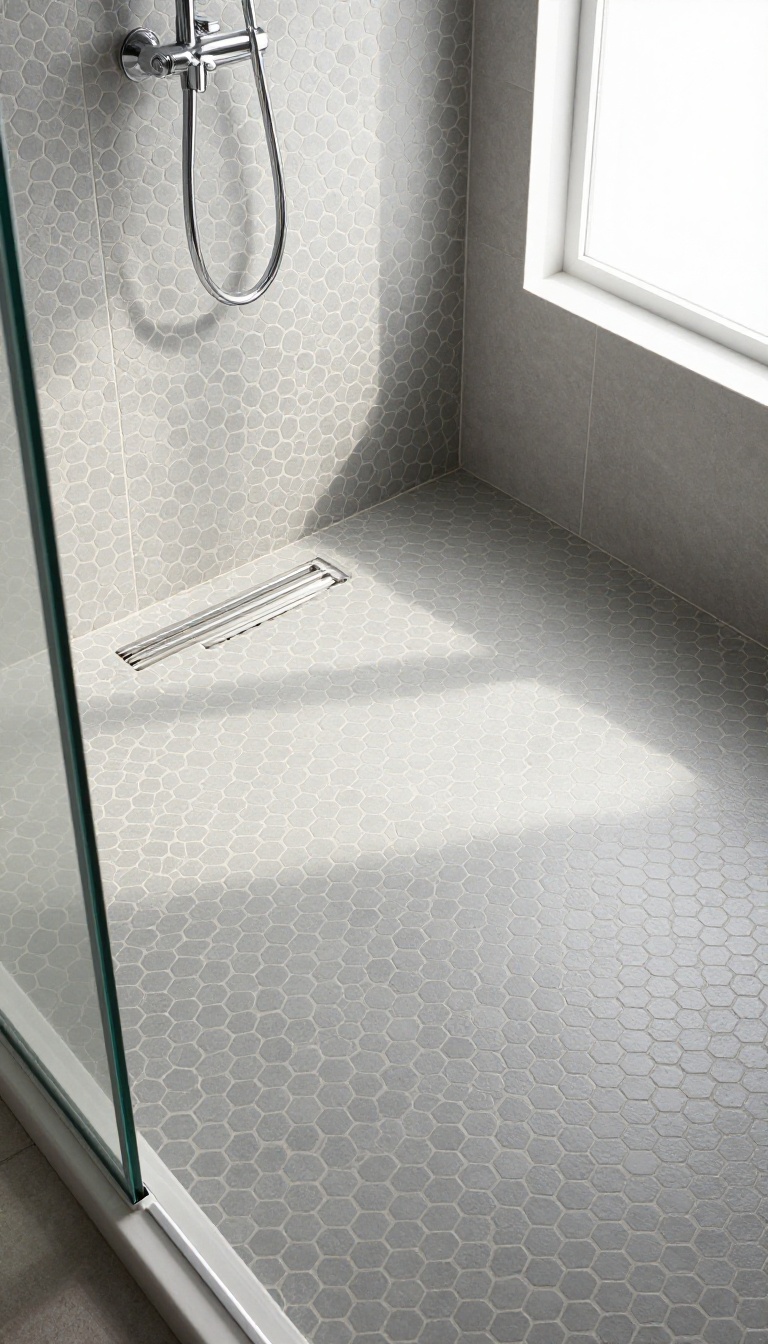
Hexagon tiles are a classic choice that never feels outdated. Their small size and six-sided shape add a subtle sense of movement and texture without being loud. When you use them on the shower floor or as an accent strip, they bring a neat, tailored look that also happens to improve footing.
Because the tiles are small, they create more grout lines, which can be a concern for cleaning. But with the right grout color and a good seal, this becomes a non-issue. And the visual payoff is worth it—hexagons add just enough detail to keep the shower interesting without overwhelming the space.
Hexagon mosaic tiles are a smart pick for anyone who wants a touch of pattern without going bold. The key is to keep the palette muted and the grout matched to the tile, so the overall effect is clean and cohesive. On the floor, the smaller tiles naturally create more traction, which is a practical bonus.
On a wall, they can form a subtle accent that draws the eye without competing with the rest of the bathroom. When you choose hexagon tiles, you're not just picking a shape—you're picking a layout that works with the natural flow of the space. Whether you cover the entire shower floor or just a niche, the result feels intentional and polished.
And because hexagons are available in a wide range of materials, from ceramic to natural stone, you can easily match them to your existing fixtures and finishes.
Why Hexagons Work In A Shower
Hexagons are more than just a pretty shape. Their six sides create a honeycomb pattern that feels both organic and structured. In a shower, this translates to a surface that's visually interesting but not chaotic.
The small size of each tile means the pattern repeats frequently, which can make the space feel larger and more cohesive. From a practical standpoint, hexagon tiles are great for floors because the many grout lines provide extra grip, even when wet. They also hide minor imperfections in the subfloor better than larger tiles, which is a nice bonus for older homes.
Choosing The Right Grout
Grout color can make or break a hexagon tile installation. For a seamless, neat look, pick a grout that matches the tile color closely. This helps the pattern blend together, creating a smooth, unified surface.
If you prefer a bit more contrast, go with a slightly darker grout to hide dirt and stains, but keep it subtle to avoid a busy look. Using a high-quality, epoxy-based grout in wet areas is a smart move. It resists moisture and stains better than traditional cement-based grout, so your shower stays cleaner with less effort.
And remember to seal the grout regularly to keep it looking fresh.
Placement Ideas: Floor, Wall, Or Accent
You don't have to cover every surface with hexagons to get the benefit. A full hexagon floor is a classic choice that adds texture underfoot. For a more subtle approach, use hexagon tiles on just the shower floor and pair them with larger tiles on the walls.
This creates a clean contrast and keeps the focus on the floor. Another idea is to add a hexagon accent strip on the wall, either horizontally at eye level or as a vertical band in the corner. This adds a touch of pattern without making the whole shower feel busy.
You can also use hexagons to line a niche or shelf, which ties the design together beautifully.
5. Contrasting Grout to Define a Pattern
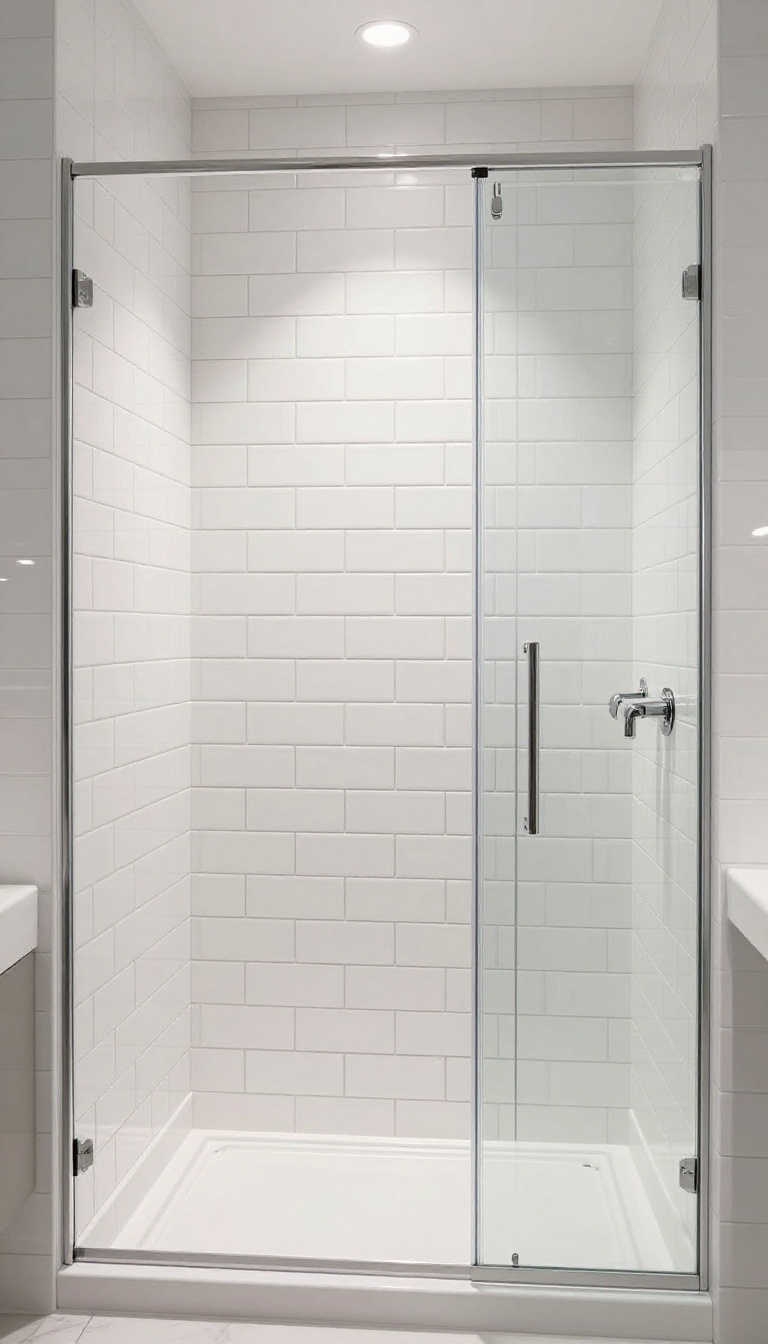
Grout often takes a back seat in tile design, but it can be a powerful tool. By choosing a grout color that contrasts with your tiles, you can highlight the shape and layout of the tile itself. This trick works especially well with subway or geometric tiles, adding visual depth without spending extra on premium materials.
When you pick a grout color that stands out, the lines between tiles become a deliberate design feature. A dark grout with white subway tiles creates a classic, crisp look. Conversely, a light grout with dark tiles can make the pattern feel airy and modern.
The key is to keep the grout lines thin—usually around 1/8 inch—so the contrast stays sharp and doesn't overwhelm the space.
Dark Grout On Light Tiles
Dark charcoal or espresso grout with white or light gray tiles gives a bold, graphic look. It defines each tile clearly, making the pattern pop. This combo also hides dirt and soap scum better than light grout, which is a practical bonus in a shower.
Light Grout On Dark Tiles
If your tiles are dark, like navy or slate, a white or off-white grout creates a striking contrast. It lightens the overall feel and draws the eye to the tile shape. Just be prepared for more frequent cleaning, as light grout shows stains more easily.
Matching Grout For A Seamless Look
Not every shower needs contrast. If you prefer a smooth, monolithic look, choose grout that closely matches your tile color. This works well with large-format tiles or natural stone, making the surface appear continuous and minimizing visual clutter.
6. Wood-Look Tiles for Warmth Without the Worry
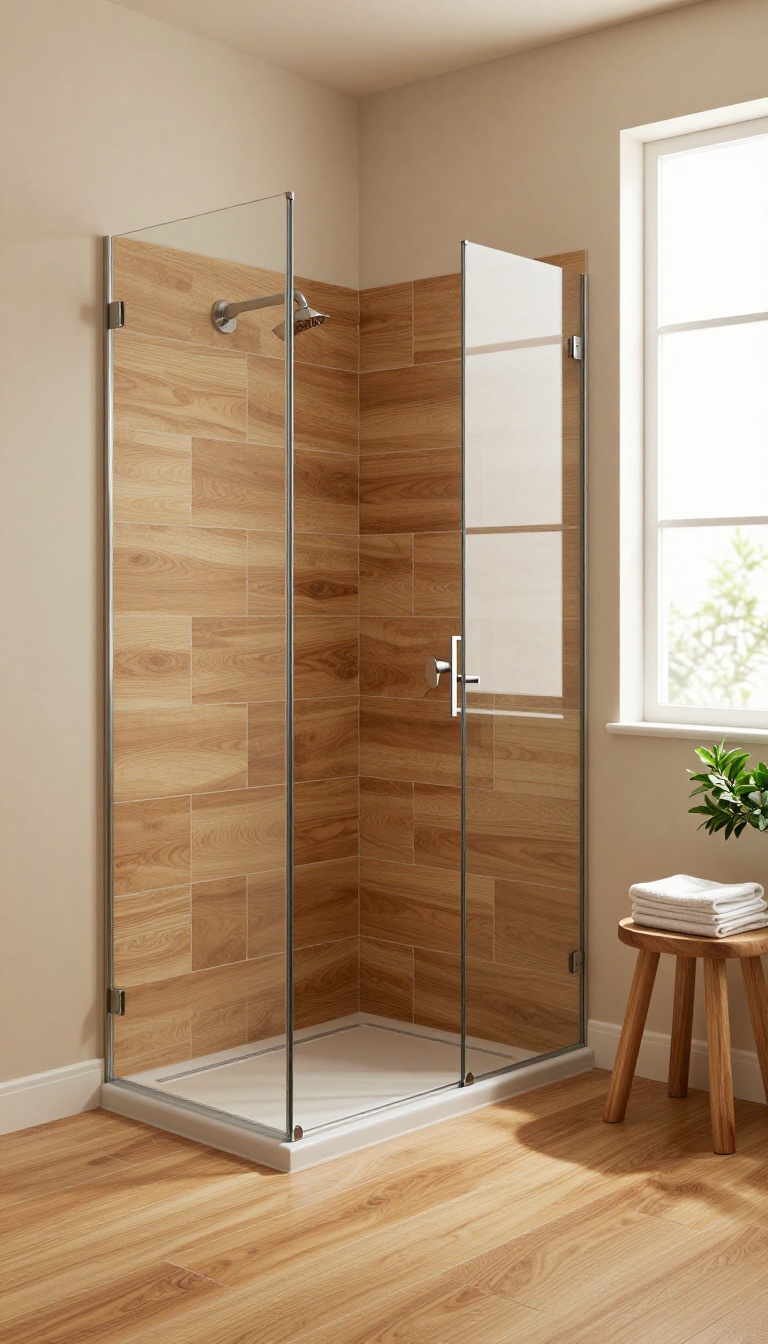
Real wood in a shower sounds cozy, but it's a maintenance nightmare. Warping, staining, and constant sealing make it impractical. Wood-look porcelain planks give you that warm, organic feel without any of the hassle.
These tiles are designed to mimic the grain and texture of natural wood, but they're completely waterproof. They're also more durable and easier to clean than real wood, making them a smart choice for a busy bathroom. Plus, they pair beautifully with modern fixtures and earthy tones.
Wood-look tiles bring a natural, spa-like vibe to your shower. They're available in a range of shades, from light oak to rich walnut, so you can match your style. The key is to choose a matte finish with subtle texture to avoid a slippery surface.
Pair them with a linear drain to keep the floor clean and visually seamless. This combination not only looks neat but also makes water drainage more efficient.
Why Choose Porcelain Planks?
Porcelain planks are the go-to for wood-look tiles because they're dense, low-porosity, and highly resistant to moisture. Unlike real wood, they won't swell, crack, or fade. They're also scratch-resistant, so they can handle daily use without showing wear.
Look for tiles with a rectified edge for tighter grout lines, which enhances the clean, modern look.
Best Layouts For A Seamless Look
For a clean, continuous appearance, use a straight or staggered layout. A running bond pattern mimics traditional hardwood flooring and works well in most showers. If you want to make the space feel longer, lay the planks horizontally.
For a more dynamic look, consider a herringbone pattern, but keep in mind it may require more cuts and waste.
Grout And Maintenance Tips
Choose a grout color that blends with the tile to minimize visible lines. Use a darker grout for contrast or a matching shade for a seamless effect. Epoxy grout is a great choice because it's stain-resistant and won't need sealing.
To keep the tiles looking fresh, wipe them down after each use and use a mild cleaner weekly. Avoid harsh abrasives that could dull the finish.
7. Niche and Shelf Integration with Matching Tiles
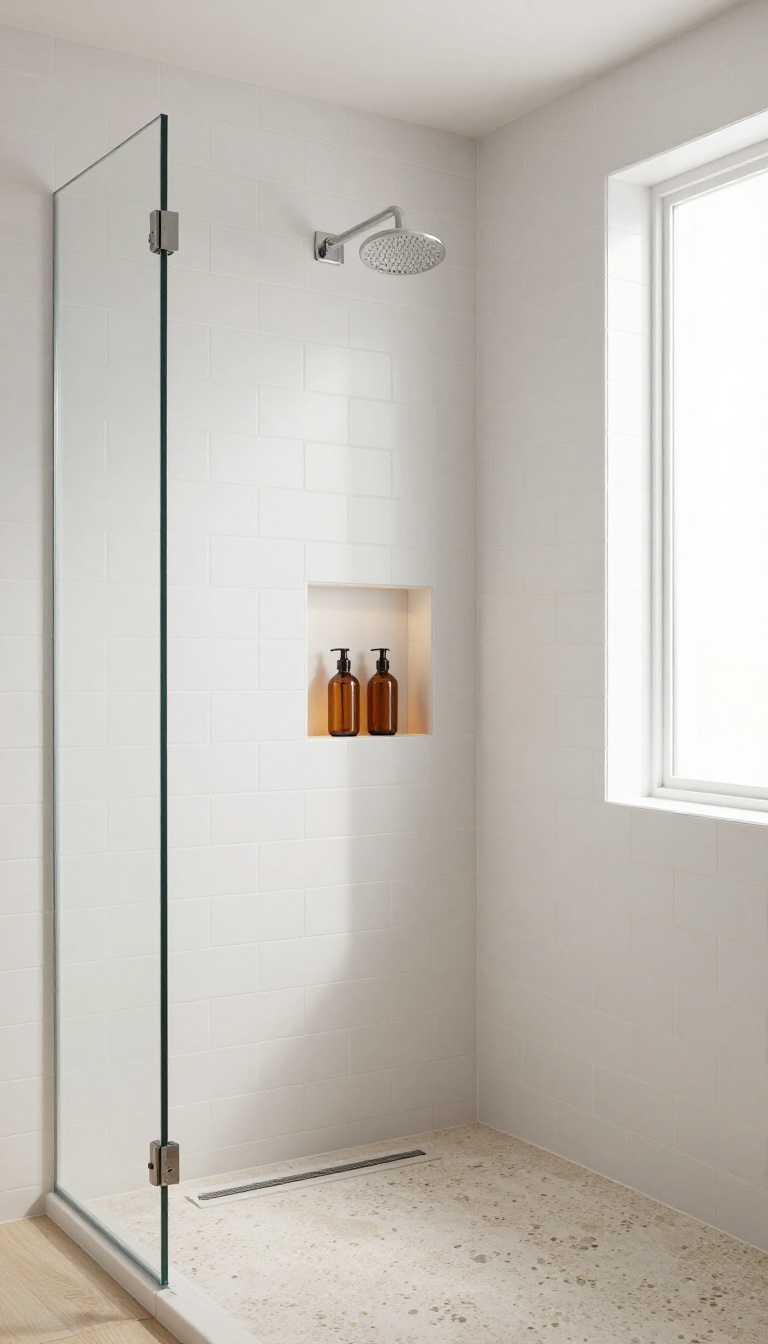
A recessed niche is one of those upgrades you don't think about until you're juggling bottles in a slippery shower. When it's built with the same tile as the surrounding wall, it disappears into the design, making the space feel cleaner and more put-together. This trick isn't just about looks—it also gives you a designated spot for shampoo and soap, which cuts down on clutter and keeps everything within easy reach.
Matching the niche tile to the wall creates a seamless look that feels intentional and uncluttered. You avoid the visual break that comes with a contrasting insert, which can make a small bathroom feel busy. Plus, using the same tile means you won't have leftover pieces that don't match, and the installation is simpler for your tiler.
The result is a functional shelf that blends in so well, you might forget it's there until you need it.
Why Matching Tiles Work
When the niche uses the same tile as the wall, the eye isn't drawn to a sudden change in pattern or color. This is especially helpful in compact showers where too many visual elements can make the space feel cramped. It also gives the shower a custom, built-in feel—like the niche was always part of the plan, not an afterthought.
And because you're not introducing a new material, there's less risk of clashing with your overall design.
Placement And Size Tips
Think about where you naturally reach for things. A niche around chest height is comfortable for most people, and making it slightly larger than your tallest bottle avoids that annoying 'just doesn't fit' moment. If you're tiling a new shower, plan the niche placement so it lines up with the grout lines of the wall tile—this keeps the pattern continuous and neat.
For existing showers, a retrofitted niche is possible, but it's best to consult a pro to ensure waterproofing is done right.
Styling Your Niche
Once your niche is in, keep it tidy with a few simple touches. Use matching or clear bottles to avoid visual clutter, and consider adding a small floating shelf inside if you need extra storage. You can also add a subtle accent by using a contrasting tile on the back wall of the niche, but if you're after that seamless look, stick with the same tile.
A slim shelf or a small plant can add a touch of life without overwhelming the space.
8. Zellige-Style Tiles for Handcrafted Charm
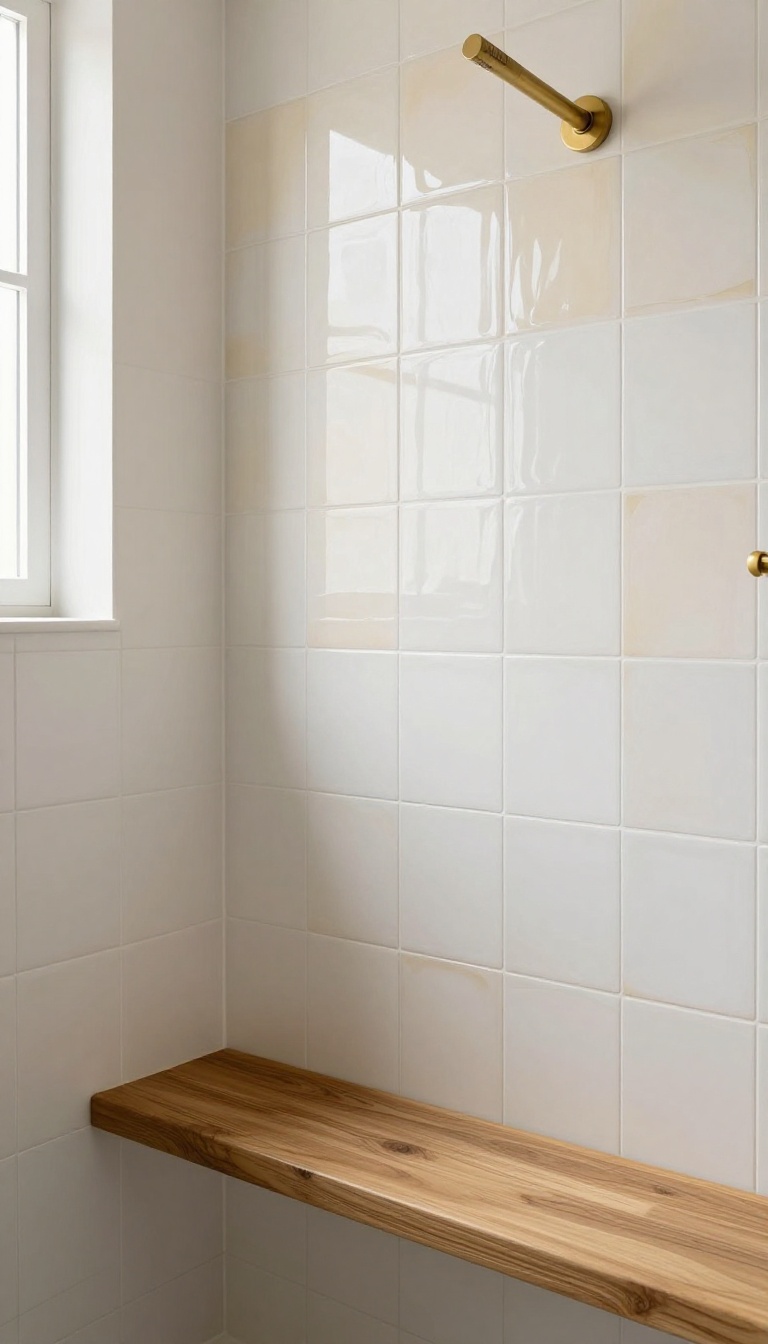
If you're craving texture and warmth in your shower, zellige tiles bring that handmade, artisanal feel without trying too hard. Their glossy, slightly uneven surface catches light in a way that flat tiles can't, adding depth and character to even the smallest nook. The subtle variations in color and shape are part of their charm, but they also serve a practical purpose: those tiny irregularities help hide soap scum and water spots, so your walls stay looking fresh longer.
Zellige tiles are a fantastic choice for creating a focal point in your shower. Because they're so visually rich, it's best to use them on a single accent wall or in a niche rather than covering every surface. This lets the tiles shine without making the space feel busy or overwhelming.
Plus, you'll save money and reduce the risk of the look becoming too much.
Why Zellige Works In A Shower
Zellige tiles are naturally water-resistant and durable, making them perfect for wet areas. Their glazed finish adds a layer of protection against moisture, and the slight undulations in the surface help break up the visual monotony that flat tiles can have. They also reflect light beautifully, which can make a small shower feel brighter and more open.
Where To Place Them
For a balanced look, consider using zellige tiles on the wall behind your shower bench or on the main wall opposite the entry. You can also use them to line a recessed shelf or niche, adding a pop of texture without going overboard. If you're feeling bold, you could do a full wall, but keeping it to one area usually looks more intentional.
Grout And Color Choices
When it comes to grout, choose a color that blends with the tiles to keep the focus on their texture. White or cream grout works well with classic white or ivory zellige, while a darker grout can create a more dramatic, grid-like effect. For a subtle contrast, pick a grout that's slightly darker than the tile color—this helps hide dirt and keeps the wall looking clean.
9. Checkerboard Floor for a Classic, Bold Statement
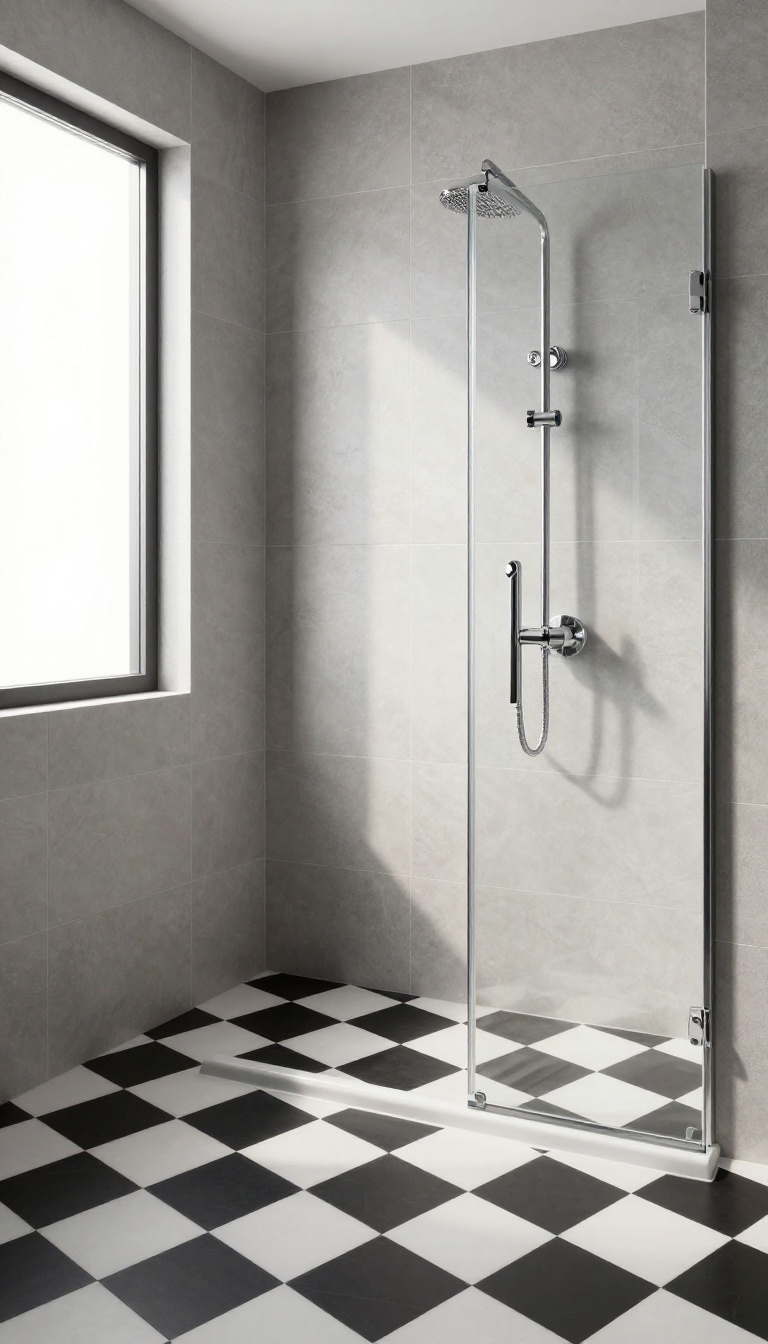
Black and white checkerboard tiles on the floor give a retro yet timeless look. Choose matte finishes for safety, and keep the walls simple to balance the pattern. This idea works especially well in smaller showers, where the bold pattern adds depth without overwhelming the space.
A checkerboard floor is a bold move that pays off. The high-contrast pattern instantly draws the eye and makes the shower feel more dynamic. It’s also surprisingly versatile—you can go classic with black and white or soften it with gray and cream.
The key is to let the floor be the star, so keep the walls neutral and let the pattern shine.
Pick The Right Tile Size
Large checkerboard squares (like 12×12 inches) create a more modern, spacious feel, while smaller tiles (like 4×4 inches) give a vintage, almost diner-like vibe. For a shower floor, smaller tiles also mean more grout lines, which improve traction. Just make sure the tile is rated for floors—glossy wall tiles can get slippery when wet.
Balance The Walls
With such a busy floor, your walls need to stay calm. Solid white, soft gray, or light beige tiles are safe bets. You can add subtle texture with a subway tile or a large-format porcelain, but avoid bold patterns or bright colors.
The goal is to create a visual anchor without making the space feel chaotic.
Grout Color Matters
Grout color can make or break the checkerboard effect. White grout with black tiles creates a crisp, high-contrast look, but it shows dirt quickly. Dark gray or charcoal grout is more forgiving and still looks sharp.
If you want a softer look, use a warm cream grout with muted tiles—it’s easier to maintain and feels more spa-like.
10. Vertical Accent Strip for a Pop of Color
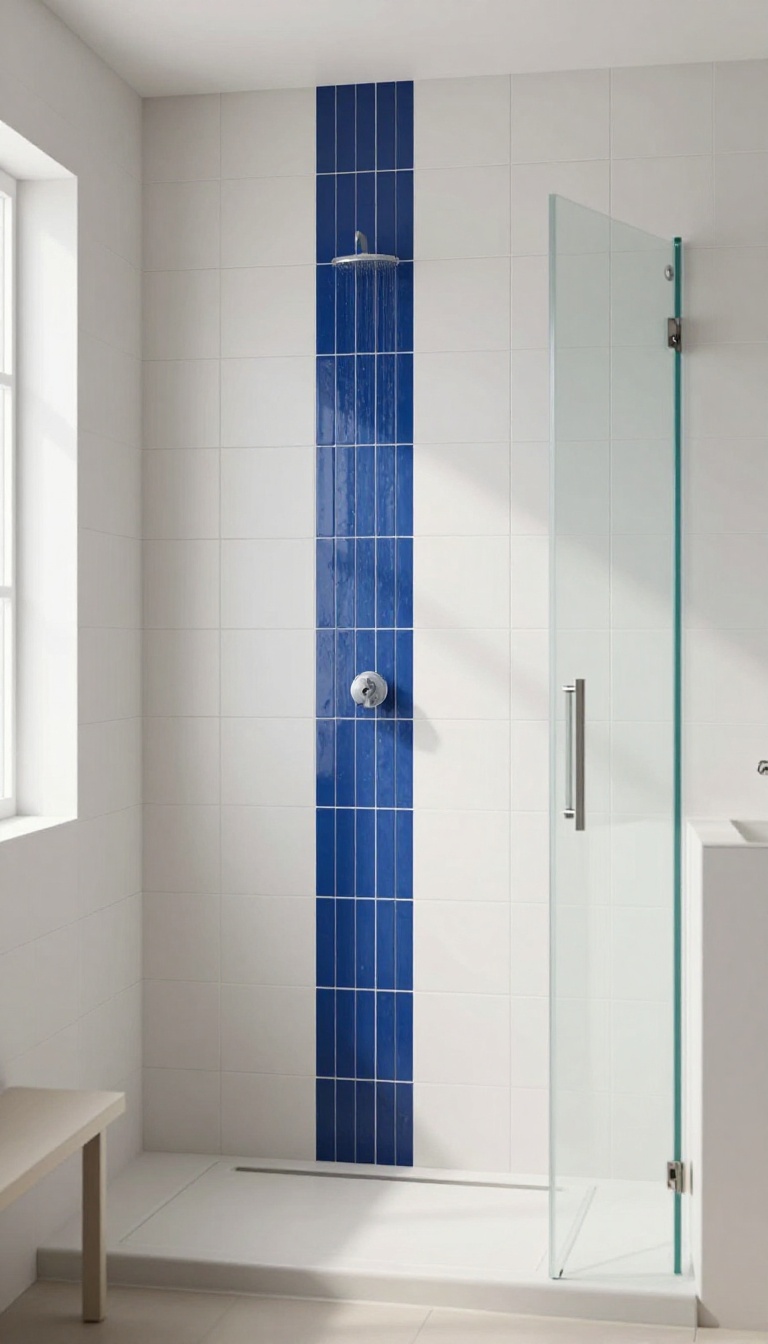
Sometimes you want a splash of color without committing to an entire wall of bold tiles. A vertical accent strip offers that perfect middle ground. It draws the eye upward, making the shower feel taller, and it’s a budget-friendly way to add personality.
Instead of a full accent wall, a single vertical strip of colorful or patterned tiles can break up a neutral field without overwhelming the space. This approach works well in small showers where a bold wall might feel too busy. Plus, it’s a smart way to use leftover tiles from another project or to experiment with a trend without a big investment.
Placement That Flatters
The strip’s position changes the room’s feel. Centering it behind the showerhead creates a focal point, while off-centering it near the edge adds a subtle asymmetry that feels modern. For a taller look, run the strip from floor to ceiling.
If you want to highlight a niche or bench, align the strip with that feature.
Color And Pattern Choices
Go bold with a saturated color like deep blue or terracotta, or keep it subtle with a soft pastel. Patterned tiles, such as geometric or Moroccan-inspired designs, add texture without overwhelming. If you’re unsure, pick a color that appears elsewhere in the bathroom, like in the vanity or towels, to tie the space together.
Grout And Finishing Details
Use grout that contrasts with the accent strip to make it stand out, or match it to the field tiles for a more seamless look. For a clean finish, ensure the strip is flush with the surrounding tiles. Also, consider the strip’s width—a narrow 2-inch strip is subtle, while a 6-inch strip makes a stronger statement.
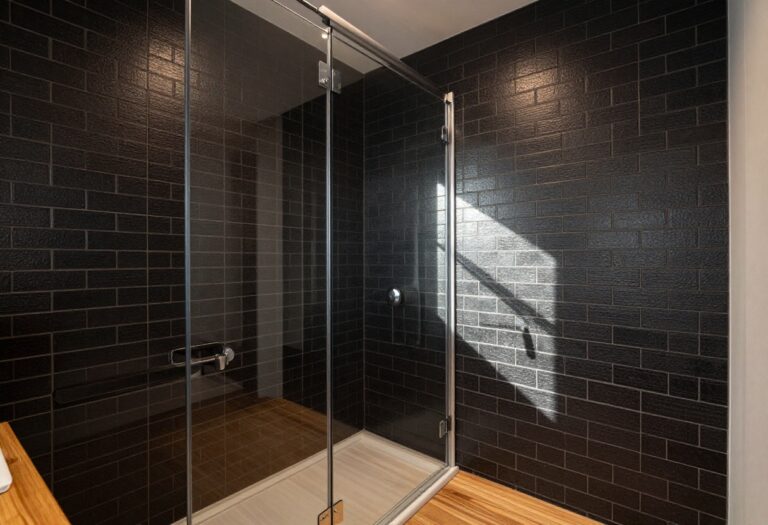
11. Matte Black or Charcoal for a Moody, Modern Vibe
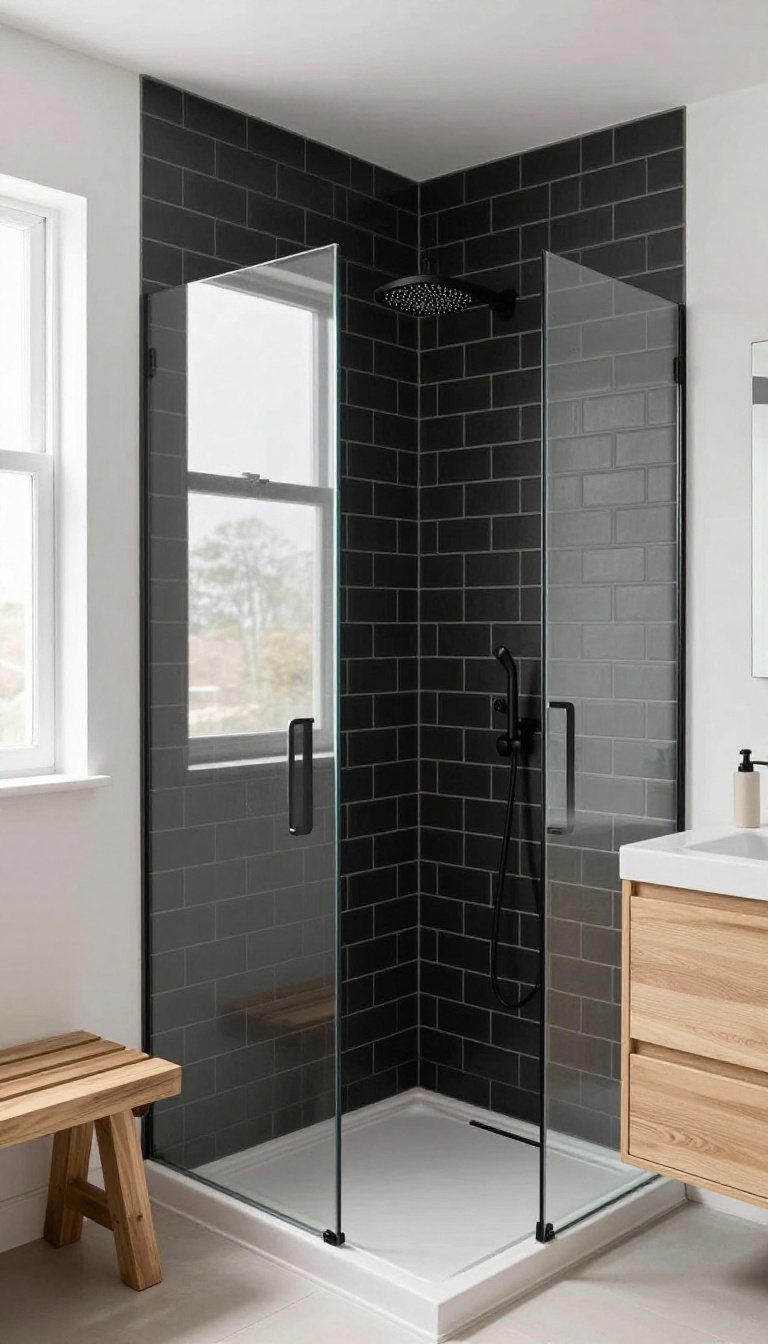
Dark tiles bring a bold, dramatic feel to a shower, turning it into a sleek retreat. The deep tones add depth and a touch of luxury, while the matte finish keeps things understated and easy to live with. Many people worry that dark tiles will show every water spot, but matte surfaces actually hide hard water stains and soap scum better than glossy ones.
Using matte black or charcoal tiles on one wall or the floor creates a striking focal point without overwhelming the space. Pair them with light grout to make the tile shape pop and add a crisp contrast. Dark tiles work well with brass or chrome fixtures, giving you flexibility in hardware choices.
They also make a small shower feel more intimate and cozy, while a larger bathroom gains a sophisticated edge.
Where To Use Dark Tiles
A full wall of matte black subway tile behind the shower bench or along the back wall adds drama without making the room feel like a cave. For a more subtle approach, use charcoal tiles only on the floor, keeping the walls light. This grounds the space and adds contrast without overwhelming.
If you're bold, go for a dark ceiling or a dark niche to create a unique accent.
Pairing With Grout And Fixtures
Light gray or white grout with dark tiles creates a clean, defined grid that highlights the tile shape. Dark grout blends everything together for a seamless look, which is great if you want a more uniform finish. For fixtures, matte black or brushed nickel complement the dark tiles, while brass adds a warm, trendy contrast.
Choose one metal finish and stick with it to keep the design cohesive.
Maintenance And Practicality
Matte finishes are more forgiving than glossy ones—they don't show every water drop or fingerprint. Dark colors hide soap scum and hard water stains better than light tiles, so you won't be scrubbing as often. Use a squeegee after each shower to keep the surface looking fresh, and clean with a mild, non-abrasive cleaner to avoid damaging the matte finish.
FAQ
What is the best tile size for a small shower?
Large-format tiles (12×24 or larger) work best in small showers because they minimize grout lines, making the space feel bigger and easier to clean.
How can I make my shower tiles look neat and clean?
Choose matte or textured finishes that hide water spots, use a grout color that blends with the tile, and seal grout properly. Regular wiping with a squeegee also helps.
Are dark shower tiles a good idea?
Yes, dark tiles can look stunning and hide soap scum well. Just ensure good lighting and use a lighter grout to define the tiles and prevent a cave-like feel.
What is the most slip-resistant tile for a shower floor?
Small mosaic tiles (like hexagons) or textured porcelain tiles with a matte finish offer the best slip resistance. Avoid large glossy tiles on the floor.
How do I incorporate a niche without it looking messy?
Use the same tile as the surrounding wall inside the niche, and keep the depth shallow. Add a shelf or two to organize bottles neatly.
Conclusion
Picking the right shower tile is about balancing what looks good with what works for your daily routine. Start with one idea that solves a practical need—like easier cleaning or more visual space—and build from there. Even a single accent wall or a clever layout change can shift the whole feel of the room.
Take your time comparing finishes, textures, and patterns against your actual bathroom conditions. The best choice is the one that feels right when you step in every morning. Trust your instincts, keep the maintenance realistic, and enjoy the process of making the space truly yours.