23 House Cleaning Tips for Dust, Clutter, and Grime
Dust settles, clutter multiplies, and grime builds up faster than you'd like. You don't need harsh chemicals or hours of scrubbing to keep your home fresh. A few smart strategies can make cleaning quicker and more effective.
Start with the right tools and a plan that targets problem areas first. Small daily habits prevent big messes later. These 23 tips cover everything from dusting tricks to grime-busting solutions.
Whether you're a cleaning novice or a seasoned pro, there's something here to simplify your routine. Let's dive into the tips that will change how you clean.
1. Microfiber Magic: The Best Dusting Tool
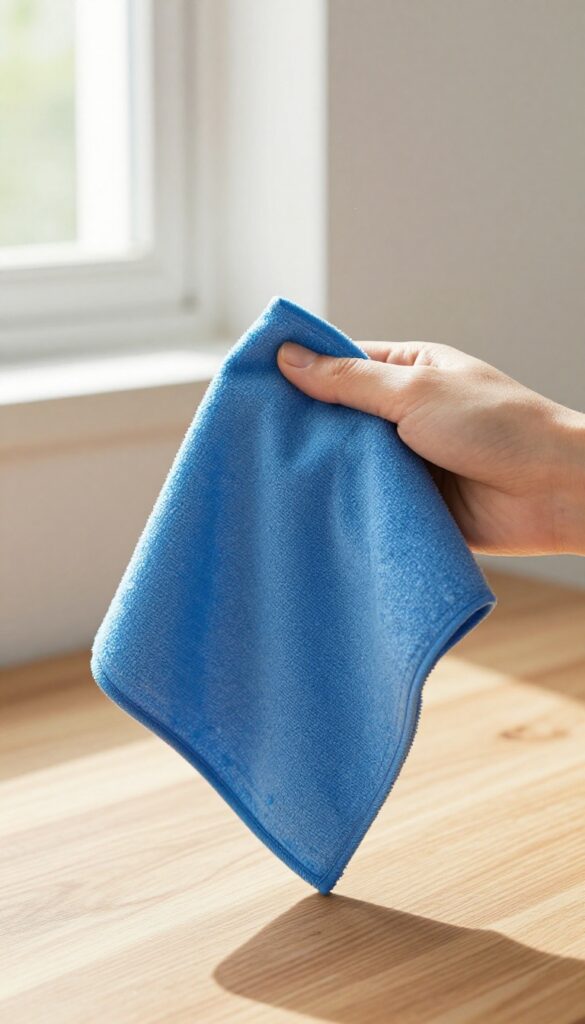
Not all dusting tools are created equal. Feather dusters and old rags often just move dust from one surface to another. Microfiber cloths are different—they actually trap and hold dust particles, leaving surfaces truly clean.
Microfiber cloths are made of ultra-fine synthetic fibers that create a static charge, attracting dust like a magnet. When used slightly damp, they pick up even more dust and grime. Wash them separately from cotton towels to prevent lint transfer, and avoid fabric softener, which clogs the fibers and reduces effectiveness.
Why Microfiber Works So Well
The split fibers in microfiber create tiny hooks that grab dust, pollen, and even bacteria. A dry cloth lifts loose dust, while a damp one traps stubborn particles. This makes microfiber ideal for electronics, blinds, and delicate surfaces.
How To Use Microfiber Correctly
Fold the cloth into quarters so you have multiple clean sides. Wipe in straight lines rather than circles to avoid redistributing dust. Rinse or swap to a fresh side when it gets dirty.
For best results, use a dedicated microfiber cloth for dusting only.
Caring For Your Microfiber Cloths
Wash microfiber in warm water with mild detergent. Never use bleach or fabric softener. Air dry or tumble dry on low heat.
Proper care keeps them effective for hundreds of washes.
2. Top-to-Bottom Rule: Clean in the Right Order
Ever finished dusting a shelf only to have crumbs fall onto a freshly cleaned floor? That's the top-to-bottom rule in action—or rather, ignored. Cleaning from the highest point in the room down to the floor prevents you from re-dirtying surfaces you've already tackled.
It's a simple shift in order that saves time and effort.
Start with ceiling fans and light fixtures, then move to shelves and picture frames. Wipe down furniture surfaces next, and finish with the floor. This way, any dust or debris that falls lands on areas you haven't cleaned yet—or will clean last.
It's logical, efficient, and keeps you from doing double work.
Why High To Low Works
Gravity is your cleaning ally. When you dust a ceiling fan, particles drift down to the floor. If you've already vacuumed, you'll have to vacuum again.
By saving floors for last, you capture all the fallout in one go. The same logic applies to walls: wipe baseboards after you've dusted above them.
Applying It Room By Room
In the kitchen, start with cabinet tops and range hoods, then countertops, and finally the floor. In the bedroom, begin with ceiling corners and light fixtures, then furniture surfaces, and vacuum last. This method works in any space and reduces the need to re-clean.
Tools That Help You Go Top-down
Use an extendable duster for high ceilings and fans. A microfiber cloth on a pole works for shelves and blinds. For floors, a vacuum with attachments or a microfiber mop picks up everything that's landed.
Having the right tools makes the top-to-bottom order seamless.
3. Declutter Before You Clean
You can't clean around clutter. It just gets in the way and makes dusting and wiping take twice as long. Spend five minutes clearing surfaces before you start, and you'll zip through the rest.
Why It Matters
Clutter traps dust and makes every cleaning task harder. A clear surface means you can wipe everything in one smooth motion. Plus, you won't have to move knick-knacks around or accidentally knock them over.
The 5-minute Tidy
Set a timer and quickly put away anything that doesn't belong on the surface. Magazines go in a rack, remote controls in a basket, and loose change in a jar. Don't overthink it—just clear the way.
What To Do With The Pile
Grab a laundry basket or a tote bag and toss in everything you removed. Keep it out of the room you're cleaning. Once you're done, put each item back in its proper home.
This keeps you from getting sidetracked.
Maintain The Habit
Make decluttering a daily routine. Spend a few minutes each evening clearing surfaces. That way, when cleaning day comes, you're already halfway there.
4. The 10-Minute Daily Reset
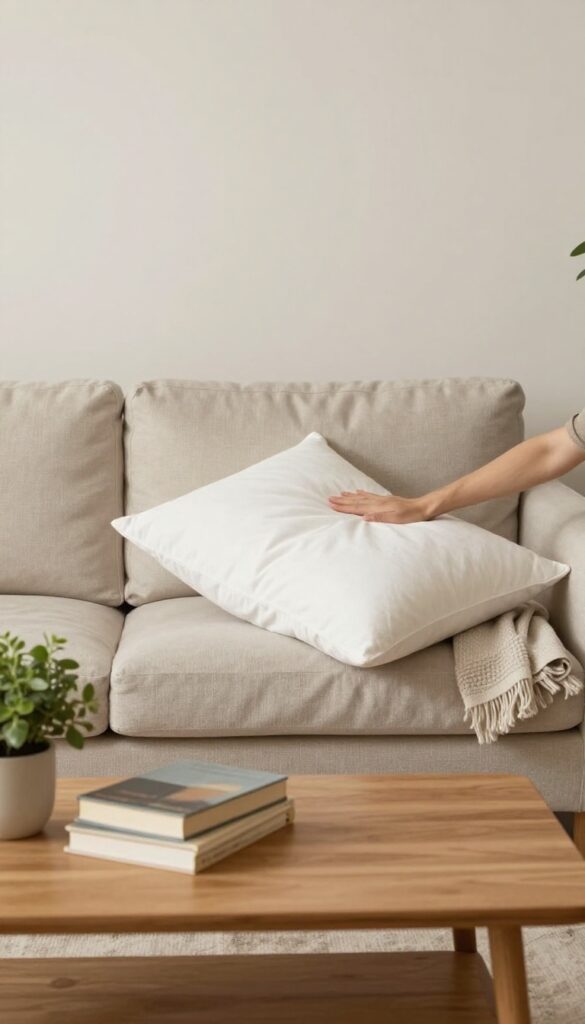
Evenings can feel chaotic after a long day, but spending just ten minutes tidying up makes a big difference. This short reset stops mess from snowballing and keeps your home feeling calm. It's not a deep clean—just a quick sweep to put things back where they belong.
Why It Works
A little effort each day prevents the buildup of clutter that makes weekend cleaning overwhelming. By resetting daily, you maintain a baseline of order without burning out. This habit also trains your brain to notice and correct messes quickly.
What To Focus On
Target high-traffic areas like the living room and kitchen. Fluff pillows, fold blankets, clear counters, and put away stray items. Don't worry about scrubbing or organizing—just clear surfaces and straighten up.
How To Stick With It
Set a timer and make it a non-negotiable part of your evening routine. Involve family members by assigning quick tasks. Over time, the ten-minute reset becomes automatic and feels less like a chore.
5. Use a Squeegee on Carpets
Pet hair and deep-seated dirt can be stubborn on carpets. A window squeegee offers a quick fix. It lifts debris from the fibers, making vacuuming more effective.
This trick works on both low-pile and plush carpets.
Running a squeegee across your carpet pulls up hair and grime that vacuums miss. It's especially useful for high-traffic areas and homes with pets. Use a dry squeegee and work in one direction to gather debris into piles, then vacuum them up.
This method saves time and reduces wear on your vacuum.
Why It Works
The rubber blade creates static and friction, loosening embedded particles. It's gentle on carpet fibers but aggressive on dirt. You'll see immediate results, especially on pet hair.
Step-by-step
Start at one end of the room. Pull the squeegee toward you in long, even strokes. Overlap each pass slightly.
After covering the area, use a vacuum to pick up the piles. For best results, do this before vacuuming.
When To Use This
Use it weekly in high-traffic zones or after pets have been inside. It's also great before deep cleaning or shampooing. Avoid on very delicate or looped carpets without testing first.
6. Vinegar and Water: All-Purpose Grime Buster
White vinegar is one of those cleaning heroes hiding in plain sight. Mixed with water, it becomes a simple spray that handles kitchen grease, bathroom soap scum, and even hard water stains. No harsh chemicals needed, just a pantry staple that costs pennies per use.
The magic happens when you mix equal parts white vinegar and water in a spray bottle. Shake it up, and you've got a cleaner that cuts through grime without leaving toxic residues. It works on countertops, sinks, shower doors, and even windows.
Just avoid using it on natural stone or waxed floors, as the acid can damage those surfaces.
Why It Works So Well
Vinegar's acetic acid breaks down grease and dissolves mineral deposits like hard water stains and soap scum. It's also a natural disinfectant, killing many common household bacteria. Unlike commercial cleaners, it's safe around kids and pets, and it won't harm the environment.
Best Ways To Use It
Spray directly on greasy stovetops or microwave interiors, let it sit for a few minutes, then wipe clean. For shower doors, spray and scrub with a sponge to remove soap scum. To tackle hard water stains on faucets, soak a cloth in the solution and wrap it around the fixture for 15 minutes before wiping.
Pro Tips For Better Results
Add a few drops of essential oil, like lemon or tea tree, to mask the vinegar smell and boost cleaning power. For tough grime, heat the vinegar solution in the microwave (just 30 seconds) before spraying—warm vinegar works faster. Always test on a small hidden area first, especially on painted surfaces.
7. Baking Soda for Stubborn Stains
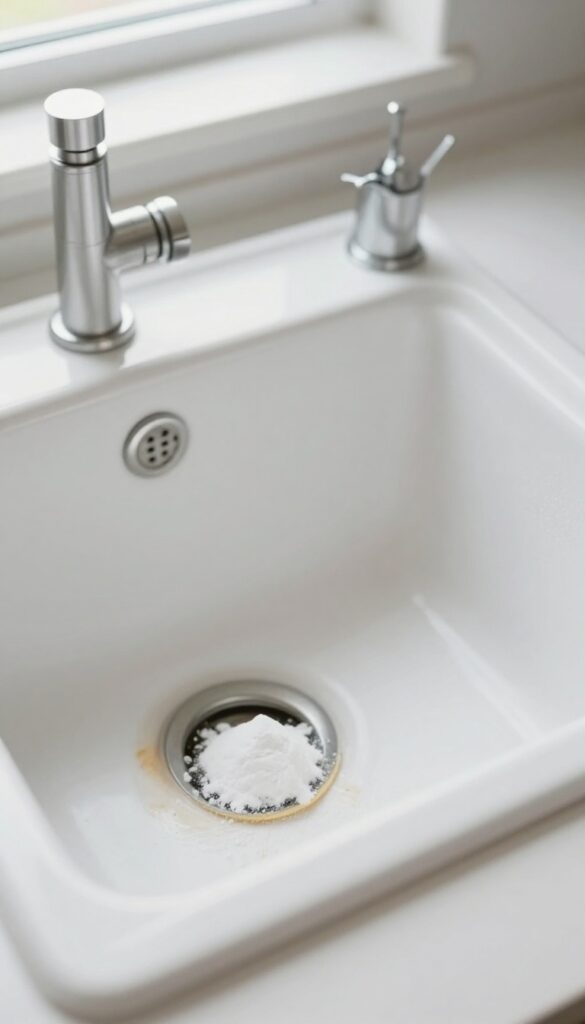
Baking soda isn't just for cookies. This gentle abrasive tackles grease, grime, and odors without scratching surfaces. It's cheap, non-toxic, and works wonders on stubborn stains around the house.
Greasy Stovetops
Sprinkle baking soda over the cooled stovetop, especially on burnt-on food. Let it sit for 15 minutes to absorb grease. Then scrub with a damp sponge—no harsh chemicals needed.
Wipe clean with a wet cloth.
Stained Sinks
For coffee or tea stains in ceramic sinks, make a paste of baking soda and water. Apply it to the stains, let it sit for 10 minutes, then scrub gently. Rinse thoroughly.
Your sink will look brighter.
Mattress Freshening
Sprinkle a generous layer of baking soda over your mattress. Let it sit for at least 15 minutes (longer for odors). Vacuum it up using the upholstery attachment.
This absorbs moisture and neutralizes smells.
8. Clean Your Tools Regularly
Your cleaning tools work hard, but they can also become a source of grime if neglected. Dirty mops and sponges spread bacteria instead of removing them. A quick cleaning routine for your gear ensures every swipe actually sanitizes.
Wash Mop Heads In Hot Water With Bleach
Mop heads trap dirt and moisture, creating a breeding ground for germs. After each use, rinse the mop head thoroughly, then soak it in hot water mixed with a splash of bleach for about 10 minutes. Rinse again and let it air dry completely before storing.
This kills bacteria and prevents musty odors.
Sanitize Sponges In The Microwave
Sponges harbor more bacteria than you'd think. To sanitize, wet the sponge thoroughly and microwave it on high for one minute. Make sure the sponge is damp to avoid fire risk.
Let it cool before handling. Replace sponges every two weeks for best results.
Don't Forget Microfiber Cloths And Vacuum Filters
Microfiber cloths lose effectiveness when caked with dust. Wash them separately in warm water with mild detergent—no fabric softener, as it clogs the fibers. Vacuum filters need regular cleaning too; tap out debris or rinse if washable.
A clean filter keeps suction strong and air fresh.
9. Lint Roller for Lampshades and Upholstery
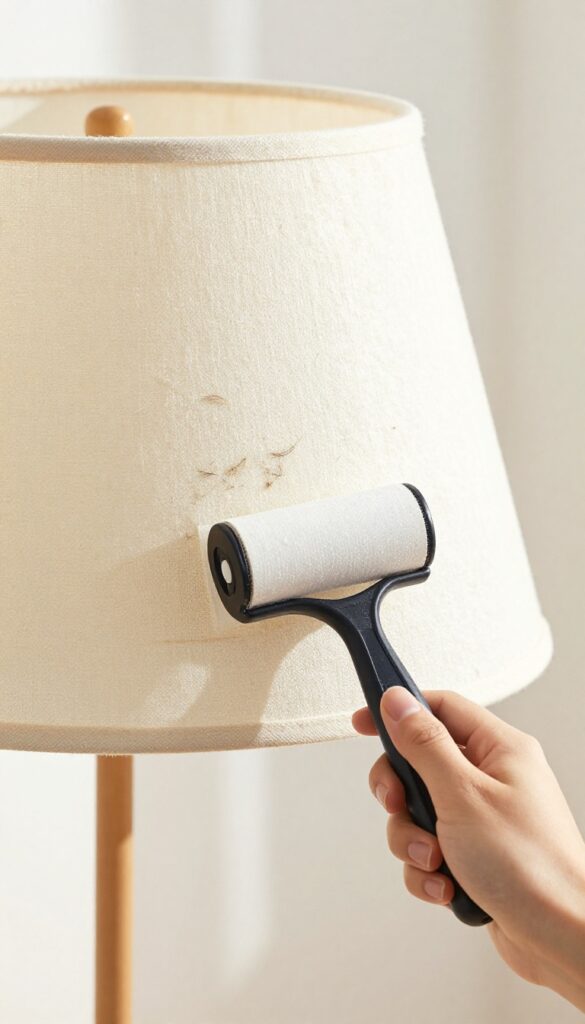
Fabric lampshades and upholstery are notorious for trapping dust and pet hair. Instead of wrestling with a vacuum attachment or damp cloth, grab a lint roller. It’s a fast, low-effort way to refresh these surfaces without any water or chemicals.
Keep a lint roller in your living room, bedroom, and home office so you can grab it whenever you spot dust or fur. Roll it over lampshades, sofa cushions, curtains, and even fabric headboards. The sticky sheets lift particles that a dry cloth might just push around.
When the sheet loses tackiness, simply peel it off and continue. It’s also great for cleaning ceiling fan blades if you attach the roller to an extendable duster.
Best Lampshade Types For Lint Rolling
Fabric shades—like linen, cotton, or polyester blends—respond beautifully to a lint roller. Avoid using it on delicate silk or antique shades; the adhesive could damage them. For pleated or ruffled shades, roll in the direction of the folds to avoid snagging.
Upholstery Touch-ups Between Deep Cleans
A lint roller isn’t just for pet hair. Use it to pick up crumbs, lint, and dust from sofas and armchairs. It’s perfect for quick cleanups before guests arrive.
For larger areas, a wide lint roller (like the ones for clothing) covers more ground faster.
Lint Roller Maintenance Tips
Store lint rollers in a dry place to keep the adhesive fresh. If the roller picks up too much debris, replace the sheet. Some models have reusable sticky surfaces; just wash them with soap and water.
Keep one in your car too—it’s handy for cleaning fabric seats and dashboards.
10. The One-Minute Rule for Small Tasks
You know those tiny chores that take almost no time but somehow pile up until they become overwhelming? The one-minute rule is a simple mindset shift that stops that cycle. If a task can be done in sixty seconds or less, do it right away—no excuses, no postponing.
The beauty of this rule is that it prevents small messes from turning into big cleaning sessions. Wipe a counter after you use it, hang your coat when you walk in, or toss that junk mail straight into the recycling bin. These micro-actions take almost no effort but keep your home consistently tidy.
Over a week, you'll save hours of deep cleaning time because the daily grime never gets a chance to settle.
Where To Apply It
Focus on high-traffic areas and surfaces you use constantly. Kitchen counters, bathroom sinks, entryway tables, and your desk are prime spots. When you finish using something, ask yourself: can I put this away or clean it in under a minute?
If yes, just do it.
Building The Habit
Start small—pick one area, like the kitchen counter, and commit to the one-minute rule there for a week. You'll quickly notice how much cleaner it stays. Then expand to other zones.
The key is consistency, not perfection. Even if you only follow it half the time, you'll see a difference.
When To Skip It
The rule works best for quick tasks, but don't apply it blindly. If you're in the middle of something important or exhausted, it's okay to let a small task wait. The goal is to reduce clutter, not add stress.
Use common sense—if wiping the counter means you'll be late for a meeting, skip it.
11. Use a Dryer Sheet on Baseboards
Baseboards are dust magnets that seem to collect grime no matter how often you clean. A simple trick using a dryer sheet can cut down on that buildup significantly. The antistatic properties in the sheet repel dust, keeping your baseboards cleaner for longer.
After dusting or wiping down your baseboards, grab a used dryer sheet and run it along the surface. The sheet leaves behind a thin antistatic coating that prevents dust from settling as quickly. This small step can extend the time between deep cleans, making your routine more efficient.
Why It Works
Dryer sheets contain cationic surfactants that neutralize static charges. Dust particles are less likely to cling to surfaces treated with these compounds. The result is a repelling effect that keeps baseboards looking fresh for weeks instead of days.
Best Practices
Use a sheet that's already been through the dryer—it's still effective but less likely to leave residue. For stubborn grime, wipe the baseboard first with a damp cloth, then apply the dryer sheet. Avoid using fabric softener directly, as it can leave a sticky film.
Additional Uses
This trick works on other dust-prone surfaces like blinds, ceiling fans, and electronics. Just be cautious with screens or delicate finishes—test a small area first. The same antistatic effect can also reduce pet hair buildup on baseboards.
12. Vacuum in Slow, Overlapping Passes
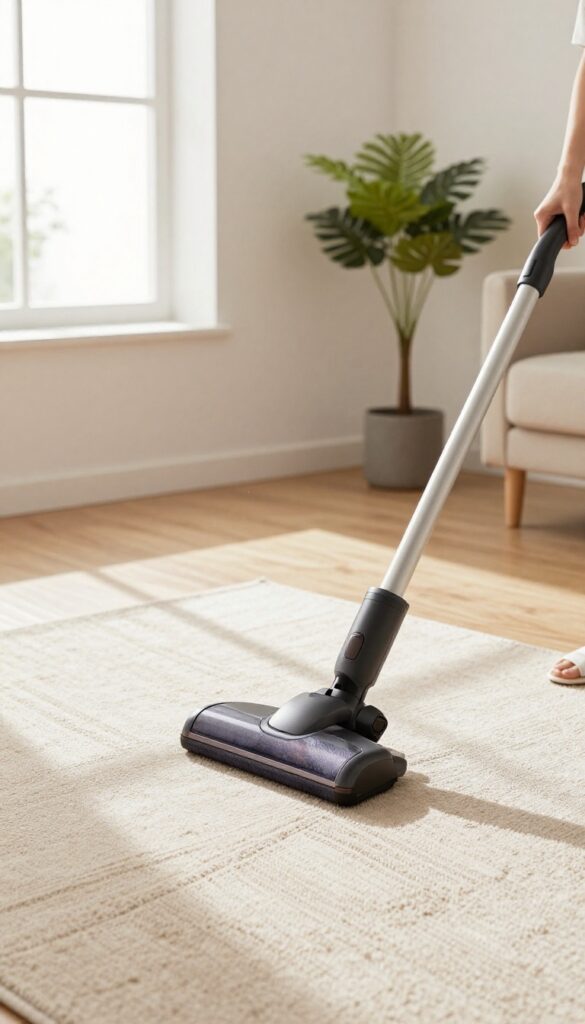
Most people rush through vacuuming, thinking speed equals efficiency. But when you move too fast, the vacuum doesn't have time to pull up embedded dirt and dust. The result is a carpet that looks clean but still holds plenty of debris.
Slowing down and overlapping each pass by a few inches makes a huge difference. This simple change ensures you pick up what you missed on the first go. Your floors will actually feel cleaner, and you won't have to vacuum as often.
Vacuuming in slow, overlapping passes is one of the easiest ways to improve your cleaning results without buying new equipment. The key is to move the vacuum at a pace that allows the brush roll and suction to agitate and lift dirt from carpet fibers. Overlap each stroke by about two to three inches to catch any stray particles.
This technique works for all floor types, but it's especially effective on carpets and rugs where dirt hides deeper.
Why Speed Matters
A vacuum cleaner needs time to create enough airflow and brush agitation to dislodge dirt. When you rush, the vacuum skims the surface, leaving behind fine dust and heavier debris. Slowing down gives the machine a chance to do its job properly.
You'll notice less dust in the air and a fresher smell after cleaning.
Overlap For Full Coverage
Even with a slow pace, you might miss spots if you don't overlap your passes. By overlapping each stroke by a few inches, you ensure that every inch of carpet gets at least two passes. This is especially important in high-traffic areas where dirt gets ground in.
Overlapping also helps avoid visible lines or streaks on the carpet.
Adjust For Different Surfaces
Thick carpets need the slowest pace and the most overlap, while hard floors can handle a slightly faster speed. For area rugs, go even slower to prevent the vacuum from pulling at the edges. If your vacuum has adjustable height settings, set it correctly for the pile height to maximize suction and brush contact.
13. Dish Soap and Hydrogen Peroxide for Grout
Grout lines can be the grimiest part of any tile surface, but you don't need a commercial cleaner to make them look new. A simple paste of dish soap and hydrogen peroxide works wonders. The dish soap cuts through grease and dirt, while the hydrogen peroxide lifts stains and kills mold.
Mix equal parts dish soap and hydrogen peroxide to form a thick paste. Apply it directly to the grout lines, let it sit for 10 minutes, then scrub with an old toothbrush. Rinse with water and wipe dry.
The results are surprisingly bright.
Why This Combo Works
Hydrogen peroxide is a natural bleaching agent that breaks down organic stains, while dish soap is a surfactant that lifts dirt. Together, they create a gentle but effective cleaning paste that doesn't damage grout like bleach can.
Application Tips
Use a small brush or an old toothbrush to work the paste into the grout. Let it sit for at least 10 minutes, but not longer than 15 to avoid drying out. For stubborn stains, scrub a little extra before rinsing.
Safety And Storage
Keep hydrogen peroxide away from colored fabrics and surfaces, as it can bleach them. Store the mixture in a dark bottle if you want to keep it for later, but fresh is best. Always test on a small area first.
14. Keep a Cleaning Caddy for Each Floor
Running up and down the stairs for a forgotten spray bottle wastes time and energy. A simple solution is to keep a cleaning caddy on every level of your home. Stock each one with the same essentials so you can grab and go without hunting for supplies.
A cleaning caddy keeps your tools organized and portable. Choose a sturdy caddy with a handle and compartments to hold bottles, cloths, and brushes. For each floor, include an all-purpose cleaner, glass cleaner, microfiber cloths, a scrub brush, and disposable gloves.
You can also add floor-specific items like a dust mop refill or a bathroom cleaner. Label each caddy or use different colors to avoid mix-ups. Refill them as needed, and store them in a closet or under a sink for quick access.
What To Put In Your Caddy
Start with the basics: an all-purpose cleaner, a glass cleaner, microfiber cloths (at least three per caddy), a scrub brush, and gloves. Add a dusting spray and a small duster if you have hard surfaces. For bathrooms, include a toilet cleaner and a separate cloth.
For kitchens, add a degreaser. Keep it minimal—too many items make the caddy heavy and cluttered.
Where To Store Each Caddy
Place one caddy in a central spot on each floor—a hall closet, under the kitchen sink, or in a laundry room. For the upstairs, a linen closet or bathroom cabinet works well. The goal is to have the caddy within 10 steps of the main cleaning area.
Avoid storing them in the basement or garage, as that defeats the purpose.
How To Maintain Your Caddies
Check your caddies monthly. Replace empty bottles, swap out dirty cloths for clean ones, and toss any expired products. Wipe down the caddy itself if it gets grimy.
Keep a small checklist inside each caddy lid so you know what needs restocking. This habit ensures your caddies are always ready to use.
15. Use a Paintbrush for Tight Spaces
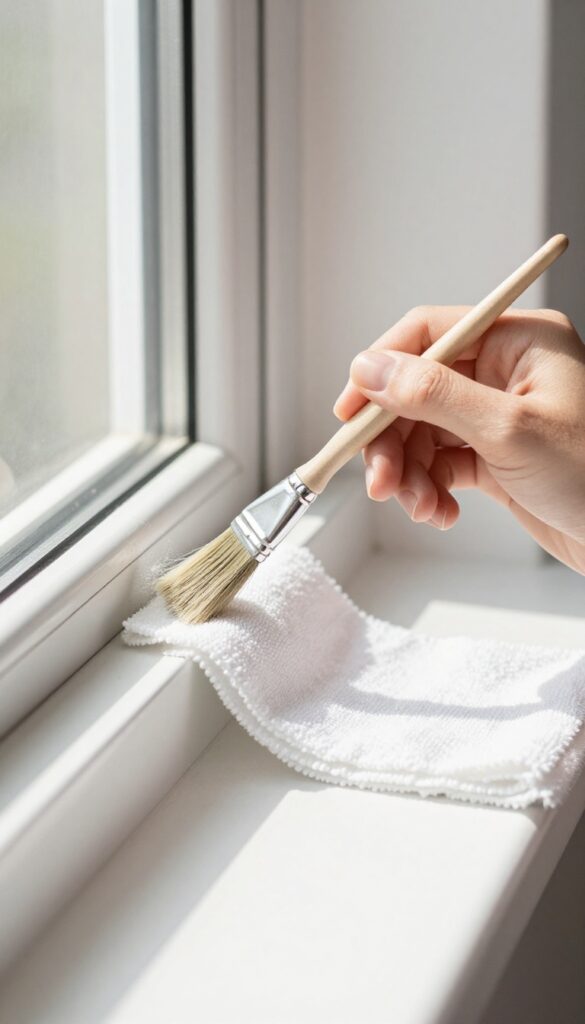
You don't need a fancy gadget to clean those awkward nooks. A simple paintbrush—the kind you'd use for trim work—can be your secret weapon for dusting tight spots. It's cheap, gentle, and surprisingly effective.
A small paintbrush reaches into window tracks, keyboard crevices, and baseboard corners. It flicks out dust without scratching surfaces. Keep one in your cleaning caddy for quick touch-ups.
Window Tracks And Sliding Doors
Window tracks collect a stubborn layer of dirt that vacuums can't reach. Use a dry 1-inch paintbrush to sweep debris into a pile, then vacuum it up. For sticky grime, dip the brush in soapy water and scrub gently.
Keyboard And Electronics
Dust settles between keys and along edges. A soft paintbrush dislodges crumbs and dust without risking damage. Hold the keyboard upside down while brushing to let particles fall out.
Baseboard And Crown Molding Corners
Corners trap dust bunnies that a cloth misses. A paintbrush flicks them loose quickly. Pair it with a microfiber cloth for a final wipe.
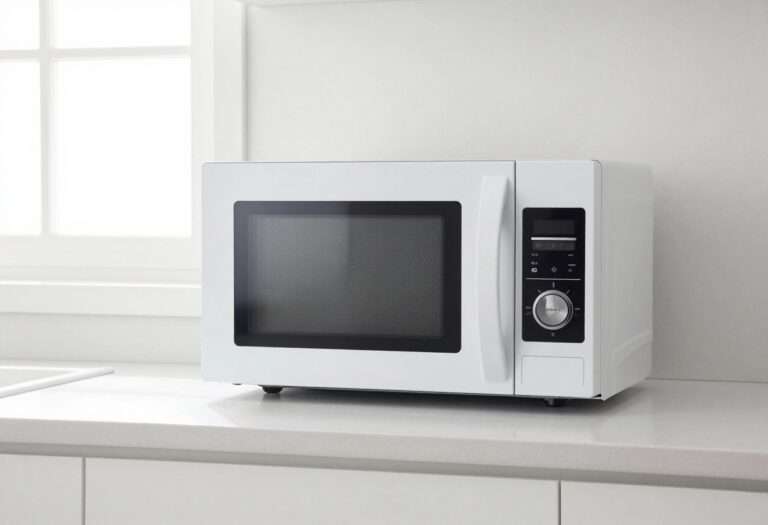
16. Steam Clean Your Microwave
Microwave splatters can turn into stubborn crust if you let them sit. Instead of scrubbing with elbow grease, let steam do the heavy lifting. This trick takes just a few minutes and leaves your microwave spotless.
Place a microwave-safe bowl filled with water and a few slices of lemon inside. Run the microwave on high for 3 minutes. The steam will loosen dried-on food, making it easy to wipe away with a cloth.
The lemon also leaves a fresh scent behind. For extra grime, add a tablespoon of vinegar to the water.
Why It Works
Steam softens food particles and grease without harsh scrubbing. The heat and moisture break down bonds between grime and the surface, so a quick wipe does the job.
Best Practices
Use a bowl that's at least half full to generate enough steam. Let it sit for a minute after the cycle ends before opening the door—the trapped steam continues to work. Wipe from top to bottom to avoid drips.
Variations
No lemon? Use vinegar or a drop of dish soap. For tough stains, add a teaspoon of baking soda to the water.
You can also use a microwave-safe steam cleaner bag if you prefer a commercial option.
17. Wash Bedding Weekly to Reduce Dust Mites
Your bed is a cozy haven, but it's also a prime real estate for dust mites. These microscopic pests feed on dead skin cells and thrive in warm, humid environments. Washing your bedding weekly in hot water kills them and removes allergens, helping you breathe easier at night.
Dust mites are a common trigger for allergies and asthma. They love burrowing into sheets, pillowcases, and blankets. A simple weekly wash with hot water (at least 130°F or 54°C) effectively kills them.
For delicate fabrics, use the hottest water safe for the material. Dry on high heat for extra assurance. Allergen-proof covers for pillows and mattresses add another layer of protection, trapping mites and their waste.
This habit not only reduces dust mites but also keeps your bedding fresh and extends its life.
Why Hot Water Matters
Cold or warm water won't kill dust mites. Hot water above 130°F denatures their proteins and washes away allergens. If your water heater doesn't reach that temperature, consider using a laundry additive like eucalyptus oil, which has natural miticidal properties.
Always check fabric care labels to avoid damage.
Don't Forget Pillows And Comforters
Sheets aren't the only culprits. Pillows and comforters collect dust mites too. Wash pillows every three months in hot water, and dry thoroughly to prevent mold.
Comforters can be washed less often, but aim for every season. Use allergen-proof zippered covers for pillows and mattresses to create a barrier.
Create A Routine That Sticks
Make weekly bedding washing a non-negotiable part of your cleaning schedule. Pick a day, like Sunday, and pair it with another task like vacuuming the bedroom. Set a reminder on your phone.
Over time, it becomes a habit that significantly improves your indoor air quality and sleep quality.
18. Use a Toothbrush for Faucet Bases
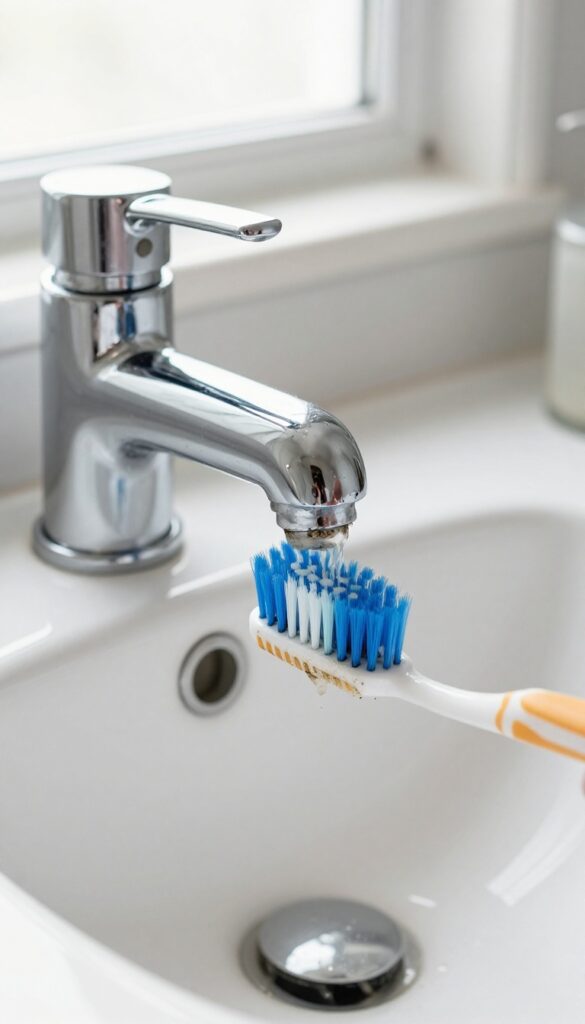
Faucet bases are notorious for collecting grime, toothpaste, and hard water stains that a sponge just can't reach. An old toothbrush is the perfect tool to get into those tight crevices without scratching the finish. It's a simple swap that makes a big difference in how clean your sink looks.
Why Toothbrushes Work So Well
The small, firm bristles of a toothbrush can get into the narrow gaps around faucet bases where gunk builds up. Unlike scrub brushes, toothbrushes are gentle on chrome, stainless steel, and even brass finishes. Plus, they're already shaped to reach awkward angles, making the job easier.
How To Clean Faucet Bases With A Toothbrush
First, wet the toothbrush and dip it in a mild cleaner like dish soap or a vinegar-water mix. Scrub in a circular motion around the base, focusing on the seams where grime hides. Rinse with water and wipe dry with a microfiber cloth to prevent water spots.
Other Tight Spots A Toothbrush Can Tackle
Don't stop at faucet bases—use the same trick on showerhead joints, sink drain flanges, and even the edges of soap dispensers. It's also great for cleaning around stove knobs and refrigerator handles. Keep a designated toothbrush in your cleaning caddy for these small but stubborn areas.
19. Organize Cords to Reduce Visual Clutter
Cords and cables are the unsung villains of home clutter. They snake behind desks, tangle under tables, and make even a tidy room feel chaotic. The good news is that taming them is quick and cheap, and the payoff is a cleaner, calmer space.
Bundle With Velcro Ties
Velcro ties are reusable and adjustable, making them perfect for grouping cords together. Start by unplugging everything, then gather cords that run in the same direction. Wrap a tie around each bundle, keeping it snug but not too tight.
This alone cuts visual noise dramatically.
Label Each Cord
Nothing is more frustrating than unplugging the wrong cord. Use small adhesive labels or a piece of masking tape with a marker. Write what each cord powers—like “lamp, ” “router, ” or “TV”—and attach it near the plug.
Future you will thank you.
Use Binder Clips For Desk Edges
Binder clips aren’t just for paper. Clip them onto the edge of your desk, then run charging cables through the metal loops. This keeps cords off the floor and stops them from slipping behind the desk.
It’s a simple hack that works wonders.
20. Clean Your Dishwasher Filter Monthly
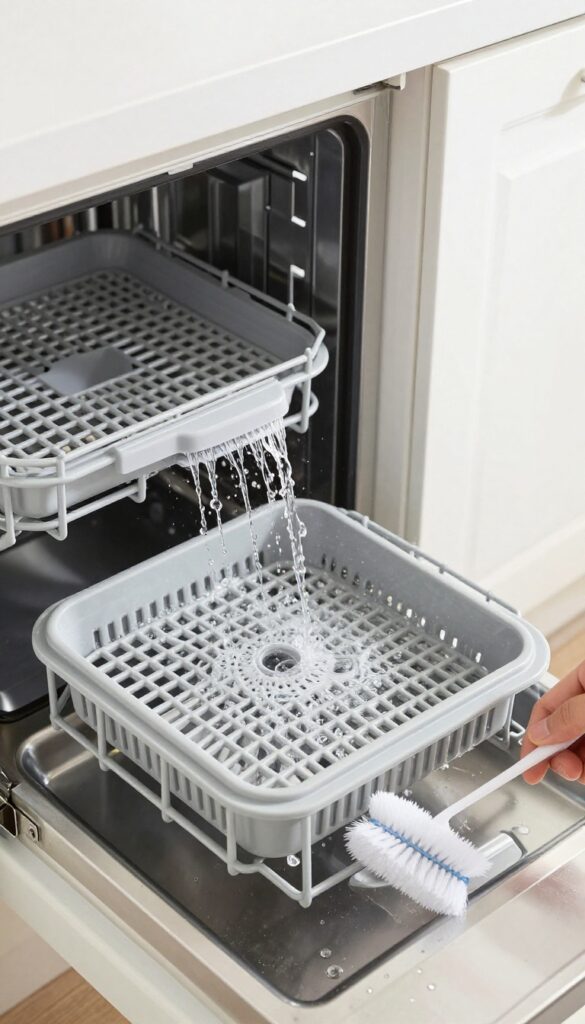
Your dishwasher works hard, but it can't do its job if the filter is clogged. A dirty filter traps food particles, leading to poor cleaning results and unpleasant odors. Most people forget about this simple maintenance step, yet it takes only a few minutes once a month.
A clogged filter reduces water flow and allows debris to redeposit on your dishes. You might notice spots, a film, or a musty smell. Cleaning the filter is straightforward and makes a huge difference in performance and hygiene.
Locate And Remove The Filter
The filter is usually at the bottom of the dishwasher, under the spray arm. Twist or lift it out according to your model's instructions. Some dishwashers have a coarse filter and a fine mesh filter—both need cleaning.
Rinse And Scrub Gently
Rinse the filter under hot running water to remove loose debris. Use a soft brush or an old toothbrush to gently scrub away stubborn buildup. Avoid harsh scrubbers that could damage the mesh.
For greasy residue, a drop of dish soap helps.
Reassemble And Run A Cleaning Cycle
Once the filter is clean and dry, snap it back into place. For extra freshness, run an empty cycle with a dishwasher cleaner or a cup of white vinegar on the top rack. This clears out any remaining residue and deodorizes the interior.
21. Use Rubbing Alcohol for Stainless Steel
Stainless steel looks sleek, but it shows every fingerprint and smear. Commercial cleaners can be expensive and leave a hazy residue. Rubbing alcohol is a cheap, effective alternative that cuts through grease and dries streak-free.
Dampen a microfiber cloth with rubbing alcohol and wipe stainless steel appliances. It removes fingerprints and streaks without leaving residue.
Why Alcohol Works So Well
Rubbing alcohol evaporates quickly, so it doesn't leave water spots. It dissolves oils from fingerprints and cooking splatters. Plus, it's a disinfectant, so you're sanitizing while you clean.
How To Apply It Right
Use a soft microfiber cloth—paper towels can scratch. Spray or dab a small amount of alcohol onto the cloth, then wipe in the direction of the grain. Buff lightly for extra shine.
Avoid These Common Mistakes
Don't soak the surface; excess alcohol can damage seals over time. Never use abrasive sponges. And always test on a hidden spot first, especially on coated stainless steel.
22. Create a 'Donation Box' for Clutter Control
Clutter has a sneaky way of creeping back in, even after a deep clean. One simple trick to keep it at bay is to set up a dedicated donation box. This isn't just a storage spot—it's a system that makes letting go of unused items almost automatic.
Place a sturdy box or bin in a convenient location, like your closet or entryway. Whenever you come across something you no longer need or use, drop it in. Once the box is full, schedule a drop-off at a local charity or thrift store.
This habit prevents piles from forming and keeps your home feeling spacious.
Where To Put It
Choose a spot that's easy to access but out of the way. A closet shelf, under the bed, or near the front door works well. The key is visibility—if you see it, you'll use it.
What Goes In
Clothes that no longer fit, gadgets you never use, books you've already read, and kitchen tools that just take up space. If you haven't touched it in six months, it's a candidate.
Make It A Routine
Set a reminder to check the box every month or two. When it's full, immediately take it to a donation center. This turns decluttering into a low-effort, ongoing process.
23. End Each Cleaning Session with a Treat
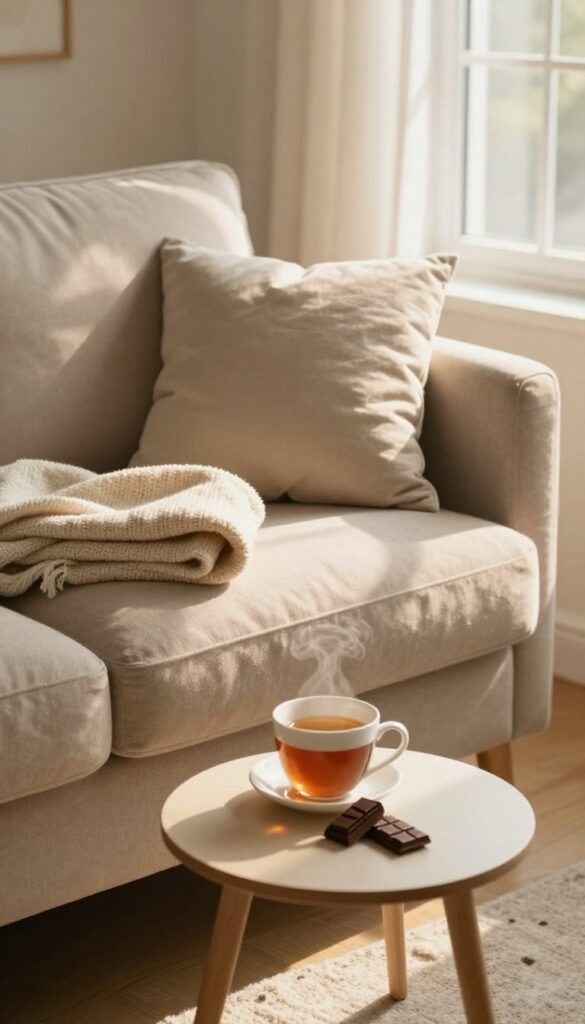
Cleaning can feel like a chore, but it doesn't have to be all grind and no reward. By pairing your cleaning session with a small treat, you train your brain to associate the effort with pleasure. This simple psychological trick makes you more likely to stick with your routine over time.
The idea is straightforward: after you finish cleaning, give yourself something you genuinely enjoy. It could be a cup of your favorite tea, a 10-minute break to scroll through social media, or listening to a podcast episode you've been saving. The treat doesn't have to be big or expensive—just something that feels like a reward.
This positive reinforcement creates a habit loop, where the satisfaction of cleaning is amplified by the anticipation of the treat. Over time, you'll find yourself looking forward to cleaning sessions instead of dreading them.
Pick Your Reward
Choose a reward that feels special but doesn't undo your cleaning efforts. For example, if you've just scrubbed the kitchen, avoid a messy snack that creates more crumbs. Instead, opt for a relaxing activity like sitting in your freshly cleaned space with a good book or enjoying a piece of dark chocolate.
The key is to make the reward consistent and guilt-free.
Keep It Short And Sweet
Your reward doesn't need to be long. A five-minute break to stretch, a quick game on your phone, or even just sitting in a clean room and taking a deep breath can work wonders. The goal is to create a positive association, not to derail your productivity.
Short rewards are easier to fit into a busy schedule and keep you from procrastinating.
Make It A Ritual
Turn your treat into a ritual by pairing it with a specific signal. For instance, after you put away the last cleaning tool, brew a cup of herbal tea. Or after you vacuum, sit down and listen to one song.
Over time, this ritual becomes a cue that your cleaning session is complete, and your brain will start to crave that feeling of accomplishment.
FAQ
How often should I dust my home?
Aim to dust high-traffic areas weekly and less-used rooms every two weeks. Use a microfiber cloth to trap dust effectively.
What's the best way to remove hard water stains?
Soak a cloth in white vinegar and lay it on the stain for an hour. Then scrub with baking soda and rinse. For tough stains, repeat as needed.
How can I reduce dust in my home?
Use doormats, keep windows closed on windy days, vacuum with a HEPA filter, and wash bedding weekly. Also, declutter surfaces to minimize dust collection.
Is it better to clean with hot or cold water?
Hot water dissolves grease and grime better, but cold water is fine for general dusting. Use hot water for mopping and cleaning kitchen surfaces.
How do I clean a microwave without scrubbing?
Place a bowl of water with lemon slices inside and microwave on high for 3 minutes. Let it sit for 2 minutes, then wipe the interior with a cloth.
Conclusion
Cleaning your home doesn't require a full weekend or a perfect system. Start with just two or three tips from this list that target your biggest pain points—whether that's dust on surfaces or clutter in the kitchen. Small wins build momentum fast.
The secret is consistency, not intensity. Once these simple habits become automatic, you'll spend less time cleaning and more time enjoying your space. Pick what works for you, and let the rest go.