10 Appealing Camping Shower Ideas with Smart, Stylish Design
Camping showers used to mean a cold, awkward splash behind a towel. These ten ideas flip that experience, blending smart design with real comfort so you can rinse off under the open sky without sacrificing style or convenience.
From solar bags that look sleek to DIY privacy setups with a view, each option solves a practical problem while keeping your campsite feeling polished. Whether you're a weekend car camper or a van-life enthusiast, there's a setup here that makes outdoor bathing feel intentional and easy.
Let's explore how to upgrade your rinse game with gear that's as smart as it is good-looking.
1. Solar Shower Bags with a Modern Twist
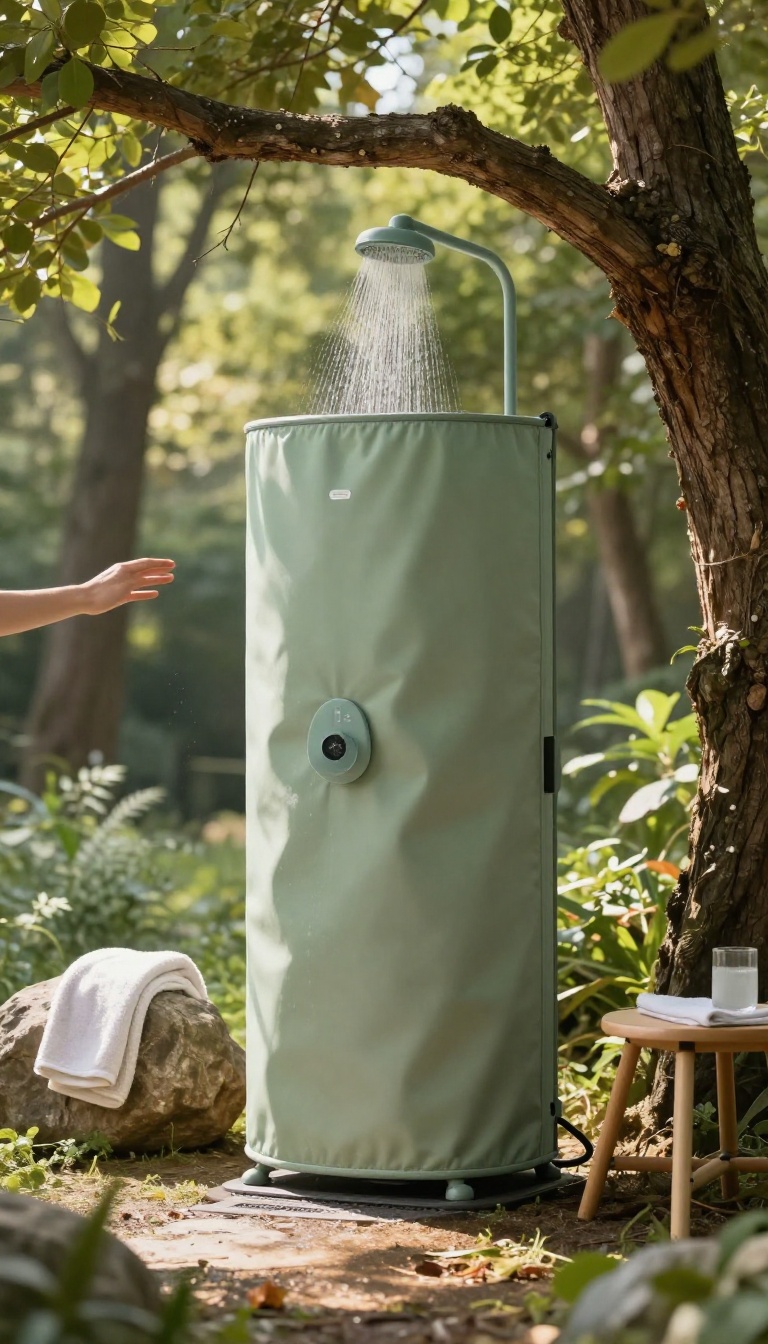
Remember the days of dangling a black bag from a tree and hoping for lukewarm water? Those are long gone. Today's solar showers have been completely reimagined, blending high-tech materials with smart design to deliver a surprisingly comfortable rinse.
They're not just about heating water anymore—they're about making the whole experience feel more like a spa moment than a roughing-it compromise.
The classic solar shower bag has come a long way. Newer models use heat-retaining fabrics that keep water warm longer, even as the sun dips. Built-in pressure nozzles give you a steady, satisfying spray instead of a weak trickle.
Some even come with temperature gauges, so you know exactly when it's ready. This isn't your old camping gear—it's a thoughtful upgrade that makes outdoor bathing feel intentional and easy.
Why Heat-retaining Fabrics Matter
Standard bags lose heat fast, especially in the evening. Modern versions use reflective liners and insulated layers that trap warmth for hours. That means you can shower later in the day without the water turning icy.
It's a simple change, but it makes a huge difference in comfort.
Pressure Nozzles For A Real Shower Feel
A gentle gravity drip just doesn't cut it after a long hike. Built-in pressure nozzles create a steady stream that actually rinses off soap and dirt effectively. Some models even offer adjustable spray patterns, so you can switch from a soft mist to a stronger jet.
It's a small feature that transforms the whole experience.
Smart Extras Worth Considering
Look for bags with temperature indicators, easy-fill openings, and durable hanging straps. Some come with integrated hooks or handles that make setup a breeze. A few even have separate compartments for storing toiletries.
These thoughtful touches add convenience without adding bulk to your pack.
2. DIY Privacy Shelter with a Scenic View
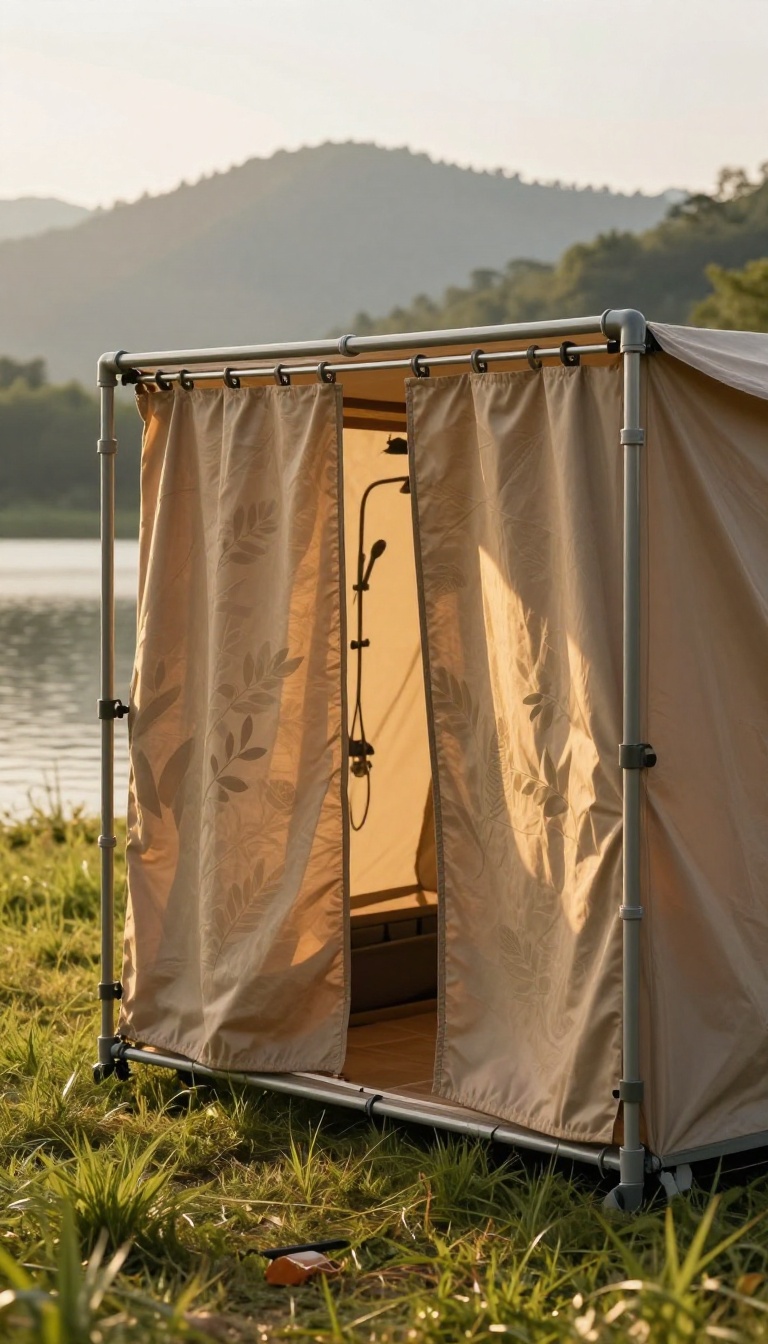
A shower with a view sounds dreamy, but privacy usually gets in the way. This DIY setup solves that by giving you a lightweight screen that frames the landscape instead of blocking it out completely. With a few PVC pipes and a stylish curtain, you can create a shelter that feels open yet private.
It’s perfect for campers who want to enjoy nature without feeling exposed.
Building this privacy shelter is straightforward and doesn’t require advanced tools. You’ll need four PVC pipes, connectors, and a shower curtain with grommets. The structure forms a simple square or rectangle that you can stand inside, with the curtain hanging on one side to block the view from the trail or neighboring campsites.
The key is choosing a curtain that complements your campsite—think earthy tones or a subtle pattern that blends with the surroundings. You can also use a clear shower curtain liner for a more open feel, but then you’ll need to be strategic about placement. Set it up facing the best view, like a lake or a mountain ridge, so you can enjoy the scenery while you rinse.
The PVC frame is easy to assemble and disassemble, making it a great option for car campers who don’t mind a little extra gear.
Materials And Setup
Gather four 5-foot PVC pipes, four elbow connectors, and a shower curtain with grommets. Attach the pipes to form a square, then slide the curtain onto one side using shower rings. Secure the frame with stakes or guy lines if the ground is soft.
The whole setup takes about 10 minutes and packs down into a small bundle.
Choosing The Right Curtain
Opt for a fabric curtain that’s water-resistant and quick-drying. A pattern with muted colors or a nature-inspired design helps the shelter blend in. For extra privacy, choose a heavier fabric, but remember it will take longer to dry.
You can also use a double-layer system: a clear liner for light and a decorative outer curtain for privacy.
Placement Tips For The Best View
Position the shelter so the open side faces your favorite vista. If you’re near a tree line, place it so the tree trunks provide natural cover on the other sides. Angle the opening away from prevailing winds to avoid a chilly draft.
Always test the view from inside before you commit to the setup.
Packing And Storage
Disassemble the frame and fold the curtain neatly. Store the pipes in a long duffel or strap them to your roof rack. The curtain can be rolled up and tucked into a stuff sack.
This setup is bulkier than a pop-up tent, but it’s worth it for the experience.
3. Portable Camp Shower Enclosures That Set Up in Seconds
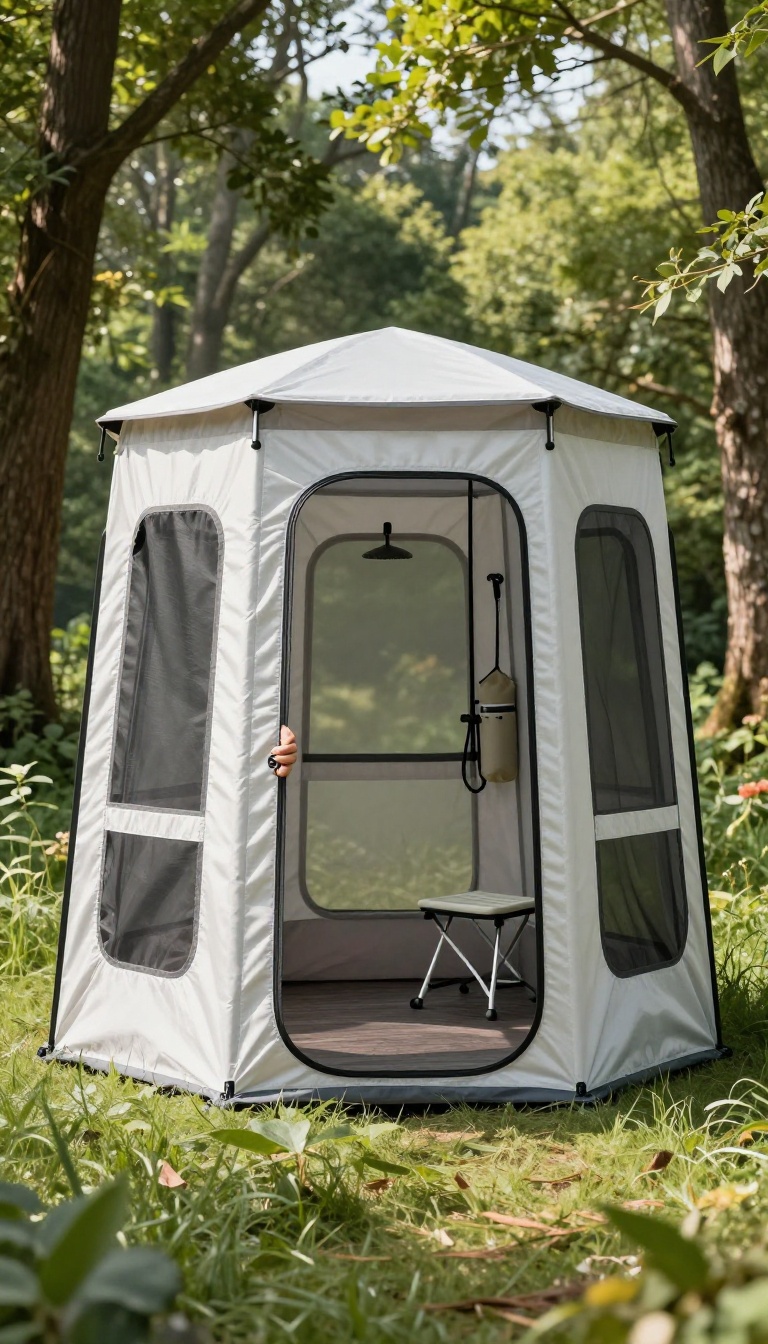
Privacy is the first thing that goes out the window when you're camping, but it doesn't have to. Pop-up shower enclosures have come a long way from flimsy, wind-blown curtains. Now they're sturdy, lightweight, and ready in a snap, giving you a private spot to rinse off no matter where you park.
These enclosures are a game-changer for campers who want a dedicated shower space without the hassle of building one. Most models fold flat into a circle and pop open like a laundry basket, so you can have your shower room standing in under a minute. Inside, you'll find hooks for your clothes and a shower bag, plus a floor to keep your feet clean.
The best part? They pack down small enough to toss in the trunk or strap to your roof rack.
What To Look For
When you're shopping for a pop-up enclosure, focus on three things: height, ventilation, and stability. You want one tall enough to stand in without crouching, with mesh windows that let in light and air while keeping bugs out. Look for stakes or sandbags to anchor it down—nothing ruins a shower faster than a sudden gust of wind.
Setup And Takedown Tips
Practice popping it open at home before you hit the road. Once you get the hang of it, it's a 30-second job. To take it down, fold it in half, then in thirds, and twist it into a circle—just like a pop-up hamper.
Store it dry to prevent mildew, and give it a quick shake before packing to get rid of any sand or leaves.
Top Picks For Quick Privacy
The ShowerTent by Caddis is a popular choice with a roomy interior and a large window. For budget-friendly options, the WolfWise Pop-Up Privacy Tent offers solid construction and a compact carry bag. If you want something extra tall, the Nemo Equipment Changi has a peaked roof and plenty of headroom.
All of these set up in seconds and take down just as fast.
4. Gravity-Fed Shower Systems with Adjustable Flow
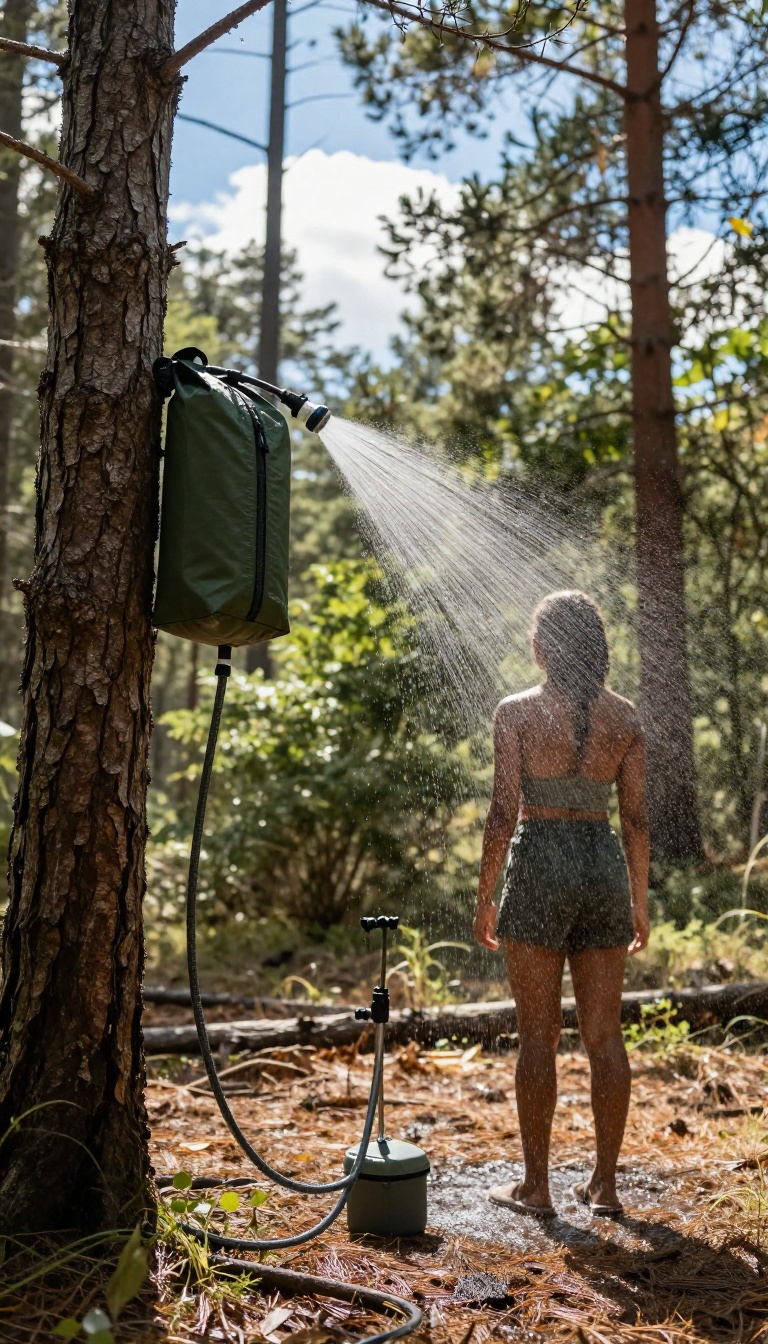
A gravity-fed shower is about as simple as it gets: a bag, a hose, and gravity doing the work. But the smart ones add a valve that lets you fine-tune the stream, so you’re not stuck with a dribble or a blast. Hang it from a sturdy branch or a portable stand, and you’ve got a hands-free rinse that feels almost like home.
These systems are perfect for car campers or anyone who wants a reliable shower without pumps or batteries. The key is choosing one with a reliable on/off valve and a wide opening for easy filling. Look for models with a durable, puncture-resistant bladder and a hose long enough to reach your head comfortably.
Some even come with a small thermometer strip to check water temp at a glance.
Why Adjustable Flow Matters
A fixed flow can be annoying—too weak to rinse soap, or too strong for your face. An adjustable valve gives you control, letting you switch from a gentle drizzle for shampooing to a stronger spray for rinsing off. It also conserves water, so you can stretch a 10-liter bag into multiple showers if you’re careful.
How To Set It Up Right
Find a branch at least 7 feet off the ground and test its strength by pulling on it. Fill the bag with warm water (not boiling) and hang it securely. Prime the hose by letting a little water flow out, then adjust the valve to your preferred pressure.
For extra warmth, set the bag in the sun for a couple of hours before use.
Top Picks To Consider
Brands like Nemo, Sea to Summit, and Advanced Elements offer reliable gravity showers with good valves and sturdy construction. The Nemo Helio Pressure Shower is a step up—it uses a pump for pressure, but gravity models are lighter and simpler. Look for a capacity that matches your needs: 10 liters is plenty for a solo camper, while 20 liters works for a family.
5. Propane-Powered Hot Water Showers for Comfort
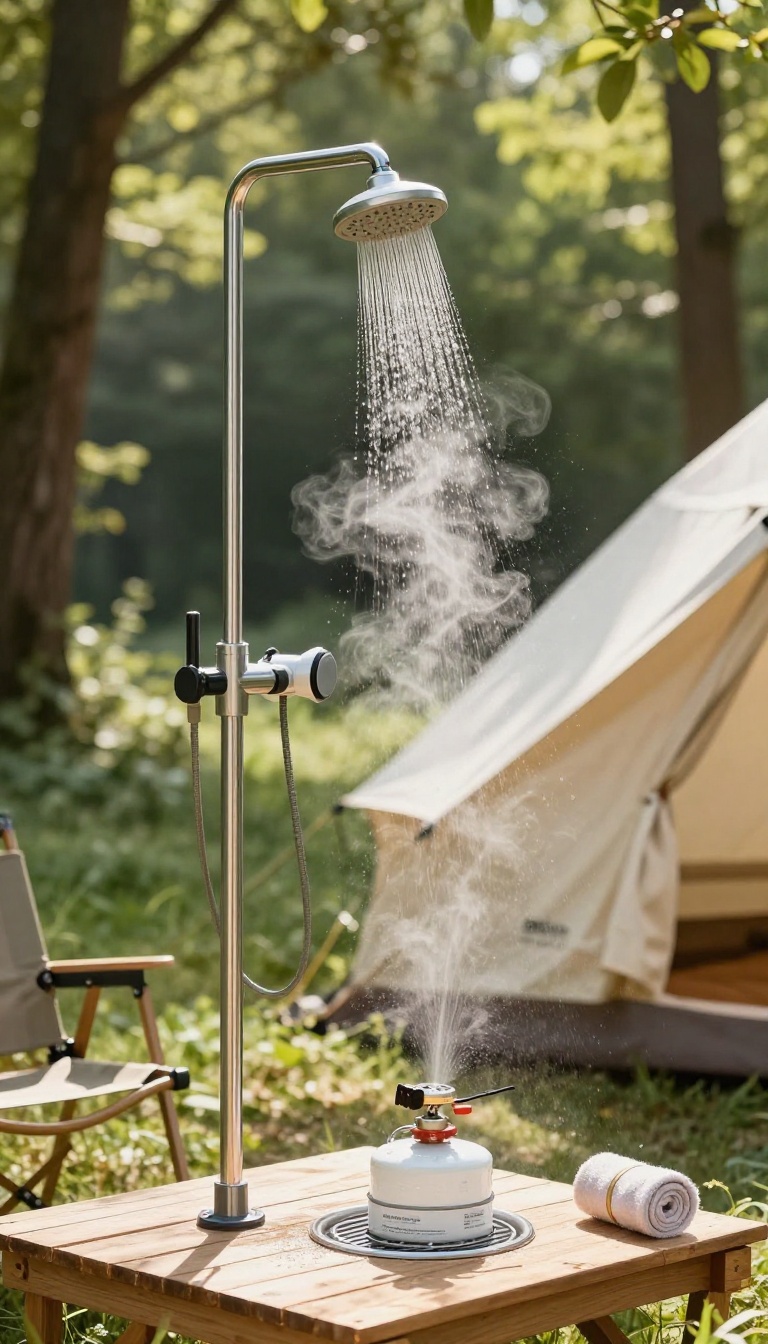
Cold showers are fine for a quick rinse, but when you want to truly unwind after a long hike, nothing beats a steady stream of hot water. Propane-powered showers bring that home-like comfort to the backcountry, turning a basic camp chore into a moment of pure relaxation. These compact units heat water on demand, so you get endless warmth without the bulk of a traditional water heater.
Propane camp showers are a game-changer for anyone who values a bit of luxury outdoors. They're small enough to pack in a duffel, yet powerful enough to deliver a hot shower that feels like it came from your own bathroom. Whether you're car camping with the family or living the van life, these systems offer a reliable way to stay clean and comfortable, no matter how far you roam.
How They Work
Most propane showers use a small heat exchanger connected to a propane canister. Water flows through a hose from a bucket or water source, gets heated instantly, and comes out at your desired temperature. You control the flow and heat with simple dials, and some models even come with a showerhead that has adjustable spray patterns.
It's a straightforward setup that takes just a few minutes to get running.
What To Look For
When choosing a propane shower, consider factors like BTU output (higher means faster heating), water flow rate, and overall weight. Look for models with sturdy construction and reliable ignition systems. A built-in thermometer or temperature control is a big plus, so you can dial in the perfect warmth without guesswork.
Also, check how it connects to your water source—some use a submersible pump, while others rely on gravity.
Setting Up Your Outdoor Oasis
Once you've got your propane shower, setting up a private and comfortable space is key. Use a pop-up privacy tent or hang a shower enclosure from a tree. Place a non-slip mat on the ground and consider a portable shower caddy for your soap and shampoo.
With a little creativity, you can create a spa-like experience right in the middle of nature.
6. DIY Bucket Shower with a Foot Pump
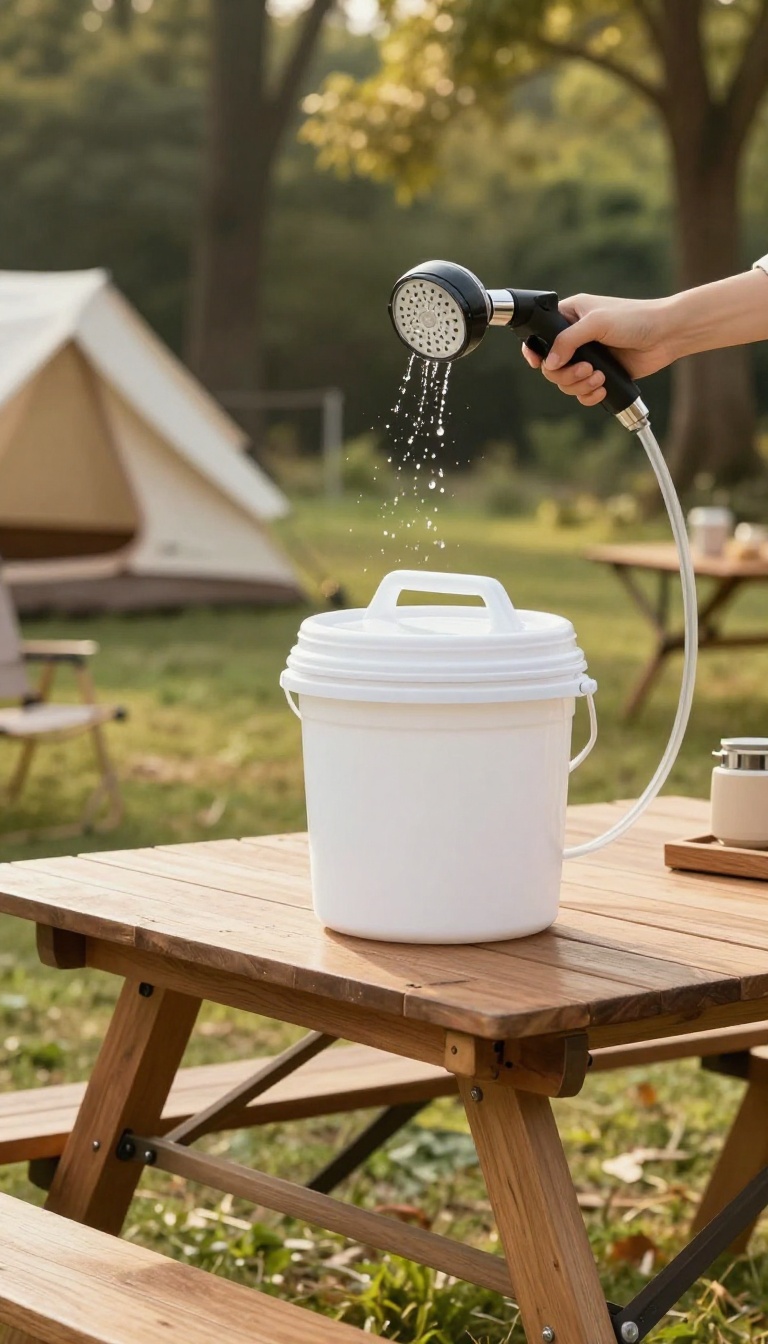
Not everyone wants to drop serious cash on a fancy camping shower. A simple five-gallon bucket, a foot pump, and a showerhead can deliver a surprisingly satisfying rinse that's easy on your wallet and your back. This low-tech setup is perfect for car campers who like to keep things simple without sacrificing comfort.
The beauty of this DIY shower is its simplicity. You fill a standard five-gallon bucket with water—warm it in the sun or add hot water from a kettle—then pump with your foot to create pressure. The result is a hands-free stream that's perfect for rinsing off after a hike or washing dishes at camp.
It's lightweight, compact, and costs a fraction of a commercial system.
What You'll Need
Gather a five-gallon bucket with a lid, a foot-operated pump (often sold as a marine or RV pump), a showerhead with a hose, and some basic connectors. Most hardware stores carry these parts, and you can assemble everything in under an hour. Choose a pump with a foot pedal for easy operation, and make sure the hose fits snugly to avoid leaks.
Setting It Up
Drill a hole in the bucket lid for the pump's intake hose, then attach the pump to the lid. Connect the showerhead hose to the pump's output. Place the bucket on a stable surface, fill it with water, and secure the lid.
Pump a few times to build pressure, then adjust the flow to your liking. For extra warmth, leave the bucket in the sun for a few hours before use.
Tips For A Better Experience
Use warm water for a more comfortable shower, and consider adding a small privacy shelter or hanging a tarp for modesty. To save water, use a trigger-style showerhead that stops the flow when you're not rinsing. After use, empty and rinse the bucket to keep it clean and ready for your next trip.
7. Camper Van Shower Curtains That Add Style
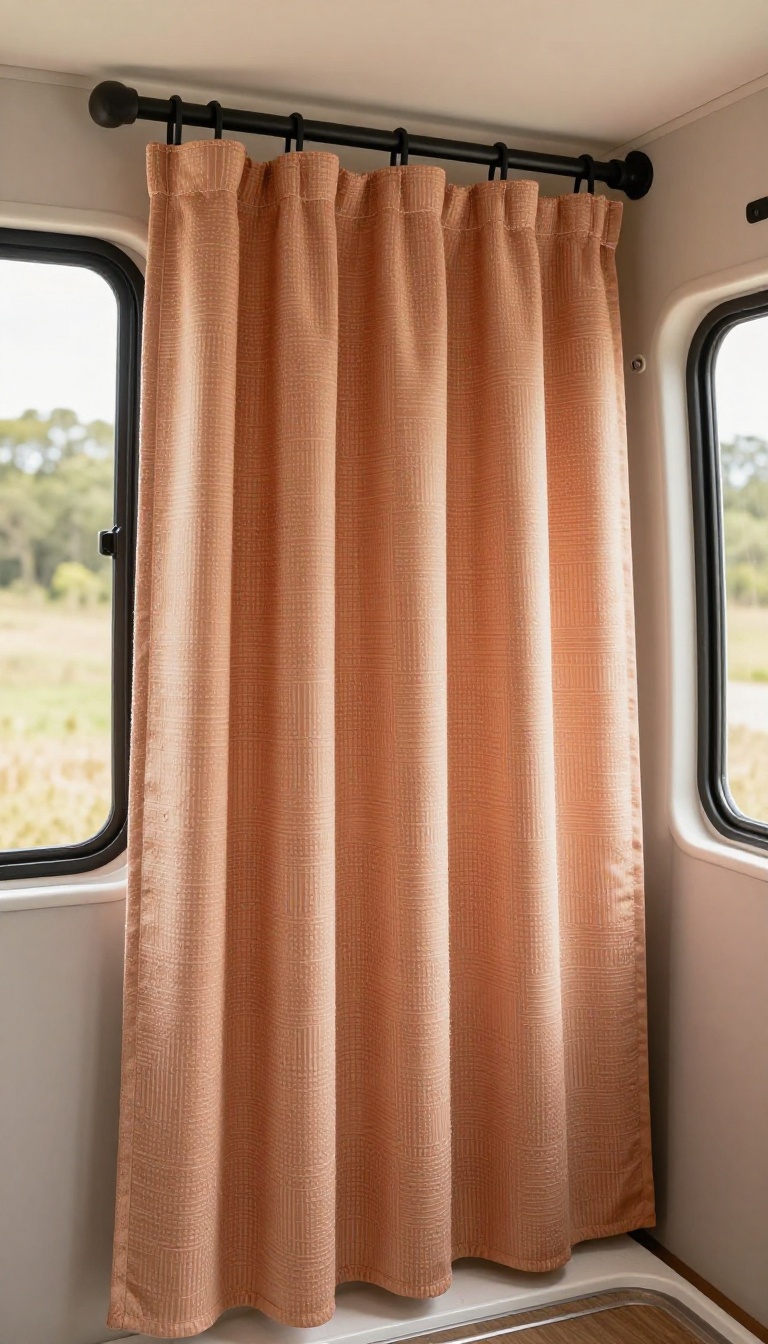
Van life often means squeezing a shower into a tiny wet bath, and the standard clear curtain can make it feel like a plastic box. Swapping in a fabric curtain instantly warms up the space and gives your rig some personality. Plus, with the right material, you can keep mildew at bay and make cleanup a breeze.
A stylish shower curtain does more than just keep water off the floor—it transforms the whole vibe of your van. Choose a quick-dry polyester or nylon blend that resists mold and wipes clean easily. Look for curtains with rustproof grommets and a weighted hem to keep them from billowing in tight quarters.
And don't forget the hooks: a set of matte black or brass rings can add a subtle touch of class.
Pick A Fabric That Fights Mildew
Bathrooms in vans are prone to moisture, so your curtain needs to dry fast. Stay away from heavy cotton or linen that stays damp and invites mold. Instead, choose a synthetic fabric like polyester or nylon that sheds water and dries in minutes.
Some curtains even come with an antimicrobial coating for extra protection.
Add Personality With Patterns And Colors
Your shower curtain is a chance to show off your style. Go for a bold geometric pattern, a tropical print, or a simple earth tone that matches your van's interior. A patterned curtain also hides water spots and soap scum better than a plain white one.
Just keep the rest of the bathroom neutral so the curtain stands out without clashing.
Make It Functional And Easy To Clean
Look for curtains with a removable liner or a machine-washable design. Some curtains have built-in magnets at the bottom to keep them stuck to the shower pan, preventing water from sneaking out. You can also add a tension rod that doesn't require drilling—a must for renters or those who don't want to damage their van's walls.
8. Natural Privacy Screens Using Local Materials
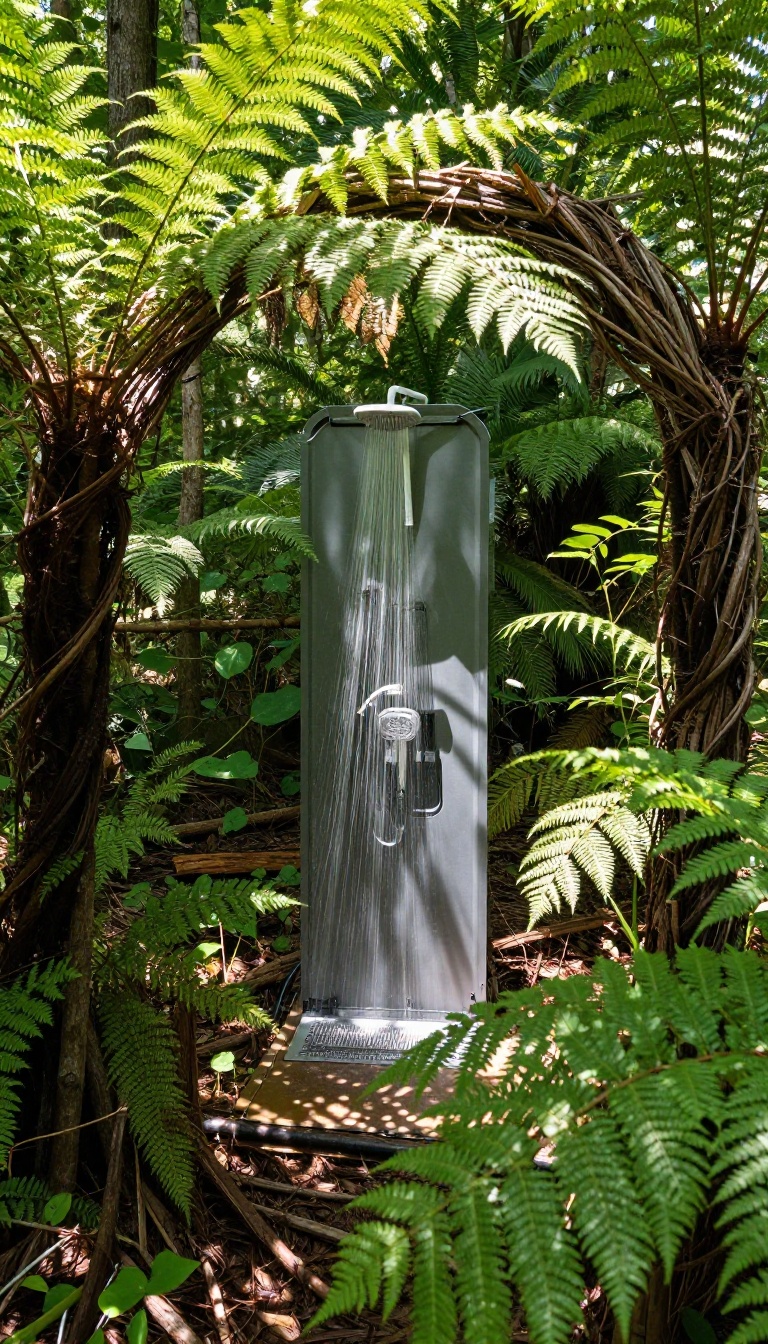
Sometimes the best privacy screen is already lying on the forest floor. Fallen branches, broad leaves, and even large ferns can be woven into a temporary wall that feels like part of the landscape. It’s a zero-waste approach that keeps your shower area discreet without hauling extra gear.
Building a natural screen is more about observation than construction. Look for materials that are abundant and easy to work with—long straight branches for the frame, flexible green twigs for weaving, and large leaves or bark for filling gaps. The goal is to create a visual barrier that’s sturdy enough for a quick rinse but light enough to dismantle in minutes.
Finding The Right Spot
Scout a location with natural cover like dense shrubs or a low-hanging tree. Position your screen to block the main sightlines from your campsite or trail. Avoid fragile plants—use what’s already dead or fallen to leave no trace.
Building The Frame
Push sturdy branches into the ground in a semi-circle or U-shape, leaning them inward for stability. Lash the tops together with cordage or flexible vines. This creates a simple tripod-like structure that can hold the weight of leaves and smaller branches.
Weaving In The Fill
Layer leaves, ferns, or bark between the vertical branches, weaving them in and out like a basket. Start from the bottom and work upward, overlapping each layer to close gaps. Thicker materials like bark or moss can be tucked into the frame for extra coverage.
Quick Dismantle And Leave No Trace
When you’re done, simply pull the fill out and scatter it. Remove the frame branches and return them to the forest floor. A few minutes of cleanup leaves the area looking untouched—exactly how you found it.
9. Solar-Powered Shower Pumps for a Pressurized Spray
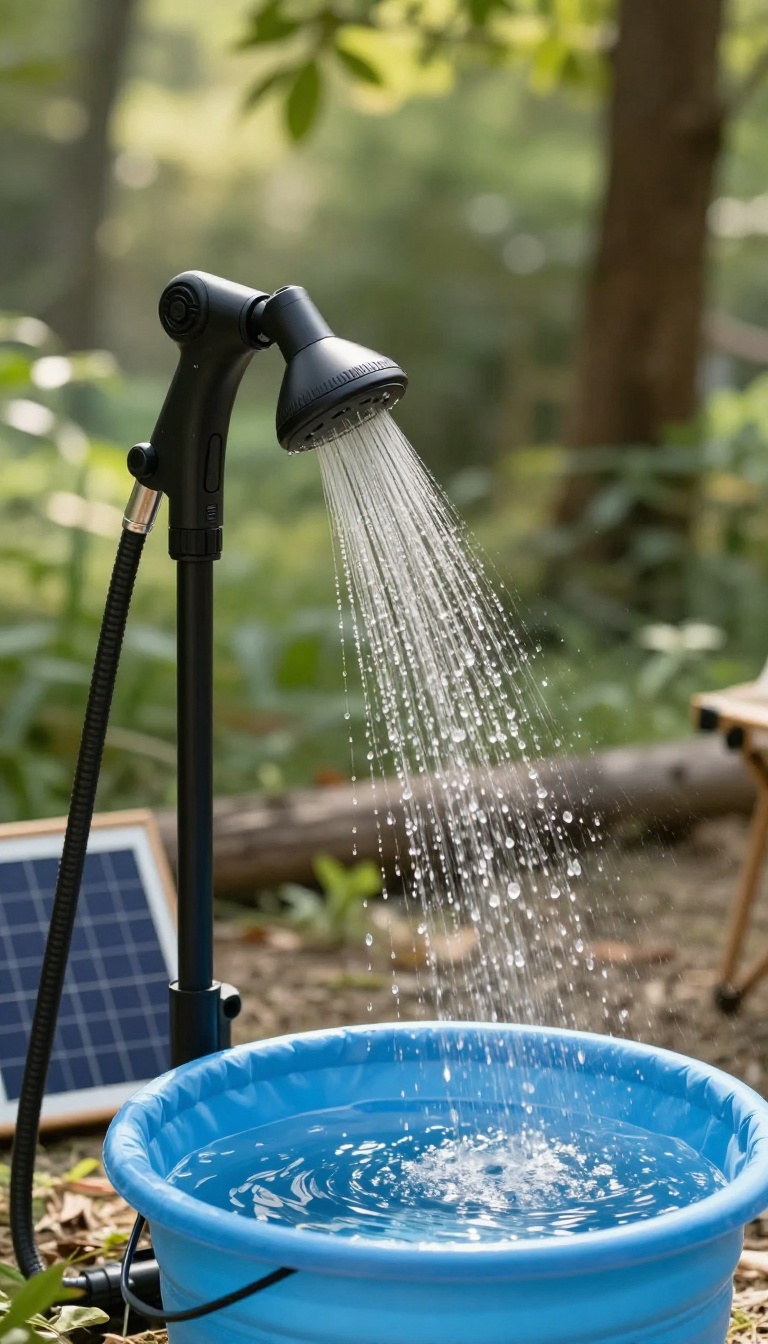
A simple solar pump can turn any bucket, lake, or collapsible container into a satisfying, pressurized shower. No batteries, no charging cables—just sunlight and a small motor that gives you a steady spray that feels more like home than a trickle.
These pumps are compact, lightweight, and surprisingly powerful. They sit in your water source, draw power from an attached solar panel, and push water through a hose with enough force for a proper rinse. The best part?
They're eco-friendly and quiet, so you can enjoy a refreshing shower without disturbing the peace of your campsite.
Why You’ll Love The Pressure
Unlike gravity bags that rely on height for flow, solar pumps deliver consistent pressure even with a low water source. You can set your bucket on the ground and still get a strong spray, which makes setup easier and more flexible. It’s a game-changer for campsites without trees or high anchors.
Choosing The Right Pump
Look for a pump with a rechargeable battery as backup, so you can still shower on cloudy days. Check the flow rate—around 2 to 3 liters per minute is ideal. Also, consider the hose length and shower head quality; a good pump will come with a comfortable spray head that mimics a normal shower.
Smart Setup Tips
Place the solar panel in direct sunlight while you’re showering, and keep the pump submerged in the water source to avoid air locks. If you’re using a bucket, a small mesh bag can keep debris away from the intake. And for warmer water, fill your bucket with sun-heated water from a solar bag or leave it in the sun for a few hours.
10. Eco-Friendly Soaps and Rinse Systems
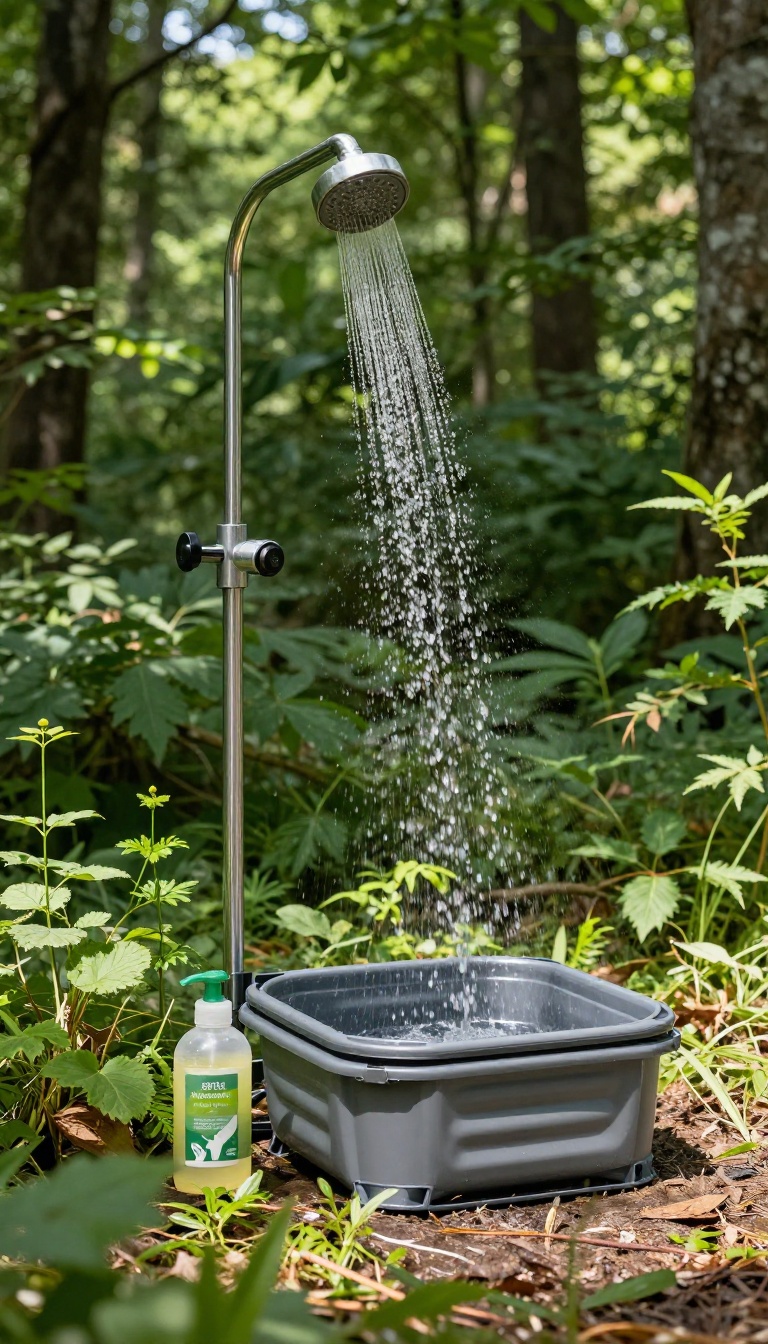
Leaving no trace isn't just about packing out your trash—it's also about what you rinse down the drain. Traditional soaps can harm fragile ecosystems, but a few simple swaps make your outdoor shower kinder to the planet. Pairing biodegradable soaps with a greywater collection system keeps your campsite pristine and your conscience clear.
It's a small change that adds up, especially if you shower in the same spot repeatedly.
Choosing the right soap and managing your rinse water are the two pillars of an eco-friendly camping shower. Here's how to do both without sacrificing cleanliness or convenience.
Pick Soaps That Break Down Fast
Look for soaps labeled biodegradable or backpacker-friendly, but check the ingredients—some 'biodegradable' claims are vague. Plant-based, fragrance-free options are usually safer for waterways. Use them sparingly: a tiny drop goes a long way, and you'll minimize your impact.
Capture And Dispose Of Greywater Properly
A simple collapsible basin or a dedicated greywater bag catches your rinse water so you can dispose of it away from lakes and streams. Strain out food particles and scatter the water widely, at least 200 feet from water sources. This keeps soap and debris from concentrating in one spot.
Make It A Habit
Once you've got the right soap and a catch system, it's easy to make eco-friendly rinsing second nature. Keep your greywater bag next to your shower setup, and always double-check that your soap is truly biodegradable. Your future self—and the environment—will thank you.
FAQ
What is the best type of camping shower for car camping?
For car camping, a propane-powered hot water system or a gravity-fed shower with a large reservoir offers the most comfort and convenience.
How do I get hot water for a camping shower without electricity?
Solar shower bags, propane heaters, or heating water on a camp stove are all effective ways to get warm water without electricity.
Are camping showers environmentally friendly?
Yes, if you use biodegradable soap and collect greywater to dispose of properly, you can minimize your impact.
How much water does a typical camping shower use?
A typical camping shower uses about 2-3 gallons per rinse, depending on the system and how long you stay under the water.
Can I build a camping shower from items I already have?
Absolutely. A bucket, a length of hose, and a showerhead can be rigged into a simple gravity shower with minimal tools.
Conclusion
Upgrading your camping shower doesn’t have to mean hauling heavy gear or sacrificing comfort. A few smart, stylish tweaks—like a portable privacy shelter or a solar-heated bag—can turn a quick rinse into a genuinely refreshing break. Start with the idea that solves your biggest annoyance, whether that’s setup time, water pressure, or mud.
The best setup is the one you’ll actually use, so keep it simple and let your surroundings do the rest. Once you find your rhythm, outdoor showers start to feel less like a chore and more like a small daily luxury.