25 Cleaning Supplies Every Home Needs for Easy Upkeep
A clean home doesn't require a closet full of specialized products. With the right essentials, you can tackle almost any mess quickly and without stress. These 25 supplies are the backbone of an efficient cleaning routine, saving you time and effort.
Each item on this list earns its place by solving real problems. You won't find gimmicks or one-trick ponies here. Instead, you'll get tools and cleaners that handle multiple jobs, from daily touch-ups to deep cleaning sessions.
Whether you're setting up your first home or streamlining your current stash, these supplies deliver results. Let's walk through the gear that makes upkeep feel less like a chore and more like a simple habit.
1. All-Purpose Cleaner
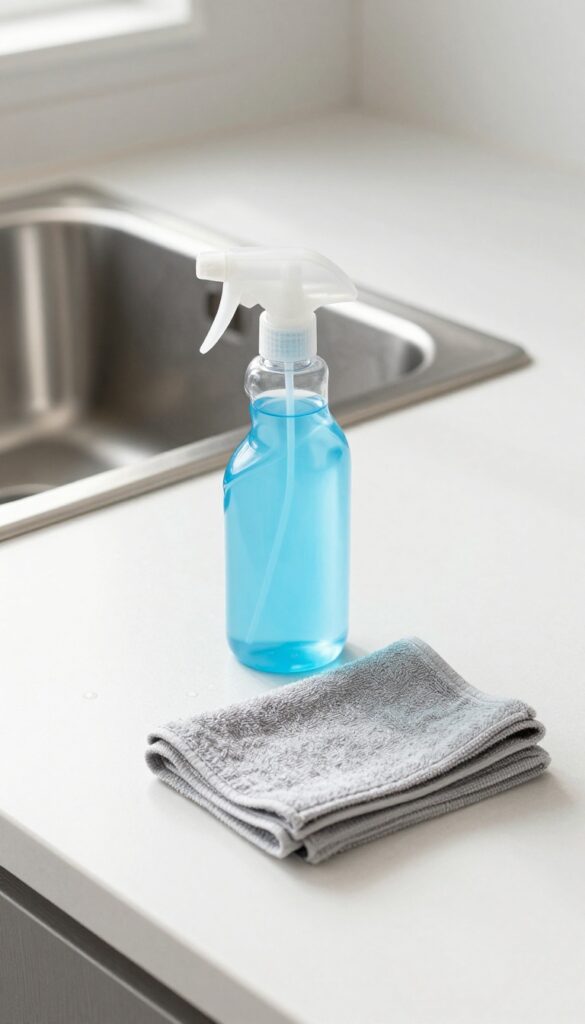
Not all cleaning sprays are created equal. A true all-purpose cleaner cuts through grease, grime, and fingerprints on multiple surfaces without damaging them. This one bottle replaces a dozen specialized products, making your cleaning caddy lighter and your decision-making faster.
Look for a formula that's safe on granite, stainless steel, sealed wood, and glass to keep things simple.
An all-purpose cleaner is the workhorse of any cleaning routine. It handles kitchen counters, bathroom sinks, stovetops, and even doorknobs. Choose a pH-neutral option that won't etch or dull surfaces.
Many concentrated versions let you dilute for different tasks—stronger for tough grease, lighter for daily wipe-downs. Avoid bleach-based formulas if you have natural stone or colored grout.
What To Look For
Check the label for "multi-surface" or "safe for sealed stone. " Plant-based or biodegradable ingredients are gentler on your hands and the environment. A spray bottle with adjustable nozzle (stream vs. mist) gives you control over application.
Avoid ammonia if you have pets, as it can irritate their respiratory systems.
How To Use It Effectively
Spray directly onto the surface, let it sit for 30 seconds to break down grime, then wipe with a microfiber cloth. For heavy buildup, use a non-abrasive scrub pad. Don't over-spray—more product doesn't mean better results.
Always test on an inconspicuous area first, especially on painted or delicate surfaces.
When To Replace It
Most all-purpose cleaners last about two years if stored properly. If the color changes, the smell turns sour, or the spray nozzle clogs, it's time for a new bottle. Keep it in a cool, dark place away from direct sunlight to maintain effectiveness.
2. Microfiber Cloths
If you only buy one cleaning tool this year, make it a pack of microfiber cloths. These reusable squares outperform paper towels on almost every surface, and they cost pennies per use. The secret is in the split fibers—they create a static charge that pulls in dust and traps grime without needing harsh chemicals.
Microfiber cloths are the workhorses of any cleaning kit. Use them dry for dusting electronics, blinds, and shelves—the fibers grab particles instead of pushing them around. Dampen one for wiping counters, mirrors, and stainless steel without streaks.
They're machine washable and can last for hundreds of cycles, making them a budget-friendly and eco-conscious choice.
Why Microfiber Works So Well
The split fibers create millions of tiny hooks that lift and trap dirt, grease, and bacteria. Unlike cotton, which just spreads grime, microfiber holds onto particles until you rinse it out. This means you use less elbow grease and fewer cleaning sprays.
How To Choose The Right Cloth
Not all microfiber is the same. Look for a blend of 80% polyester and 20% polyamide for the best balance of absorbency and lint-free performance. A higher GSM (grams per square meter) means a thicker, more durable cloth.
For general cleaning, a 300–400 GSM cloth works well.
Care Tips To Make Them Last
Wash microfiber separately from cotton items to avoid lint transfer. Use a mild detergent without fabric softener—softener clogs the fibers and kills their static charge. Tumble dry on low or air dry.
Avoid bleach and high heat, which can melt the fibers.
3. Glass Cleaner
Windows and mirrors collect smudges, dust, and fingerprints faster than any other surface in your home. A dedicated glass cleaner cuts through that grime without leaving streaks or haze behind. The right formula evaporates quickly, so you can wipe and move on without waiting for it to dry.
A good glass cleaner does more than just clean windows. It works on mirrors, glass tabletops, shower doors, and even stainless steel appliances. The key is a streak-free finish that doesn't require buffing.
Look for a formula with ammonia or vinegar that dries fast and leaves a crystal-clear surface.
What To Look For
Choose a cleaner that evaporates quickly to avoid streaks. Ammonia-based formulas are effective but can be harsh on tinted windows or certain finishes. Vinegar-based options are gentler and eco-friendly, though they may require a bit more elbow grease.
Avoid cleaners with heavy fragrances or dyes that can leave residue.
How To Use It Right
Spray the cleaner directly onto the glass, not the cloth, to control the amount. Use a microfiber cloth or a squeegee for best results. Wipe in a zigzag or S-pattern to prevent streaks.
For tough spots like dried-on toothpaste or hard water stains, let the cleaner sit for a few seconds before wiping.
Diy Alternative
Mix equal parts white vinegar and distilled water in a spray bottle. Add a drop of dish soap to help cut grease. This homemade version works almost as well as store-bought and costs pennies per bottle.
Just shake well before each use.
4. Disinfecting Wipes
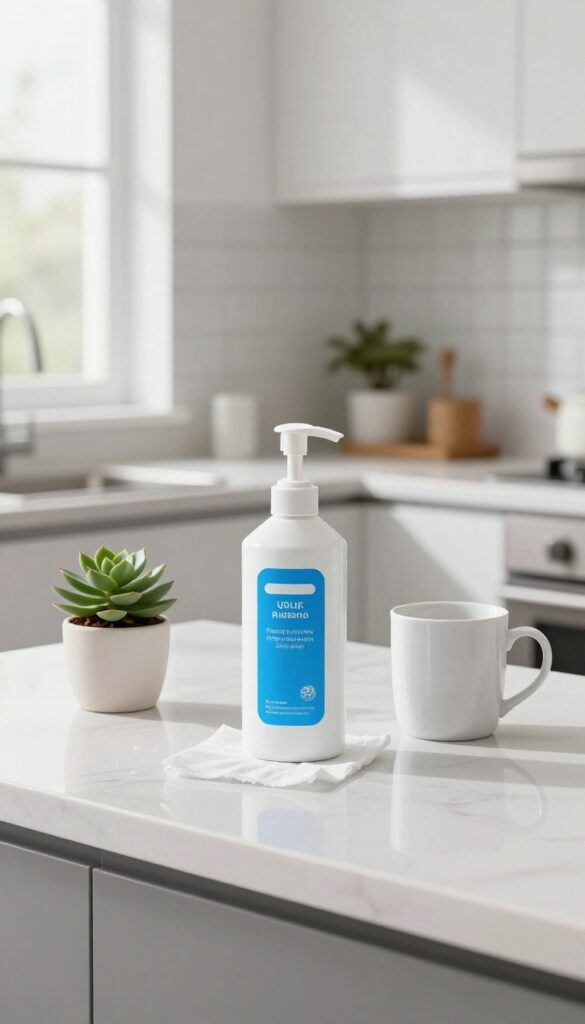
Disinfecting wipes are the ultimate grab-and-go solution for killing germs on high-touch surfaces. Unlike sprays that require a separate cloth, these pre-moistened wipes let you clean and disinfect in one step. Keep a canister in the kitchen and bathroom for quick sanitizing of light switches, remotes, and doorknobs.
Where To Keep Them
Store a canister in high-traffic areas: kitchen counter, bathroom vanity, and home office. This makes it easy to wipe down surfaces after cooking, after using the toilet, or before starting work. Avoid storing near heat sources or in direct sunlight to prevent drying out.
How To Use Effectively
For proper disinfection, the surface must stay wet for the contact time listed on the label—usually 4 to 10 minutes. Don't wipe dry immediately. Use one wipe per surface to avoid cross-contamination.
Discard wipes in the trash, not the toilet, as they can clog pipes.
Choosing The Right Wipes
Look for wipes that are EPA-registered and kill common viruses and bacteria. Scented options can leave a fresh smell, but unscented are better for sensitive noses. Some wipes are safe for electronics—check the label before using on screens.
5. Scrub Brush Set
A single scrub brush rarely fits every cleaning task. That's why a set with different sizes is a game-changer. You get the right tool for each surface without over-scrubbing or damaging delicate areas.
A scrub brush set covers everything from bathroom tiles to kitchen sinks. The large brush handles big areas quickly, the medium one fits standard sinks, and the small detail brush reaches grout lines and corners. Nylon bristles are tough on grime but gentle on surfaces.
Look for brushes with ergonomic handles and a comfortable grip to reduce hand fatigue during longer cleaning sessions.
Large Brush For Tubs And Tiles
The largest brush in the set is your go-to for bathtubs, shower walls, and floor tiles. Its wide head covers more surface area with each pass, cutting down scrubbing time. Stiff but flexible bristles dislodge soap scum and hard water stains without scratching acrylic or porcelain.
Medium Brush For Sinks And Counters
A medium brush is perfect for kitchen and bathroom sinks. It fits comfortably in your hand and reaches into the basin's curves. Use it with a gentle cleaner to remove food residue, toothpaste splatters, and everyday grime.
It's also great for scrubbing countertops around the sink area.
Small Detail Brush For Grout And Corners
The smallest brush tackles the tight spots that larger brushes miss. Its narrow head slides into grout lines, around faucet bases, and along window tracks. The pointed bristles work deep into crevices to lift embedded dirt.
This brush is indispensable for keeping tile grout looking clean and bright.
6. Toilet Bowl Cleaner
A toilet bowl cleaner is one of those products you don't think about until you need it, and then you really need it. A thick gel or drop-in tablet that clings to the porcelain and breaks down stains makes all the difference. Pair it with a dedicated toilet brush, and you've got a winning combo for a sparkling throne.
Toilet bowl cleaners come in two main forms: gels that you squeeze under the rim and tablets that you drop into the tank. Gels offer more control and are great for spot-treating stains, while tablets provide continuous cleaning with every flush. Whichever you choose, look for one with bleach or citric acid to tackle hard water rings and mineral deposits.
A dedicated toilet brush with stiff bristles is non-negotiable—it reaches under the rim and scrubs away buildup without scratching the bowl. Store the brush in a holder that allows it to dry between uses to prevent bacteria growth.
Gel Vs. Tablet: Which One Wins?
Gels are ideal for deep cleaning because you can apply them directly to stains and let them sit. Tablets are more hands-off, but they can wear down rubber parts in the tank over time. If you have hard water, a gel with bleach is usually more effective.
For maintenance, tablets are convenient.
How To Use It Right
Squeeze the gel under the rim in a continuous line, then let it sit for at least 10 minutes. Scrub with your toilet brush, paying extra attention to the waterline and under the rim. Flush and admire the shine.
For tablets, just drop one in the tank and replace every month or as directed.
Don't Forget The Brush
Your toilet brush is just as important as the cleaner. Choose one with a sturdy handle and angled bristles to reach under the rim. Replace it every six months or when bristles start to fray.
A holder with drainage keeps things hygienic.
7. Baking Soda
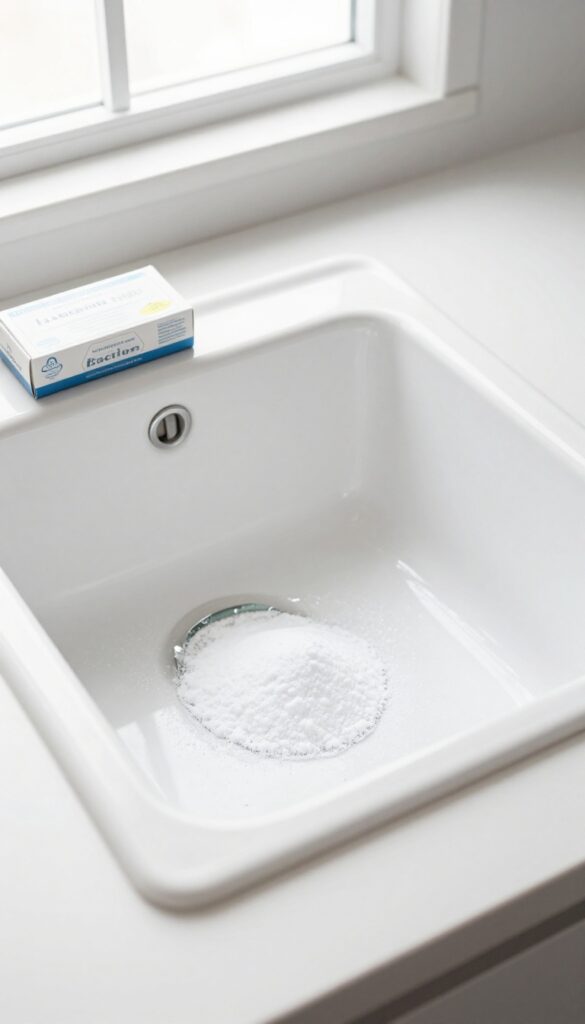
Few pantry staples pull double duty like baking soda. This humble powder is a gentle abrasive that scrubs away grime without scratching surfaces, plus it neutralizes odors instead of just covering them up. Best of all, it costs pennies per use and is completely non-toxic.
Scrubbing Sinks And Tubs
Sprinkle baking soda directly onto a damp sponge or the surface itself. Scrub sinks, bathtubs, and shower tiles to lift soap scum and hard water stains. Rinse thoroughly for a sparkling, residue-free finish.
For extra cleaning power, add a splash of vinegar—just be ready for some fizz.
Deodorizing Carpets And Upholstery
Baking soda absorbs odors trapped in fibers. Sprinkle a generous layer over carpets, let it sit for at least 15 minutes (or overnight for tough smells), then vacuum thoroughly. The same trick works on fabric sofas and mattresses.
It's a simple refresh between deep cleans.
Freshening Trash Cans And Drains
Sprinkle baking soda in the bottom of your kitchen trash can to combat lingering smells. For drains, pour half a cup down the sink followed by hot water—it helps neutralize odors and keeps pipes fresh. Combine with vinegar for a natural drain cleaner that fizzes away minor clogs.
8. White Vinegar
White vinegar is a powerhouse cleaner that costs pennies per use. Its mild acidity dissolves soap scum, hard water deposits, and grease without harsh chemicals. Keep a spray bottle of diluted vinegar under your sink for quick cleanups, and use it full strength on tough spots.
White vinegar is a versatile, non-toxic cleaner that works wonders throughout your home. Mix equal parts vinegar and water in a spray bottle for a streak-free glass cleaner. For stubborn mineral deposits on faucets or showerheads, soak a cloth in full-strength vinegar and wrap it around the affected area for an hour.
Vinegar also deodorizes and sanitizes cutting boards, countertops, and garbage disposals. Just be careful on natural stone surfaces like granite or marble, as the acid can etch them.
Glass And Mirror Cleaner
Mix one part white vinegar with one part water in a spray bottle. Spray onto windows or mirrors and wipe with a lint-free cloth or newspaper for a streak-free shine. This solution cuts through grime and fingerprints without leaving residue.
Hard Water Stain Remover
For faucets, showerheads, and glass shower doors with white, chalky buildup, soak a cloth in undiluted vinegar and wrap it around the stain. Let it sit for 30-60 minutes, then scrub gently with a soft brush. Rinse and dry for a like-new finish.
Kitchen And Bathroom Degreaser
Spray full-strength vinegar on greasy stovetops, range hoods, or soap-scummed tiles. Let it sit for a few minutes, then wipe with a damp cloth. For tough buildup, add a sprinkle of baking soda for gentle abrasion.
9. Spray Bottles
Refillable bottles are the unsung heroes of a flexible cleaning routine. Instead of buying a different spray for every surface, you can mix your own solutions or decant bulk products into reusable containers. A set of three well-labeled bottles covers most daily needs without clutter.
A good spray bottle delivers a fine, even mist without leaking or jamming. Look for adjustable nozzles that let you switch from a narrow stream to a wide spray. Clear or translucent bottles make it easy to see what's inside, and durable trigger mechanisms last through hundreds of uses.
Labeling Matters
A simple label prevents mix-ups between all-purpose cleaner, glass cleaner, and bathroom spray. Use a permanent marker or a label maker, and include the date you mixed the solution. This small step saves you from accidentally spraying vinegar on a granite countertop.
Best Bottle Materials
High-density polyethylene (HDPE) or PET plastic bottles are lightweight and resistant to most household chemicals. Glass bottles work well for acidic solutions like vinegar but can break if dropped. Avoid thin, flimsy bottles that crack or leak after a few refills.
Three-bottle System
Designate one bottle for all-purpose cleaner, one for glass and mirrors, and one for bathroom or degreasing tasks. This simple system covers the majority of your spray needs. Refill them from bulk concentrates to save money and reduce plastic waste.
10. Rubber Gloves
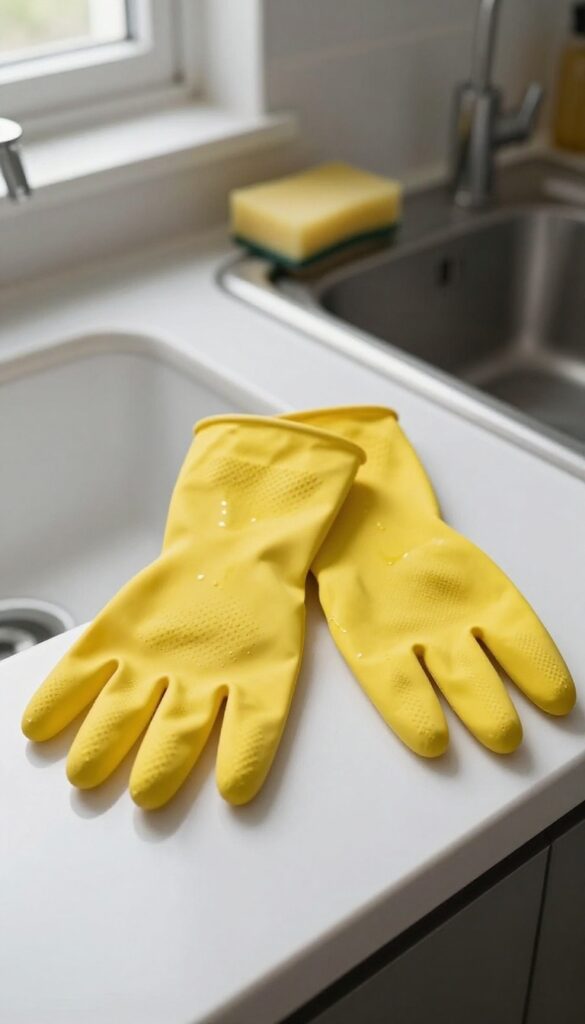
Your hands deserve protection from harsh chemicals, hot water, and grime. A good pair of rubber gloves keeps your skin safe while making cleaning feel less unpleasant. They also give you a better grip on slippery items and prevent your hands from drying out.
Choose The Right Material
Not all rubber gloves are the same. Latex gloves offer great flexibility and comfort, but they can cause allergies for some people. Nitrile gloves are a durable, hypoallergenic alternative that resists punctures and chemicals.
Neoprene gloves provide excellent insulation for hot water tasks. Pick a material that matches your cleaning routine and skin sensitivity.
Get The Right Fit And Grip
Gloves that are too loose slip off and make tasks harder, while tight ones restrict movement. Look for gloves with a cotton or flocked lining inside for comfort and easy on/off. The exterior should have textured palms and fingers for a secure grip on wet dishes, bottles, or sponges.
Some brands offer sizes from small to extra large, so measure your hand before buying.
Caring For Your Gloves
Rinse your gloves thoroughly after each use and hang them to dry with the cuffs folded down. This prevents moisture buildup and bacteria growth. Replace gloves as soon as you notice cracks, holes, or a lingering smell.
A good pair can last several months with proper care, saving you money and keeping your hands safe.
11. Dusting Wand with Extendable Handle
Ceiling corners, ceiling fans, and high shelves collect dust just like everything else, but they're a pain to reach. A dusting wand with an extendable handle solves that problem without dragging out a ladder. The fluffy head traps dust instead of launching it into the air, so you're not just relocating the mess.
This tool turns overhead cleaning from a hassle into a quick swipe. You can adjust the handle length to reach almost any height, and the microfiber or lambswool head grabs dust particles and holds onto them until you wash it out. No more balancing on tiptoes or coughing through a cloud of dust.
Why Extendable Matters
A fixed-length duster limits you to what you can reach from the floor. An extendable handle, typically ranging from 2 to 5 feet, lets you clean ceiling fans, crown molding, and tall bookshelves safely. You can also collapse it for storage in a closet or drawer.
Material Choice: Microfiber Vs. Lambswool
Microfiber wands are washable and great for general dusting. They create static electricity that attracts dust. Lambswool heads are softer and ideal for delicate surfaces like blinds or electronics.
Both trap dust rather than pushing it around, but lambswool tends to hold more before needing a shake.
How To Clean The Wand Head
Most removable heads can be tossed in the washing machine on a gentle cycle. Air dry or tumble dry on low. For lambswool, hand wash with mild soap and let it air dry to keep the fibers fluffy.
Regular cleaning prevents the head from becoming a dust redistribution tool.
12. Vacuum Cleaner with Attachments
A vacuum cleaner is the workhorse of any cleaning routine. But not just any vacuum will do—you need one that comes with the right attachments to handle floors, furniture, and those awkward tight spots. The right tools make the difference between a quick once-over and a deep clean.
Why Attachments Matter
A bare-bones vacuum might handle open floor areas, but it's the attachments that let you clean upholstery, stairs, and baseboards. The crevice tool reaches into gaps between cushions and along baseboards. The brush attachment gently lifts dust from blinds and delicate surfaces.
The upholstery tool removes pet hair and crumbs from sofas and car seats.
What To Look For
When shopping, prioritize a vacuum with a motorized brush roll for carpets and hard floors. Ensure the attachments are easy to switch out and store. Bagless models save money on replacements, but bagged ones often trap more allergens.
Cordless stick vacuums offer convenience for quick pickups, while a canister vacuum provides more power for deep cleaning.
Maintenance Tips
To keep your vacuum performing well, empty the dustbin or replace the bag regularly. Clean the brush roll of hair and debris every few weeks. Wash or replace filters as recommended by the manufacturer.
A well-maintained vacuum lasts longer and picks up better.
13. Mop and Bucket
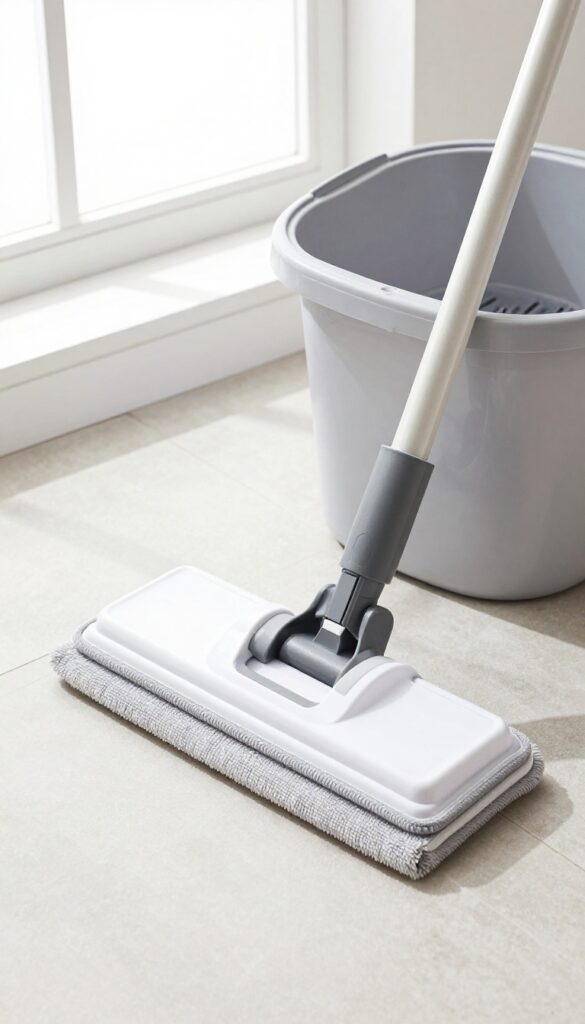
Hard floors need regular mopping to stay clean, but the right setup makes a huge difference. A flat mop with a washable pad is easy to maneuver and dries quickly, so you're not left with streaks or standing water. Pair it with a bucket that has a built-in wringer to control how much water you apply, which protects your floors and speeds up the process.
A good mop and bucket combo is essential for keeping tile, vinyl, laminate, and hardwood floors looking their best. Flat mops are superior to traditional string mops because they're easier to rinse, wring, and store. The washable pads can be tossed in the laundry, saving money on disposable refills.
A bucket with a wringer lets you adjust the moisture level, which is key for wood floors that can warp with excess water. Look for a bucket with a sturdy handle and a wringer that operates smoothly with one hand. Some models even have a separate compartment for clean and dirty water, which is a nice upgrade.
Flat Mop Benefits
Flat mops glide under furniture and into corners better than bulky string mops. The microfiber pads trap dust and dirt effectively, and you can use them dry for dusting or damp for mopping. They're lightweight and the pads are machine washable, so you'll save money over time.
Bucket With Wringer
A bucket with a wringer gives you control over how wet your mop is. For hardwood or laminate, you want the pad barely damp. For tile or vinyl, you can use more water.
A wringer that presses the pad firmly ensures you're not leaving puddles that can damage floors or create slip hazards.
Choosing The Right Combo
Look for a mop with a swivel head for easy maneuverability and a telescopic handle to adjust to your height. The bucket should have a non-slip bottom and a capacity that's large enough to hold several gallons of water. Some sets include a scrub brush on the bucket for spot cleaning.
14. Stainless Steel Cleaner
Stainless steel appliances and sinks look great when they're clean, but they show every fingerprint and water spot. A dedicated stainless steel cleaner cuts through grease and grime while leaving a protective, streak-free shine. It's a small investment that keeps your kitchen looking polished with minimal effort.
A good stainless steel cleaner does more than just wipe away smudges. It helps maintain the finish and prevents discoloration over time. Whether you choose a spray or pre-moistened wipes, the key is using a product designed specifically for stainless steel rather than a general all-purpose cleaner, which can leave residue or dull the surface.
Spray Vs. Wipes
Sprays are economical and let you control how much product you use. They work well for large surfaces like refrigerator doors and range hoods. Wipes are convenient for quick touch-ups on smaller areas like the microwave or toaster.
Both are effective, so pick based on your routine.
How To Apply For Best Results
Always spray onto a microfiber cloth, not directly on the surface, to avoid overspray on surrounding areas. Wipe in the direction of the grain to prevent streaks. For stubborn spots, let the cleaner sit for a few seconds before buffing.
Finish with a dry section of the cloth for a mirror-like shine.
What To Avoid
Stay away from abrasive pads, bleach-based cleaners, and anything with chlorine. These can scratch or pit the stainless steel. Also, avoid paper towels, which can leave lint.
Stick with soft microfiber cloths for the best results.
15. Grout Brush
Grout lines are notorious for trapping dirt and turning dingy long before the rest of the tile looks dirty. A dedicated grout brush with stiff bristles makes quick work of that buildup without damaging the surrounding tile. Pair it with a simple baking soda paste or a commercial grout cleaner, and you can restore your bathroom or kitchen tile to like-new condition.
Why A Dedicated Brush Matters
A regular sponge or cloth just can't get into the porous texture of grout. The stiff bristles of a grout brush dig deep into the grooves to dislodge embedded dirt, soap scum, and mildew. Using a brush also lets you apply targeted pressure exactly where it's needed, so you're not scrubbing the entire tile surface unnecessarily.
How To Use It Effectively
For best results, wet the grout lines first, then apply a paste of baking soda and water or a commercial grout cleaner. Let it sit for a few minutes to break down the grime. Scrub with the grout brush using short, firm strokes along the grout lines.
Rinse with water and wipe away any residue. For stubborn stains, add a little hydrogen peroxide to the baking soda paste.
Choosing The Right Brush
Look for a brush with a comfortable handle and stiff, durable bristles. A brush with a slight angle at the head gives you better leverage. Some brushes come with a scraper on the end for removing loose caulk or tough spots.
Avoid brushes with bristles that are too soft—they won't get the job done.
16. Lint Roller
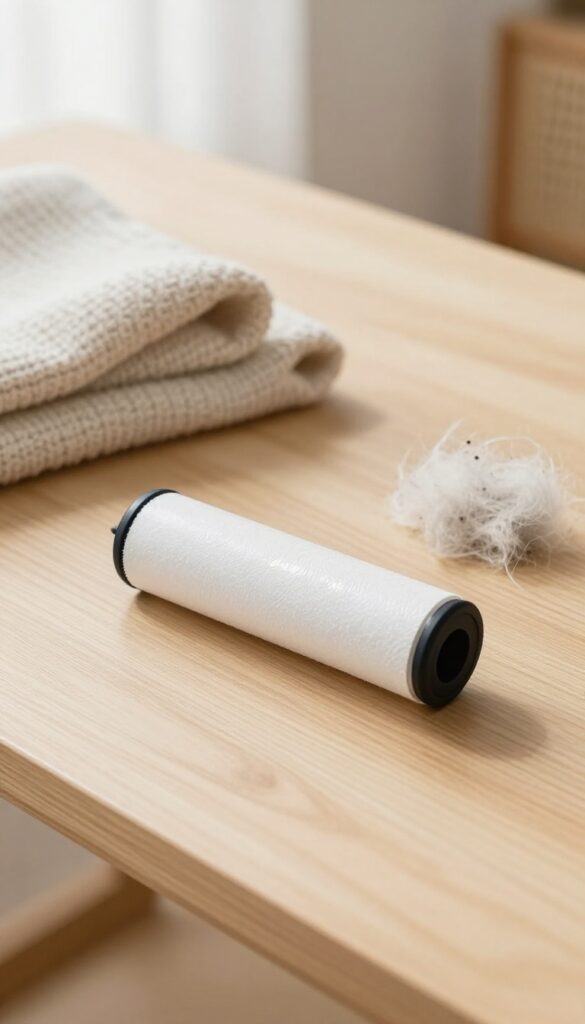
Pet hair and lint have a way of showing up everywhere. A lint roller is the quickest fix for freshening up furniture, clothing, and lampshades without pulling out the vacuum. Keep one in the laundry room and another in the living area so you're never far from a quick touch-up.
Where To Keep Them
Stash a lint roller in the laundry room for de-linting clothes before folding. Keep another in the living room or entryway for spot-cleaning couches, car seats, or throw pillows. Having one nearby means you'll actually use it.
What To Look For
Choose a roller with strong adhesive and a wide surface area to cover more ground. Refillable handles are more economical and eco-friendly than disposable ones. Some rollers have extra-sticky sheets for heavy pet hair or lint-free options for delicate fabrics.
Beyond Pet Hair
Lint rollers aren't just for fur. Use them to pick up dust from lampshades, crumbs from tablecloths, or loose fibers from blankets. They're also great for removing glitter, sawdust, or small debris from upholstery.
17. Dish Soap
Dish soap is the unsung hero of the cleaning cabinet. A few drops of grease-cutting liquid can clean far more than just plates and cups. It’s gentle enough for delicate fabrics yet tough enough to break down stubborn grime.
Keep a bottle of quality dish soap under every sink. It’s one of the most versatile cleaners you’ll own, and it costs pennies per use.
Pretreat Stains
Dab a drop of dish soap directly on grease stains on clothing or upholstery. Let it sit for five minutes, then blot with a damp cloth. The surfactants lift oil from fibers, making wash day much easier.
Hand Wash Delicates
Use a teaspoon of dish soap in a basin of cool water to hand-wash silk, wool, or lingerie. It cleans without the harsh enzymes found in many laundry detergents, preserving fabric softness.
Make A Gentle All-purpose Cleaner
Mix two tablespoons of dish soap with a quart of warm water in a spray bottle. This solution works on countertops, stovetops, and even greasy cabinet doors. Rinse with a damp cloth afterward to avoid streaks.
18. Hydrogen Peroxide
You might already have a brown bottle of hydrogen peroxide in your medicine cabinet, but it deserves a spot in your cleaning caddy too. This simple liquid is a powerful disinfectant and stain remover that works on everything from countertops to fabrics. It's especially effective on organic stains like blood, sweat, or wine, breaking them down without harsh chemicals.
Disinfecting Surfaces
Pour 3% hydrogen peroxide into a spray bottle and use it to disinfect kitchen counters, cutting boards, and bathroom fixtures. Let it sit for a few minutes before wiping clean. It kills bacteria and viruses without leaving toxic residue, making it safe around food prep areas.
Stain Removal On Fabrics
For fresh blood or wine stains, pour hydrogen peroxide directly onto the spot and let it fizz for a minute. Blot with a clean cloth, then rinse with cold water. Repeat if needed.
It lifts stains without bleaching most colored fabrics, but always test on an inconspicuous area first.
Storage Tips
Hydrogen peroxide breaks down when exposed to light, so always keep it in its original dark bottle or an opaque container. Store it in a cool, dark place and replace it every few months for maximum effectiveness. A simple squeeze bottle with a narrow tip helps apply it precisely on stains.
19. Squeegee
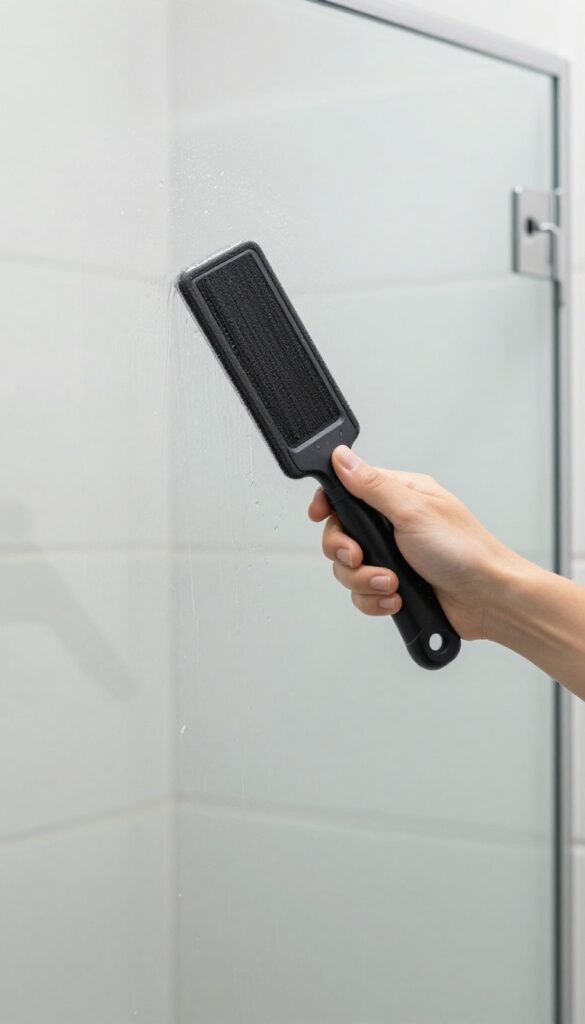
After a hot shower, your glass door and mirror are covered in water droplets that dry into hard mineral spots. A squeegee wipes them away in seconds, keeping surfaces clear and reducing how often you need to deep-clean. It's a small tool with a big payoff for anyone who wants streak-free glass without extra scrubbing.
Using a squeegee is the fastest way to prevent hard water stains and soap scum on shower enclosures and mirrors. A quick pass after each shower removes nearly all moisture, so minerals don't have a chance to bond with the glass. This simple habit can cut your bathroom cleaning time in half and keep your shower looking new.
Pick The Right Size
A 12-inch squeegee works well for standard shower doors and bathroom mirrors. Larger windows may need a 14- or 18-inch blade. Look for one with a rubber blade that's replaceable, so you can refresh it when it starts to leave streaks.
Use It Correctly
Start at the top corner and pull the squeegee across in a straight line, overlapping each stroke slightly. Wipe the blade with a dry cloth after every few passes to avoid redepositing water. Finish by wiping the bottom edge with a towel to catch drips.
Store It Conveniently
Keep a squeegee inside the shower or hang it on a hook near the glass. A suction cup holder on the tile or a small over-the-door hook works well. If it's easy to grab, you'll actually use it every time.
20. Trash Bags (Various Sizes)
Trash bags might seem like a no-brainer, but having the right sizes for different rooms makes a big difference. Kitchen bins need heavy-duty bags, while small wastebaskets in bathrooms or offices call for a snug fit. Stocking up on a range of sizes prevents overfilling, leaks, and the frustration of a bag that's too big or too small.
Start with kitchen bags that are thick and tear-resistant, ideally 13-gallon or larger. For bathrooms and bedrooms, 4- to 8-gallon bags work well for smaller bins. Keep a box of each size in a convenient spot so you can grab the right one without hunting.
Look for bags with drawstrings or tie handles for easy removal and closure.
Kitchen Duty
Your kitchen trash can gets the most action. Choose bags labeled as strong or heavy-duty, with a thickness of at least 1. 5 mils.
These resist punctures from sharp food scraps and hold up to wet waste. A good seal at the bottom prevents leaks that can make a mess of your bin.
Bathroom And Office
Smaller bins need smaller bags. Using a kitchen bag in a bathroom wastebasket wastes space and looks sloppy. Opt for 4- to 8-gallon bags that fit standard small cans.
They're easier to tie and remove, and they keep the bin clean longer.
Smart Storage
Keep your bag stash organized. Store boxes of different sizes in a pantry or under the sink. If you have room, a bag dispenser or a simple bin can keep them tidy.
This way, you never have to guess which size fits where.
21. Cleaning Caddy
You know the drill: you're halfway through cleaning the bathroom and realize you left the spray bottle in the kitchen. A cleaning caddy solves that by keeping everything you need in one portable container. Load it with your go-to supplies and carry it from room to room without backtracking.
It's a simple upgrade that makes your whole routine faster and less frustrating.
What To Put In It
Your caddy should hold the basics: all-purpose cleaner, glass cleaner, microfiber cloths, scrub brush, and gloves. Add specialty items like a toilet bowl cleaner or stainless steel polish if you use them often. The key is to keep it light enough to carry easily but stocked for the rooms you clean most.
Choosing The Right Caddy
Look for a caddy with a sturdy handle and compartments that keep bottles upright. Plastic caddies are lightweight and easy to wipe down, while metal or fabric options offer a more stylish look. A removable tray or divided sections help you organize smaller items like sponges and scrub pads.
Room-to-room Efficiency
Once you have a caddy, you can clean each room in one go without running back to the closet. Start in the kitchen, then move to the bathroom, then the living areas. Refill supplies as needed, and you'll cut your cleaning time by a noticeable margin.
22. Magic Eraser
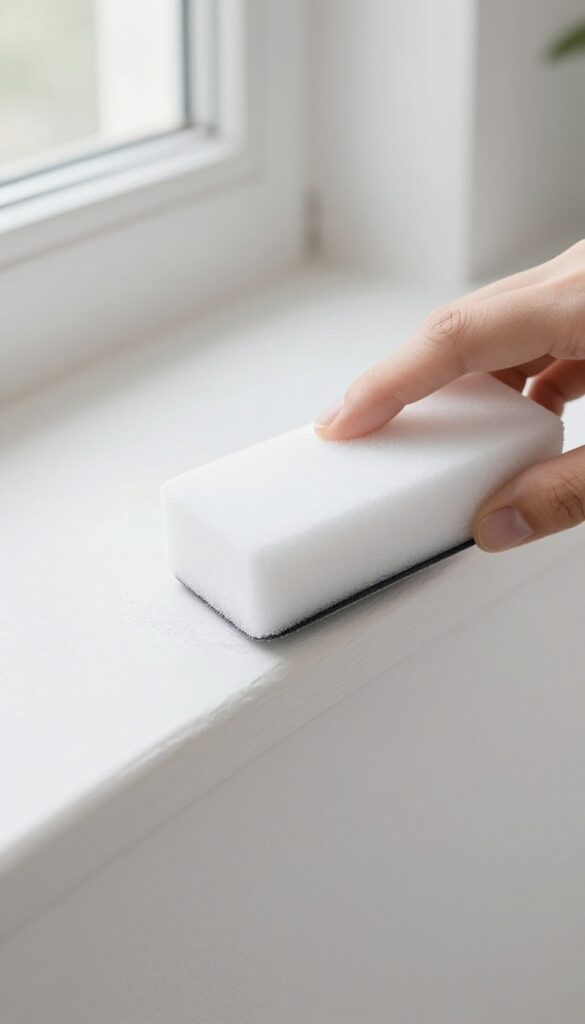
Scuff marks on walls, crayon art on baseboards, and mystery stains on white sneakers—these annoyances used to mean scrubbing until your arm hurt or repainting. Enter the magic eraser, a melamine foam block that works like ultra-fine sandpaper. It removes stubborn marks without harsh chemicals, making it a lifesaver for quick touch-ups.
A magic eraser is essentially a block of melamine foam that, when dampened, creates a mild abrasive action. It's perfect for cleaning surfaces where you can't use liquid cleaners or scrubbing pads. Just wet it, squeeze out excess water, and gently rub the stain.
The foam wears down as you use it, so you're always working with a fresh abrasive surface. It's especially effective on painted walls, baseboards, and even scuffed shoes.
Where It Shines
The magic eraser is unbeatable for removing scuff marks from shoes and walls. It also lifts crayon, marker, and pencil marks from painted surfaces and even some furniture. Use it on light switches, door frames, and baseboards to erase everyday grime.
It can even clean the gunk off stovetops and kitchen counters without scratching.
How To Use It Right
Always test on an inconspicuous area first, especially on painted or glossy surfaces. Wet the eraser until it's damp but not dripping. Gently rub the stain in a circular motion—don't press hard, or you might damage the finish.
The eraser will disintegrate as you use it. Cut off the worn part to expose fresh foam for stubborn spots.
What To Avoid
Don't use magic erasers on non-stick cookware, stainless steel appliances (it can dull the finish), or high-gloss paint. They can also damage wood finishes, so stick to painted or sealed surfaces. And never use them on skin—the abrasive foam can cause irritation.
23. Wood Cleaner or Polish
Wood surfaces add warmth to a home, but they need the right care to stay beautiful. A good wood cleaner or polish removes dust and grime while conditioning the finish. The key is choosing a product that nourishes without leaving a sticky residue that attracts more dirt.
Not all wood cleaners are created equal. Many all-purpose sprays can strip or dull the finish over time. A dedicated wood cleaner is formulated to gently clean and protect, extending the life of your furniture and floors.
Why Avoid Silicone-based Polishes
Silicone-based polishes create a slick, shiny layer that can build up with repeated use. This buildup is difficult to remove and can make refinishing or repairing the wood much harder. Over time, the wood may look cloudy or feel greasy.
Stick to water-based or natural oil polishes that absorb into the wood and condition it from within.
How To Choose The Right Product
Look for a cleaner labeled for your specific wood type—finished, unfinished, or waxed. For most modern furniture with a polyurethane finish, a gentle spray cleaner works well. For antique or oiled wood, a polish with natural oils like lemon or tung oil can restore moisture.
Always test in an inconspicuous spot first.
Application Tips For Best Results
Spray the cleaner onto a soft, lint-free cloth, not directly onto the wood. Wipe in the direction of the grain to avoid streaks. For floors, use a microfiber mop with a wood-safe cleaning solution.
Avoid soaking the surface; a damp cloth is enough. Buff lightly with a dry cloth for a natural sheen.
24. Carpet Stain Remover
A good carpet stain remover is like having a reset button for your floors. Whether it's a splash of red wine or a muddy paw print, the right spray or foam can lift fresh stains before they set. The key is acting fast and using a product that breaks down the mess without damaging the fibers.
How It Works
Most carpet stain removers use enzymes or surfactants to break down the stain's molecules. Enzymes digest organic stains like food or pet accidents, while surfactants lift dirt and dye from the fibers. Some formulas also include oxygen bleach for tougher marks.
Always check the label to make sure it's safe for your carpet type.
Application Tips
Blot, don't rub. Rubbing pushes the stain deeper and can fray the carpet. Start from the outside of the stain and work inward to prevent spreading.
Apply the remover, let it sit for the recommended time, then blot with a clean cloth. Repeat if needed. For upholstery, test on a hidden area first.
When To Call A Pro
If a stain has dried or set for days, a store-bought remover might not cut it. Deep-set stains, large areas, or delicate fabrics like silk may need professional steam cleaning. For everyday spills, though, a quality carpet stain remover is your best first line of defense.
25. Storage Bins and Labels
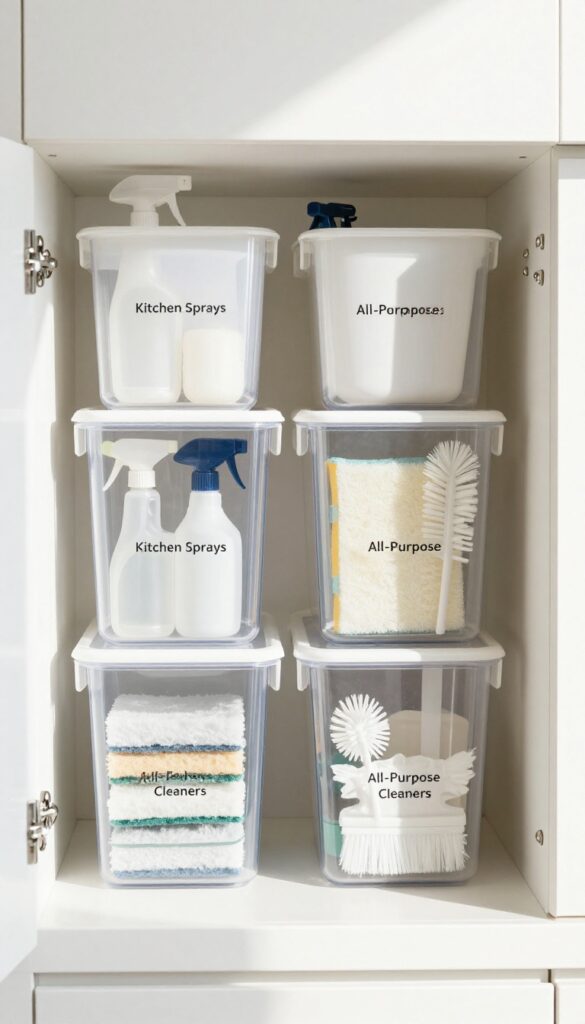
Organization is the secret to a smooth cleaning routine. When every spray, sponge, and brush has a designated spot, you waste zero time hunting for what you need. Clear storage bins paired with simple labels turn a messy cabinet into a system that works for everyone in the house.
Clear bins let you see at a glance what's inside, so you can grab the glass cleaner without pulling out three other bottles. Labels go a step further by telling family members exactly where to return items. This system cuts down on clutter and makes restocking obvious—when the all-purpose spray bin looks empty, you know it's time to buy more.
Choose The Right Bins
Go for clear plastic bins with lids that stack neatly. Open bins work for frequently used items, but lidded versions keep dust off rarely used supplies. Measure your cabinet or shelf space before buying to ensure a snug fit without wasted gaps.
Label Like A Pro
Use a label maker or simple chalkboard stickers for a clean look. Write categories like "Bathroom Cleaners, " "Kitchen Sprays, " or "Mops & Cloths. " Involve the whole household so everyone knows the system—and sticks to it.
Maintain The System
Once a month, pull out each bin, wipe it down, and toss any empty bottles or expired products. Rearrange as your cleaning arsenal changes. A quick reset keeps the system from turning into a junk drawer on shelves.
FAQ
How often should I replace microfiber cloths?
Replace them when they start to smell musty or lose their ability to pick up dust, usually after 3-6 months of regular use. Wash them separately in warm water without fabric softener.
Can I mix vinegar and baking soda for cleaning?
Yes, but use them separately for best results. Combining them creates a fizzy reaction that can help loosen debris, but the cleaning power is mostly from the physical agitation, not a chemical boost.
What's the best all-purpose cleaner for granite countertops?
Use a pH-neutral cleaner specifically designed for stone. Avoid vinegar, lemon, or other acids that can etch the surface. A mild dish soap and water solution is also safe.
How do I remove hard water stains from glass?
Soak a cloth in white vinegar and lay it on the stain for 15 minutes, then scrub with a non-abrasive pad. Rinse and dry with a squeegee. For stubborn spots, use a commercial hard water remover.
Is it necessary to use different cleaners for different rooms?
Not necessarily. A good all-purpose cleaner works in most areas, but you may want a dedicated glass cleaner, toilet cleaner, and wood polish for specific surfaces. Disinfecting wipes are handy for bathrooms and kitchens.
Conclusion
Stocking your home with these 25 cleaning supplies means you're ready for almost any mess. You don't need a huge collection—just the right tools that work hard and last. Focus on quality over quantity, and your cleaning routine will feel less like a project and more like a simple habit.
Start with the basics and add specialty items as you discover specific needs. A well-chosen set of supplies saves time, reduces frustration, and keeps your home looking its best with minimal effort. Happy cleaning!