13 Unique No-Glass Shower Ideas with Smart, Practical Style
Ditching the glass enclosure doesn't mean sacrificing style or splashing water everywhere. These 13 no-glass shower ideas prove you can achieve an open, airy feel while keeping your bathroom practical and easy to clean.
From sleek half-walls to clever plant partitions, each option brings its own character and solves common layout challenges. Whether you're renovating a compact space or dreaming of a spa-like wet room, you'll find a smart alternative that fits your taste and budget.
Let's explore how to make your shower feel bigger, brighter, and beautifully unique.
1. Open Walk-In Shower with a Linear Drain
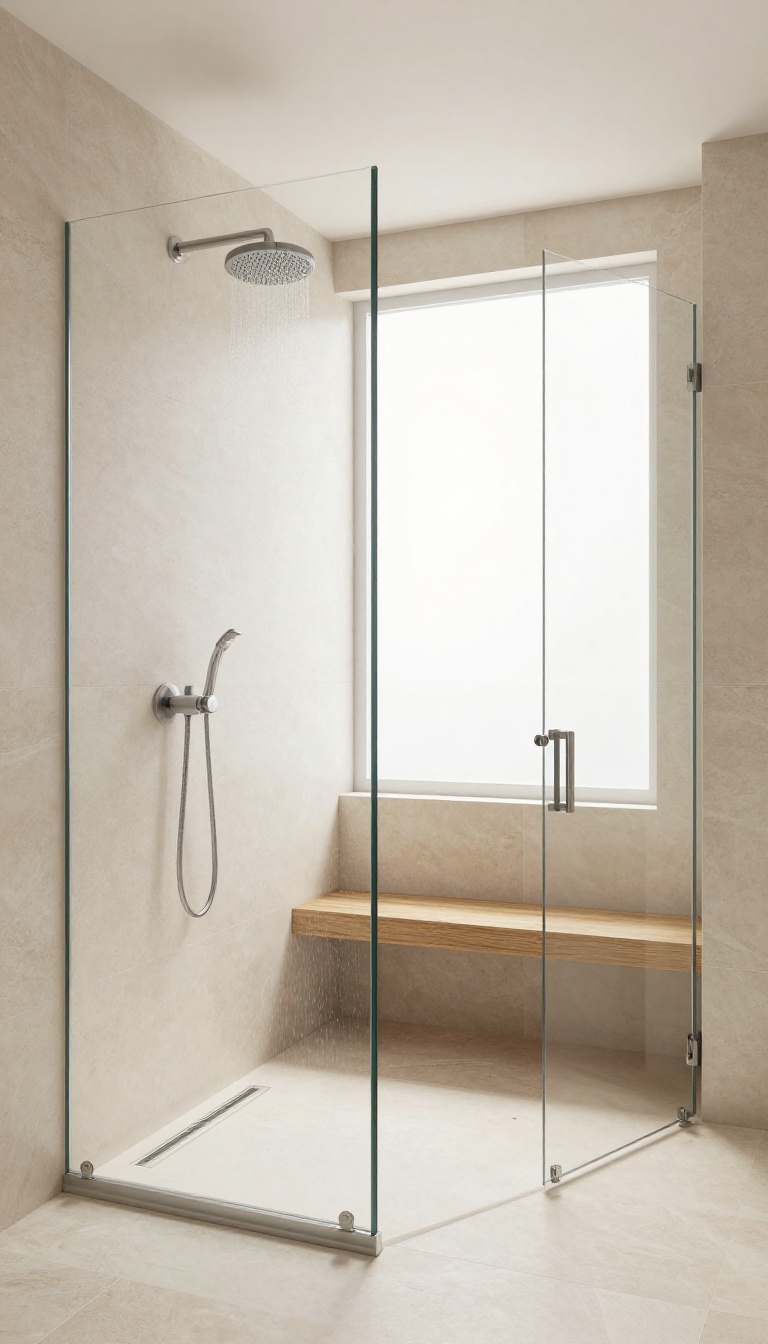
An open walk-in shower with a linear drain is the ultimate no-glass solution for a clean, contemporary look. The long, narrow drain sits flush with the floor, capturing water efficiently across the entire width of the shower area. Because the drain handles the water flow so well, you can skip the door entirely, creating a seamless, barrier-free entry that feels open and airy.
This design works beautifully in both small and large bathrooms. In a compact space, removing the glass enclosure instantly makes the room feel bigger and less cluttered. In a larger bathroom, an open walk-in shower can become a stunning focal point, especially when paired with natural stone or large-format tiles.
The linear drain also simplifies cleaning—no tracks or hinges to scrub, just a sleek, removable grate.
Why A Linear Drain Works
Unlike a traditional center drain, a linear drain is installed along one edge or in the middle of the shower floor. This allows for a perfectly flat, level entry, which means no curb or step to trip over. The drain’s long channel collects water quickly, preventing puddles from spreading onto the bathroom floor.
It’s also easier to slope the tile in one direction, making installation simpler and more precise.
Design Options To Consider
You can position the linear drain against the back wall, under the showerhead, or even in the center for a truly wet-room feel. Pair it with a rainfall showerhead for a spa-like experience, or add a handheld fixture for flexibility. For a minimalist aesthetic, choose a drain grate that matches your tile or opt for a sleek stainless steel finish.
If you’re worried about splashes, a slight slope away from the entry point can help keep water contained.
Practical Tips For Installation
Work with a professional to ensure proper waterproofing and drainage slope. The floor should slope gently toward the linear drain—about 1/4 inch per foot is standard. Consider adding a subtle curb or a slightly raised edge if you prefer some water containment, but the beauty of a linear drain is that it can handle high water flow without one.
Also, think about placement relative to the bathroom door—you don’t want water migrating toward the exit.
2. Half-Wall Shower Partition
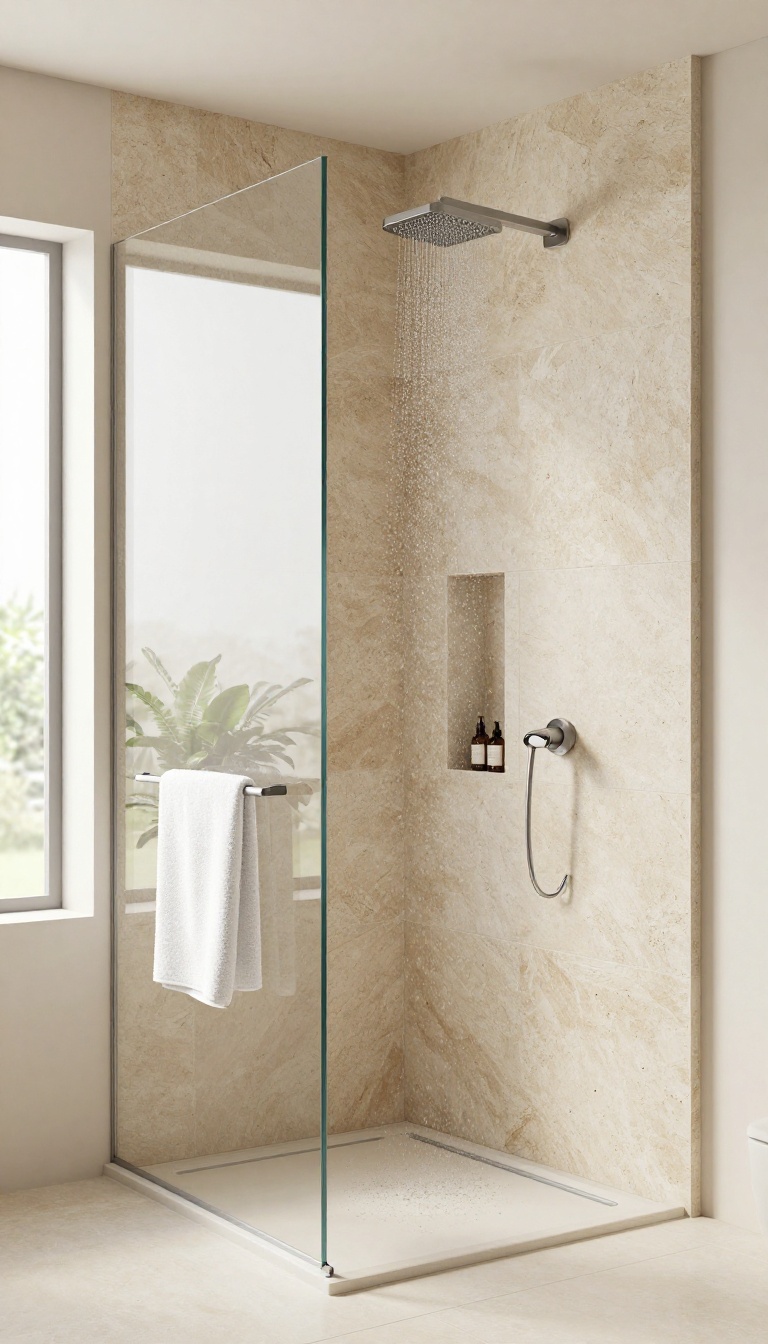
A half-wall partition strikes a perfect balance between openness and practicality. It clearly defines the shower zone while keeping sightlines clear across the room, so the space never feels boxed in. This approach works especially well in larger bathrooms where you want a distinct wet area without the visual weight of a full glass enclosure.
The wall itself can become a design anchor. Whether you choose textured stone, bold tile, or a sleek waterproof panel, it adds character and depth. Pair it with a rainfall showerhead to enhance the spa-like atmosphere, and you have a shower that feels both grounded and airy.
Half-wall partitions are a favorite among designers for their versatility. They can be built to any height, typically between 4 and 5 feet, allowing you to control splash while keeping the upper area open. This makes the shower feel less confined, and it also simplifies cleaning since there’s no glass to wipe down.
Because the wall is solid, you have the freedom to use materials that would be impractical for a glass panel. Natural stone, ceramic tile, or even concrete can add texture and warmth. You can also incorporate built-in niches or shelves into the wall for storing toiletries, eliminating the need for bulky caddies.
From a functional standpoint, a half-wall works best when paired with a sloped floor and a linear drain. The wall contains most of the water, and the drain handles the rest. For extra protection, you can add a small curb or angle the floor slightly toward the drain.
This setup is both stylish and practical, making it a top choice for modern bathrooms.
Choosing The Right Height And Length
The height of your half-wall affects both splash control and sightlines. A 4-foot wall blocks most splashes while still letting light flow over the top. If you prefer more privacy, go taller, but keep in mind that a very tall wall can make the space feel closed in.
Length matters too: extend the wall far enough to overlap the showerhead’s spray pattern, usually at least 3 feet from the back wall, to prevent water from escaping.
Material Ideas That Make A Statement
Since the wall is a permanent fixture, choose materials that enhance the room’s style. Large-format porcelain tiles with a wood-look finish add warmth and are easy to clean. Textured natural stone like slate or travertine creates a spa vibe but requires sealing.
For a minimalist look, consider a solid surface panel in a matte finish. Whatever you pick, make sure it’s waterproof and complements your bathroom’s existing palette.
Pairing With A Rainfall Showerhead
A rainfall showerhead is a natural match for a half-wall design. Mounted overhead, it provides a gentle, immersive flow that stays mostly within the wall’s footprint. To avoid water bouncing off your head and spraying outward, position the showerhead directly above the drain and keep the wall close enough to catch any stray droplets.
This combination creates a luxurious, rain-like experience while keeping your bathroom dry.
3. Curved Shower Rod with a Fabric Curtain
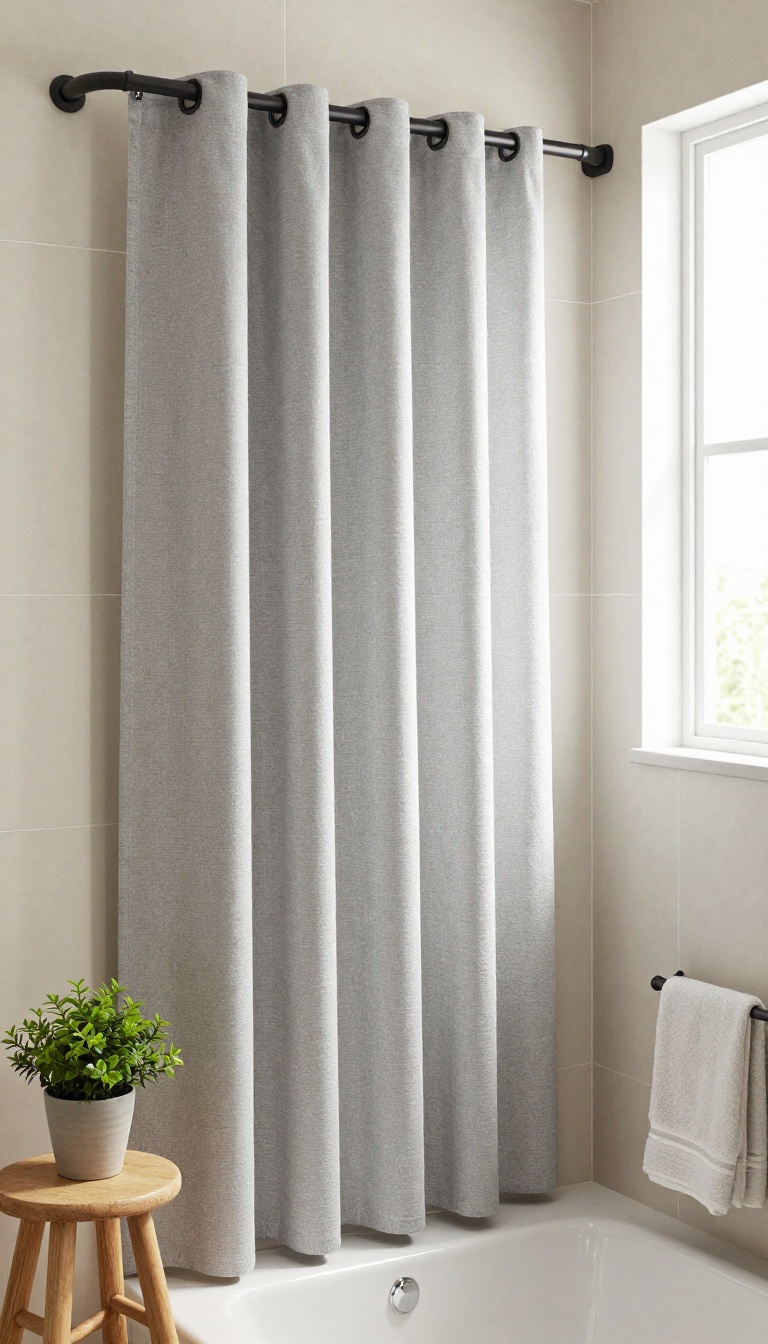
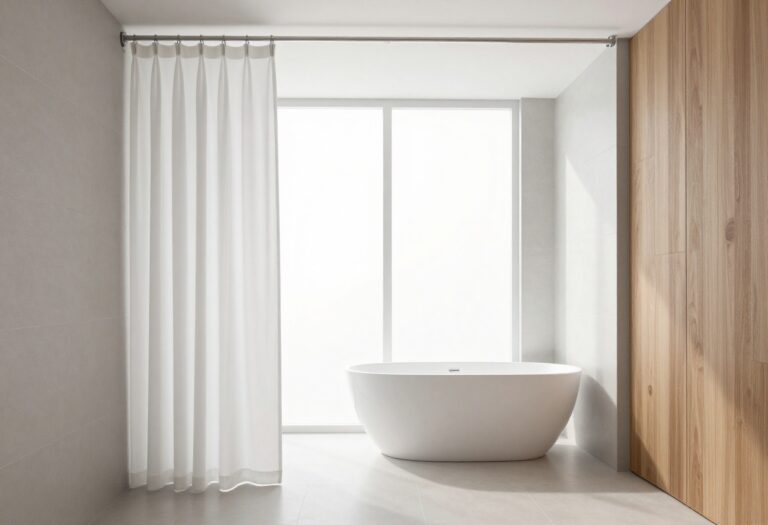
If the thought of a fixed glass panel feels too permanent, a curved rod with a washable fabric curtain gives you flexibility without the commitment. The bend pushes the curtain outward, so you get extra elbow room while you wash, even in a standard tub. Swap the fabric whenever you want a fresh look, and you're not locked into one style for years.
A curved rod works wonders in smaller bathrooms where every inch of space counts. The arc adds roughly 6 to 8 inches of shoulder room compared to a straight rod, making the shower feel more open and less claustrophobic. Pair it with a high-quality fabric liner and a decorative outer curtain to keep water in while adding texture and color to the room.
Because there's no glass to wipe down, you'll save time on cleaning and avoid the streaks that plague traditional enclosures.
Pick The Right Curved Rod
Not all curved rods are created equal. Look for one with a sturdy metal construction—stainless steel or aluminum are best—and a flange that mounts securely to the wall. Tension rods are easier to install, but they can slip if the curve is too aggressive or the curtain is heavy.
For a permanent solution, choose a fixed rod that screws into the wall and supports the weight without sagging.
Choose A Fabric That Works Hard
The curtain itself does the heavy lifting when it comes to keeping water inside. Opt for a water-repellent polyester or a treated fabric that beads up moisture and dries quickly. Avoid heavy cotton or linen unless you line them with a plastic or vinyl liner, as they can stay damp and invite mold.
Look for curtains with rust-proof grommets or reinforced hems so they hang smoothly and last through countless showers.
Style It Without Overdoing It
A fabric curtain is a chance to inject personality into the bathroom. Solid neutral tones keep the space calm and airy, while a subtle pattern or textured weave adds visual interest without overwhelming the room. If you want to change the mood seasonally, simply swap the outer curtain—it's a low-commitment way to refresh the space.
Just remember to keep the liner separate so you can wash it frequently and keep everything fresh.
4. Wet Room with a Freestanding Tub
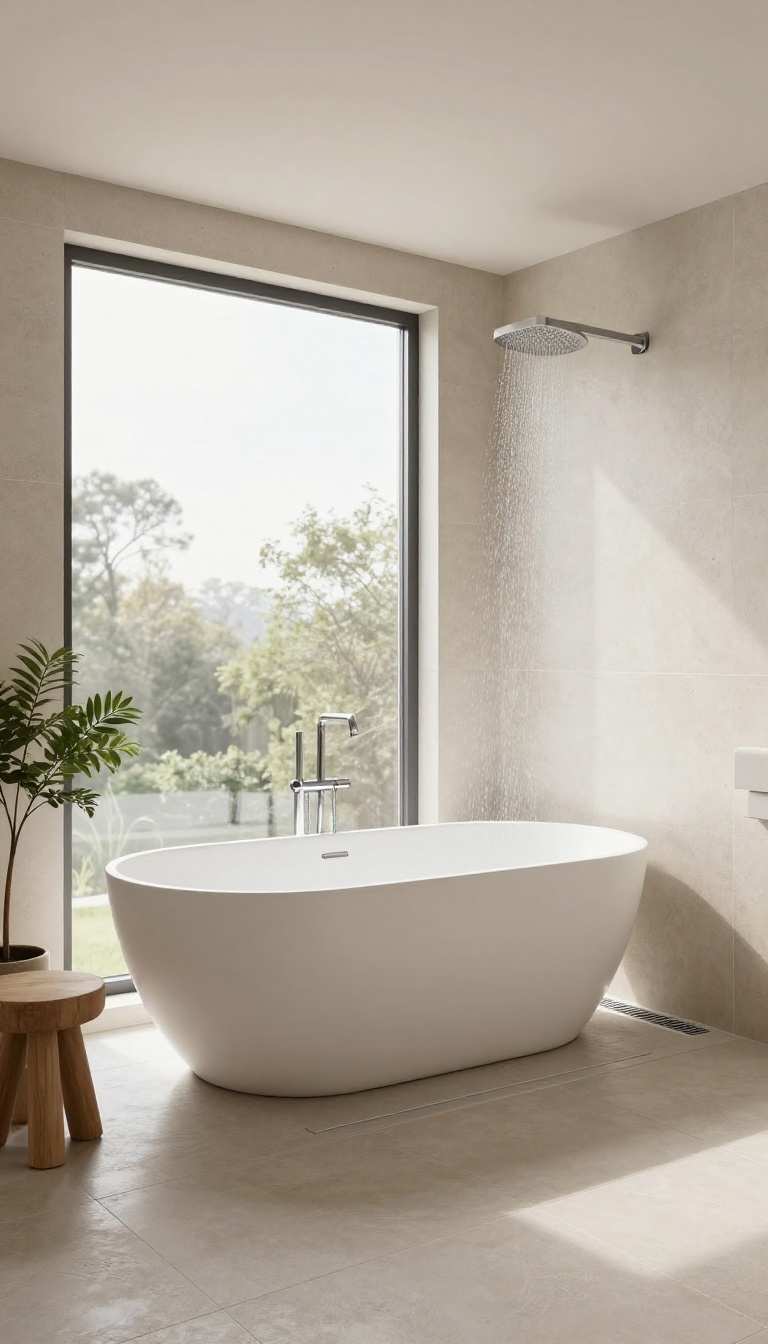
Imagine stepping from a deep soaking tub directly into a rainfall shower without a single door to slide or a panel to wipe down. That's the magic of a wet room. By waterproofing the entire floor and letting it slope toward a discreet drain, you create one seamless, open space that feels like a private spa.
A wet room is the ultimate expression of open, no-glass bathing. The entire floor is treated as a shower floor, so water can flow freely across the tile to a linear or central drain. A freestanding tub sits in the same waterproofed zone, often near a wall or window, while the shower area is just a few steps away.
This setup eliminates the need for any enclosure, letting the room feel larger and more luxurious. It's a bold choice that works best in primary bathrooms with ample square footage, but with clever planning, even medium-sized spaces can pull it off.
Why A Wet Room Works
The open layout creates a continuous visual line that makes the bathroom feel more expansive. Without glass or curtains, there are fewer surfaces to clean and no tracks to scrub. You also gain design freedom, as you can position the tub and shower independently rather than cramping them into separate alcoves.
The result is a hotel-like experience at home, where you can move freely between shower and tub without stepping over a threshold.
Getting The Slope And Drain Right
Proper waterproofing and floor slope are non-negotiable. The floor must slope gently (about 1/4 inch per foot) toward a linear drain or a central point drain. A linear drain along one edge is often easier to integrate and looks sleek.
Work with a professional to ensure the membrane and slope are perfect, because any mistake can lead to pooling water or leaks. The payoff is a worry-free, open space that handles water like a champ.
Design Ideas For A Freestanding Tub Wet Room
Place the tub near a window to enjoy natural light while soaking, and position the shower head on an adjacent wall or ceiling for a rainfall effect. Use large-format tiles or polished concrete to minimize grout lines and enhance the seamless look. Add a bench or niche for toiletries, and consider a glass screen only if you want to protect the tub area from overspray—but that's optional.
Keep the palette light and airy, with warm wood or stone accents to soften the wet-room feel.
5. Barn Door Shower Enclosure
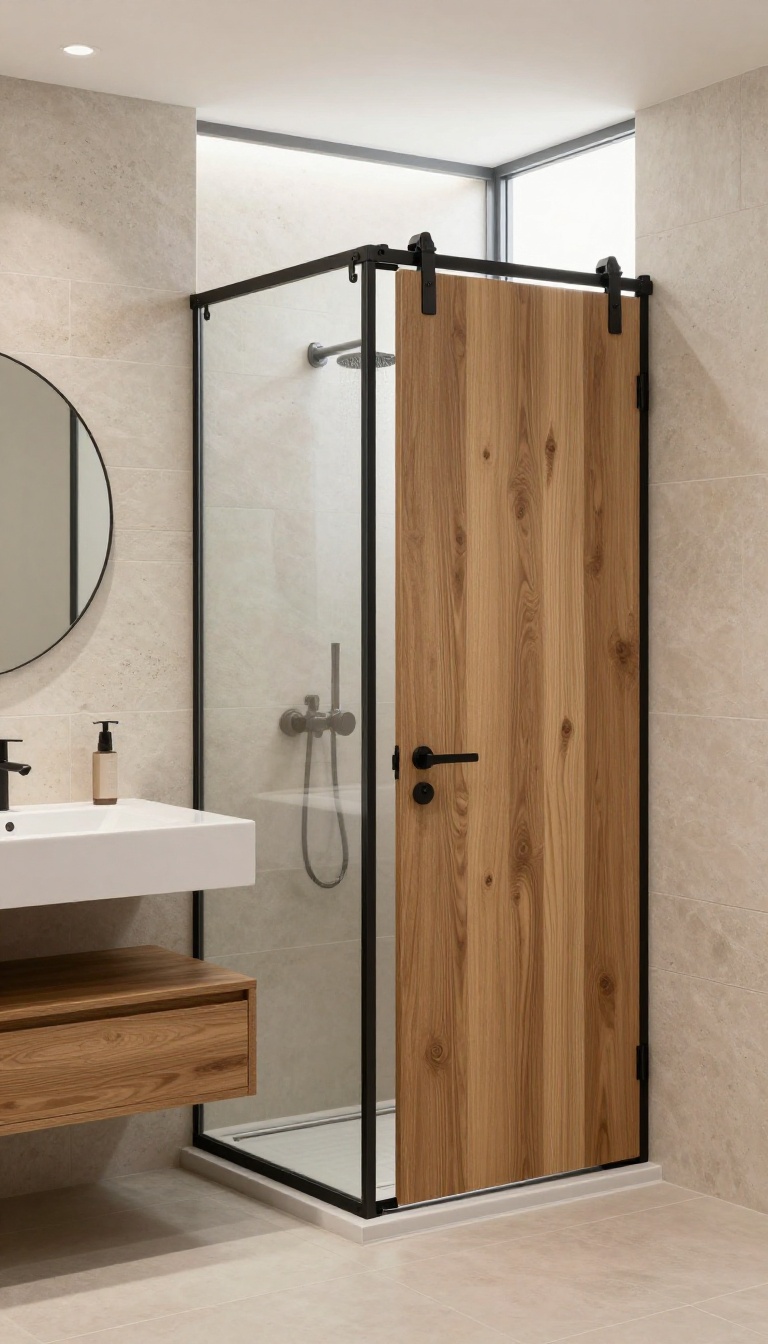
Barn doors aren't just for farmhouse living rooms anymore. Sliding one across your shower opening adds instant character while saving precious floor space that a swinging door would eat up. Plus, you get the flexibility to close it off for privacy or leave it open to keep the room feeling spacious.
A barn door shower enclosure is a smart swap for anyone who wants the function of a door without the maintenance of glass. The key is choosing the right materials and hardware so the door holds up in a humid bathroom environment. When done right, it becomes a standout feature that blends rustic charm with everyday practicality.
Choose Waterproof Materials
Standard wood will warp and swell with constant moisture, so you need something that can handle the steam. Teak is a top pick because it's naturally water-resistant and looks beautiful with a warm honey tone. Treated cedar or moisture-resistant MDF with a high-quality sealant are also solid options.
Avoid softwoods like pine unless they're properly sealed and maintained.
Install A Sturdy Track System
The track does the heavy lifting, so don't skimp on quality. A heavy-duty sliding door track rated for at least 100 pounds will keep the door gliding smoothly without sagging. Make sure it's mounted securely into wall studs or a reinforced header.
Consider a floor guide at the bottom to prevent the door from swinging outward while you're using the shower.
Balance Privacy And Openness
One of the best parts of a barn door is that you control the vibe. Slide it fully closed for a private shower, or leave it halfway open to let light in and keep the room feeling airy. You can even add a small gap at the top or bottom for ventilation.
If you want extra privacy, choose a solid door or add a frosted film to the wood.
Style It To Match Your Bathroom
Barn doors come in all styles, so you can tailor the look to your space. A reclaimed wood door with black iron hardware screams farmhouse charm, while a sleek white or gray door with minimal track fits a modern aesthetic. You can also paint the door to match your cabinetry or add a mirror on the outside for a functional twist.
6. Floor-to-Ceiling Tile Screen
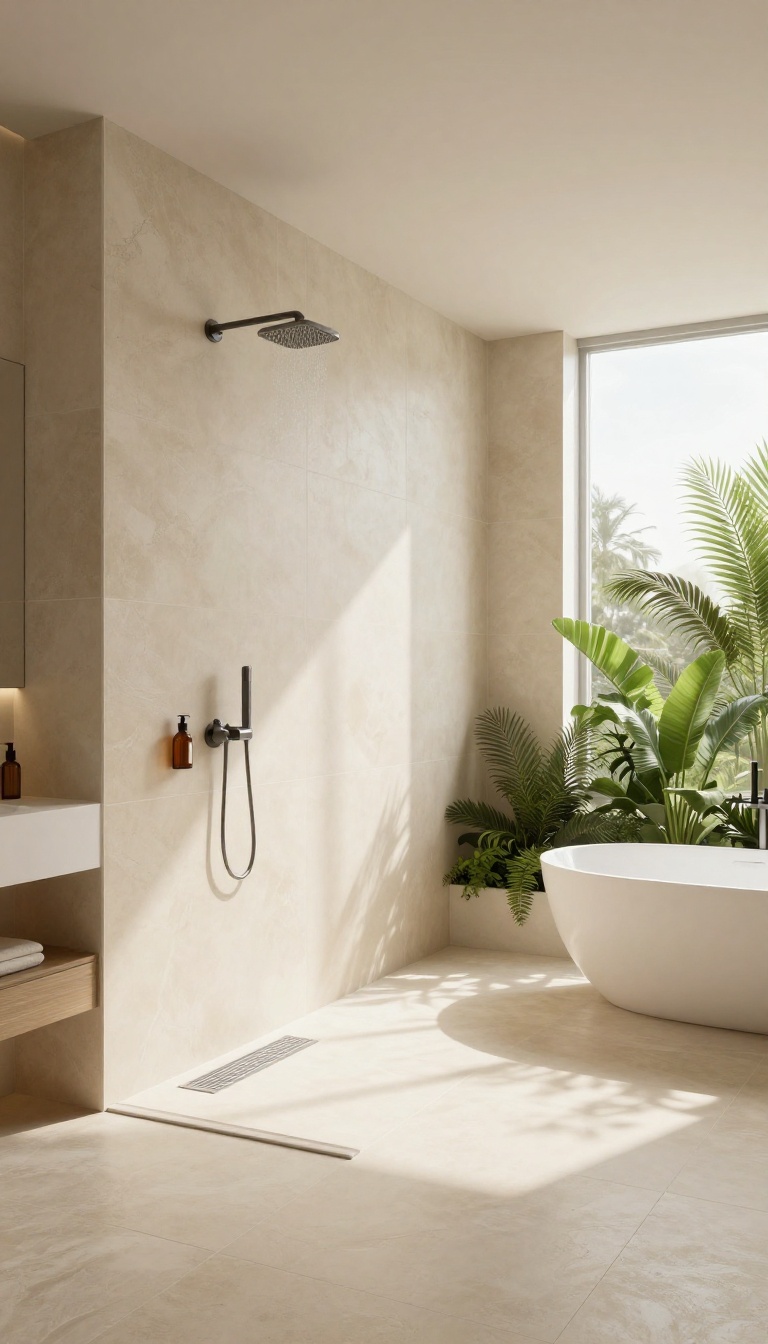
A floor-to-ceiling tile screen is a bold, architectural way to separate your shower without a single piece of glass. It can be a full wall that creates a private nook or a partial one that leaves the top open for light and airflow. The result is a seamless, sculptural look that feels built-in and intentional.
Tile screens work especially well in wet rooms or large bathrooms where you want a clear visual anchor. Because the screen is tiled to match your walls or floor, it blends in effortlessly, making the space feel larger rather than chopped up. Plus, tile is a breeze to wipe down—no streaks, no water spots, just a quick squeegee now and then.
Why Choose A Tile Screen?
Unlike glass, a tile screen never fogs up or shows soap scum. It also adds texture and color to your bathroom, turning a functional divider into a design feature. You can use large-format tiles for a modern, minimal look or patterned tiles for a touch of personality.
The solid surface also gives you a place to mount shelves or niches for shampoo and soap.
Design Ideas For Your Tile Screen
One popular approach is a half-wall that extends from the floor to about shoulder height, leaving the top open for an airy feel. For more privacy, go floor-to-ceiling with a narrow opening at the side. You can also curve the screen for a softer, organic shape.
If you're worried about splashes, add a slight slope to the floor or a linear drain right at the edge.
Installation And Maintenance Tips
A tile screen requires a solid base, usually a framed wall or concrete block, so plan it during construction or a major remodel. Waterproofing is key—use a membrane behind the tile to prevent moisture from seeping through. For cleaning, a mild detergent and a soft brush are enough to keep grout looking fresh.
Seal the grout yearly to avoid stains.
7. Plant Partition for a Natural Vibe
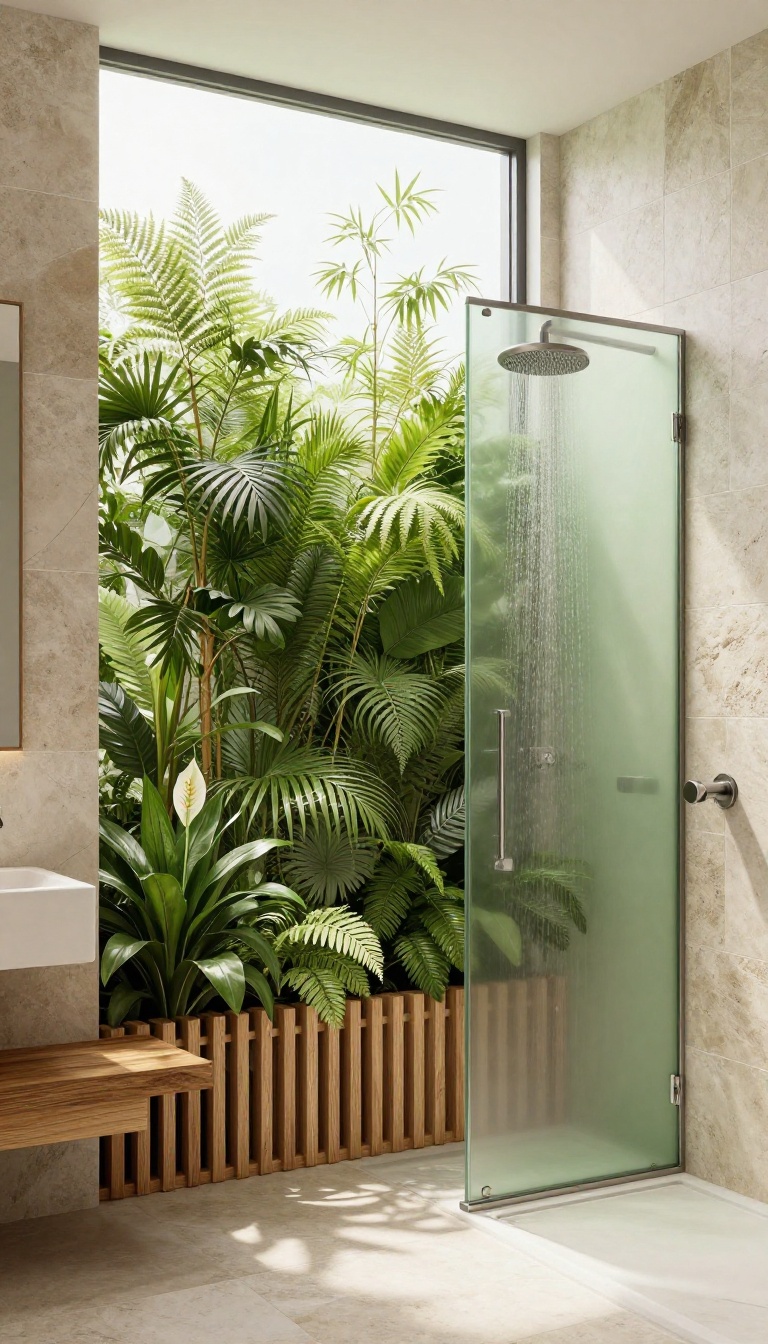
A living wall of greenery can do more than just look stunning—it can actually define your shower space without a single pane of glass. If you’re drawn to biophilic design or simply love the idea of showering surrounded by lush foliage, this option brings a fresh, organic feel to your bathroom. The trick is to choose the right plants and set up proper drainage so your green partition thrives in a steamy environment.
With a bit of planning, you can turn your daily rinse into a mini retreat that feels like an outdoor rain shower.
Picking The Right Plants
Not every plant can handle the constant humidity and occasional splash of soapy water. Go for species that love moisture and don’t mind low light if your bathroom lacks windows. Bamboo, ferns, and peace lilies are all solid choices—they’re resilient, grow well in damp conditions, and add a soft, natural texture.
Stay away from succulents and cacti, which prefer dry air and could rot in a steamy shower. Also, consider the size of your space: tall, narrow plants like bamboo work well for vertical screening, while bushy ferns can fill out lower areas. If you’re unsure, ask at your local nursery for humidity-loving varieties that are safe for indoor use.
Designing Your Living Partition
You have a few ways to build a plant partition. The most straightforward is a row of large potted plants placed along the edge of your shower area—just make sure they’re on a waterproof tray or a slightly raised ledge so water doesn’t pool around the roots. For a more built-in look, consider a planter wall: a vertical structure with pockets or shelves that holds multiple plants, creating a dense green screen.
If you want a true partition, you can install a freestanding frame with wire mesh or a trellis for climbing plants. That gives you a semi-transparent divider that still lets light through. Whichever route you take, ensure the plants don’t block your movement or access to shower controls, and leave enough space for air to circulate so the foliage stays healthy.
Drainage And Waterproofing Basics
Because you’re mixing water and soil, you need to protect your bathroom floor and walls. Use waterproof liners or trays beneath pots, and if you’re building a planter wall, make sure the structure is sealed and has a way for excess water to escape. A sloped floor with a central drain is ideal—this is where a wet-room layout shines.
Also, think about how you’ll water and maintain the plants. A drip tray that you can empty easily helps, and you might want to install a small hose or watering can nearby. With proper drainage, your green partition will stay beautiful without turning your bathroom into a swamp.
8. Recessed Niche with a Built-In Bench
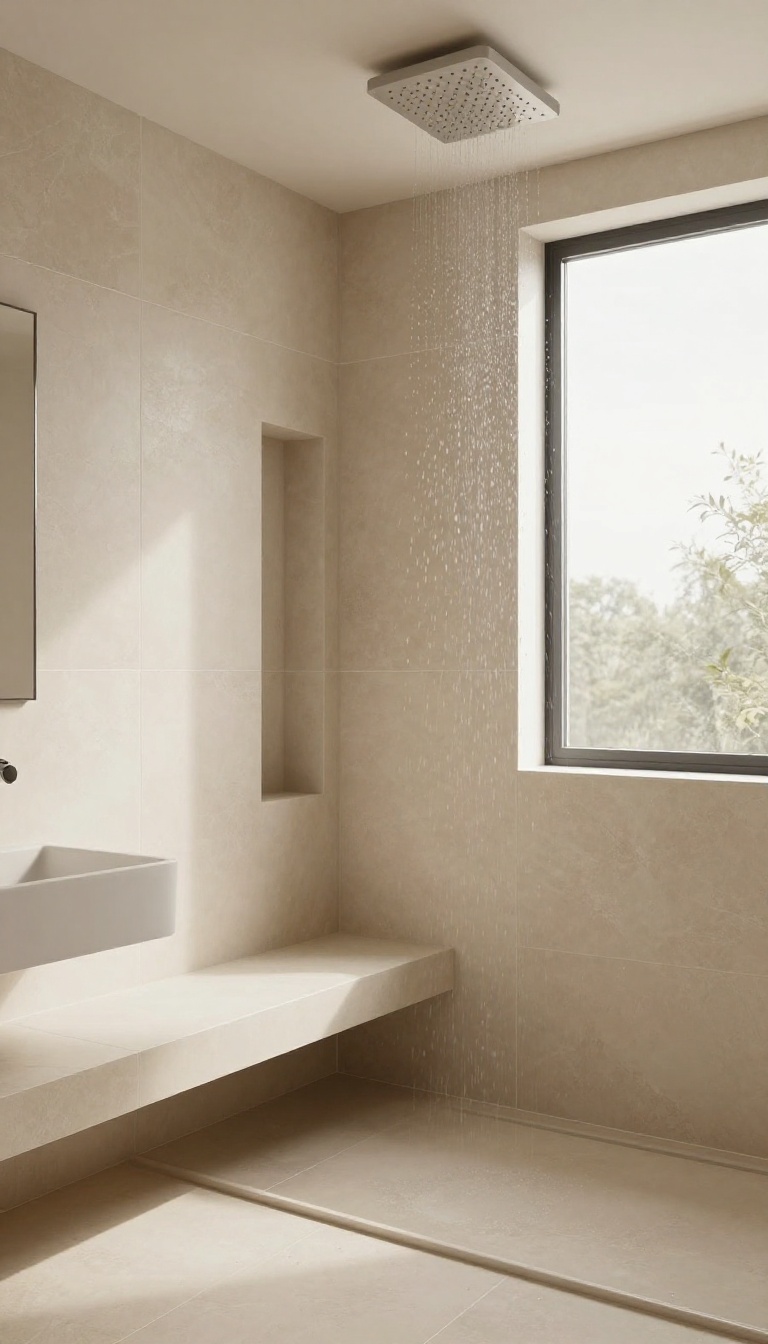
A recessed niche paired with a built-in bench can turn a simple shower into a thoughtfully designed space. Instead of relying on glass to mark the boundary, the architecture itself creates a clear, open zone. The bench offers a spot to sit or place bath products, while the niche keeps everything within arm's reach without cluttering the floor.
The beauty of this design lies in its seamless integration. The bench and niche are carved into the wall, so there are no protruding fixtures to clean around. This is a great option for bathrooms where you want a wet-room feel but still need some structure.
It works especially well in larger showers or as part of a fully tiled wet area.
Why It Works So Well
Without glass, the shower feels connected to the rest of the bathroom, making the whole space appear larger. The bench serves a dual purpose: it's a comfortable seat for shaving or just relaxing, and it provides a natural shelf for shampoo and soap. The niche adds extra storage that doesn't eat into the walking area, so the shower stays open and uncluttered.
Design And Placement Tips
Think about where the water will splash and position the bench and niche accordingly. A corner bench can save space, while a long bench along one wall offers more seating. Place the niche at a height that's easy to reach from a standing or sitting position.
Use the same tile on the bench, niche, and walls to keep the look cohesive and visually expand the space.
Materials And Maintenance
Choose non-porous materials like porcelain or glazed ceramic tile for easy cleaning and water resistance. Natural stone can look stunning but requires regular sealing to prevent stains. A slight slope on the bench helps water drain off, and a handheld showerhead makes rinsing the bench simple.
With fewer corners and crevices than a glass enclosure, this design is surprisingly low-maintenance.
9. Corner Shower with a Fixed Panel
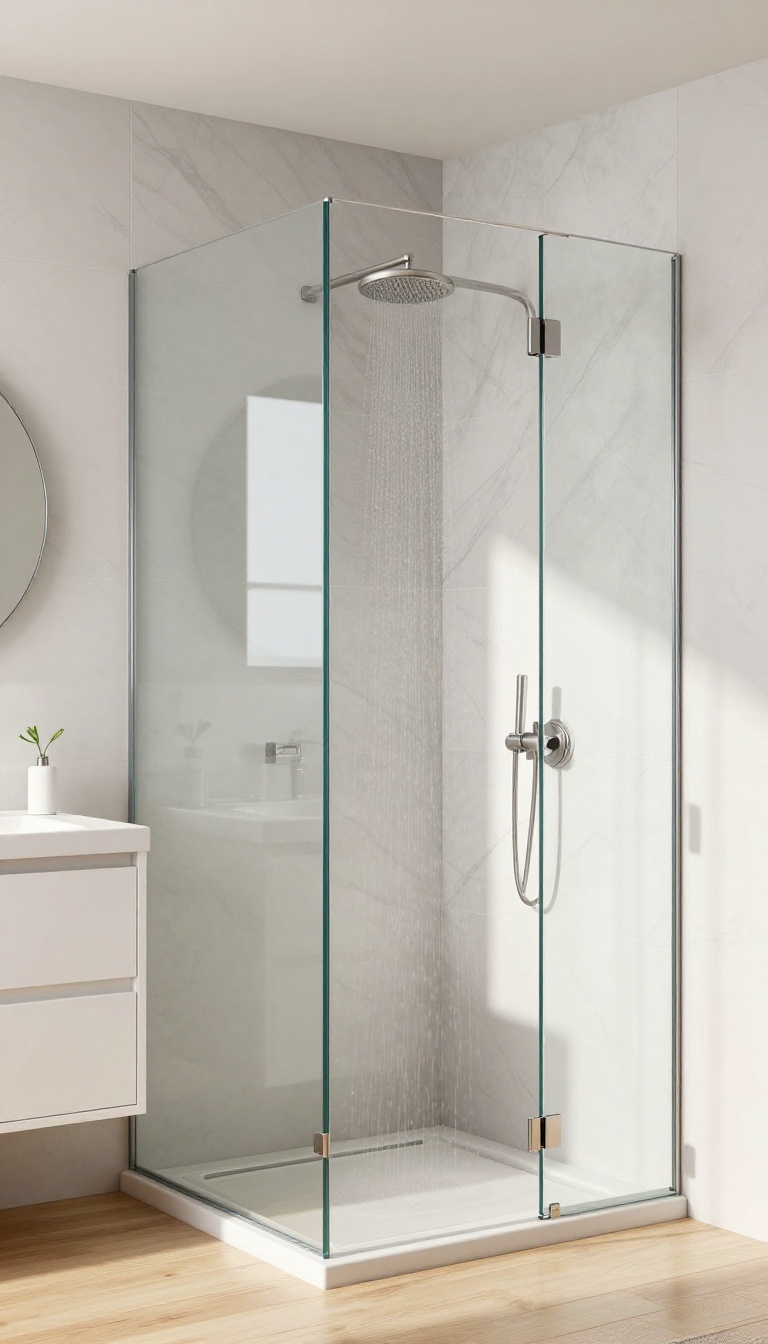
A fixed glass panel on one side and an open entry on the other creates a modern, semi-open shower. This setup gives you the best of both worlds: the panel blocks splashes where you need it, while the open side keeps the space feeling airy and connected to the rest of the bathroom. It’s a smart choice for corners, where you can tuck the shower neatly and still avoid a full enclosure.
This design works especially well in smaller bathrooms or ensuites where a swinging door would eat up floor space. The fixed panel acts as a splash guard along the wet zone, but because it doesn’t wrap around completely, you’re not stepping into a glass box. You get a clear sightline across the room, which makes the whole area feel larger than it is.
Why A Fixed Panel Beats A Door
Doors add moving parts that can wear out, collect grime, and need regular adjustment. A fixed panel is simply anchored to the wall or floor, so there’s less to maintain and fewer places for soap scum to hide. Plus, you never have to worry about someone leaving it open or slamming it shut.
Choosing The Right Glass
Clear glass keeps the shower visually open and lets tile patterns shine through, but it shows water spots easily. Frosted or textured glass offers more privacy and hides smudges better, while still letting natural light pass. For a corner shower, consider a semi-frosted panel that’s clear at the top and frosted lower down for a stylish compromise.
Installation And Layout Tips
Make sure the panel is positioned to catch most of the spray—usually at least 70% of the shower length. A slight inward angle at the bottom can help direct water back toward the drain. Also, plan for a small towel bar or hook on the open side so you can grab a towel without dripping across the room.
10. Industrial Pipe and Wood Accents
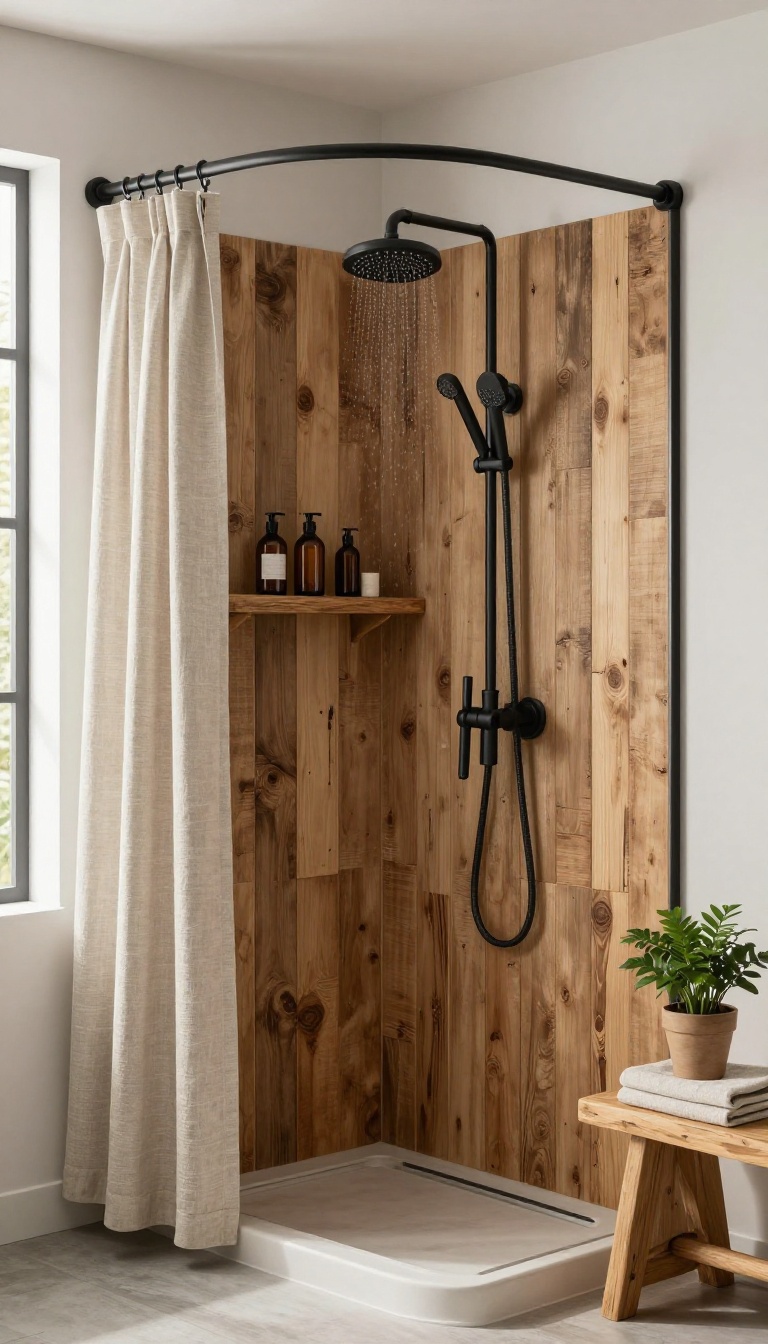
If your bathroom leans toward rustic or urban loft vibes, this idea will feel right at home. Black metal pipes and reclaimed wood bring a rugged, handcrafted look that turns a basic shower into a statement piece. It’s a no-glass approach that adds warmth and character while staying surprisingly practical.
The combination of dark steel and natural wood creates a striking contrast that works in many bathroom styles. You can use the pipes to frame a shower curtain, build a sturdy towel rack, or even construct a partial wall that defines the space. The materials are durable, easy to source, and age well, developing a patina over time that adds to the charm.
Supporting A Curtain Or Screen
A simple way to start is by mounting a black iron pipe horizontally across the shower area and hanging a curtain from it. Use floor flanges to secure the pipe to the walls or ceiling, and choose a curtain in a neutral fabric like linen or canvas to complement the industrial look. For a more permanent screen, you can build a freestanding frame with vertical pipes and wood slats that act as a partial divider without blocking light.
Adding Functional Shelving
Incorporate wooden shelves into the pipe structure to hold shampoo, soap, and other shower essentials. You can attach reclaimed wood planks between two vertical pipes, creating open storage that’s both stylish and accessible. This is especially useful in small bathrooms where wall-mounted niches are not an option.
Make sure to seal the wood with a waterproof finish to protect it from moisture.
Creating A Towel Rack And Accent
Beyond the shower itself, use the same pipe and wood theme to add a matching towel rack nearby. A horizontal pipe with wooden end caps or a wood shelf above it can hold rolled towels, adding to the spa-like feel. This cohesive design element ties the whole bathroom together, making the shower area feel intentional and polished.
11. Sunken Shower Tray
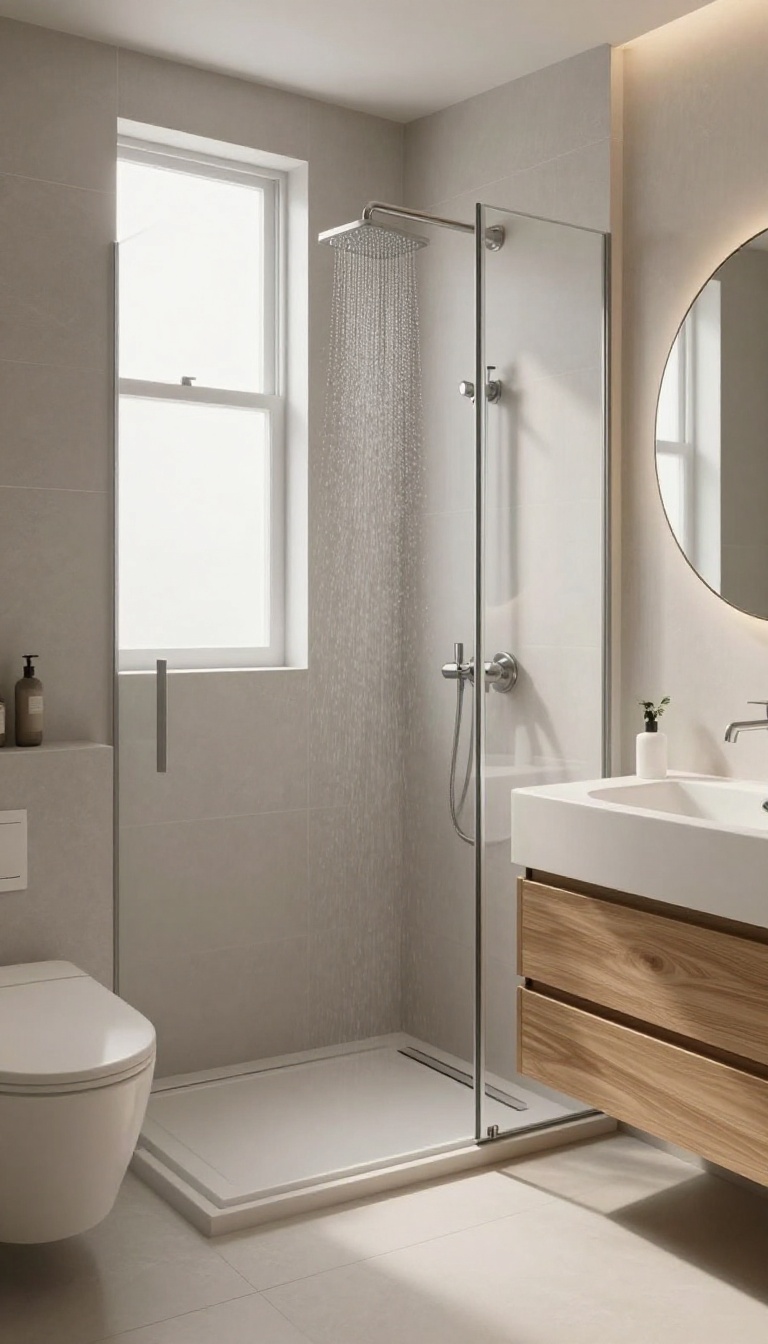
Dropping the shower floor a few inches below the rest of the bathroom is a clever way to keep water in check without any walls. The subtle change in level creates a natural boundary that feels intentional and sleek. Plus, the recessed area adds a touch of drama that makes the shower feel like a special zone.
A sunken shower tray works especially well in open-plan bathrooms or wet rooms where you want to keep the space feeling airy and continuous. The drop doesn’t need to be steep—just a few inches is enough to prevent water from spreading. You can step down into the shower, which feels almost like entering a spa.
The design also eliminates the need for a curb or threshold, making it easier to clean and more accessible for many people.
Why It Works
The sunken tray creates a physical barrier that contains water while keeping sightlines open. Unlike glass or walls, it doesn’t block light or make the room feel smaller. The recessed floor also adds a subtle architectural detail that can make your bathroom look more custom and polished.
Installation Considerations
This idea requires planning during construction or a major remodel because you’ll need to adjust the floor level. You’ll also need proper waterproofing and drainage to handle the lower area. Work with a contractor who has experience with sunken showers to ensure everything is sloped correctly and meets local building codes.
Design Tips
Use the same tile throughout the bathroom to keep the transition seamless, or switch materials at the edge for a clear visual cue. Add a linear drain along the far side for a sleek look and efficient water capture. Pair the sunken tray with a handheld showerhead or a rainfall fixture to enhance the experience.
12. Curved Stone or Concrete Wall
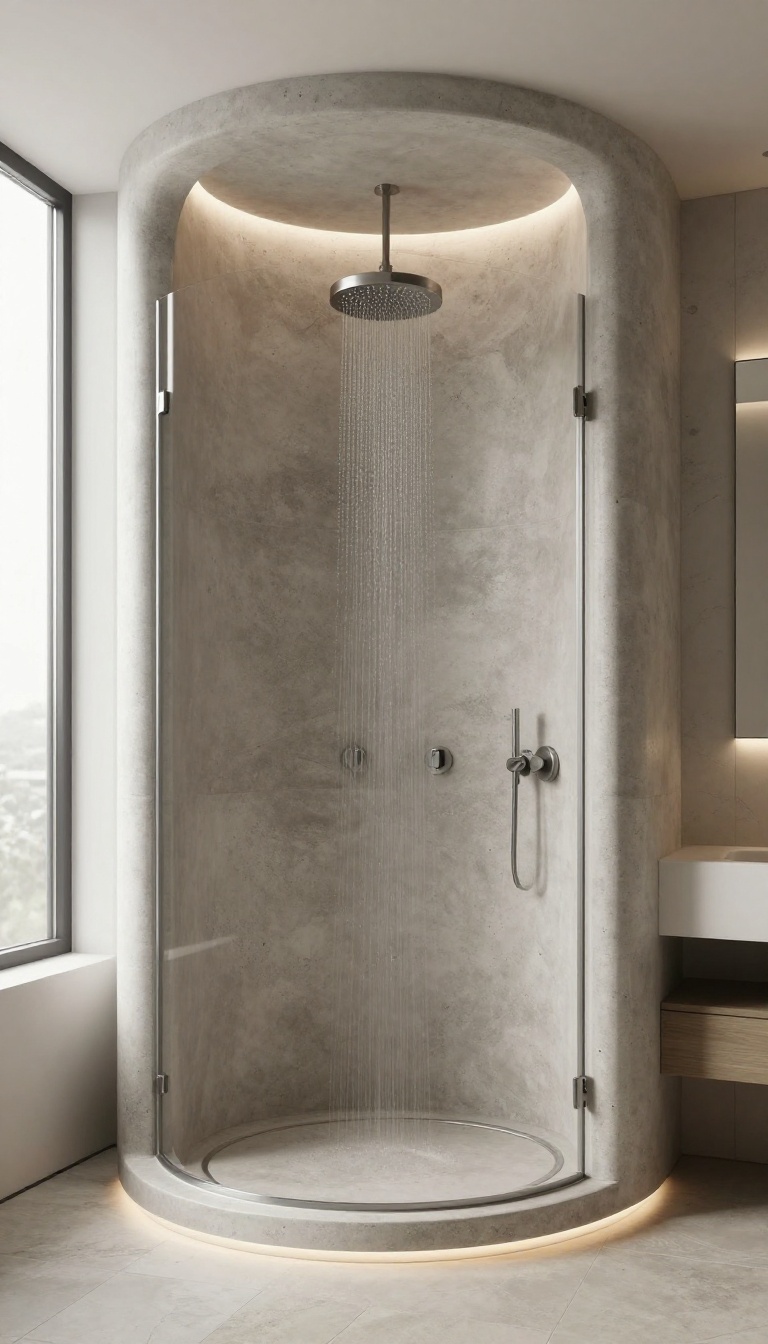
A curved wall made of stone or concrete can beautifully enclose a shower area. The organic shape adds sculptural interest and directs water flow. This idea suits modern or rustic interiors and eliminates the need for glass entirely.
Curved walls bring a soft, sculptural feel that straight partitions can't match. They naturally guide water back toward the drain while creating a cozy, womb-like enclosure. Because the wall is solid, you get privacy and a clear boundary without any transparent barriers.
This approach works especially well in wet-room layouts or larger bathrooms where you want a distinct shower zone. The curve can be as subtle or as dramatic as you like, from a gentle arc to a full half-circle. You can also play with materials—smooth polished concrete for a contemporary look, or stacked stone for a more organic, earthy vibe.
Why A Curve Works
The rounded shape isn't just for looks—it serves a practical purpose. Water hits the curved surface and follows it down, reducing splashing and keeping the floor drier. The lack of sharp corners also makes cleaning easier, since there's no grout line to scrub in a tight angle.
Plus, the curve can make the space feel more fluid and spacious, even in a compact footprint.
Material Choices
Concrete is a top pick for a sleek, minimalist aesthetic. You can have it poured on-site or use precast panels for a faster install. For a warmer, more rustic feel, natural stone like travertine or river rock adds texture and character.
If you're on a budget, consider a curved tile wall over a standard stud frame—it gives the same visual impact with more flexibility in finish.
Installation Tips
This is a job best left to pros, because the curve requires careful framing and waterproofing. Make sure the wall is properly sloped and sealed to handle constant moisture. Plan the curve's radius based on your shower size—too tight and it feels cramped, too wide and it loses its sculptural charm.
Also, think about where the showerhead and drain sit; the curve should work with the water flow, not against it.
13. Minimalist Curtain Track on the Ceiling
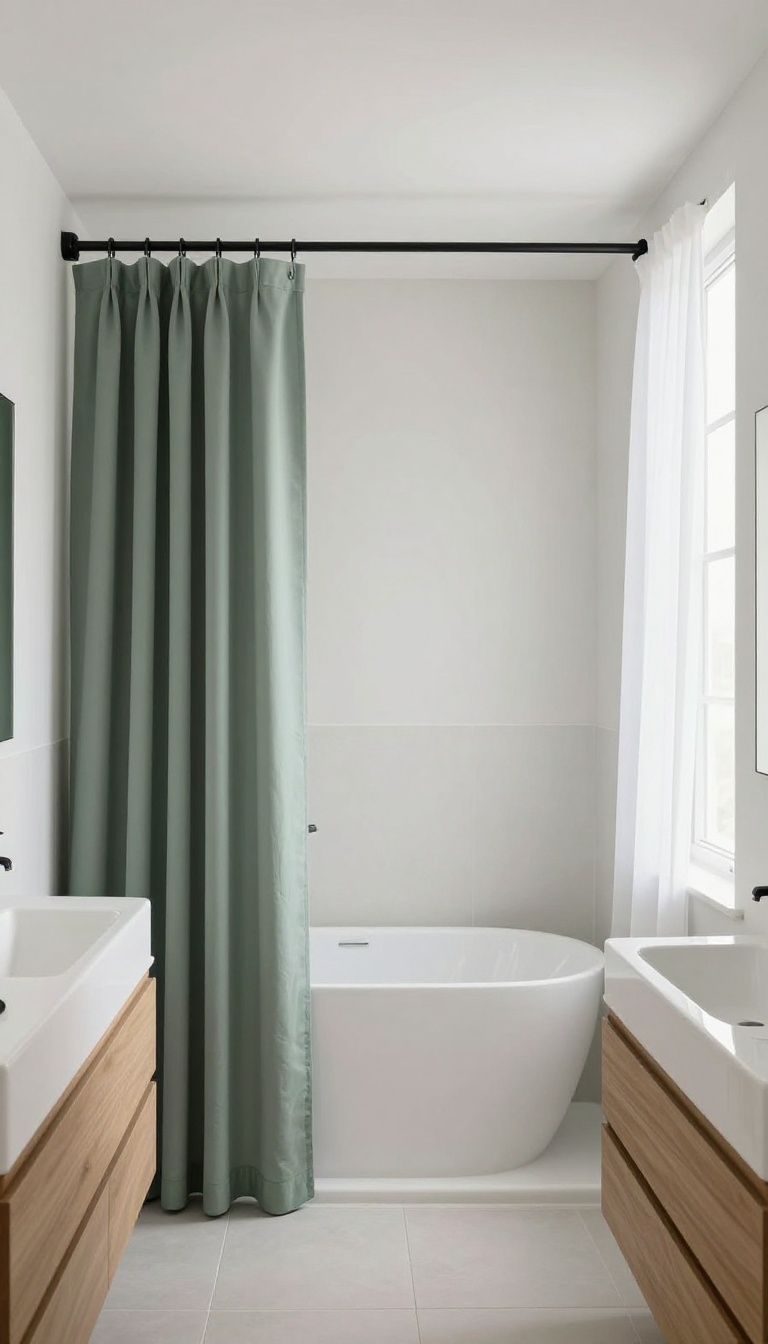
A ceiling-mounted track might sound like a throwback to the 70s, but today’s versions are sleek, modern, and surprisingly practical. Instead of a flimsy rod that sags, a track lets you glide a waterproof curtain smoothly around your shower area, then push it back to open the space completely. This is a fantastic option for renters who can’t make permanent changes, or for anyone who wants a quick DIY upgrade without the hassle of tiles or glass.
It also gives you total flexibility to adjust the enclosure size whenever you like.
The beauty of a ceiling track is how it blends into the background. Choose a slim, matte-black or brushed-nickel track that mounts flush to the ceiling, and pair it with a high-quality fabric curtain that complements your bathroom’s palette. When the curtain is open, it gathers neatly to one side, so the shower feels open and airy.
When closed, it creates a clean, watertight barrier that keeps splashes where they belong. This setup works especially well in bathrooms with high ceilings or unusual layouts where a standard rod won’t fit. Plus, installation is straightforward: just screw the track into ceiling joists and hang the curtain.
No special tools or skills required.
Why A Ceiling Track Works So Well
Unlike a traditional rod that spans between two walls, a ceiling track can follow any curve or straight line you need. That means you can create a custom-shaped enclosure around a corner tub or a freestanding shower. The track also supports the full weight of the curtain evenly, so it won’t sag or droop in the middle.
And because the curtain hangs from above, there’s no gap at the top where water can escape. For tall people, this is a game-changer—no more ducking under a low rod.
Choosing The Right Curtain And Track
For a minimal look, skip the shiny vinyl and opt for a matte polyester or PEVA curtain with a weighted hem. These materials repel water well and dry quickly, but they look more like fabric than plastic. If you want extra polish, add a fabric liner inside.
As for the track, look for one with smooth-gliding rollers and a sturdy aluminum or steel core. You can find them in various lengths, and some even allow for curved configurations. Just make sure the track is rated for the weight of your curtain.
Installation Tips And Rental-friendly Options
Installing a ceiling track is a simple afternoon project. First, locate the ceiling joists with a stud finder—this is crucial for a secure mount. Then, mark the screw holes, drill pilot holes, and attach the track with the included hardware.
If you’re renting, you can use heavy-duty adhesive hooks or a tension-mounted system, but for a permanent feel, screws are best. To keep the curtain looking crisp, use a high-quality liner and wash it regularly. And don’t forget to add a small squeegee to the wall to wipe down the curtain after each use—it keeps soap scum at bay.
FAQ
Are no-glass showers practical for keeping water off the floor?
Yes, with proper planning. Use a sloped floor, a linear drain, and strategic placement of partitions or curtains to direct water. A well-designed no-glass shower can be just as effective as a glass enclosure.
What are the best materials for a no-glass shower?
Waterproof materials like ceramic tile, natural stone, concrete, and treated wood are excellent choices. For partitions, consider tile, stone, or even acrylic panels. Ensure all materials are rated for wet areas.
Do no-glass showers make the bathroom colder?
Without glass, warm air can escape more easily, so the shower area might feel cooler. To mitigate this, use a powerful exhaust fan to remove humidity, and consider adding a heat lamp or radiant floor heating.
Can I convert my existing shower to a no-glass design?
Often, yes. If you have a bathtub, you can replace it with a walk-in shower. For an existing shower, you may need to remove the glass door and adjust the drainage.
Consult a professional to assess the feasibility.
How do I maintain privacy in a no-glass shower?
Use frosted glass, a curtain, or a partition that blocks the view. For open designs, consider a half-wall or a strategically placed plant. If you're in a shared bathroom, a curtain or door might be necessary.
Conclusion
No-glass showers are more than a trend—they're a smart way to make your bathroom feel larger and more inviting. With the right layout and materials, you can achieve a stylish, functional space that's easy to maintain.
Whether you choose a simple curtain or a bold wet room, these ideas offer flexibility to match your taste and budget. So go ahead, break free from the glass and enjoy a shower that feels open, airy, and uniquely yours.