How to Clean Air Fryer Buildup in 13 Simple Steps
You've been enjoying crispy fries and golden chicken wings, but that air fryer buildup is starting to look grim. Grease splatters and burnt-on crumbs don't just affect taste—they can also cause smoke and unpleasant odors during cooking.
The good news is you don't need harsh chemicals or endless scrubbing to get it sparkling again. With these 13 simple steps, you'll tackle everything from the basket to the heating element using everyday kitchen staples.
Each tip targets a specific type of grime, making the process quick and painless. Let's get that air fryer looking and performing like new.
1. Unplug and Cool Down Completely
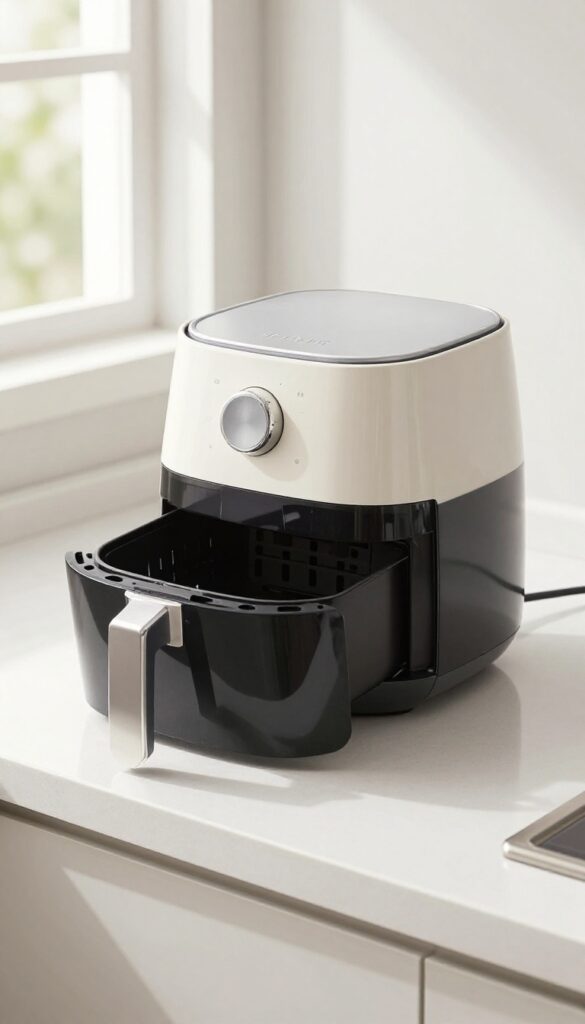
Before you even think about scrubbing, safety comes first. An air fryer that's still plugged in or hot can lead to burns or electrical shocks. Give it time to cool off completely—this also makes cleaning easier since grease won't be sizzling.
Unplugging the appliance eliminates any risk of accidentally turning it on while your hands are wet or near the heating element. Letting it cool for at least 30 minutes prevents burns and protects the non-stick coating from thermal shock. Patience here pays off with safer, more effective cleaning.
Why Unplugging Matters
Even if the air fryer is off, leaving it plugged in means the internal components still carry electricity. Water or cleaning solutions could create a short circuit. Unplugging is a simple step that removes that risk entirely.
Cooling Time Tips
Set a timer for 30 minutes after your last batch. If you've been cooking at high heat, give it an extra 10–15 minutes. You'll know it's ready when the exterior feels room temperature to the touch.
2. Remove and Soak Removable Parts
The basket, tray, and other detachable pieces take the brunt of the mess. Giving them a dedicated soak makes the rest of the cleanup way easier. Here's how to handle them without any elbow grease.
Disassemble Carefully
Unplug your air fryer and let it cool completely. Then remove the basket, crisper tray, and any other parts that pop out. Check your manual if you're unsure—some models have extra pieces like a drip tray or skewer racks.
The Warm Soapy Bath
Fill your sink or a large bowl with hot water and a few squirts of dish soap. Submerge the parts and let them sit for 10 to 15 minutes. This loosens baked-on grease and food bits, so they slide off with minimal scrubbing later.
Scrub Gently
After soaking, use a soft sponge or non-abrasive brush to clean each piece. Avoid steel wool or harsh scrubbers—they can scratch the non-stick coating. Rinse thoroughly with warm water and set them on a drying rack.
3. Wipe Down the Interior with a Damp Cloth
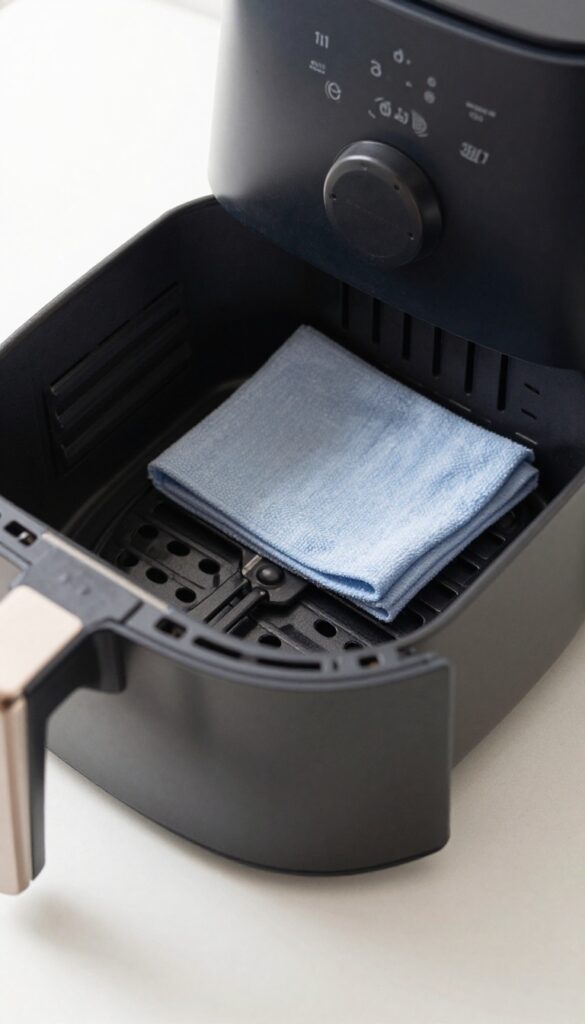
After the basket and tray are out, it's time to focus on the inside walls and ceiling. This is where grease splatters accumulate and can bake on over time. A simple damp cloth is often all you need to lift that grime without damaging the non-stick coating.
Choose The Right Cloth
Reach for a soft microfiber cloth or a non-abrasive sponge. Avoid steel wool, scouring pads, or anything rough—they'll scratch the coating and make future cleaning harder. A paper towel can work in a pinch, but microfiber grabs grease better.
Damp, Not Soaking Wet
Wet the cloth with warm water and wring it out thoroughly. You want it damp, not dripping. Excess water can seep into the heating element or electronics, causing damage.
If needed, add a drop of mild dish soap to the cloth, but rinse well afterward.
Wipe In Gentle Circular Motions
Start from the top and work your way down. Use gentle circular motions to loosen and lift grease. For stubborn spots, let the damp cloth sit on the area for a minute to soften the residue.
Then wipe again—no hard scrubbing required.
Let It Air Dry Completely
After wiping, leave the air fryer open for 10–15 minutes to air dry. This prevents moisture from getting trapped and causing odors. Make sure the interior is bone-dry before reassembling or using the appliance again.
4. Tackle Stubborn Grease with a Baking Soda Paste
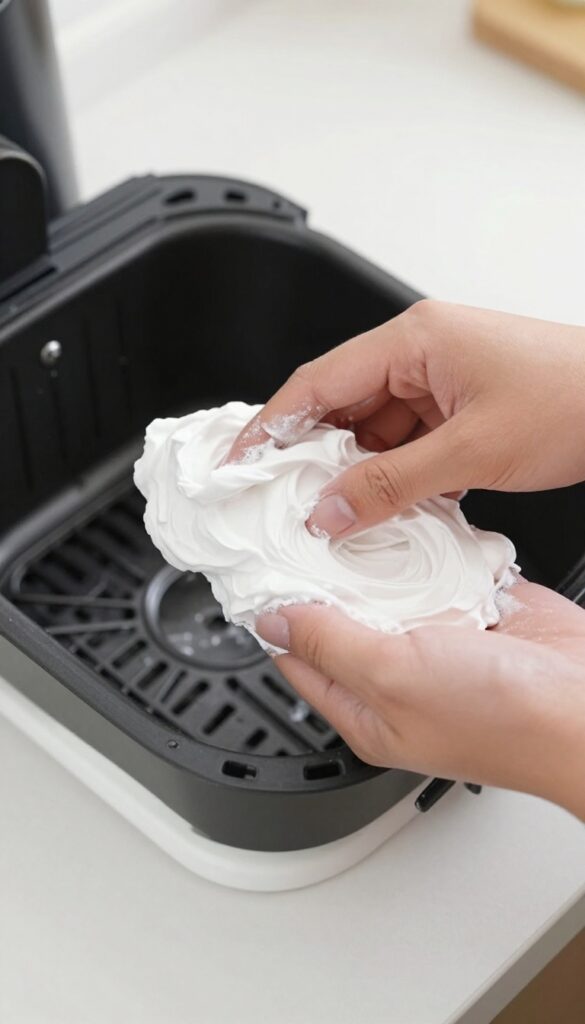
Sometimes, a simple wipe-down just won't cut it. That's when you need a little extra elbow grease—and baking soda. This gentle abrasive works wonders on baked-on grease without scratching the non-stick coating.
Making a paste is easy: mix two tablespoons of baking soda with just enough water to form a spreadable consistency. Apply it directly to the greasy spots, let it sit for 15 minutes, then wipe away with a damp cloth. You'll be amazed at how easily that gunk lifts off.
Baking soda is a powerhouse for cutting through tough grease because it's mildly alkaline, which helps break down fatty residues. The paste gives it time to work, so don't rush the 15-minute wait. For extra-stubborn spots, you can let it sit longer—up to 30 minutes—but check periodically to make sure it hasn't dried completely.
If it does, just spritz a little water to rehydrate. After the paste has done its job, wipe the area clean with a damp microfiber cloth. Rinse the cloth frequently to avoid spreading residue.
For a final polish, go over the surface with a dry cloth to remove any remaining baking soda dust. Your air fryer will look and smell fresh.
Why Baking Soda Works So Well
Baking soda is a mild alkali that reacts with acids in grease to form soap-like compounds, making it easier to lift away. It's also a gentle abrasive, so it scrubs without scratching. Unlike harsh chemical cleaners, it's safe for food-contact surfaces and won't leave toxic residues.
How To Apply The Paste Effectively
Use a soft sponge or your fingers (with gloves) to spread the paste evenly over greasy areas. Focus on the basket, tray, and interior walls where buildup is thickest. Avoid applying to heating elements or other electrical parts.
Let it sit for 15 minutes, then wipe with a damp cloth. For nooks and crannies, use an old toothbrush dipped in the paste.
Rinsing And Final Touches
After wiping off the paste, rinse the parts with warm water to remove any baking soda residue. Dry thoroughly with a clean towel before reassembling. If you notice any remaining greasy film, repeat the process on those spots.
A final wipe with a vinegar-water solution (1: 1) can help restore shine and neutralize any odors.
5. Clean the Heating Element Gently
The heating element is the heart of your air fryer, and it's often overlooked. Over time, grease and food particles can build up on the coil, causing smoke and off-flavors. Cleaning it requires a delicate touch to avoid damaging the fragile wiring.
A soft brush or cotton swab is your best friend here. Gently sweep away any loose debris from the heating coil, being careful not to bend or scrape it. If there's stubborn grime, lightly dampen the swab with a bit of rubbing alcohol—but never use water near the electrical components.
Let everything dry completely before using the air fryer again.
Why The Heating Element Gets Dirty
When you cook fatty foods like bacon or chicken wings, grease splatters upward and lands on the heating coil. Over multiple uses, this layer bakes on, creating a crust that can smoke or burn. Regular cleaning prevents this buildup and keeps your air fryer running efficiently.
What You'll Need
Grab a soft-bristled brush (like a clean paintbrush or a pastry brush) and some cotton swabs. Rubbing alcohol is optional for tough spots. Avoid using metal tools or abrasive pads—they can scratch the coil's protective coating and cause damage.
Step-by-step Cleaning
First, unplug the air fryer and let it cool completely. Then, tilt it slightly to access the heating element. Use the brush to gently sweep debris off the coil, working from top to bottom.
For tight spaces, a cotton swab dipped in alcohol works wonders. Finally, wipe away any loosened grime with a dry cloth.
6. Scrub the Basket and Tray with a Non-Abrasive Brush
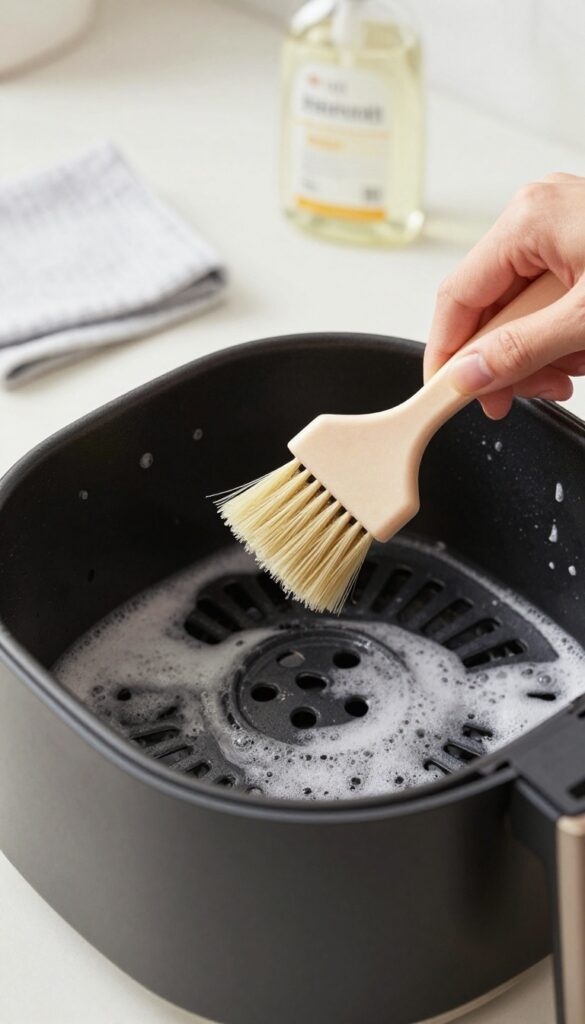
Now that your basket and tray have had a good soak, it's time to get scrubbing. But before you grab any old brush, remember that air fryer baskets often have a nonstick coating that can scratch easily. Using a soft-bristled brush or a non-abrasive sponge is key to preserving that finish while still removing every bit of grime.
Scrubbing with the right tool makes all the difference. A stiff metal scrubber might seem effective, but it will ruin the nonstick surface over time. Instead, opt for a nylon brush, silicone brush, or a soft sponge.
For stubborn spots, let the basket soak a bit longer in warm, soapy water before going at it again. Work in small circles, focusing on corners and crevices where food tends to hide. Rinse thoroughly and dry with a soft cloth to prevent water spots.
Choose The Right Brush
Not all brushes are created equal. A soft-bristled dish brush or a silicone brush is gentle yet effective. Avoid anything labeled as abrasive or scouring.
If you're using a sponge, stick to the non-scratch side. Some air fryers come with a cleaning brush, which is perfect for the job.
Tackle Stubborn Residue
For baked-on grease or burnt food, a longer soak is your best friend. Fill the basket with hot water and a drop of dish soap, let it sit for 15–20 minutes, then scrub. You can also make a paste of baking soda and water for extra stubborn spots—apply it, let it sit for 10 minutes, then scrub gently.
Rinse And Dry Properly
After scrubbing, rinse the basket and tray thoroughly with warm water to remove any soap residue. Leftover soap can affect the taste of your next meal. Pat them dry with a soft towel or let them air dry completely before placing them back in the air fryer.
7. Rinse and Dry All Parts Thoroughly
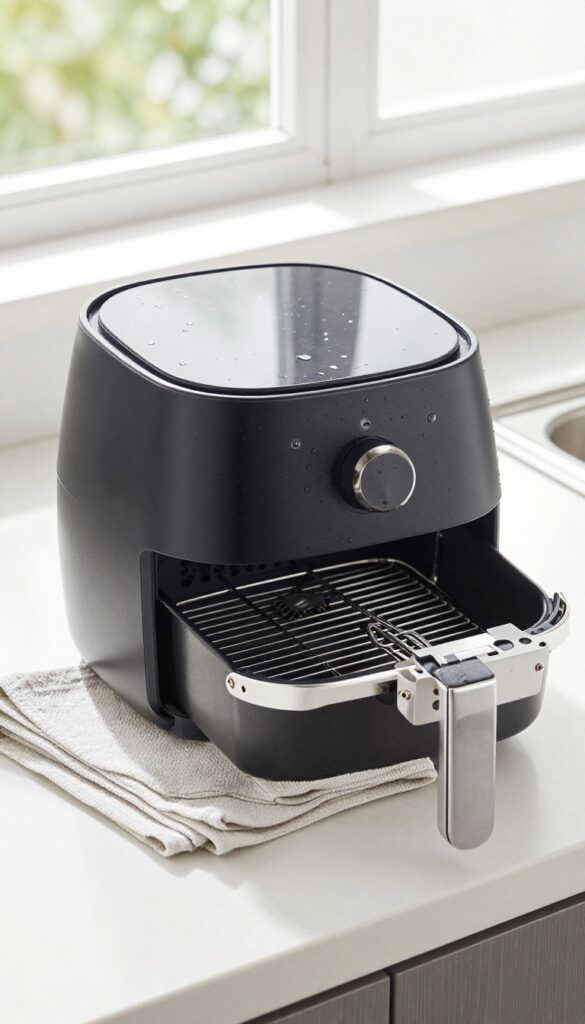
After scrubbing away the grease, you might be tempted to skip the drying step. Don't. Leftover moisture can lead to rust on metal parts or mold in hidden crevices.
A thorough rinse and dry ensure your air fryer stays fresh and functional.
Rinse With Clean Water
Hold each part under warm running water to wash away any soap residue. Pay extra attention to mesh baskets and crevices where suds can hide. A quick spray from a kitchen faucet or a rinse in a clean sink works perfectly.
Dry With A Lint-free Cloth
Use a microfiber or other lint-free cloth to wipe down every surface. For hard-to-reach spots, a paper towel wrapped around a chopstick can do the trick. Make sure no water pools in corners or around the handle attachments.
Air Dry For Extra Assurance
If you're not in a rush, let the parts air dry on a dish rack for an hour or two. This step is especially important for non-stick coatings, which can be damaged by abrasive drying. Just make sure the pieces are completely dry before reassembling.
8. Deodorize with Lemon or Vinegar
Even after a thorough cleaning, your air fryer might still hold onto stubborn odors from fish, garlic, or burnt oil. That's because grease can trap smells deep in the nooks and crannies. Luckily, two natural ingredients—lemon and white vinegar—are all you need to neutralize those lingering scents.
Deodorizing is the final step that leaves your air fryer smelling fresh and ready for its next use. Both lemon and vinegar work by breaking down odor-causing compounds without leaving harsh chemical residues. Choose the method that fits your preference: vinegar for a deep clean, or lemon for a fresh citrus scent.
Vinegar Solution
Mix equal parts white vinegar and water in a small bowl. Dip a soft cloth or sponge into the solution, wring it out well, and wipe down the interior surfaces, including the walls, ceiling, and basket. For tough odors, let the vinegar solution sit for 5–10 minutes before wiping with a damp cloth.
Rinse with a clean, damp cloth to remove any vinegar smell.
Lemon Freshness
Cut a lemon in half and rub the cut side directly over the interior surfaces. The natural acidity helps cut through grease while leaving a bright, clean scent. Alternatively, squeeze the juice into a bowl of water and use it to wipe down the air fryer.
For an extra boost, place lemon peels inside the basket and run the air fryer at 200°F for 3–5 minutes—but make sure it's completely dry first.
9. Clean the Exterior and Control Panel
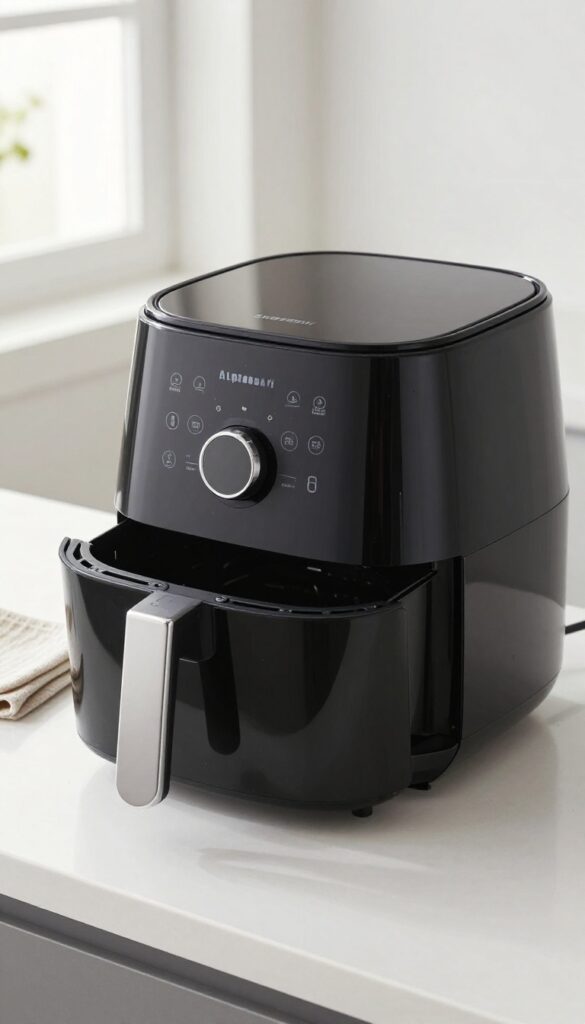
While the inside gets all the attention, the outside of your air fryer also collects grease and fingerprints. A clean exterior not only looks better but prevents grime from building up around buttons and vents. The control panel is especially delicate, so you'll want to be gentle.
Wipe Down The Body
Unplug the air fryer and let it cool completely. Mix a few drops of mild dish soap with warm water. Dampen a soft cloth or sponge (not dripping wet) and wipe the entire exterior, including the top and sides.
For stubborn grease spots, let the soapy cloth sit on the area for a minute before wiping. Rinse the cloth and go over the surface again to remove any soap residue, then dry with a clean towel.
Clean The Control Panel Carefully
The control panel is sensitive to moisture, so use a barely damp cloth—almost dry. Gently wipe the buttons and display in a circular motion. Avoid spraying any cleaner directly onto the panel; instead, apply it to the cloth.
If you have a touchscreen, check your manual for specific cleaning recommendations. Dry immediately with a soft, lint-free cloth to prevent streaks or moisture seeping into the electronics.
Don't Forget The Air Vents
Air vents on the back or sides can collect dust and grease, which can affect airflow. Use a dry, soft-bristled brush or a vacuum with a brush attachment to gently remove loose debris. For greasy vents, a slightly damp cotton swab can reach into small crevices.
Let the vents air-dry completely before plugging the air fryer back in.
10. Check and Clean the Air Vents
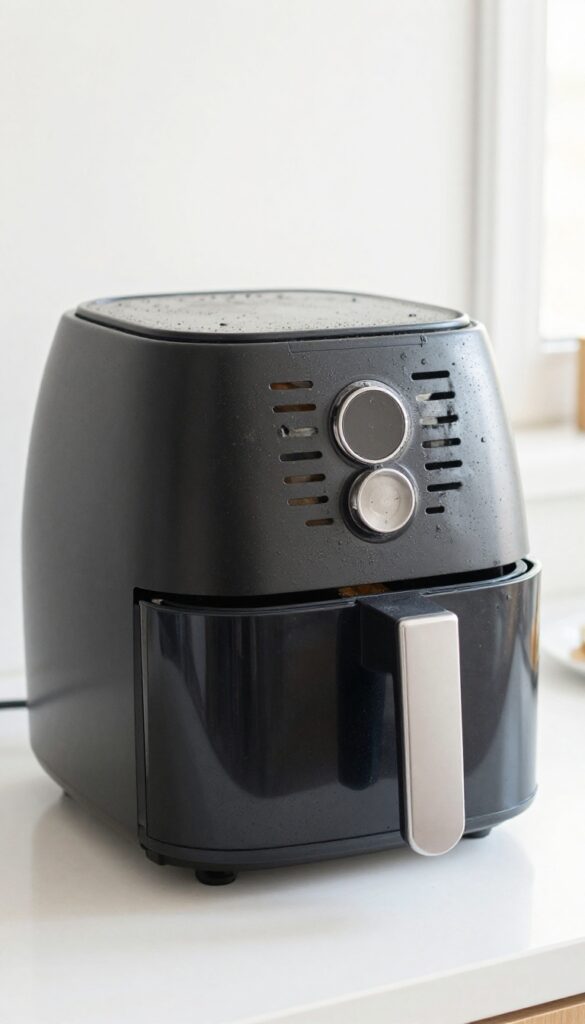
Air vents are easy to forget because they're not directly in the cooking zone, but they play a huge role in your air fryer's performance. When vents get clogged with dust and grease, airflow is restricted, leading to uneven cooking and longer preheat times. A quick check and clean can make a noticeable difference.
Locate the air intake and exhaust vents on your air fryer—usually on the back, sides, or bottom. Use a soft-bristled brush, a clean paintbrush, or a vacuum with a brush attachment to gently dislodge any debris. For stubborn grease, a slightly damp microfiber cloth can wipe the vent grates, but avoid getting moisture inside the unit.
Make it a habit to inspect vents every few uses, especially if you notice your air fryer taking longer to cook or producing excess smoke.
Why Clean Vents Matter
Blocked vents force the fan to work harder, which can strain the motor and reduce the lifespan of your appliance. Proper airflow also ensures even heat distribution, so your food cooks consistently. Plus, clean vents mean less chance of smoke or burnt odors during cooking.
Tools That Work Best
A small brush with stiff but soft bristles is ideal for dislodging dust without scratching the surface. Compressed air can also blow out debris from tight spots. If you use a vacuum, attach the brush nozzle to avoid scratching the plastic.
How Often To Do This
Check the vents every two to three weeks if you use your air fryer regularly. If you cook fatty foods often, you might need to clean them weekly. A quick visual inspection takes just seconds and can save you from bigger cleaning headaches later.
11. Reassemble and Do a Test Run
Once all the parts are dry and your air fryer's interior is clean, it's time to put everything back together. This step might feel anticlimactic, but it's crucial for ensuring nothing got missed and that the appliance is safe to use again.
Reassemble the air fryer by placing the basket, tray, and any other removable components back into their proper positions. Make sure they click or lock into place securely. Then, plug in the air fryer and run it empty at 400°F for 3 to 5 minutes.
This high-heat cycle will burn off any lingering moisture, soap residue, or tiny bits of grime that might have been hiding. You might notice a faint smell or a wisp of smoke—that's normal. After the test run, let the air fryer cool down, and it's ready for your next batch of crispy goodness.
Double-check All Parts
Before you start the test run, take a moment to verify that every piece is dry and properly installed. A wet heating element can cause sputtering or uneven heating. Also, confirm that no cleaning tools or cloths are left inside—you don't want a melted rag ruining your hard work.
What To Watch For During The Test
During the empty run, keep an eye on the air fryer. If you see heavy smoke or smell something burning, turn it off immediately and check for leftover residue. A little smoke is okay, but excessive smoke means you missed a spot.
In that case, let it cool, wipe down the interior again, and repeat the test.
12. Establish a Regular Cleaning Routine
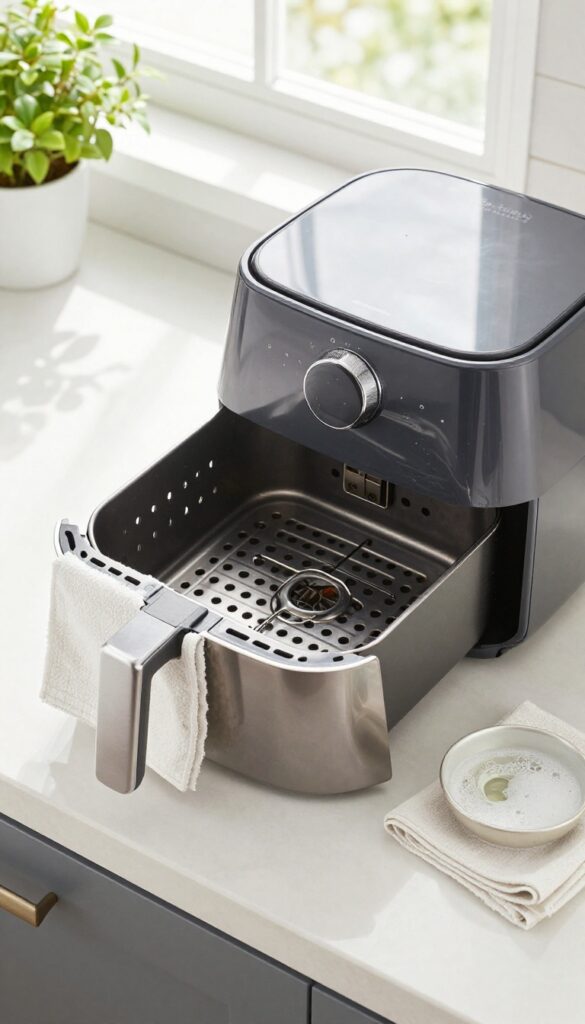
Consistency is the secret to keeping your air fryer in top shape. Instead of letting grime build up until it's tough to remove, a simple routine makes maintenance effortless. You'll spend less time scrubbing and more time enjoying crispy food.
A regular cleaning routine prevents stubborn buildup and extends your air fryer's life. After each use, wipe down the basket and interior while they're still warm—it takes just a minute. For a deeper clean, schedule a session every 2 to 4 weeks depending on how often you cook.
This habit keeps your appliance performing like new and avoids smoke or off-flavors.
Quick Post-cook Wipe
Right after you empty the basket, give the interior and basket a quick wipe with a damp cloth or paper towel. This catches loose crumbs and grease before they harden. If you used oil, a drop of dish soap on the cloth helps cut through the residue.
Weekly Soak For Heavy Users
If you air fry several times a week, give the basket and tray a warm, soapy soak once a week. Let them sit for 10 minutes, then scrub with a soft sponge. This prevents oil from polymerizing into a stubborn, sticky layer.
Monthly Deep Clean
Once a month, do a thorough clean: remove all parts, wash them in warm soapy water, and wipe the heating element with a damp cloth. Check for any hidden grease around the fan or vents. A deep clean keeps odors and smoke at bay.
13. Know When to Replace Parts
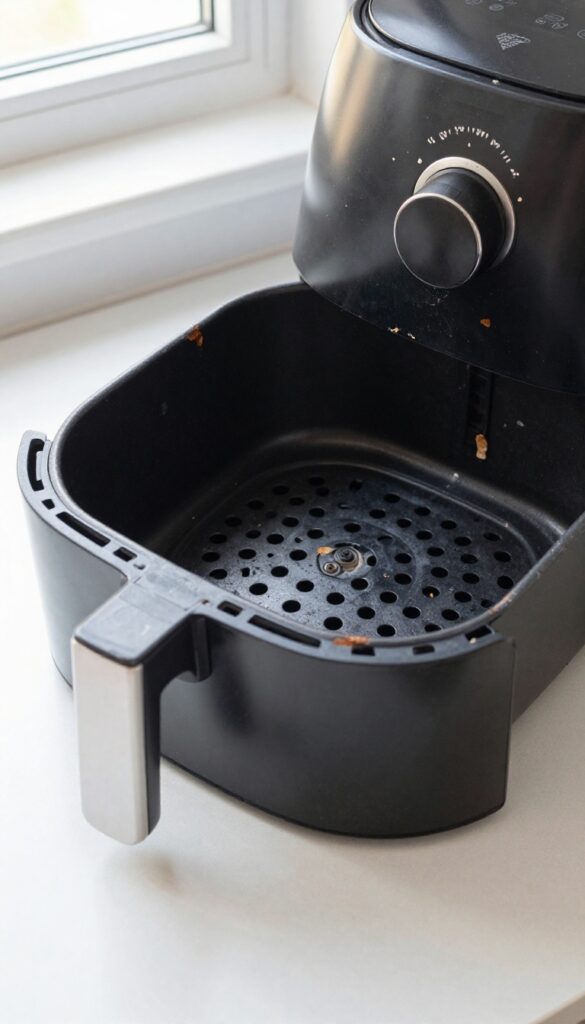
No matter how carefully you clean, some air fryer components wear out over time. A peeling non-stick coating or rust spots aren't just unsightly—they can flake into your food and affect both taste and safety. Knowing when to swap out parts keeps your cooking consistent and your meals safe.
Spotting The Warning Signs
Check the basket and tray regularly for any peeling or bubbling of the non-stick surface. If you see bare metal or dark patches where the coating has worn away, it's time for a replacement. Also look for rust, especially around the edges or where the coating has chipped.
Why It Matters
Damaged non-stick coatings can release small particles into your food, and rust introduces unwanted metallic flavors. More importantly, exposed metal can react with acidic ingredients and may harbor bacteria in tiny crevices. Replacing worn parts keeps your air fryer performing like new and your meals tasting fresh.
Where To Find Replacements
Most major brands sell replacement baskets and trays directly on their websites or through authorized retailers. If your model is discontinued, check third-party sellers but verify compatibility and material quality. It's worth spending a bit more for OEM parts to ensure a perfect fit and safe non-stick coating.
FAQ
Can I put air fryer parts in the dishwasher?
Check your manual first. Many non-stick baskets and trays are dishwasher-safe, but hand washing is gentler and extends their lifespan.
How often should I deep clean my air fryer?
Deep clean every 2–4 weeks if you use it several times a week. For occasional use, once a month is sufficient.
Why does my air fryer smoke during use?
Smoking is often caused by grease buildup or food residue. Regular cleaning, especially of the heating element, prevents this.
Can I use metal utensils or abrasive cleaners?
Avoid metal utensils and abrasive sponges—they scratch the non-stick coating. Stick to silicone, wood, or plastic tools.
What's the best way to remove burnt-on food?
Soak the parts in warm, soapy water for 30 minutes, then scrub with a non-abrasive brush. A baking soda paste works wonders for tough spots.
Conclusion
With these 13 steps, your air fryer will look and perform like new. Tackling buildup regularly prevents smoke and keeps your food tasting fresh. Pick a routine that fits your schedule, and you'll never dread cleaning again.
A clean air fryer means better results and fewer headaches. Your future self will thank you every time you pull out that perfectly crispy batch of fries.