11 Creative Shower Ceiling Ideas for an Easy, Elegant Finish
Most showers get all the attention on the walls and floor, leaving the ceiling as an afterthought. But that blank expanse above your head is prime real estate for adding warmth, light, or a bold design statement.
The trick is choosing a material that handles humidity without peeling, sagging, or collecting mold. From the natural coziness of wood planks to the airy feel of a skylight, these 11 ceiling ideas solve real practical problems while giving your bathroom an elegant, finished look.
Whether you're remodeling from scratch or just want a weekend upgrade, there's an option here that fits your style and budget.
1. Wood Planks for Warmth
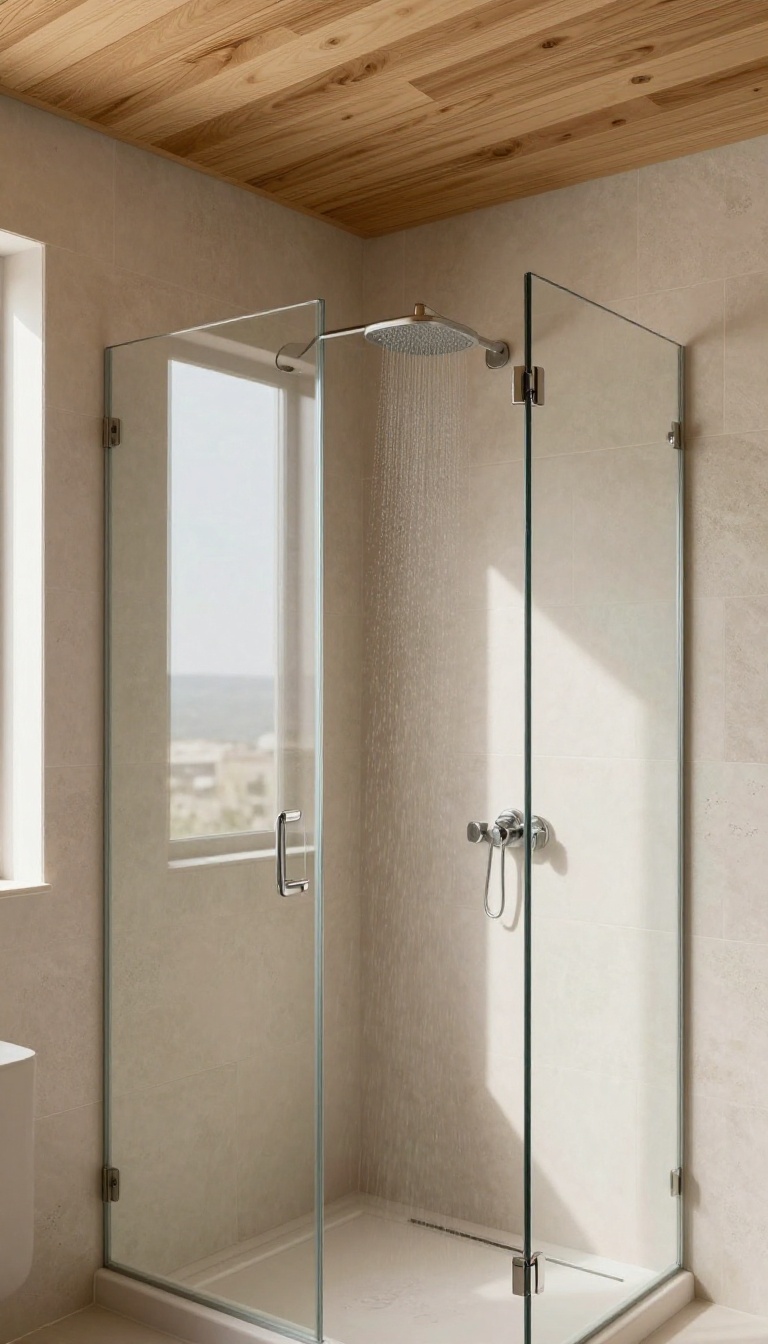
Wood on a shower ceiling might sound risky, but it’s actually a stunning choice when done right. Cedar and teak bring a natural, spa-like warmth that tile and drywall just can’t match. The key is sealing them properly and keeping the space well-ventilated so the wood stays beautiful for years.
Start by picking a wood that thrives in moisture. Cedar and teak are naturally resistant to rot and insects, making them ideal for humid environments. Have the planks milled with tongue-and-groove edges for a tight, seamless fit.
Before installation, apply a marine-grade sealant or a waterproofing oil to every side—this is non-negotiable. Once installed, add an exhaust fan or ensure your existing one runs for at least 15 minutes after showers to keep humidity in check. With proper care, your wood ceiling will age gracefully, developing a rich patina that adds character.
Choosing The Right Wood
Cedar is lightweight and aromatic, while teak is denser and more durable. Both handle moisture well, but teak costs more. If you’re on a budget, consider cedar and apply a clear waterproofing sealer.
Avoid softwoods like pine unless you’re ready for extra maintenance.
Sealing And Maintenance
Seal the wood with a product designed for exterior use, like a marine varnish or a penetrating oil. Reapply the sealer every 6–12 months, depending on how often you shower. Wipe down the ceiling occasionally with a damp cloth to prevent soap scum buildup.
Ventilation Tips
A good exhaust fan is your best friend. Install one with a humidity sensor so it turns on automatically when moisture rises. If you can, add a window or a skylight that opens to let steam escape naturally.
Keep the bathroom door open after showers to speed up drying.
2. Skylight or Sun Tunnel
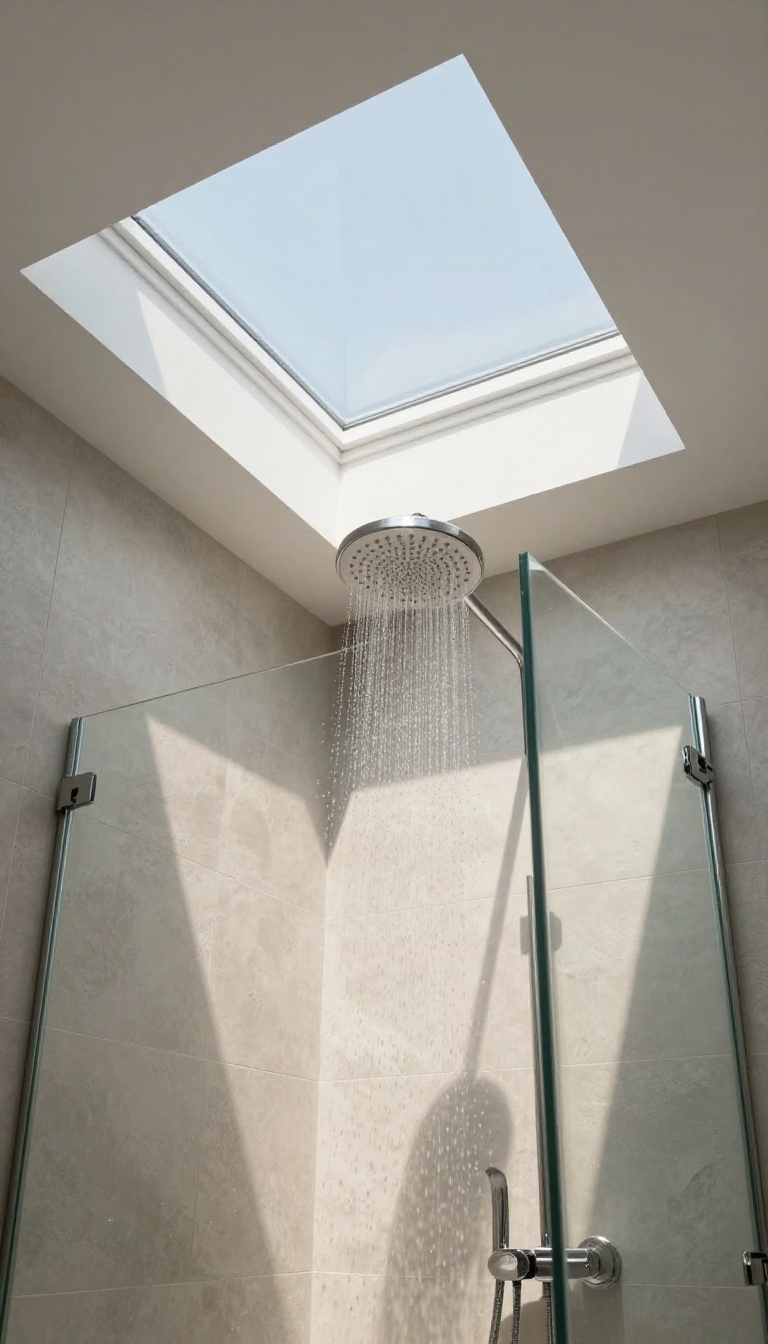
If your shower feels more like a cave than a sanctuary, a skylight or sun tunnel can flip that entirely. Natural light pouring in from above instantly makes a small space feel larger and more welcoming. Plus, you get a daily dose of vitamin D while you scrub—what’s not to love?
The key is doing it right. Waterproofing around the opening is non-negotiable, and you’ll want to work with a professional to avoid leaks. But when it’s installed correctly, a skylight or sun tunnel turns your shower into the brightest, most refreshing spot in the house.
Natural light does wonders for a shower. It brightens the space, makes it feel more open, and even helps prevent mold by reducing dampness. A skylight or sun tunnel can be a game-changer, but it’s not a simple DIY project.
Here’s what to consider and how to make it work beautifully.
Types Of Skylights And Sun Tunnels
You have a few options when it comes to overhead light. A traditional skylight is a fixed or vented window that opens to the sky. Vented versions can let out steam, but they require more complex installation.
Sun tunnels, on the other hand, are flexible tubes that channel light from the roof down through your ceiling. They’re ideal for smaller showers or tight spaces where a full skylight won’t fit. Both work well, but sun tunnels are often easier to install and more budget-friendly.
Waterproofing And Installation Tips
The biggest challenge with any ceiling opening is keeping water out. You’ll need a proper flashing kit and a watertight seal around the skylight or tunnel. Make sure the unit is angled slightly to shed water, and use a high-quality sealant.
It’s also wise to add a moisture barrier around the opening before finishing the ceiling. Hiring a licensed contractor is strongly recommended—this is one area where cutting corners can lead to expensive leaks.
Design And Light Control
A skylight can be a stunning focal point, but you’ll want to control the light. Consider frosted glass or a diffuser to soften the sun’s rays, especially if your shower gets direct afternoon light. You can also install a remote-controlled shade or blind to block out harsh sunlight when needed.
For a more spa-like feel, pair the skylight with warm LED lighting for evening showers.
3. Beadboard for Classic Charm
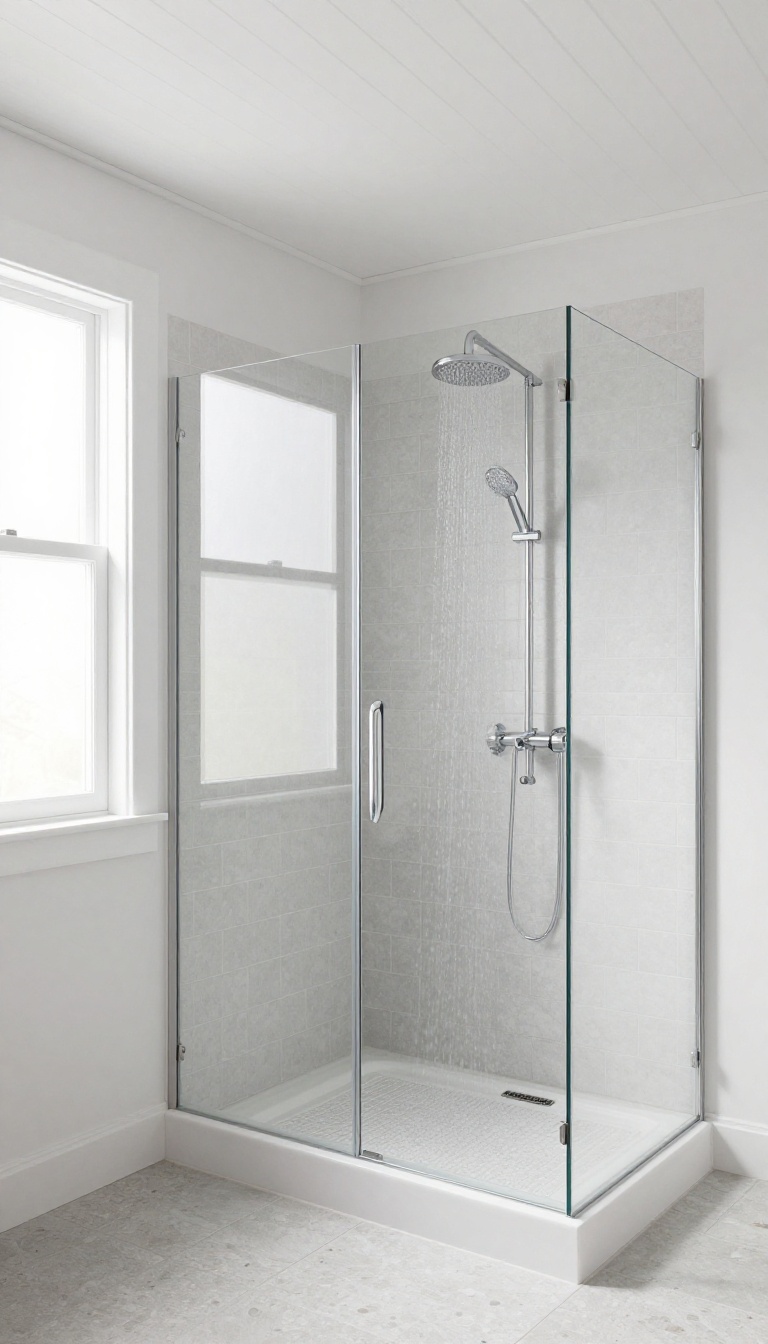
Beadboard brings a cozy, cottage-like feel that instantly warms up a bathroom. It’s a classic look that never goes out of style, and it works beautifully on ceilings where you want a bit of texture without going overboard. The vertical grooves add subtle visual interest, making the space feel taller and more refined.
What makes beadboard a smart pick for showers is its practicality. When you choose the right material and finish, it stands up to humidity and steam far better than you might expect. You get that charming, paneled aesthetic without worrying about warping or mold—just a clean, classic ceiling that’s easy to live with.
Beadboard is a fantastic way to bring a timeless, cozy vibe to your shower ceiling. It’s a material that feels both familiar and fresh, and it’s surprisingly durable when installed correctly. The key is to pick the right type of beadboard and finish it properly so it can handle the moisture-rich environment of a shower.
One of the biggest advantages of beadboard is its versatility. You can paint it any color to match your bathroom’s palette, from crisp white to soft pastels or even a bold navy. The vertical lines add a subtle texture that catches light nicely, making the ceiling feel more dynamic without being overwhelming.
Plus, it’s a relatively affordable option compared to some other ceiling treatments, so it’s great for DIYers on a budget. To make sure your beadboard ceiling lasts, choose PVC or marine-grade panels specifically designed for wet areas. These materials resist moisture and won’t swell or rot like traditional wood might.
Then, finish with a semi-gloss paint, which not only looks great but also makes wiping away condensation and grime a breeze. With the right prep and materials, beadboard gives you that classic, comfortable look that’s both elegant and practical.
Why Beadboard Works In Showers
Beadboard’s charm lies in its simplicity, but what makes it shower-worthy is the material choice. PVC beadboard is a top pick because it’s 100% waterproof and won’t absorb moisture. Marine-grade wood is another option, but it requires a bit more upkeep.
The key is to avoid standard MDF or drywall, which can swell and deteriorate with constant humidity. When you choose the right material, beadboard gives you a worry-free ceiling that looks great for years.
Installation Tips For A Flawless Finish
Installing beadboard on a ceiling is a manageable DIY project if you take your time. Start by ensuring the ceiling is clean and dry. Use construction adhesive and finish nails to secure the panels, and stagger the seams for a more polished look.
For corners and edges, use trim pieces to hide gaps and create a seamless transition. If you’re working with a curved or angled ceiling, you might need to cut the panels carefully, but straight runs are straightforward. With a little patience, you’ll have a professional-looking result.
Painting And Maintenance Made Simple
Once your beadboard is up, painting is the fun part. Use a high-quality primer first, then apply a semi-gloss or satin paint in your chosen color. Semi-gloss is ideal because it reflects light and is easy to clean—just wipe down with a damp cloth when needed.
To keep it looking fresh, check the caulking around the edges periodically and reapply if it starts to crack. With minimal effort, your beadboard ceiling will stay beautiful and functional for a long time.
4. Tin Tiles for Vintage Flair
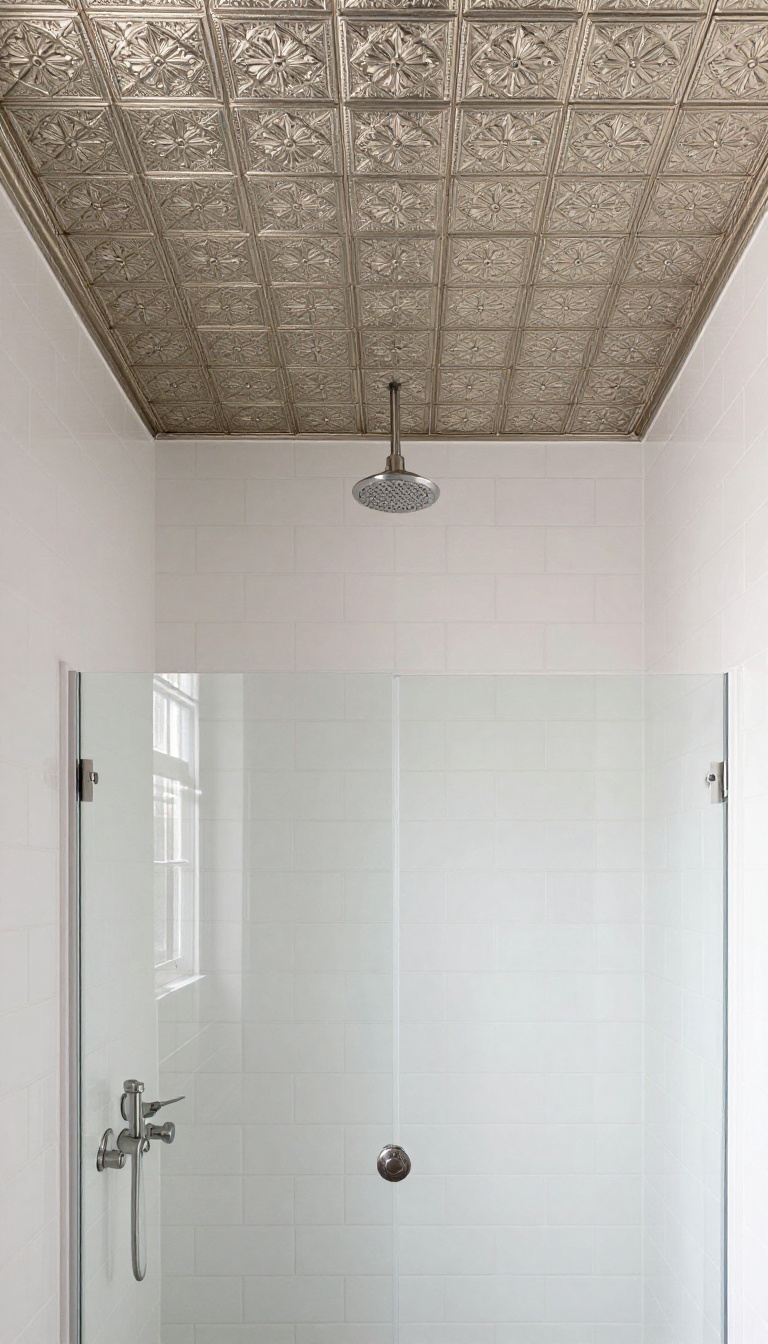
Tin tiles bring an instant vintage charm that feels both timeless and unexpected in a shower. The embossed patterns catch light in a way that plain drywall never will, and they have a practical side too. These tiles are naturally water-resistant and durable, so they can handle the steamy environment without warping or staining.
Tin tiles are a lightweight alternative to ceramic or stone, making them surprisingly easy to work with. They come in large sheets or individual tiles, and you can install them right over existing drywall or cement board. The key is to use a waterproof adhesive and seal the seams properly to keep moisture out.
Once in place, they create a striking, textured ceiling that becomes a focal point without overwhelming the space.
Why Tin Works In A Shower
Tin is naturally resistant to moisture and won't absorb water like wood or drywall. It's also easy to clean—just wipe it down with a damp cloth. The metal surface doesn't harbor mold or mildew, which is a huge plus in a shower.
Plus, the vintage patterns add character that plain tiles can't match.
Installation Tips For A Flawless Finish
Start by making sure your ceiling is clean and dry. Apply a strong adhesive specifically designed for metal tiles, and press each tile firmly into place. Use a roller to ensure good contact.
For seams, use a flexible caulk or sealant to prevent moisture from seeping behind the tiles. If you're using individual tiles, consider using spacers to keep the gaps even.
Design Ideas To Make It Pop
You can go with a classic silver or nickel finish for a subtle look, or choose a painted tin tile in a color that complements your bathroom. For a more dramatic effect, try a mix of patterns or a border around the perimeter. Pair the tin ceiling with vintage-style fixtures and warm lighting to enhance the old-world feel.
5. Recessed Lighting with a Vaulted Ceiling
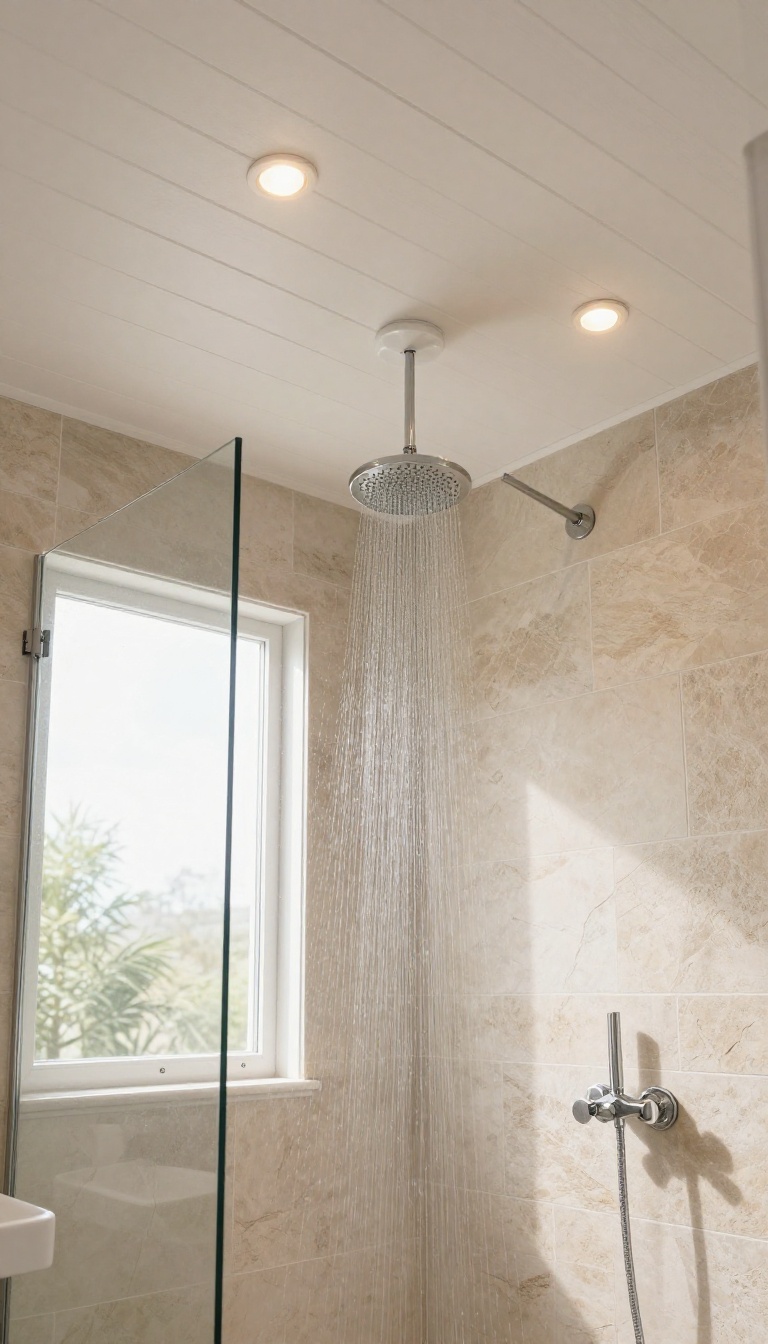
A vaulted ceiling instantly changes the entire feel of a shower, making it feel taller, bigger, and more luxurious. When you pair that extra height with strategically placed recessed lights, you get a bright, airy space that feels open and inviting. It's a structural change that takes some planning, but the payoff is a shower that feels like a private spa retreat.
Vaulted ceilings aren't just for grand living rooms. In a shower, they add drama and a sense of spaciousness that flat ceilings simply can't match. The key is to use recessed lighting to highlight the height and create an even, flattering glow.
This combination works especially well in larger bathrooms or when you want to make a small shower feel more expansive. With the right placement, you can avoid harsh shadows and create a calm, welcoming atmosphere that makes your morning routine feel a little more special.
Why Vaulted + Recessed Works
A vaulted ceiling draws the eye upward, making the shower feel taller and more open. Recessed lights, placed at the right angles, wash the walls with light and eliminate dark corners. This pairing not only looks elegant but also improves visibility, making it easier to see what you're doing.
Plus, the clean, minimal look of recessed fixtures keeps the focus on the architecture rather than the hardware.
Planning The Layout
Before you start cutting into your ceiling, think about where the lights will go. You want to avoid placing them directly above the showerhead, where they might create glare or cast awkward shadows. Instead, aim for a few lights along the slope or at the peak, angled to highlight the texture of the ceiling.
Work with an electrician to ensure proper placement and that everything meets local building codes, especially regarding moisture ratings.
Choosing The Right Fixtures
Not all recessed lights are created equal. For a shower, you need fixtures rated for damp or wet locations, with a sealed trim to keep moisture out. Look for LED options that are energy-efficient and have a high color rendering index (CRI) for a natural, flattering light.
You can also choose adjustable trims to direct light exactly where you want it, adding flexibility to your design.
Maintenance And Longevity
Once installed, recessed lighting in a vaulted ceiling requires minimal upkeep. The sealed fixtures protect against humidity, and LED bulbs last for years, so you won't be changing them often. Just make sure the ceiling is properly insulated and ventilated to prevent condensation buildup.
With a little planning, this setup will stay beautiful and functional for a long time.
6. Faux Concrete Finish
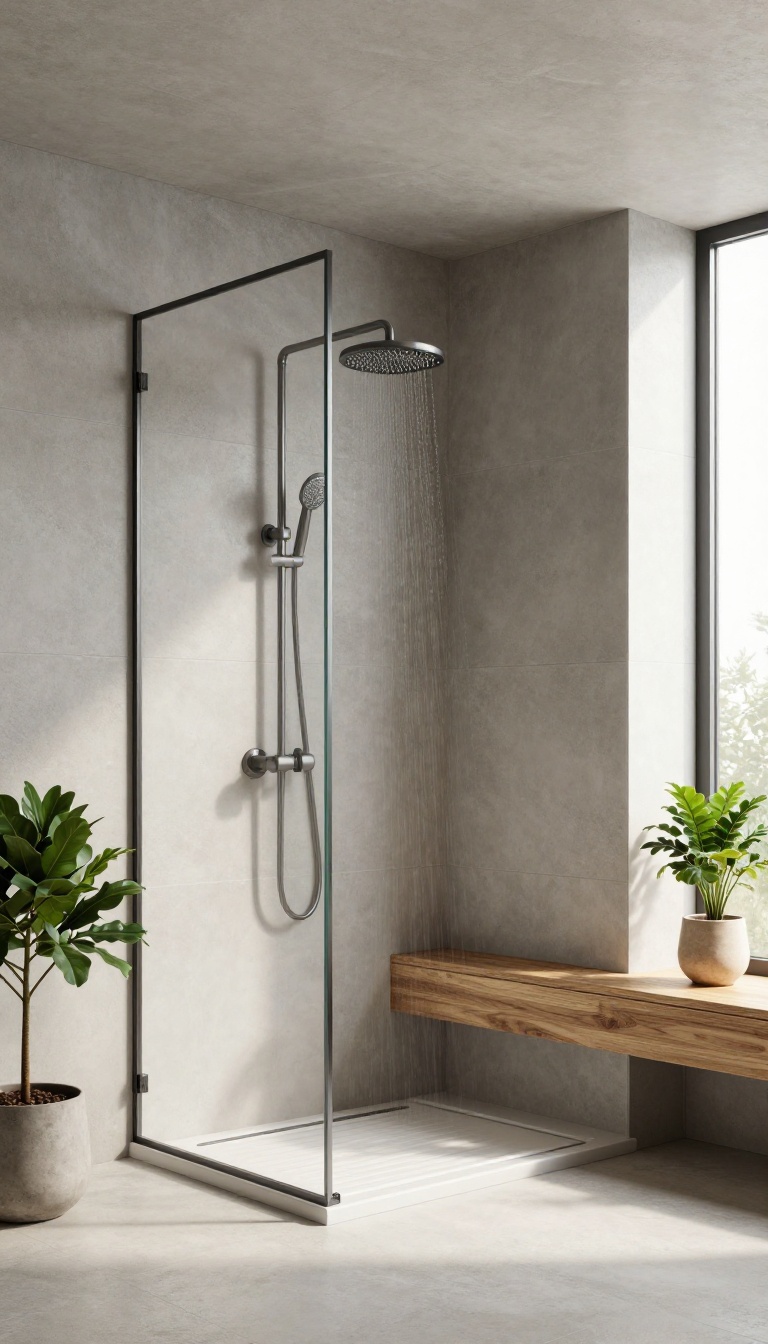
Concrete might not be the first material that comes to mind for a shower ceiling, but a faux finish gives you that raw, industrial edge without the hefty weight or cost. It’s a clever trick that adds texture and depth, turning a plain ceiling into a subtle design feature. Plus, it’s a budget-friendly way to get the look of real concrete without any structural concerns.
A faux concrete finish is achieved using specialized paint or a skim coat overlay that mimics the look of real concrete. This approach is lightweight, easy to apply, and much more forgiving than actual concrete, which can be heavy and prone to cracking in humid environments. The result is a matte, slightly textured surface that adds an urban, modern vibe to your shower.
It’s perfect for anyone who loves the industrial-chic aesthetic but doesn’t want to deal with the hassle or expense of the real thing.
Why It Works In A Shower
Real concrete is porous and can absorb moisture, leading to mold and mildew issues. Faux finishes, on the other hand, are sealed properly and resist water damage. They also don’t add any extra weight to your ceiling, so you don’t have to worry about structural support.
The texture can help hide imperfections and gives a nice contrast to smooth tiles or glass.
How To Apply It
You can use a concrete-look paint that comes in a kit with a base coat, texture additive, and sealer. Or, you can use a skim coat of joint compound mixed with paint to create a more realistic texture. The key is to work in small sections, applying with a trowel or brush to create random patterns.
Once dry, apply a waterproof sealer to protect the finish from steam and splashes.
Styling Tips
Pair a faux concrete ceiling with warm wood accents or brass fixtures to soften the industrial feel. Add recessed lighting to highlight the texture and create a dramatic effect. For a cohesive look, use the same finish on a feature wall or the shower niche.
Keep the rest of the bathroom simple so the ceiling remains the star.
7. Mirrored Ceiling for Illusion
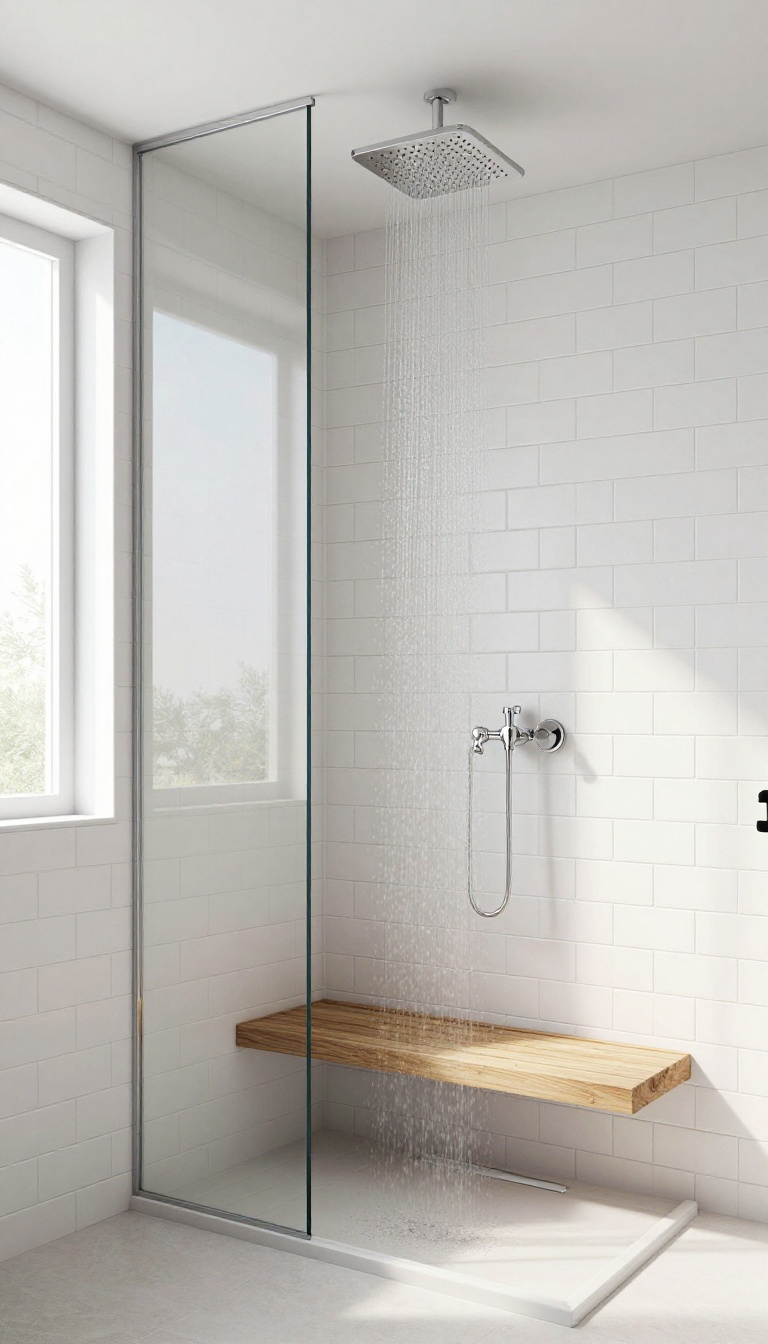
A mirrored ceiling might sound like something from a swanky hotel or a celebrity bathroom, but it's a surprisingly practical trick for small showers. The reflective surface bounces light around, making the space feel twice as large and adding a touch of glamour that's hard to beat. The key is doing it safely and smartly, so it stays beautiful and functional for years.
The magic of a mirrored ceiling lies in its ability to visually double the height and width of your shower. Even a compact corner shower can feel open and airy when the ceiling reflects the tiles and fixtures below. It's also a fantastic way to amplify natural light if you have a window or skylight, making the whole bathroom feel brighter without adding extra fixtures.
But before you start ordering mirrors, let's talk about the practical side.
Safety First: Use Acrylic, Not Glass
Standard glass mirrors are a no-go in a shower. If they break, you're dealing with sharp shards in a slippery space—a recipe for disaster. Instead, go with acrylic mirrors, which are lightweight, shatter-resistant, and safe if they ever crack.
They're also easier to install because they're not as heavy, and you can cut them to fit around fixtures or odd angles.
Keep It Clear: Ventilation And Anti-fog
The biggest downside of a mirrored ceiling is fogging. When you take a hot shower, steam will coat the surface, hiding the effect until it clears. To minimize this, make sure your bathroom has proper ventilation—a good exhaust fan is non-negotiable.
You can also apply an anti-fog coating to the acrylic, which helps keep the surface clear for longer. Just be prepared for some misting; it's part of the deal.
Installation Tips And Maintenance
Installing a mirrored ceiling is a job best left to a professional, especially if you're working with a curved or sloped ceiling. The acrylic panels need to be securely fastened to prevent sagging, and you'll need to use a waterproof adhesive or clips that won't rust. Once it's up, maintenance is simple: wipe it down with a soft cloth and a mild cleaner to avoid streaks.
Avoid abrasive pads, which can scratch the surface.
8. Shiplap with a Modern Twist
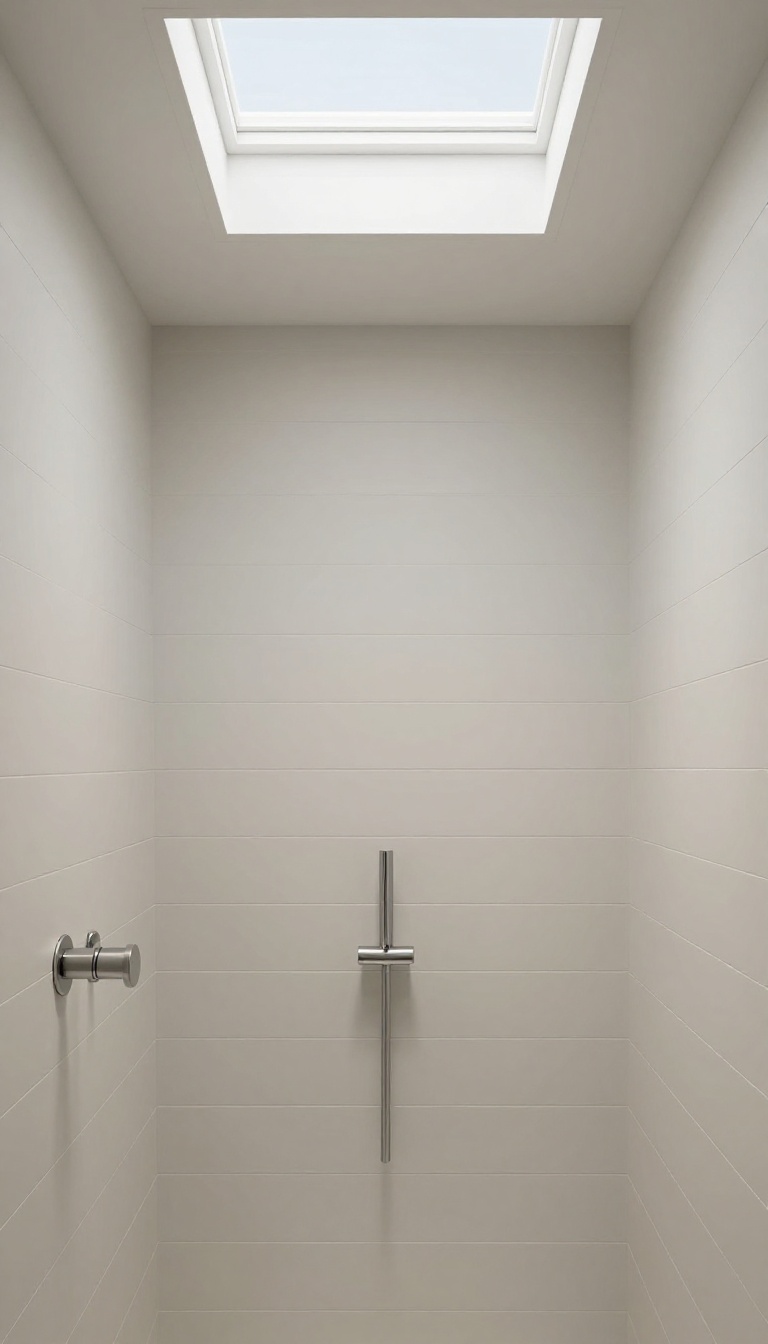
Shiplap isn't just for walls anymore. It's found its way onto shower ceilings, and for good reason. The clean lines and subtle texture add a modern farmhouse vibe that feels fresh and inviting.
But you don't have to worry about moisture damage if you choose the right material.
PVC shiplap is a game-changer for bathrooms. It looks just like real wood but shrugs off humidity, steam, and splashes without warping or rotting. Plus, it's a breeze to clean—just wipe it down with a damp cloth.
You get the warmth of wood with none of the maintenance headaches.
Why Pvc Shiplap Works
Standard wood shiplap can absorb moisture and eventually warp or grow mold. PVC shiplap is waterproof, so it's perfect for the steamy environment of a shower. It also comes in a variety of colors and finishes, so you can match your bathroom's style easily.
Horizontal Vs. Vertical Installation
Horizontal shiplap makes the ceiling feel wider and more expansive, while vertical shiplap draws the eye upward and adds height. For a modern twist, try a diagonal pattern—it adds visual interest and makes the space feel more dynamic.
Styling Your Shiplap Ceiling
Pair your shiplap ceiling with simple, modern fixtures and a neutral color palette. Add a statement light fixture or a skylight to enhance the farmhouse feel. Keep the walls simple so the ceiling becomes the focal point.
9. Acoustic Panels for Sound Absorption
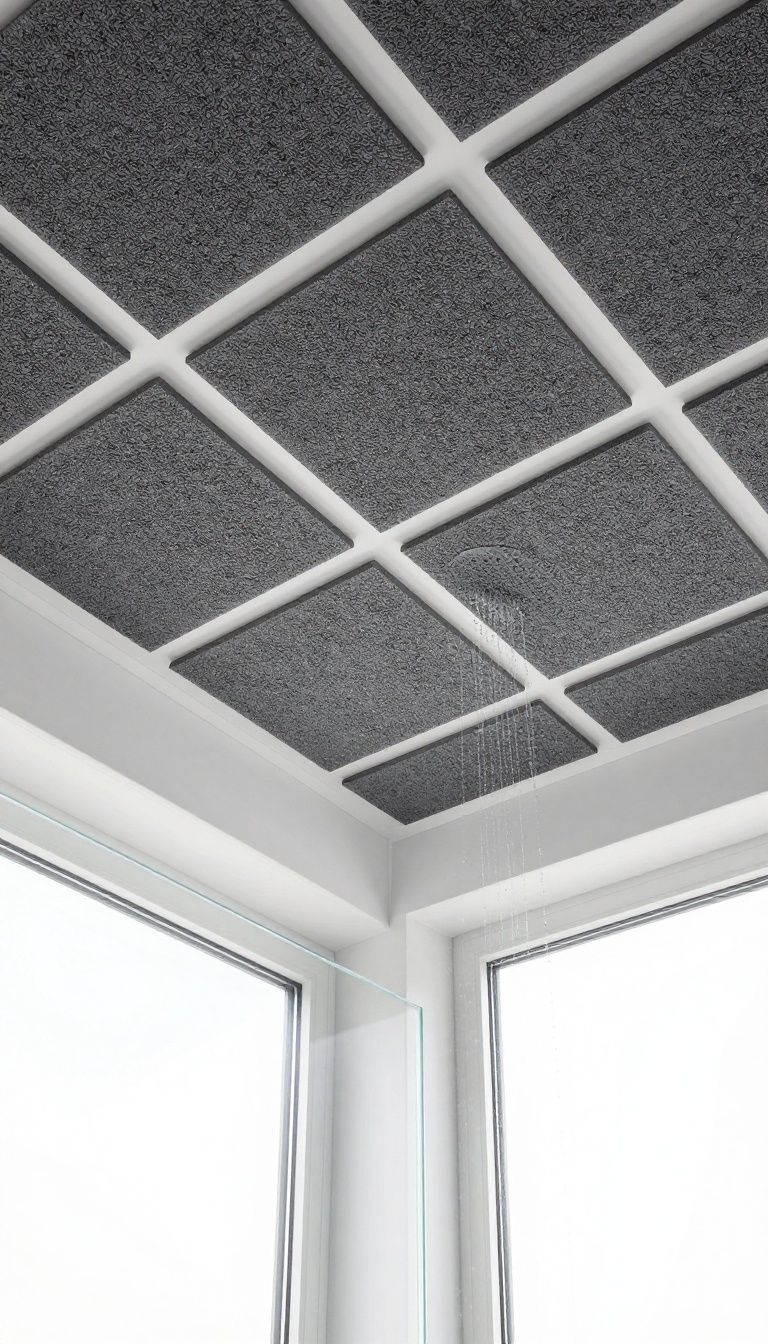
If you love belting out your favorite tunes in the shower, you've probably noticed the echo. Hard surfaces like tile and glass make sound bounce around, turning your bathroom into an unintentional concert hall. Acoustic panels can tame that reverb, making your shower sound more like a studio and less like a cave.
But not all acoustic panels are safe for wet areas. You'll need ones made from moisture-resistant materials, like closed-cell foam or PET felt, that won't absorb water or grow mold. Installed in a neat grid, they add a modern, textured look that's both functional and stylish.
Acoustic panels work by trapping sound waves and reducing reflection, which cuts down on echo and improves clarity. In a shower, they also help muffle the noise of running water, making the space feel calmer. The key is to choose panels rated for high humidity and to install them properly to avoid moisture getting trapped behind them.
For a cohesive design, arrange the panels in a symmetrical pattern across the ceiling. You can leave them in their natural gray or black, or paint them with a waterproof paint to match your bathroom's palette. Just make sure the adhesive is rated for wet areas and that the panels are securely fastened to prevent them from falling.
Choosing The Right Panels
Look for acoustic panels made from closed-cell foam or recycled PET felt. These materials don't absorb water and are resistant to mold and mildew. Avoid open-cell foam or fabric-wrapped panels, as they'll soak up moisture and become a breeding ground for bacteria.
Check the product specs for humidity resistance and choose panels with a smooth, cleanable surface.
Installation Tips
Clean and dry the ceiling thoroughly before installing. Use a strong, waterproof construction adhesive or mechanical fasteners like screws with washers. Leave a small gap between panels to allow air circulation and prevent moisture buildup.
If you're unsure about the ceiling's structure, consult a professional to ensure the panels are safely secured.
Design And Maintenance
Acoustic panels come in various thicknesses and edge profiles. Thicker panels absorb more sound but hang lower, so consider your shower's height. For a sleek look, install them flush with the ceiling or in a recessed grid.
To keep them clean, wipe them down occasionally with a damp cloth and mild soap. Avoid harsh chemicals that could damage the material.
10. Living Green Ceiling
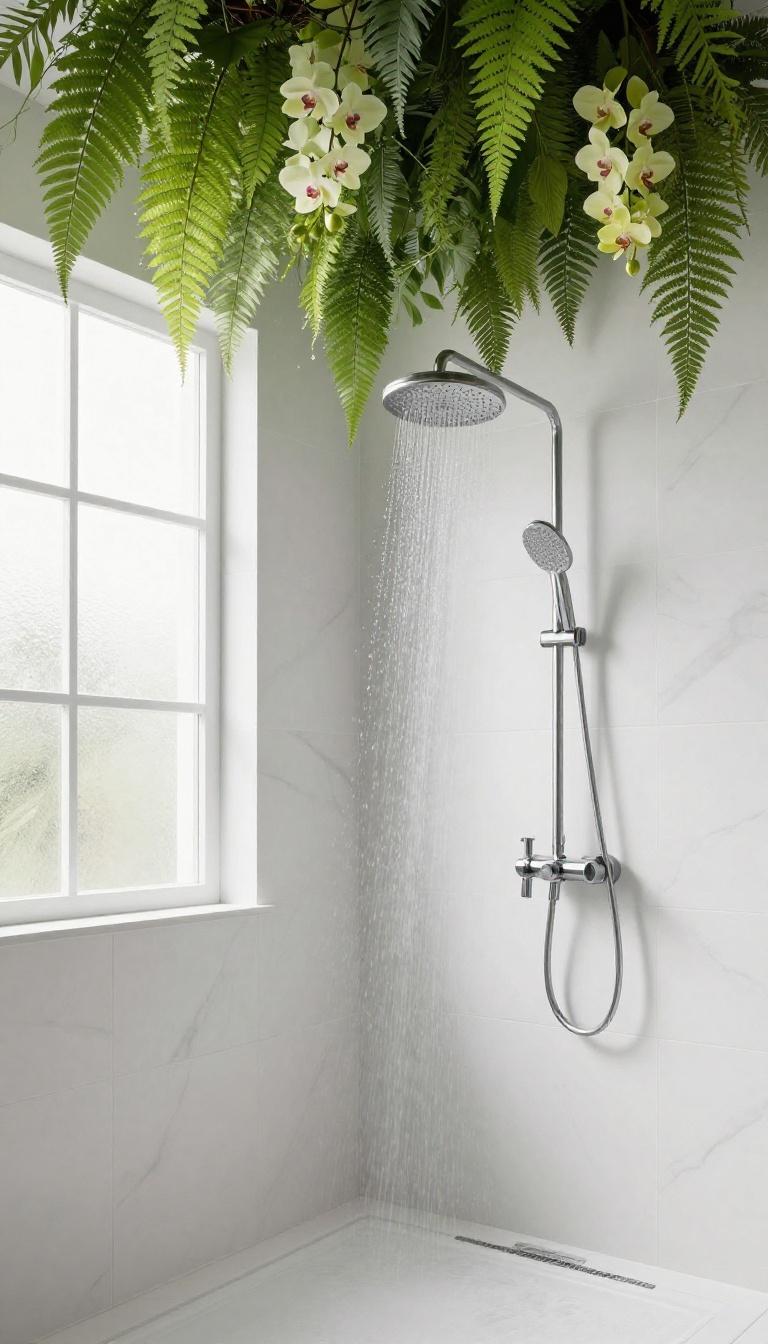
A living ceiling might sound high-maintenance, but with the right plants and setup, it can turn your shower into a lush, spa-like retreat. Ferns and orchids thrive in the humidity, and the greenery softens the hard surfaces typical of bathrooms. Plus, it's a conversation starter that guests won't soon forget.
The key to a successful living ceiling is choosing moisture-loving plants that can handle low light and high humidity. Ferns, orchids, and some mosses are perfect candidates. You'll need a waterproof liner to protect the ceiling from water damage, and a drip tray to catch excess water.
Proper ventilation is crucial to prevent mold, so ensure your bathroom has good airflow or an exhaust fan. With a little planning, you can create a stunning green canopy that makes every shower feel like a retreat.
Choosing The Right Plants
Not all plants are suited for a shower ceiling. Look for species that thrive in high humidity and low light, such as Boston ferns, staghorn ferns, or moth orchids. These plants can handle the moisture and don't need direct sunlight.
Avoid cacti or succulents, which prefer dry conditions. You can also mix in trailing plants like pothos or philodendron for a cascading effect.
Installation And Waterproofing
Before adding plants, you need to ensure your ceiling is properly waterproofed. Use a waterproof membrane or liner, and install a drip tray beneath the plants to catch excess water. The tray should be easy to remove for cleaning.
Consider using a grid or hanging system to support the plants securely. Make sure the structure can handle the weight of wet soil and plants.
Lighting And Ventilation
Plants need light to survive, but direct sunlight can be too harsh. If your bathroom has a window, position the plants near it. Otherwise, install grow lights that mimic natural light.
Ventilation is equally important—good airflow prevents mold and mildew. Use an exhaust fan or open a window after showers to keep the air moving.
Maintenance Tips
A living ceiling requires regular care. Water the plants according to their needs, but be careful not to overwater. Check for pests and remove dead leaves.
Clean the drip tray periodically to prevent buildup. With consistent attention, your green ceiling will stay healthy and vibrant.
11. Painted Mural or Faux Finish
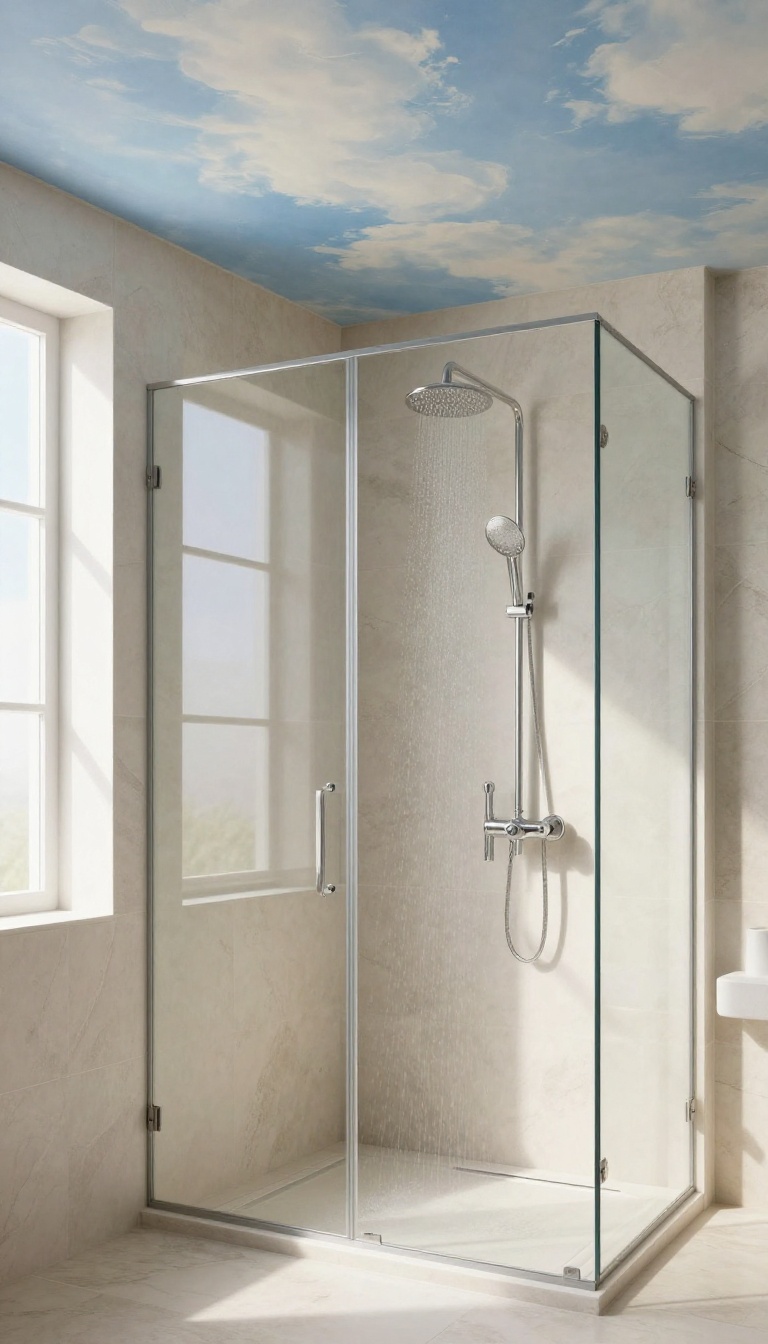
A painted ceiling can be the most personal statement in your shower, turning the space above your head into a canvas. Whether you dream of a soft cloudy sky or a bold abstract pattern, paint gives you endless possibilities at a fraction of the cost of other materials. The key is choosing the right products and prepping properly so your artwork stands up to steam and moisture.
With a little care, your painted ceiling will stay vibrant and fresh for years.
Choosing The Right Paint
Standard wall paint won't cut it in a shower. Look for a high-quality, moisture-resistant paint specifically formulated for bathrooms or high-humidity areas. These paints contain mildewcides and have a durable finish that resists peeling and fading.
A satin or semi-gloss sheen is ideal because it's easier to clean and repels water better than flat finishes.
Prepping Your Ceiling
Proper prep is crucial for a long-lasting mural. Start by cleaning the ceiling thoroughly to remove any soap scum or residue. Fill any cracks or imperfections with a patching compound and sand smooth.
Apply a primer that's designed for high-moisture areas to ensure good adhesion and to block any stains. Let everything dry completely before you start painting.
Sealing For Protection
Once your mural or faux finish is dry, protect it with a clear topcoat. Use a water-based polyurethane or a specialized sealer that's safe for bathrooms. This adds an extra layer of defense against humidity and makes the surface easier to wipe down.
Apply two thin coats, allowing each to dry thoroughly. This step will keep your artwork looking fresh and prevent moisture from seeping through.
FAQ
What is the best material for a shower ceiling?
The best material is one that's moisture-resistant and easy to clean, such as PVC panels, marine-grade beadboard, or moisture-resistant drywall with a semi-gloss paint.
Can I install a wood ceiling in a shower?
Yes, but you need to use moisture-resistant woods like cedar or teak, and seal them properly with a waterproof finish. Ensure good ventilation to prevent mold and warping.
How do I prevent mold on a shower ceiling?
Use mold-resistant materials, ensure proper ventilation with an exhaust fan, and regularly clean the ceiling with a mildewcide cleaner. Also, consider a dehumidifier if needed.
Is a skylight in a shower a good idea?
Yes, it can be a great idea for natural light and a sense of openness. Just make sure it's properly sealed and uses tempered or laminated glass for safety.
Can I paint a shower ceiling?
Yes, you can paint a shower ceiling, but use a high-quality, moisture-resistant paint (like semi-gloss or satin) and ensure the surface is properly primed and sealed.
Conclusion
A shower ceiling doesn't have to be an afterthought. With the right material and a bit of planning, you can turn a plain overhead surface into a striking feature that sets the tone for the whole bathroom.
Start with the idea that fits your style and budget, and you'll be surprised how much character it adds without a full remodel. Whether you go for warm wood, sleek panels, or a simple beadboard, the key is to match the look with your daily routine and maintenance comfort.