12 Clever Edit Pantry Ideas for a Calm Kitchen Reset
A calm kitchen starts with a pantry that makes sense. When every shelf works for you instead of against you, meal prep gets faster and grocery bills shrink.
These 12 ideas tackle the real pain points—overflow counters, hidden cans, and expired items—without demanding a full renovation. Pick a few that resonate with your current chaos, and watch the reset happen naturally.
Small tweaks can transform a cluttered pantry into a space that actually supports your daily routine.
1. Clear the Counter of Overflow Items
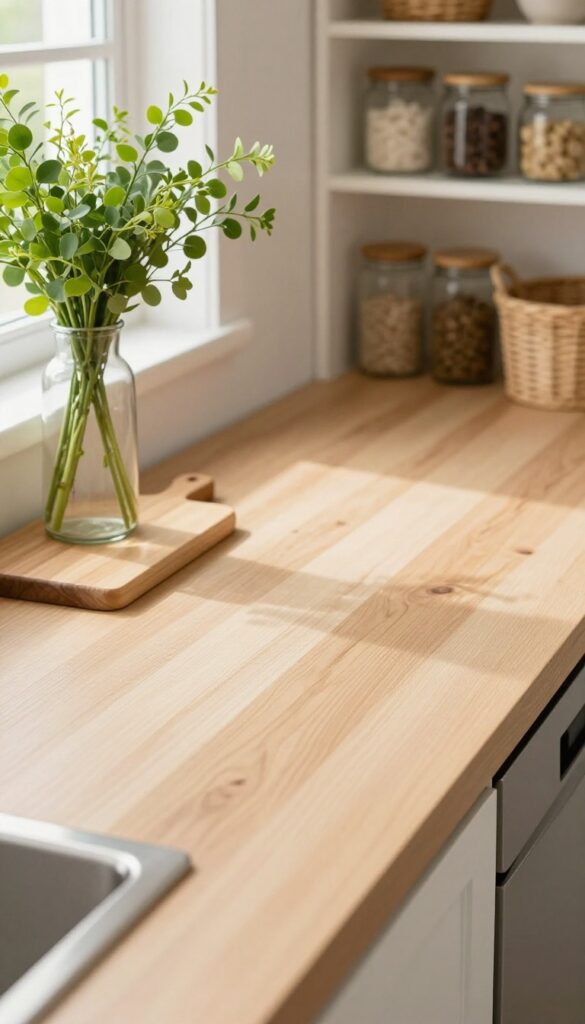
Before you can organize anything, you need to see what you're working with. That pile of bags, cans, and boxes that migrated to the counter? It's blocking your view and your peace of mind.
Clearing the counter gives you a blank canvas and reveals what actually needs a home in the pantry.
Start by moving every item that doesn't belong on the counter—snacks, spices, half-used bags of flour, and that random bottle of soy sauce. Group them by category on a table or the floor. This step alone can make your kitchen feel twice as spacious.
Once the counter is bare, you can see how much overflow you're dealing with and make smart decisions about where things should live.
Why The Counter Becomes A Dumping Ground
It happens gradually. You buy a new bag of rice but the pantry shelf is full, so it lands on the counter. Then the kids' snacks follow.
Before long, the counter is a catch-all for anything that doesn't have a designated spot. Recognizing this pattern is the first step to breaking it.
What To Do With The Overflow
Once everything is off the counter, sort it into three piles: keep and store in the pantry, donate or give away, and trash or recycle. Be honest about what you'll actually use. That half-empty bag of lentils from two years ago?
Let it go. The goal is to only return items that earn their spot.
The Reset Rule: One In, One Out
To prevent future overflow, adopt a simple rule: every time you bring a new item into the pantry, remove one. This keeps your counter clear and your pantry from overflowing again. It's a small habit that pays off daily.
2. Group Like Items Together Before You Sort
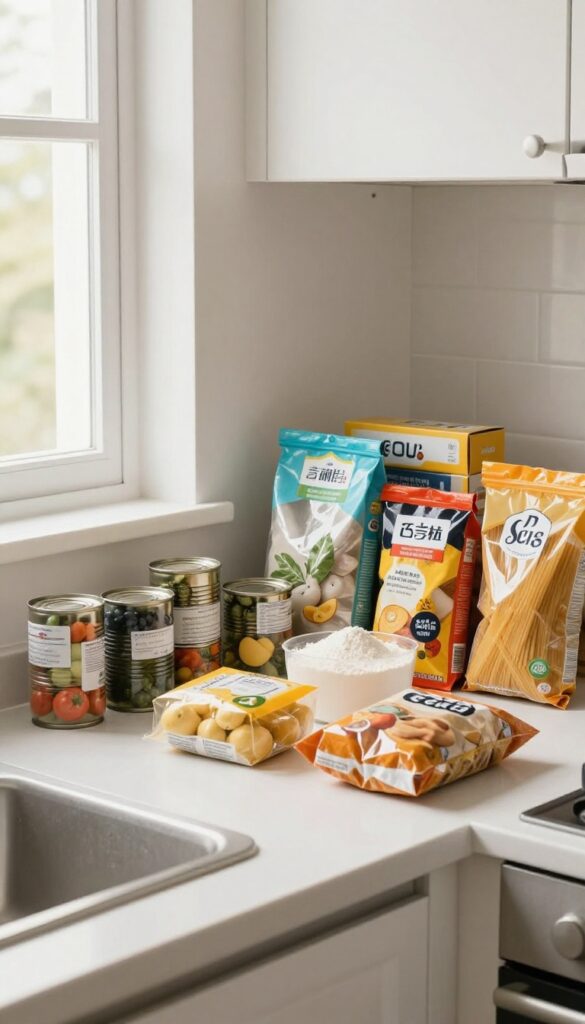
Pulling everything out of your pantry might feel overwhelming at first, but it's the fastest way to see what you actually own. Once it's all on the counter, start grouping items by type—canned vegetables, pasta, baking staples, snacks, and so on. This simple step reveals duplicates, near-expired products, and the things you reach for most often.
When everything is grouped, you can make smarter decisions about what stays and what goes. You'll spot the three cans of black beans hiding in the back and the half-used bag of flour that needs to move to the front. This method also helps you figure out how much space each category needs, so your final layout feels intentional instead of random.
Create Clear Categories
Decide on 5–7 broad categories that match how you cook. Common ones include canned goods, grains and pasta, baking supplies, snacks, spices, and oils/vinegars. If you have a separate baking section, keep sugars, flours, and leavening agents together.
The goal is to make every item easy to find at a glance.
Use Bins Or Baskets To Keep Groups Together
Once grouped, use clear bins, wire baskets, or even cardboard boxes to contain each category. This prevents items from spreading out again as you use them. Clear containers let you see what's inside without pulling everything down, and they make restocking a breeze.
Label For Long-term Success
After grouping, add simple labels to bins or shelves. You don't need a fancy label maker—chalk labels or masking tape work fine. Labels help everyone in the household return items to the right spot, keeping your system intact between deep cleans.
3. Use Clear Bins for Small, Loose Items
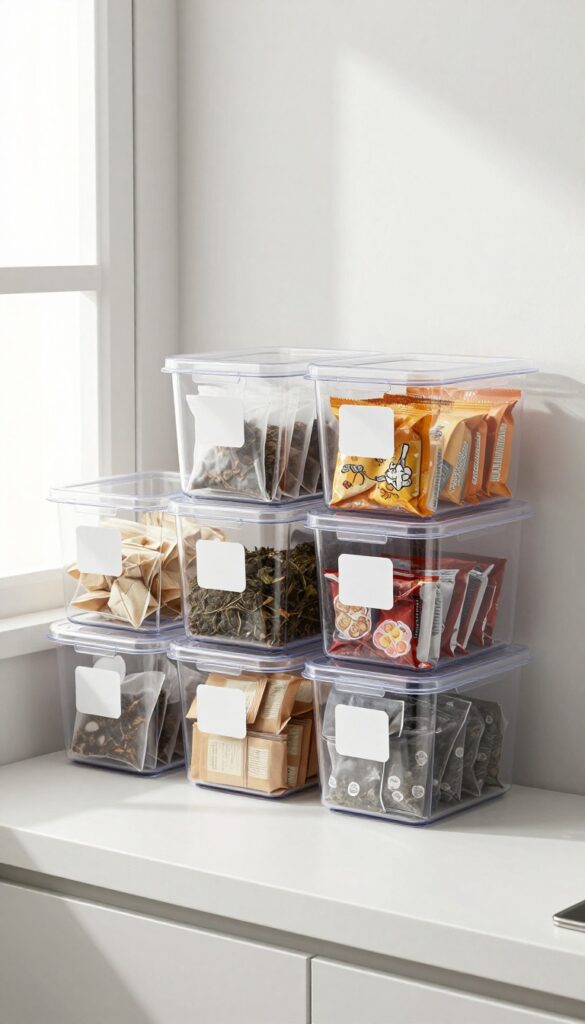
Small items are the biggest culprits of pantry chaos. Spice packets slide behind jars, tea bags get crushed, and snack packs vanish into the abyss. Clear bins solve this by giving every tiny thing a visible home.
You'll see what you have at a glance, grab what you need, and never dig again.
Clear bins turn loose items into organized sets. Choose bins that are wide enough to hold packets upright but shallow enough to prevent burying. Label the front with a dry-erase marker or simple sticker so you know what's inside without pulling it out.
Stackable bins are great for maximizing vertical space, but avoid overfilling—you want to see everything at once.
Sort By Category, Then Bin
Group similar items before binning. Tea bags go in one bin, hot cocoa packets in another, and instant oatmeal packs in a third. This way, you can grab one bin for breakfast without disturbing lunch supplies.
Use smaller bins for spices and larger ones for snack packs.
Keep Bins Accessible
Place frequently used bins at eye level or on the shelf closest to the door. Reserve higher or deeper shelves for backup supplies. If you have deep shelves, use pull-out bins or lazy Susans to avoid reaching into the back.
Maintain The System
Once a month, do a quick check. Toss expired packets, consolidate half-empty bags, and wipe down the bins. This keeps the system from turning into a junk drawer.
A five-minute reset keeps your pantry calm.
4. Install Adjustable Shelf Risers for Cans and Jars
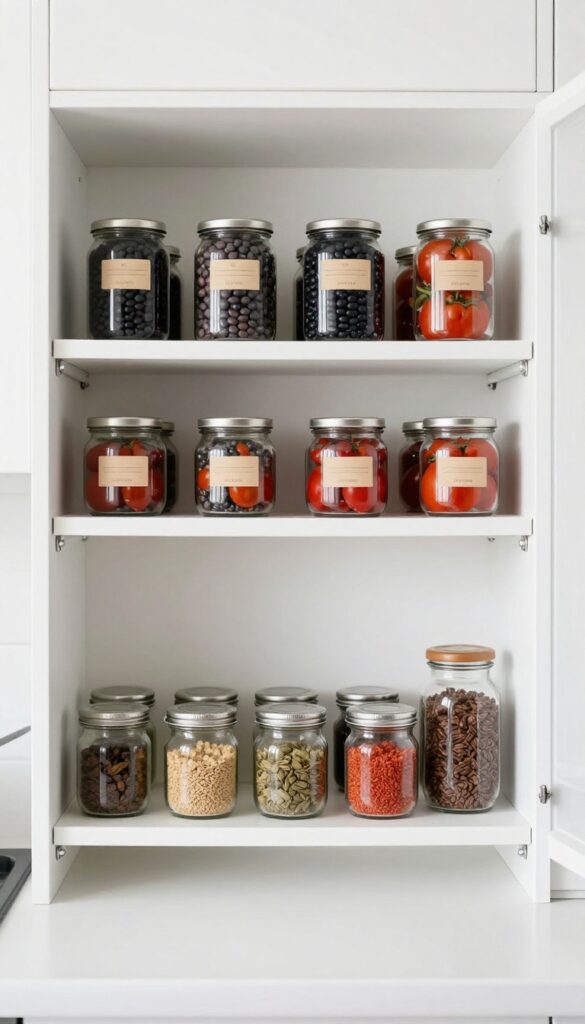
You know the struggle: you buy a can of black beans, stash it in the back, and forget about it until it expires. Shelf risers fix that by lifting the back row so everything stays visible. They're cheap, adjustable, and take about two minutes to install.
Shelf risers are the unsung heroes of pantry organization. They create two tiers where you once had one, letting you store cans, jars, and small boxes without burying anything. The key is choosing risers that fit your shelf depth and can be adjusted as your inventory changes.
Pick The Right Size
Measure your shelf depth before buying. Standard risers work for 12-inch shelves, but deeper shelves need wider ones. Look for expandable models that adjust from 10 to 20 inches—they fit most cabinets and can be moved if you rearrange.
Group By Category
Use risers to separate food groups: one tier for canned vegetables, another for beans, a third for sauces. This way you grab what you need without shuffling through everything. Label the shelf edge if you share the pantry with others.
Double Up For Small Jars
Spice jars, baby food, and small condiments disappear on deep shelves. Install two risers side by side to create a mini stadium effect. The front row holds everyday items, the back row stores backups—all visible at a glance.
5. Add a Lazy Susan for Corner or Deep Shelves
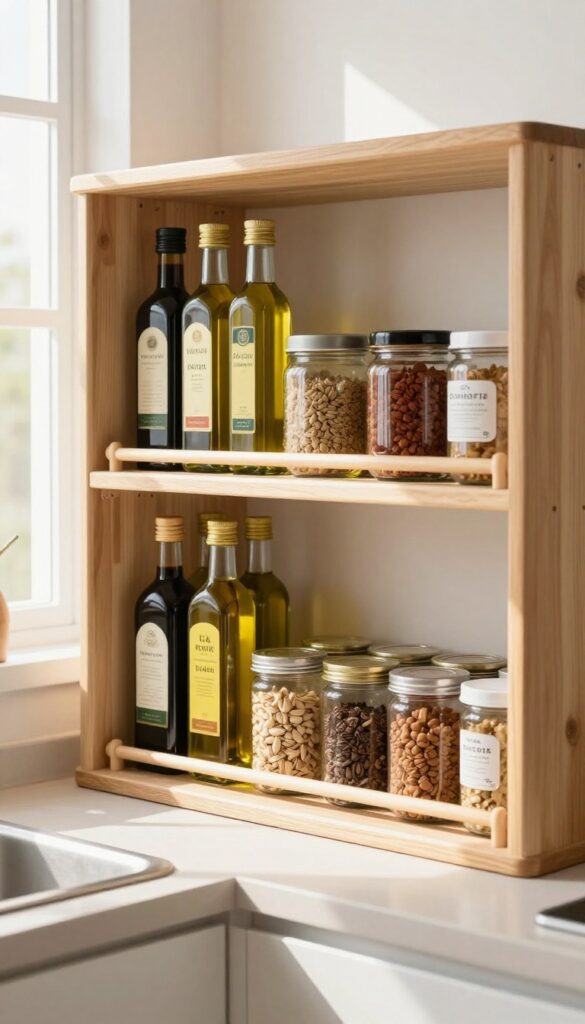
Deep cabinets and corner shelves are notorious for swallowing items whole. A lazy Susan changes that by bringing everything within arm's reach. With a simple spin, you can grab that bottle of sesame oil or the can of coconut milk without playing pantry archaeology.
Lazy Susans are the unsung heroes of pantry organization. They turn dead space into functional storage and work especially well for oils, vinegars, sauces, and canned goods. You can find them in various sizes—single-tier for tall bottles or multi-tier for maximizing vertical space.
Installation is as easy as placing one on the shelf; no tools required. For corner cabinets, consider a half-moon or kidney-shaped lazy Susan that fits the curved space perfectly. The key is to group similar items together so you can spin to what you need without rummaging.
Choose The Right Size And Shape
Measure your shelf depth and width before buying. A standard 12-inch round lazy Susan works for most shelves, but for corners, look for pie-shaped or D-shaped options. Multi-tier models are great for stacking smaller jars, but make sure the top tier doesn't block access to the bottom.
Group Items By Usage Frequency
Place everyday items like olive oil and soy sauce on the outer edge, and less-used bottles like fish sauce or truffle oil toward the center. This way, the most-spun items are always at your fingertips.
Use Non-slip Liners For Stability
A non-slip liner or mat underneath the lazy Susan prevents it from sliding around when you spin it. This is especially helpful if you store heavy glass bottles that could tip over.
6. Label Every Shelf and Bin Clearly
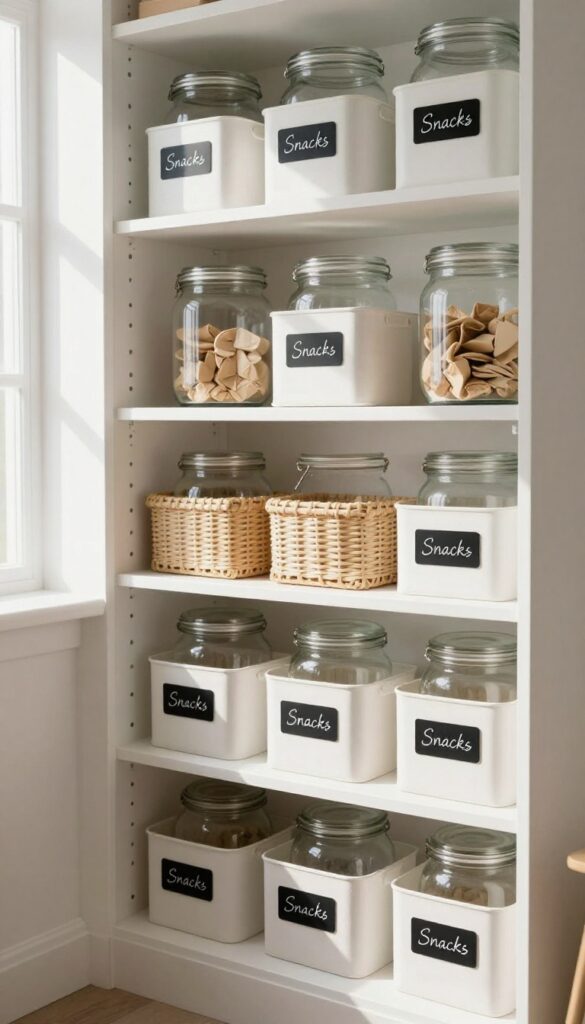
Labels are the unsung heroes of an organized pantry. They turn a chaotic jumble into a system that anyone can follow—no guessing required. When every shelf, bin, and jar has a clear label, you spend zero time hunting for ingredients and zero energy arguing about where things go.
Choose Your Label Style
A label maker gives crisp, uniform text that looks professional and lasts. If you prefer a softer look, chalk labels let you update contents easily with a wet cloth. Whichever you pick, stick to one style throughout the pantry for a cohesive feel.
Label What Matters Most
Focus on zones that cause the most confusion: baking supplies, snack bins, spice jars, and bulk grains. Don't forget shelf edges for categories like "canned vegetables" or "pasta. " The goal is to make restocking and retrieval effortless.
Keep Labels Visible And Consistent
Place labels at eye level on bins and on the front edge of shelves. Use the same font size and color for all labels. Consistency trains your brain to scan quickly, so you can grab what you need without stopping to read.
7. Store Frequently Used Items at Eye Level
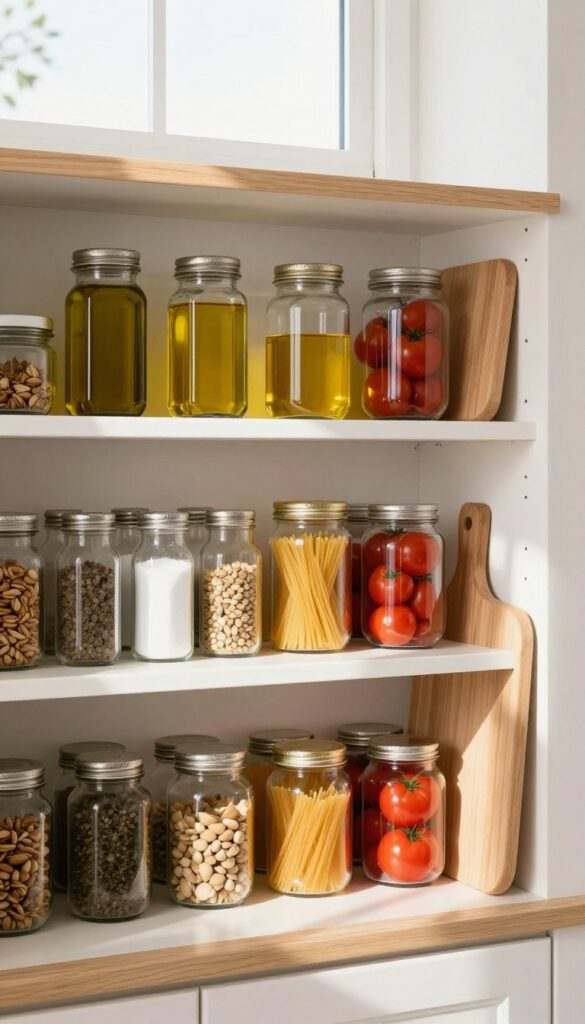
Reaching for a bottle of olive oil shouldn't require a step stool or a deep squat. The golden rule of pantry organization is simple: put your daily drivers front and center, right at eye level. This small shift cuts down on rummaging and makes cooking feel effortless.
When everything you grab multiple times a week lives between your shoulder and hip height, you move through meal prep faster. Less-used items—think specialty flours, holiday sprinkles, or that bag of dried mushrooms—can live on higher or lower shelves without causing daily frustration.
Identify Your Daily Drivers
Take a week to notice which ingredients you reach for most. Cooking oils, salt, pepper, pasta, rice, canned tomatoes, and vinegar often top the list. Group these on the most accessible shelf so you can grab them without thinking.
The Middle Shelf Sweet Spot
The shelf at eye level is prime real estate. Reserve it for items you use at least once a week. If you bake often, that means flour and sugar.
If you're a stir-fry fan, soy sauce and sesame oil belong here. Everything else can move up or down.
What Goes Higher Or Lower
Top shelves are perfect for seldom-used equipment like a slow cooker or specialty pans, plus backup pantry staples. Bottom shelves can hold heavy bulk bags, pet food, or large containers. This keeps weight low and makes the most of your vertical space.
8. Use Tension Rods to Organize Cutting Boards and Baking Sheets
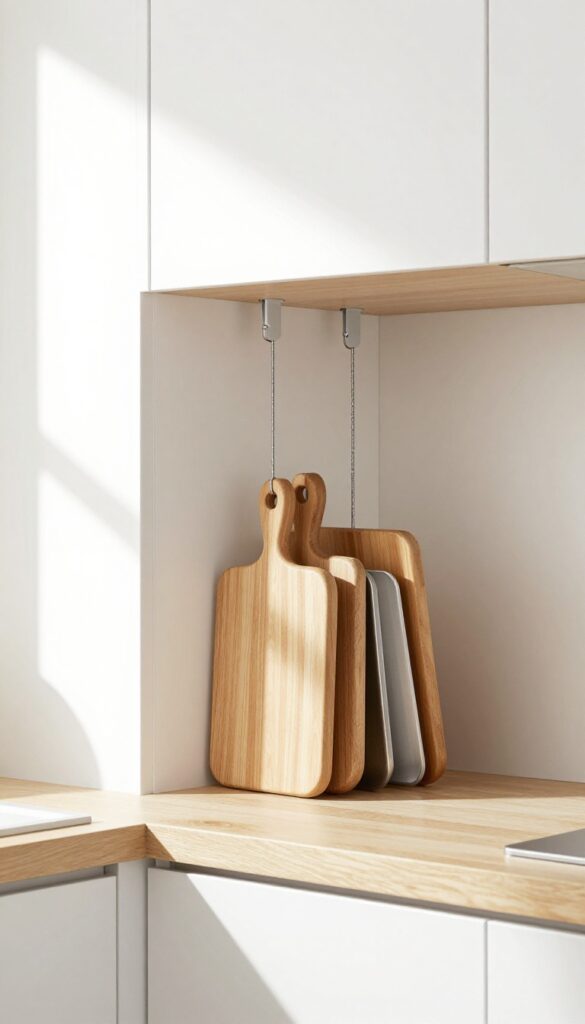
Cutting boards and baking sheets are notorious for sliding into a messy pile every time you open a cabinet door. A simple tension rod can fix that in seconds. Install it vertically inside the cabinet to create a slot that holds each piece upright and separated.
Tension rods are cheap, require no tools, and work in cabinets of any depth. They keep heavy baking sheets from toppling over and make grabbing the right board effortless. Plus, the gaps between boards allow air circulation, so they dry faster after washing.
How To Install A Vertical Tension Rod
Measure the height of your cabinet interior from floor to shelf. Choose a tension rod that extends slightly longer than that measurement. Twist the rod until it fits snugly between the bottom and the shelf above.
Test it by giving it a gentle tug—it should hold firm. Place your cutting boards and baking sheets on one side of the rod, leaning against it.
Best Rods For The Job
Look for tension rods with rubber ends to prevent slipping and scratching. A rod with a diameter of about 1 inch provides enough grip for heavy items. Avoid rods with metal ends that could mark your cabinet surfaces.
If your cabinet is extra wide, use two rods side by side to create multiple vertical dividers.
Creative Variations
This trick isn't limited to cutting boards and baking sheets. Use a tension rod to store lids for pots and pans upright, or to separate cookie sheets from cooling racks. In a deep cabinet, install a rod near the front to keep frequently used trays accessible without digging through stacks.
9. Decant Bulk Items into Uniform Containers
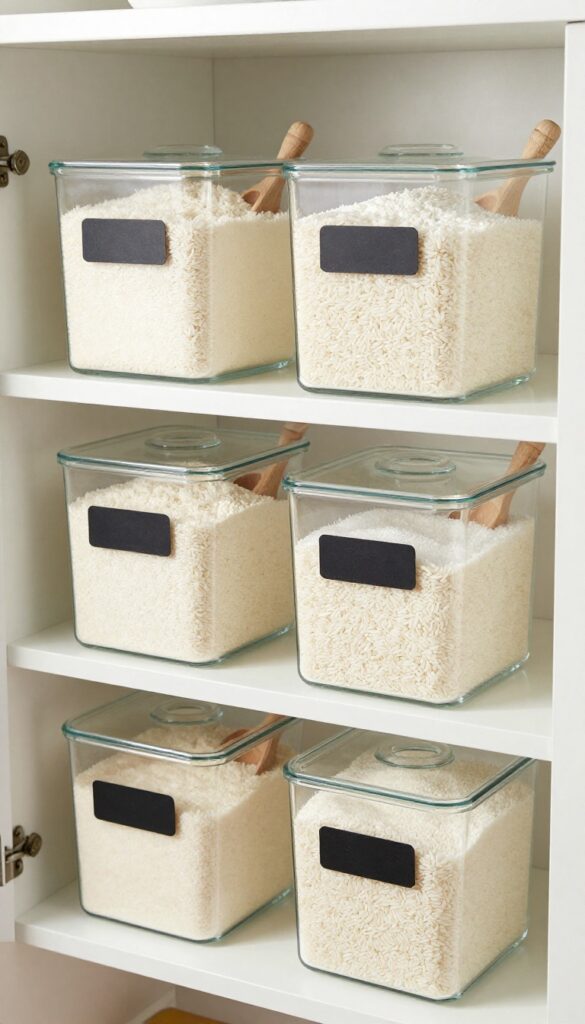
Pour bulk rice, flour, and sugar into matching airtight containers. They stack neatly, keep food fresh, and create a visually calm, cohesive look. This simple swap eliminates the mess of half-opened bags and makes grabbing ingredients effortless.
When you bring home a 10-pound bag of rice or a giant sack of flour, the packaging is rarely pantry-friendly. Those flimsy bags tear easily, spill everywhere, and don't stack well. By decanting into uniform containers, you solve multiple problems at once.
Your shelves become tidy, ingredients stay fresh longer, and you can see exactly what you have at a glance.
Choose The Right Containers
Look for square or rectangular airtight containers that maximize shelf space. Glass or BPA-free plastic both work well—glass is heavier but easier to clean, while plastic is lighter and less breakable. Make sure the lids seal tight to keep out moisture and pests.
Measure your shelf depth before buying to ensure a perfect fit.
Label Everything Clearly
Use a label maker or simple chalk labels to mark each container with the ingredient name and expiration date. This prevents confusion and helps you rotate stock easily. Place labels on the front or top so you can read them without pulling containers out.
Keep A Scoop Handy
Store a small scoop or measuring cup inside each container for easy access. This saves time when cooking and reduces mess. For frequently used items like sugar or flour, consider a container with a wide mouth for effortless scooping.
10. Create a “Use First” Bin for Near-Expired Items
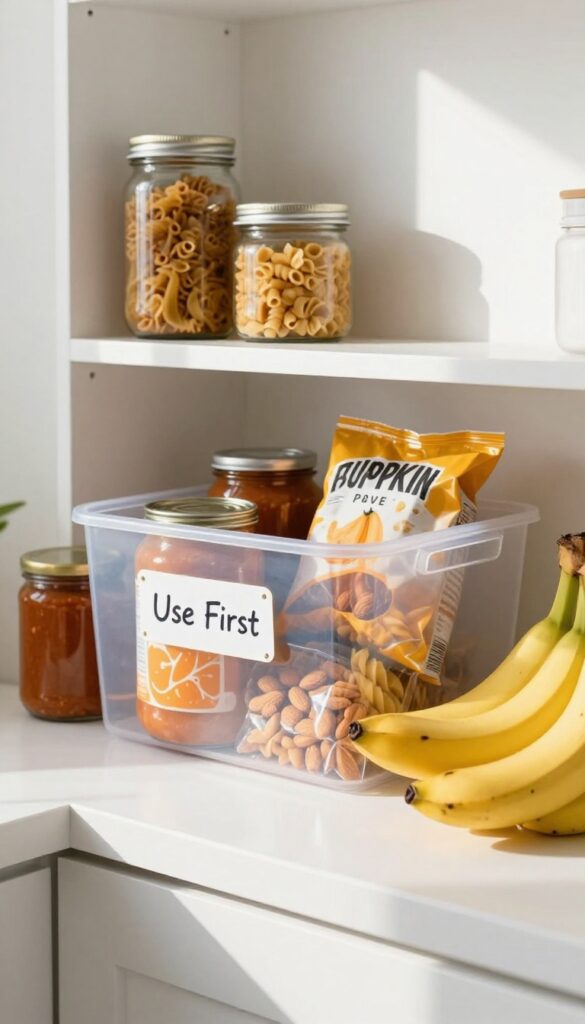
We've all been there: you find a can of pumpkin puree buried in the back of the pantry, only to realize it expired three months ago. A “Use First” bin is a simple fix that saves money and reduces waste. Place it front and center, and make it a habit to check it before grocery shopping or meal planning.
This bin is your pantry's priority lane. It holds items that are approaching their expiration date or that you bought on a whim and never used. By keeping them visible, you're more likely to incorporate them into meals.
Bonus: it prevents the guilt of tossing out forgotten food.
Choose The Right Spot
Place the bin on a shelf at eye level or on the counter if you have space. The goal is visibility. If it's tucked away, you'll forget about it.
A clear plastic bin or a small wire basket works well—just make sure it's easy to grab from.
What Goes Inside
Think about items that have a shorter shelf life: canned goods nearing their date, opened bags of snacks, or produce that's about to turn. Also include pantry staples you bought for a specific recipe and haven't touched since. Rotate items weekly to keep the bin relevant.
Make It A Habit
Check the bin every time you plan meals. Use its contents as inspiration for breakfast, lunch, or dinner. You can also keep a small whiteboard nearby to jot down ideas for using up those items.
Over time, this practice becomes second nature.
11. Add Hooks Inside the Door for Measuring Cups and Spoons
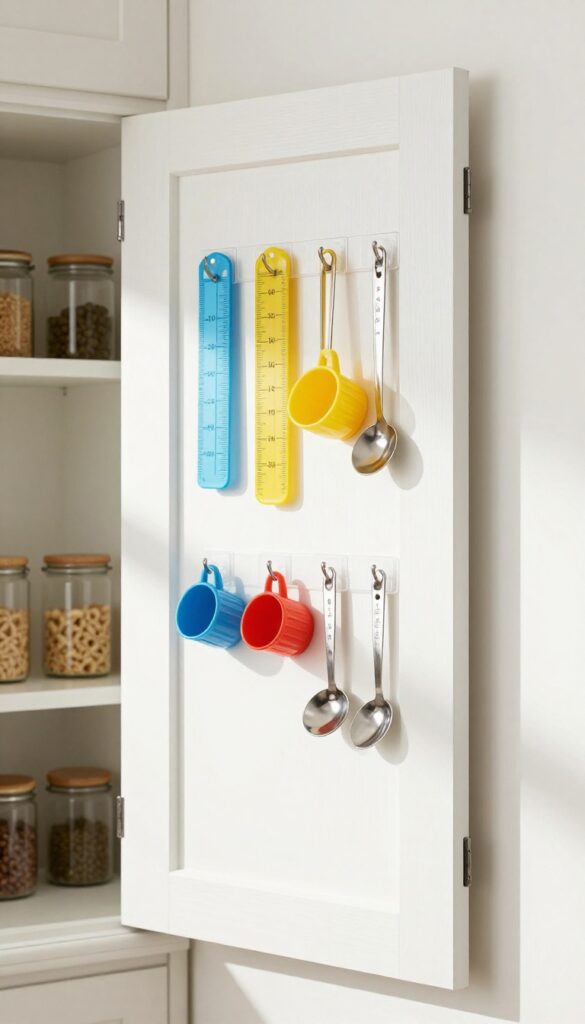
Pantry doors are often wasted real estate. That blank surface can become your go-to spot for frequently used tools. Hooks inside the door keep measuring cups and spoons within arm's reach without cluttering your shelves.
Adhesive hooks are a quick, renter-friendly solution. Stick them to the inside of your pantry door and hang measuring cups, spoons, or even small tongs. They stay visible and accessible, so you won't dig through drawers mid-recipe.
Choose The Right Hooks
Go for adhesive hooks with a strong hold—rated for at least a pound. Clear or white hooks blend in, while metal ones add a subtle industrial touch. Test the surface first: wipe the door with alcohol and let it dry before sticking.
Organize By Frequency
Hang the tools you use most often at eye level. Reserve lower spots for backups or less-used items like a kitchen scale. Group similar items together—all measuring cups on one hook, spoons on another.
Keep It Light
Avoid overloading the door. Heavy items can pull the hooks off or strain the door. Stick to lightweight plastics and metals.
If you need more storage, add a small mesh pocket organizer for odds and ends.
12. Schedule a Monthly 10-Minute Edit Session
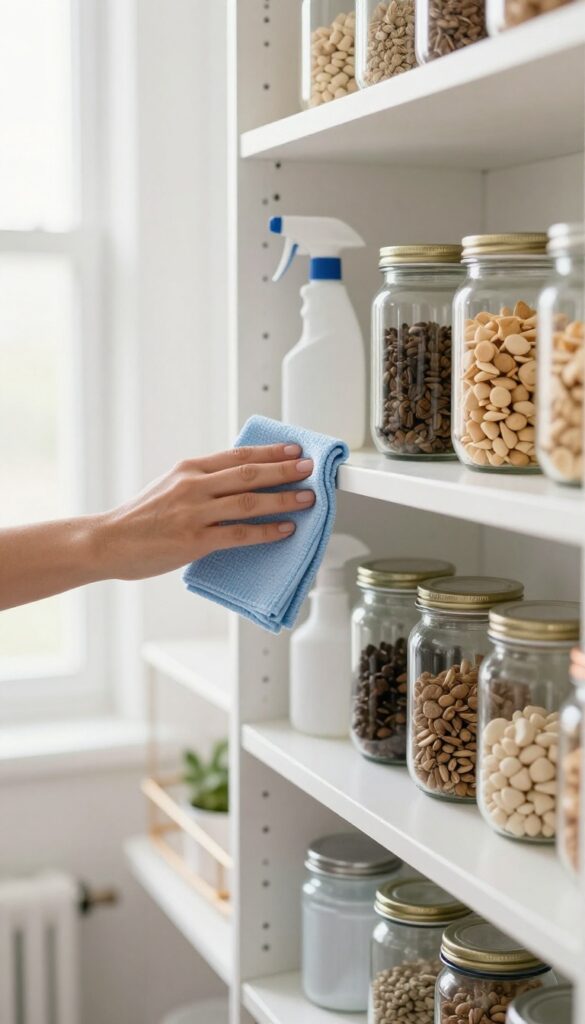
A pantry reset doesn't have to be a once-a-year ordeal. The secret to lasting calm is a quick monthly check-in that takes just ten minutes. By making it a habit, you prevent clutter from creeping back and catch expiring items before they become science experiments.
Set a recurring reminder on your phone for the same day each month. Walk through your pantry with a trash bag and a damp cloth. Toss anything past its prime, wipe down sticky shelves, and return items that have wandered to wrong zones.
This short session keeps your system running smoothly without the overwhelm of a deep clean.
Pick A Consistent Day
Choose a day that's typically low-stress, like the first Sunday or the last Wednesday of the month. Link it to another routine, like paying bills or meal planning, so you remember. Consistency makes the habit stick.
What To Scan For
Look for expired cans, stale spices, and half-empty bags of snacks. Check for spills or crumbs that could attract pests. Also grab any items that don't belong—like a box of pasta that ended up with the baking supplies—and return them to their proper spots.
Keep Supplies Handy
Store a small caddy with a microfiber cloth, all-purpose cleaner, and a trash bag inside your pantry or a nearby cabinet. That way you can grab it and start editing without hunting for supplies. It turns a chore into a quick, satisfying task.
FAQ
How often should I edit my pantry?
A quick 10-minute edit once a month is enough to keep things tidy. A deeper reset every season helps you reassess what you actually use.
What’s the best way to organize deep pantry shelves?
Use clear bins with labels and consider adding a lazy Susan or pull-out drawers. This makes items in the back easy to reach without digging.
Do I need to buy expensive containers to organize my pantry?
Not at all. Repurpose jars from pasta sauce or use inexpensive clear bins from a dollar store. The key is consistency in size and shape.
How do I keep my pantry organized after the reset?
Maintain the system by putting things back in their designated spots after each grocery trip. A monthly 10-minute edit also helps catch clutter early.
What should I do with duplicate or rarely used items?
Donate unopened duplicates to a food bank. For rarely used items, store them on a high shelf or in a separate “use first” bin to avoid waste.
Conclusion
A calm kitchen reset doesn't happen overnight, but these 12 edit pantry ideas give you a clear starting point. Pick the one that solves your biggest pain point first—whether it's clearing counter clutter or taming snack chaos. Small, intentional edits add up fast, turning your pantry into a space that actually supports your daily routine.
The goal isn't perfection; it's progress. Start with one change today, and let the momentum carry you toward a kitchen that feels as good as it looks.