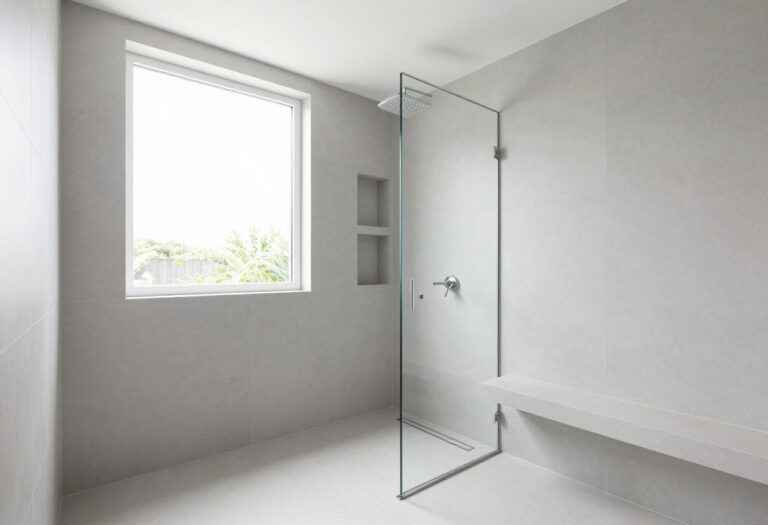
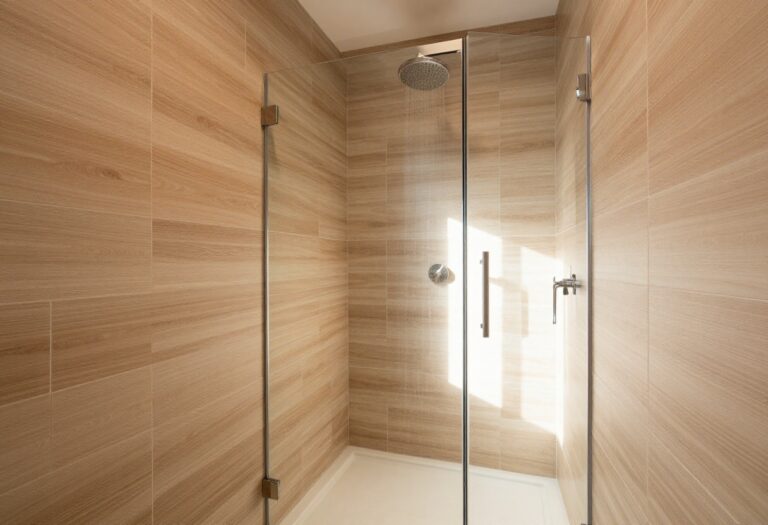
10 Master Bath Tile Shower Ideas for a Neat, Functional Look
A master bath shower can look expensive without costing a fortune, and the right tile choices do most of the heavy lifting. Pick well and you get a space that stays clean, drains fast, and feels calm every morning. The trick is matching the tile to how you actually use the shower.
Large formats cut grout lines, mosaics add grip, and a niche or bench keeps bottles off the floor. Small details like a linear drain or an accent strip pull the whole look together.
Below are ten ideas that balance neat, functional, and genuinely good-looking. Each one comes with practical notes on layout, upkeep, and cost, so you can pick what fits your space and skip the rest.
1. Large-Format Tiles for a Seamless Look
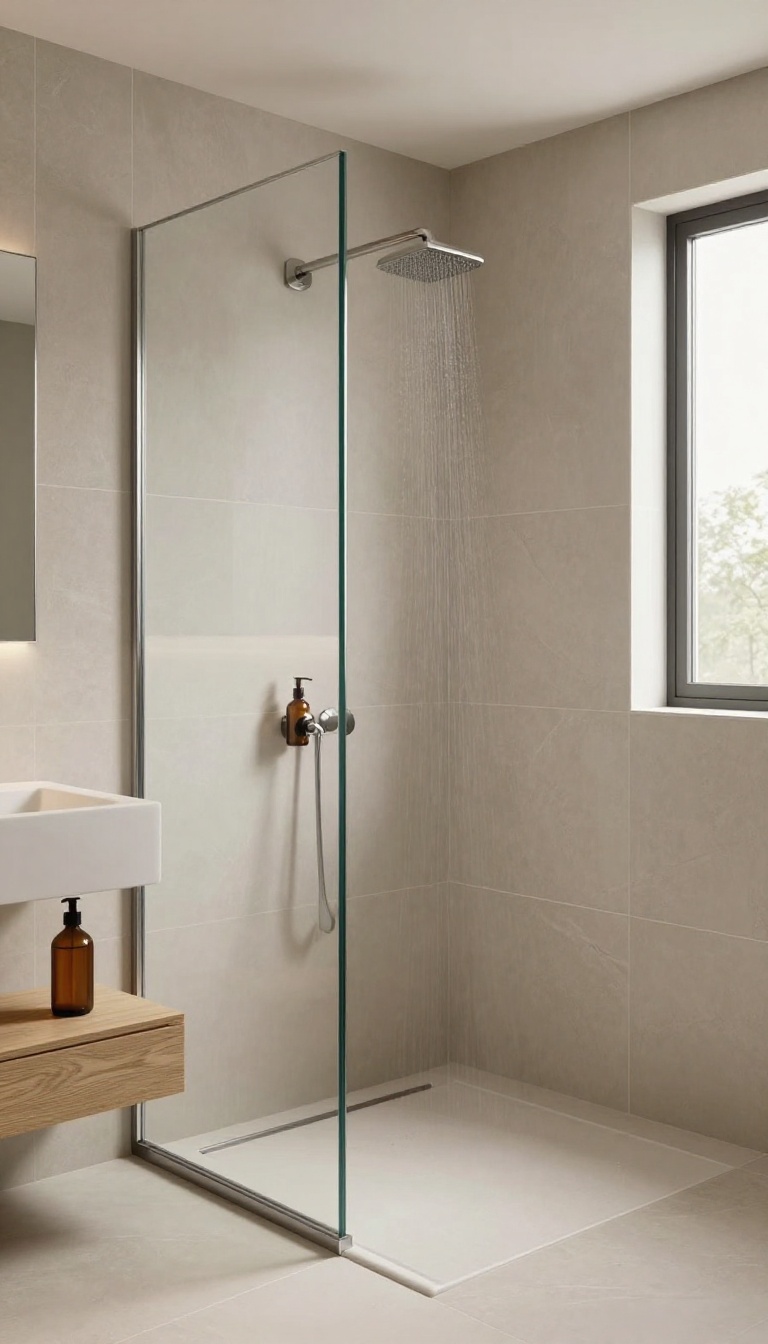
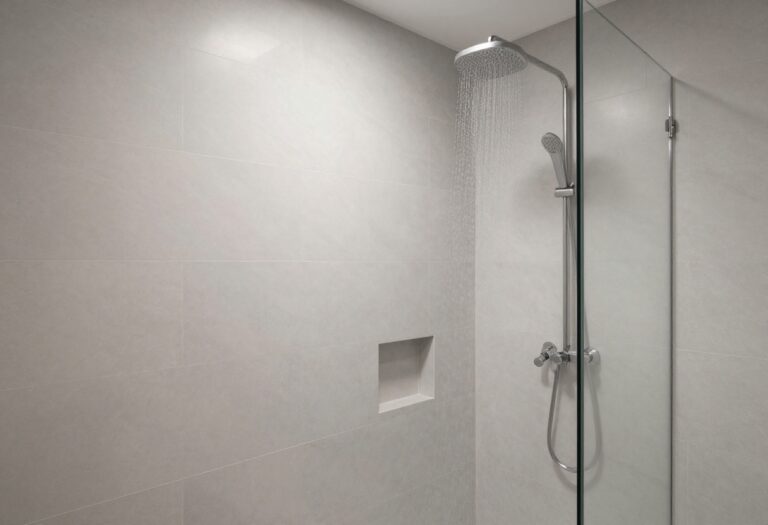
Large-format tiles are the quiet workhorses of a clean shower. They cover more area with fewer pieces, so you get a smooth surface that's easier to wipe down and looks modern. The result is a shower that feels bigger and stays neater with less effort.
When you use large tiles, the grout lines almost disappear. That means less scrubbing and a more open, seamless appearance. It's a simple swap that makes a big difference in both style and upkeep.
Why Fewer Grout Lines Matter
Grout is where dirt and mildew hang out. With large tiles, you have fewer lines to clean, so your weekly routine gets shorter. It also makes the shower look more uniform and less busy.
Sizing Tips For Small Showers
In a small shower, big tiles can actually make the space feel larger. Go with tiles that are at least 12×24 inches, and consider running them vertically to draw the eye upward. Just make sure you have enough room for cuts around fixtures.
Installation And Cost Notes
Large tiles need a flat, even substrate and often require a pro to install. The labor can cost more, but you save on grout and cleaning time. If you're DIYing, practice on a smaller area first.
2. Built-In Niches for Organized Storage
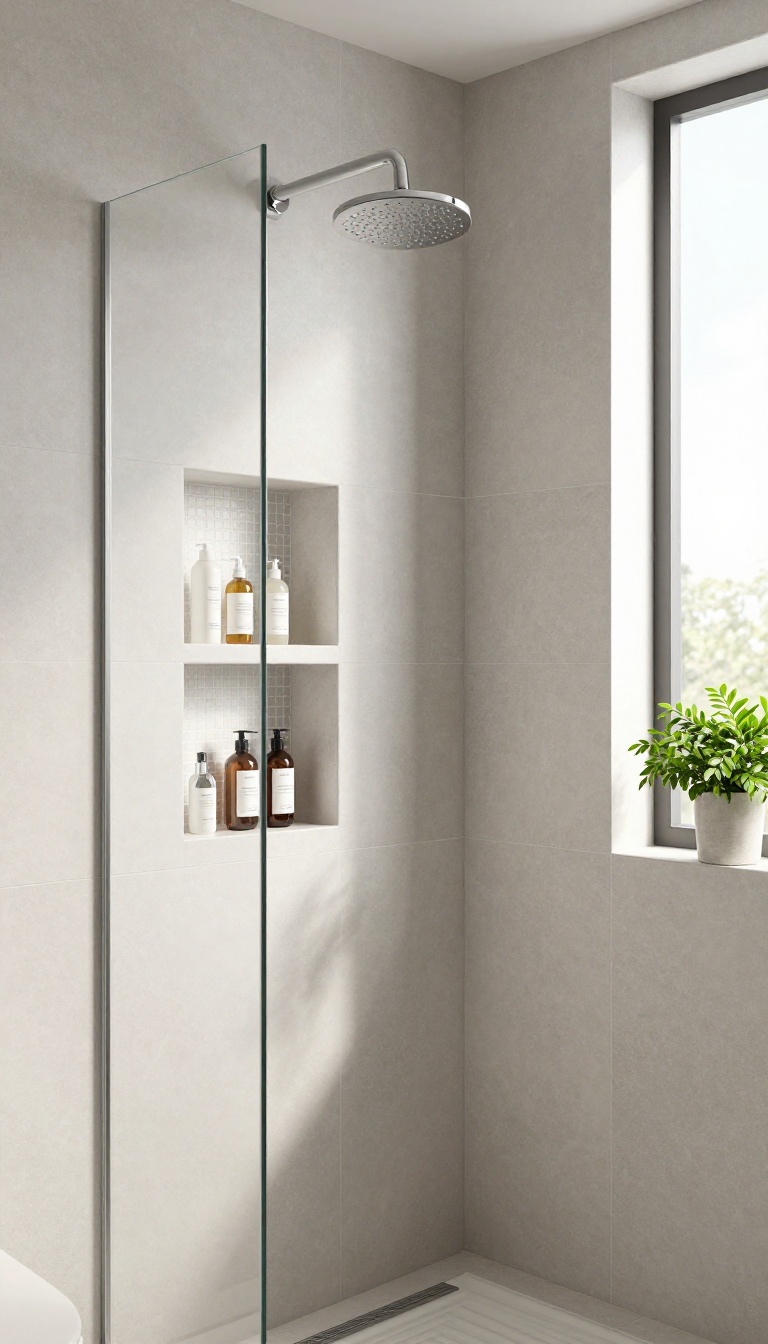
A shower niche is a recessed shelf set into the wall, and it changes how the whole stall functions. Instead of bottles crowding the floor or hanging from a rusty caddy, everything sits in one tidy spot at arm's reach. Tile the niche to match your walls and it disappears into the design, looking like it was always meant to be there.
The best niches are planned before the tile goes up, not squeezed in after. That means deciding on size, placement, and how many shelves you want while the walls are still open. Get those choices right and you end up with storage that feels custom without a custom price tag.
Size And Placement That Actually Work
A single niche around 12 by 24 inches handles most households, holding shampoo, conditioner, and body wash with room to spare. If two people share the shower, consider a taller niche with two or three shelves, or one niche per side so nobody reaches across. Set the bottom shelf at roughly waist height so you are not bending or stretching every morning.
For a tub-shower combo, keep the niche on the wall opposite the showerhead to avoid constant spray.
Tiling The Niche To Match
Using the same tile as the surrounding wall gives you that seamless, built-in look. If your wall tile is large, line the niche with a mosaic or a smaller format so it is easier to wrap the corners and slope the shelves. A contrasting tile or a slab of quartz makes the niche a focal point, which works well in a simple shower.
Whatever you choose, slope the bottom shelf slightly toward the drain so water never pools.
Waterproofing And Upkeep
Niches are a common spot for leaks, so they need proper waterproofing before any tile goes on. A liquid membrane or a preformed foam niche keeps water out of the wall cavity. Once tiled, wipe the shelves weekly and use a squeegee on the walls to cut down on soap scum.
Avoid storing metal cans directly on the shelf if you notice rust rings, and skip glass bottles that can chip on hard tile.
3. Linear Drain with a Slip-Resistant Floor
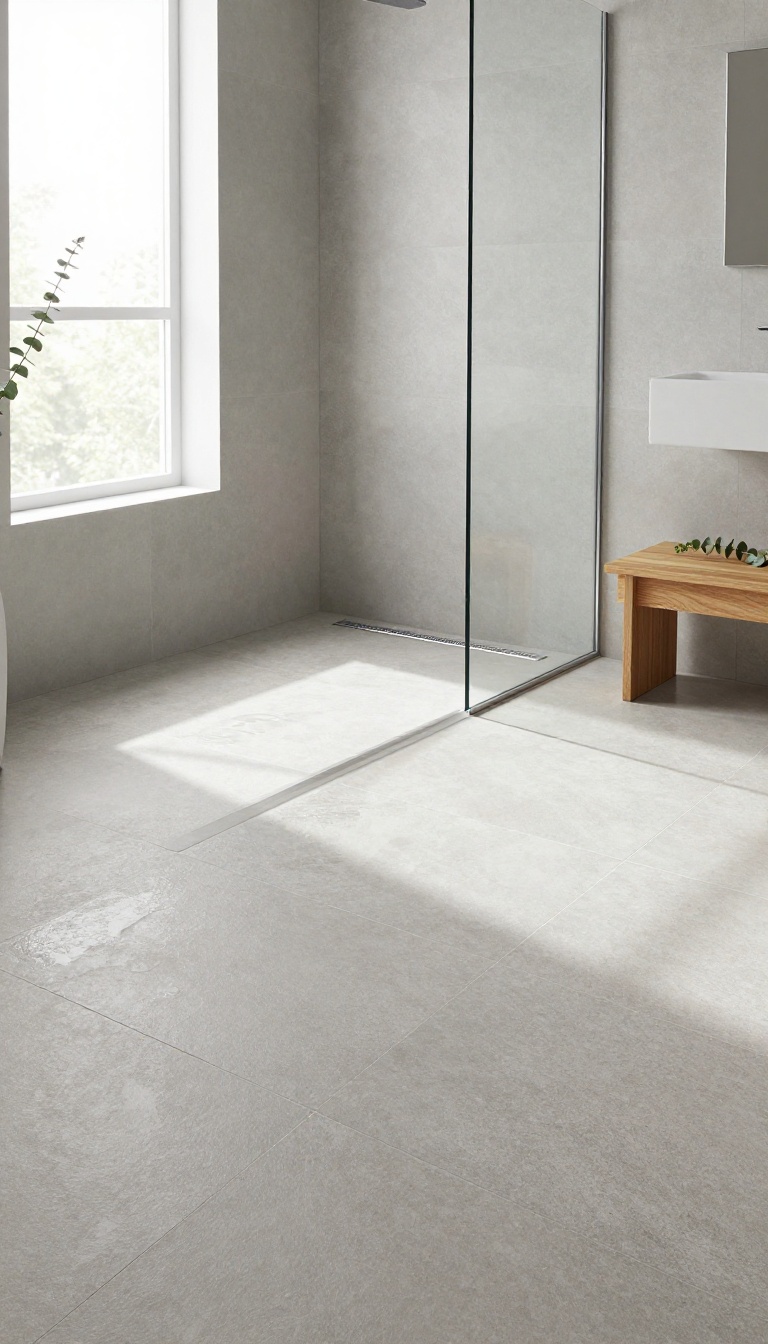
A linear drain sits flush along one wall or at the shower entrance, and it changes the way water leaves the stall. Instead of sloping toward a center point, the floor tilts in one direction, which lets you use bigger tiles with fewer cuts. The result looks clean and modern, and it's easier to keep tidy.
But a sleek floor can get slippery when wet, so you need to think about texture. The good news is you don't have to choose between style and safety. A few smart tile picks give you both.
Here's how to get the look without turning your shower into a skating rink.
Why A Linear Drain Works So Well
A linear drain collects water along a straight channel, usually 24 to 48 inches long. Because the slope goes one way, you can lay large-format tiles—like 12×24 or even bigger—across the whole floor with minimal grout lines. That means fewer seams to scrub and a more seamless look.
It also lets you place the drain where it's least noticeable, like right at the threshold or against the back wall. If you like a curbless entry, a linear drain is often the easiest way to make that work.
Choosing Tiles That Grip
Smooth porcelain looks great but gets slick fast. Look for tiles with a matte or textured finish, or ask for a DCOF rating of 0. 42 or higher—that's the industry standard for wet areas.
Many manufacturers make tiles that mimic stone or concrete while still offering grip. Smaller tiles with more grout lines also add traction. Mosaics in a 2×2 or 1×1 size are a classic choice for shower floors because the grout gives your feet something to catch.
Just avoid anything polished or glazed to a high shine.
Installation Details That Matter
The slope needs to be just right—usually a quarter-inch drop per foot toward the drain. If it's too flat, water pools; too steep, and you feel like you're standing on a hill. A pro will make sure the pan is perfectly pitched.
Also think about the drain grate. A tile-insert grate blends in, while a stainless steel or brushed nickel grate adds a subtle accent. Either way, keep a small brush handy for cleaning the channel—hair and soap scum can build up if you ignore it.
Cost And Maintenance
A linear drain costs more than a standard center drain—usually $150 to $500 for the drain itself, plus extra labor for the specialized install. But you save on tile cuts and might spend less on large-format tiles since you need fewer of them. Maintenance is simple: once a week, lift the grate and wipe out the channel.
A quick rinse with hot water keeps things flowing. With textured tiles, scrub with a soft brush and a mild cleaner to keep the grip intact.
4. Floating Bench with Tile Wrapping
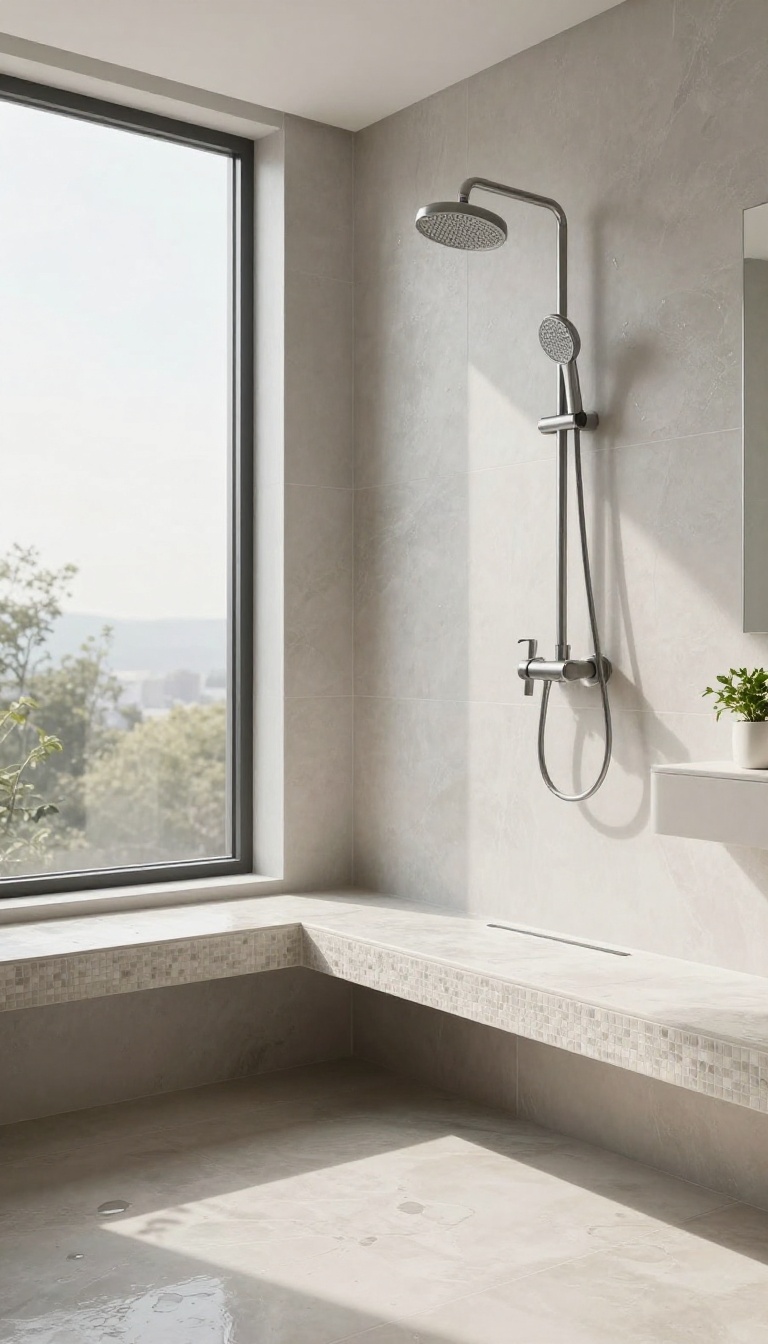
A floating bench looks like it hovers above the shower floor, but it's anchored to the wall with hidden supports. The real magic is that it can hide plumbing and give you a place to sit, shave, or rest your foot. When you wrap it in the same tile as the walls, it blends right in and feels like it was always meant to be there.
Floating benches are a step up from basic corner seats because they free up floor space and make cleaning easier. You can sweep a mop or squeegee right under them without hitting legs. And because they're tiled on all visible sides, they look custom without the custom price tag.
They work in almost any shower size, but they shine in walk-ins where you want an open, airy feel. The key is planning the depth and height around how you'll use it. Too high and it's awkward to sit on; too low and it's just a ledge for bottles.
Wrapping the bench in the same tile as the walls creates a seamless look that makes the shower feel larger. It also means fewer visual breaks, which keeps the space calm and uncluttered. If you want a little contrast, you can tile the top in a matching mosaic for grip and a subtle accent.
Why Go Floating?
A floating bench opens up the floor, so water drains freely and there's no dark corner where grime collects. It also gives you a spot to sit without taking up precious standing room. For smaller showers, that extra floor space can make the whole stall feel bigger.
Hiding Plumbing And Keeping It Clean
One big perk: the bench can conceal plumbing for a handheld shower or body sprays. That means no exposed pipes or awkward valve placements. Just make sure your contractor plans access panels if you ever need to service those lines.
Cleaning is a breeze because there are no legs or brackets to scrub around. A quick wipe with a squeegee after each shower keeps soap scum from building up on the tile. And since it's tiled, you don't have to worry about wood rot or rust.
Tile Wrapping Tips For A Seamless Look
Use the same tile on the bench as the walls to create a continuous surface. If your wall tile is large, you might need to cut pieces to fit the bench top and front. That's normal, and a good installer will match the grout lines so it looks intentional.
For the seat itself, consider a slightly textured tile or a mosaic to add grip. Polished tile can be slippery when wet, especially on a bench. A matte finish or a small hexagon mosaic gives you traction without sacrificing style.
Sizing It Right For Your Shower
Standard bench height is about 17 to 19 inches from the floor, which mimics a chair. Depth is usually 15 to 18 inches, but you can go shallower if you just want a footrest. Talk to your contractor about what works for your body and your shower layout.
If you're tall, you might want a higher bench for comfortable shaving. If you're shorter, a lower bench keeps your feet flat on the floor. Don't be afraid to test out heights with a temporary stool before you commit.
5. Accent Strip for a Pop of Personality
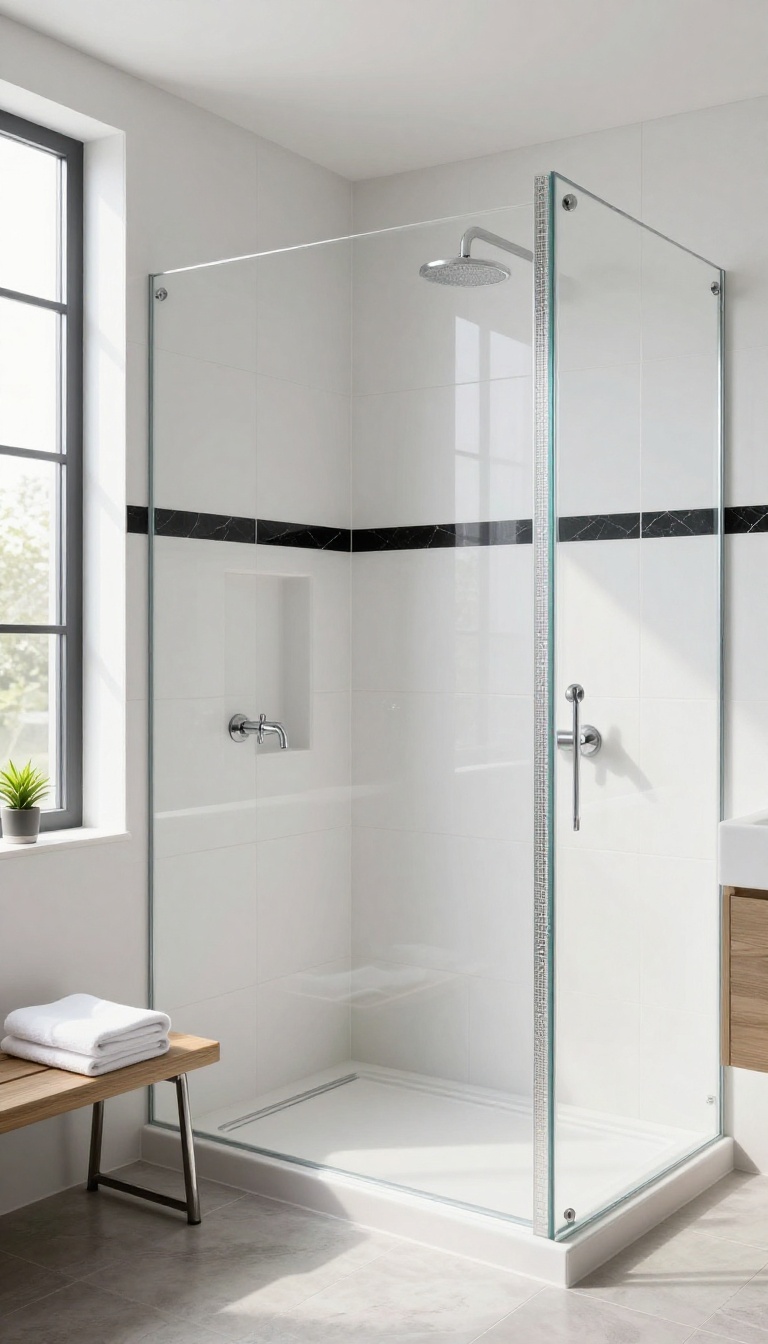
An accent strip is a narrow band of contrasting tile that runs through your shower wall. It can go horizontal, vertical, or even wrap around a corner. The point is to break up a big field of tile without committing to a full redesign.
You get visual interest with very little material. A single strip uses a fraction of the tile you'd need for a whole wall. That makes it one of the cheapest ways to add custom flair.
It also helps the eye. Large tile can feel like a blank canvas. A strip gives the space a focal point and a bit of rhythm.
Accent strips work in almost any shower, but they shine when the main tile is simple. A glossy ceramic field tile with a matte glass strip? Instant depth.
A white subway wall with a thin band of black marble? Classic contrast. The strip itself can be glass, stone, metal-look porcelain, or even a mosaic.
Just keep it narrow—usually 2 to 6 inches tall or wide. Wider than that and it starts to feel like a second wall rather than an accent. Placement matters more than the material.
Horizontal strips often sit at eye level or align with a niche or bench. Vertical strips draw the eye up and can make a low ceiling feel taller. Both are easy to install if you plan ahead.
Horizontal Vs. Vertical
Horizontal strips feel calm and grounded. They mimic the horizon and work well in wide showers. Line one up with the top of a niche or the edge of a bench for a clean look.
Vertical strips add height. They pull the eye upward, which helps in showers with standard 8-foot ceilings. A single vertical band centered on the main wall can act like a subtle column.
You can also combine them—a horizontal strip that meets a vertical one—but keep it simple. One direction usually reads cleaner.
Choosing The Right Contrast
The strip should contrast with the field tile, but not fight it. If your walls are matte, go glossy for the strip. If they're light, go dark.
If they're busy, go solid. Color-wise, you have two safe routes: tonal or complementary. Tonal means a different shade of the same color—like gray-blue on light gray.
Complementary means a pop—like brass or copper on white. Avoid using two bold patterns together. A patterned strip on a patterned wall gets messy fast.
Let one element be the star.
Installation And Cost
Accent strips are DIY-friendly if you're comfortable cutting tile. You'll need a wet saw for straight cuts and a little patience to keep the line level. Cost depends on the material.
Glass and stone strips run $10 to $30 per linear foot. Porcelain or ceramic strips can be $3 to $8. A typical shower needs 8 to 12 linear feet, so the total is often under $200.
One tip: buy a little extra. You'll want to center the strip on the wall, which means cutting tiles on both ends. Having spares saves a trip to the store.
6. Subway Tiles with a Twist
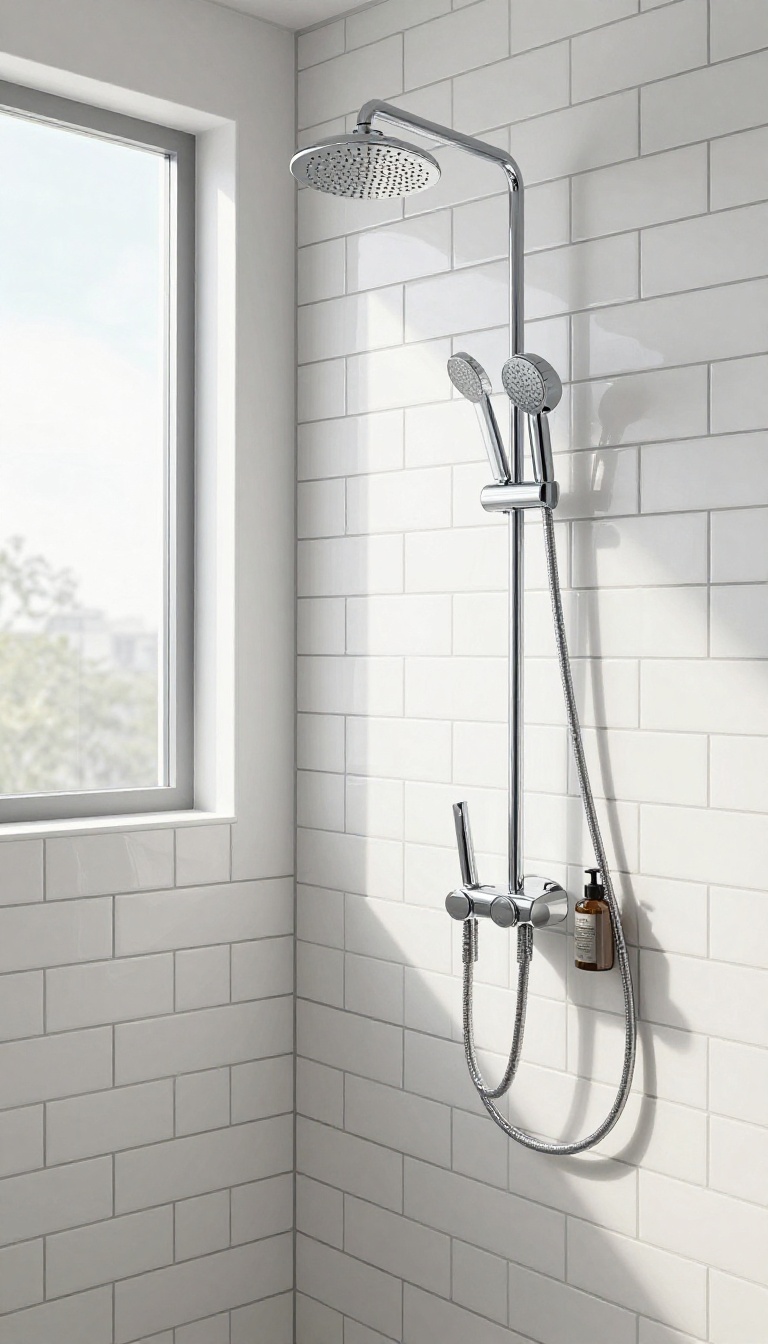
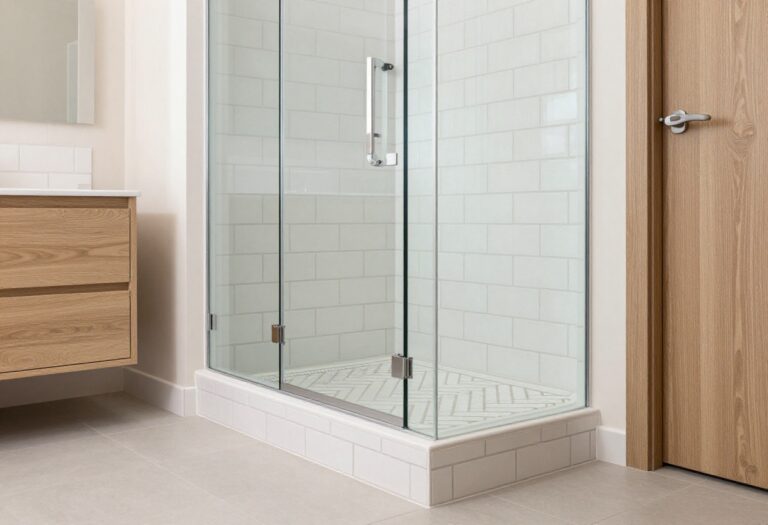
Subway tiles have been a shower staple for over a century, and they still work because they're cheap, tough, and easy to clean. But the standard white brick pattern can feel a little plain if you want something with more personality. The fix is simple: keep the tile, change the details.
Colored grout, a vertical stack, or a glossy finish can turn a basic subway wall into a design feature without blowing your budget. Here's how to pull off a subway shower that looks custom, not cookie-cutter.
Subway tiles are the reliable friend of the tile world. They show up, they do the job, and they don't ask for much. But reliable doesn't have to mean boring.
With a few tweaks, you can make them feel fresh and tailored to your space.
Colored Grout Changes Everything
Grout is the easiest way to make subway tiles pop. Swap standard white for charcoal, navy, or even a soft sage, and the tile pattern suddenly becomes a graphic element. Dark grout also hides mildew better than white, which is a win in a wet shower.
Just know that colored grout shows installation mistakes more than white does. Uneven spacing or wavy lines will stand out, so hire a tiler who's done it before. If you're DIYing, practice on a scrap board first.
Stack Them Vertically
Instead of the classic running bond, try stacking subway tiles in a straight vertical column. It draws the eye up, making low ceilings feel taller, and gives a clean, modern look. Vertical stacks also create fewer cut pieces around niches and fixtures, which can save time and waste.
This layout works best with a tile that's truly rectangular, like a 3×6 or 4×8. Anything too skinny can look like a ladder. Pair it with a matching grout color for a seamless, textured wall.
Play With Finish And Size
Subway tiles come in glossy, matte, handmade-look, and beveled versions. A glossy finish bounces light around and makes a small shower feel brighter. Matte feels more modern and hides water spots slightly better.
You can also size up. A 4×12 or 4×16 subway tile covers more area with fewer grout lines, so cleanup is faster. Keep the classic 3×6 if you want that true vintage vibe, but don't be afraid to go bigger for a cleaner look.
Cost And Upkeep
Subway tiles are some of the most affordable options out there. You can find quality ceramic versions for a few dollars per square foot, and the labor is straightforward for any experienced installer. That leaves room in the budget for nicer grout or a better drain.
Maintenance is minimal. Wipe them down with a squeegee after most showers, and give them a gentle scrub once a week. Avoid harsh acids on colored grout, since they can fade the pigment over time.
With basic care, a subway shower will look good for decades.
7. Mosaic Floor Tiles for Grip and Style
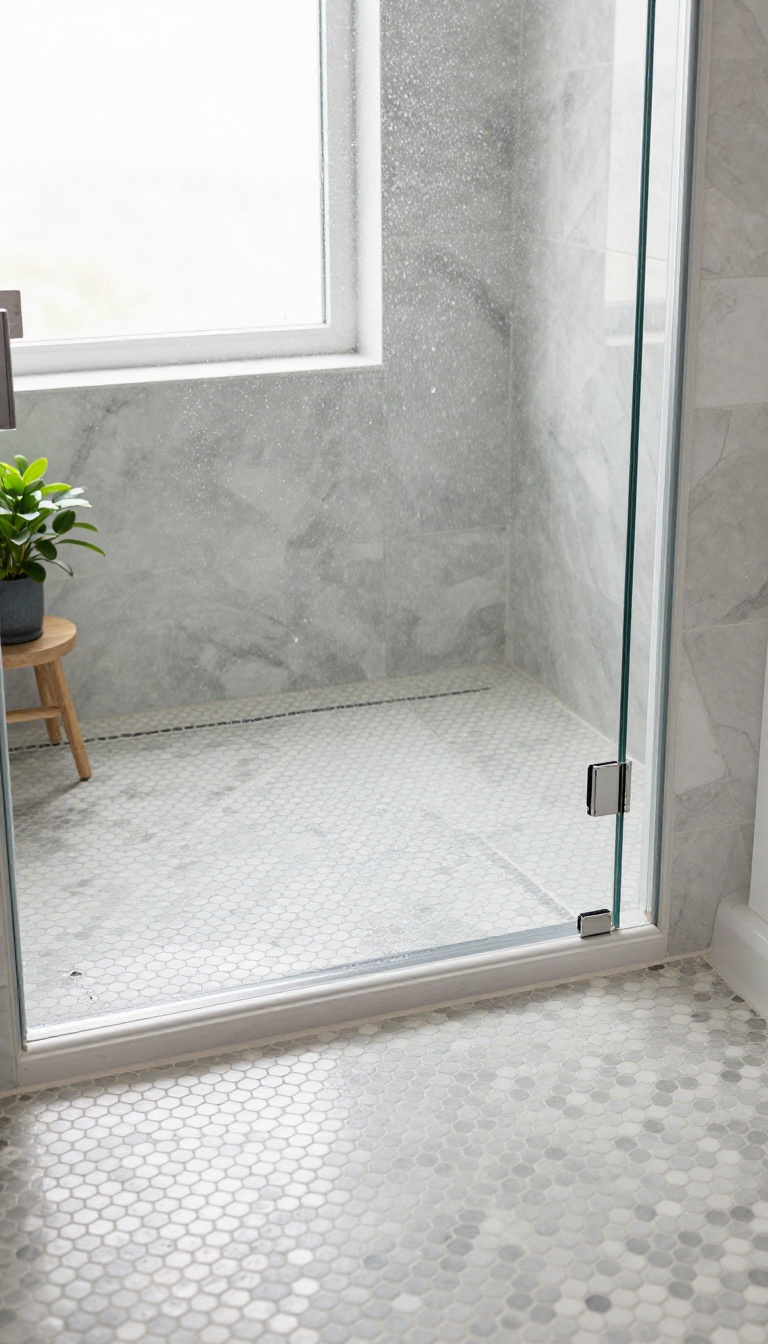
Mosaic floor tiles are the quiet workhorses of a wet shower floor. Their small size means more grout lines, and those lines create friction that helps you stay steady underfoot. They also bend and curve with a sloped shower base, so water drains instead of pooling.
And because mosaics come in endless colors and patterns, you can add personality without sacrificing safety.
Mosaic tiles typically measure 1×1, 2×2, or hexagon shapes, and they come pre-mounted on mesh sheets for easy installation. That mesh backing lets them follow the subtle slope of your shower floor, which is critical for proper drainage. Unlike large-format tiles that need to be cut or pitched awkwardly, mosaics conform naturally.
The result is a floor that feels secure and looks intentional. Grout lines do more than hold tiles in place. They act like tiny traction strips, especially when you choose a slightly textured grout or an epoxy blend.
That extra grip matters in a wet environment, and it's why mosaic floors are a common pick for aging-in-place bathrooms and family showers alike. Style-wise, you're not stuck with basic white. Mosaics come in glass, porcelain, ceramic, and natural stone, each with its own look and upkeep.
A penny round pattern feels retro and playful, while a hexagon layout reads modern and clean. You can match your wall tile for a seamless look or go bold with a contrasting color for a focal point.
Why Grip Matters On A Shower Floor
Shower floors get slippery fast, especially with soap and conditioner residue. Mosaic tiles break up the surface into smaller pieces, so your feet have more edges to catch. That doesn't mean you can skip a bath mat entirely, but it gives you a safer base.
If you want even more traction, look for tiles with a matte or slightly rough finish rather than polished ones.
Patterns That Work With Your Walls
Your floor doesn't have to match your walls exactly, but it should feel related. If your walls are large white subway tiles, a soft gray hexagon floor adds subtle contrast without clashing. For a bolder look, pick a mosaic that echoes one accent color from your wall tile or a nearby fixture.
Just keep the pattern scale in mind: tiny mosaics can get busy, so balance them with simpler wall choices.
Installation And Maintenance Basics
Mosaic sheets install faster than individual tiles, but they still need a skilled hand to keep lines straight and the slope correct. Expect to pay a bit more in labor if your pattern is intricate or your floor has odd angles. For cleaning, a soft brush and a pH-neutral cleaner keep grout looking fresh.
Avoid harsh acids that can eat away at grout over time, and reseal natural stone mosaics once a year.
8. Floor-to-Ceiling Tile for a Polished Finish
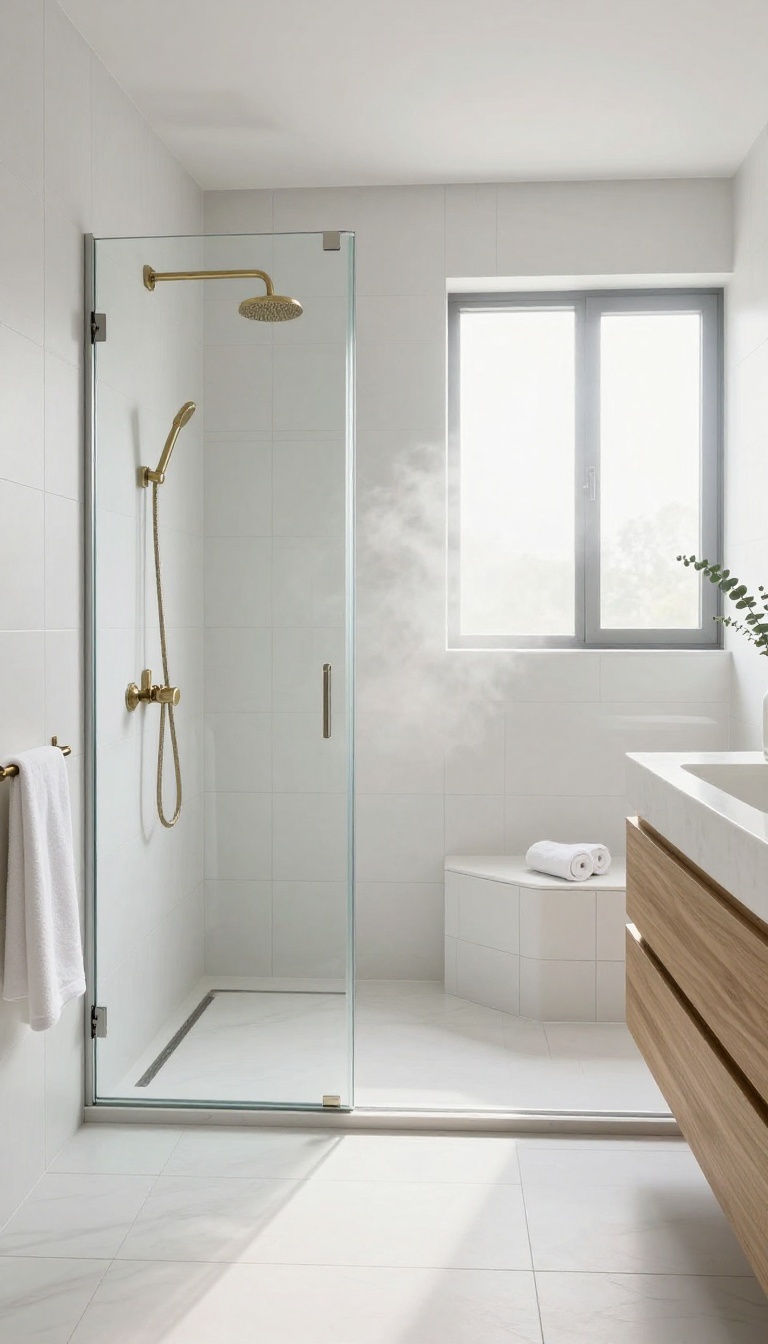
Tiling all the way to the ceiling turns your shower into a fully tiled wet zone. There's no painted drywall above the tile line to bubble, peel, or grow mildew. The result is a cleaner look and fewer maintenance headaches down the road.
It also makes the shower feel taller and more cohesive. Your eye follows the tile upward instead of stopping at a random line. That uninterrupted surface reads as intentional and high-end, even on a modest budget.
Taking tile to the ceiling isn't just a style move. It's a practical upgrade that protects the entire wall from steam, splashes, and humidity. Painted surfaces above a shower are a common failure point, especially in bathrooms with poor ventilation.
Once moisture gets behind the paint, you're looking at bubbling, peeling, and eventually drywall repair. Full-height tile removes that problem entirely. It also gives you more freedom with layout, since you're not cutting tile around a painted border.
And because there's no visual break, the shower feels like a deliberate, finished space rather than an afterthought.
Why It Works
Moisture is the enemy of painted walls. Even with a good exhaust fan, steam finds its way into every corner. Tile and grout handle that exposure without flinching.
You get a surface that wipes clean and won't need repainting every few years. Visually, the continuous tile draws the eye upward. That makes a standard eight-foot ceiling feel taller.
It also creates a seamless backdrop that lets your fixtures and glass stand out.
Cost And Installation Notes
You'll pay more for materials and labor because there's simply more square footage to cover. But the extra cost is often less than you'd think, especially if you choose a budget-friendly tile. The bigger expense is making sure the substrate is prepped correctly.
Hire a pro who understands waterproofing. Cement board or a bonded waterproof membrane behind the tile is non-negotiable. Skipping that step can lead to hidden water damage, which defeats the whole purpose.
Design Tips For A Clean Look
Stick with one tile from floor to ceiling for the most seamless effect. Large-format tiles mean fewer grout lines, which keeps things looking tidy. If you want a little interest, add a niche or a bench in the same tile so it blends in.
Grout color matters here. A grout that matches your tile makes the walls read as one solid surface. Contrasting grout highlights the grid pattern, which can look busy on a full wall.
9. Glass Tile for a Luxe, Light-Bouncing Effect
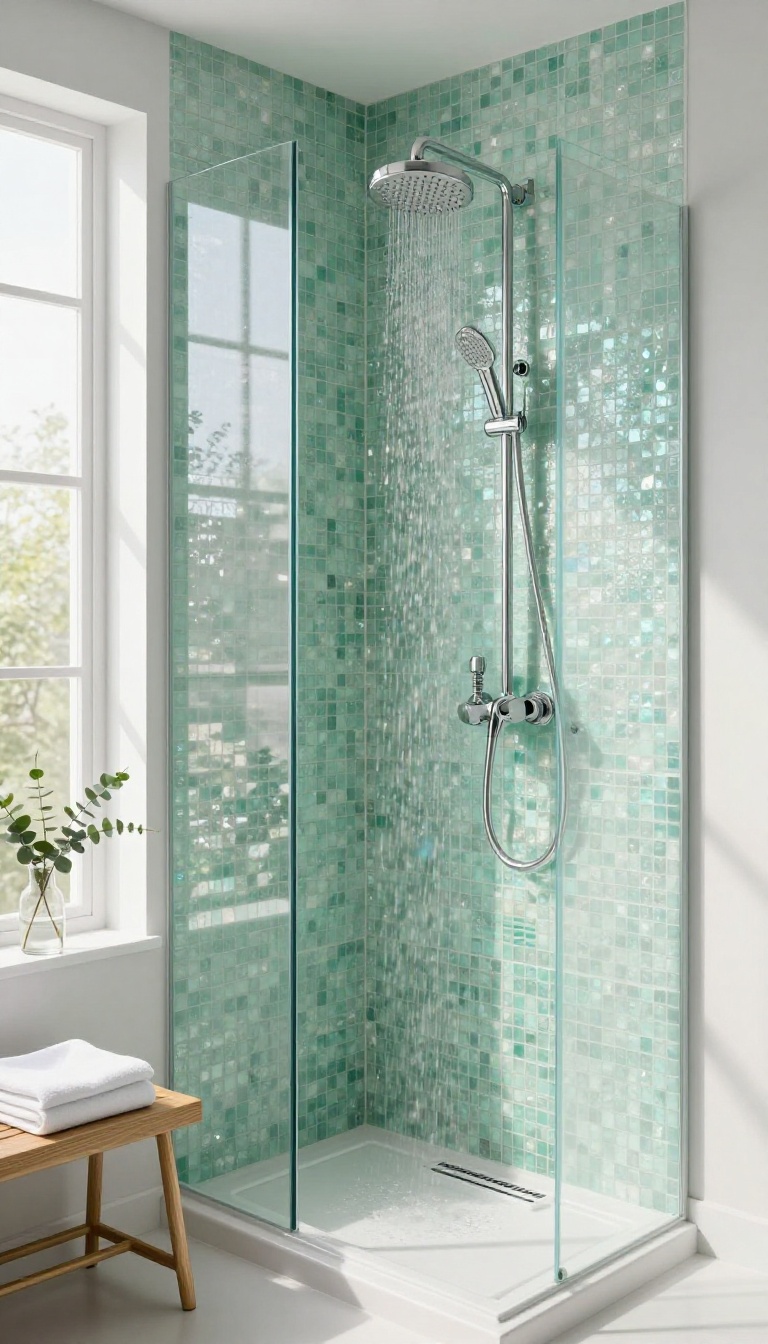
Glass tile catches light in a way that ceramic and porcelain simply can't. It shimmers, reflects, and makes even a small shower feel brighter and more open. The trade-off is that glass needs a little more care in planning and installation, but the payoff is a space that looks custom and polished.
You don't have to cover every wall in glass to get the effect. A single accent band or a full wall behind the showerhead can be enough to lift the whole room. The key is knowing where glass works best and how to keep it looking good for years.
Glass tile is made from fused glass, often with a colored backing or a metallic finish. That backing is what gives it depth and that mirror-like quality. When light hits it, the surface bounces light around instead of absorbing it, so the shower feels airier.
Most glass tiles come in small mosaics or larger rectangular formats. Mosaics are easier to wrap around curves and corners, while larger tiles give a cleaner, more modern look with fewer grout lines. Either way, glass is non-porous, so it won't stain or harbor mold the way some natural stones can.
The catch is installation. Glass is more fragile than ceramic, and it expands and contracts with temperature changes. That means you need a flexible thinset mortar and a skilled installer who won't chip the edges.
It also costs more—expect to pay $15 to $30 per square foot for the tile alone, plus labor. Where to use it A full glass wall behind the showerhead is the boldest move. It turns the wettest zone into a focal point and makes the water sparkle as it runs down.
If you go this route, pick a color that complements your other tiles—soft blues, grays, or even warm ambers work well. For a subtler look, use glass as an accent strip. Run a band of glass mosaic through a field of matte porcelain or stone.
It breaks up the wall without overwhelming the space. You can also use glass on a niche back or a bench top to add a little glimmer where you least expect it. Keep in mind that glass shows water spots more than matte finishes.
A squeegee after each shower keeps it clear. If you have hard water, a water softener or a quick wipe-down with a vinegar solution once a week will prevent mineral buildup. Pairing and upkeep Glass pairs beautifully with large-format porcelain, natural stone, and even concrete-look tiles.
The contrast between shiny and matte adds depth. Just make sure the grout color works with both—a light grout on glass can look busy, while a matching grout makes the glass read as one smooth surface. Cleaning is straightforward: mild soap, water, and a soft cloth.
Avoid abrasive scrubbers, which can scratch the surface. With a little routine care, glass tile stays bright and reflective for decades.
Where to Use It
A full glass wall behind the showerhead is the boldest move. It turns the wettest zone into a focal point and makes the water sparkle as it runs down. If you go this route, pick a color that complements your other tiles—soft blues, grays, or even warm ambers work well.
For a subtler look, use glass as an accent strip. Run a band of glass mosaic through a field of matte porcelain or stone. It breaks up the wall without overwhelming the space.
You can also use glass on a niche back or a bench top to add a little glimmer where you least expect it. Keep in mind that glass shows water spots more than matte finishes. A squeegee after each shower keeps it clear.
If you have hard water, a water softener or a quick wipe-down with a vinegar solution once a week will prevent mineral buildup.
Pairing And Upkeep
Glass pairs beautifully with large-format porcelain, natural stone, and even concrete-look tiles. The contrast between shiny and matte adds depth. Just make sure the grout color works with both—a light grout on glass can look busy, while a matching grout makes the glass read as one smooth surface.
Cleaning is straightforward: mild soap, water, and a soft cloth. Avoid abrasive scrubbers, which can scratch the surface. With a little routine care, glass tile stays bright and reflective for decades.
10. Textured Tiles for a Spa-Like Escape
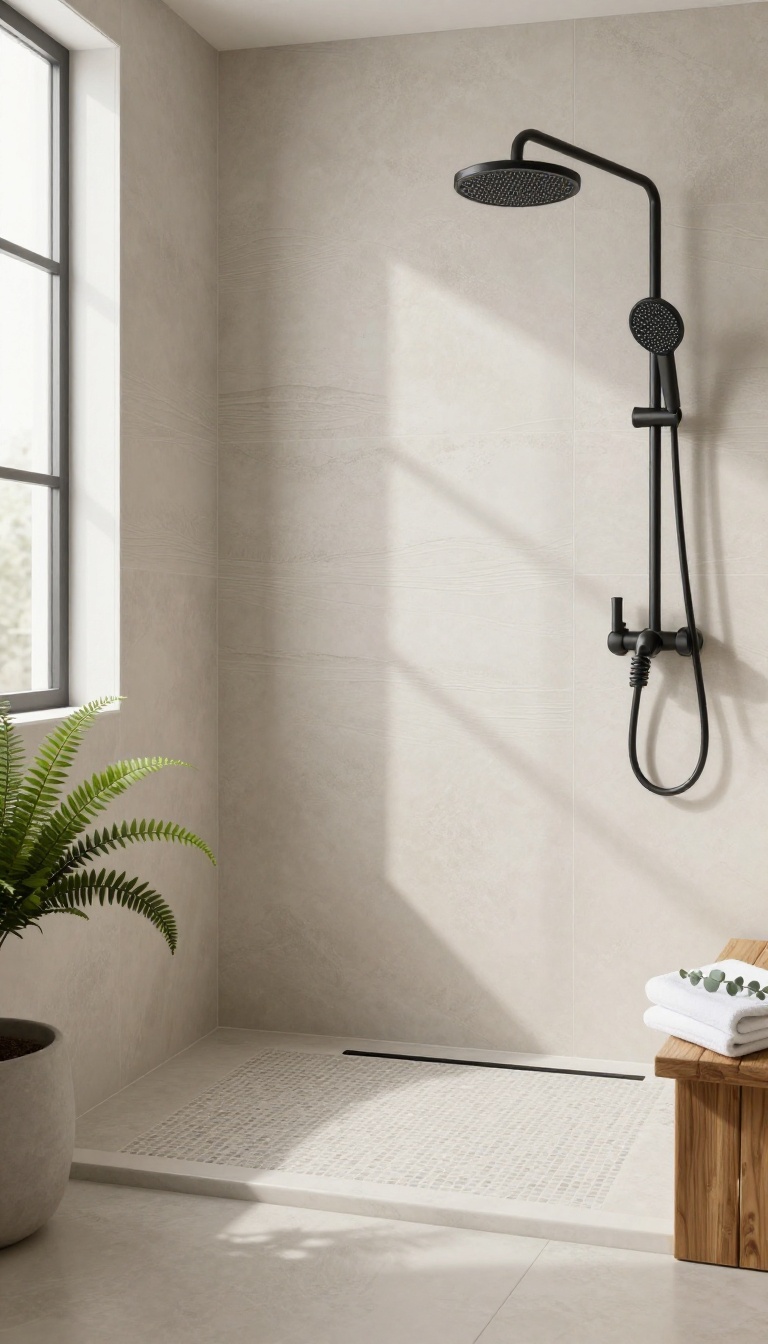
Texture changes how a shower feels, not just how it looks. A tile with a subtle grain, wave, or chiseled edge catches light and adds depth that flat surfaces can't match. It's an easy way to turn a basic stall into something that feels more like a retreat.
You don't need a big budget to get that spa vibe. Textured tiles do the work by adding shadow lines and a soft, tactile surface underfoot. They also hide water spots better than glossy finishes, which keeps the shower looking neat between cleanings.
The key is picking a texture that feels good on your feet and doesn't make scrubbing a chore.
Pick A Texture That Works With Your Routine
A light wave or linen pattern gives you depth without trapping soap scum. Heavier textures, like split-face stone or deep ridges, look dramatic but need more brushing to stay clean. For daily showers, go with a subtle embossed ceramic or porcelain that wipes down easily.
If you want the look of natural stone without the upkeep, choose a glazed tile with a matte, stone-like finish.
Use Texture On Walls, Not Just The Floor
Most people think of texture for the shower floor, but walls benefit too. A textured wall tile behind the fixture adds visual interest and breaks up large flat areas. Keep the floor a simple mosaic for grip, and let the walls carry the texture.
That way you get the spa feel without making the whole shower hard to clean.
Mix Textures Without Making It Busy
Stick to one textured tile and one smooth tile in a matching color family. Let the texture be the star, and use a plain field tile for the rest. A linear drain and a recessed niche keep the lines clean, so the texture reads as intentional rather than cluttered.
This approach also makes the space feel larger because your eye isn't bouncing between too many patterns.
FAQ
What is the best tile for a shower floor?
Mosaic tiles or small-format tiles with a matte or textured finish are best for shower floors. They provide grip and are easier to slope toward the drain.
How do I keep shower grout clean?
Choose a darker grout or seal it regularly. Squeegee after each use and clean with a mild cleaner to prevent mold and mildew.
Can I use large tiles on a shower floor?
Large tiles can be used on shower floors, but they require a linear drain or careful sloping. They can be slippery, so consider a textured finish.
What is a niche in a shower?
A niche is a recessed shelf built into the shower wall. It holds toiletries and keeps them off the floor, reducing clutter.
How much does it cost to tile a shower?
Costs vary based on tile choice and labor. On average, expect to pay $2, 000 to $5, 000 for a standard shower, with custom designs costing more.
Conclusion
A neat, functional shower usually comes down to a few decisions made well, not a dozen made at once. Pick the tile, layout, and storage moves that match how you actually shower, then let the rest of the list wait.
Start with the one idea that fixes your biggest daily annoyance, live with it for a week, and adjust from there. Get that right, and the whole bathroom feels calmer and easier to keep clean.