15 Savvy Basement Shower Ideas for a Bright, Polished Space
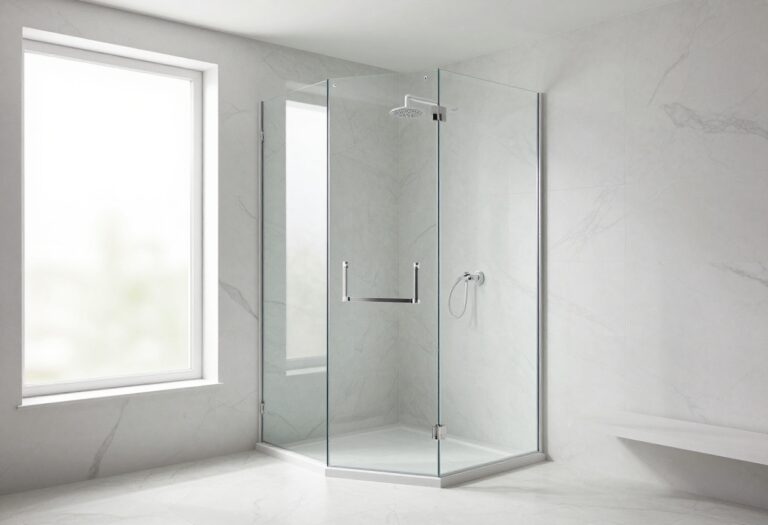
Basement bathrooms often get the short end of the stick—dark, cramped, and a little dreary. But with the right shower design, you can turn that forgotten lower level into a bright, polished oasis.
Whether you're finishing a basement for guests or creating your own spa-like escape, these ideas focus on maximizing light, space, and durability. From clever tile tricks to moisture-proof lighting, each suggestion tackles the unique challenges of underground spaces.
You'll find solutions that make a small shower feel larger, prevent mold, and add a touch of luxury without breaking the bank. Let's dive into 15 savvy basement shower ideas that will leave you feeling inspired and ready to renovate.
1. Go Frameless with Glass Enclosures
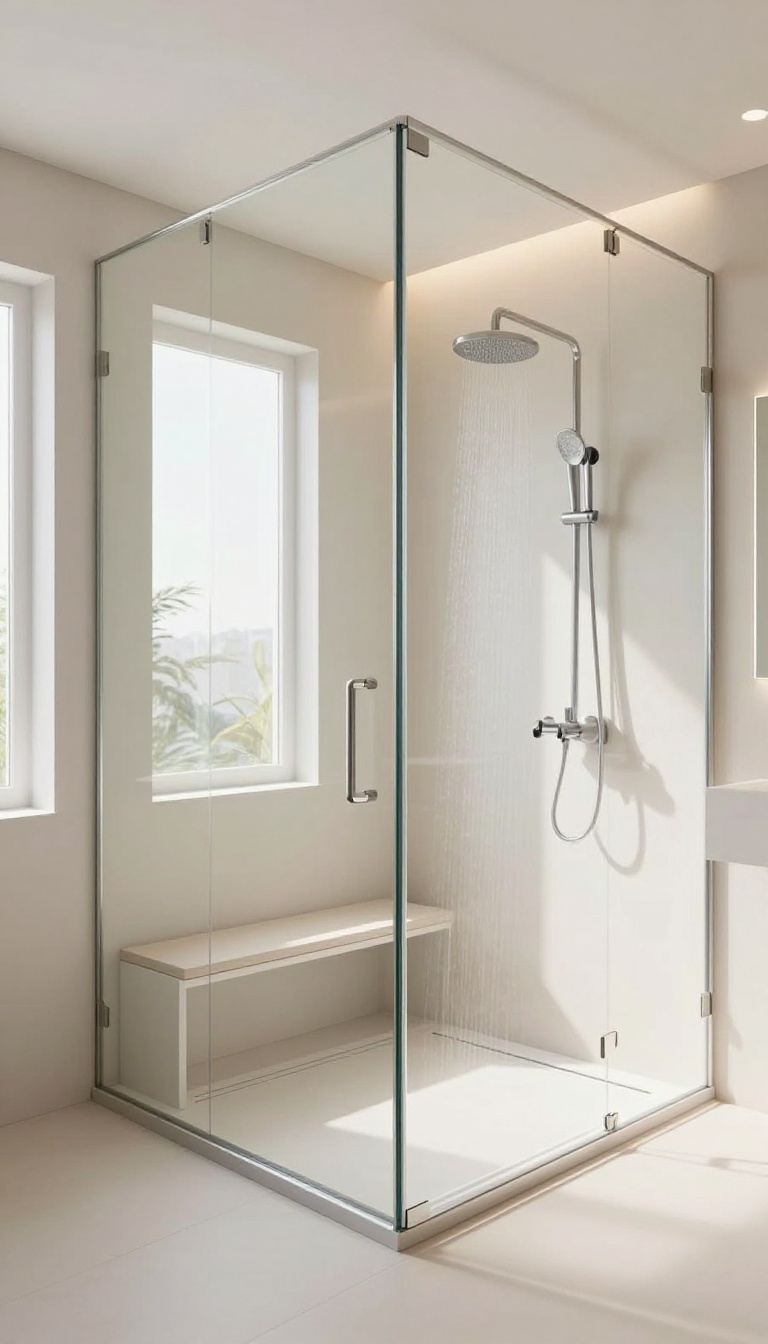
A frameless glass enclosure is one of the fastest ways to make a basement shower feel less like a cave and more like a modern retreat. By removing bulky frames and opaque panels, you let natural and artificial light travel freely, visually expanding the space. This clean, minimal look also cuts down on visual noise, which is especially important in a compact area where every inch counts.
Frameless glass doors or panels open up the shower area, allowing light to flow freely and making the space feel larger. They also reduce visual clutter, perfect for compact basements.
Why Frameless Works In Basements
Basements typically have limited windows and lower ceilings, so anything that blocks light makes the space feel smaller. Frameless glass uses thick tempered panels and minimal hardware, letting light pass through without interruption. This creates a seamless transition between the shower and the rest of the bathroom, tricking the eye into seeing more square footage.
Choosing The Right Glass Thickness And Clarity
For a sturdy feel, opt for 1/2-inch or 3/8-inch tempered glass. Clear glass is the best choice for brightness, but if you want more privacy, consider a light frosted finish—just remember it will reduce light transmission. Also, look for low-iron glass, which has a truer clarity than standard glass that often has a greenish tint.
Installation And Maintenance Tips
Proper installation is key to preventing leaks and ensuring safety. Hire a professional who specializes in frameless shower enclosures, as they need precise measurements and anchoring. For maintenance, use a squeegee after each use and a mild glass cleaner to prevent hard water spots.
Sealing the glass with a protective coating can also make cleaning easier and keep it looking crystal clear.
2. Embrace Light-Colored Tiles for Maximum Brightness
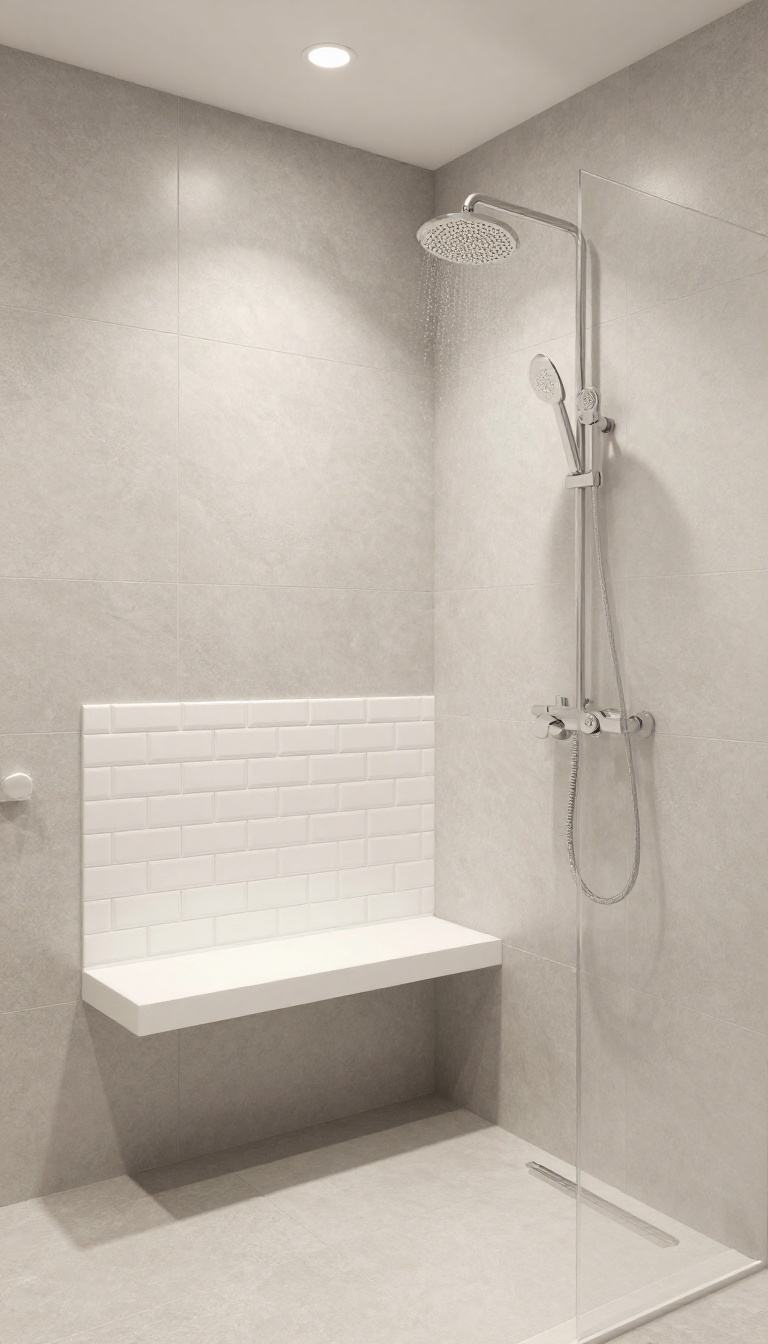
When you’re working with a basement that gets little to no natural light, the color of your tiles can make or break the space. Dark tiles absorb light, making the room feel even more like a cave. Light-colored tiles, on the other hand, act like mirrors, bouncing around every bit of available light to create an airy, open feel.
Opt for white, cream, or pale gray tiles to instantly brighten your shower. Not only do they reflect light, but they also give the space a clean, spa-like vibe that’s perfect for a basement retreat. And here’s a pro tip: choose large-format tiles to cut down on grout lines, which can make the walls look busy and visually shrink the space.
The right tile choice can transform a dim, windowless basement shower into a bright, welcoming spot. Light colors are your best friend here, but the specific shade and finish matter too. Let’s break down how to make the most of this simple yet powerful idea.
Why Light Tiles Work So Well Underground
Basements typically lack windows, so any natural light is a luxury. Light-colored tiles reflect both natural and artificial light, making the shower area feel more spacious and less claustrophobic. They also help hide water spots and soap scum better than dark tiles, which show every streak.
Plus, a bright shower feels more inviting and easier to keep clean—both wins for a busy household.
Choosing The Right Shade And Finish
Stick with whites, soft creams, or light grays for the most reflective effect. If you want a hint of color, consider pale blue or green for a subtle spa vibe. Matte finishes hide water spots better than glossy ones, but glossy tiles reflect more light.
A good compromise? Use glossy tiles on the main wall and matte on the floor to prevent slips. Also, think about the undertones—cool grays feel crisp, while warm creams add coziness.
The Magic Of Large-format Tiles
Large-format tiles, like 12×24 inches or bigger, mean fewer grout lines. Grout lines can make a small shower feel busy and visually break up the wall, making it look smaller. By minimizing those lines, you create a sleek, seamless look that expands the space.
Plus, large tiles are easier to clean and have a modern, high-end feel. Just make sure your walls are perfectly flat before installation to avoid lippage.
Pairing With Grout And Accents
To keep the bright effect going, choose a grout color that matches your tiles closely. White or light gray grout blends in and maintains that seamless appearance. If you want a bit of contrast, use a slightly darker grout to add depth without overwhelming the space.
You can also introduce a single accent strip of darker tile or a textured feature wall to add interest while keeping the overall look light and airy.
3. Install a Skylight or Light Tube Above the Shower
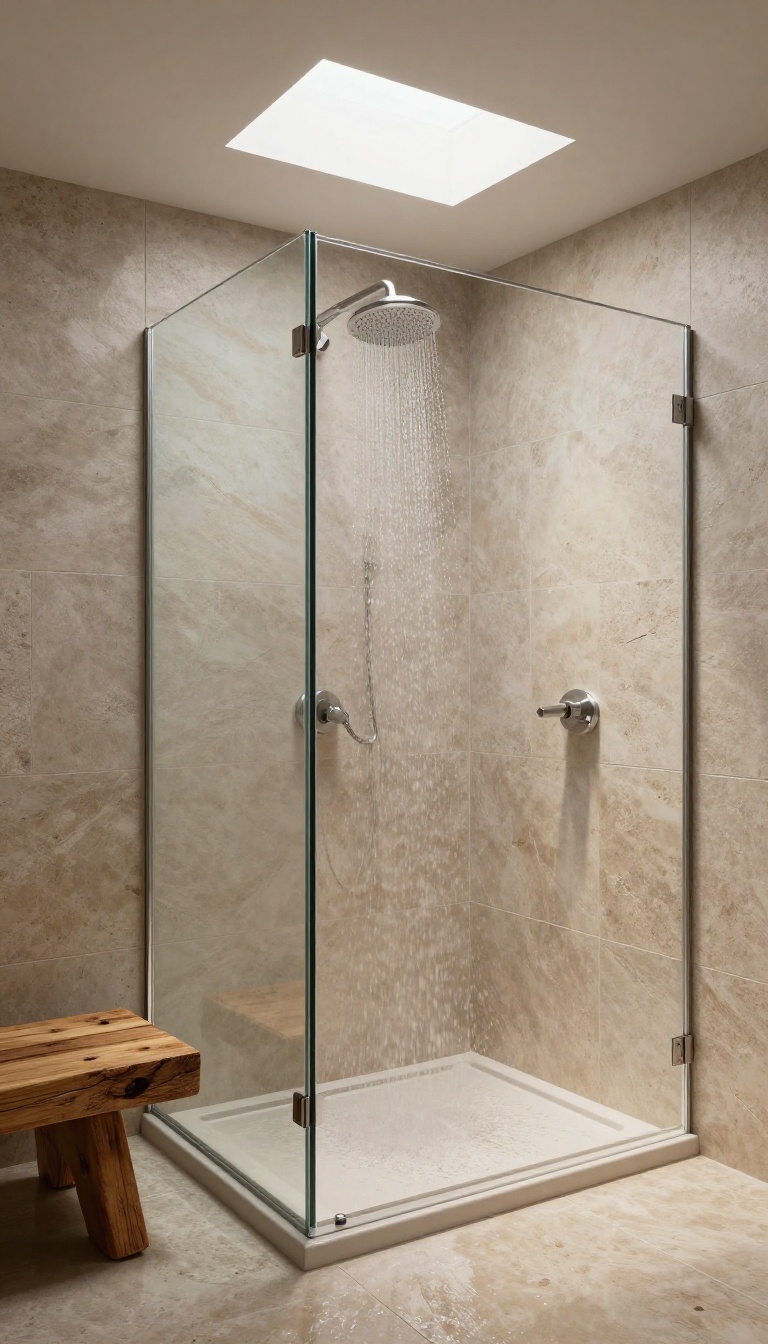
Natural light is a rare commodity in most basements, but if you have any access to the outdoors—even a side wall or a small yard—you can bring the sun down where you need it most. A skylight or a solar tube positioned directly above the shower can flood the space with soft, diffused daylight, making it feel less like a bunker and more like a serene retreat. This isn't just about aesthetics; natural light also helps reduce the need for artificial lighting during the day, which can save on energy costs.
Plus, the connection to the outside world—even just a glimpse of sky or treetops—adds a refreshing, spa-like quality that's hard to replicate with fixtures alone.
When planning a skylight or light tube, consider the structural implications and the best placement. A traditional skylight requires a roof opening and proper flashing, which can be more complex and costly, but it offers a larger opening and a direct view of the sky. Solar tubes, on the other hand, are smaller, flexible, and easier to install, making them a practical choice for tighter budgets or tricky roof angles.
Both options can be fitted with blinds or shades to control light and privacy, and they work well with the moisture-rich environment of a shower when properly sealed. To maximize the effect, position the skylight or tube so that it casts light directly onto the shower area, not just the bathroom floor. This creates a bright focal point and makes the shower feel more open.
If you're concerned about heat loss or gain, choose double-glazed units with low-E coatings, and consider adding a ventilation fan to manage humidity. With a little planning, you can enjoy the benefits of natural light without compromising on comfort or energy efficiency.
Choosing Between A Skylight And A Solar Tube
Skylights provide a larger opening and a clear view of the sky, which can be a stunning feature if you have the ceiling space and budget. They require more structural work, including cutting through the roof and adding support, so they're best for major renovations. Solar tubes, also called sun tunnels, are a more affordable and flexible alternative.
They use a reflective tube to channel sunlight from a small roof dome down through the ceiling, and they can bend around obstacles. They're ideal for tight spaces or when you want to minimize disruption. Both options can be fitted with dimmers or shades to adjust light levels, and they work well in bathrooms with high humidity when properly sealed.
Placement And Design Tips
For the best effect, place the skylight or tube directly above or slightly in front of the shower area, so the light hits the water and tiles, creating a sparkling, airy feel. Avoid placing it directly over the drain if you want to prevent glare on wet surfaces. Consider the angle of the sun: south-facing openings bring in more light throughout the day, while north-facing ones provide consistent, soft illumination.
If privacy is a concern, choose a frosted or prismatic dome for the roof, or install a shade inside. You can also pair the skylight with a light tube on the opposite side to balance the light and reduce shadows.
Structural And Moisture Considerations
Before cutting into your roof, consult a structural engineer or contractor to ensure your ceiling can support the opening. Proper flashing and sealing are crucial to prevent leaks, especially in areas with heavy rain or snow. Use a skylight with a condensation channel and a thermal break to minimize moisture buildup.
In the shower, ensure the surrounding ceiling is sloped or angled to direct any condensation away from the skylight, and install an exhaust fan to control humidity. With these precautions, you can enjoy the light without worrying about water damage or mold.
4. Add a Curbless Shower for a Seamless Look
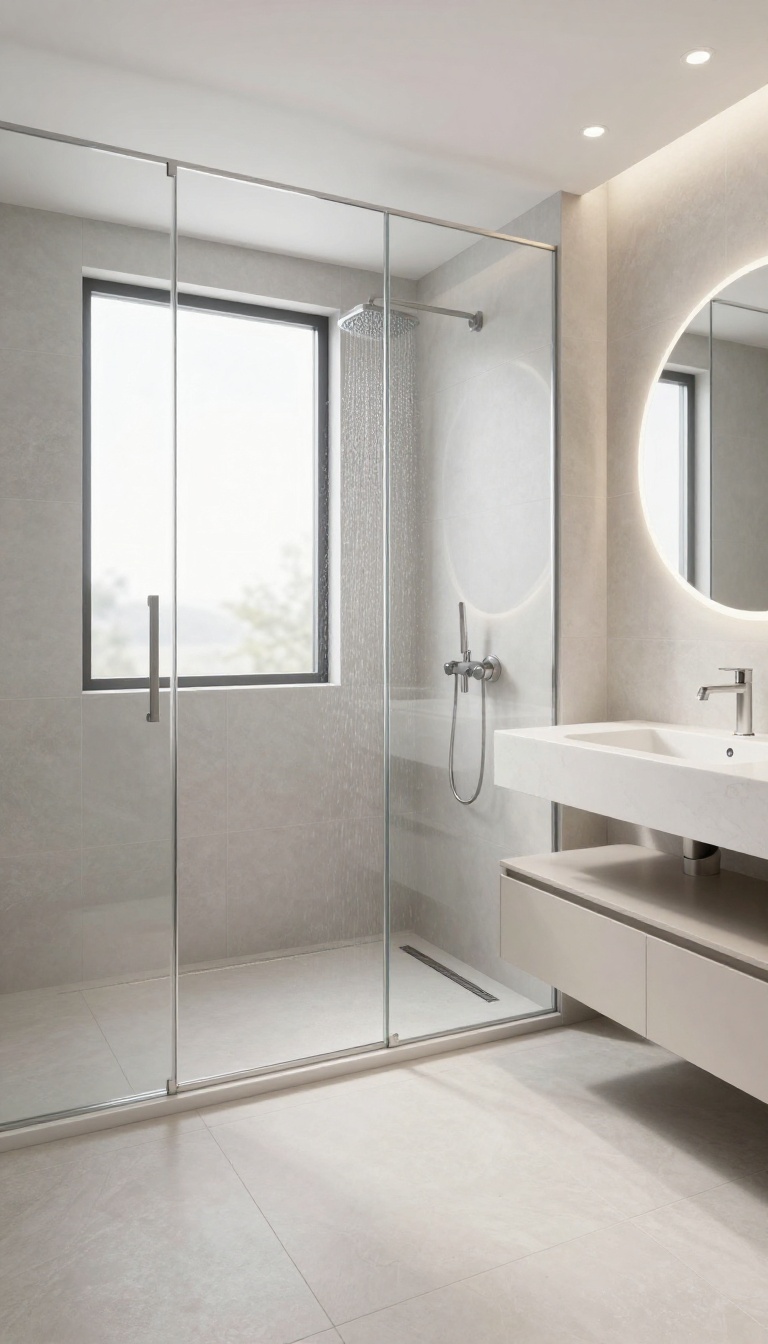
Stepping over a shower curb can feel like a hurdle, especially when you're trying to make a basement feel more open. A curbless design removes that barrier entirely, letting the shower blend right into the rest of the floor. It's a simple change that makes the whole bathroom feel more spacious and welcoming.
Why Curbless Works In Basements
Basements often have lower ceilings and less square footage, so every visual trick counts. Without a curb, the eye travels uninterrupted from wall to wall, making the room seem larger. It also eliminates a common tripping hazard, which is a bonus if you have kids or older guests.
Plus, the seamless transition makes cleaning a breeze—no more scrubbing grime out of that awkward corner where the curb meets the floor.
The Technical Side: Slope And Waterproofing
Going curbless doesn't mean you can skip proper drainage. The floor needs a gentle slope toward the drain, usually about 1/4 inch per foot, to keep water moving. You'll also need a reliable waterproofing membrane under the tile to protect the structure below.
If you're working with an existing concrete slab, you might need to recess the shower area slightly to achieve the right pitch. It's a job best left to a pro, but the result is worth it.
Design Tips For A Polished Finish
To make the seamless look really shine, use the same tile on the bathroom floor and inside the shower. Large-format tiles with minimal grout lines enhance the continuous feel. Consider a linear drain along the back wall instead of a central drain—it looks sleek and makes the slope less noticeable.
Pair it with a glass partition instead of a full enclosure to keep the space visually open.
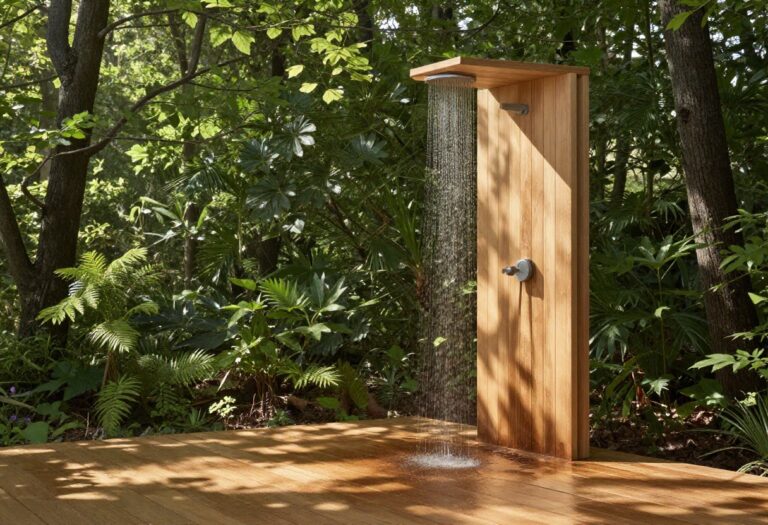
5. Use a Rain Shower Head for a Spa Vibe
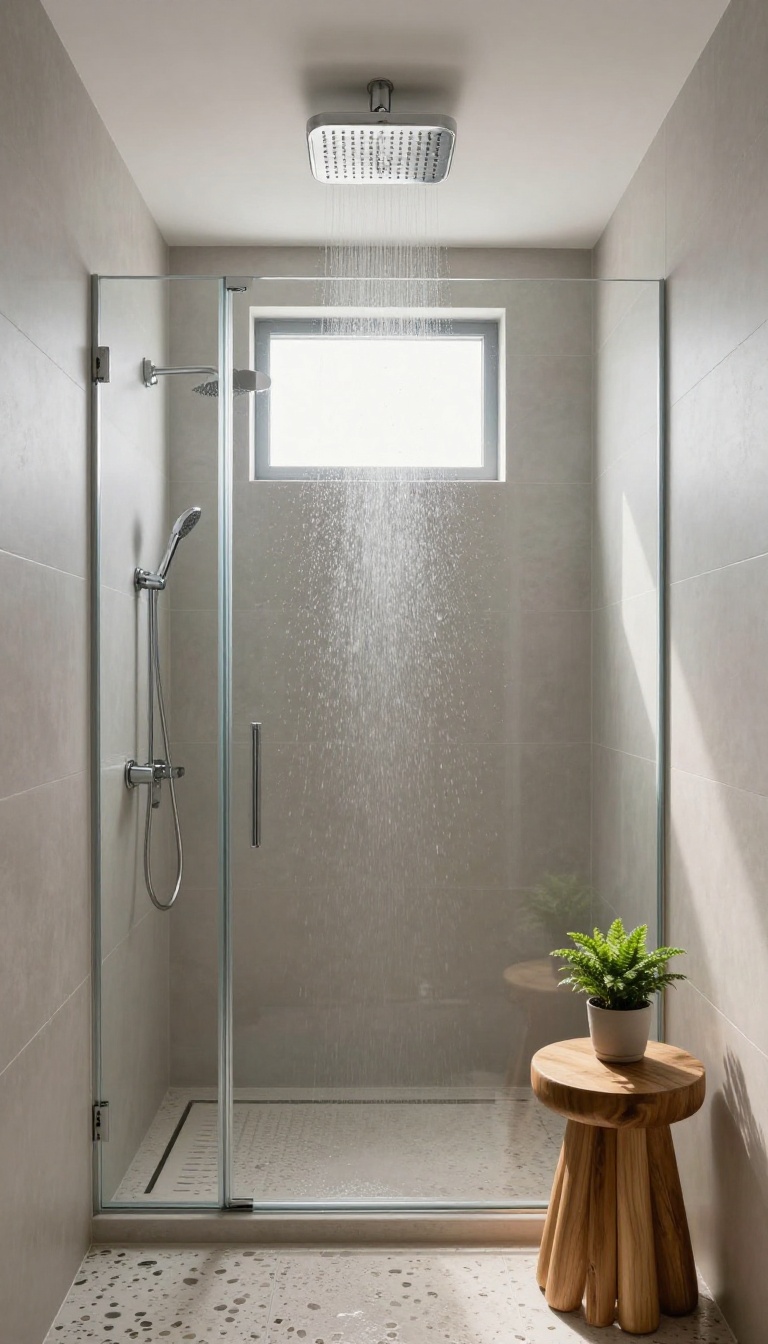
A basement shower doesn't have to feel utilitarian. Swapping a standard showerhead for a ceiling-mounted rain shower head instantly upgrades the experience. The wide, gentle spray mimics rainfall, turning your daily rinse into a mini retreat.
Plus, the overhead design can make a low-ceilinged basement feel more open.
Rain shower heads are a popular choice for basement remodels because they add a touch of luxury without requiring a lot of space. They also help you feel more immersed in the water, which can be a welcome escape from the sometimes-damp basement air. When choosing one, look for models with adjustable flow rates and easy-to-clean nozzles to prevent mineral buildup.
Choose The Right Size And Style
Rain shower heads come in various diameters, from 6 inches to over 12 inches. For a standard basement shower, an 8- or 10-inch head provides good coverage without overwhelming the space. Consider a brushed nickel or matte black finish to match your fixtures and add a modern touch.
Some models even feature LED lighting or temperature control for an extra spa-like feel.
Installation Tips For Ceiling Mounts
Ceiling-mounted rain shower heads require proper plumbing and support. If your basement ceiling is open, it's easier to run the water line and secure the mount. For finished ceilings, you'll need to cut an access hole and reinforce the area.
Always hire a licensed plumber to ensure correct installation and avoid leaks. Also, check your water pressure—rain heads often need a minimum of 40 psi to work well.
Pair With A Handheld Shower For Flexibility
While a rain shower head is relaxing, it's not always practical for rinsing off soap or cleaning the shower. Installing a separate handheld showerhead or a diverter valve gives you the best of both worlds. This combo is especially useful in a basement, where you might be washing off after a workout or cleaning muddy gear.
6. Incorporate a Built-In Bench for Comfort and Safety
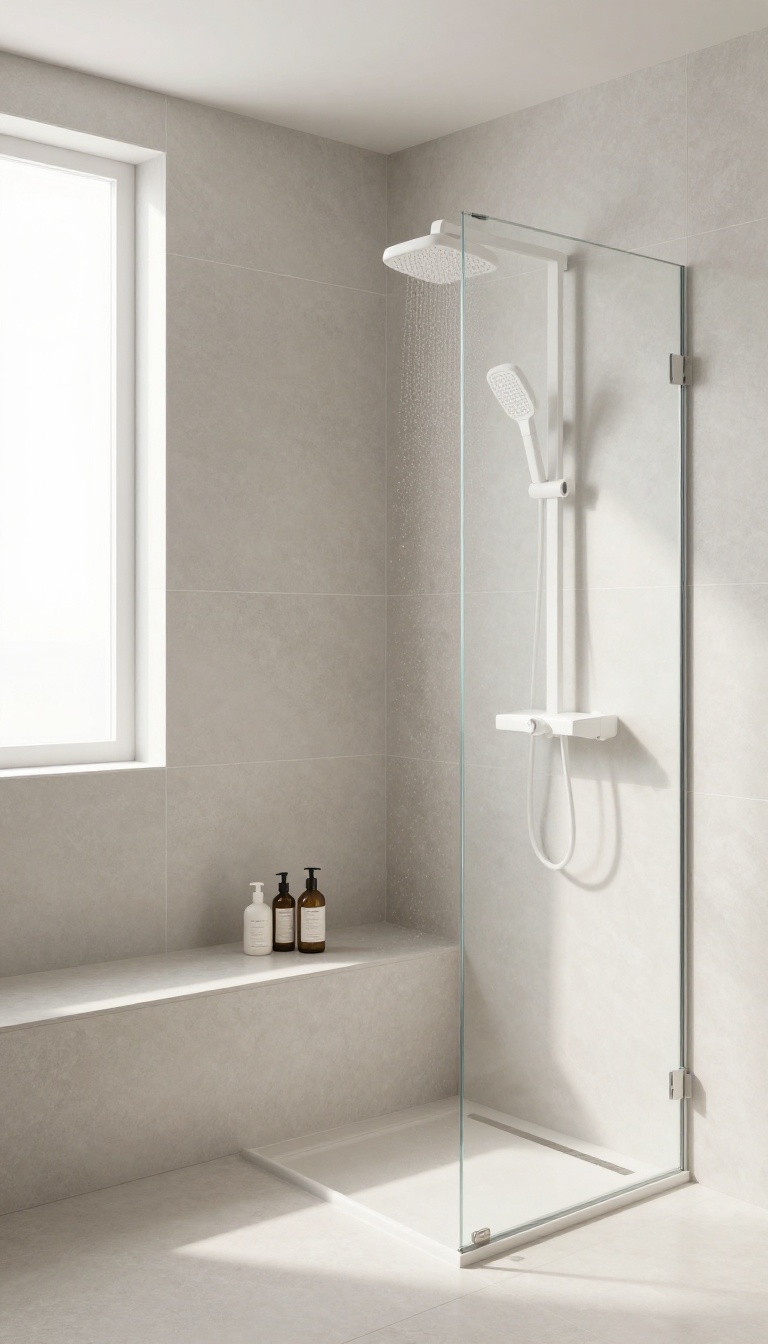
A shower bench isn't just a luxury—it's a smart addition to any basement shower. It gives you a spot to sit, which is handy for shaving legs, washing feet, or just taking a moment to relax. Plus, it adds a layer of safety for kids, older adults, or anyone who feels unsteady on their feet.
In a basement where space might be tight, a built-in bench can also double as a ledge for toiletries, keeping the floor clear and clutter-free.
Built-in benches come in a few styles, so you can pick one that fits your layout and needs. A corner bench is a classic choice that tucks neatly into the angle, making use of space that might otherwise go unused. A full-width bench along the back wall offers more seating and can even serve as a shelf for shampoo bottles.
If you're working with a small shower, a fold-down teak bench is a clever option—it mounts to the wall and flips up when not in use, saving precious floor space. When planning your bench, think about height and depth. A typical seat height is around 17 to 19 inches, similar to a standard chair, so it's comfortable for most people.
The depth should be at least 15 inches for a secure sit, but you can go deeper if you have room. Don't forget to factor in the bench when waterproofing—it needs to be properly sloped so water doesn't pool, and you'll want to tile or waterproof the entire area behind it to prevent moisture damage. Another key consideration is the material.
Tile-covered benches match your shower seamlessly and are durable, but they can feel cold and hard. A stone or marble top adds a touch of luxury and stays cool, which might not be ideal in a chilly basement. For a warmer feel, consider a teak or cedar bench—these woods are naturally water-resistant and add a spa-like vibe.
If you choose a built-in bench, you can also add a subtle accent, like a contrasting tile stripe or a recessed niche above it for extra storage.
Design Options For Every Layout
Corner benches are a popular pick because they fit snugly without eating up too much room. They're perfect for square or rectangular showers and can be tiled to blend in or highlighted with a different color for a design statement. A linear bench along the back wall offers more seating and can double as a shelf, but it does require a wider shower.
For narrow spaces, a fold-down teak bench is a space-saver that can be installed at any height and folded up when not in use.
Safety And Comfort Details
Comfort goes beyond just having a seat. Adding a slight slope to the bench (about 1/4 inch per foot) helps water drain off instead of pooling. You might also consider a cushioned pad or a towel bar nearby for easy reach.
For safety, think about installing a grab bar near the bench—it's a simple addition that can make a big difference for anyone with mobility concerns. And don't forget to leave enough clearance so the bench doesn't block the shower door or create a tight squeeze.
Material Choices That Last
Tile is the most common choice because it's waterproof and easy to clean, but it can be slippery when wet. Look for textured or matte-finish tiles for better grip. Natural stone like slate or travertine adds a high-end feel but needs sealing to prevent stains.
Solid surface materials like quartz or Corian are non-porous and warm to the touch, making them a great option for a bench. If you prefer wood, teak is the gold standard—it's naturally resistant to moisture and can be sanded and refinished if needed.
7. Choose Moisture-Proof Lighting for Safety and Ambiance
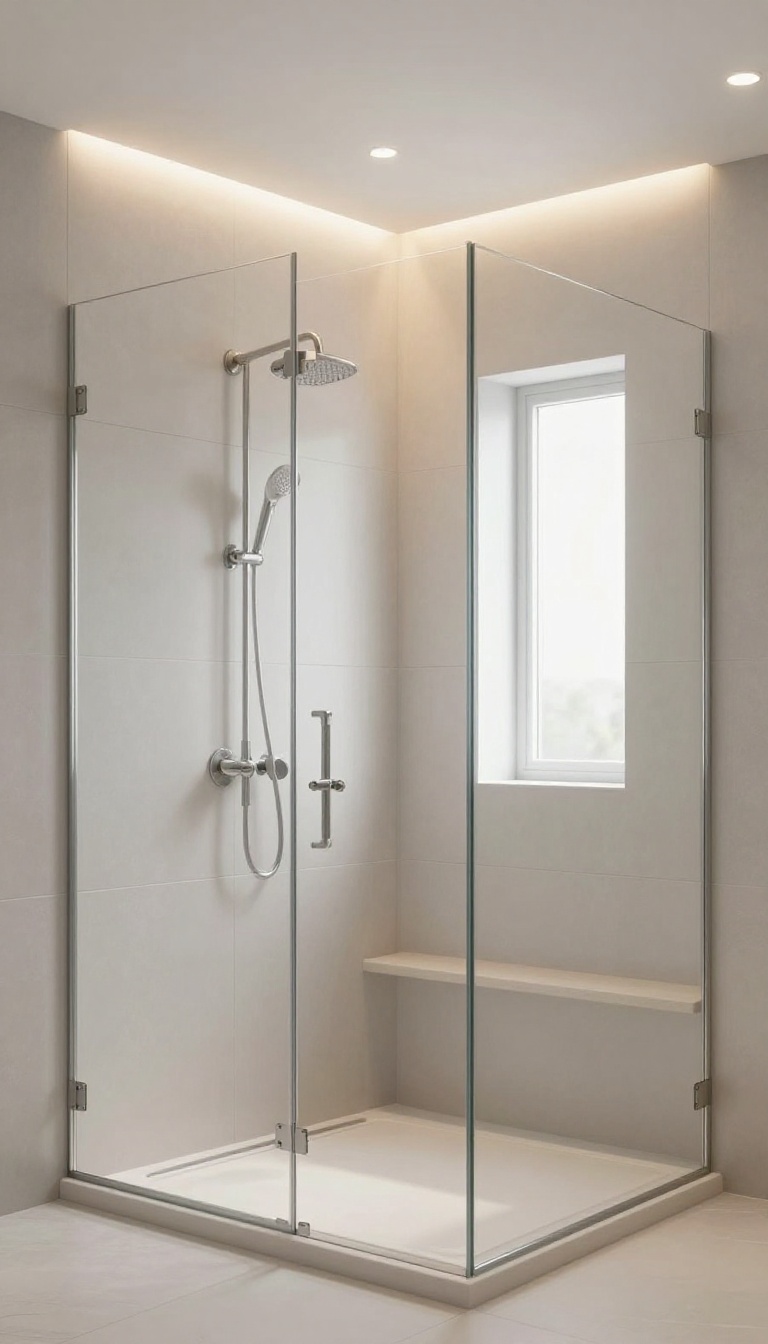
Basements are naturally damp, and that moisture can wreak havoc on standard lighting fixtures. Choosing the right lighting isn't just about aesthetics—it's a safety must. Moisture-proof fixtures protect against short circuits and corrosion, ensuring your shower stays bright and safe for years.
When planning your basement shower lighting, think about both function and mood. You want enough light to shave or wash safely, but you also want to create a relaxing retreat. The key is to select fixtures rated for damp or wet locations and position them thoughtfully to avoid glare and shadows.
Understand Ip Ratings
IP (Ingress Protection) ratings tell you how resistant a fixture is to moisture and dust. For a shower area, look for at least IP65, which means it's dust-tight and protected against water jets. Recessed LED lights with IP65 or higher are a popular choice because they sit flush with the ceiling, reducing the risk of moisture seeping into connections.
Layer Your Lighting
Instead of relying on a single overhead light, layer your lighting to create depth and reduce shadows. Install a recessed light directly above the shower for task lighting, and add a wall sconce or strip light on a separate switch for ambiance. Dimmers let you adjust brightness from a bright, invigorating morning shower to a soft, calming evening soak.
Pick The Right Bulbs
LED bulbs are the best choice for basement showers—they emit little heat, last longer, and are available in a range of color temperatures. Choose a warm white (2700K–3000K) for a cozy feel or a cool white (4000K–5000K) for a more energizing, spa-like vibe. Just make sure the bulbs themselves are rated for enclosed fixtures and damp locations.
8. Add a Window or Egress Window for Natural Light
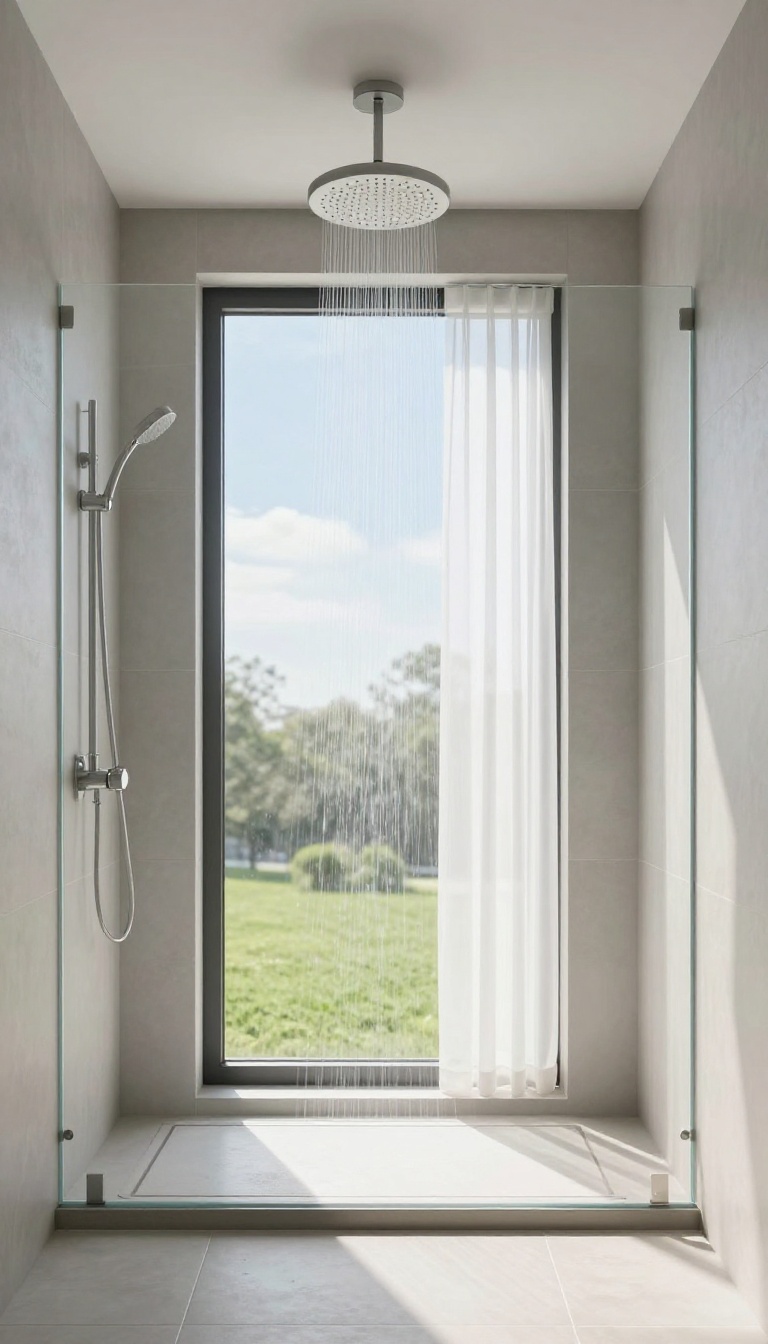
If your basement has an exterior wall, consider adding an egress window near the shower. It brings in daylight, provides ventilation, and can even serve as an emergency exit. Beyond the practical perks, a window transforms the whole feel of the space, making it less cave-like and more like a real room.
Basements often lack windows, but if you're already renovating, creating one is a game-changer. A window near the shower not only brightens the area but also helps control moisture—a common issue in underground spaces. Plus, egress windows meet building codes for sleeping areas, so if you're planning a guest suite, this is a must.
Choosing The Right Window Type
For a basement shower, you want a window that opens easily and resists moisture. Hopper windows (hinged at the bottom) are a popular choice because they open inward for easy cleaning and provide good ventilation. Casement windows, which crank out, are also great for maximizing airflow.
If you're concerned about privacy, consider frosted glass or a high placement near the ceiling.
Placement And Size Considerations
Position the window so it doesn't interfere with the shower fixtures or create awkward angles. A standard egress window is about 5. 7 square feet, but for daylight purposes, even a smaller window can make a big difference.
If you can, place it where it captures morning or afternoon sun to warm up the space naturally.
Light, Ventilation, And Safety Combined
A window near the shower does triple duty: it lets in natural light, reduces humidity by allowing steam to escape, and serves as an emergency exit. That's a huge win for a basement, where safety and comfort often take extra effort. Just make sure the window is properly sealed and rated for below-grade installation.
9. Use a Glass Block Window for Privacy and Light
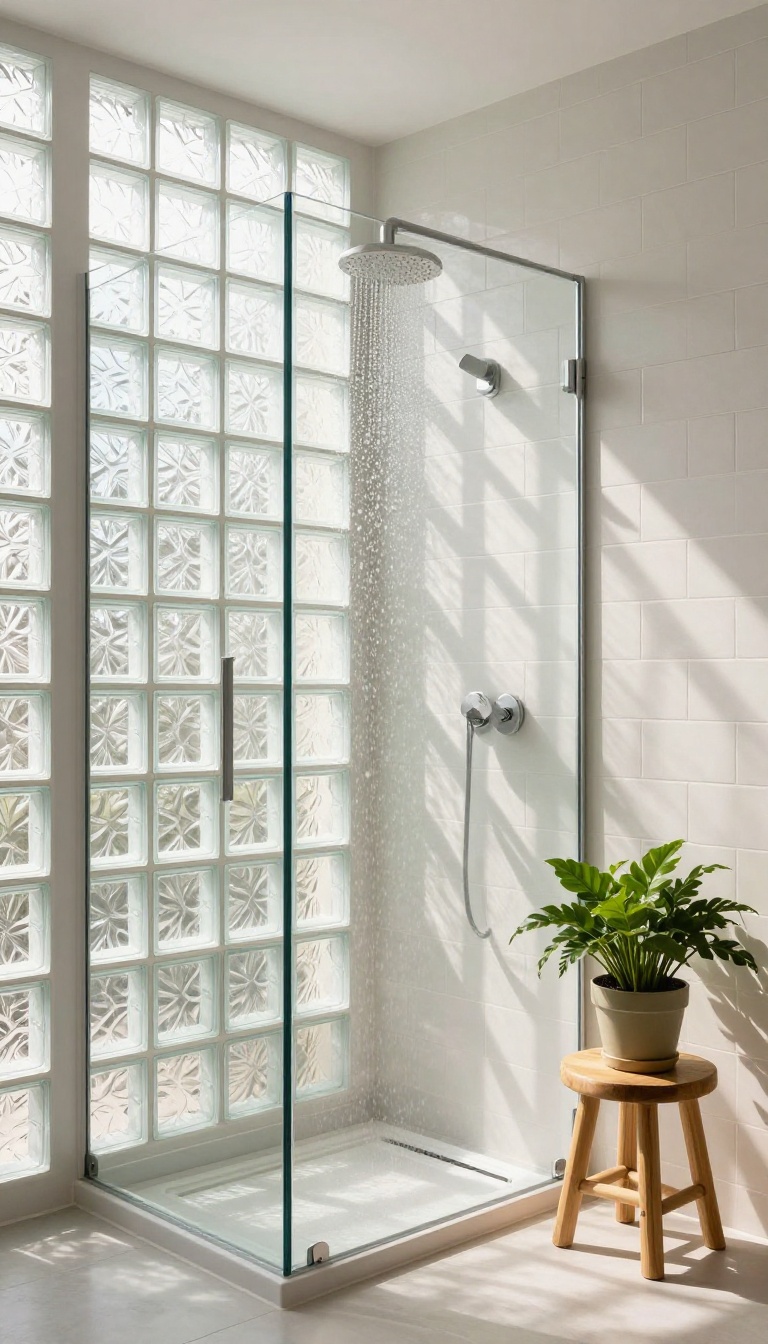
Natural light is a rare commodity in most basements, but a glass block window can change that. These chunky, translucent panels let sunlight pour in while keeping prying eyes out—perfect for a shower area where privacy matters. They're a classic basement solution that adds texture and brightness without compromising security.
Why Glass Blocks Work So Well Below Grade
Glass blocks are naturally frosted, so they blur everything behind them. That means you can enjoy daylight without worrying about neighbors or passersby catching a glimpse. Plus, they're sturdy—much harder to break than standard windows, which adds an extra layer of security for a lower-level bathroom.
And because they're installed in a fixed frame, there's no need for heavy curtains or blinds that can trap moisture.
Maximizing Light In A Windowless Shower
If your shower is tucked in a corner with no direct exterior wall, consider installing a glass block window high on the wall above the showerhead. This placement captures light from outside and bounces it across the room. You can also pair the window with a light-colored tile or a mirror opposite to amplify the effect.
Even a small glass block window can make a dark shower feel airy and open.
Installation And Ventilation Tips
Glass block windows require proper waterproofing and flashing to keep moisture out. Hire a pro if you're not experienced with masonry work—getting the seal right is crucial to avoid leaks. Also, check local building codes; some areas require a certain amount of ventilation in a bathroom.
If your glass block window doesn't open, you'll need a separate exhaust fan to keep humidity in check.
10. Install a Ventilation Fan with a Humidity Sensor
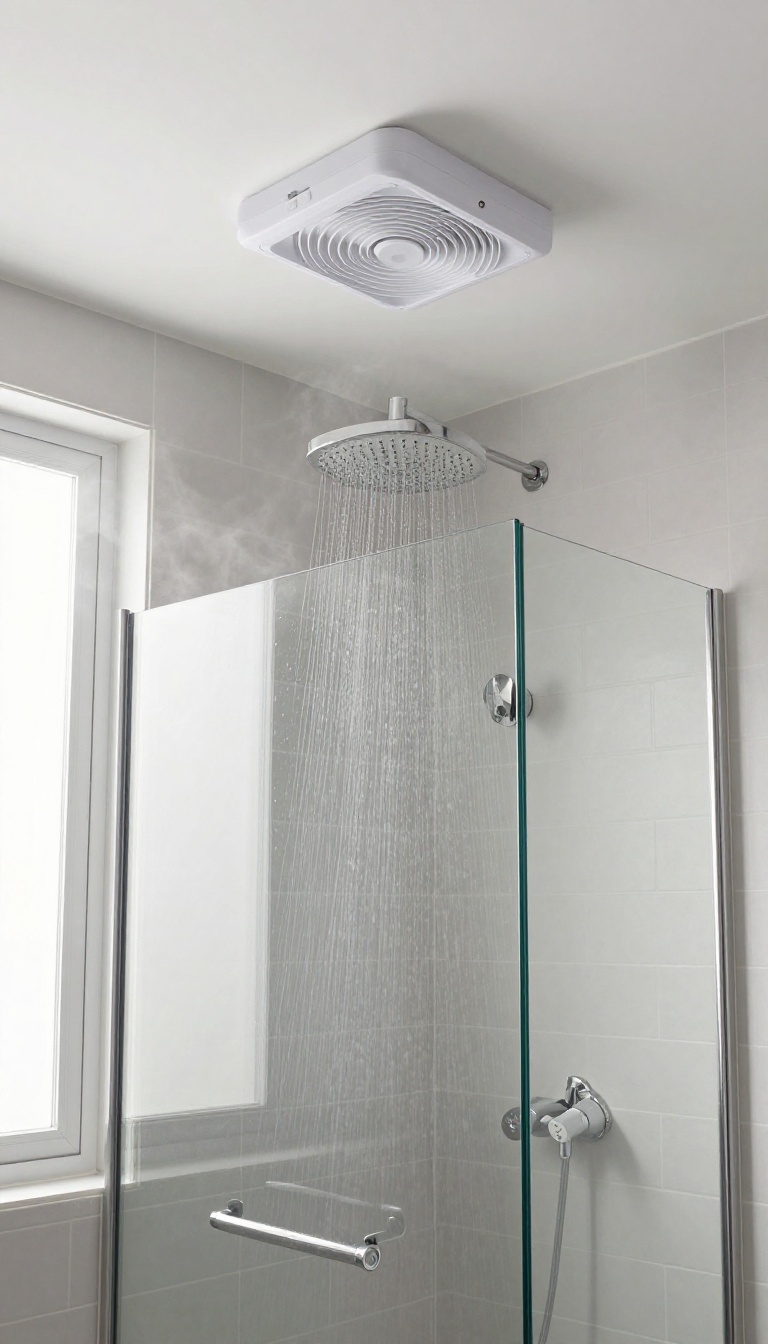
When you're showering in a basement, the steam has nowhere to go—it lingers, settles, and eventually invites mold and mildew to move in. That's why a standard exhaust fan just isn't enough. A ventilation fan with a built-in humidity sensor takes the guesswork out of keeping the air dry, automatically kicking on when moisture levels spike and shutting off once the air is fresh again.
This smart upgrade is a no-brainer for basement showers, where natural airflow is limited. Instead of relying on you to remember to flip a switch, the sensor does the work silently in the background. It's one of those small details that makes a big difference in the long run, protecting both your health and your investment.
Why Humidity Sensing Matters Downstairs
Basements are naturally more humid than the rest of the house, and a shower only adds to that. Without proper ventilation, moisture can seep into drywall, grout, and framing, leading to costly repairs. A humidity sensor ensures the fan runs exactly when needed—no more forgetting to turn it on, and no more wasting energy by leaving it running all day.
Choosing The Right Fan For Your Space
Look for a fan rated for the square footage of your bathroom, and check the sones (noise level) if you want a quieter model. Many modern fans come with adjustable sensitivity settings, so you can fine-tune when the sensor activates. Some even include a timer or can be connected to a smart home system for extra convenience.
Simple Installation Tips
If you're comfortable with basic wiring, this is a DIY-friendly project, but don't hesitate to call an electrician if you're unsure. Make sure the fan vents to the outside, not just into the ceiling or attic, to truly remove moisture. Position the fan near the shower but not directly in the spray zone, and clean the sensor periodically to keep it accurate.
11. Add a Heated Floor for Comfort
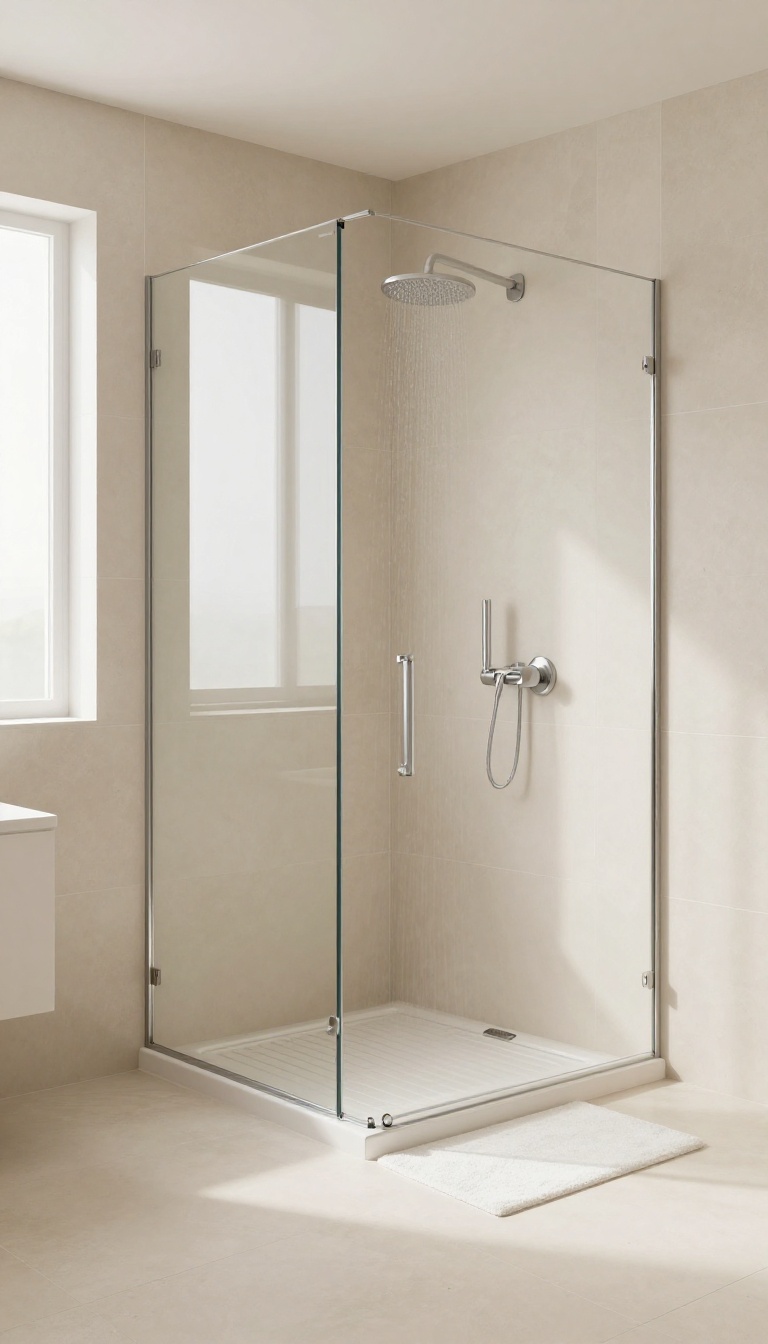
Stepping out of a warm shower onto a cold basement floor is a shock that can ruin the whole experience. That chill is common in below-grade spaces, where concrete slabs stay cool even in summer. Radiant floor heating solves this by warming the floor itself, turning every shower into a cozy retreat.
Beyond comfort, a heated floor also helps with drying. The gentle heat evaporates water quickly, cutting down on moisture that can lead to slippery spots or mildew. It’s a practical upgrade that feels luxurious every single day.
Radiant floor heating works by circulating warm water through tubes or using electric mats beneath your tile. It’s installed under the flooring, so the heat rises evenly across the entire bathroom. For a basement shower, this is especially valuable because the concrete slab tends to pull heat away from your feet.
You can choose between electric systems, which are thinner and easier to retrofit, or hydronic systems that hook into your home’s water heater. Both are controlled by a thermostat, letting you schedule warmth for early mornings or set it to run only when you need it. While the upfront cost is higher than standard flooring, the payoff is real: no more cold toes, faster drying, and a touch of spa-like comfort that makes your basement feel fully finished.
Why Basements Need Radiant Heat
Basement floors sit directly on or near the ground, so they stay cooler than the air above. Even with good insulation, that cold seeps through tile or concrete. Radiant heating directly warms the floor surface, not just the air, which makes the whole space feel more comfortable.
It also prevents the damp, clammy feeling that often comes with below-grade bathrooms.
Electric Vs. Hydronic Systems
Electric radiant mats are the go-to for most basements because they’re easy to install under tile and don’t require major plumbing changes. Hydronic systems, which pump warm water through tubes, are more efficient for large areas but cost more upfront. For a single shower room, an electric system usually hits the sweet spot between cost and comfort.
Installation Tips For Basement Showers
Plan the heating before you lay tile, and make sure the subfloor is clean and level. Add a layer of insulation beneath the heating elements to push heat upward instead of letting it escape into the concrete. Also, pair the system with a programmable thermostat so you can warm the floor before your morning shower without wasting energy all day.
12. Use a Corner Shower to Save Space
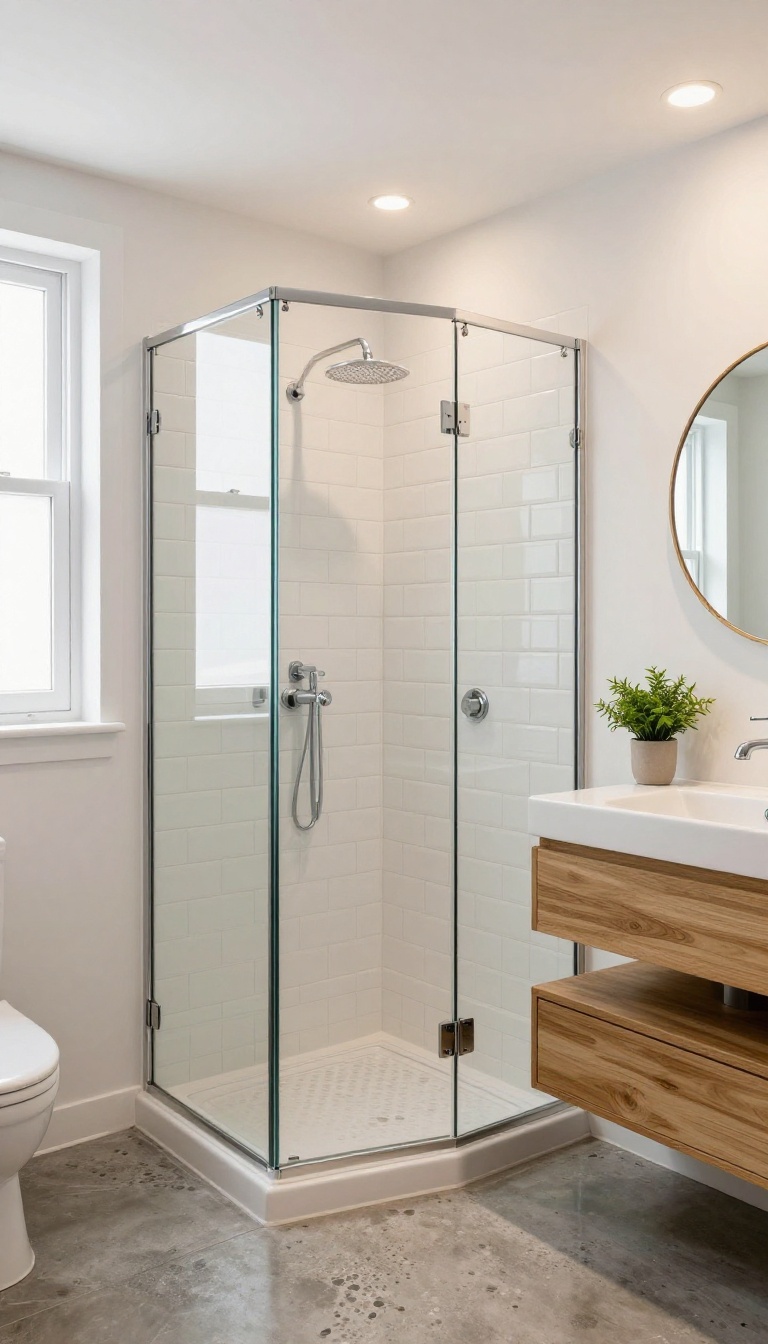
In a basement bathroom, every square foot counts. A corner shower is a smart way to tuck the wet area into an unused nook, freeing up precious floor space for a vanity, storage, or just breathing room. Corner showers come in prefab units or can be custom-built with tile.
Either way, they make a small bathroom feel less cramped and more functional.
Choosing a corner shower means you can still enjoy a comfortable shower without sacrificing the entire room. It opens up the center of the bathroom, making it easier to move around and use the space for other essentials. A corner setup also allows for creative plumbing and drainage solutions, especially in basements where you might have existing pipes running along walls.
You can work with what’s there, saving on renovation costs.
Prefab Vs. Custom Corner Showers
Prefab corner showers are budget-friendly and quick to install. They come in standard sizes and often include the pan and walls, which makes them a practical choice for a basement remodel. Custom tile showers, on the other hand, let you fit the exact dimensions of your space and add a more polished, high-end look.
Weigh the pros and cons based on your budget and style goals.
Maximizing Space With A Neo-angle Design
A neo-angle corner shower has a angled door that cuts across the corner, which can feel more spacious than a square or round unit. It gives you a wider entry point and makes the shower feel less enclosed. This design works particularly well in tight basement bathrooms where you need to maximize every inch.
Tiling And Lighting Tips For Corner Showers
To make a corner shower feel larger, use large-format tiles in light colors. This reduces grout lines and creates a seamless look. Add a glass door instead of a curtain to keep the sightline open.
For lighting, install a waterproof recessed light above the shower area to brighten the space without taking up room.
13. Incorporate Recessed Niches for Storage
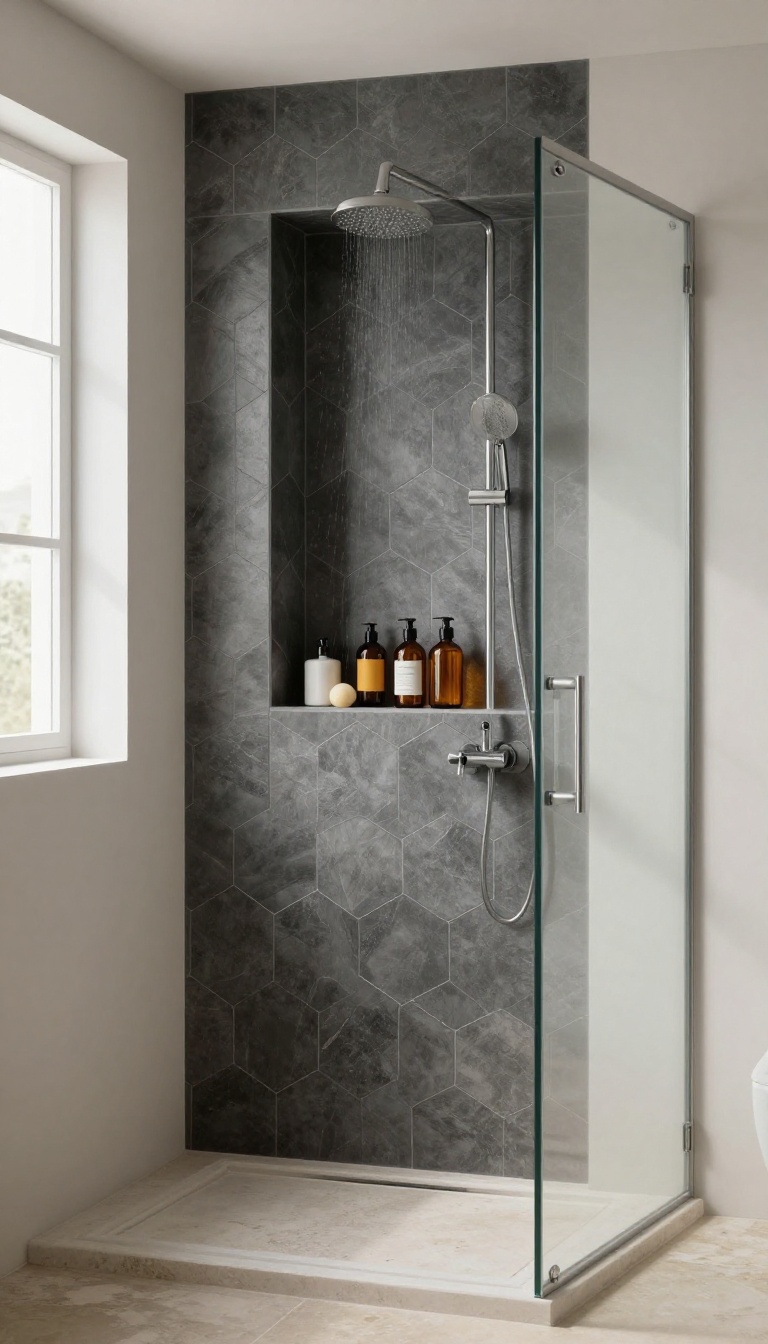
Basement showers often suffer from a lack of storage, leaving you with bulky caddies that hang from the showerhead or sit on the floor. Recessed niches offer a sleek, built-in solution that keeps everything tidy and within reach. They also add a touch of architectural interest to an otherwise plain wall.
A recessed niche is essentially a cutout in the shower wall, finished with tile or waterproof material. It creates a seamless storage spot for shampoo, soap, and razors without protruding into your shower space. This is especially valuable in a basement, where every inch counts and a cluttered shower can feel even more cramped.
Beyond practicality, niches can elevate the look of your shower. By lining them with contrasting tile or adding a subtle backlight, you create a focal point that feels custom and expensive. Plus, they're easier to clean than wire shelves or caddies—no nooks and crannies for soap scum to hide.
Plan The Perfect Size And Placement
When planning a niche, think about what you'll store. A standard niche is about 12 inches wide, 12 inches tall, and 3. 5 inches deep—enough for most bottles.
But if you have tall shampoo bottles or bulky body wash, consider making it taller. Place the niche at a comfortable height, typically around chest level, so you don't have to bend or stretch. Also, position it away from the direct spray of the showerhead to keep items dry and prevent water from pooling inside.
Choose The Right Tile And Finish
The tile you choose for the niche can make or break the look. For a seamless appearance, use the same tile as the shower walls. If you want to make a statement, use a contrasting color or a decorative mosaic.
Ensure the niche floor has a slight slope toward the shower to prevent water from sitting. Also, use waterproof materials like porcelain or ceramic, and seal the grout properly to avoid moisture issues in the basement environment.
Add Lighting For A Premium Feel
Adding a small LED strip light to the top of the niche can create a luxurious spa-like ambiance. It also makes it easier to find your products in a dimly lit basement. Use low-voltage, waterproof LED lights designed for wet areas, and have them installed by a professional to ensure safety.
The gentle glow will highlight your tile and add depth to the shower.
Build Multiple Niches For Versatility
If you have the wall space, consider installing two or more niches at different heights. For example, a lower one for kids' bath toys or a foot scrubber, and a higher one for adult toiletries. This adds functional storage without taking up any extra floor space, keeping the shower feeling open and organized.
14. Choose a Light-Colored Grout and Seal It Well
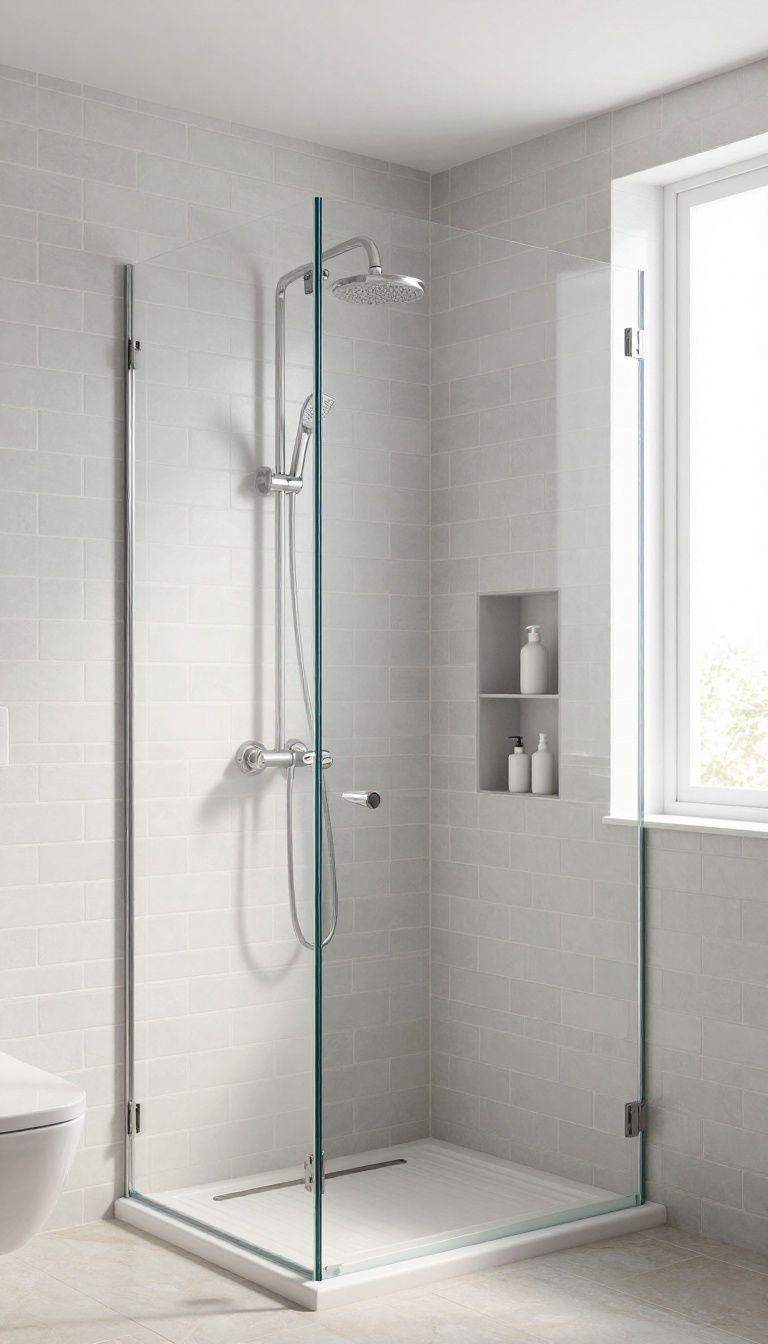
Grout might seem like a minor detail, but it can make or break the look of your shower. Dark grout can create a harsh grid that makes tiles look smaller and the space feel cramped. Light grout, on the other hand, blends seamlessly with your tiles, making the whole shower feel more open and airy—exactly what a basement needs.
The trick is to balance that bright look with protection. Light grout is more prone to showing dirt and stains, especially in a high-moisture environment like a basement shower. That's why sealing is non-negotiable.
A good sealer creates a barrier that repels water and grime, keeping your grout looking fresh for years. For even better performance, consider epoxy grout—it's non-porous, so it resists stains and mold naturally, and it never needs sealing. It's a bit pricier and trickier to install, but for a basement, it's a smart investment.
Why Light Grout Works In A Basement
Basements often lack natural light, so every bit of brightness helps. Light grout reflects light rather than absorbing it, which can visually expand the space. It also creates a clean, uniform look that doesn't compete with your tile choice.
Whether you go with white, beige, or a soft gray, light grout keeps the visual noise down and makes the shower feel more polished.
Sealing: The Non-negotiable Step
Sealing isn't just a one-time thing—you'll need to reapply it regularly, usually every 6 to 12 months depending on usage. Use a high-quality penetrating sealer that soaks into the grout and protects from within. Apply it carefully, wipe off any excess, and let it cure completely before using the shower.
This simple step prevents moisture from seeping in and causing mold or mildew.
Epoxy Grout: The Low-maintenance Alternative
If you're tired of scrubbing grout lines, epoxy grout might be your best friend. It's made of resin and hardener, so it forms a solid, waterproof surface that doesn't absorb anything. That means no sealing, no staining, and no mold.
It's more expensive and harder to work with, but for a basement shower that sees a lot of use, it's worth the extra effort. Just make sure you hire a pro who has experience with epoxy, because it sets fast and is tough to clean up.
15. Add a Mirror or Reflective Surfaces to Amplify Light
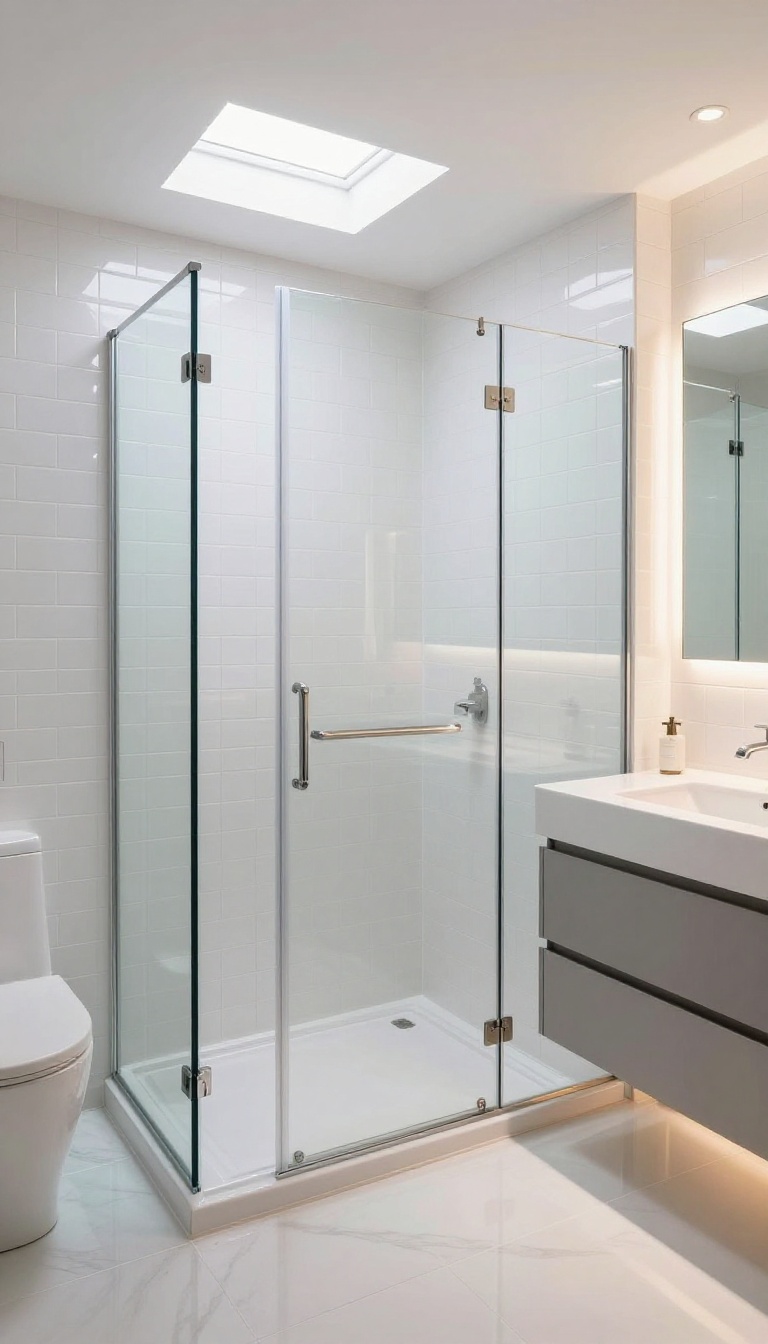
A clever mirror placement can work wonders in a basement shower, bouncing light around and making the whole space feel airier. Reflective surfaces aren't just for checking your reflection—they're a designer's trick to visually double the square footage. The key is to position them thoughtfully, away from direct water contact, so they stay safe and functional.
Start by placing a large mirror on a wall adjacent to the shower, not inside the wet zone. This catches light from any overhead fixtures or nearby windows and reflects it across the room. You can also incorporate glossy tiles, like polished porcelain or high-gloss subway tile, on an accent wall to scatter light without the maintenance of an actual mirror.
Even a mirrored medicine cabinet outside the shower can add that extra glow.
Where To Place Mirrors Safely
Keep mirrors at least three feet away from the showerhead and any splashing water. A foggy mirror is annoying, but a damaged one is worse. Choose a spot on a dry wall, perhaps above a vanity or on a side wall that doesn't get direct spray.
If your basement has a small window, angle the mirror to reflect that natural light deeper into the room.
Glossy Tile Tricks For Extra Shine
If you're wary of mirrors altogether, glossy tiles are your best friend. Large-format polished tiles reflect light more effectively than matte finishes. Use them on the shower wall opposite the entrance to catch the light from the main bathroom area.
You can even add a strip of mirrored mosaic tile as an accent—it's subtle, durable, and easy to clean.
Combining Mirrors With Lighting
Pair reflective surfaces with strategic lighting for maximum effect. Install a waterproof LED light strip above the shower or a dimmable sconce near the mirror. The mirror will amplify every beam, reducing shadows and making the space feel more open.
Just ensure all electrical fixtures are rated for damp locations.
FAQ
Can you put a shower in a basement?
Yes, you can absolutely install a shower in a basement. It requires proper plumbing, drainage, and ventilation. With the right waterproofing and a good sump pump or ejector system, a basement shower can be a great addition.
How do you keep a basement shower from smelling musty?
Musty smells come from moisture buildup. Install a high-quality exhaust fan with a humidity sensor, use mold-resistant drywall and paint, and ensure the shower area is properly waterproofed. Regular cleaning and leaving the door open after use also help.
What is the best flooring for a basement shower?
Porcelain or ceramic tile is the best choice for basement showers because it's waterproof, durable, and comes in many styles. Use a textured tile for the floor to prevent slipping, and ensure proper slope for drainage.
Do you need a special water heater for a basement shower?
Not necessarily, but if your basement is far from the water heater, you might experience delayed hot water. Consider a tankless water heater or a recirculating pump to ensure quick hot water delivery.
How can I make a small basement shower look bigger?
Use light colors, large tiles, and a glass enclosure to open up the space. Recessed niches reduce clutter, and good lighting eliminates shadows. Also, keep the shower floor and bathroom floor the same tile for a seamless flow.
Conclusion
These 15 savvy basement shower ideas prove that even the darkest, most neglected corner of your home can become a bright, polished retreat. By focusing on light, space, and moisture control, you can create a shower that's both functional and beautiful.
Whether you tackle a full remodel or just swap out a few fixtures, each idea brings you closer to a basement bathroom you'll actually enjoy using. So go ahead—pick your favorites and start transforming that underground space today.