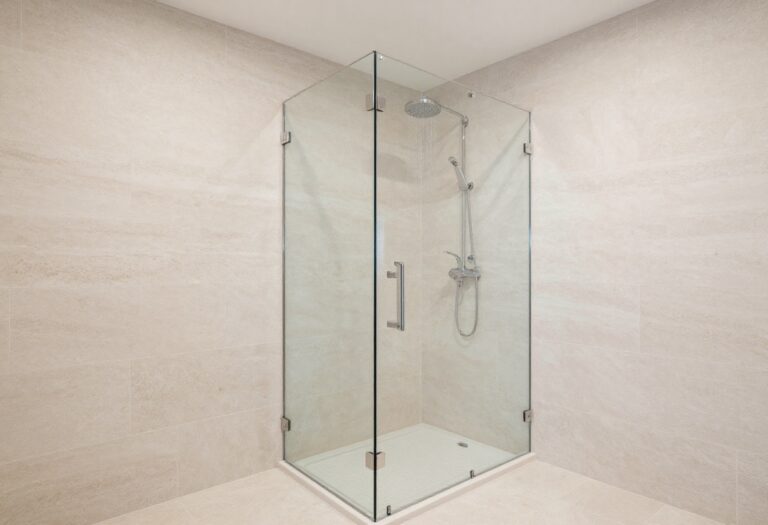
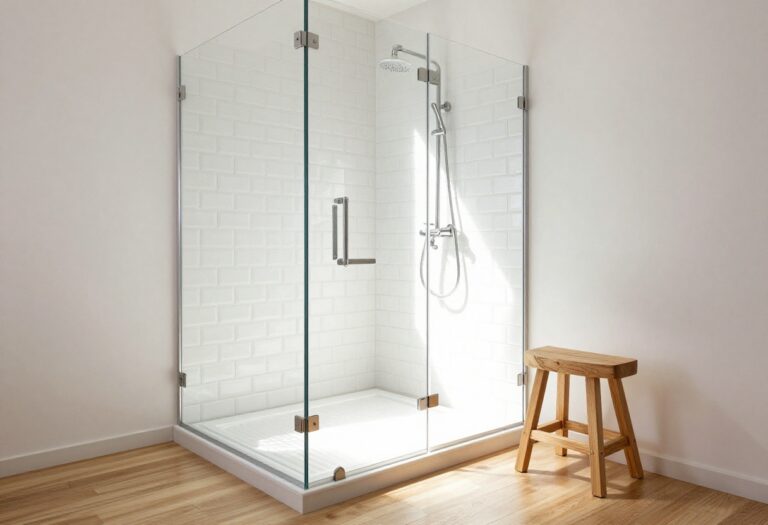
15 Noteworthy Bathroom Shower Ideas for Master Baths
A master bath shower should feel like a mini escape, but it also has to work hard every day. The right mix of layout, materials, and fixtures can turn a basic stall into the best part of your morning routine.
You do not need a huge budget to make a big difference. Small upgrades like a better showerhead or a built-in niche often deliver more daily satisfaction than a full gut job.
This list covers 15 ideas that range from quick swaps to bigger renovations. Pick what fits your space and your wallet, and you will end up with a shower you actually enjoy using.
1. Curbless Walk-In Shower for Easy Access
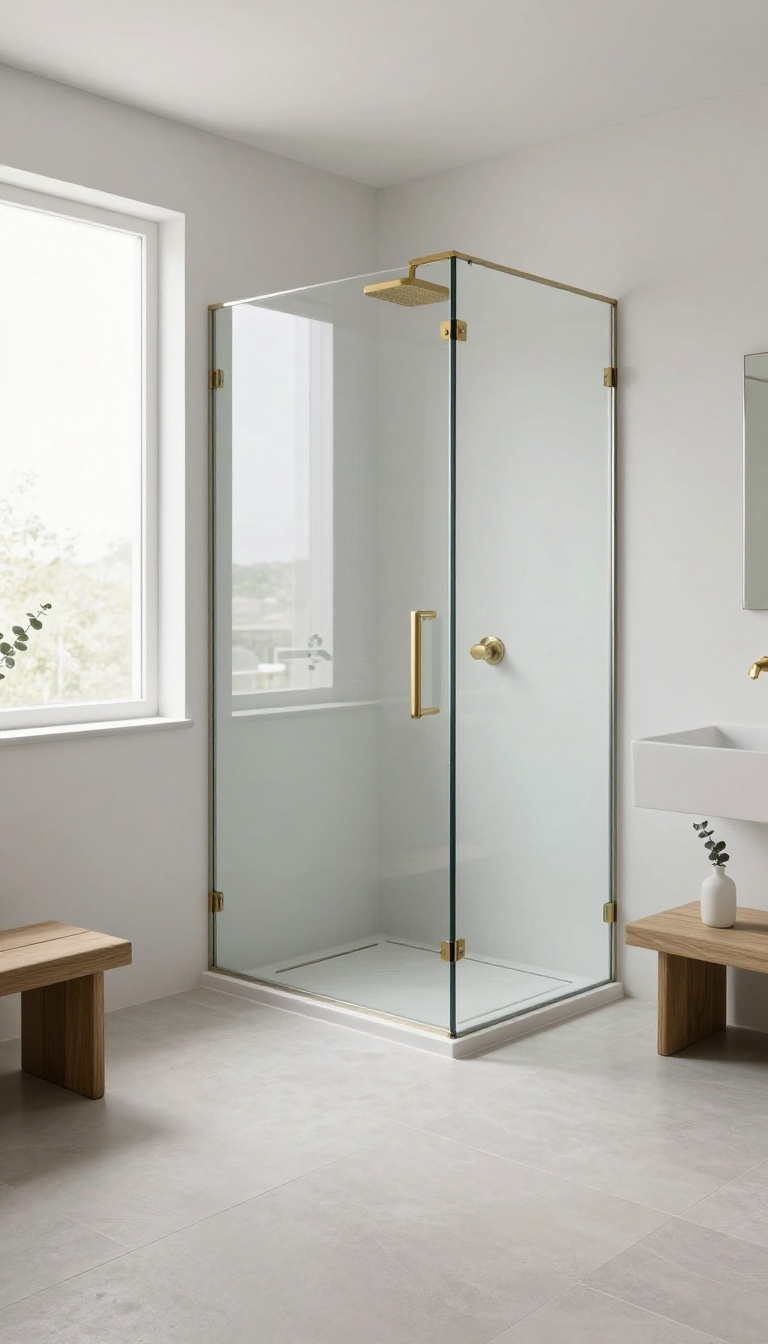
A curbless walk-in shower removes the raised lip at the entry, so you step straight onto the shower floor. That zero-threshold design makes the whole bathroom feel bigger and safer. It also pairs perfectly with modern linear drains that disappear into the tile.
The biggest appeal of a curbless shower is how open it feels. Without a curb, the shower and the rest of the bathroom blend together. You get a seamless look that works in both small and large master baths.
Why It Works
A curbless entry eliminates the trip hazard of a traditional step-over. That matters if you plan to age in place or have anyone in the house with mobility issues. It also makes cleaning easier because there is no curb to scrub.
Linear Drain Basics
Linear drains sit in a single line along one wall or at the shower entrance. They handle more water flow than a standard center drain, so you can use larger tiles with fewer grout lines. Choose a drain that matches your tile for a nearly invisible look.
Installation Tips
You need a slight slope toward the drain, so the floor must be recessed or built up. That usually means framing changes and waterproofing, so hire a pro. If a full curbless build is too much, a low-profile curb can give you a similar feel.
2. Frameless Glass Enclosure to Open Up the Space
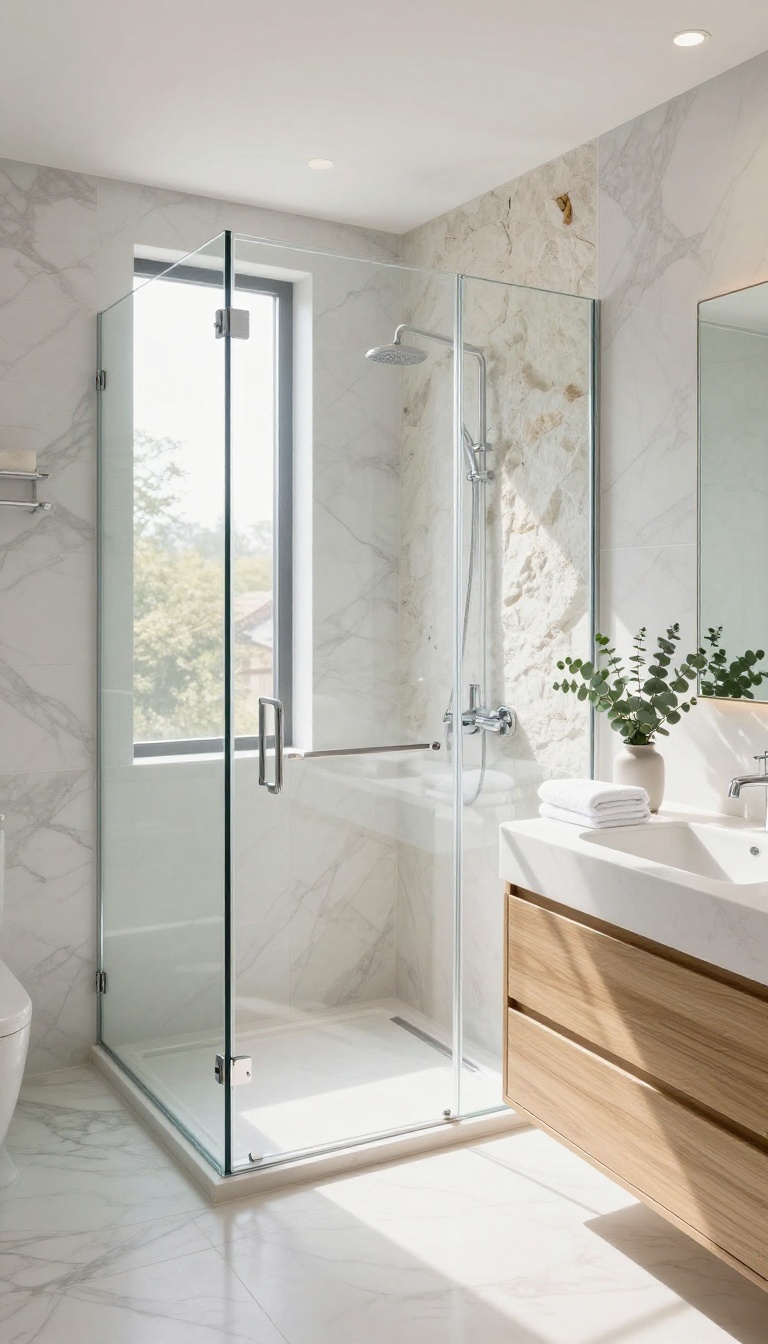
Frameless glass enclosures have a way of making even a modest shower feel custom. Instead of thick metal frames cutting the space into pieces, you get a clean sheet of glass that almost disappears. That means your tile, stone, or accent wall becomes the star, and the whole bathroom feels larger and brighter.
It's a simple swap that delivers a high-end look without moving a single wall.
When you remove the metal, you remove the visual noise. Frameless glass panels are typically 3/8-inch or 1/2-inch thick, so they stand on their own without a bulky frame. The result is an uninterrupted view into the shower, which tricks the eye into seeing more depth.
You also get fewer places for soap scum and mildew to hide, since there's no track or channel to scrub. The trade-off is that the glass itself needs regular squeegeeing to stay spotless, but many people find that easier than cleaning grout lines around a framed door.
Why It Works
Frameless glass lets light travel freely from the rest of the bathroom into the shower. That added brightness makes dark tile or small spaces feel less closed in. It also creates a seamless transition between the shower and the rest of the room, so the design feels intentional rather than pieced together.
If you have a beautiful tile pattern or a statement wall, this is the best way to show it off.
What To Consider
You'll need to plan for the hardware. Even frameless enclosures use small clips, hinges, or a channel at the bottom, and those need to be anchored into studs or solid blocking. Glass thickness matters too: 3/8-inch is standard, but 1/2-inch feels more substantial and resists flexing.
Also think about the door swing. A frameless door can be heavy, so you want quality hinges that won't sag over time. Finally, budget for professional installation.
This isn't a weekend DIY project for most people.
Making It Yours
You can customize the glass with a low-iron option to reduce the green tint you sometimes see on standard glass. For a little privacy without losing the open feel, consider a frosted band or a subtle etched pattern. Some people add a towel bar to the glass door, which is handy but adds weight, so check that your hinges can handle it.
If you want to keep the look minimal, skip the bar and use wall-mounted hooks instead.
3. Large-Format Tile for Fewer Grout Lines
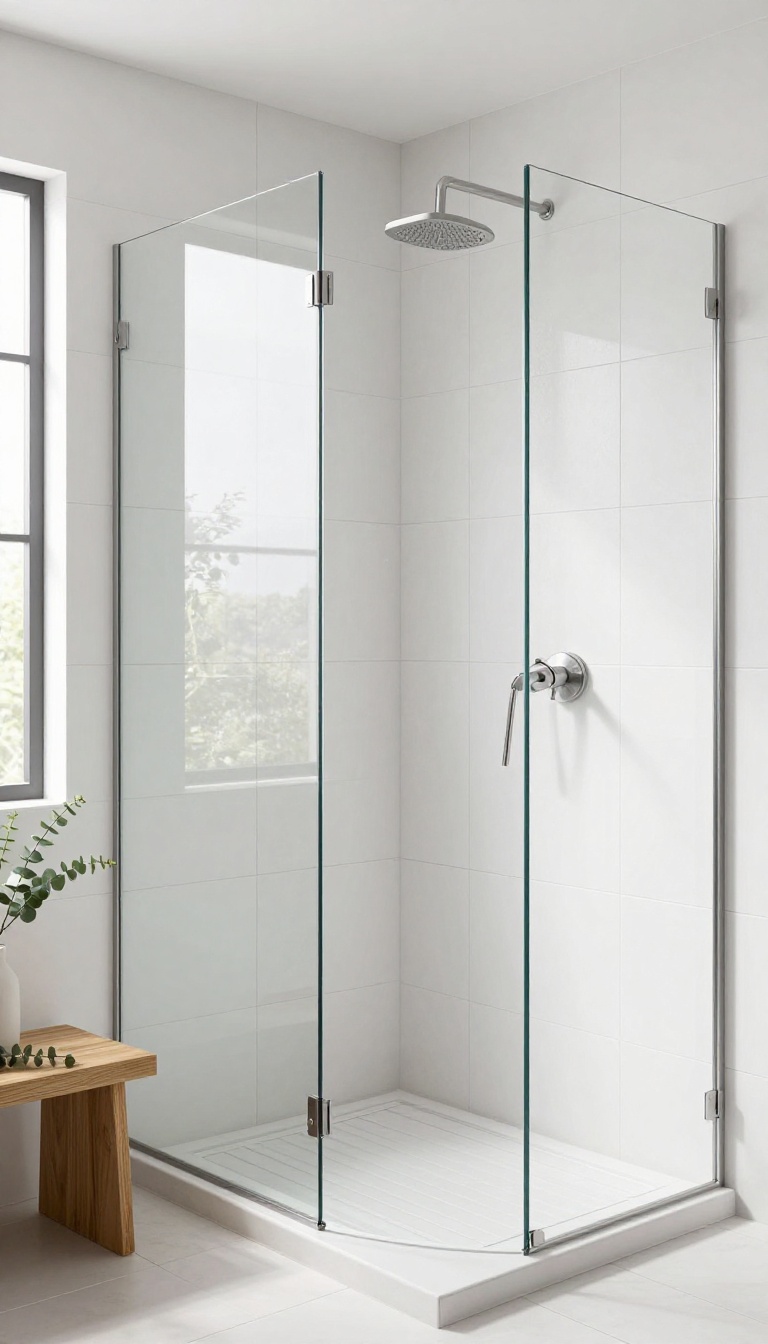
Grout lines are where soap scum, mildew, and hard water stains love to hang out. The more lines you have, the more scrubbing you sign up for. Large-format tile flips that equation by covering more wall and floor with fewer seams.
The result is a shower that looks cleaner and stays cleaner with less effort.
Large-format tile typically measures 12 by 24 inches or bigger, and some slabs go up to 24 by 48 inches. That size means way fewer grout lines compared to a standard 4-inch square tile. Less grout means less surface area for gunk to cling to.
It also gives the shower a more seamless, modern look that feels high-end without a crazy price tag.
Why Fewer Grout Lines Matter
Grout is porous, so it absorbs moisture, soap, and minerals from your water. Over time, those lines turn dark and dingy, and no amount of scrubbing brings them back. With large tile, you cut the number of lines dramatically.
That means fewer places for stains to set in and a shower that stays brighter between cleanings.
Where To Use Large Tile
Shower walls are the easiest place to start because they are flat and mostly out of the splash zone. You can run the same tile on the floor if it has a slip-resistant finish. Many manufacturers make matching floor tiles in a slightly smaller size for safety.
Using the same tile on walls and floor creates a cohesive look that makes the space feel bigger.
Installation Tips And Costs
Large tile is heavier and harder to cut, so it usually requires a pro. You will also need a level substrate and the right thinset to avoid lippage, where one tile sits higher than the next. The labor cost runs higher than standard tile, but you save on grout and cleaning supplies over time.
If your budget is tight, use large tile on the walls and a smaller, affordable tile on the floor.
4. Built-In Niche for Shampoo and Soap
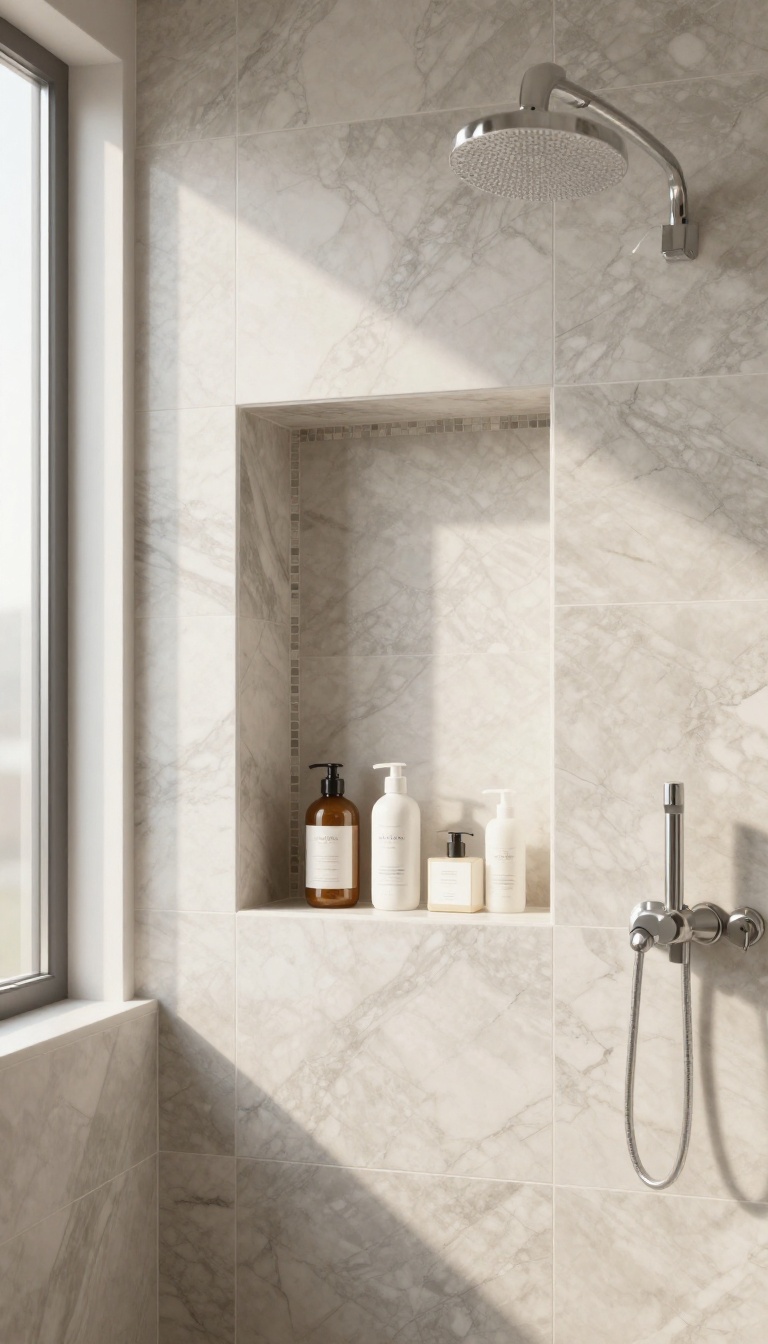
A recessed niche turns a blank shower wall into a dedicated spot for your shampoo, conditioner, and soap. It keeps bottles off the floor and out of the way, so you are not kicking them around while you rinse. The best part?
It looks custom without the custom price tag.
A built-in niche is simply a small box set into the wall between the studs. It gives every bottle a home and frees up the shower floor. You can add one during a remodel or even retrofit an existing shower with a little planning.
The result feels intentional and polished, not like an afterthought.
Why It Works
Bottles on the floor get knocked over, leave rings, and make the shower feel cluttered. A niche lifts them to eye level, so you can grab what you need without bending down. It also keeps the floor clear for safe stepping.
And because it is recessed, it does not eat into your shower space like a hanging caddy does.
Placement And Size
Put the niche on the wall opposite the showerhead, or on the same wall but off to the side. That keeps it out of the direct spray, so water does not pool inside. A height around 48 to 60 inches from the floor works for most adults.
For width, 12 to 16 inches is plenty for a few bottles; go wider if you have a lot of products.
Materials And Cost
You can line the niche with the same tile as your shower, or use a contrasting mosaic for a pop of color. Prefabricated niches are sold at home centers and cost $30 to $100. A pro install might run $200 to $500, but if you are handy, you can DIY it during a tile job.
Either way, it is a small investment for a big upgrade.
5. Bench Seating for Comfort and Storage
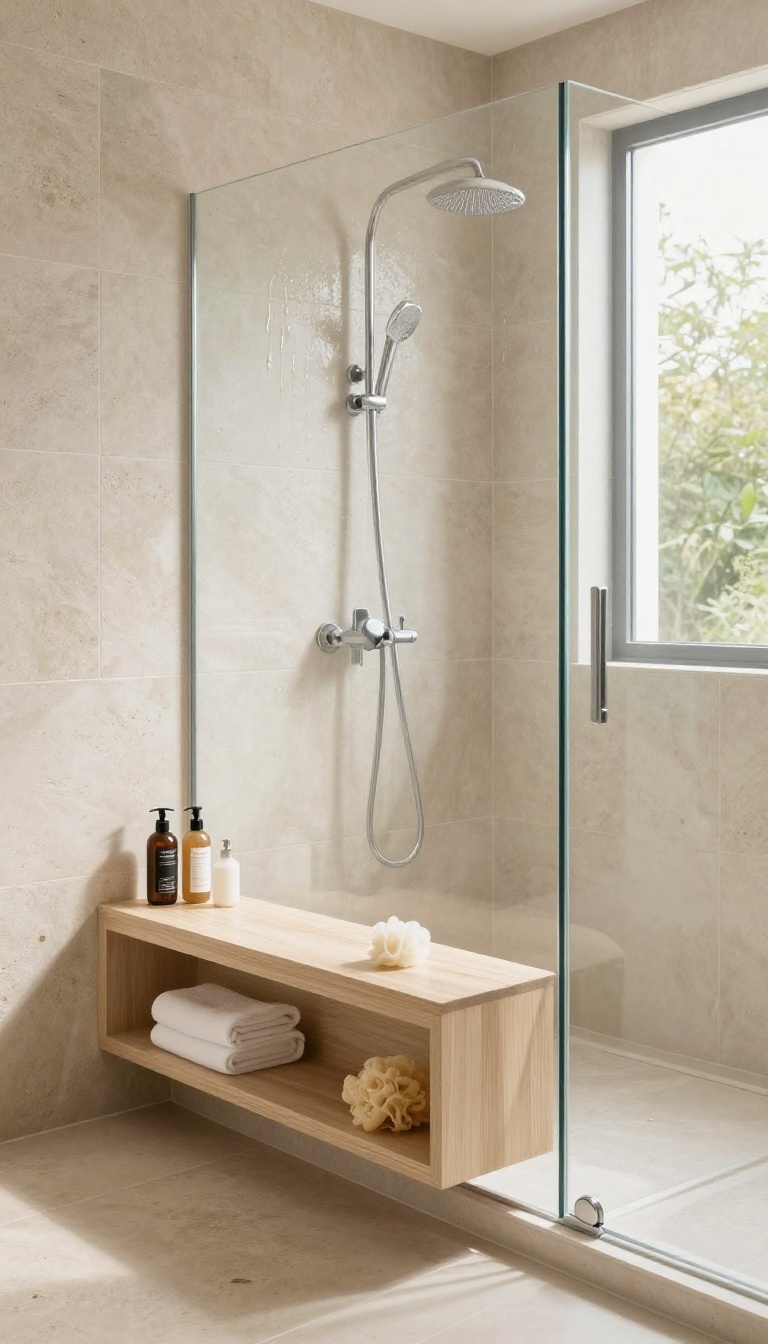
A built-in bench turns dead shower space into something you actually use. It gives you a dry spot to sit, shave, or rest a foot while you scrub. And with the right design, it pulls double duty as storage.
Benches come in a few shapes, so you can match one to your layout and habits. A floating bench keeps the floor open and easy to clean. A corner bench tucks neatly into an unused angle.
A full-length bench spans the back wall and feels almost like a piece of furniture. Each style changes how the shower feels and how you move through it.
Pick The Right Bench Style
Floating benches attach to the wall and leave the floor clear, which makes mopping or squeegeeing a breeze. Corner benches work well in tight showers because they use space that would otherwise sit empty. A full-length bench gives you room to stretch out and set down multiple bottles.
Think about how you shower now, then choose the shape that supports it.
Make It Store More
A bench top can hold shampoo, conditioner, and body wash within easy reach. Add a lower shelf or an open cubby underneath for extra bottles, a loofah, or a back brush. Some benches include a hidden drawer or a tilt-out panel for razors and small items.
Just keep drainage in mind so water does not pool on the surface.
Materials That Hold Up
Tile-covered benches blend right into the walls and look seamless. Stone slabs offer a solid, luxurious feel but need sealing. Teak or other water-resistant woods bring warmth and are naturally slip-resistant.
Whatever you choose, slope the seat slightly toward the drain so water runs off instead of sitting.
Comfort Details That Matter
A bench height around 17 to 19 inches works for most adults, but you can adjust it for your own comfort. Round the front edge so it does not dig into your legs. If you shave in the shower, add a small ledge or hook for your razor.
These little touches make the bench feel intentional, not like an afterthought.
6. Rain Showerhead for a Spa-Like Feel
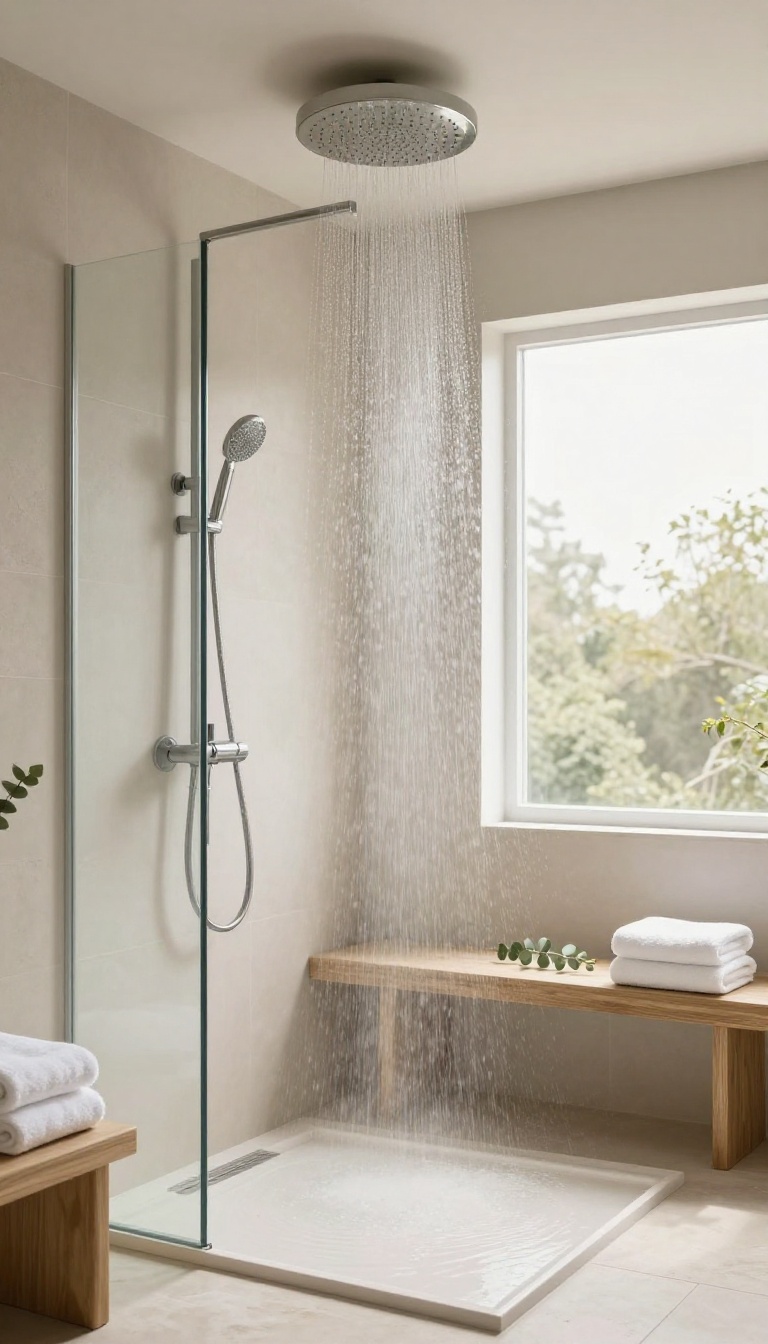
A rain showerhead turns your daily rinse into something you actually look forward to. Instead of a sharp, narrow stream, it drops water from above in a soft, wide pattern that covers your whole body. The result feels less like a utility and more like a mini retreat.
You can mount one on the ceiling or run it from the wall with an arm. Either way, the goal is the same: gentle pressure, full coverage, and a calm start or end to your day. It is one of the easiest upgrades that makes a master bath feel genuinely luxurious.
Rain showerheads come in a few different styles, and the one you pick depends on your ceiling height, plumbing setup, and how much you want to spend. A ceiling-mounted version gives you that true rainfall effect, while a wall-mounted arm is simpler to install in most existing showers. Size matters more than you might think.
A 12-inch head feels generous, but in a small stall it can overwhelm the space and lose pressure. An 8- to 10-inch head is usually the sweet spot for a standard master bath. Water pressure is the other big factor.
Rain heads work best with good flow, so check your home's water pressure before you commit. If it runs low, a pressure-boosting showerhead or a simple valve adjustment can make a big difference.
Ceiling Vs. Wall Mount
Ceiling-mounted rain heads give you the most authentic rainfall feel because gravity does the work. They look clean and modern, but they require access above the ceiling and a bit more planning. Wall-mounted arms are easier to retrofit and still deliver a wide, soft spray.
They also let you adjust the angle slightly, which helps in showers with lower ceilings.
Size And Coverage
A larger head covers more area, but it also spreads the water thinner. In a big walk-in shower, go bigger for full-body coverage. In a tighter stall, a smaller head keeps the spray focused and satisfying.
Measure your shower footprint before you buy. A head that is too large for the space can feel like a drizzle instead of a downpour.
Pressure And Flow Tips
Rain showerheads need decent water pressure to feel luxurious. If your current shower feels weak, fix that first. Sometimes a simple cartridge replacement or a pressure-balancing valve solves the problem.
You can also look for heads with adjustable flow settings. They let you dial in the intensity without changing the plumbing.
7. Handheld Shower Wand for Flexibility
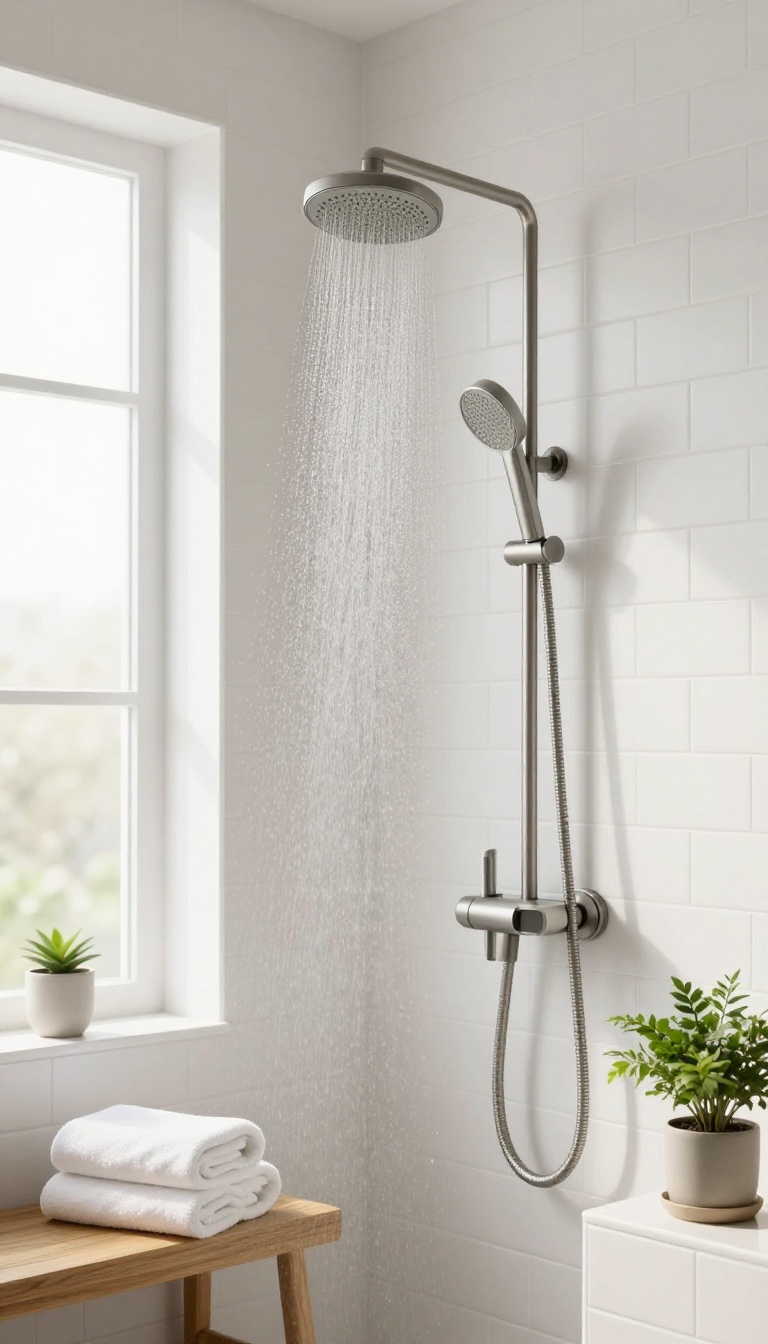
A handheld shower wand gives you control that a fixed showerhead simply can't match. You can aim water exactly where you need it, whether that's rinsing shampoo from thick hair or spraying down the walls after a messy shave. It's one of those upgrades that sounds minor until you actually use one every day.
Most handheld wands come with a bracket that lets you slide them up or down on a bar, so you can adjust the height for different users. That alone makes a master bath more functional for couples with a big height difference. You also get multiple spray settings, from a gentle mist to a focused massage, which adds a bit of spa feel without much cost.
Easier Cleaning
Reaching the far corners of a shower with a fixed head is a pain. A handheld wand lets you spray down walls, glass, and the floor directly, so soap scum doesn't get a chance to build up. If you have a bench or niche, you can rinse those too without contorting yourself.
Better For Hair And Pets
Rinsing long or thick hair is faster when you can bring the water right to your scalp. The same goes for washing a dog after a muddy walk, since you can direct the spray exactly where it's needed. Just make sure the hose is long enough to reach outside the shower if you plan to use it for pets.
Installation And Style
Swapping a fixed head for a handheld wand is usually a simple DIY job. You unscrew the old head, screw on the new one, and you're done. They come in finishes like brushed nickel, matte black, and chrome, so you can match your other fixtures without much effort.
8. Dual Showerheads for Two-Person Use
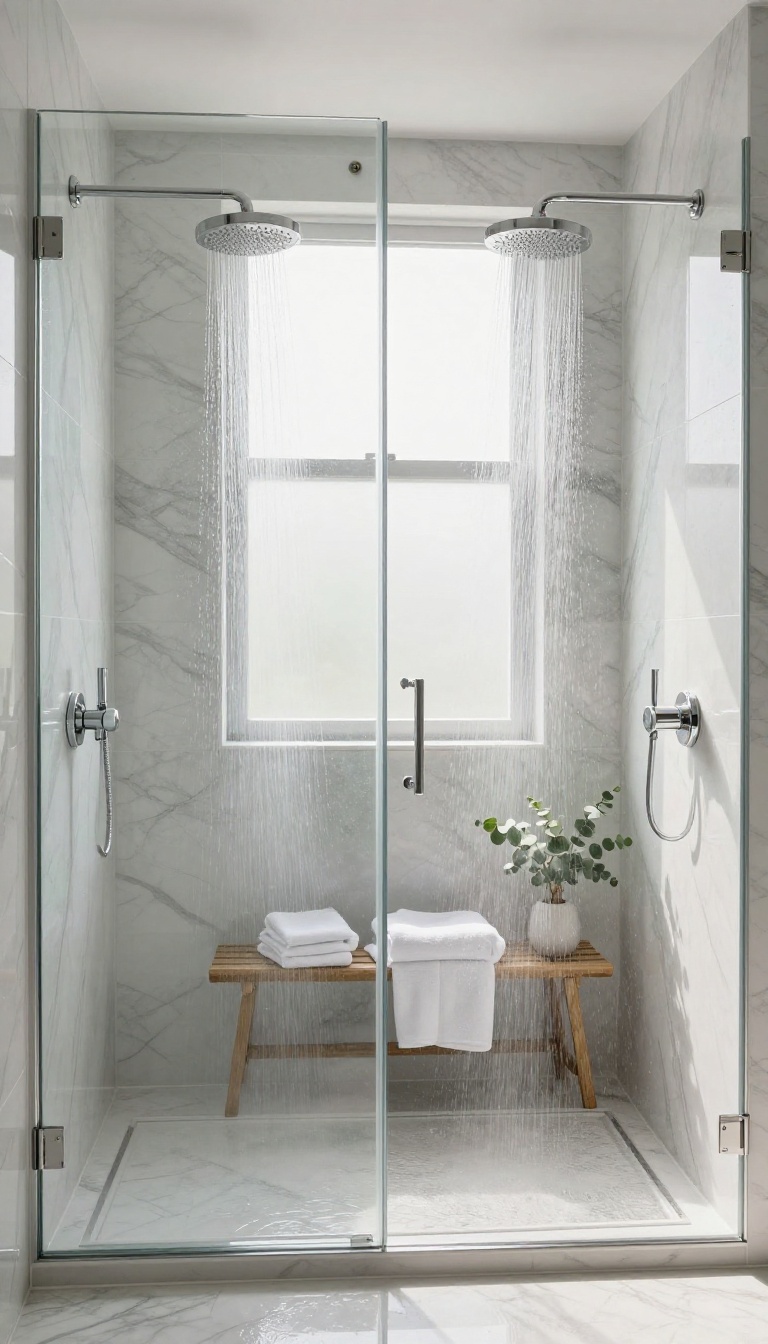
Sharing a shower sounds romantic until you're both dodging a single stream of water that never seems to hit the right spot. Dual showerheads solve that problem by giving each person their own water source, so you can rinse off at the same time without the awkward shuffle. It's one of those upgrades that feels indulgent but quickly becomes a daily necessity.
Once you try it, going back to a solo showerhead feels like sharing a tiny umbrella in a rainstorm. Plus, installation is more straightforward than you might think, especially if you're already renovating. Even a retrofit can be done without tearing your whole bathroom apart.
Dual showerheads come in a few different setups, but the goal is always the same: two people, two streams, zero conflict. You can mount them on opposite walls, side by side on one wall, or even combine a fixed head with a handheld on a slide bar. The best choice depends on your shower's size and how you actually use it.
If your shower is at least 4 feet wide, opposite walls give you the most personal space. For narrower stalls, a single wall with two heads angled outward works surprisingly well. Just make sure the water pressure can handle two simultaneous streams—nobody wants a weak drizzle.
A plumber can usually split the existing supply line without much drama. If you're handy, there are diverter kits that let you run one head, the other, or both at once. That flexibility is great for solo showers when you don't need the extra flow.
Opposite Walls Vs. Same Wall
Opposite walls create a true two-person experience with plenty of elbow room. You each get your own corner, and the water meets in the middle. Same-wall setups save space and are easier to install, but you'll be closer together.
If your shower is a tight 3×3, same-wall is usually the smarter pick.
Water Pressure And Flow Rates
Two showerheads can tax your water heater and pressure. Look for low-flow models (2. 0 GPM or less) to keep things efficient.
A thermostatic valve helps maintain consistent temperature when both heads are running, so you won't get a sudden cold blast when your partner turns on their side.
Installation Tips And Costs
Retrofitting dual heads typically costs $300 to $800 if you hire a plumber, plus the fixtures. If you're already tiling, running an extra line is cheaper. Diverter valves let you switch between heads, which is handy for cleaning or saving water.
Always check for leaks before closing up the wall.
9. Body Spray Jets for a Custom Massage
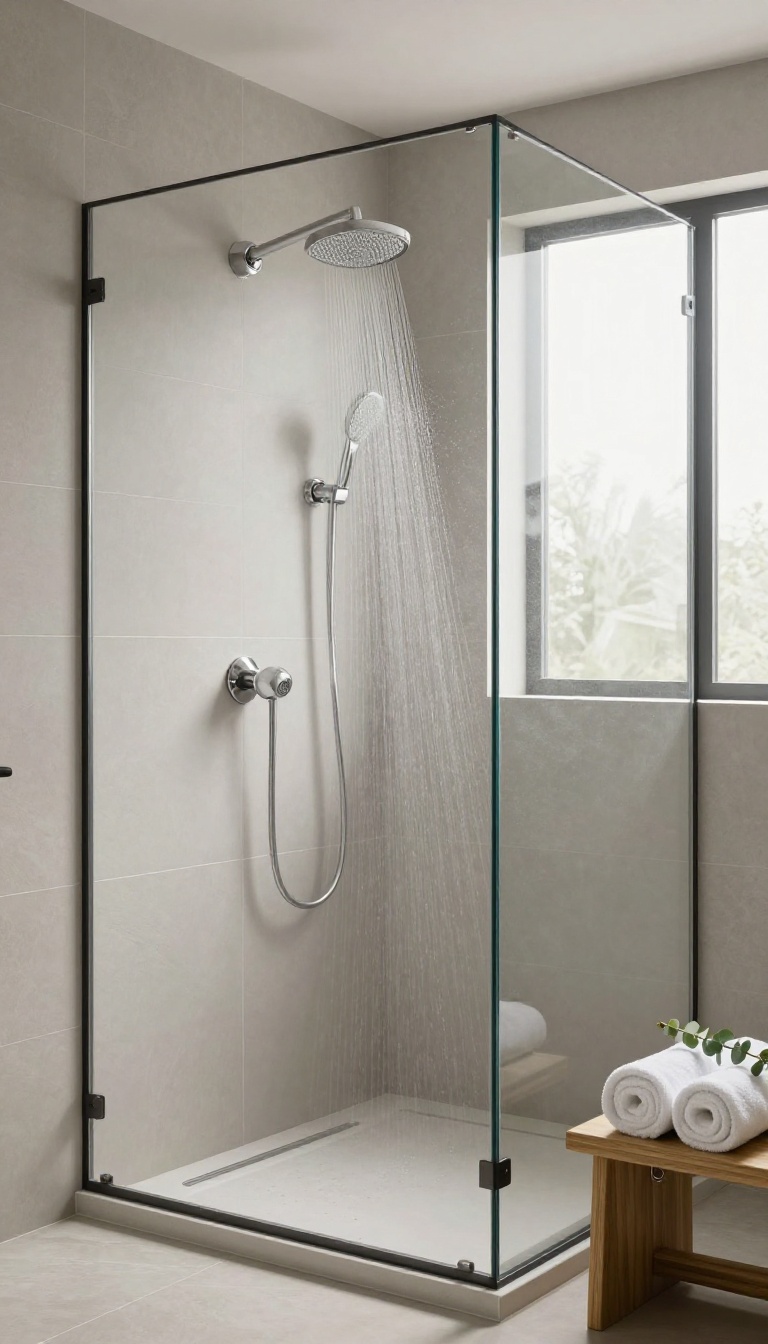
Wall-mounted body spray jets turn a standard shower into a personal massage station. They sit flush with the tile and shoot water sideways at your shoulders, back, or legs, so you get targeted relief without holding a wand. It’s one of those upgrades that feels indulgent but quickly becomes part of your normal routine.
Body jets aren’t just for luxury spas anymore. Plenty of mid-range shower systems now include them, and you can also add them to an existing shower with a retrofit kit. The key is figuring out where you want the pressure and how much control you want over the flow.
Where To Place Them
Most people put jets at shoulder height to hit the upper back and neck, plus a lower set for the lumbar area. If you share the shower with someone much taller or shorter, adjustable jets or a slide bar can help. A plumber can map out the rough-in before tile goes up, which is the easiest time to get it right.
How Many Jets Do You Need?
Two to four jets usually feel generous without overwhelming your water supply. More than that may require a larger water heater or a pressure-balancing valve to keep the temperature steady. Start with a realistic count based on how you actually shower, not on a showroom display.
Controls And Water Pressure
Diverter valves let you switch between the showerhead and the jets, or run both at once. Some systems have individual shut-offs so you can dial in the spray exactly where you want it. Check your home’s water pressure first—low pressure will make even the best jets feel like a weak drizzle.
Maintenance And Cost
Jets with rubber nozzles are easy to wipe clean and resist mineral buildup. Expect to spend a few hundred dollars for a basic set, plus installation if you’re not handy with plumbing. It’s a smaller project than moving walls, but it still pays to hire a pro for the rough-in.
10. Steam Shower for Relaxation
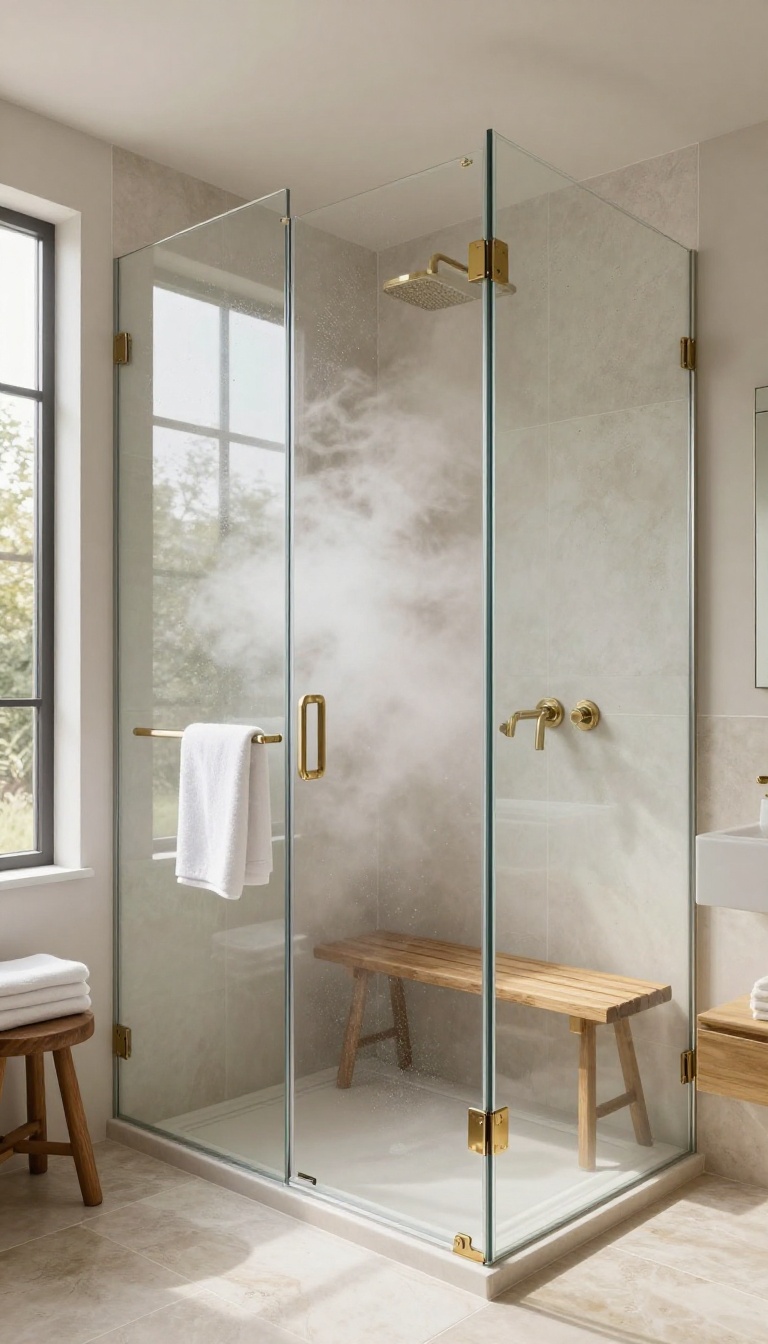
A steam shower turns your master bath into a private spa, minus the drive and the day pass. A small generator heats water into a soft mist that fills the enclosure, loosening tight muscles and clearing your head after a long day. It’s not just a luxury add-on.
Steam can help with congestion, sore joints, and plain old stress, and it makes a regular shower feel like an event. The catch is that steam is demanding. It finds every gap, so you need the right enclosure, sealing, and ventilation to keep it working and your bathroom dry.
Steam showers are one of those upgrades that change how you use the room. Instead of a quick rinse, you get a reason to slow down. But they only work well when the build is done right, so plan for the details before you pick a generator.
How A Steam Shower Works
A steam generator sits near the shower, usually in a closet or vanity cabinet, and pipes steam into the enclosure through a hidden outlet. You set a timer or use a control pad, and the unit heats water and fills the space with warm vapor. Most residential generators run on 240 volts and need a dedicated circuit.
They come in different kilowatt sizes based on the volume of your shower, so measure the cubic footage of the enclosure before you buy. The enclosure itself has to be closed. A standard open shower won’t hold steam, so you’ll need a door and a ceiling that can handle moisture and heat.
Sealing And Materials That Matter
Steam escapes through the smallest gaps, so every seam, corner, and penetration needs to be sealed with a steam-rated silicone or sealant. Use materials that can take constant heat and moisture, like porcelain tile, natural stone, or solid surface. Skip drywall and standard paint inside the steam room.
Cement backer board, a proper waterproofing membrane, and a vapor barrier behind the tile keep moisture from creeping into your walls. The ceiling is often overlooked. It needs insulation above it and a smooth, sealed surface below to stop condensation from dripping on you mid-session.
Ventilation And Moisture Control
After a steam session, all that moisture has to go somewhere. A properly sized exhaust fan, ideally on a timer or humidity sensor, pulls damp air out of the bathroom before it causes mold or peeling paint. Leave the door open after you shower and run the fan for at least 15 to 20 minutes.
If your bathroom has a window, crack it too. Good airflow protects your finishes and keeps the room from feeling clammy. A humidity-sensing fan takes the guesswork out of it.
It kicks on when moisture rises and runs until the air is dry, which is one less thing to think about.
Cost, Maintenance, And Daily Use
A steam generator setup typically starts around $1, 500 to $3, 000 for the unit and controls, plus labor if you’re not doing the install yourself. Enclosure upgrades and sealing can add more, so budget for the whole system, not just the box. Maintenance is simple but not optional.
Descale the generator regularly if you have hard water, and check the steam outlet for mineral buildup. Most units have a self-cleaning cycle, but you still need to stay on top of it. Used a few times a week, a steam shower earns its keep.
It’s a daily reset button that also adds a high-end feature buyers notice if you ever sell.
11. Built-In Shower Caddy or Corner Shelves
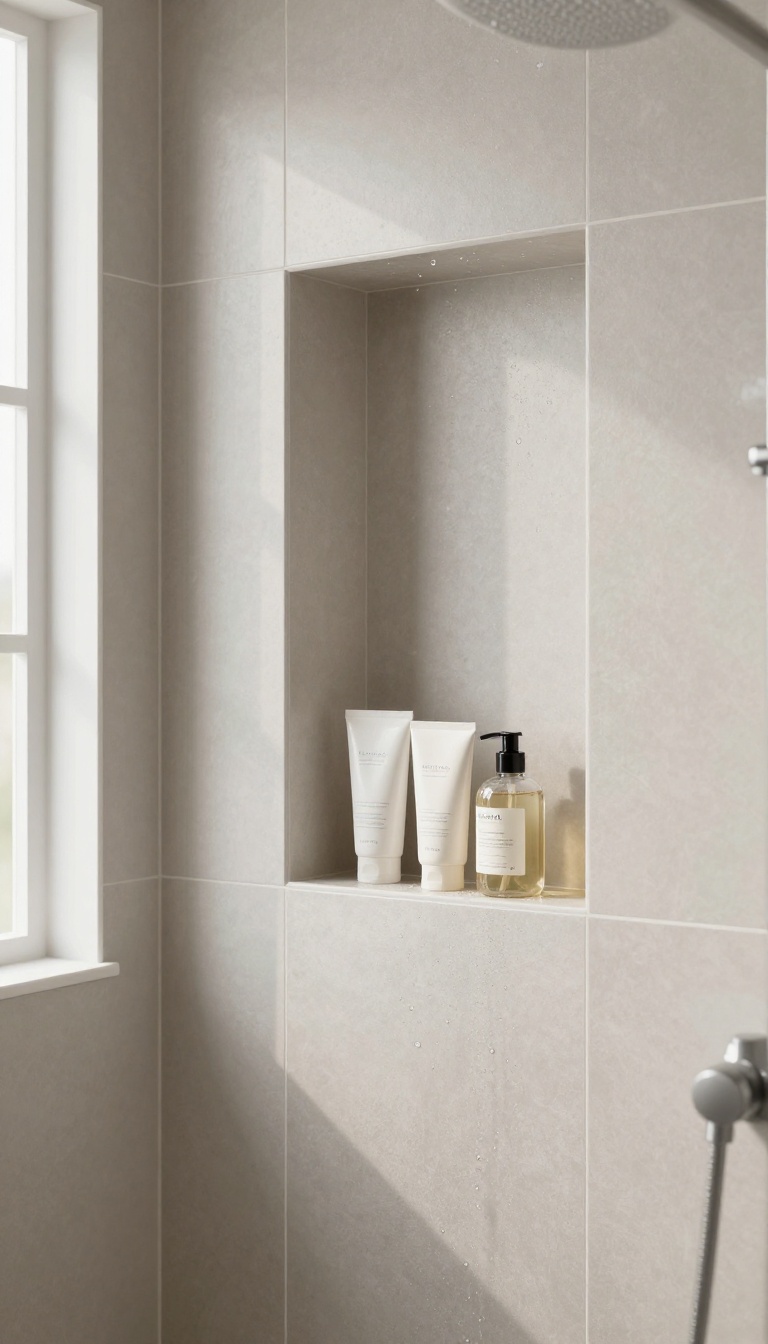
Bottles lined up on the shower floor look messy and get in the way. A built-in caddy or corner shelves give every product a dedicated spot, so your shower stays tidy and you can grab what you need without bending down. It's a small change that makes a big difference in how your master bath feels.
You have two main routes here: a recessed caddy that sits inside the wall, or corner shelves that mount on the surface. Both keep essentials within arm's reach and cut down on clutter. The right pick depends on your shower's construction and how much you want to spend.
A recessed caddy looks custom and saves space because it doesn't stick out. Corner shelves are easier to add later and come in plenty of styles. Either way, you'll wonder how you ever lived without one.
Recessed Vs. Surface-mounted
Recessed caddies are built into the wall between studs, so they're sleek and don't intrude on your shower space. They're ideal for new builds or remodels where you're already opening up the wall. Surface-mounted corner shelves screw or glue onto the wall and take an afternoon to install.
They're perfect for quick upgrades and rentals.
Placement And Height
Put shelves where you naturally reach—usually between waist and shoulder height. If you share the shower, consider two caddies at different heights. Keep them away from the direct spray so bottles don't get constantly soaked.
A spot near the shower door but out of the water's path works well.
Materials That Last
Choose materials that handle moisture without rusting or peeling. Ceramic, porcelain, and natural stone are classic and easy to clean. Solid brass or stainless steel hardware holds up well if you like metal accents.
Avoid painted finishes that can chip over time.
12. Heated Floor and Shower Floor Warming
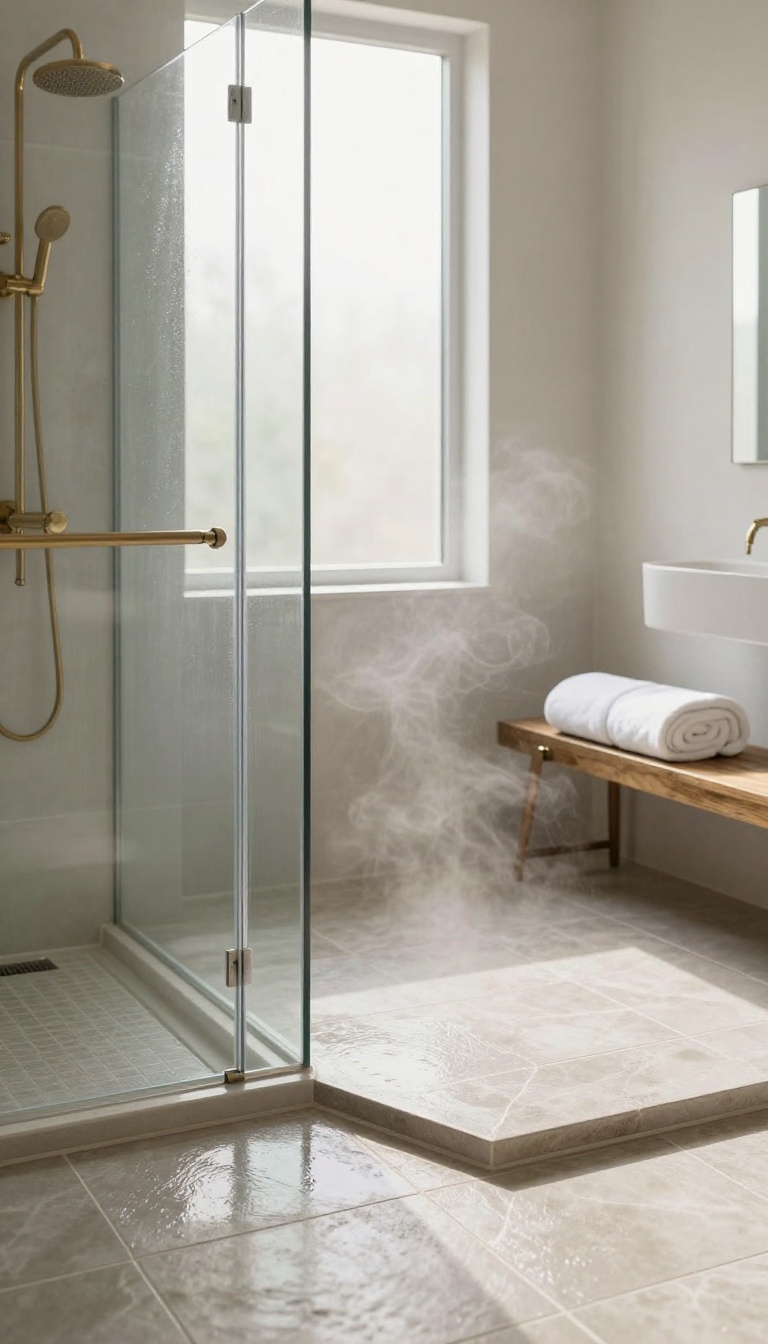
Cold tile underfoot can ruin an otherwise great shower. Heated floors fix that problem by warming the surface you step onto, so you never get that shock when you step out. It's one of those upgrades you don't think about until you have it, and then you can't live without it.
Radiant heat isn't just a luxury. In colder climates, it makes your master bath usable and comfortable all year. And because it's hidden under the tile, it doesn't change the look of your space at all.
Heated floors use electric mats or hydronic tubes installed beneath the tile. They radiate warmth upward, heating the floor and the room gently. You control it with a thermostat, often programmable, so it's warm when you need it and off when you don't.
In the shower area, a heated floor means no more cold feet on wet tile. It also helps the shower floor dry faster, which can reduce mildew. Many systems are safe for wet areas when installed correctly by a pro.
How It Works
Electric radiant heat uses a thin mat with heating cables. You roll it out over the subfloor, then cover it with thinset and tile. Hydronic systems run warm water through tubes, but they're more common in new construction or major remodels because they require a boiler or water heater.
Both types warm the tile evenly. Electric mats are easier to retrofit, while hydronic can be more efficient for large areas. Either way, you'll want a dedicated thermostat, ideally with a floor sensor, to keep temperatures consistent.
Installation Tips
Heated floors need a dedicated circuit, so call an electrician. The mat must be embedded in thinset with no air gaps, or it won't heat evenly. Always test the mat before, during, and after tile installation to catch any damage.
In the shower, make sure the system is rated for wet locations and installed over a waterproof membrane. A pro will know how to integrate it with your shower pan and drain. Skipping this step can lead to costly leaks.
Cost And Efficiency
Expect to pay $5 to $12 per square foot for electric radiant heat, installed. Hydronic systems cost more upfront but can be cheaper to run if you already have a boiler. Running costs depend on your climate and how often you use it.
A programmable thermostat helps keep energy bills in check. Set it to warm up before your morning shower and turn off when you leave. Many people find the comfort is worth the small bump in their utility bill.
13. Dimmable Lighting and LED Accents
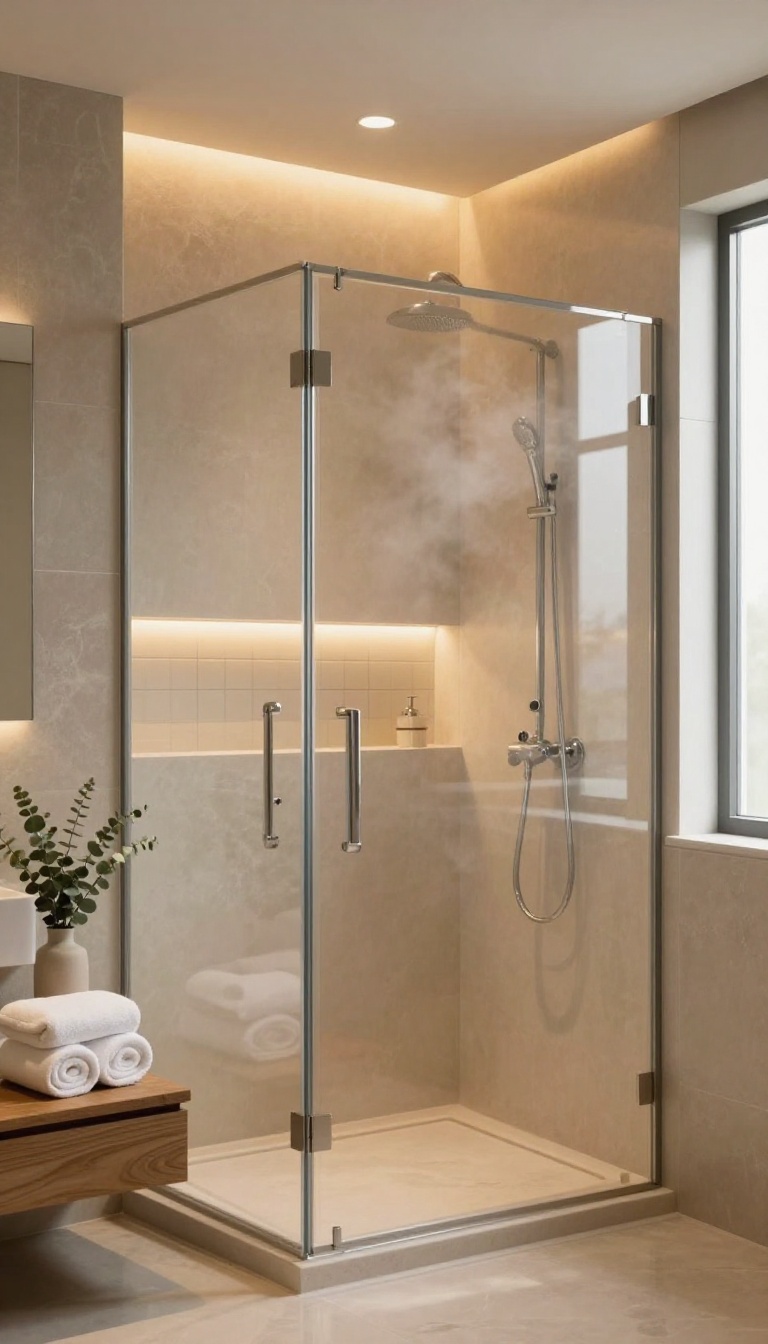
Lighting in a shower often gets overlooked until you're squinting to read a shampoo bottle or trying to shave in a shadow. Dimmable fixtures and LED accents fix that by giving you control over brightness and mood. You can go from bright and functional to soft and relaxing with a single touch.
Start with a dimmable main light on a compatible dimmer switch. This lets you crank up the brightness for cleaning or shaving, then dial it down for a calm, spa-like vibe. Pair it with a separate dimmable light over the vanity or bench for layered illumination.
LED accents add both style and practicality. Strip lights tucked under a bench or along a niche glow softly and help you see at night without blinding you. Color-changing LEDs let you pick a cool white for tasks or a warm amber for winding down.
For safety, choose wet-rated fixtures and have a licensed electrician handle the wiring. A humidity-sensing fan that ties into the lighting can also keep steam under control. The goal is flexible light that suits whatever you're doing in the shower.
Why Layered Light Works
One overhead light creates harsh shadows and flat spots. Layering a dimmable ceiling light with niche LEDs and a small accent near the floor fills the space evenly. You get clear visibility for tasks and a softer ambiance for relaxing.
Choosing The Right Leds
Look for LED strips and pucks rated for damp or wet locations. Warm white (2700K–3000K) feels cozy, while cool white (4000K–5000K) is better for detailed work. If you want options, a tunable white or RGB strip lets you switch between both.
Installation And Safety Tips
Keep all fixtures at least 3 feet from the showerhead unless they're explicitly rated for that zone. Use a GFCI-protected circuit and consider a smart dimmer that remembers your favorite settings. A pro install is worth it for peace of mind.
14. Sliding Glass Doors for Tight Spaces
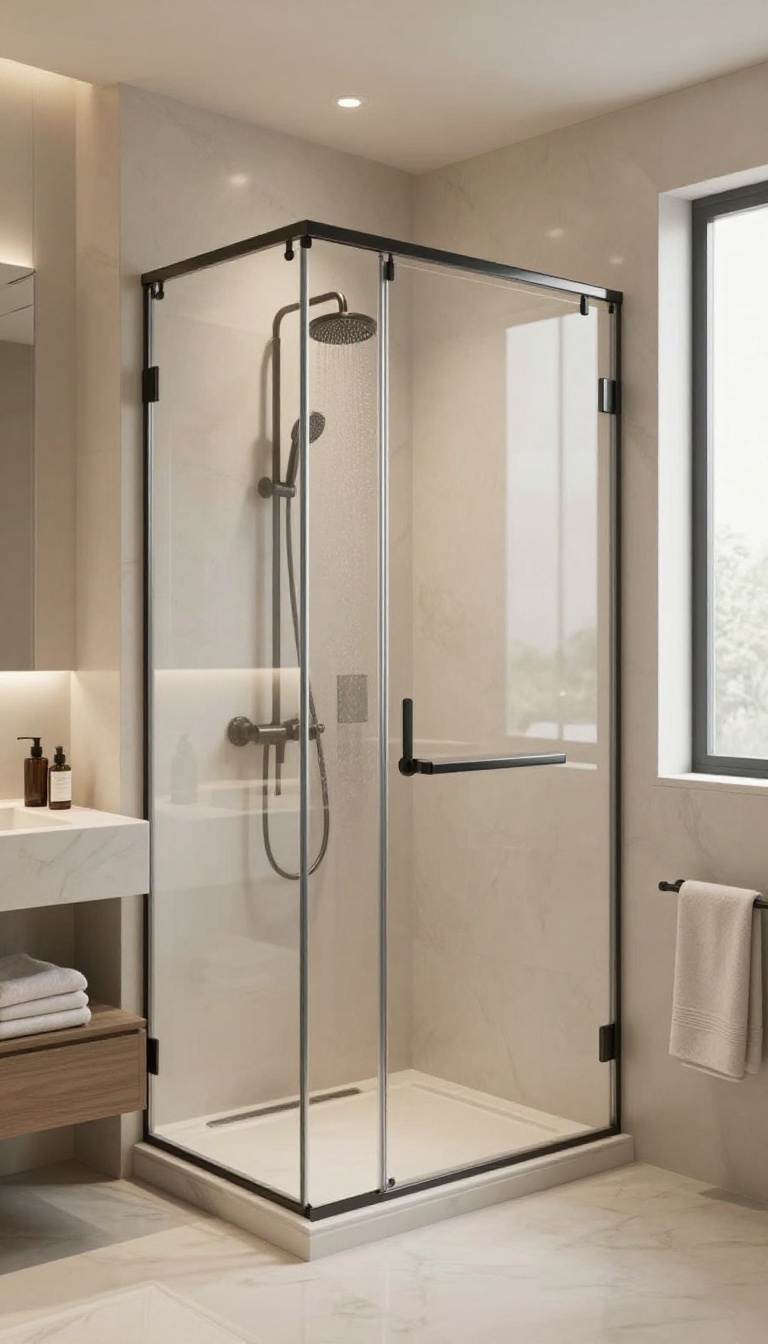
A swinging shower door needs a clear arc of space to open, which can be a problem in a compact master bath. Sliding glass doors eliminate that swing, gliding along a track instead. They keep water contained while making the shower feel more open and accessible.
If your master bath is short on floor space, a sliding shower door can be a game-changer. It moves side to side rather than outward, so you don't need to leave a two-foot clearance zone. That means you can place a vanity, towel rack, or even a bench closer to the shower without worrying about collisions.
Sliding doors also work well when the shower sits next to a wall or in a corner where a hinged door would hit. They come in framed, semi-frameless, and frameless styles, so you can match the look of your bathroom. Installation is straightforward for a pro, and the hardware is built to handle daily use.
Just keep the track clean and the rollers adjusted, and it will glide smoothly for years.
Where Sliding Doors Shine
Sliding doors are ideal for small master baths where every inch counts. They also work great in showers that are wider than they are deep, since the door can slide along the length of the opening. If your shower is next to a freestanding tub or a tight corner, a slider prevents awkward door swings.
They're also a smart choice for aging-in-place designs because they're easier to operate from a seated position.
Choosing The Right Sliding System
You'll find three main types: top-rail, bottom-rail, and trackless. Top-rail systems keep the floor clear and are easier to clean, but they need solid blocking in the wall. Bottom-rail systems are more stable and can be installed on a curb or a curbless shower.
Trackless designs use a pivot or a guided roller and offer a sleek look, but they can be pricier. Consider the weight of the glass and the width of the opening before you buy.
Installation And Maintenance Tips
Measure your opening carefully—sliding doors need precise dimensions to seal properly. Hire a pro if you're not comfortable with glass and heavy hardware. Once installed, wipe the track weekly to prevent soap scum buildup.
Lubricate the rollers with silicone spray a few times a year. Check the alignment every few months and tighten any loose screws. With a little care, a sliding door will stay smooth and quiet.
15. Tile Accent Wall or Mosaic Feature
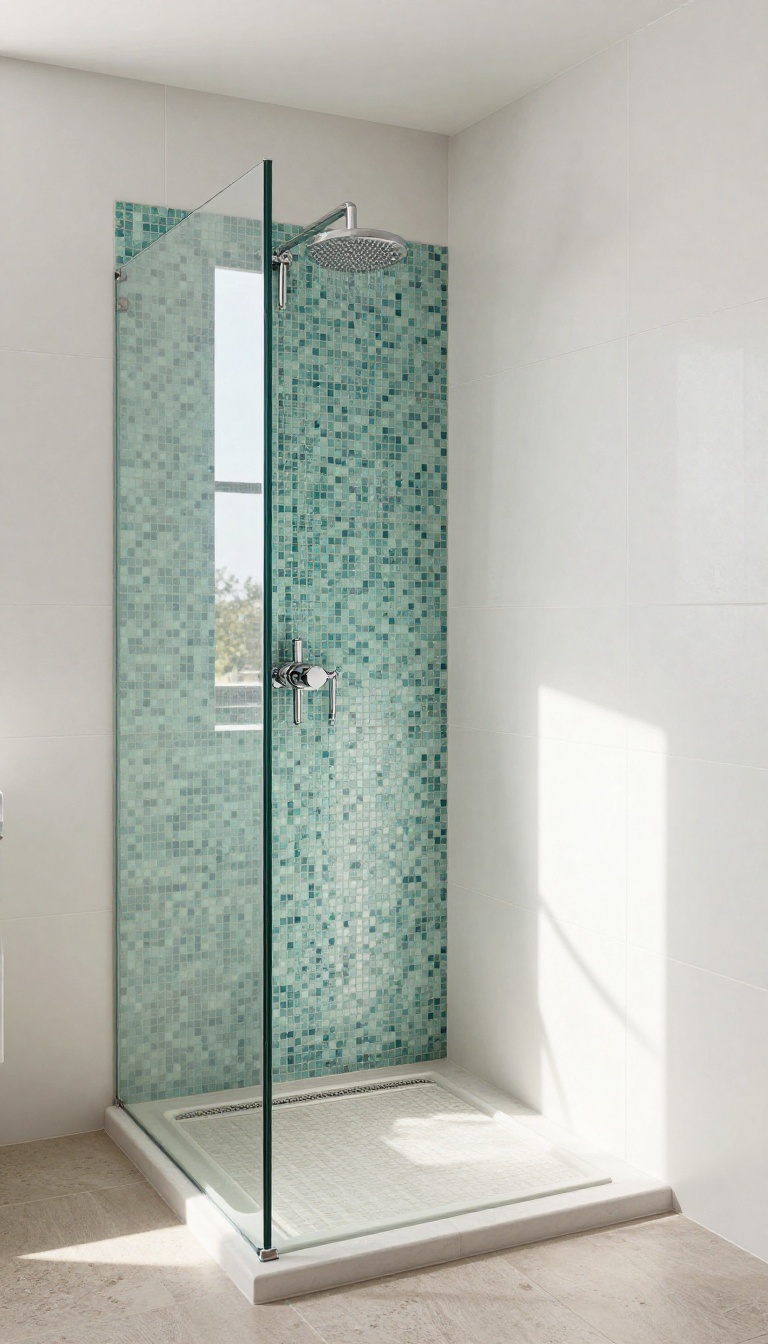
A single wall of patterned tile can transform a plain shower into a focal point. You get a custom look without retiling the entire bathroom. The key is to choose one spot and let it shine.
This works in both small and large showers. In a compact stall, an accent wall draws the eye upward and makes the space feel taller. In a big walk-in, it breaks up a sea of sameness.
Best of all, you can keep the rest of the tile simple and budget-friendly. The accent becomes the star, and your wallet stays happy.
Pick a wall that people actually see when they walk into the bathroom. The back wall of the shower is the obvious choice because it faces the room. If your shower is open on one side, the side wall that greets you works too.
You do not have to cover the whole wall. A vertical strip of mosaic tile running from floor to ceiling adds height and drama. A horizontal band at eye level gives a subtle pop.
A full panel behind the showerhead creates a built-in look. Mosaic sheets come in endless colors and finishes. Glass mosaic reflects light and feels modern.
Stone mosaic brings warmth and texture. Ceramic or porcelain mosaic is durable and easy to clean. You can also mix materials.
Use a marble mosaic with a subway tile surround, or pair a bold geometric pattern with plain white field tile. The contrast makes both materials look more expensive. Just remember that grout lines matter.
Smaller mosaics mean more grout, which can be harder to keep clean. Choose a grout color that blends or contrasts intentionally, and seal it if needed.
Where To Place Your Accent
The back wall is the classic spot because it is the first thing you see. If your shower has a bench, the wall behind it is another great option. For a subtle touch, run a narrow accent strip around the perimeter at eye level.
Avoid putting the accent on a wall that gets direct spray from the showerhead. Constant water and soap can dull some materials over time. If you must, choose a porcelain or glass mosaic that can handle the moisture.
Choosing The Right Material
Glass mosaic is shiny, easy to clean, and reflects light. It works well in modern and transitional bathrooms. Natural stone mosaic, like travertine or slate, adds an earthy feel but needs sealing.
Porcelain mosaic is the most durable and low-maintenance. It comes in patterns that mimic stone or glass without the upkeep. Ceramic mosaic is budget-friendly and comes in tons of colors.
Design Tips For A Cohesive Look
Pull one color from your accent tile and use it for towels, a rug, or a small decor piece. That ties the room together without matching everything perfectly. Keep the rest of the shower tile neutral so the accent stands out.
If you use a bold pattern, keep the shape simple. If you use a simple pattern, you can go bold with color. One focal point is enough.
FAQ
What is the most budget-friendly shower upgrade?
Swapping your showerhead for a handheld or rain model is cheap and makes a noticeable difference. Adding a niche or corner shelves is also affordable.
Do I need a curbless shower for a master bath?
Not necessarily. Curbless showers are great for accessibility and style, but a low curb works fine if your budget or plumbing limits you.
How do I keep a glass shower door clean?
Use a squeegee after every shower and apply a water-repellent coating. Avoid harsh chemicals that can damage the glass or frame.
What tile size is best for a shower floor?
Smaller tiles or mosaics provide better grip and more grout lines for slip resistance. Large tiles can work if they have a textured finish.
Can I add a steam shower to an existing bathroom?
Yes, but it requires a dedicated steam generator, proper waterproofing, and a sealed enclosure. It is best done during a remodel.
Conclusion
A master bath upgrade does not need a full remodel to feel different. Pick one or two ideas from this list that match how you actually use the shower, then live with them for a few weeks before piling on more. Small, deliberate changes add up faster than a rushed overhaul.
Start with whatever annoys you every morning, whether that is storage, lighting, or a slippery floor. Fix that first, and the rest of the space gets easier to figure out. Your shower should feel good to use, not just look good in photos.