11 Small Pantry Apartments Ideas for Easy Food Storage
Living in a small apartment often means making peace with a pantry that's more of a closet afterthought. But you don't need a walk-in to store your groceries efficiently. With a few smart tweaks, even the tiniest pantry can become a well-organized hub.
The key is to think vertically and use every nook. Instead of fighting for shelf space, you'll learn to stack, hang, and compartmentalize like a pro. These ideas are designed for renters—no drilling or permanent changes required.
Ready to turn that cramped cabinet into a food storage powerhouse? Let's dive into 11 small pantry ideas that actually work in apartments.
1. Use Over-the-Door Organizers for Extra Shelving
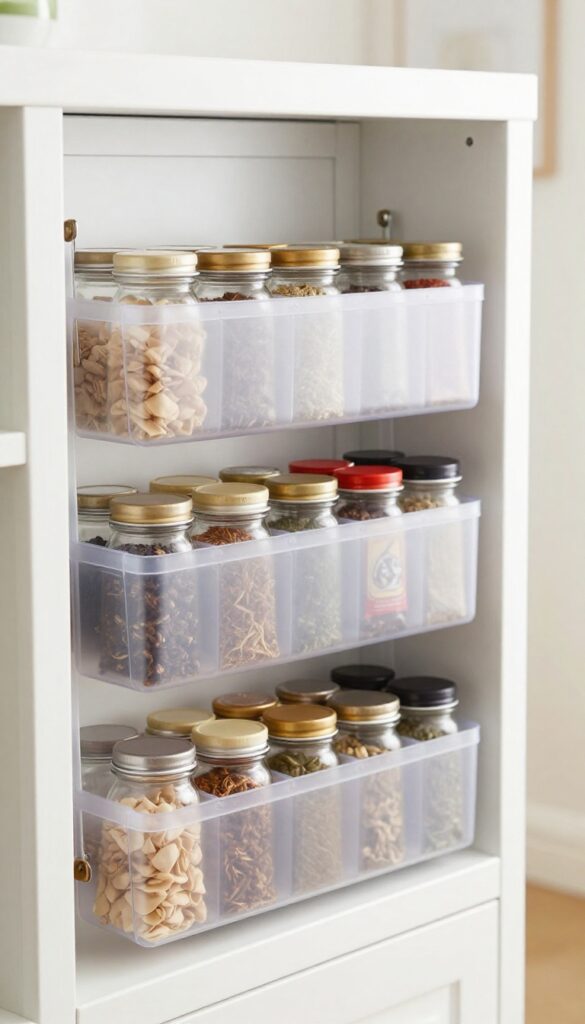
That skinny pantry door you walk past every day? It's prime real estate. Over-the-door organizers turn wasted vertical space into instant storage for all those bits and bobs that clutter your shelves.
And the best part? No tools required.
Hang a slim over-the-door rack or shoe organizer on the pantry door to store spices, snacks, or small cans. This instantly adds vertical storage without taking up shelf space. Choose a clear organizer so you can see everything at a glance, or go with fabric pockets for a cleaner look.
What To Store
Think lightweight: spice jars, snack packs, tea bags, foil packets, or small cans like tuna and tomato paste. Avoid heavy bottles that could pull the rack off balance.
Installation Tips
Most over-the-door hooks fit standard doors up to 1. 75 inches thick. For hollow-core doors, use a lightweight organizer to prevent damage.
If your door has a window, look for a rack that hangs over the top edge instead.
Pro Organization Hack
Group like items together—all baking spices in one row, all tea bags in another. Label the top of each pocket with a permanent marker or chalk pen for quick grabbing.
2. Install Tension Rods for Vertical Can Storage
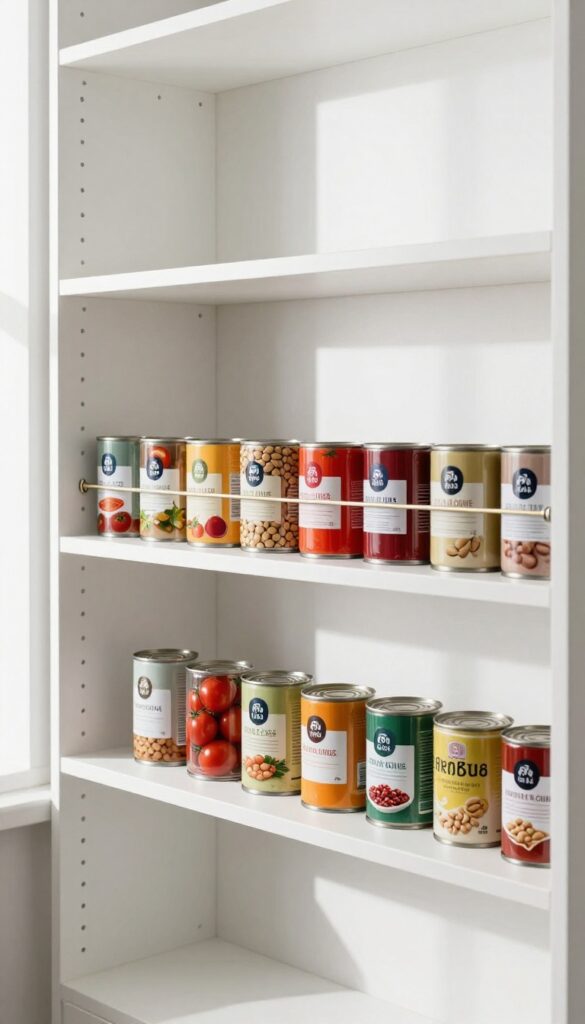
Tension rods aren't just for curtains. In a small pantry, they create instant second-level storage for cans and jars. By wedging a rod between two shelves, you can double your usable space without any tools or permanent fixtures.
This trick works best for standard-sized cans like tomatoes, beans, or soup. The rod holds them in place, preventing them from rolling around. You can also use multiple rods to create a tiered effect, stacking cans of different heights.
Choosing The Right Rod
Look for a tension rod that extends to fit your pantry shelf width. Measure the gap between your shelves first. A rod with rubber ends grips better and won't slip.
For heavier cans, choose a sturdier rod rated for more weight.
Arranging Cans For Visibility
Place taller cans in the back and shorter ones in front. Or organize by type—all beans on one rod, all tomatoes on another. The goal is to see every label at a glance.
You can also use small lazy Susans on the shelf below for easy access.
Bonus: Use For Spice Jars Or Bottles
Tension rods aren't limited to cans. They work great for spice jars, small oil bottles, or even packets. Just make sure the items are lightweight enough not to push the rod out of place.
For extra stability, add a second rod a few inches above the first.
3. Swap Bulky Packaging for Clear Containers
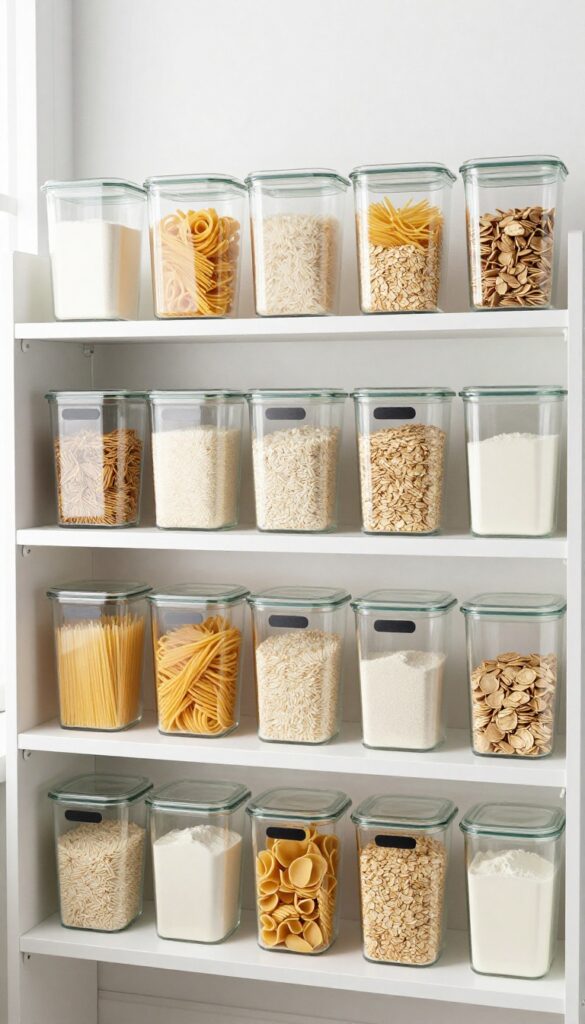
That box of pasta might look harmless, but its cardboard packaging takes up way more room than the actual noodles inside. The same goes for cereal boxes, rice bags, and snack pouches. By transferring dry goods into uniform clear containers, you'll reclaim precious shelf space and finally see what you have at a glance.
Clear containers aren't just about aesthetics—they're a practical space hack. When everything is the same shape and size, containers stack neatly without wasted air gaps. Plus, you can instantly spot when you're running low on oatmeal or flour, which means fewer duplicate purchases and less clutter.
For small pantries, this simple swap is a game-changer.
Choose The Right Containers
Stick with square or rectangular containers—they maximize shelf space compared to round jars. Look for airtight seals to keep food fresh longer. A set of modular BPA-free plastic or glass containers in two or three sizes will cover most of your dry goods.
Avoid mismatched jars; uniformity is key for stacking.
Label Everything Clearly
Even if you think you'll remember what's inside, label each container. Use a label maker or simple chalk labels for a clean look. Include the contents and the expiration date if you're feeling thorough.
This step prevents mystery containers and makes grabbing ingredients effortless.
Store By Frequency Of Use
Place containers you reach for daily—like coffee, sugar, or cereal—at eye level or on the most accessible shelf. Less-used items like specialty flours or bulk grains can go higher or lower. This arrangement cuts down on rummaging and keeps your pantry workflow smooth.
4. Add a Magnetic Strip for Spice Jars
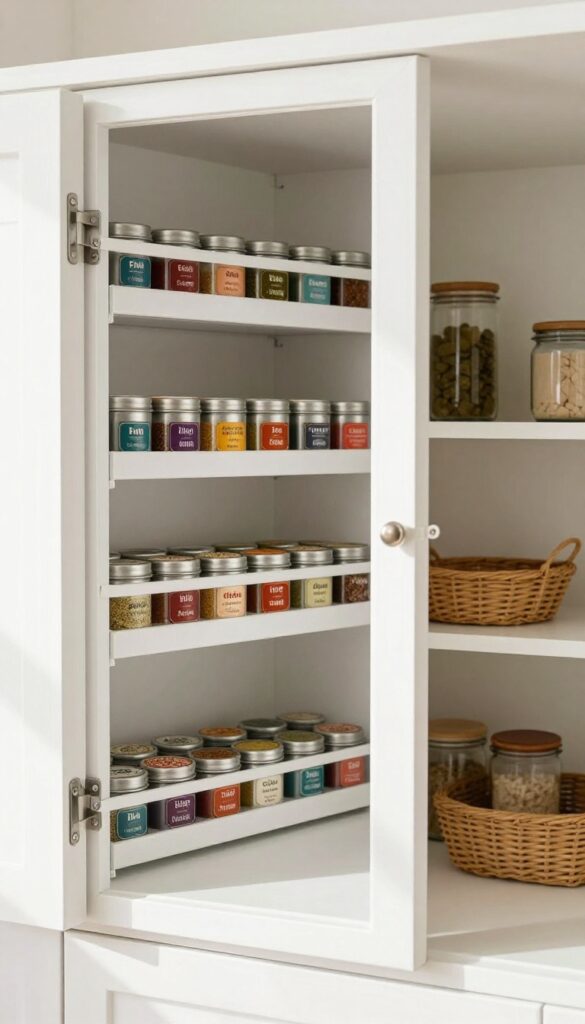
Spice jars are notorious for cluttering shelves and making it hard to find what you need. A magnetic strip changes that completely. By mounting one on the inside of your pantry door or a wall, you can store metal spice tins neatly in rows.
This frees up valuable shelf space and keeps your spices visible and organized by type.
Choosing The Right Strip
Look for a magnetic strip rated to hold at least a few pounds. Kitchen knife strips work well, but you can also find adhesive magnetic tape for a lighter load. Measure the depth of your spice tins to ensure they won't hit the shelves when the door closes.
Installation Tips For Renters
If you can't drill, use heavy-duty command strips or strong adhesive pads. Clean the surface with alcohol first for a better bond. For metal pantry doors, some magnetic strips can attach directly without adhesive.
Organizing Your Spices
Group spices alphabetically or by cuisine (Italian, Mexican, etc. ). Use small labels on the tops of tins so you can see them from above. This setup also makes it easy to grab just what you need without rummaging.
5. Use Stackable Bins for Deep Shelves
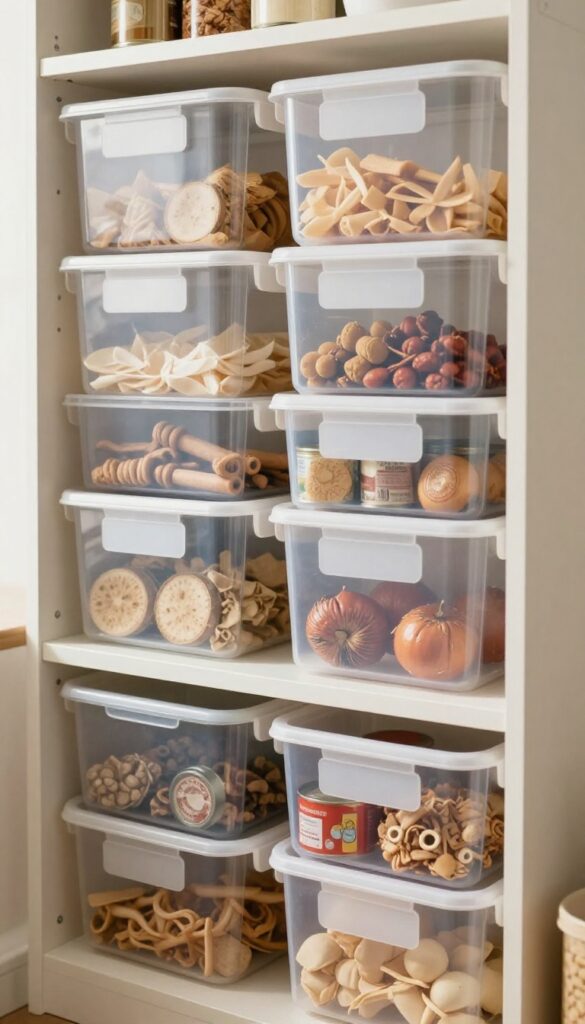
Deep shelves in a small pantry can be a curse—items get pushed to the back and forgotten until they expire. Stackable bins turn that wasted space into a functional storage system. They let you categorize food by type or meal, and since they slide out, you can actually see everything you own.
Start by measuring your shelf depth and height to find bins that fit without wasting vertical space. Wire bins offer ventilation for produce, while clear plastic bins make labels visible. Group similar items together: one bin for snacks, another for baking supplies, and a third for canned goods.
The goal is to create mini-zones so you can grab a whole category at once.
Choose The Right Bin Style
Wire bins are great for air circulation and work well for potatoes, onions, or garlic. Clear plastic bins with handles are ideal for dry goods like pasta, rice, and cereal because you can see the contents at a glance. For heavy cans, opt for sturdy plastic or metal bins with reinforced bottoms.
Avoid fabric bins in the pantry—they trap moisture and are hard to clean.
Label Everything Clearly
Once your bins are in place, label them on the front so you know what's inside without pulling them out. Use a label maker or simple chalkboard stickers for a clean look. Include the category and a rough expiration date if needed.
Labels also help family members return items to the right bin, keeping your system intact.
Stack Strategically
If your shelves are tall enough, stack bins vertically to double your storage. Place heavier bins on the bottom and lighter ones on top. For easy access, keep frequently used bins at eye level and reserve the top shelf for overflow or seasonal items.
Use shelf risers inside deep cabinets to create two tiers of bins.
6. Hang a Pegboard on the Side Wall
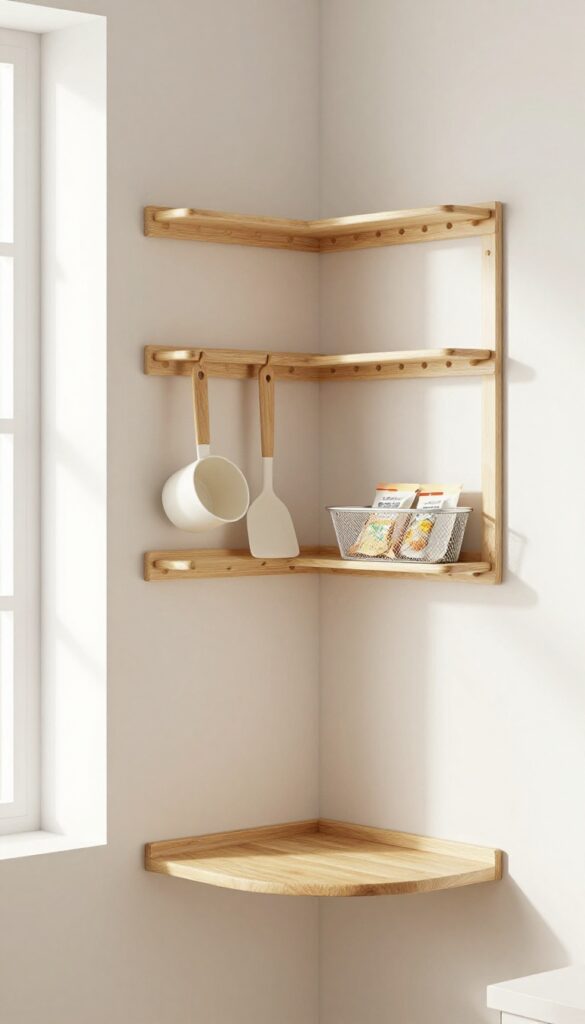
Side walls in pantries are often overlooked, but they're prime real estate for vertical storage. A small pegboard turns that blank space into a flexible organizer for kitchen tools and snacks. Best of all, it's renter-friendly—you can use adhesive hooks or a lightweight board that won't damage the wall.
A pegboard is one of those solutions that scales to your needs. You can start with a tiny board and add more later. It keeps frequently used items visible and within reach, reducing clutter on shelves.
What To Hang
Think lightweight: measuring cups, spatulas, small whisks, or even mesh baskets for snack packs. Avoid heavy items like cast iron pans. Use peg hooks that match the board thickness.
Installation Tips For Renters
Command strips work for small pegboards under 2 pounds. For heavier loads, use a tension rod system or a board that rests on a shelf bracket. Always patch holes when you move out.
7. Maximize Door Space with a Wire Rack
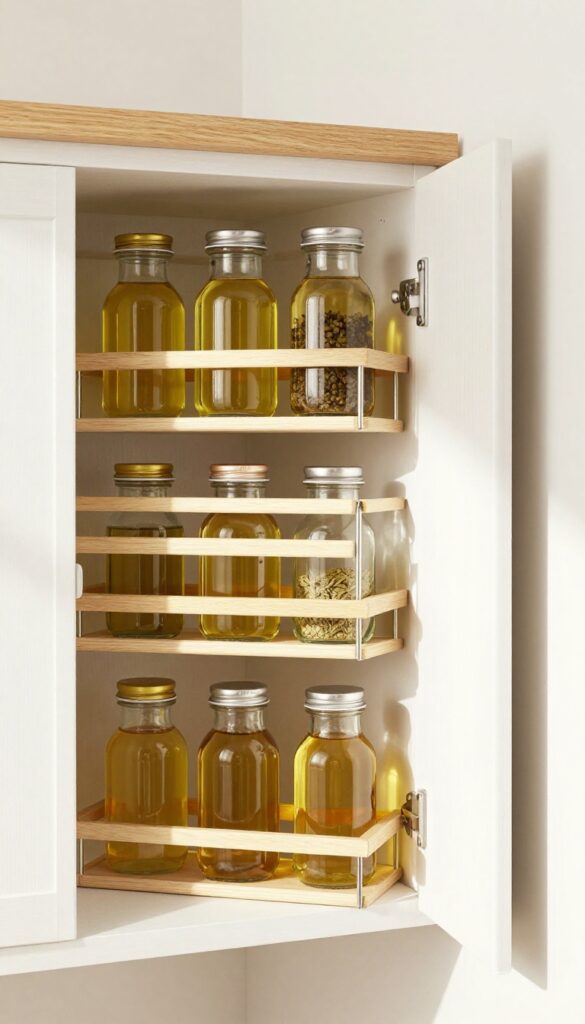
Pantry doors are often ignored, but they offer a ton of usable real estate. An over-the-door wire rack lets you store jars, bottles, and even cleaning supplies without taking up a single inch of shelf space. It's a simple solution that keeps heavy items off your shelves and within easy reach.
Installing an over-the-door wire rack is one of the easiest upgrades you can make. No tools required—just hang it over the top of the door and you're done. The rack typically has multiple tiers, so you can organize items by size or frequency of use.
Put taller bottles on the bottom and smaller jars on top. This setup works especially well for oils, vinegars, sauces, and spices that you grab often. Just make sure the rack doesn't prevent the door from closing fully; most are designed to fit standard pantry doors.
Choose The Right Rack
Look for a wire rack with adjustable shelves or hooks to accommodate different items. Some racks come with small baskets for loose packets or spice jars. Measure your door's width and thickness before buying—most racks fit standard doors, but it's worth double-checking.
Also, consider weight limits; a sturdy rack can hold up to 50 pounds, but lighter racks might sag under heavy bottles.
Organize By Category
Group similar items together to make grabbing what you need quick. For example, dedicate one shelf to cooking oils and vinegars, another to sauces and condiments, and a third to spices or baking ingredients. Use small bins or adhesive hooks to keep things from sliding around.
This system also helps you see when you're running low on something.
Don't Overload It
It's tempting to fill every inch, but overloading can cause the rack to bend or the door to become hard to close. Keep heavier items like large bottles on the lower shelves to maintain balance. If you have a narrow door, opt for a slim rack with fewer tiers.
Remember, the goal is to free up shelf space, not create a cluttered door.
8. Use Lazy Susans for Corner Shelves
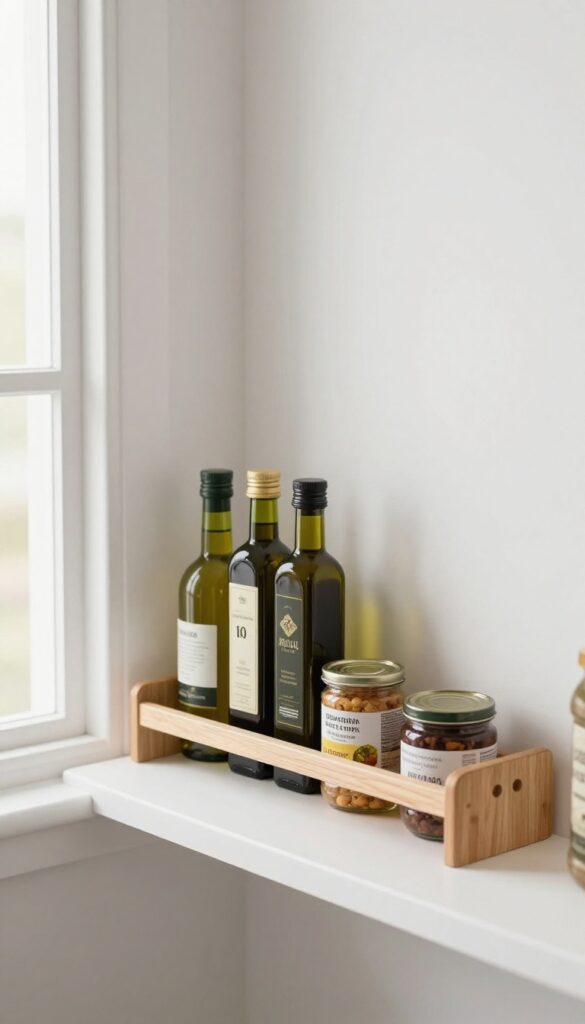
Corner shelves in pantries are notorious for becoming black holes where items disappear. A lazy Susan transforms that dead space into a functional storage zone. With a quick spin, everything from oils to canned goods is right at your fingertips.
A lazy Susan is a simple rotating tray that sits on a shelf or inside a cabinet. It's especially useful for corner shelves where you can't easily reach the back. Place one on a corner shelf to store bottles, jars, and cans.
You can also use them in deep cabinets to prevent items from getting lost. Choose a tiered lazy Susan for double the storage in the same footprint.
Pick The Right Size
Measure your shelf or cabinet before buying. A lazy Susan that's too small wastes space, while one that's too big won't spin properly. Look for one with a raised edge to keep items from sliding off.
Group Similar Items
Use one lazy Susan for oils and vinegars, another for condiments, and a third for canned goods. This keeps everything organized and easy to find. Label the bottom of each item so you can see what's what from above.
Maintain The Spin
Don't overload the lazy Susan. Heavy items can make it hard to spin. Keep the heaviest items in the center and lighter ones on the edge.
Clean the tray occasionally to prevent sticky residue from building up.
9. Label Everything for Quick Retrieval
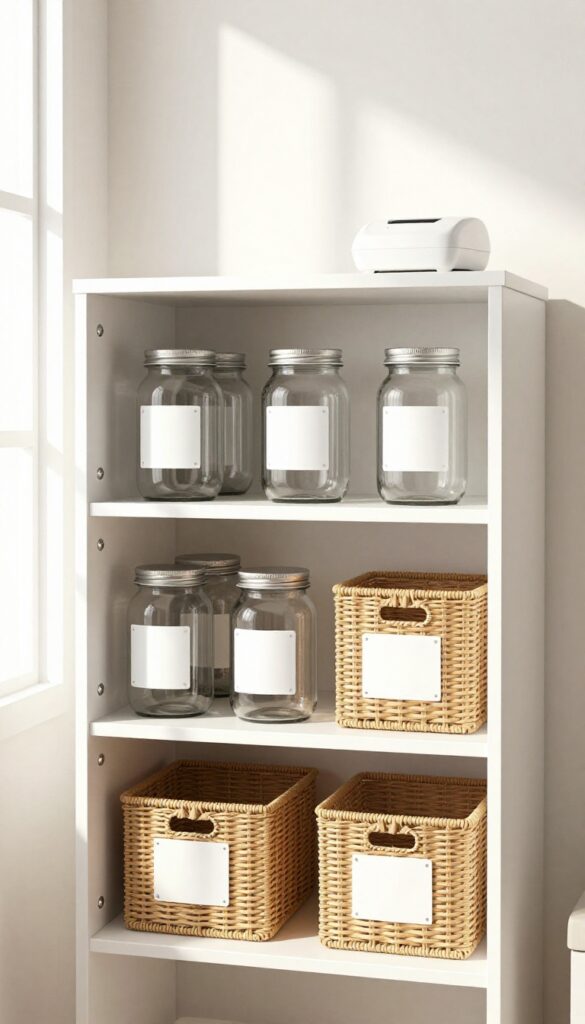
Labels turn a chaotic pantry into a system anyone can follow. When every shelf, bin, and container has a clear tag, you never have to guess where the pasta or canned tomatoes live. It also makes restocking and cleaning a breeze because everything has a designated home.
Why Labels Matter In A Small Pantry
In a compact space, every inch counts. Without labels, items get shoved into any open spot, creating a jumble that's hard to navigate. Labels create a visual map, so you can quickly spot what you need and put things back correctly.
This reduces the time spent searching and prevents buying duplicates.
Best Labeling Tools For The Job
A label maker gives crisp, uniform labels that stick well and look clean. For a no-fuss option, use chalkboard labels or dry-erase stickers that you can rewrite as your pantry changes. Clear adhesive pouches are great for bins—slide in a paper tag and swap it out anytime.
Stick to a consistent font and color scheme for a polished look.
Where To Place Labels For Maximum Impact
Put labels on the front edge of shelves so they're visible at a glance. For bins and baskets, label the front face or the lid if they stack. Group similar items together—like baking supplies, snacks, or grains—and label the zone.
Don't forget to label the inside of cabinet doors for spices or small packets.
Involve The Whole Household
Labels are only effective if everyone uses them. Show family members or roommates where each category goes and explain the system. Make it easy by using pictures or symbols for non-readers.
When everyone knows the rules, the pantry stays organized longer.
10. Store Bulk Items Under the Bottom Shelf
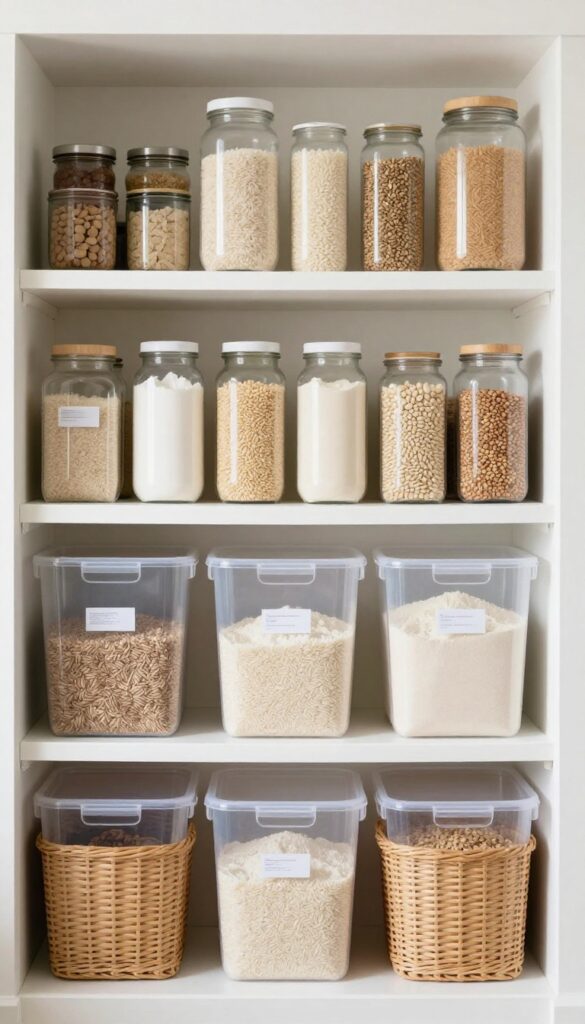
That gap between the lowest shelf and the floor is often wasted space, but it's perfect for bulky bags and boxes. Instead of stacking heavy items on higher shelves where they're awkward to lift, slide them into low-profile bins or baskets underneath. This keeps your pantry's center of gravity low and makes accessing bulk staples a breeze.
The bottom shelf gap is ideal for storing heavy, oversized items that don't fit neatly on standard shelves. Use sturdy, low-profile containers that can slide out easily. This method also frees up prime shelf space for everyday items you reach for more often.
Just be sure to keep the area clean and dry to prevent pests or moisture from damaging your bulk goods.
Choose The Right Containers
Look for bins or baskets that are no taller than the clearance under your bottom shelf. Clear plastic bins let you see contents at a glance, while woven baskets add a cozy look. Wheeled options make it easy to pull out heavy bags of rice or flour.
Measure your space first to ensure a snug fit without blocking ventilation.
Organize By Category
Group similar bulk items together: one bin for grains, another for pet food, and a third for baking supplies. This makes it simple to grab what you need without rummaging. Label each bin clearly, especially if they're opaque.
Consider using a first-in, first-out system by placing newer bags behind older ones.
Keep It Accessible
Store items you use less frequently toward the back, and those you grab often near the front. If your bins are deep, add a divider or use smaller containers inside to prevent a jumble. For extra-heavy bags, a small rolling cart under the shelf can save your back and make cleaning easier.
11. Create a Snack Station with Tiered Shelves
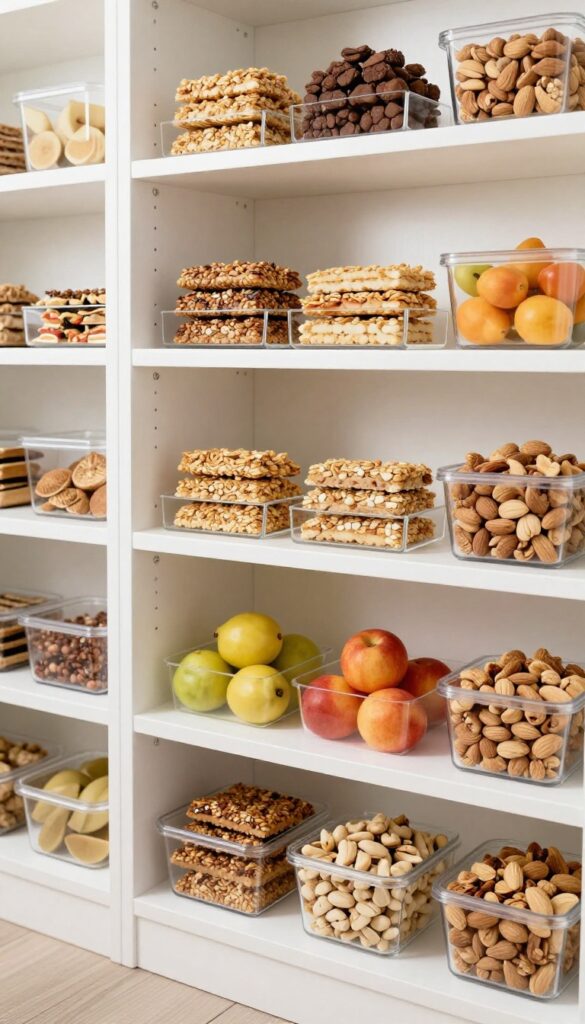
Snacks can quickly take over your pantry if they're not corralled. A dedicated snack station keeps grab-and-go items visible and easy to grab, especially for kids or roommates. Tiered shelves or risers turn a single shelf into a mini convenience store.
By grouping snacks in one spot and using vertical space, you prevent boxes from getting lost in the back. This setup also makes it easy to see what's running low so you can restock before cravings hit.
Pick The Right Riser
Choose a tiered shelf that fits your pantry shelf depth. Acrylic risers are clear and lightweight, while wire ones are sturdy and allow airflow. Measure your shelf height to ensure the riser doesn't block items above.
Organize By Frequency
Place everyday snacks like granola bars and fruit cups on the front row. Reserve the back row for less-used items or backup supplies. This way, the most popular snacks are always at your fingertips.
Use Clear Bins For Small Items
Pour loose snacks like nuts or trail mix into small clear containers. Stack them on the tiered shelf for a uniform look. Label each bin so everyone knows what's inside without rummaging.
FAQ
How can I maximize a very small pantry without shelves?
Use over-the-door organizers, hanging baskets, and tension rods to create vertical storage. You can also add a small freestanding shelving unit or stackable bins on the floor.
What are the best containers for small pantry storage?
Clear, airtight containers that are rectangular or square are best because they stack efficiently. Look for BPA-free plastic or glass with wide mouths for easy access.
Can I install shelves in a rental pantry?
Yes, but use removable options like tension rod shelves, over-the-door racks, or adhesive hooks. Avoid drilling unless you have permission from your landlord.
How do I organize a deep pantry shelf?
Use stackable bins or pull-out drawers to create layers. Store less-used items in the back and frequently used ones in front. Lazy Susans also work well for deep corners.
What should I do if my pantry is just a cabinet?
Treat it like a mini pantry. Use door organizers, shelf risers, and clear containers. Group similar items together and label everything to maintain order.
Conclusion
A small pantry doesn't have to limit your food storage potential. With a few clever tweaks—like door-mounted racks, tiered shelves, or stackable bins—you can transform even the tiniest corner into an efficient space. Start with the idea that addresses your biggest frustration, whether it's cluttered counters or lost ingredients.
Small changes add up quickly. Before you know it, your compact pantry will feel spacious, organized, and ready for anything.