13 Refined Off Grid Shower Ideas with a Clean Outdoor Finish
The payoff of a well-designed off-grid shower is immediate: a refreshing rinse under open skies, with hot water and privacy that feel anything but rough. You don't need a full plumbing setup to enjoy a spa-like experience in the middle of nowhere.
With the right materials and a bit of planning, your outdoor shower can be both functional and refined. These 13 ideas focus on that clean, finished look—think smooth wood, sleek metal, and smart water solutions that blend into the landscape.
Whether you're building from scratch or upgrading an existing setup, each concept brings a touch of polish to your off-grid routine.
1. Solar-Heated Rain Shower
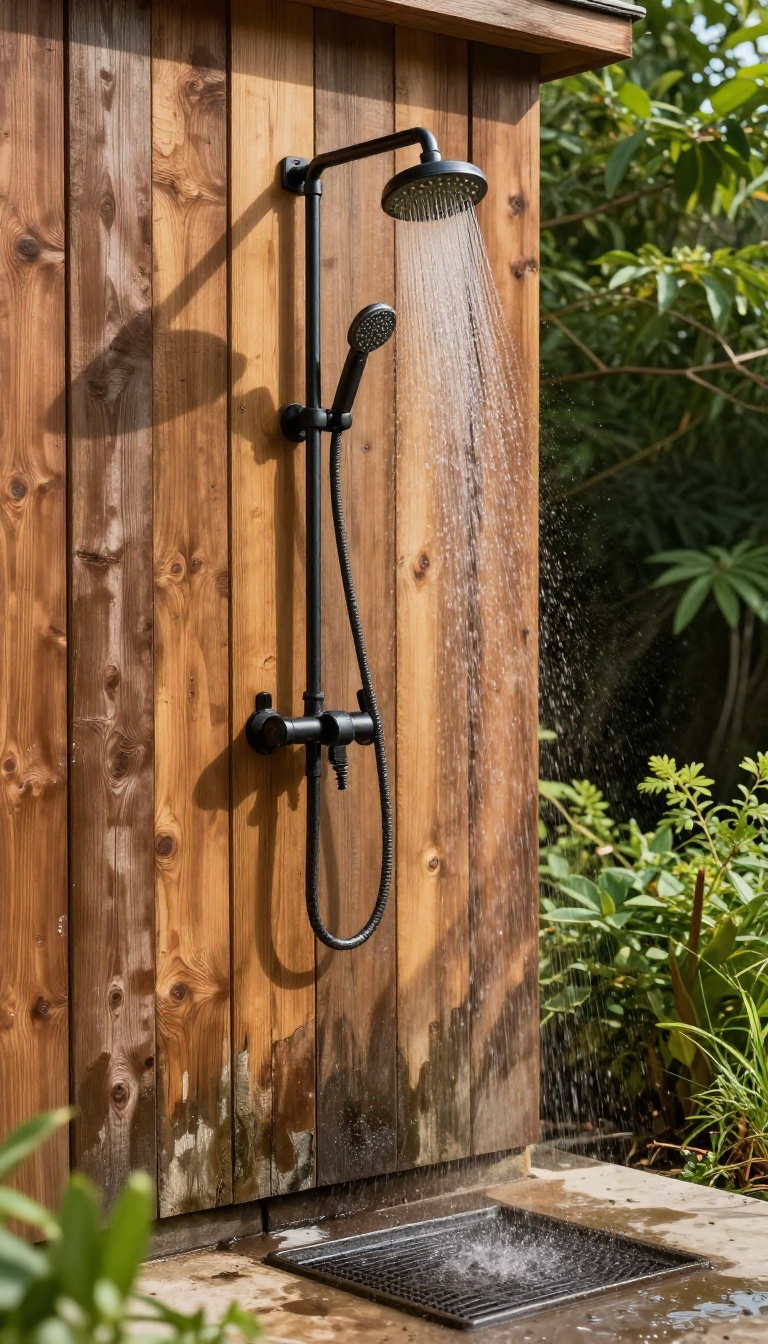
A simple black pipe coil on a sunny wall heats water naturally, delivering a warm rain-like flow without any electricity. This setup is perfect for off-grid living because it uses the sun's free energy and requires no complex plumbing. The result is a gentle, even spray that feels like standing in a warm summer rain, making your outdoor shower a daily luxury.
The solar-heated rain shower is a brilliant blend of simplicity and efficiency. By running water through a black pipe coil exposed to the sun, you can enjoy warm showers without a single watt of electricity. The key is to position the coil where it gets maximum sunlight, typically on a south-facing wall or roof.
As water flows through the coil, it absorbs heat and rises to your shower head, providing a steady, warm stream that's perfect for rinsing off after a long day.
How It Works
The system relies on the thermosiphon effect: cold water from your tank flows down to the bottom of the coil, gets heated by the sun, and rises naturally to the shower head. This passive circulation means no pumps or controllers are needed. For best results, use a dark-colored pipe (like black PEX or polypropylene) and keep the coil length around 50 to 100 feet to ensure adequate heating.
On a sunny day, you can expect water temperatures of 90–110°F, depending on your climate.
Design And Installation Tips
Mount the coil on a wall that receives at least 6 hours of direct sun. Use a simple frame to hold the coil in place, and connect it to a standard shower head with a flexible hose. To avoid overheating on scorching days, add a mixing valve to temper the water.
For a refined look, enclose the coil in a wooden or metal housing that matches your outdoor aesthetic, or let it stand as a functional art piece.
Maintenance And Longevity
This system is nearly maintenance-free. Drain the coil before freezing temperatures to prevent damage, and occasionally flush it to remove mineral buildup. Use food-grade pipe to ensure water safety.
With minimal care, your solar shower will last for years, providing warm, eco-friendly showers that feel anything but rough.
2. Cedar Privacy Screen with a Modern Twist
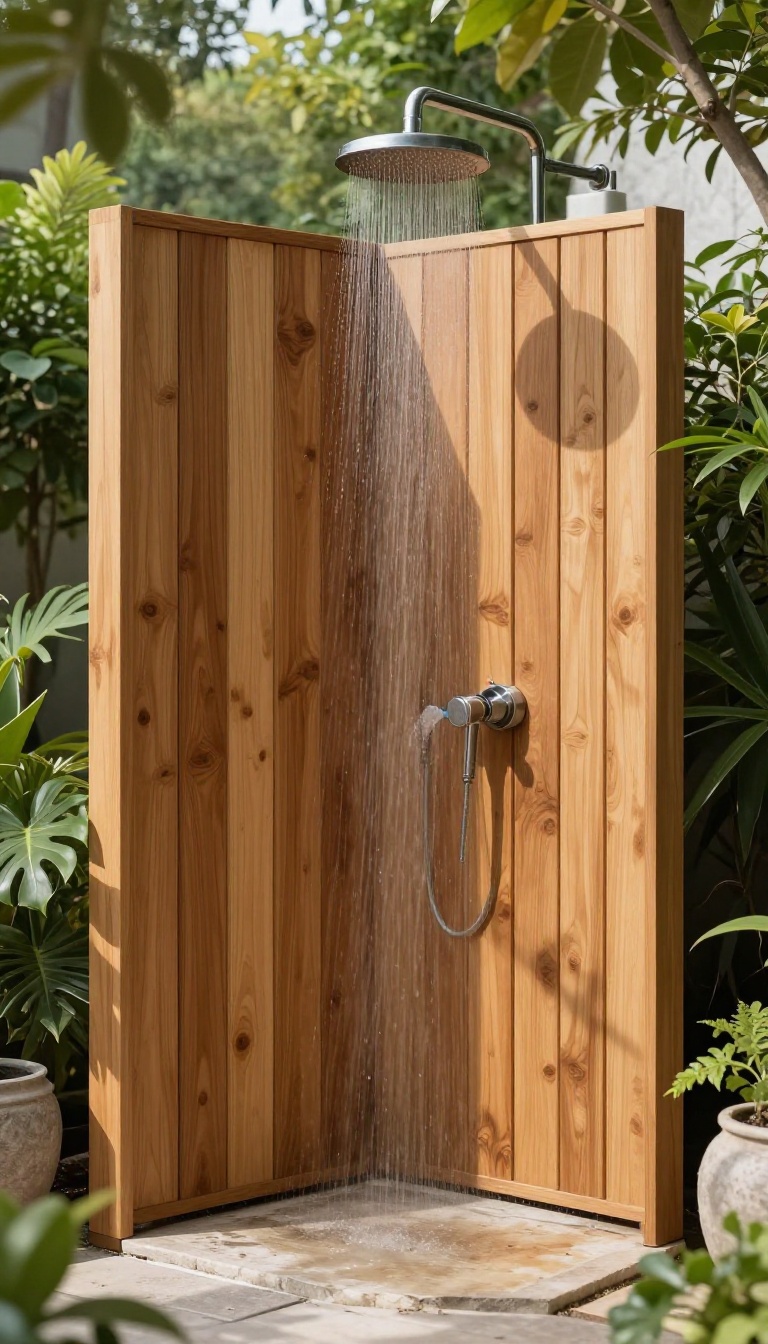
A cedar privacy screen does more than block the view—it sets the tone for the whole shower area. The natural grain and warm tone of cedar bring a softness that metal or plastic can't match, while a clear finish keeps that fresh, modern look without hiding the wood's character. This screen isn't just functional; it becomes a design feature that makes your outdoor shower feel intentional and polished.
Vertical cedar slats are the backbone of this idea. They create a sense of height and openness, letting light filter through while still offering privacy. The clear finish is key—it protects the wood from moisture and sun, and it also brings out the rich color variations, so the screen ages gracefully and blends right into the surrounding trees or garden.
Why Cedar Works So Well
Cedar is naturally rot-resistant and repels insects, so it's a smart choice for a damp outdoor space. It also has a pleasant, subtle scent that adds to the shower experience. The vertical orientation of the slats makes the screen feel taller and more elegant, and it's a simple way to add a modern architectural touch without extra fuss.
Getting The Finish Right
A clear penetrating sealer is your best bet. It soaks into the wood and protects from within, unlike a film-forming finish that can peel or crack. Reapply every couple of years to keep the color rich and the wood protected.
If you want a slightly more weathered look, you can skip the finish and let the cedar gray naturally—that works too, but the clear finish keeps that clean, refined feel.
Placement And Installation Tips
Set the screen about a foot away from the shower area to allow airflow and prevent moisture buildup. Use stainless steel or galvanized screws to avoid rust stains, and consider a simple post-and-beam frame for stability. You can also add a small gap between the slats for extra ventilation, which helps the wood dry faster and reduces the chance of mildew.
3. Gravel Base with Teak Flooring
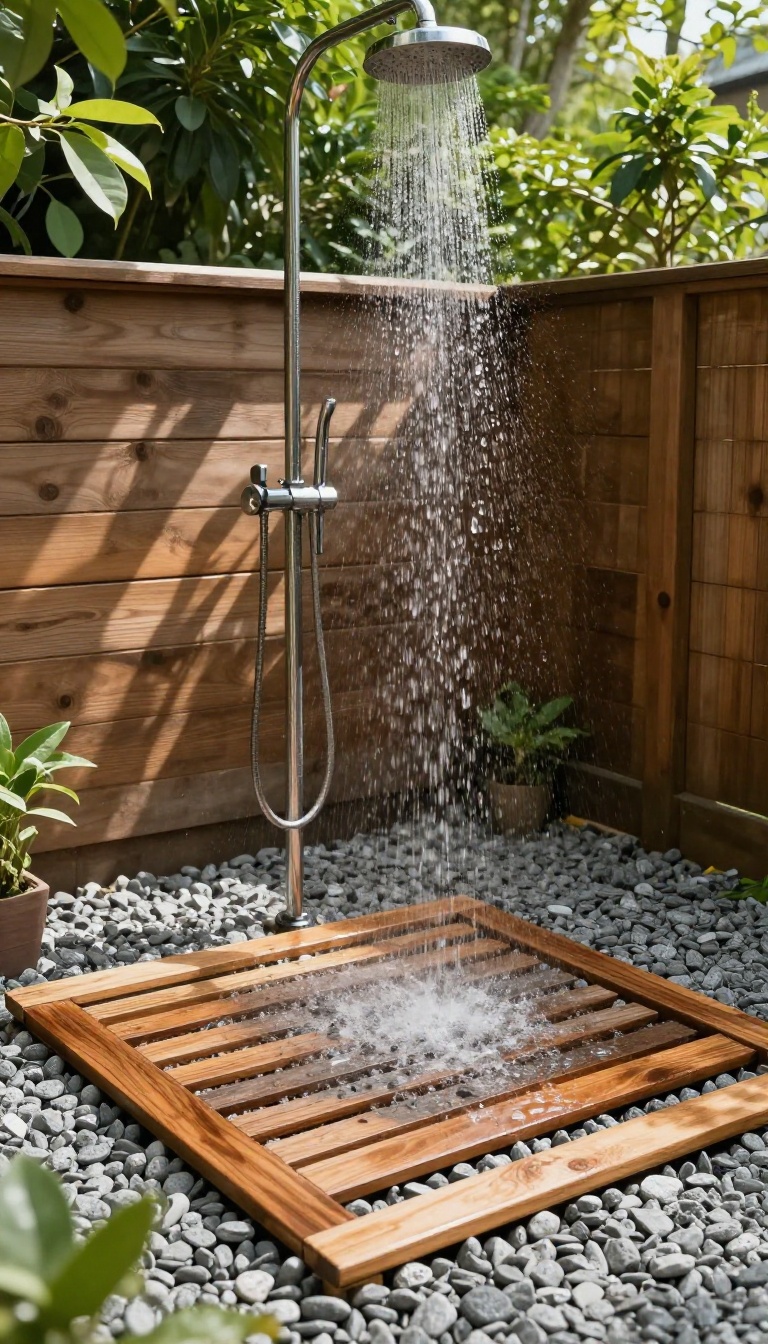
A raised teak grate over a gravel bed is a classic combo that nails both drainage and comfort. The gravel handles water runoff like a champ, while the teak keeps your feet off the cold, muddy ground. It’s a simple upgrade that makes the whole shower feel more like a spa and less like a campsite.
The key is to dig out a shallow pit, fill it with gravel, and set a wooden grate on top. That way, water disappears quickly, and you’re left with a stable, warm surface that’s easy on bare feet. Plus, teak’s natural oils make it resistant to rot and splinters, so it lasts season after season.
Why Teak Works
Teak is the go-to for outdoor showers because it handles moisture and sun without warping or cracking. Its dense grain and natural oils repel water, so it won’t get slippery or grow mold. You’ll pay a bit more upfront, but it beats replacing cheap wood every couple of years.
Building The Base
Start by leveling the ground and laying landscape fabric to keep weeds out. Add a few inches of gravel—pea gravel or crushed stone both work—and compact it slightly. Then, build a simple frame from pressure-treated lumber and attach teak slats with gaps for drainage.
Leave a couple of inches of clearance so water can flow freely underneath.
Maintenance Tips
Rinse the teak occasionally with a hose to clear soap scum, and give it a light sanding if it gets rough. Gravel might need topping up now and then, but that’s about it. A quick sweep keeps the area tidy, and you’re good to go.
4. Repurposed Galvanized Tank Shower
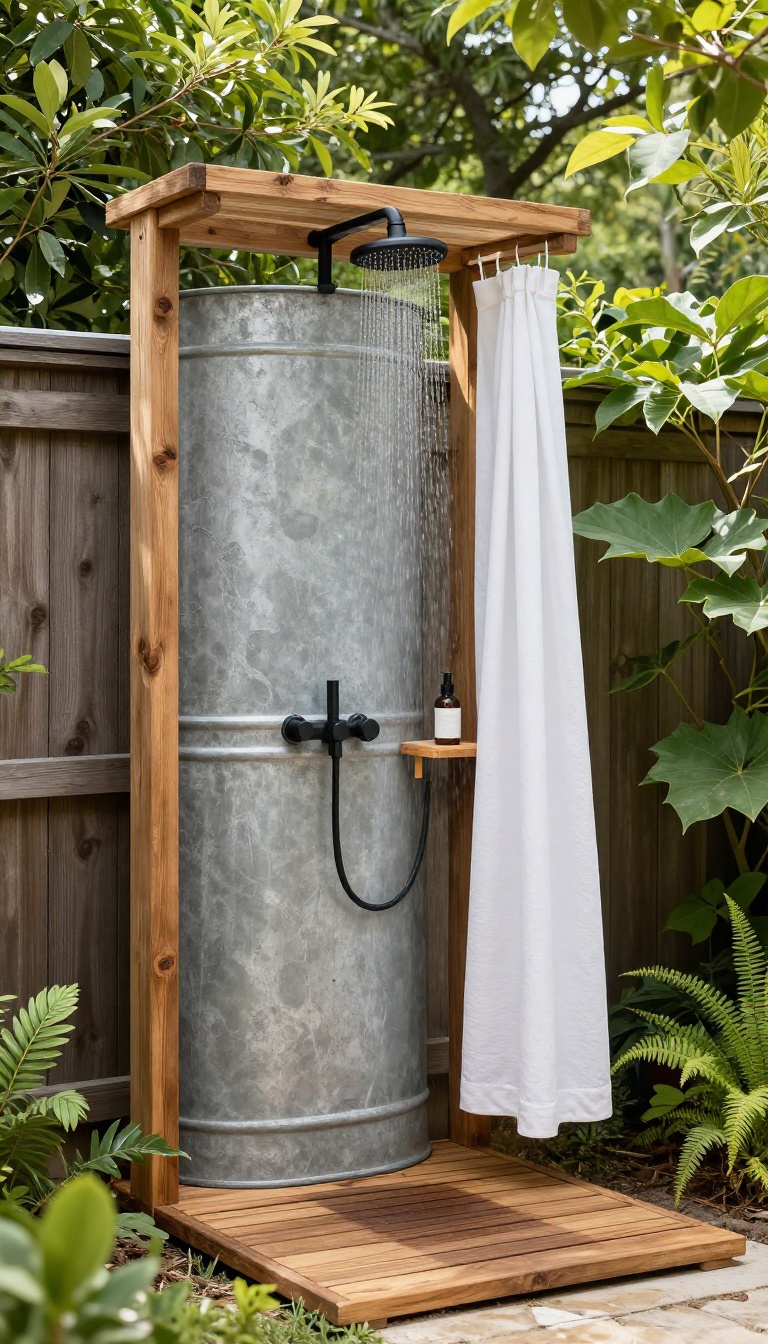
An old galvanized tank can become the centerpiece of a shower that feels both industrial and refined. The metal's weathered patina adds character, while its sturdy build ensures years of reliable use. This idea is perfect for those who appreciate repurposed materials with a clean, finished look.
Start by sourcing a galvanized tank—often found at salvage yards or farm auctions. The tank can serve as a shower head holder, a water reservoir, or even a base for a rainfall effect. With a few simple modifications, you can transform it into a functional and stylish element of your outdoor shower.
Choosing The Right Tank
Look for a tank that's structurally sound, with no major rust or leaks. A cylindrical shape works best for a shower head mount, while a rectangular tank can be used as a water storage unit. Consider the size relative to your shower space—too large can overwhelm, too small may not provide enough water pressure.
Mounting And Plumbing
Secure the tank to a sturdy frame or wall, ensuring it's level and stable. For a shower head holder, cut a hole in the bottom or side to fit a standard shower arm. Use a threaded fitting and plumber's tape to create a watertight seal.
If using as a reservoir, connect a pump or gravity-fed system to deliver water to your shower head.
Finishing Touches
To enhance the rustic appeal, leave the galvanized finish as is or apply a clear matte sealer to prevent oxidation. Pair with a wooden shower floor and a simple curtain for privacy. Add a small shelf for toiletries, and consider a black or brass shower head to complement the metal's industrial vibe.
5. Stone Wall with a Rainfall Head
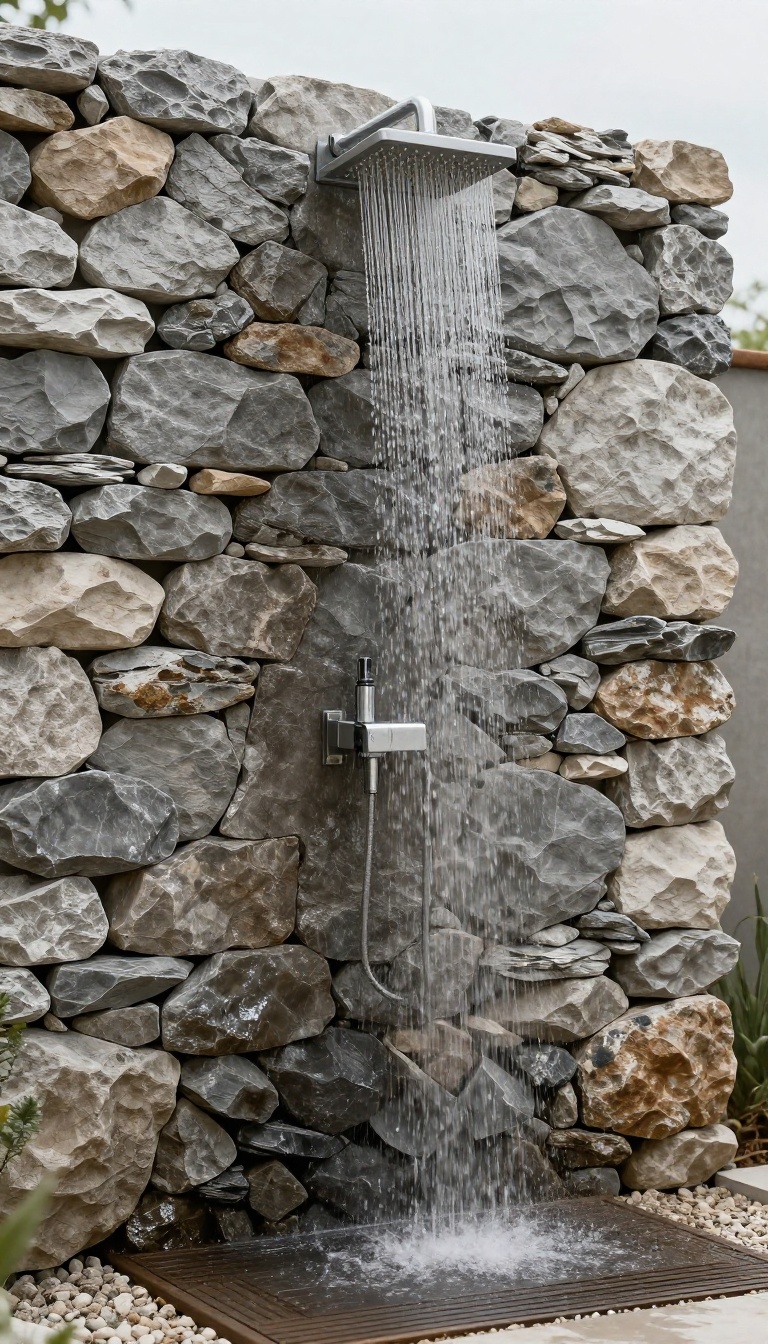
A natural stone wall does more than just stand there—it sets a rugged, grounded mood that instantly makes the shower feel like a hidden grotto. Pair that with a wide rainfall showerhead, and you get a luxurious downpour that washes away the day's grit. The contrast of rough stone and smooth water is simple, but it hits that refined off-grid note without trying too hard.
Building this setup is more about placement and materials than complex plumbing. You want the stone wall to be the focal point, so position the showerhead to spill water right down the face of the rock. A rain-style head with a wide diameter (10 to 12 inches) gives that soft, soaking feel, and you can mount it on a sturdy bracket that extends from the wall.
The stone naturally handles splashes and drains well, so you don't need a fancy enclosure—just a flat area underneath with gravel or a wooden grate.
Choosing The Right Stone
Go for flat, weathered stones like flagstone or slate that sit flush against the wall. Avoid polished or slippery surfaces—you want texture underfoot and behind you. Stack them with mortar or use a dry-stack technique for a more rustic look.
Make sure the wall is tall enough to block wind and give you privacy, but not so tall that it feels like a fortress.
Mounting The Rainfall Head
A ceiling-mounted head is ideal if you have a pergola or overhead beam, but a wall-mounted arm works just as well. Extend the arm out 12 to 18 inches so the water falls straight down, not at an angle. Use a flexible hose connection to make adjustments easier, and consider a pressure regulator if your gravity-fed system is inconsistent—this keeps the rainfall effect steady.
Water Flow And Drainage
For off-grid, a simple pump or gravity tank can feed the head, but you'll want a valve to control flow. The wide head uses more water per minute, so plan for a larger holding tank or a recirculating system if you're conserving. On the ground, a layer of river rock or a slatted wood base lets water seep away naturally, keeping the area mud-free and clean.
6. Bamboo Enclosure with a Thatched Roof
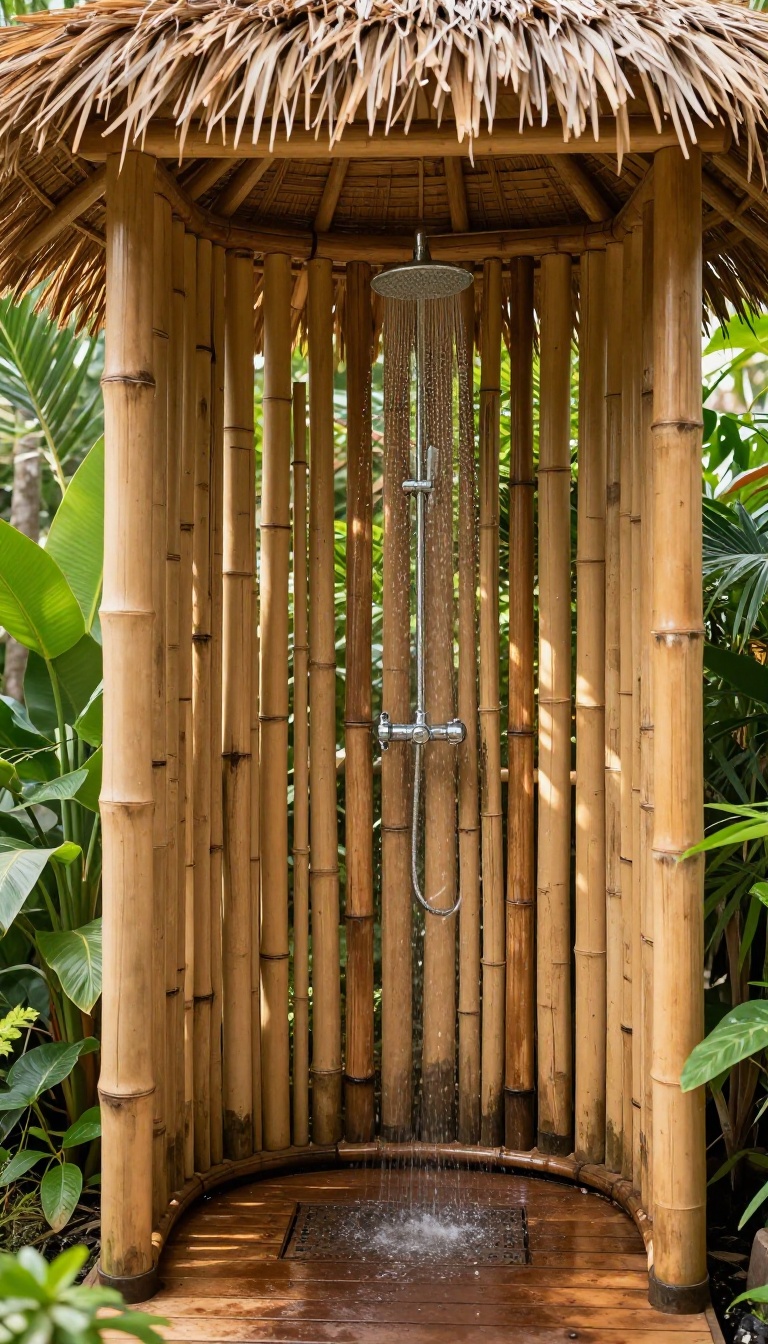
Bamboo poles and a thatched roof bring a tropical, eco-friendly vibe to your off-grid shower. The natural materials create a private, airy space that feels like a hidden retreat. It's a design that's both functional and beautiful, blending seamlessly into the landscape.
Building a bamboo enclosure is simpler than you might think. You'll need sturdy bamboo poles for the frame and walls, plus a thatched roof made from palm leaves or similar materials. The key is to ensure proper drainage and ventilation so the bamboo doesn't rot.
With a little care, this shower becomes a standout feature of your outdoor space.
Choosing The Right Bamboo
Not all bamboo is created equal. For outdoor use, you want treated or naturally durable species like Moso or Guadua. These are more resistant to moisture and pests.
If you're using untreated bamboo, apply a sealant or stain to protect it from the elements. Pick poles that are straight and thick enough to support the structure.
Thatching The Roof
A thatched roof adds that tropical feel and provides excellent shade. You can use dried palm leaves, grass, or even reeds. Lay them in overlapping layers, starting from the bottom and working your way up.
Secure them with wire or twine. Make sure the roof has a slight slope so rainwater runs off easily.
Privacy And Ventilation
Bamboo's natural gaps let air flow through, keeping the space fresh and preventing mold. For more privacy, you can weave the poles closer together or add a bamboo screen. Leave a small opening near the top for ventilation, and consider adding a wooden door or curtain for entry.
Flooring And Drainage
A bamboo slat floor over a gravel or pebble base works well. It allows water to drain quickly and keeps your feet off the mud. Make sure the ground underneath is sloped away from the shower to avoid pooling.
You can also add a simple shower tray or a layer of river stones for a natural look.
7. DIY Bucket Shower with a Modern Valve
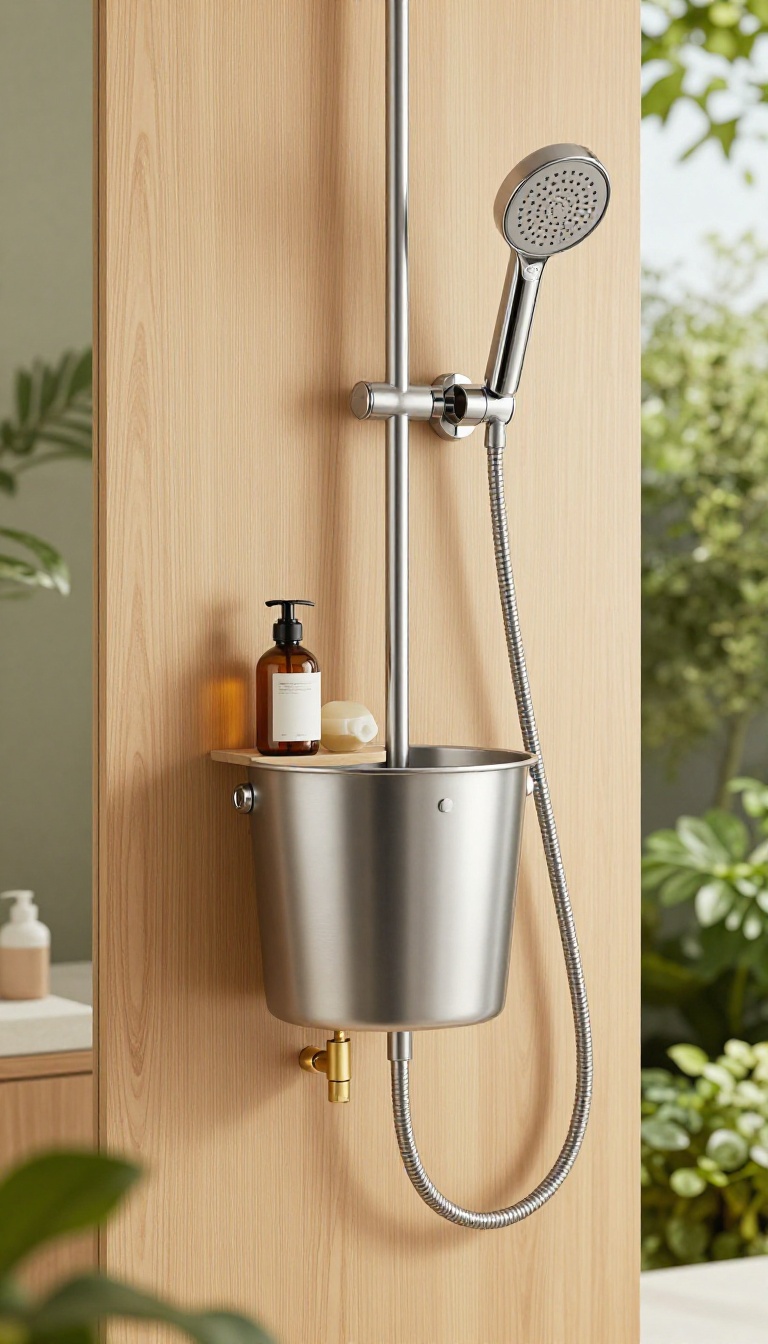
The humble bucket shower has been a staple of off-grid living for ages, but it doesn't have to look rough. With a few upgrades, you can turn a simple bucket into a sleek, modern fixture that feels intentional and polished. The key is in the details: a quality valve, a sturdy frame, and a clean finish.
Start with a food-grade plastic or stainless steel bucket with a tight-fitting lid. Install a brass or stainless steel shower valve at the bottom, which gives you precise control over water flow and a more refined look than a simple spigot. Mount the bucket on a wooden frame made from cedar or teak, which resists moisture and adds warmth.
The frame can be as simple as a tripod or a more elaborate stand with a shelf for soap and shampoo. Finish with a shower head attachment that connects to the valve, and you have a shower that's both functional and elegant.
Choosing The Right Valve
The valve is the heart of this upgrade. Look for a brass or stainless steel valve with a lever handle for easy operation. A ball valve with a quarter-turn handle works well and is durable.
Make sure the valve has standard threads so you can attach a shower hose and head. For a truly modern touch, consider a valve with a built-in flow regulator to conserve water.
Building The Frame
The frame should be sturdy enough to hold the bucket when full, which can weigh up to 40 pounds. Cedar or teak are excellent choices because they resist rot and look great. A simple A-frame design with crossbars works well, or you can build a box-like stand with a shelf.
Sand all edges smooth and apply a waterproof sealant to protect the wood. If you want a more industrial look, use black iron pipe fittings to create a frame that matches the valve's finish.
Adding Comfort And Convenience
To make the shower more enjoyable, add a wooden grate or a rubber mat underfoot to keep your feet off the ground. Install a small hook or a shelf for your toiletries. You can also attach a shower curtain or a privacy screen around the frame.
For hot water, fill the bucket with warm water from your camp stove or solar shower bag. The valve gives you precise control, so you can adjust the flow to your liking.
8. Corrugated Metal Panels with a Matte Finish
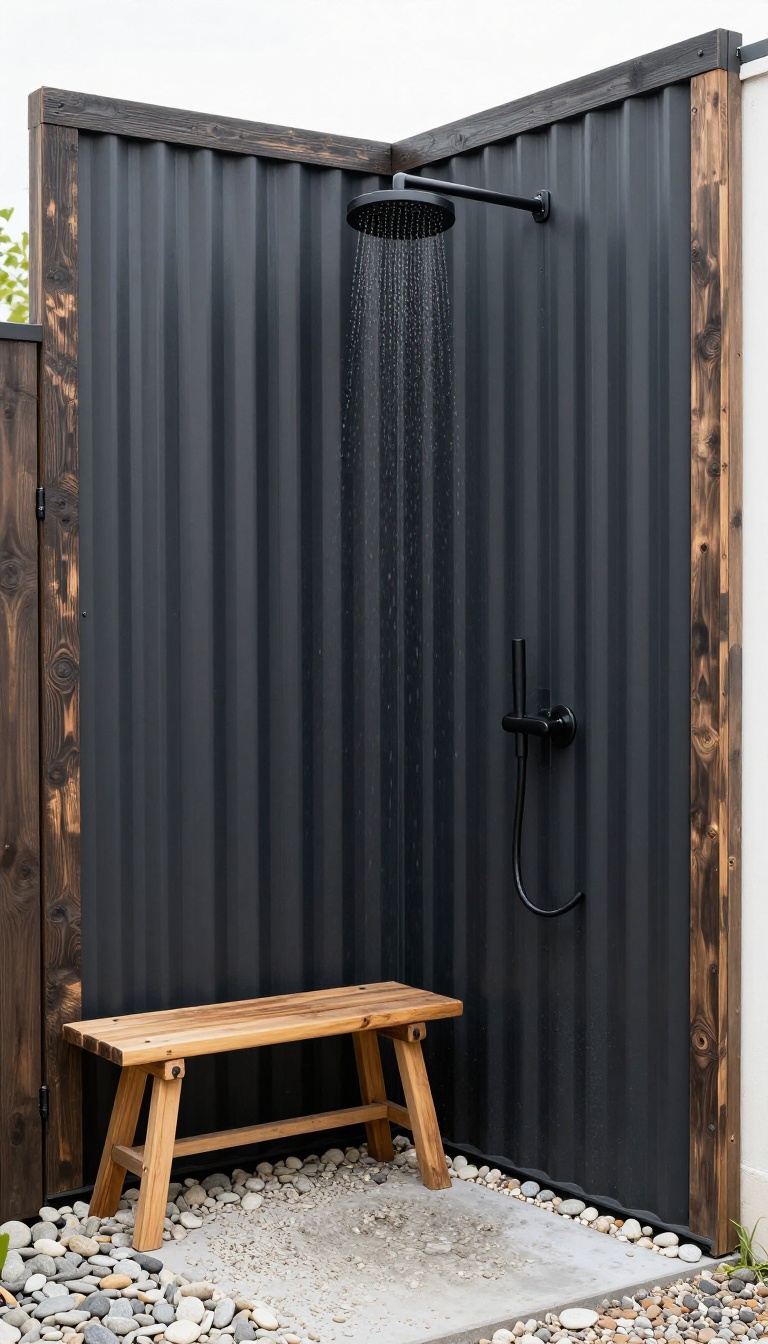
Matte black corrugated metal panels bring a sleek, industrial edge to your outdoor shower. The dark, non-reflective surface tones down the typical barn-like look and feels right at home in a modern off-grid setting. Plus, the panels are tough, easy to wipe down, and built to handle the elements without losing their cool.
The key is to use matte-finished panels, not the shiny galvanized ones you often see on sheds. The matte coating cuts glare and gives the shower a more intentional, design-forward appearance. You can mount the panels vertically or horizontally, depending on the vibe you want—vertical lines make the space feel taller, while horizontal adds a bit of width.
Pair them with dark wood or black metal fittings to keep the look cohesive.
Why Matte Over Glossy?
Glossy metal reflects light and can feel harsh, especially in full sun. Matte finishes absorb light, creating a softer, more grounded look that blends with natural surroundings. They also hide water spots and fingerprints better, so the shower stays looking clean with less effort.
Installation Tips For A Clean Fit
Use furring strips to create a gap between the panels and the wall for airflow, which prevents moisture buildup behind the metal. Overlap the panels slightly and seal the seams with a quality exterior caulk to keep water from seeping through. For a polished finish, trim the edges with aluminum or black metal angle to avoid sharp corners.
Pairing With Natural Elements
Matte metal pairs beautifully with wood, stone, or concrete. Try a teak bench or a pebble floor to soften the industrial feel. Add a simple black showerhead and a wooden soap dish to keep the look refined and functional.
9. Living Wall Shower with Moss and Ferns
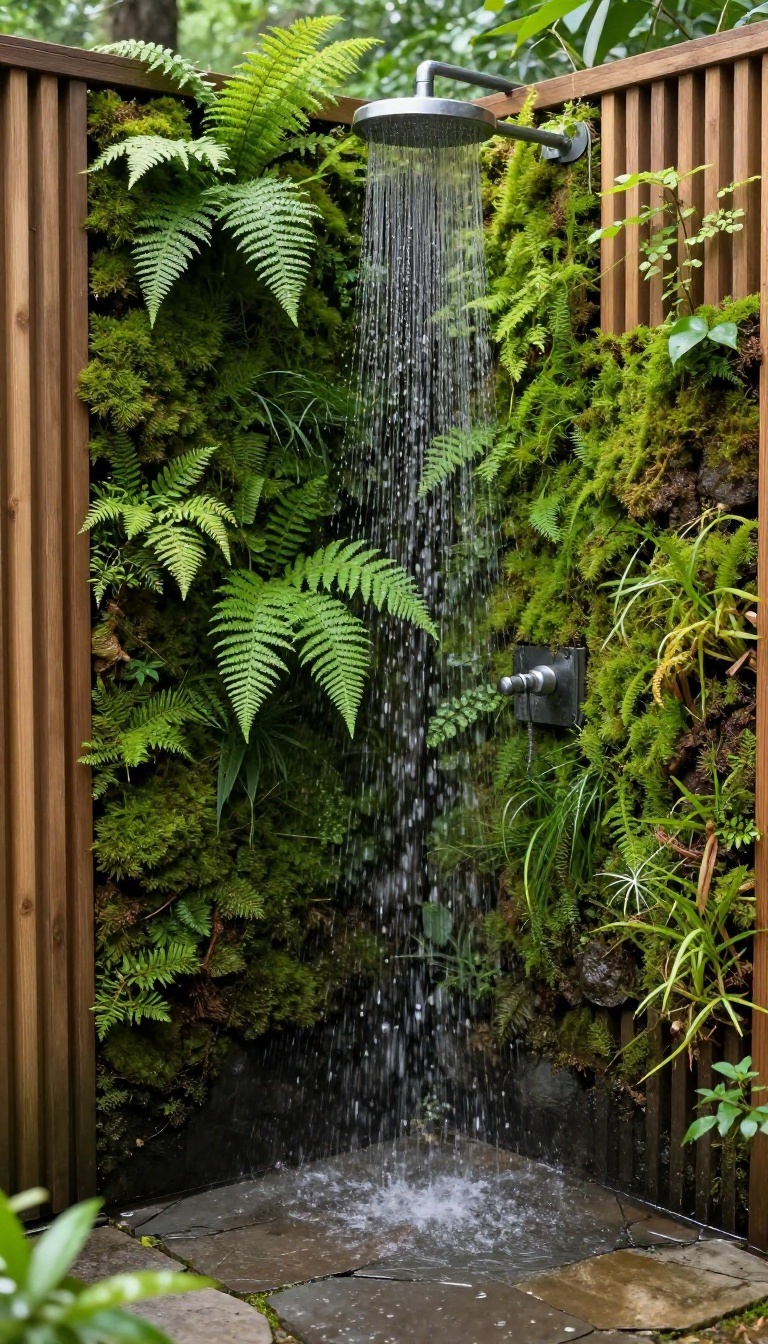
A living wall shower turns your outdoor rinse into a sensory experience. The dense greenery muffles sounds, filters the air, and creates a cool, damp microclimate that feels like stepping into a hidden forest glade. It's a bold, beautiful way to blend function with nature, and it's more achievable than you might think.
Building a living wall shower starts with a sturdy frame that can hold the weight of wet soil and plants. A wooden trellis or metal grid works well, but you'll need a waterproof backing to protect the wall behind it. Use a mix of mosses, ferns, and trailing plants that thrive in shade and love moisture—they'll appreciate the regular spray from your shower.
Choosing The Right Plants
Opt for plants that can handle frequent water and low light. Sheet moss, cushion moss, and ferns like maidenhair or Boston fern are excellent choices. Add some creeping fig or baby's tears for a cascading effect.
Avoid sun-loving plants unless your shower is in a bright spot.
Waterproofing And Drainage
The frame needs a waterproof membrane, like pond liner or EPDM rubber, to keep moisture away from your structure. Include a drainage layer—gravel or a felt mat—so roots don't sit in water. Route excess water away from the base to prevent puddling.
Maintenance And Care
Living walls need occasional trimming and fertilizing, but they're surprisingly low-maintenance once established. Check for dry spots and water manually during dry spells. Moss may need a bit more misting, but your shower will handle most of the watering.
10. Portable Camp Shower with a Wooden Stand
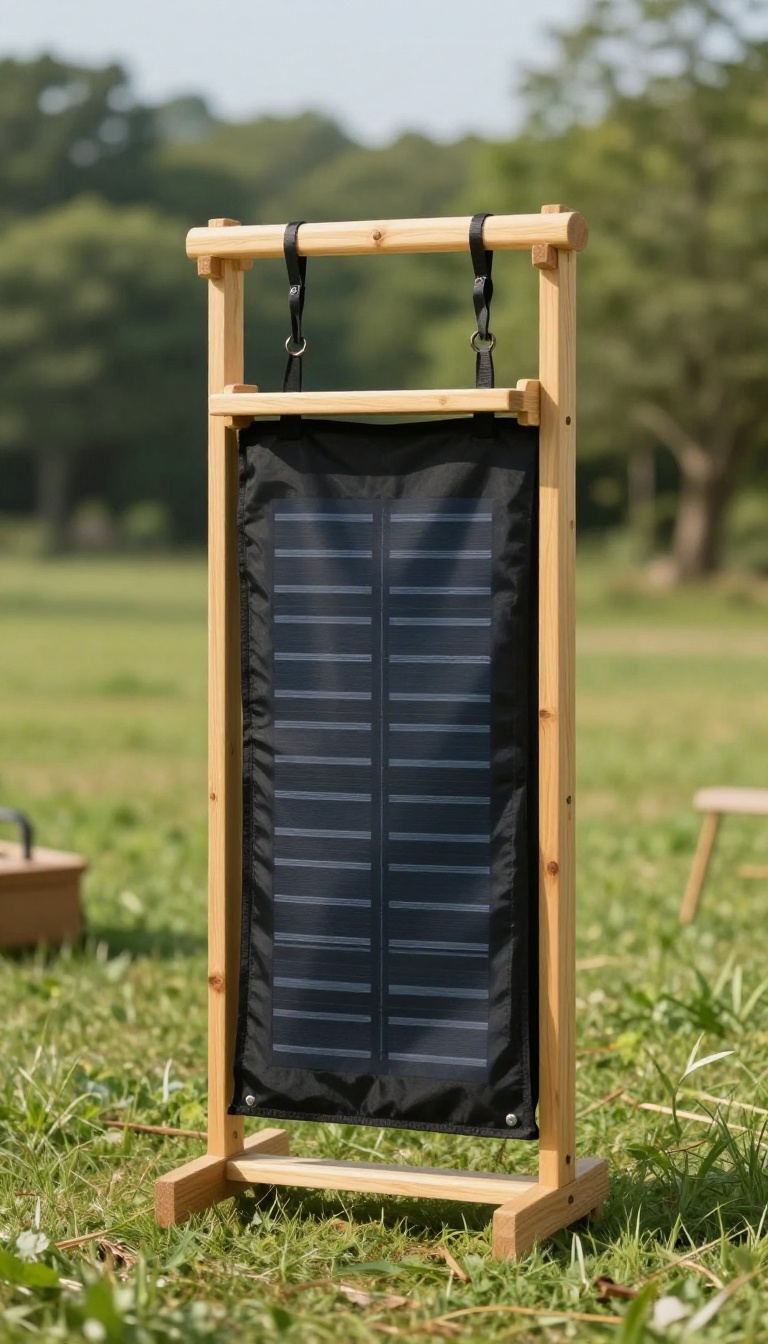
A portable solar shower bag doesn't have to dangle from a tree branch or sit on the ground. Mounting it on a simple wooden stand gives you a stable, waist-high setup that feels more like a real outdoor shower. The stand also keeps the bag off the dirt, so it stays cleaner and heats more efficiently in the sun.
This idea is all about combining the convenience of a portable shower with the polished look of a custom wooden frame. You can build the stand in an afternoon with basic lumber and a few screws, and it breaks down flat for easy transport. The result is a shower that's both practical and visually tidy, whether you're at a campsite or in your backyard.
Why A Wooden Stand Makes Sense
A stand lifts the shower bag to a comfortable height, so you don't have to crouch or hold it awkwardly. It also gives you a clean, organized spot to hang your soap and towel. Plus, the natural wood finish blends nicely with outdoor surroundings, unlike a plastic or metal frame.
Building Your Own Stand
You'll need four legs, two crossbars, and a top bar with a hook or a hole for the bag's strap. Use pressure-treated lumber or cedar for durability against moisture. Keep the design simple—a basic A-frame or a rectangle with diagonal braces works well.
Sand the edges and apply a water-resistant finish to keep it looking sharp.
Getting The Most From Your Setup
Place the stand in a sunny spot to warm the bag efficiently. Hang the bag so the nozzle faces the direction you'll be standing. Add a small wooden shelf or a hook for your toiletries to keep everything within reach.
When you're done, the stand can be disassembled and stored flat, making it easy to take on the road.
11. Reclaimed Wood Frame with a Clear Finish
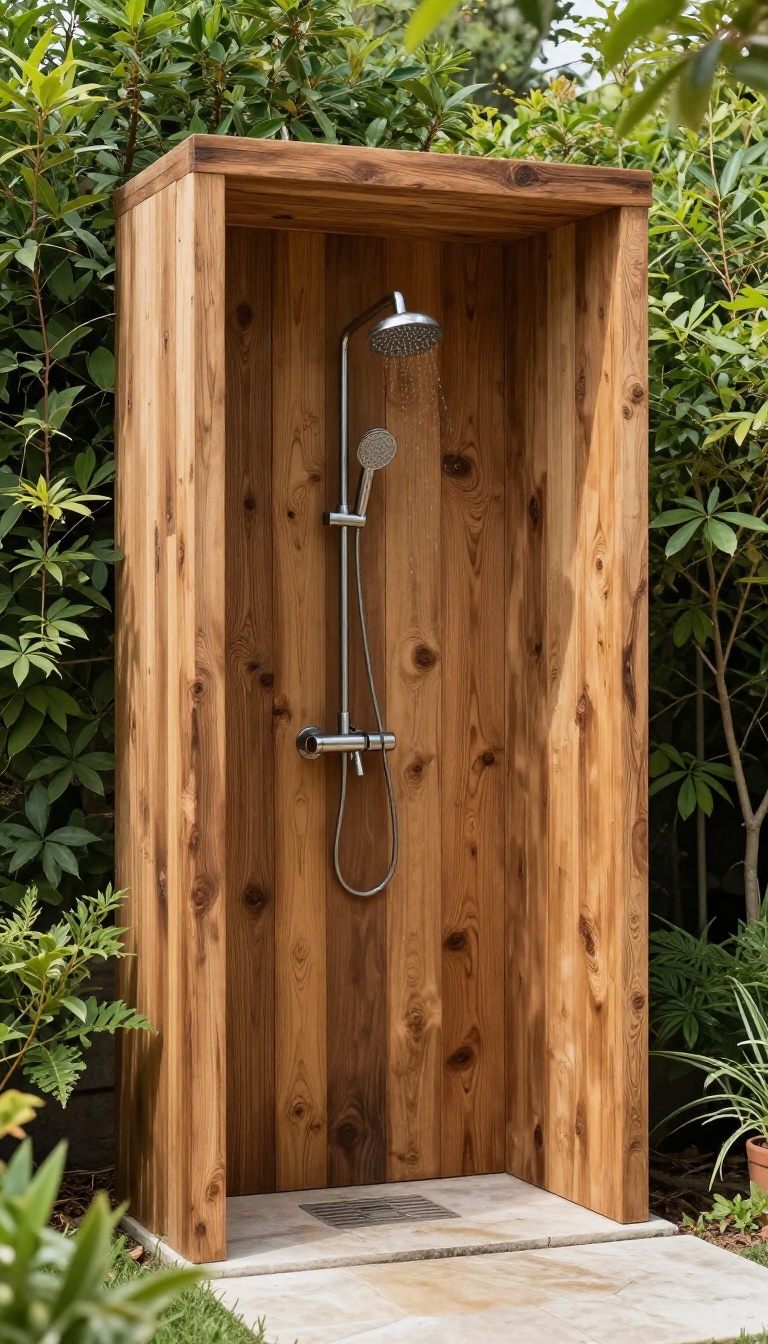
Barn wood has a story to tell, and when you seal it with a clear outdoor finish, it becomes a refined centerpiece for your off-grid shower. The natural grain and weathered texture stay visible, but the protective coat keeps the wood smooth and safe from the elements. It's a look that feels both rustic and deliberate, like it was meant to be there.
The key to this idea is choosing the right wood and treating it properly. Reclaimed barn wood is often dense and aged, which means it resists warping better than new lumber. The clear finish—whether it's a marine-grade varnish or a UV-protected oil—brings out the rich tones while sealing out moisture.
You'll get a shower that looks great now and only gets better with time.
Picking The Right Reclaimed Wood
Not all barn wood is the same. Look for boards that are dry, free of rot, and have a tight grain. Oak, chestnut, and old-growth pine are popular choices because they hold up well outdoors.
Avoid wood with large cracks or splits, as these can trap water and lead to decay. If you're sourcing from a local barn, ask about the wood's history—some boards may have been treated with chemicals, so you'll want to avoid those for a shower you'll be standing in.
Sealing For Longevity
A clear finish is more than just a cosmetic touch. It protects the wood from moisture, UV rays, and temperature swings. Marine varnish is a solid choice because it's designed for constant exposure to water.
You'll want to apply several coats, letting each one dry completely before adding the next. Reapply every couple of years to keep the finish looking fresh and the wood protected.
Design And Assembly Tips
When building the frame, use stainless steel or galvanized fasteners to avoid rust stains. Leave a small gap between the wood and the ground to prevent water from wicking up into the boards. You can also add a slight slope to the top of the frame so water runs off instead of pooling.
The result is a sturdy, elegant structure that blends into any outdoor setting.
12. River Rock Floor with a Copper Showerhead
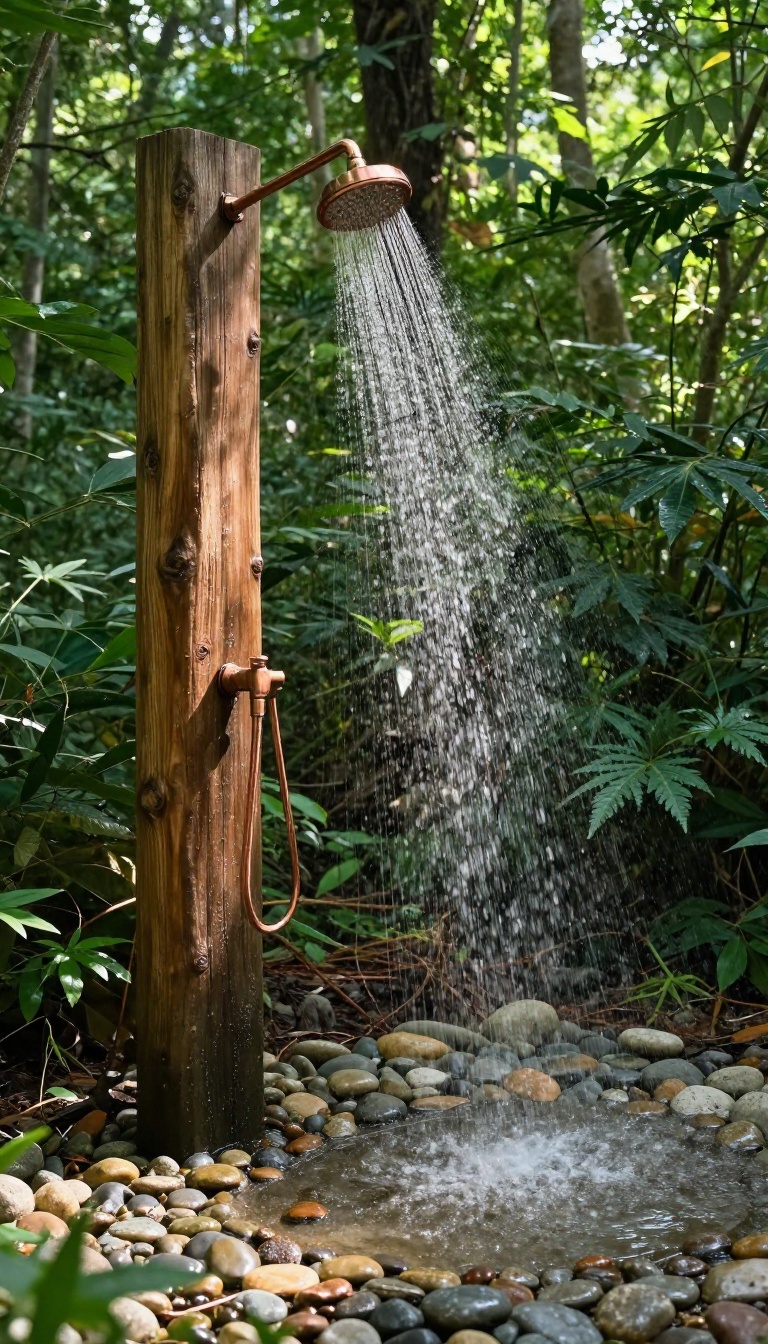
Smooth river rocks set in concrete create a natural foot massage, while a copper showerhead adds a warm, elegant touch. This pairing brings earthy texture and refined metal together, making your outdoor shower feel like a high-end spa tucked into the woods. River rock floors are durable, slip-resistant, and blend beautifully with natural surroundings.
The copper showerhead, with its warm patina over time, becomes a living element that ages gracefully. Together, they create a shower that feels grounded yet polished.
Building a river rock floor is a weekend project that pays off every time you step in. The stones feel great underfoot, and the concrete base ensures stability. Pairing that with a copper showerhead adds a touch of luxury that's still perfectly at home off-grid.
Why River Rock Works
River rocks are naturally rounded and smooth, so they're comfortable to stand on, even barefoot. They also provide excellent drainage, which is key for an outdoor shower. The concrete base holds them firmly, preventing shifting, and the gaps between stones let water flow away quickly.
This type of floor also ties your shower into the landscape. Whether you're in a forest or a desert, the organic look of river rock feels intentional and grounded.
Copper's Warm Appeal
Copper showerheads bring a warm, rosy glow that contrasts nicely with the cool gray of concrete and the varied tones of river rock. Over time, copper develops a natural patina—a greenish tint that many people find charming. It's a living finish that changes with the weather, adding character to your shower.
Copper is also naturally antimicrobial, which is a nice bonus for an outdoor fixture. Just make sure to use a food-safe sealant if you want to keep the shine, or let it age naturally for a more rustic look.
Installation Tips
Start by leveling the ground and laying a gravel base for drainage. Then mix concrete and pour it to about two inches thick. Press the river rocks into the wet concrete, leaving small gaps for water to seep through.
Let it cure for at least 48 hours before walking on it. For the copper showerhead, you'll need a pipe that runs from your water source—whether that's a gravity-fed tank or a pump. Copper pipes can be soldered or joined with compression fittings.
If you're not comfortable with plumbing, consider a pre-made copper showerhead that attaches to a standard hose.
13. Minimalist Glass Enclosure with a Wood Accent
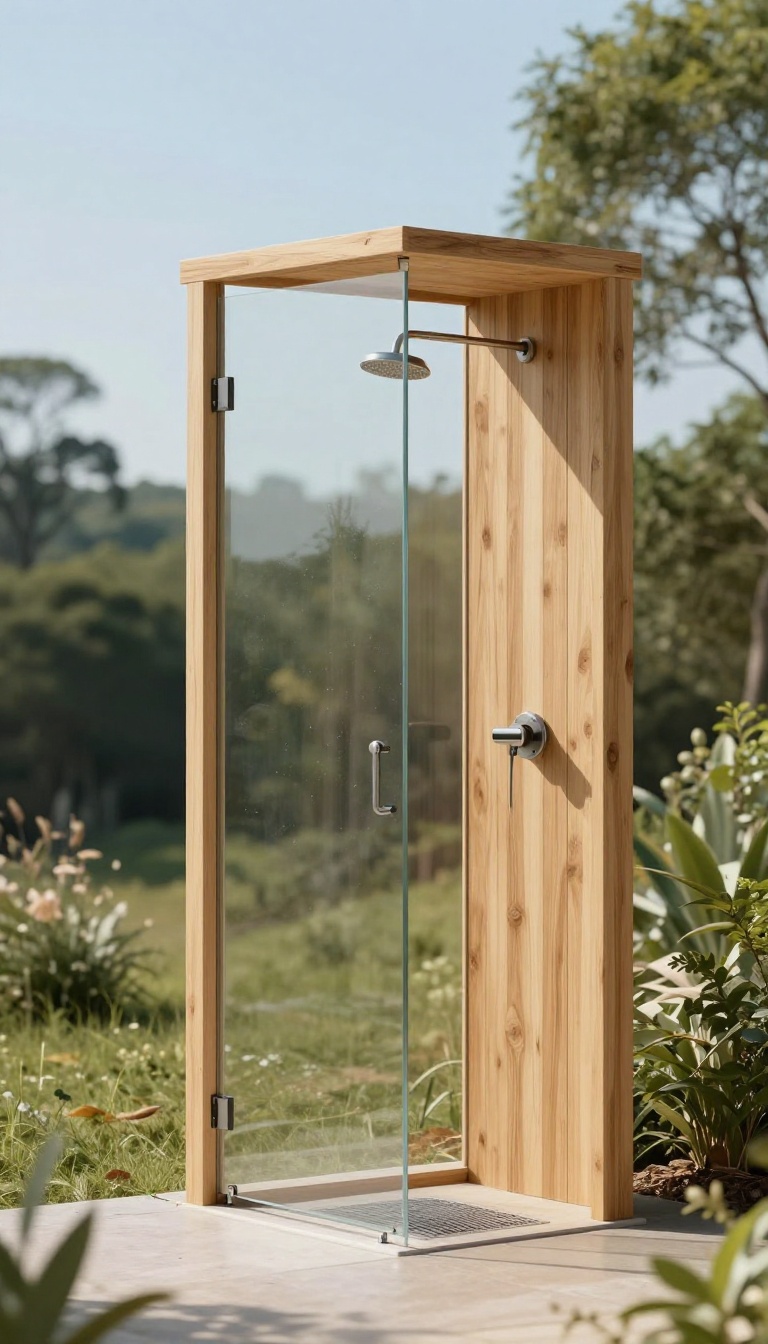
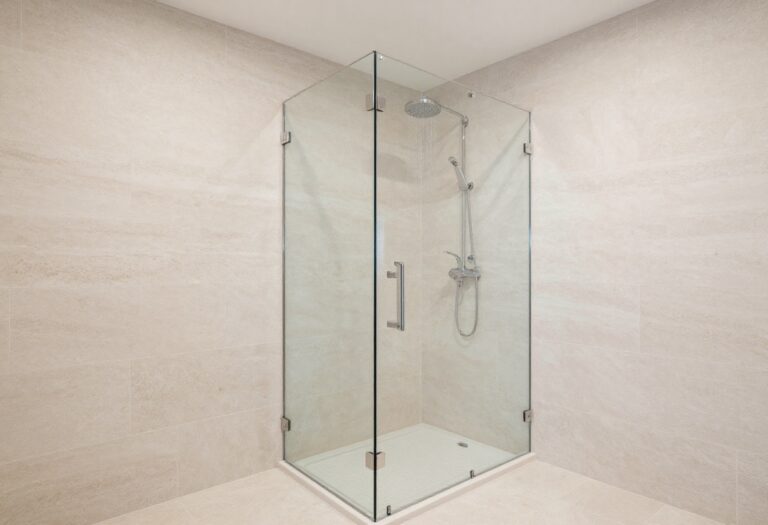
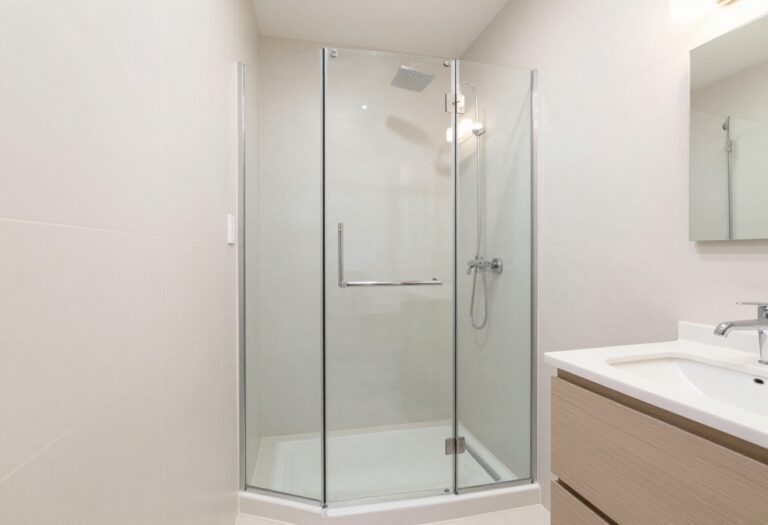
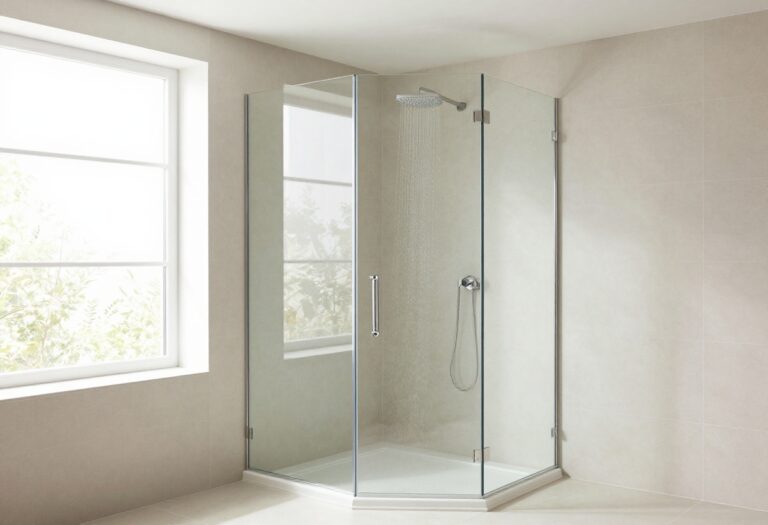
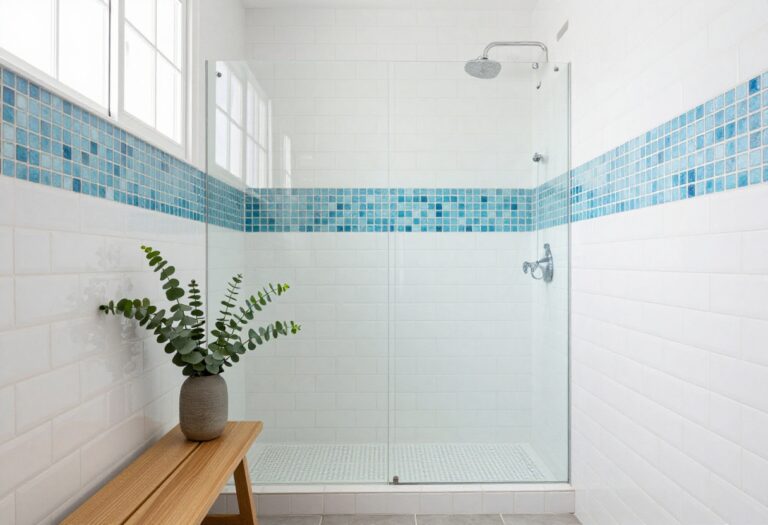
Sometimes the most refined look is the one that disappears into the landscape. A frameless glass panel paired with a single cedar post creates an open, airy shower that feels both private and connected to nature. This design strips away visual clutter, letting the surrounding trees or sky become the real backdrop.
This idea is all about restraint. Instead of a full enclosure, you use one or two clear glass panels to block the wind and prying eyes while keeping the view wide open. A vertical cedar post anchors the structure and adds a warm, natural contrast to the cool transparency of the glass.
The result is a shower that feels like a deliberate architectural statement, not an afterthought.
Why Glass Works Off-grid
Glass might seem fragile for a remote location, but tempered or laminated panels are surprisingly tough. They handle sun, rain, and temperature swings without warping or rotting. Plus, they let in natural light, so you don't need extra lighting during the day.
The key is to use a minimal metal frame that keeps the glass secure without adding visual bulk.
Choosing The Right Wood
Cedar is a natural fit because it resists moisture and insects, and it weathers to a soft gray that blends with the outdoors. You could also use teak or ipe for a darker, richer tone. Whatever you pick, treat it with a clear outdoor sealer to protect the grain and keep the wood looking polished for years.
Placement And Privacy
Position the glass panel to block the most direct sightline from your house or a neighbor's window, while leaving the other side open to the landscape. If you need more coverage, add a second panel at a slight angle. You can also plant tall grasses or ferns on the open side to soften the edge and create natural screening.
FAQ
How do I heat water for an off-grid shower?
You can use solar heating with black pipes or a solar bag, a propane tankless water heater, or a wood-burning stove with a water coil. Each method works well depending on your climate and setup.
What is the best flooring for an outdoor shower?
Teak, cedar, or composite decking are great choices because they resist moisture and provide a comfortable surface. Gravel or river rock also work well for drainage and a natural look.
How do I ensure privacy in an off-grid shower?
Use natural materials like bamboo, cedar, or stone to create a screen. You can also plant tall grasses or shrubs around the shower area for a living privacy wall.
Can I build an off-grid shower without a permit?
Permit requirements vary by location. Check with your local building authority. In remote areas, you may not need a permit, but it's always best to confirm.
How do I manage wastewater from an off-grid shower?
Use a simple greywater system that directs water to a drain field or a designated area with gravel. Avoid soaps with harsh chemicals to protect the environment.
Conclusion
These 13 ideas show that an off-grid shower can be both practical and refined. The key is to choose materials and designs that fit your surroundings and your personal style. Whether you prefer a rustic cedar enclosure or a sleek metal panel, the result is a clean, inviting space that feels like a luxury retreat.
Start with one idea that resonates, and adapt it to your needs. The payoff is a refreshing shower that connects you to nature without sacrificing comfort.