11 Disney Kitchen Ideas With Cute Magical Home Details on a Budget
You don't need a castle-sized budget to bring a little Disney magic into your kitchen. Whether you're a fan of classic films or newer favorites, small touches can transform your cooking space into something truly enchanting.
The trick is keeping things practical and stylish—no theme park prices required. From subtle color pops to clever storage solutions, these ideas let you celebrate your favorite stories without overwhelming the room.
Ready to add some pixie dust to your daily routine? Let's explore 11 budget-friendly ways to infuse Disney charm into your kitchen.
1. Mickey Mouse Accent Wall With Removable Wallpaper
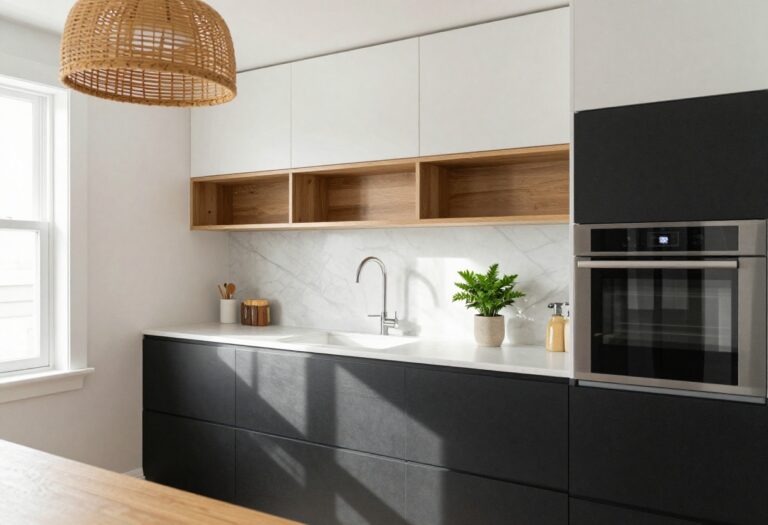
One of the easiest ways to sneak a little Disney magic into your kitchen is with a playful accent wall. Removable wallpaper has come a long way, and you can find patterns that feature subtle Mickey silhouettes or classic polka dots in colors that blend right in with your existing decor. It's a renter-friendly move that doesn't require a big commitment—if you get tired of it, just peel it off and start fresh.
This idea works especially well behind open shelving or the stove, where the pattern becomes a fun backdrop without overwhelming the space. The key is choosing a design that feels sophisticated enough for a kitchen—think muted tones like soft gray, navy, or blush instead of loud primary colors. The result is a space that feels both nostalgic and grown-up.
Best Colors And Patterns
Stick with subtle Mickey silhouettes in a tone-on-tone finish, like white on pale gray or cream on beige. Polka dots in a single color (black, navy, or even copper) also read as classic and elegant. Avoid anything too cartoonish—the goal is a nod to Disney, not a kids' room.
Placement Tips
Apply the wallpaper to one wall only, ideally the one behind your stove or sink. This draws the eye without making the kitchen feel busy. If your kitchen is small, a partial wall or a strip behind open shelving works just as well.
Budget-Friendly Swap
If full wallpaper feels like too much, try a removable wall decal or a stencil with acrylic paint. You can create a small cluster of Mickey silhouettes near the backsplash for a fraction of the cost.
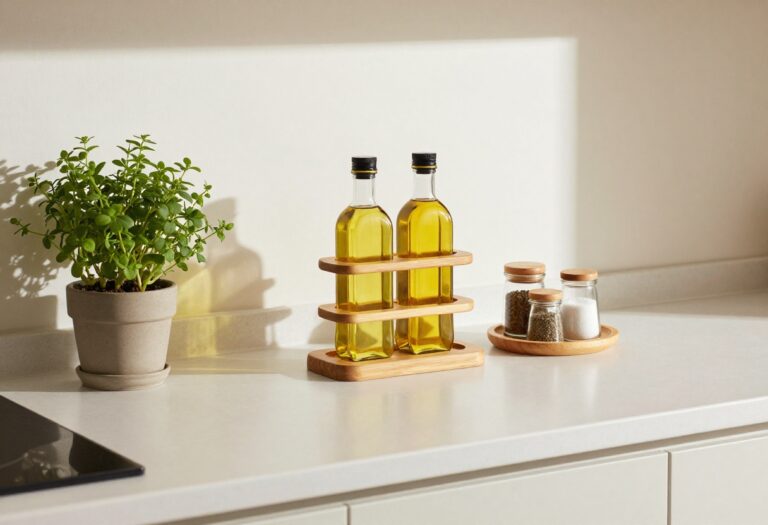
2. Fairy Tale Herb Garden in Mini Planters
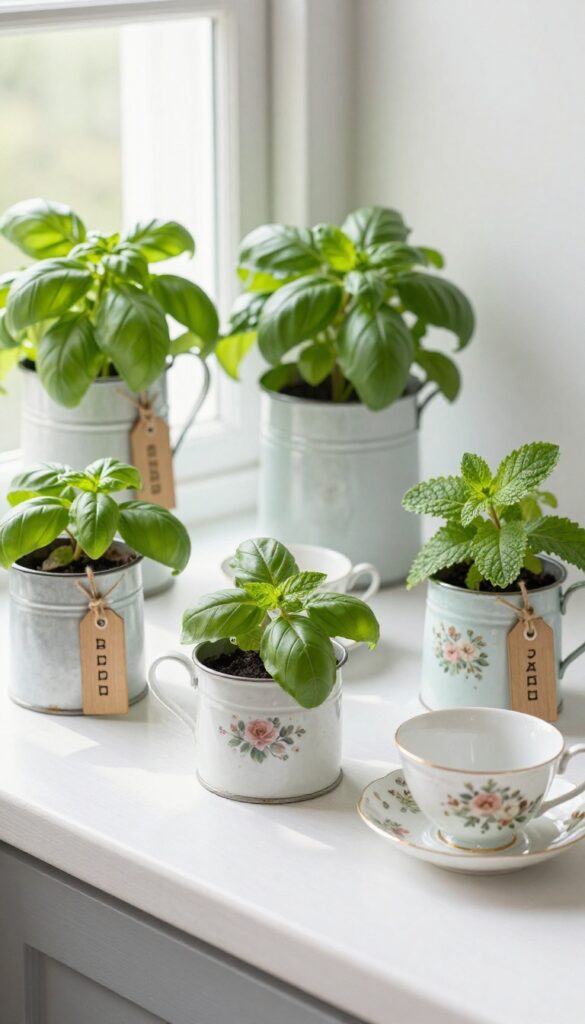
Bring a sprinkle of storybook charm to your kitchen counter with a tiny herb garden planted in unexpected vessels. Instead of standard terracotta pots, look for small tin pots or vintage teacups at thrift stores—they add instant personality without breaking the bank. Label each herb with a fairy tale name like 'Tinker Bell's Basil' or 'Pumpkin Spice' to tie the whimsy together.
This idea works especially well on a sunny windowsill or a narrow shelf near the sink, where the herbs get light and you can snip them while cooking.
A mini herb garden is one of the most budget-friendly ways to add life and color to your kitchen. By choosing containers with a storybook feel—think enameled tin pots, mismatched teacups, or small galvanized buckets—you create a playful focal point that feels curated, not cluttered. The key is to keep the planters small and grouped together, so they read as a collection rather than random pots.
Fresh herbs like basil, mint, thyme, and chives are easy to grow indoors and release their fragrance whenever you brush past them. Plus, having them right on the counter makes it effortless to add fresh flavor to your cooking. For a cohesive look, stick to a loose color palette—white, soft pastels, or distressed metal—so the planters feel intentional even if they don't match exactly.
Best Containers To Hunt For
- Start by scouring thrift stores, flea markets, or your own cabinets for small containers that feel a bit nostalgic. Tin pots with a slightly worn patina, porcelain teacups with floral patterns, or even tiny cast-iron cauldrons (yes, really) all work beautifully. Just make sure each container has a drainage hole or add a layer of pebbles at the bottom to prevent waterlogging.
- If you find a teacup without a saucer, that's fine—it adds to the eclectic vibe.
Labeling For Whimsy
Use small wooden tags, chalkboard labels, or even a permanent marker on a piece of masking tape to name each herb. Get creative with fairy tale references: 'Basil the Brave,' 'Cinderella's Chives,' 'Fairy Mint,' or 'Pumpkin Spice' (for a cinnamon basil variety). The labels turn a simple herb garden into a conversation starter and reinforce the magical theme without being over-the-top.
Placement And Care Tips
- Set your mini planters on a windowsill that gets at least 4–6 hours of sunlight a day, or use a small grow light if your kitchen is dim. Group them on a tray or a wooden cutting board to catch any drips and make watering easier. Water when the top inch of soil feels dry, and rotate the pots occasionally so all sides get light.
- Snip herbs regularly to encourage bushy growth—and enjoy having fresh flavors within arm's reach.
3. Castle-Inspired Cabinet Knobs and Pulls
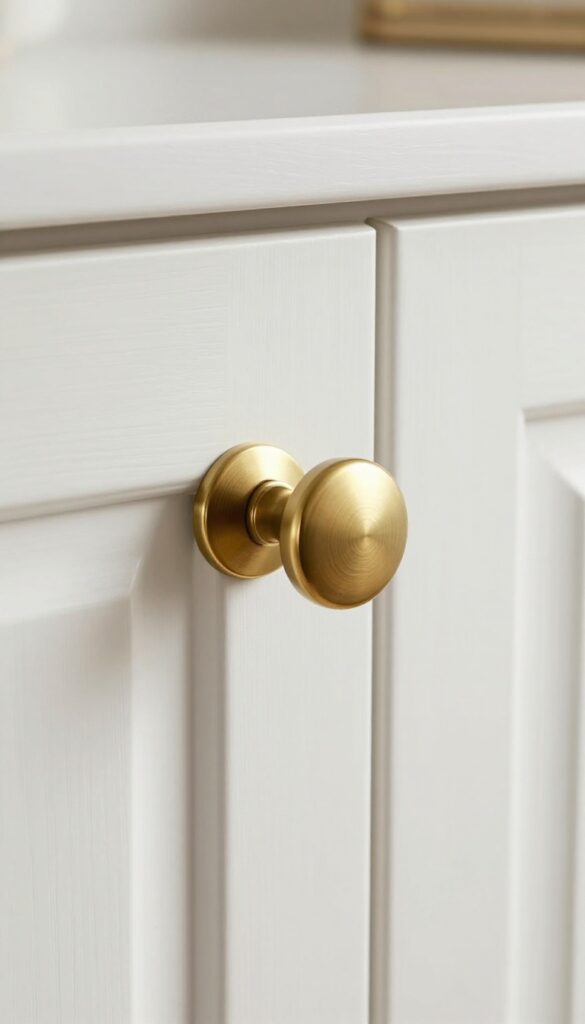
Swapping out standard cabinet hardware is one of those weekend projects that makes you wonder why you didn't do it sooner. For a Disney-inspired kitchen, knobs shaped like crowns, keys, or tiny castles turn plain cabinets into something straight out of a storybook. The best part?
You don't need a renovation budget or any special skills—just a screwdriver and a few whimsical pulls.
This budget-friendly upgrade works in any kitchen, whether you rent or own. Crown-shaped knobs add a regal touch to upper cabinets, while key-shaped pulls on drawers feel like you're unlocking a secret pantry. Mix and match different castle-inspired designs for a collected-over-time look, or stick with one motif for a cohesive feel.
The hardware becomes a subtle conversation starter without overwhelming the space.
Best Materials To Look For
- For a practical kitchen, choose hardware that can handle daily use. Brushed brass or antique bronze finishes give a warm, storybook feel and hide fingerprints well. Ceramic or resin knobs are lightweight and come in more detailed shapes, but make sure they're coated for easy wiping.
- Avoid sharp edges or delicate protrusions that could snag sleeves or collect grime.
Where To Place Them For Maximum Impact
Focus on the cabinets that are most visible—the ones flanking the sink, the island, or a glass-front hutch. You don't have to replace every knob in the kitchen; even swapping just the hardware on a single cabinet bank creates a focal point. For a subtle touch, use castle knobs on upper doors and standard pulls on lower drawers to balance whimsy with function.
Budget-friendly Swap Tip
Shop online marketplaces or discount home stores for individual knobs sold in sets or as singles. You can often find castle-inspired designs for under $5 each. If you're on a tight budget, spray-paint existing knobs with a metallic finish and add a small charm (like a tiny key) using strong adhesive—no one will know it's a DIY.
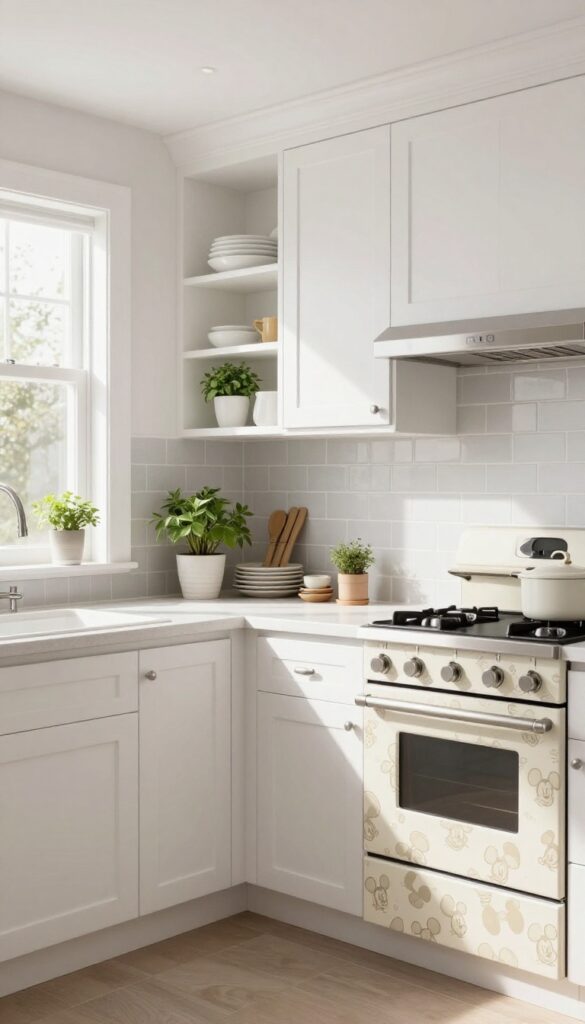
4. Color-Blocked Backsplash in Disney Palette
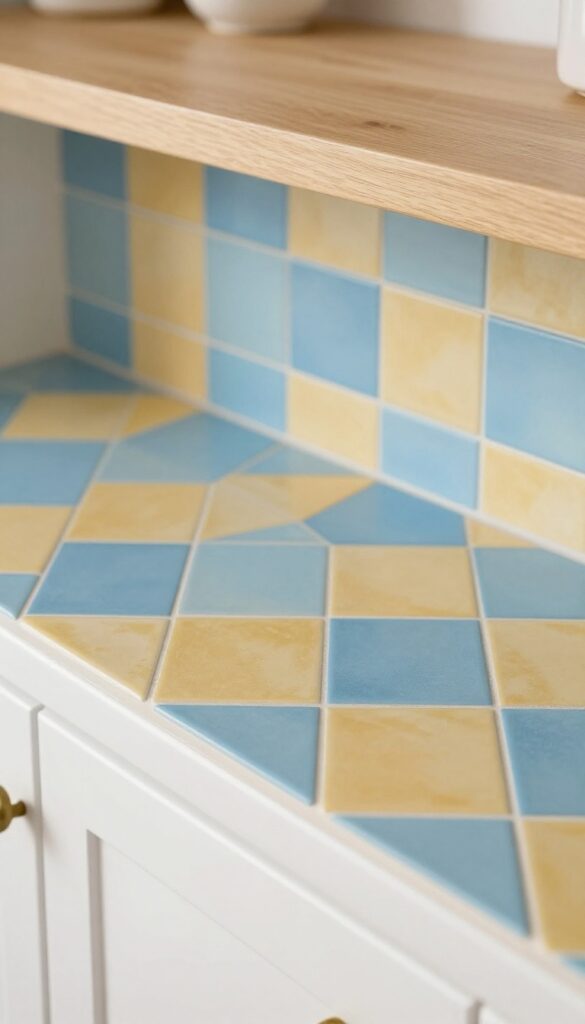
A backsplash is one of the easiest places to add personality without a full renovation. By using peel-and-stick tiles in colors pulled straight from Disney films, you can create a playful checkerboard or striped pattern that feels custom but costs way less than real tile. Think Cinderella's soft blue, Belle's warm gold, or Ariel's sea green—colors that instantly bring a storybook mood into your kitchen.
Peel-and-stick tiles are a renter-friendly and budget-conscious way to experiment with bold color. Choose two or three Disney-inspired shades and arrange them in a geometric pattern—checkerboard for a classic diner feel, or vertical stripes for a taller, more dramatic look. The key is to keep the rest of the kitchen neutral so the backsplash becomes the focal point.
Pair with simple white cabinets and natural wood accents to let the colors shine without overwhelming the space.
Best Colors To Mix
Stick to two or three hues that complement each other. Cinderella blue and Belle gold create a regal contrast, while Ariel sea green with a soft white keeps things fresh and coastal. Avoid using more than three colors, or the pattern can feel chaotic.
Budget-Friendly Swap
Peel-and-stick tiles cost a fraction of ceramic or glass tile and can be installed in an afternoon. They're also removable, making them perfect for renters or anyone who likes to update their kitchen often. Look for brands with a matte finish to mimic real stone or ceramic.
Pattern Layout Tip
For a small kitchen, a checkerboard pattern adds visual interest without overwhelming. In a larger space, vertical stripes can draw the eye upward and make the ceiling feel higher. Use painter's tape to map out your pattern before sticking anything down.
5. Vintage Disney Movie Poster Art
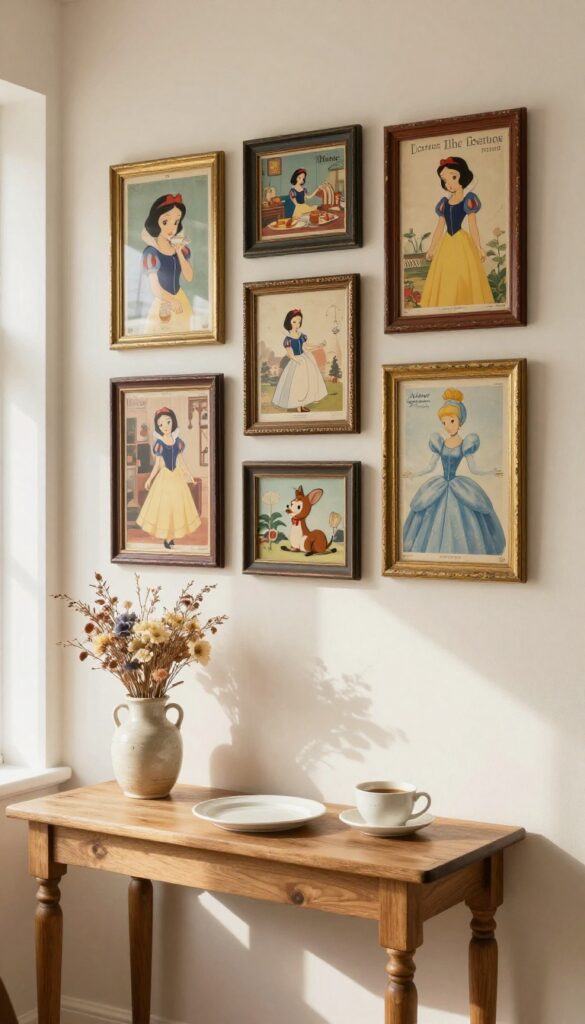
That wall next to your dining table or breakfast nook is prime real estate for a little storytelling. Instead of generic prints, try framing vintage-style Disney movie posters in mismatched thrifted frames. The worn-in look of the frames paired with nostalgic artwork creates a cozy, lived-in feel that doesn't scream "theme park." It's a budget-friendly way to add personality without committing to a full Disney kitchen makeover.
Scour flea markets, thrift stores, or online marketplaces for old frames with chipped paint or ornate details—they add instant character. Look for Disney poster reproductions that mimic the original 1930s–1960s style, like Snow White, Cinderella, or Lady and the Tramp. Arrange them in a loose gallery wall, mixing frame sizes and finishes for an eclectic, curated look.
Keep the rest of the kitchen neutral so the posters pop without feeling cluttered.
Best Frame Styles
Go for wooden frames with visible wear—scratches, faded gold leaf, or distressed white paint. Avoid shiny new frames; they'll fight the vintage vibe. Thrift stores often have these for under $5 each.
Layout Tip
Map your arrangement on the floor first, then transfer it to the wall using paper templates. Keep 2–3 inches between frames for a balanced, airy feel. Center the grouping over a small console table or bench for a natural anchor.
Budget-Friendly Swap
Can't find real vintage posters? Print high-resolution scans of Disney movie posters on matte paper and tea-stain the edges for an aged look. Total cost: under $10 for a set of five.
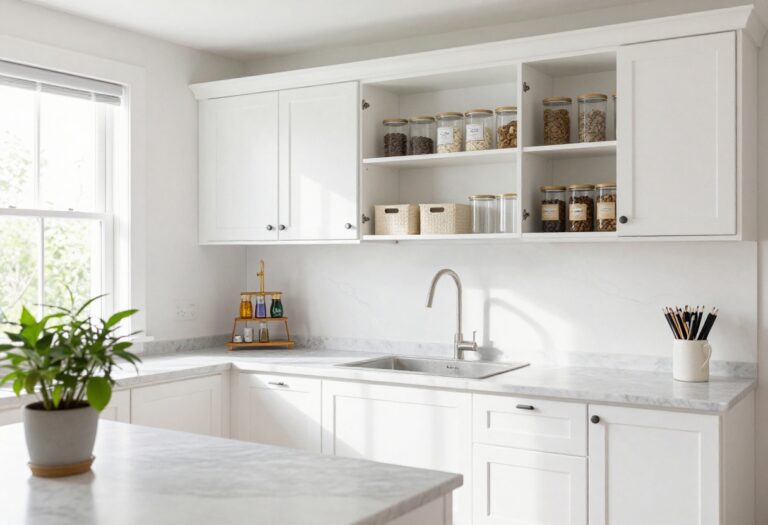
6. Hidden Mickey Shelf Decor
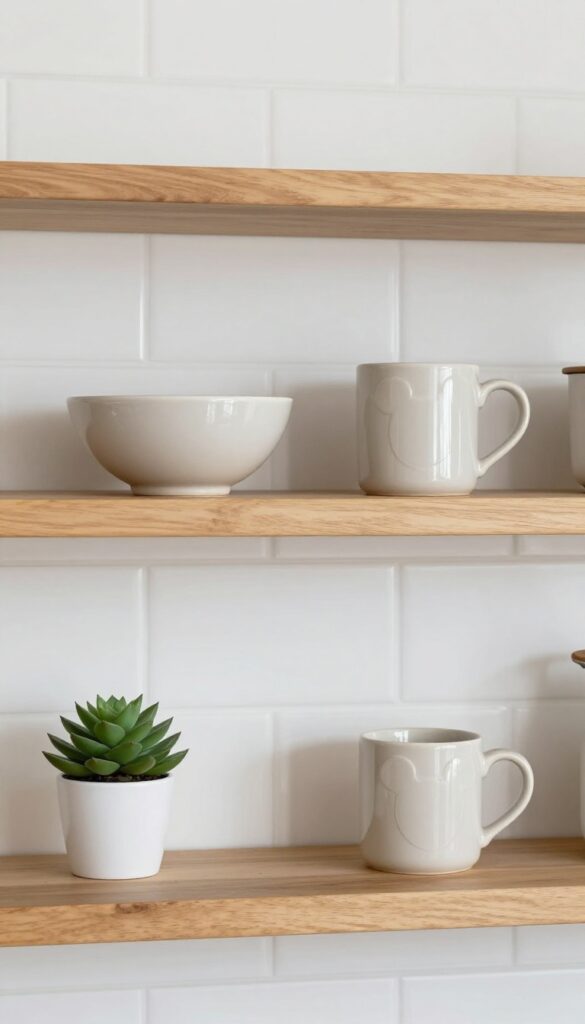
Turning everyday kitchen items into a subtle Disney nod is one of the most budget-friendly ways to add magic. You don't need pricey figurines or themed dish sets—just a little creativity with what you already own. The hidden Mickey trend fits perfectly into a practical kitchen because it feels like a fun Easter egg for guests to discover, not an over-the-top theme.
Arrange everyday kitchen items like cookie jars, salt shakers, or cookbooks to form hidden Mickey shapes. A fun Easter egg that delights guests without extra cost.
Best Spots For Hidden Mickeys
Look for natural grouping areas: open shelving, the top of a fridge, a windowsill, or even a counter corner. The key is to keep the arrangement looking intentional—three round items in a row with a smaller one in the middle reads as a Mickey silhouette without being obvious.
Everyday Items That Work Best
Think round or oval objects: a small mixing bowl flanked by two mugs, a set of salt and pepper shakers with a round dish, or three cookbooks stacked with a tiny jar on top. White or neutral tones keep the look clean, while a pop of red (like a vintage cookie tin) adds that classic Disney feel.
Styling Tip For A Polished Look
Avoid clutter—limit yourself to one or two hidden Mickeys per shelf so they feel like clever details, not a scavenger hunt. Group them with a small plant or a stack of plates to blend in naturally. The magic is in the subtlety.
7. Fairy Light Jar Centerpiece
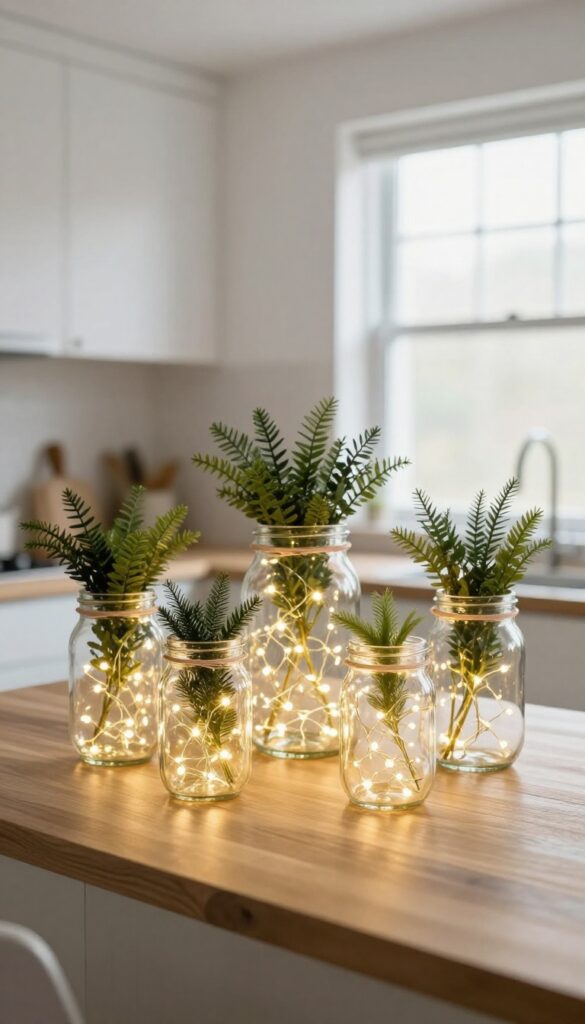
A handful of mason jars filled with tiny twinkling lights can transform your kitchen into a cozy, storybook space. This centerpiece idea is budget-friendly and surprisingly versatile—perfect for adding a soft glow to your island or windowsill without any complicated wiring. The warm light mimics Tinker Bell's dust, bringing a subtle Disney magic to your everyday cooking area.
Start with a few standard mason jars in varying sizes. Drop in battery-operated fairy lights (the copper wire kind work best) and arrange them in a cluster down the center of your kitchen island or along a sunny windowsill. The effect is soft, inviting, and completely safe around kids and pets.
For extra charm, tie a thin ribbon around the jar rims or add a sprig of faux greenery inside. This idea works especially well in kitchens with neutral tones, as the warm light becomes the focal point. It's also an easy way to dress up a breakfast bar or a corner shelf without spending much.
Swap out the lights seasonally—warm white for everyday, multicolor for parties—and you've got a centerpiece that adapts to any occasion.
Best Placement
Cluster three to five jars on your kitchen island or line them up on a windowsill. For a smaller space, place one jar on a counter near the sink or on a floating shelf. The key is to keep them where they catch the eye without blocking your workspace.
Budget-Friendly Swap
Skip expensive decorator jars and use clean pasta sauce or pickle jars instead. They have the same shape and look just as charming once the lights are inside. You can also find dollar-store fairy light strands that last for months on one set of batteries.
Finishing Touch
Add a small Disney-themed charm, like a silver star or a tiny Tinker Bell figurine, tucked among the lights. It's a subtle nod to the magic without overwhelming the practical, stylish vibe. You can also sprinkle a few faux pearls or glass beads at the bottom of each jar for extra sparkle.
8. Princess-Inspired Tea Towels and Oven Mitts
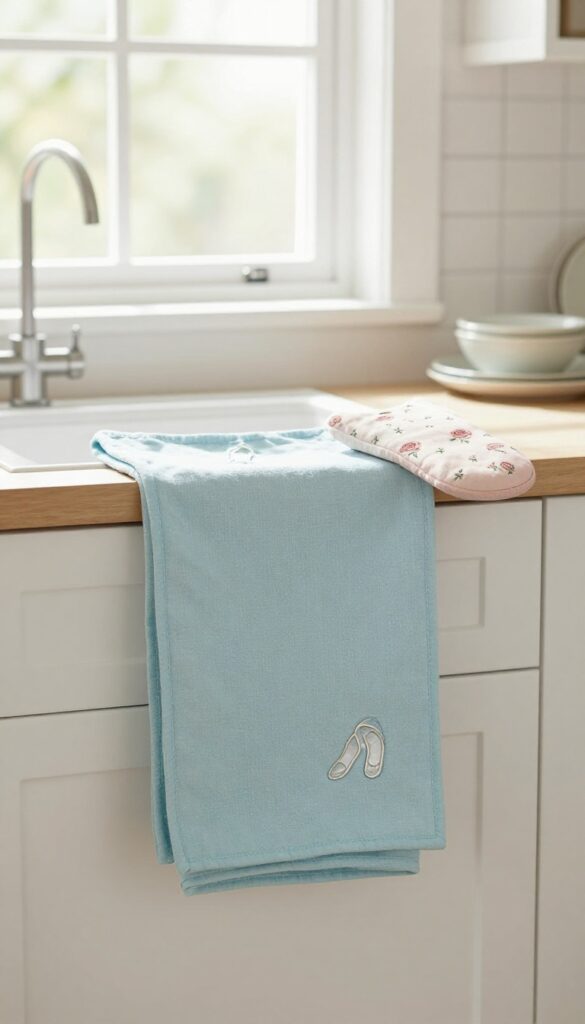
A kitchen full of Disney magic doesn't need a castle-sized budget. Small textile swaps like tea towels and oven mitts can carry the theme without overwhelming the space. Look for subtle nods—a tiny glass slipper embroidered on a corner or a delicate rose pattern—that feel charming rather than costume-like.
These pieces work hard every day, so they earn their place in a practical kitchen.
Princess motifs on kitchen linens are an easy, low-commitment way to add whimsy. Because you use towels and mitts daily, they get noticed but never feel cluttered. Stick to one or two patterns so the look stays curated.
Pair a Cinderella-inspired towel with a solid-colored one to balance the visual weight. For oven mitts, choose a design that coordinates with your existing color scheme—think soft blues, blush pinks, or warm golds. These details make the kitchen feel personal without screaming "theme."
Best Colors
Stick to soft, muted tones that blend with your current palette. Pale lavender, dusty rose, and champagne gold work well with most neutral kitchens. Avoid bright neons or stark contrasts that can clash with countertops and cabinets.
Budget-Friendly Swap
Instead of buying a full set of themed towels, pick one or two accent pieces and rotate them with your everyday linens. Look for sales at home goods stores or check online marketplaces for gently used Disney-themed kitchen textiles.
Finishing Touch
Fold the towel neatly over the oven handle or hang it from a simple hook near the sink. Keep the mitts within easy reach but out of direct sight—tuck them in a drawer or on a small rack beside the stove. This keeps the look tidy while still adding a pop of personality.
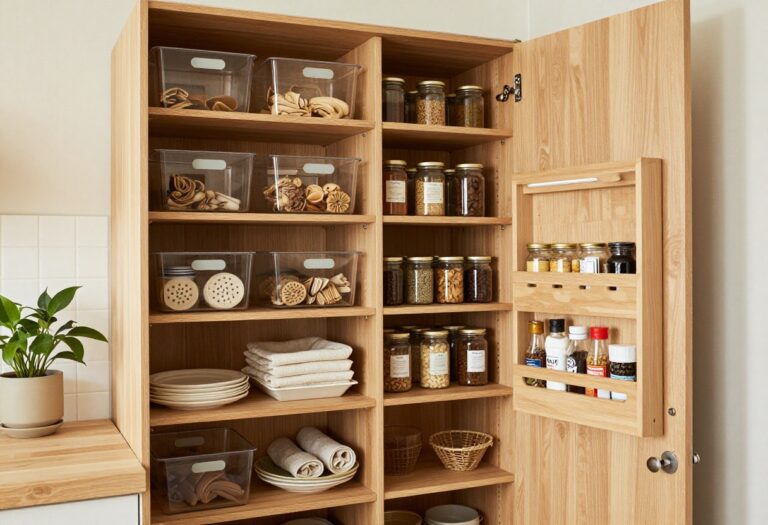
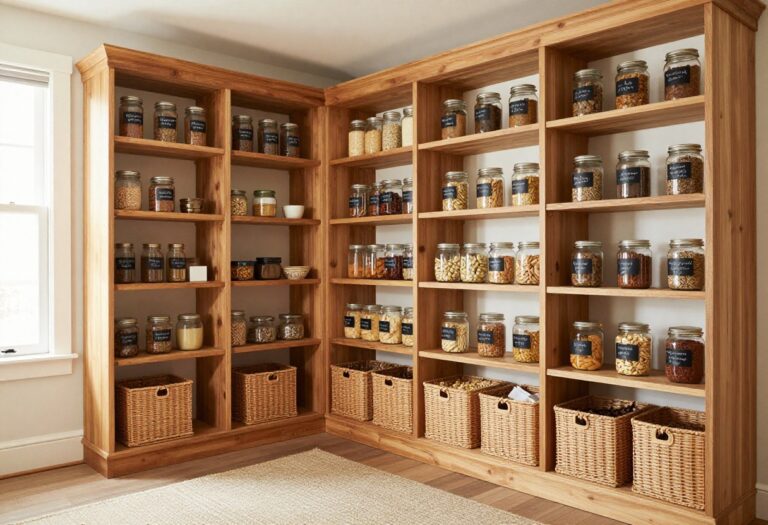
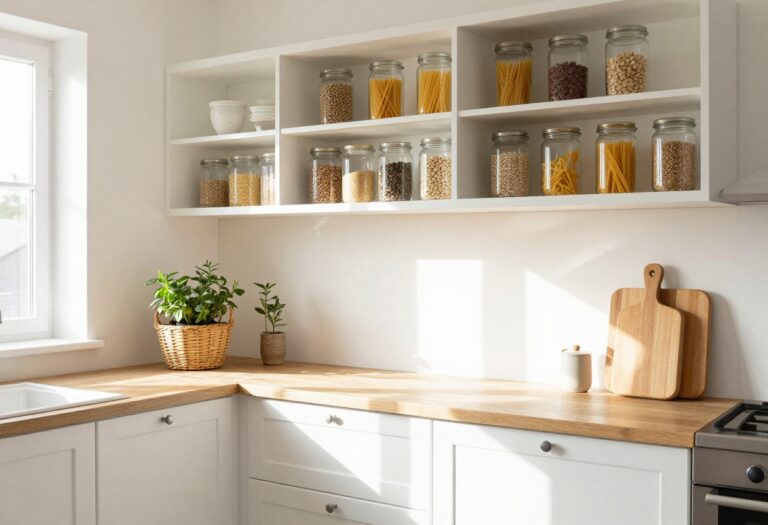
9. Storybook Open Shelving With Color-Coded Dishes
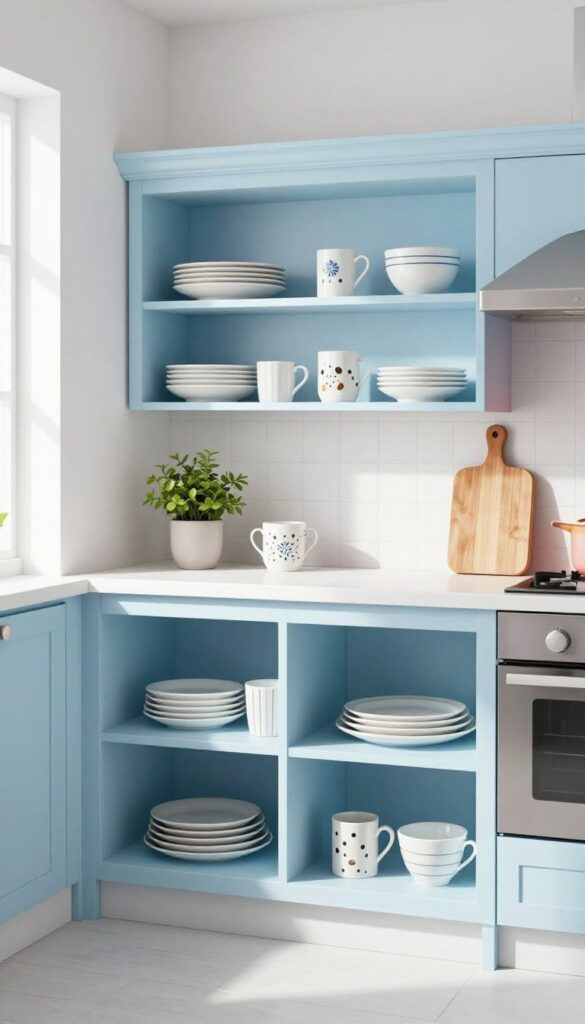
Open shelving can feel chaotic if you just stack random plates and bowls. But when you organize dishes by color, it becomes a deliberate design feature—like a living rainbow or a palette pulled straight from a Disney film. This trick works especially well in smaller kitchens where every inch of wall space counts, turning storage into a focal point without spending much.
The key is to keep it practical: you still grab your favorite cereal bowl every morning, but now it contributes to the overall look.
Start by choosing a color story. If you love the cool tones of "Frozen," stick with icy blues, silvers, and whites. For a "Beauty and the Beast" vibe, warm golds, deep reds, and creamy whites create that enchanted feel.
Mix in a few character mugs or a single themed plate to anchor the Disney connection without going overboard. Arrange the dishes from lightest to darkest or in a gradient—left to right or top to bottom. This rainbow effect draws the eye and makes the shelves feel intentional.
Keep the rest of the shelf simple: maybe a small plant or a wooden cutting board for texture, but avoid clutter so the color story stays front and center.
Best Colors To Start With
- If you're on a budget, stick with dishes you already own and just rearrange them by color. Thrift stores are gold mines for inexpensive colored plates and bowls—look for solid hues that match your chosen palette. For a classic Disney rainbow, think red, orange, yellow, green, blue, and purple.
- Or go monochromatic with shades of one color for a more subtle, grown-up look.
Shelf Styling Tip
- Vary the heights and shapes of your dishes to create visual rhythm. Stack a few plates on a small cake stand, lean a cutting board behind a set of bowls, and group character mugs together. Leave a little breathing room between items so the color grouping reads clearly.
- A simple white or wood shelf keeps the focus on the dishes.
Budget-Friendly Swap
- No need to buy a full set of new dishes. Start with what you have and fill in gaps with a few thrifted finds or discount store pieces. Even mixing solid colors with a couple of character pieces (like a Mickey Mouse plate or a Princess mug) gives you that Disney touch without the price tag.
- The curated look comes from the arrangement, not the cost.
10. Mickey Mouse Spice Rack Repurpose
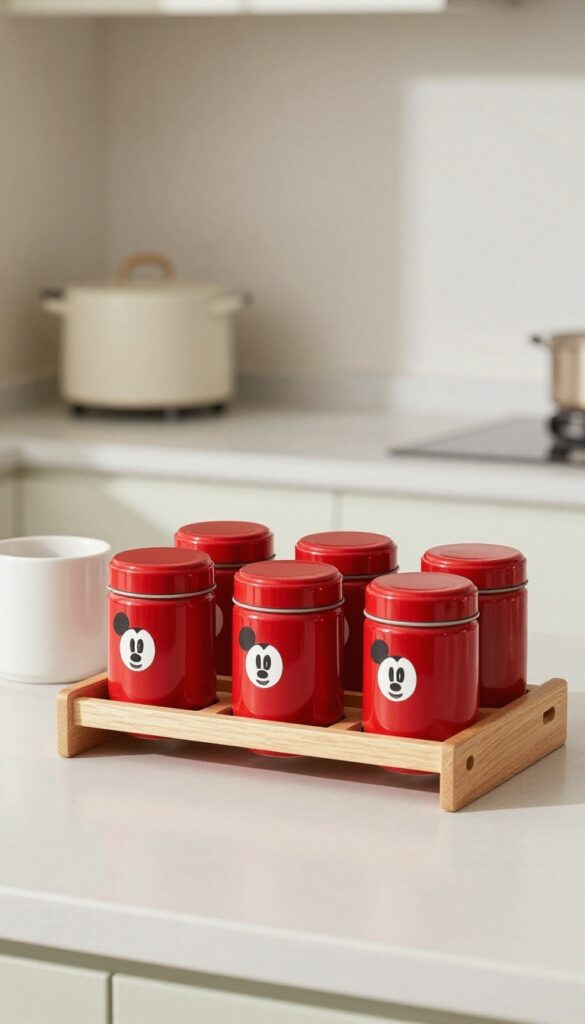
Spice racks are practical, but they don't have to be boring. Give a plain wooden spice rack a Disney twist by painting it in Mickey's signature red and black. This small DIY project adds a playful pop of color to your countertop while keeping your spices neat and accessible.
It's a simple way to sneak a little magic into your daily cooking routine without going over the top.
A painted spice rack becomes more than just storage—it becomes a conversation piece. The bold red draws the eye, while the black accents keep it grounded. Place it near your stove or coffee station for easy access, and let the Mickey-inspired palette bring a smile every time you reach for the paprika.
This idea works especially well in kitchens with neutral cabinetry, where the red can stand out without clashing.
Best Colors
Stick to classic Mickey red and black for an instantly recognizable look. Use a matte finish for a modern feel or a satin sheen if you want a subtle glow. You can add white dots for a playful polka-dot accent on the sides or drawer fronts—just keep it minimal to avoid a busy appearance.
Budget-Friendly Swap
Instead of buying a new spice rack, check thrift stores or garage sales for a plain wooden one. A small can of red paint and black craft paint will cost under $10. If you don't have a spice rack, a wooden napkin holder or a small letter organizer can work just as well with a little creativity.
Finishing Touch
Add a clear coat of polyurethane or a water-based sealer to protect the paint from kitchen grease and moisture. For extra Disney charm, paint a small Mickey silhouette on the front or use a stencil for clean edges. Keep the spices in clear jars with black lids to maintain the color scheme and make labels easy to read.
11. Under-Cabinet Silhouette Decals
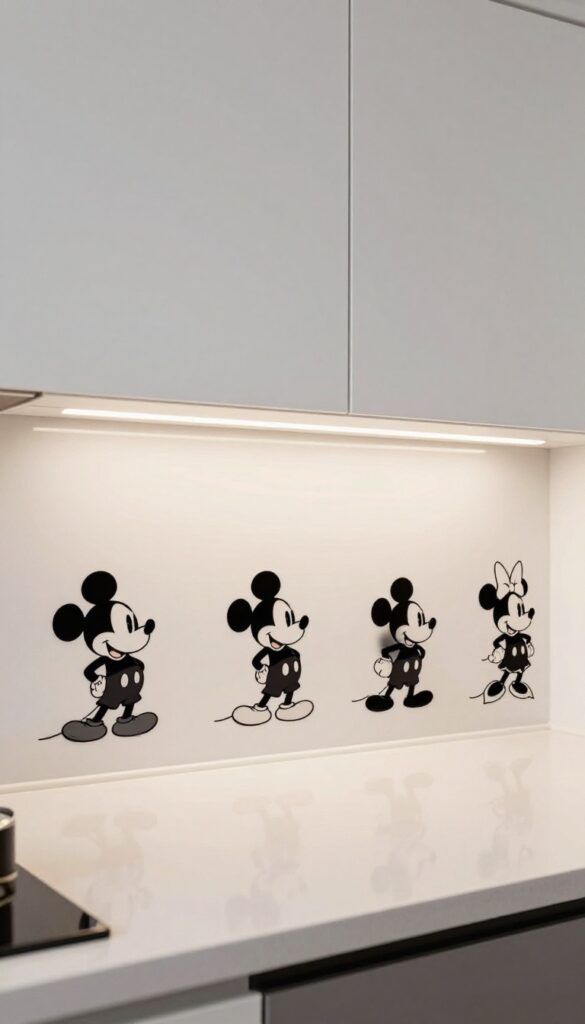
The space under your upper cabinets is often overlooked, but it's prime real estate for a subtle, budget-friendly Disney touch. Removable silhouette decals of your favorite characters—think Mickey, Minnie, or Simba—add a playful surprise that's visible only when you're standing at the counter. It's a clever way to bring magic into your kitchen without overwhelming the space or your wallet.
These decals are easy to apply and remove, making them perfect for renters or anyone who likes to change things up. They work best in kitchens with neutral backsplashes where the contrast can shine. The key is to keep the placement intentional—space them evenly or cluster a few for a storytelling effect.
Pair with warm under-cabinet lighting to make the silhouettes pop, especially in the evening.
Best Colors
Classic black silhouettes work with almost any backsplash, but you can also find white or metallic options. For a cohesive look, match the decal color to your hardware or light fixtures. If your kitchen has a lot of color, stick to black or white to keep it subtle.
Placement Tips
Place decals about 2-3 inches from the front edge of the cabinet so they're visible when you look up. Avoid putting them directly above the sink or stove where steam and grease might affect adhesion. A staggered arrangement creates a playful, dynamic feel.
Budget-Friendly Swap
Instead of buying expensive custom decals, look for affordable silhouette wall decal sets online. You can often find multi-packs for under $20. Use only the characters you love and save the rest for another project.
FAQ
Can I achieve a Disney kitchen on a tight budget?
Absolutely. Most ideas here use affordable materials like removable wallpaper, thrifted frames, and DIY projects. Focus on small accents rather than big renovations.
Will these ideas work in a rental kitchen?
Yes. Many suggestions are renter-friendly, such as removable decals, peel-and-stick tiles, and temporary hardware swaps. Always check your lease for any restrictions.
How do I keep the Disney theme from looking childish?
Stick to subtle nods like color palettes, silhouettes, or vintage art. Avoid overloading the space with character merchandise. Balance whimsy with neutral, practical elements.
What if I'm not a fan of Mickey Mouse?
No problem. You can adapt the ideas to any Disney film or character you love—think princesses, Pixar, or classic animations. The key is personalizing it to your taste.
How do I clean removable wallpaper or decals?
Gently wipe with a damp cloth and mild soap. Avoid abrasive cleaners. Most removable products are designed to be durable but still easy to remove without residue.
Conclusion
Adding Disney magic to your kitchen doesn't require a fairy godmother or a vault of gold coins. With a few clever, budget-friendly touches, you can create a space that feels both practical and whimsical.
Whether you choose a subtle silhouette decal or a full accent wall, the key is to have fun and let your personality shine. After all, a little magic in the kitchen makes every meal feel like a celebration.