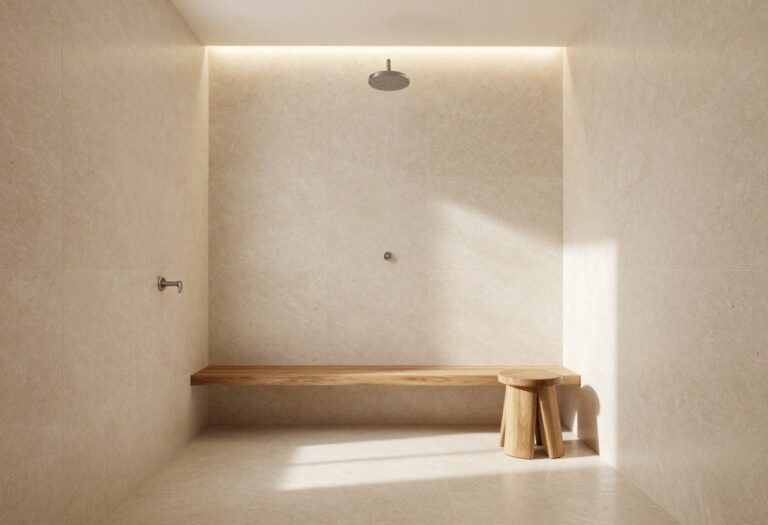
11 Curbless Walk-In Shower Ideas for a Warm, Inviting Layout
Stepping into a curbless shower feels like a small luxury every single day—no step to trip over, no barrier to break the visual flow. But making that seamless entrance truly inviting takes more than just removing a curb; it’s about layering warmth through materials, lighting, and thoughtful details.
Whether you're planning a full remodel or just dreaming about a future upgrade, these 11 ideas focus on practical ways to make your walk-in shower feel cozy and open.
From heated floors to earthy textures, each suggestion targets a specific element that turns a functional space into a warm retreat you’ll look forward to using.
1. Natural Stone Tiles for an Organic, Spa-Like Feel
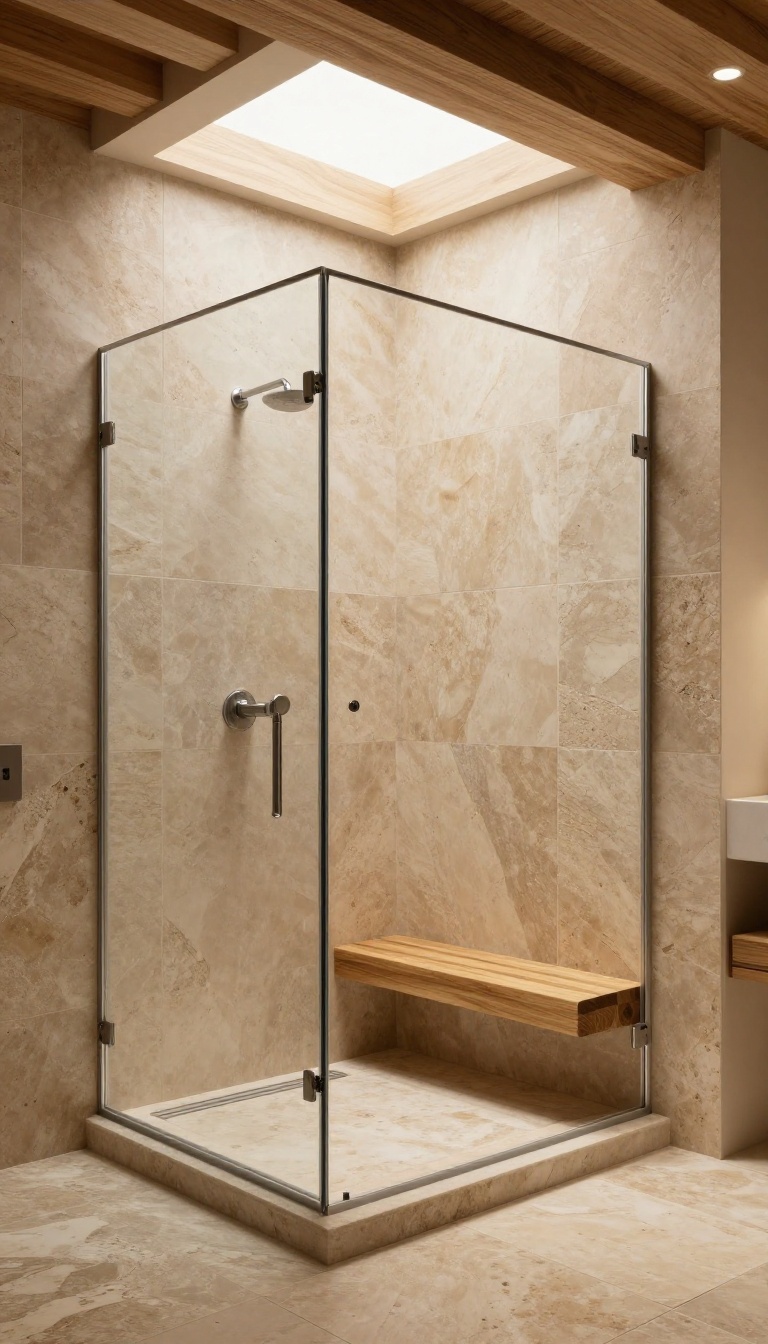
Natural stone instantly brings a sense of calm and connection to the outdoors. Large-format travertine or slate tiles create a warm, earthy palette that blends seamlessly with the rest of your bathroom. The subtle texture not only adds grip underfoot but also gives the shower a rich, organic character that feels anything but sterile.
When you choose natural stone, you're not just picking a surface—you're setting the entire mood of the space. The variation in color and veining makes each tile unique, so your shower feels custom and personal. Plus, the matte finish of many natural stones hides water spots and soap scum better than glossy tiles, which means less upkeep and more time enjoying your retreat.
Why Large-format Tiles Work Best
Bigger tiles mean fewer grout lines, which translates to a cleaner look and easier maintenance. In a curbless shower, this is especially helpful because it keeps the visual flow uninterrupted from the bathroom floor into the shower area. The larger surface also showcases the stone's natural beauty, making the space feel more open and spa-like.
Pairing Stone With Warm Accents
To enhance the cozy feel, combine your stone tiles with warm wood elements—like a teak bench or a cedar ceiling. These materials echo the earthy tones of the stone and add a layer of natural warmth. You can also introduce soft lighting, such as dimmable sconces or a skylight, to highlight the texture and create a gentle, inviting glow.
Sealing And Maintenance Tips
Natural stone is porous, so sealing is crucial to protect it from moisture and staining. Opt for a high-quality penetrating sealer and reapply it every year or as recommended. For daily care, use a pH-neutral cleaner and a soft cloth to keep the stone looking fresh.
With the right upkeep, your stone shower will age beautifully and remain a warm focal point for years to come.
2. Heated Floors for a Cozy Underfoot Experience
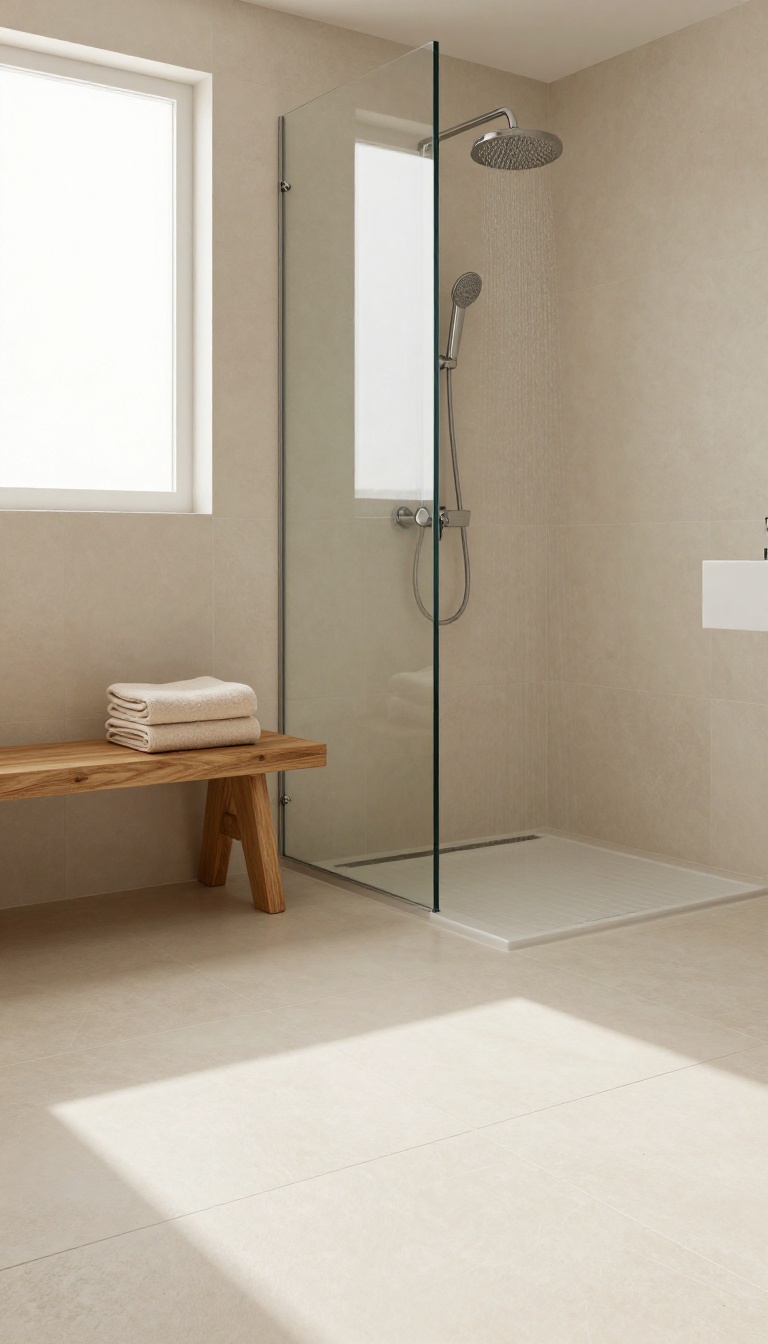
Cold tile underfoot can make even the most beautiful shower feel uninviting, especially on chilly mornings. Radiant floor heating solves that by warming the surface from below, so every step feels like a gentle welcome. It’s a small addition that makes a big difference in comfort.
Radiant heating isn’t just for the shower area—you can install it across the entire bathroom floor for consistent warmth. This system works well with tile, stone, and even some types of vinyl, making it a versatile upgrade. The heat radiates upward, warming your feet and the air around you, so you never have to brace yourself for that first step out of the shower.
Why Radiant Heat Works So Well
Unlike forced-air heating, radiant heat doesn’t stir up dust or create hot spots. It delivers a gentle, even warmth that feels natural, like stepping onto sun-warmed stone. Plus, it operates quietly and efficiently, saving energy compared to traditional heaters.
Installation Options To Consider
You can choose between electric mats or hydronic (water-based) systems. Electric mats are easier to install and ideal for smaller bathrooms, while hydronic systems are more cost-effective for larger areas. Both can be embedded in the mortar bed beneath your tile, so the floor stays smooth and seamless.
Controls And Smart Features
Modern thermostats let you schedule heating times, so your floor is warm when you wake up and cool down later. Some models even connect to smart home systems, allowing you to adjust temperature from your phone. This adds convenience and helps you manage energy use without sacrificing comfort.
3. Glass Panels Instead of Curtains to Keep Sightlines Open
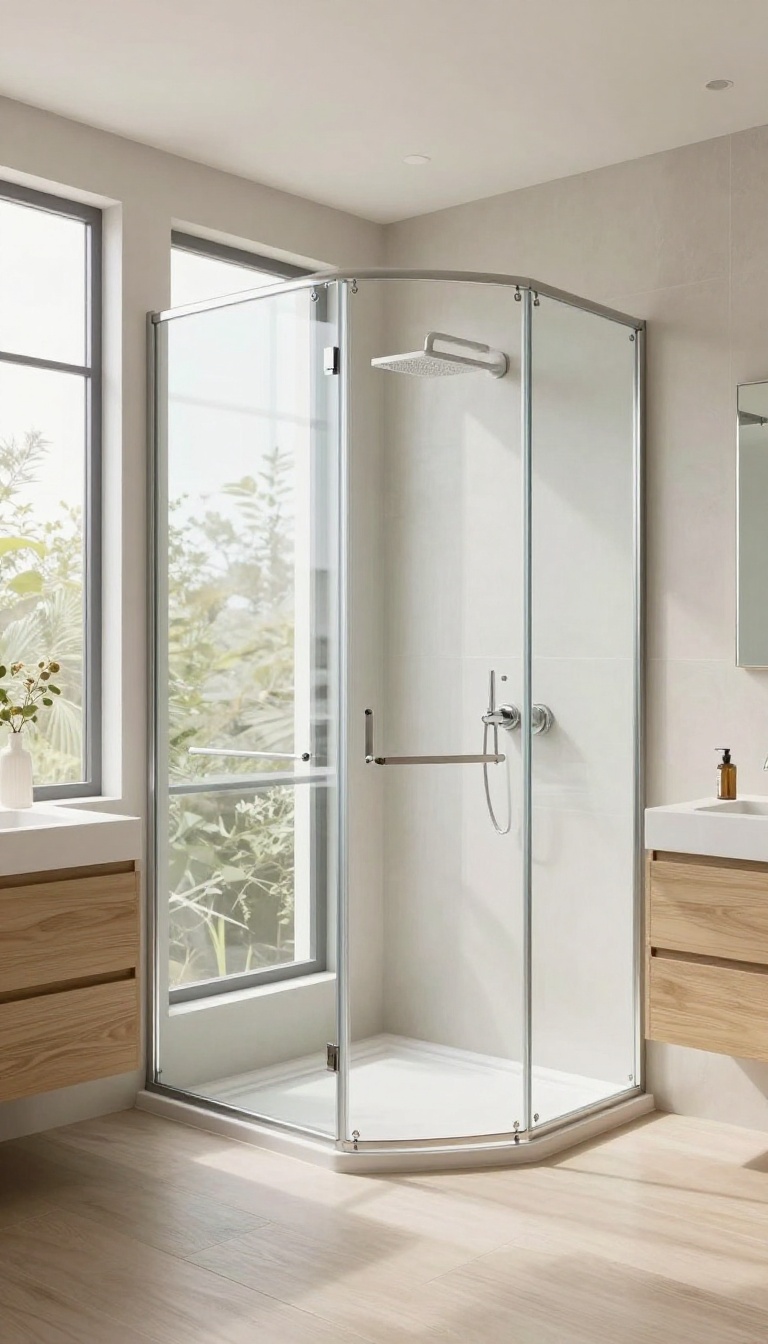
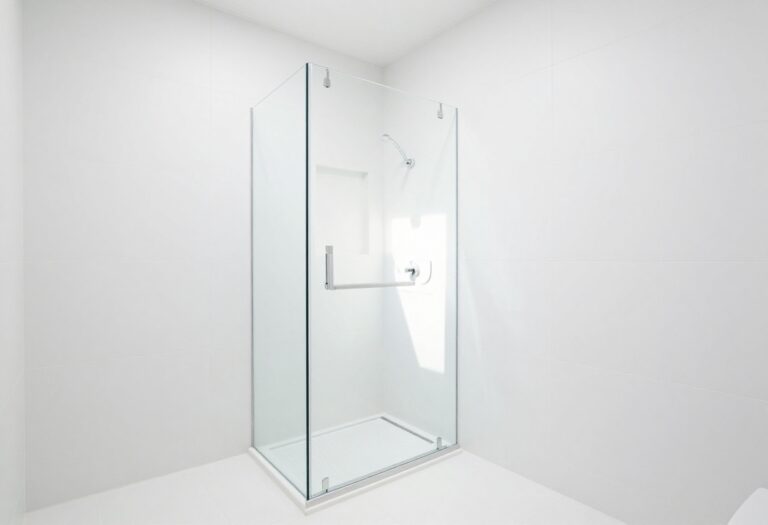
Curtains can make a shower feel closed off, even when there's no curb to block the view. A frameless glass panel or fixed screen keeps that open, airy sensation while still doing the practical job of keeping water where it belongs. It’s a simple swap that changes the whole mood of the bathroom.
With a curbless design, the goal is often to make the shower feel like part of the room, not a separate box. Glass panels achieve that by creating a transparent boundary that doesn’t interrupt the visual flow. They also let natural light travel further, which makes the space feel larger and more welcoming.
Plus, they’re easier to clean than fabric curtains and never need replacing.
Why Frameless Beats Curtained
Frameless glass uses thicker tempered panels and minimal hardware, so the line between shower and bathroom almost disappears. Curtains, even clear ones, add texture and a visible barrier that breaks sightlines. With a fixed panel, you get the protection without the visual clutter, and the open feel stays intact.
Placement Matters For A Seamless Look
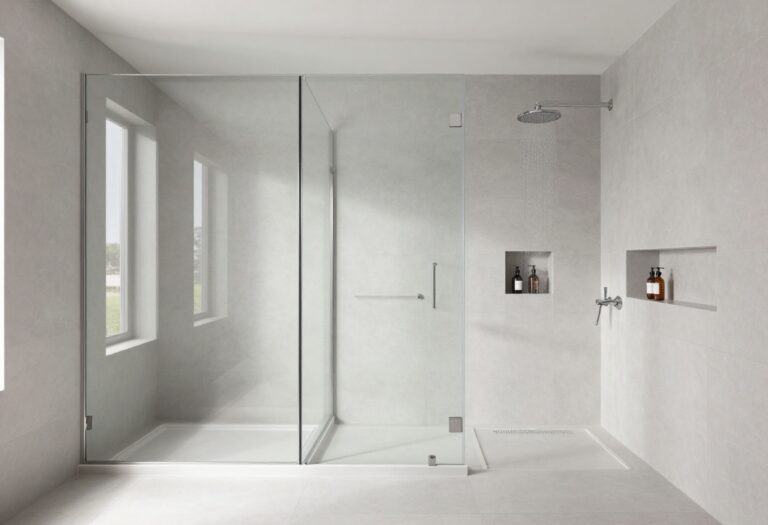
Where you put the glass panel can make or break the open vibe. A single fixed panel on the wet side—usually near the showerhead—keeps water in while leaving the rest open. Mounting it from floor to ceiling or using a low-profile channel at the bottom preserves the curbless aesthetic and avoids a bulky track.
Keep The Glass Clear And Clean
Clear glass shows water spots and soap scum quickly, so a little routine care goes a long way. A squeegee after each use keeps it sparkling, and a water-repellent coating can cut down on buildup. Choose glass with a low-iron finish for extra clarity—it’s a small upgrade that makes the whole shower feel more premium.
4. Recessed Niche with Warm Accent Lighting
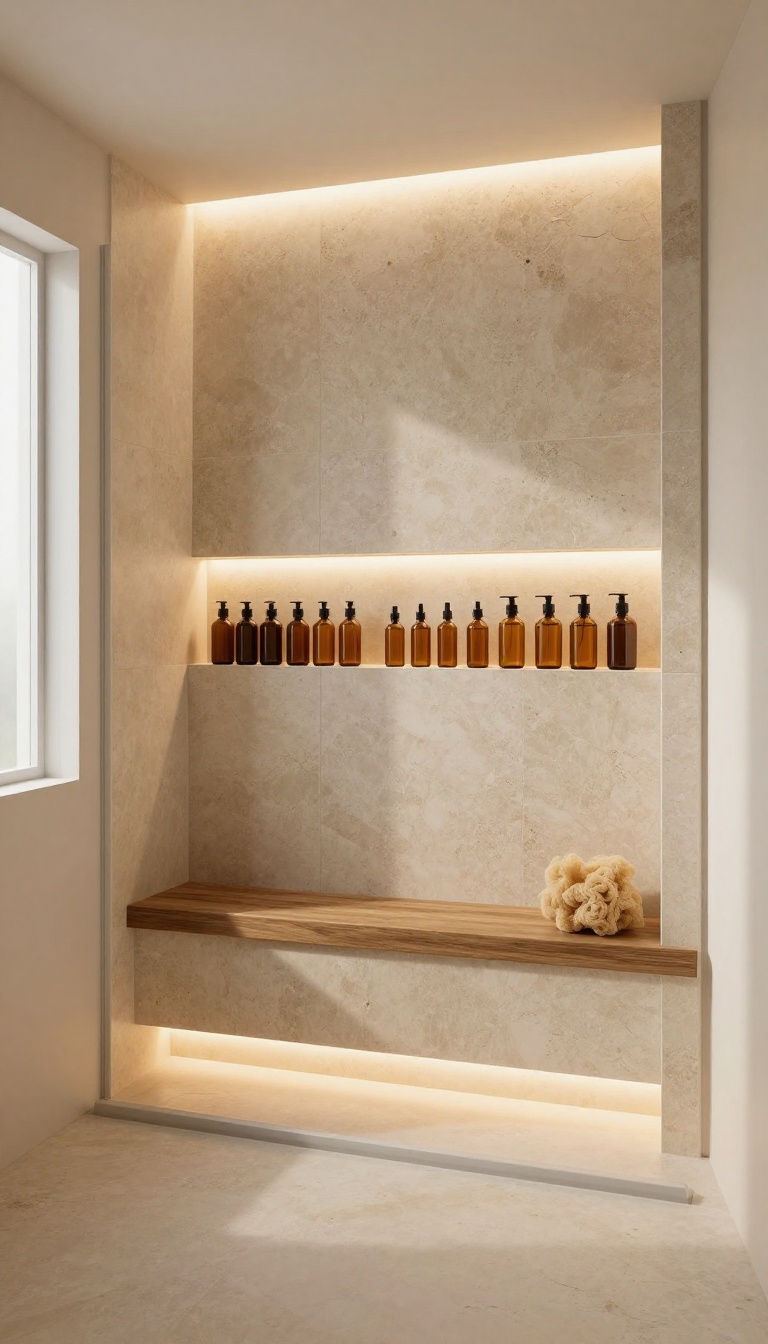
A recessed niche is a practical must-have, but it doesn't have to be purely functional. Adding warm LED strip lighting inside the niche turns it into a subtle focal point that glows softly as you shower. It's a small detail that adds depth and makes the whole space feel more inviting.
The niche becomes more than a shelf when you add lighting—it draws the eye and creates a cozy ambiance. Warm light (around 2700K) complements earthy tile tones and makes your toiletries look like they're on display. Plus, it's a great way to add a layer of indirect lighting without harsh overhead fixtures.
Choose The Right Placement
Think about where you'll actually use the niche. Place it at shoulder height or slightly below, within easy reach from the showerhead. If you have a bench, position it nearby.
Avoid placing it directly under the showerhead to keep water from pooling inside.
Pick A Warm Light Temperature
LED strips come in various color temperatures. For a warm, inviting glow, go with 2700K–3000K. This range mimics soft incandescent light and pairs beautifully with natural stone or warm wood-look tile.
Avoid cool whites, which can feel clinical.
Waterproofing And Safety First
Make sure the LED strip is rated for wet or damp locations (IP65 or higher). Use a low-voltage transformer and consider a dimmer switch to adjust the brightness. Seal the niche properly to prevent moisture from seeping behind the tile, and always follow local electrical codes.
5. Wood-Look Porcelain Tiles for a Warm, Natural Vibe
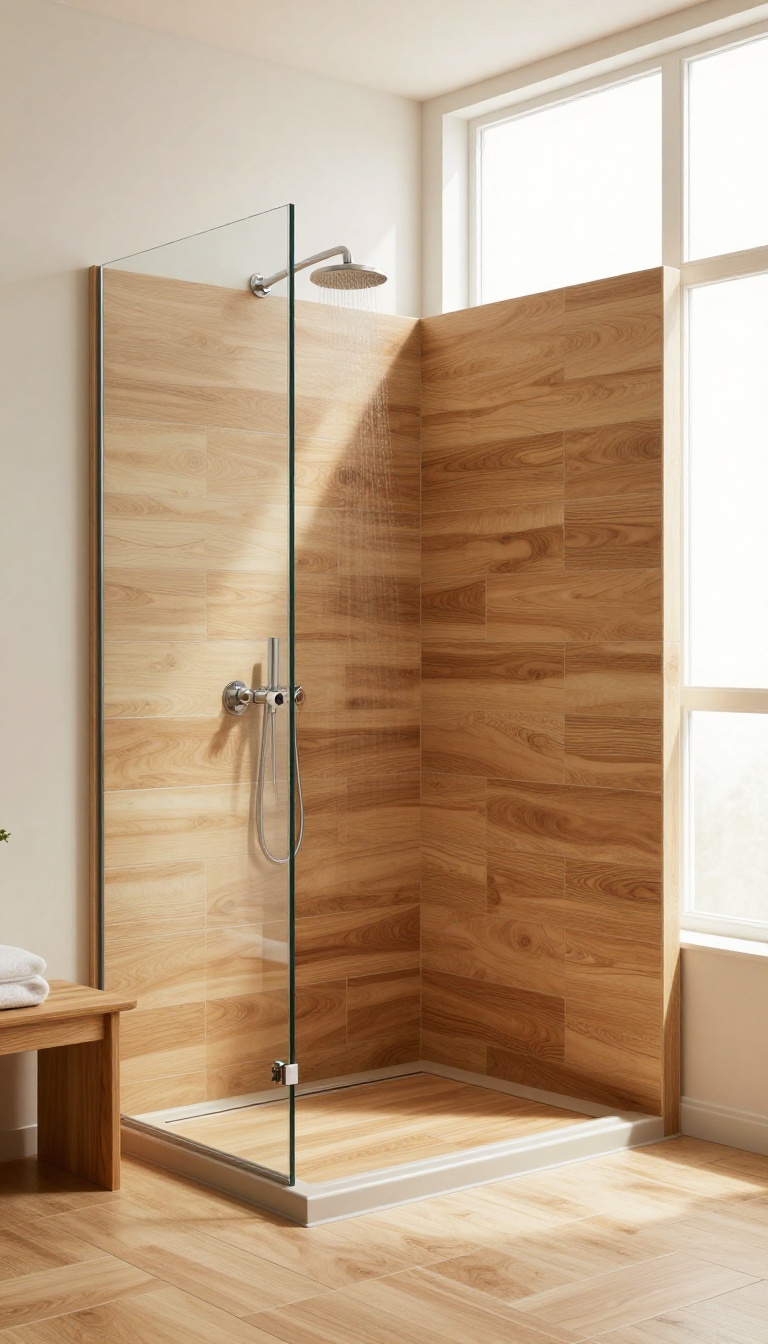
Real wood in a shower sounds lovely, but it's a maintenance nightmare. Wood-look porcelain tiles give you that same cozy, organic feel without the warping, staining, or sealing. They're a smart choice for curbless designs because they handle water beautifully while keeping the space warm and inviting.
Porcelain tiles that mimic wood grain have come a long way. They now offer realistic textures and variations that can fool the eye. For a curbless shower, these tiles create a seamless transition from the bathroom floor, making the space feel larger and more connected.
Plus, they're slip-resistant when you choose the right finish, so safety doesn't take a backseat to style.
Why Wood-look Porcelain Works So Well
Wood-look porcelain is waterproof, durable, and can handle the constant moisture of a shower without any issues. Unlike real wood, it won't warp, rot, or require periodic sealing. It also offers better traction than smooth stone, especially when you pick a textured or matte finish.
The result is a floor that feels warm underfoot and looks stunning, but stands up to daily use.
Choosing The Right Shade And Pattern
The shade of your wood-look tile sets the mood. Lighter woods like oak or ash make the space feel airy and bright, while darker woods like walnut add richness and drama. For a curbless shower, consider a large-format plank to minimize grout lines and enhance the seamless look.
You can also play with the layout—staggered planks create a classic feel, while herringbone adds a modern twist.
Pairing With Other Materials
Wood-look tile pairs beautifully with a variety of materials. Combine it with white or gray walls for a clean, spa-like vibe, or add a stone accent wall for natural contrast. For a touch of luxury, install a linear drain that blends into the tile pattern, keeping the focus on the warm wood aesthetic.
Add some greenery or teak accessories to enhance the organic feel.
6. Linear Drain with a Decorative Cover
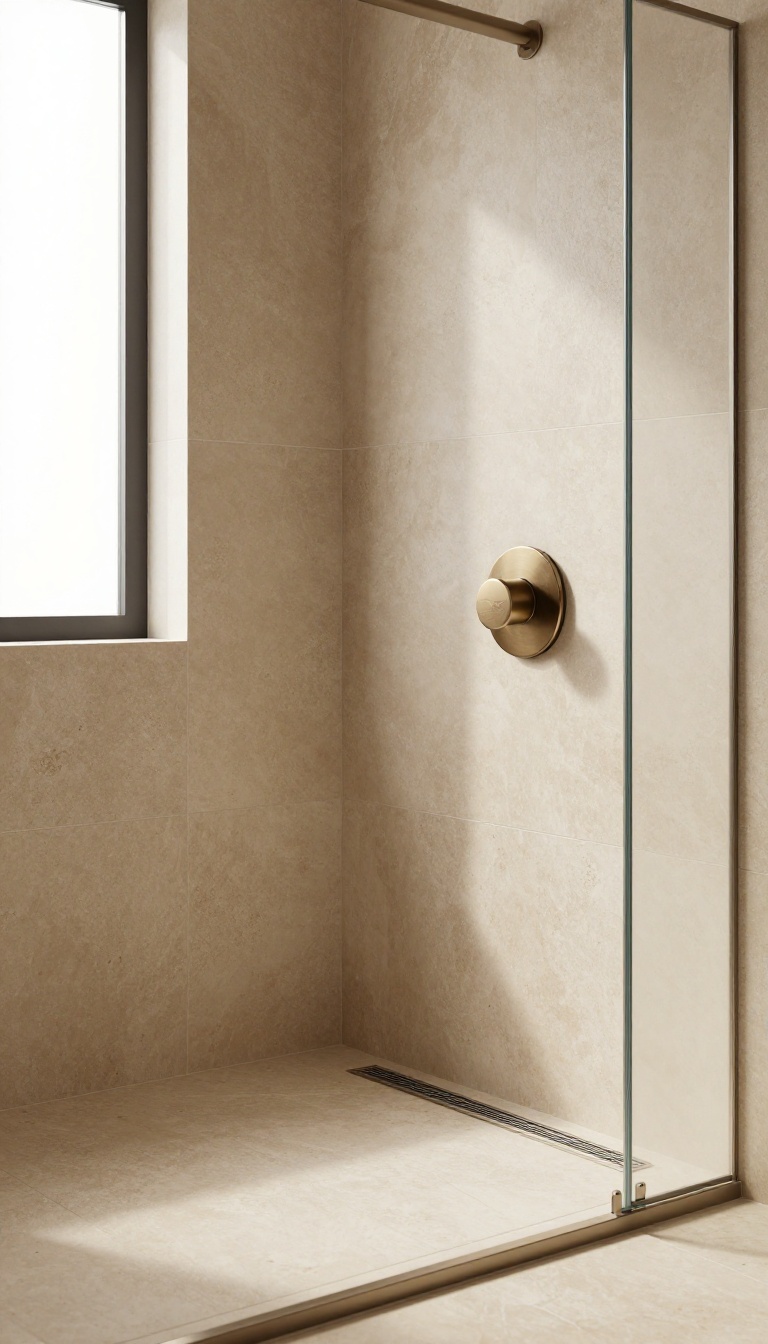
Drains are usually the last thing you think about when designing a shower, but they don't have to be an eyesore. A linear drain placed at the edge or center can be fitted with a stylish cover, like a brushed bronze or slate finish, turning a functional element into a design feature. This small swap can elevate the whole space without adding much cost or complexity.
Choosing a decorative cover is an easy way to add personality to your shower floor. Instead of the standard stainless steel grate, you can pick a finish that complements your fixtures or adds a subtle contrast. The drain becomes part of the design rather than something you try to hide.
Placement Matters
Where you put the linear drain affects both function and looks. At the edge, it creates a clean line that visually separates the shower from the rest of the bathroom. Centered, it can act as a focal point, especially with a decorative cover.
Think about how water flows and what feels most natural in your layout.
Material And Finish Options
Brushed bronze adds warmth, while slate or natural stone covers blend with earthy tiles. Stainless steel is classic and easy to clean, but you can also find covers in matte black, oil-rubbed bronze, or even patterned designs. Choose a finish that ties in with your other fixtures for a cohesive look.
Maintenance And Durability
Decorative covers are just as practical as standard ones. Most are removable for easy cleaning, and the materials are chosen to withstand water and humidity. Just make sure the cover fits securely and the drain channel is accessible for occasional debris removal.
7. Double Showerheads for a Luxurious, Inviting Experience
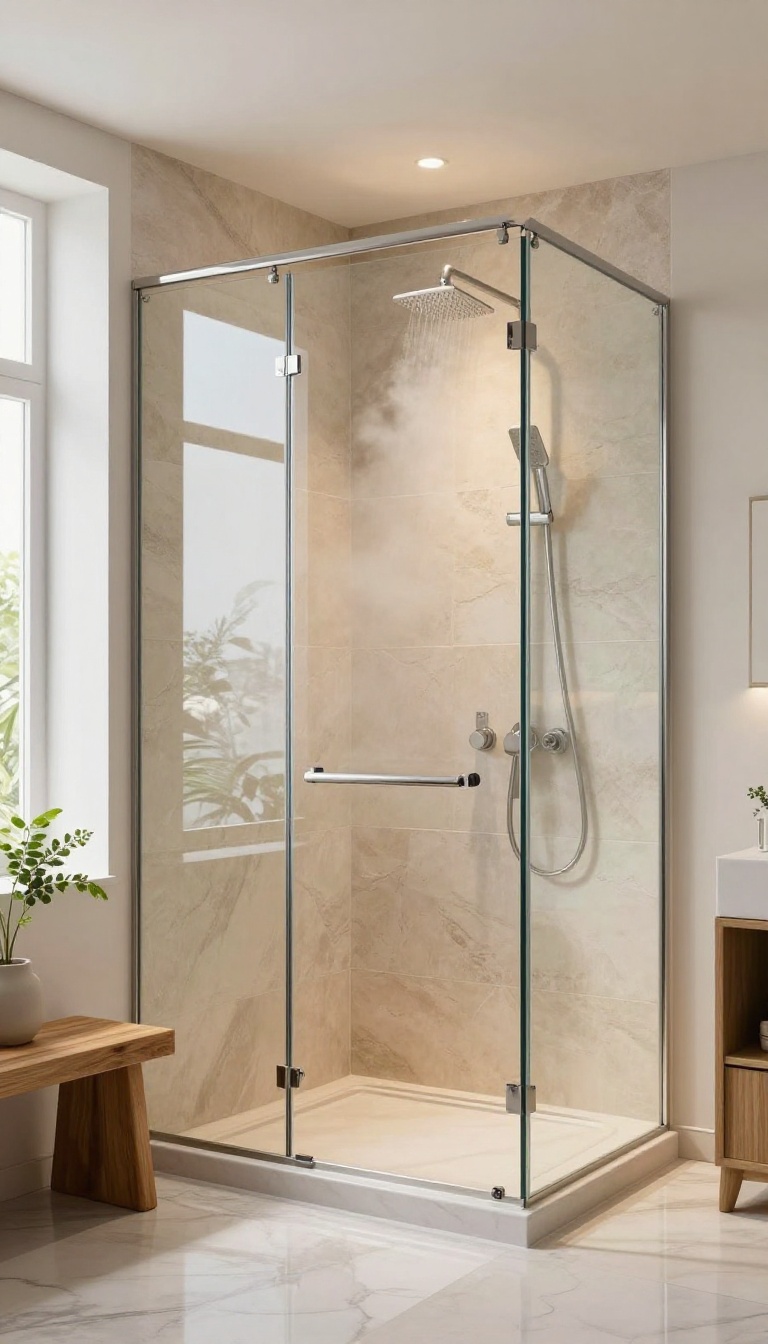
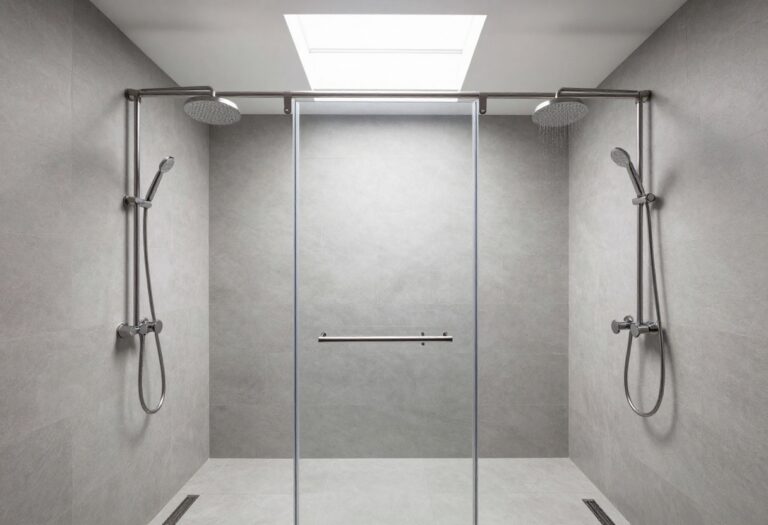
A single showerhead gets the job done, but two can turn your daily rinse into a ritual. Pairing a rain showerhead with a handheld wand gives you the best of both worlds—a gentle, cascading soak and a targeted spray for rinsing off or cleaning the shower itself. It's a simple upgrade that makes the space feel more indulgent and welcoming.
Double showerheads do more than just look impressive. They add flexibility to your routine and make the shower feel more spacious. With two independent sprays, you can customize your experience every time you step in, whether you want a slow morning soak or a quick, efficient rinse.
Why Two Heads Beat One
The main advantage is versatility. A rain showerhead mounted overhead creates a gentle, rain-like effect that feels luxurious and calming. A handheld wand, on the other hand, offers precision—you can direct the water exactly where you need it, making tasks like shaving or rinsing off shampoo easier.
Together, they cover all your needs without compromising on style.
Placement And Height Tips
For the best experience, position the rain showerhead directly above where you'll stand, at a height that lets you adjust it without stretching. The handheld should be mounted on a slide bar so you can move it up or down to suit your height. Keep the controls within easy reach, and consider a diverter valve so you can run both at once or switch between them.
Warmth Through Water Pressure
A double showerhead setup can also enhance the feeling of warmth. With two streams of water, the spray covers more of your body, which helps you feel enveloped in heat. This is especially nice in a curbless shower where the open space might otherwise feel a bit airy.
Just make sure your water heater can keep up with the increased flow.
8. Built-In Bench for Seating and Relaxation
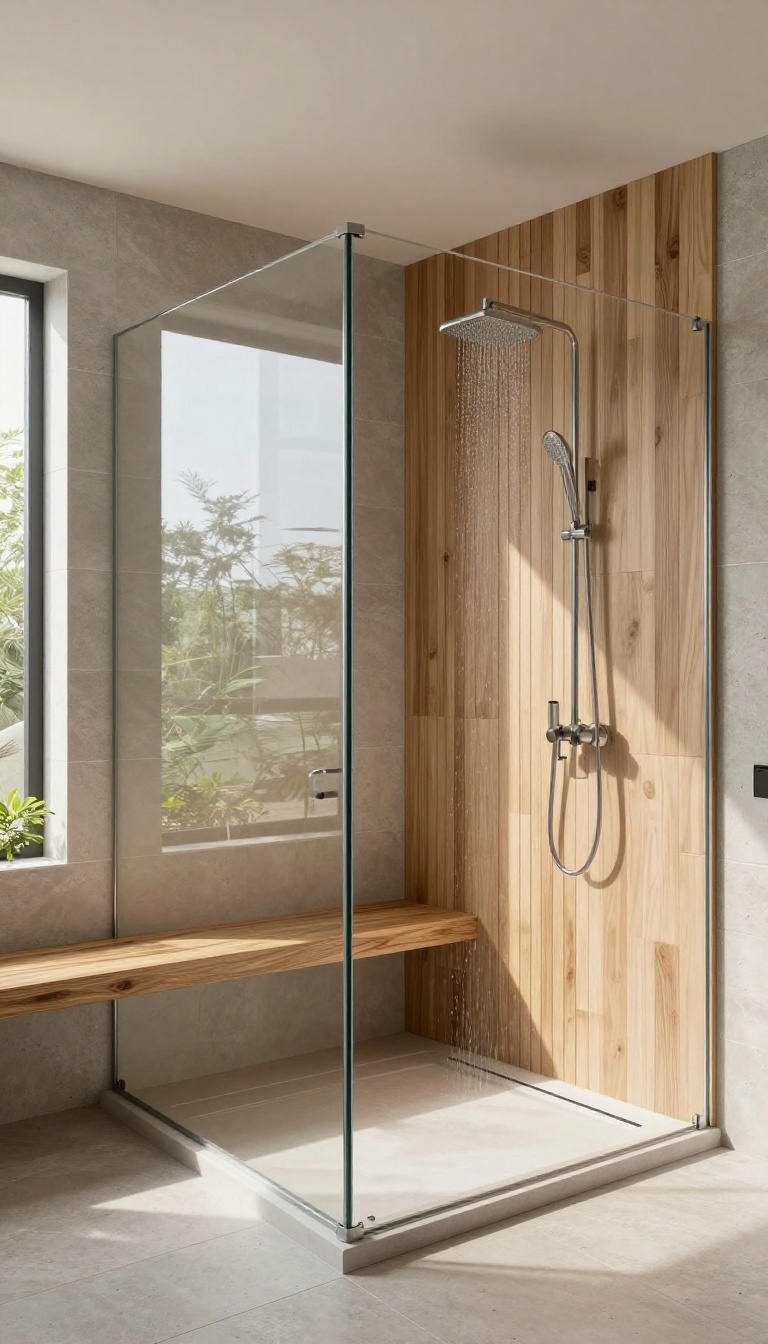
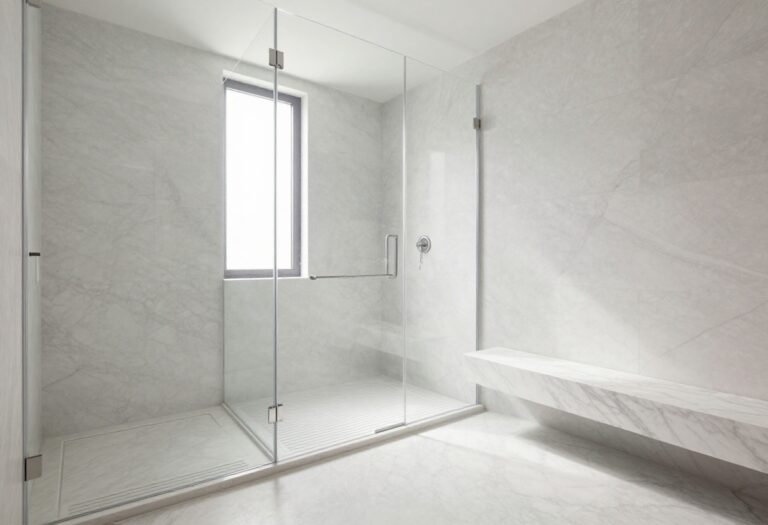
A shower bench isn't just for the elderly or those with mobility issues. It's a simple addition that can make your daily routine feel more like a spa ritual. Whether you want a spot to sit and let the water run over you after a long day, or you need a place to prop your foot up while shaving, a built-in bench adds both function and comfort.
When you have a curbless shower, the open layout already feels more spacious. Adding a bench takes that a step further by giving you a dedicated spot to pause and enjoy the moment. It's a small feature that makes a big difference in how you use and experience the space.
Choose The Right Material
Teak is a classic choice because it's naturally water-resistant and warm underfoot. It also adds a touch of organic warmth that complements a curbless design. Stone, like marble or travertine, feels more luxurious and can be integrated seamlessly into the shower floor or walls.
Just make sure it's sealed properly to prevent staining.
Placement And Size
Think about where the bench will be most useful. A corner bench saves space and feels tucked away, while a full-length bench along one wall offers more lounging room. The height should be around 17 to 19 inches, which is comfortable for most adults.
You can also add a slight slope to the seat so water doesn't pool.
Integrate It Seamlessly
A built-in bench doesn't have to look like an afterthought. You can extend the same tile from the floor up onto the bench for a clean, continuous look. Or, if you're using a different material, make it a deliberate contrast that adds visual interest.
Adding a small niche nearby for shampoo or a book makes it even more inviting.
9. Soft, Diffused Lighting to Avoid Harsh Shadows
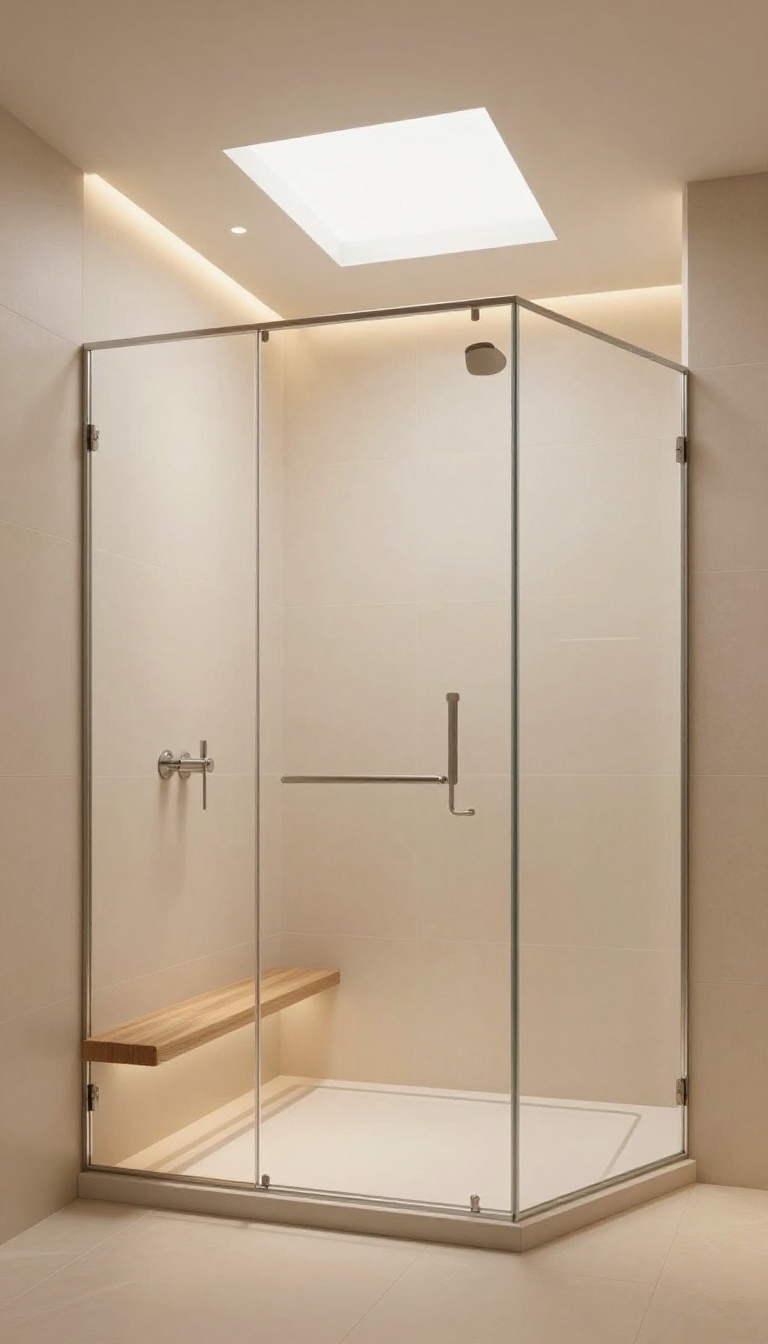
Lighting can make or break the mood of a curbless shower. Harsh overhead spots create stark shadows that make the space feel cold and uninviting. Instead, aim for soft, diffused light that wraps the room in a gentle glow, enhancing the warmth you've worked so hard to create.
Start by layering your lighting. Recessed lights with dimmers are a flexible base, letting you adjust brightness for morning wake-ups or evening unwinding. Add a skylight or a light tube if possible—natural diffused light is unbeatable for a spa-like feel.
Avoid placing a single bright fixture right above the shower; that's a recipe for harsh shadows on your face and body.
Why Diffused Light Feels Warmer
Diffused light scatters evenly, eliminating sharp contrasts. This softens the look of tile and stone, making them appear more organic and less clinical. It also flatters skin tones, so you feel better stepping out.
Think of it as the difference between a fluorescent fitting room and a candlelit bath—diffused light is the latter.
Placement Tips For Even Coverage
Position recessed lights in a grid pattern, spaced about 3 feet apart, to avoid pools of light and dark corners. For a skylight, center it over the shower or offset it slightly to catch morning light. If you have a niche or bench, add a small LED strip underneath for a subtle, warm glow that highlights the architecture without glare.
Choosing Bulbs And Fixtures
Opt for LED bulbs with a color temperature between 2700K and 3000K—that's a warm white that mimics incandescent light. Look for fixtures with frosted or opal glass to diffuse the beam further. Dimmable LEDs are a must, and consider a separate switch for the shower area so you can set the mood independently from the rest of the bathroom.
10. Earthy Color Palette with Textured Accents
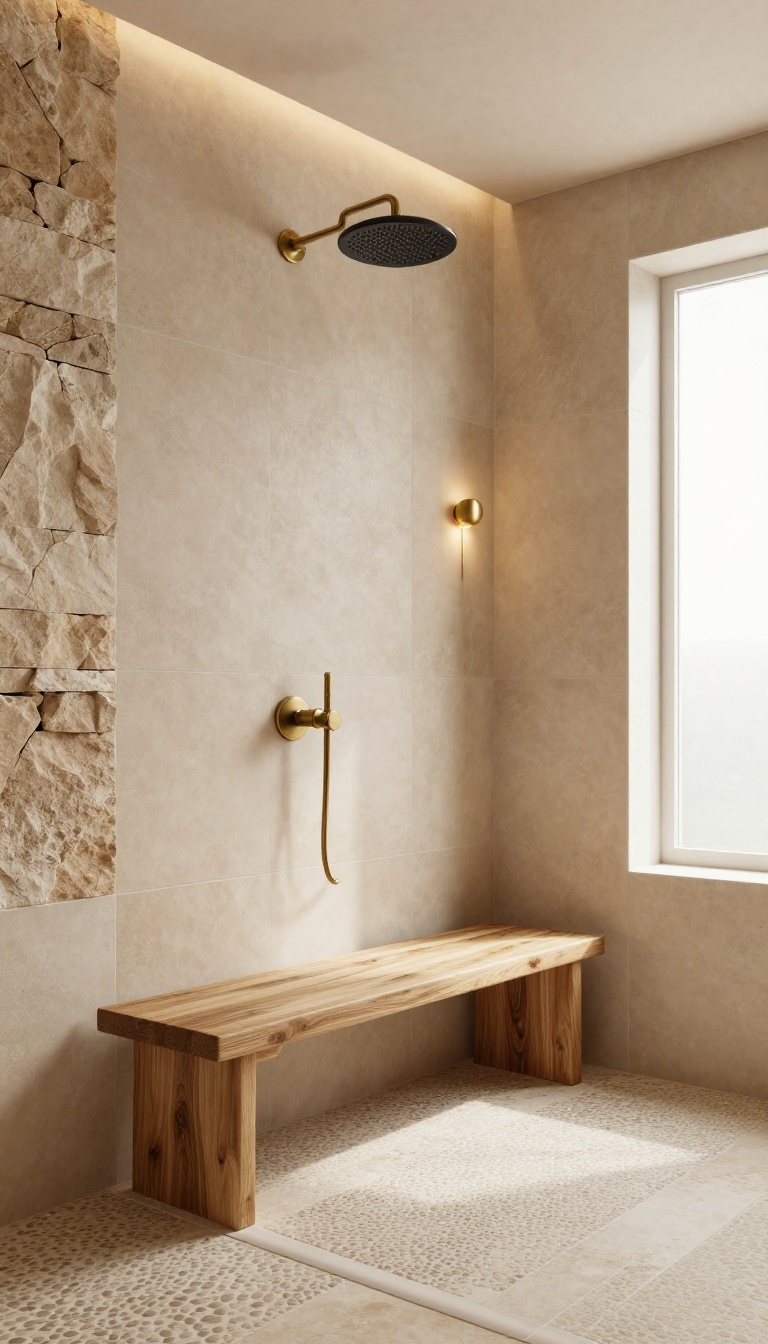
Neutrals don't have to feel flat. Warm beige, terracotta, and soft gray can create a grounded, spa-like atmosphere that feels both modern and timeless. The trick is pairing those colors with textures that catch the light and invite touch.
Start by choosing a warm, earthy base for your walls and floor. Beige or greige tiles with a matte finish add depth without overwhelming the space. Terracotta, whether as a full wall or an accent niche, brings a subtle, sun-baked warmth that pairs beautifully with natural stone.
Soft gray, especially in a large-format tile, keeps the look contemporary while still feeling cozy. Texture is what takes this palette from flat to inviting. A pebble floor underfoot gives a gentle massage-like sensation and adds organic contrast to smooth wall tiles.
A stone accent wall—think stacked slate or tumbled travertine—creates a focal point that mimics the outdoors. You can also introduce texture through a wood-look tile on one wall or a textured concrete finish for a more industrial edge. Don't forget the little details.
Warm-toned fixtures in brushed brass or matte black complement the earthy palette. A wooden stool or teak bench adds function and another layer of warmth. Soft, warm lighting—like dimmable sconces or a pendant—helps the colors glow rather than feel dull.
Choosing The Right Earthy Tones
When picking your palette, think about the direction your bathroom faces. North-facing rooms benefit from warmer beiges and terracottas to counteract cool light. South-facing spaces can handle slightly grayer tones without feeling cold.
Test samples in your actual lighting before committing—what looks warm in the store might feel flat at home.
Mixing Textures Without Overwhelming
Aim for one dominant texture and one or two accents. If you go with a pebble floor, keep walls relatively smooth. If you add a stone accent wall, use flat tiles on the other surfaces.
Balance is key—too many textures can make the space feel busy instead of serene. Consider the scale of the texture as well: small pebbles suit a compact shower, while larger slate tiles work in a spacious layout.
Tying It Together With Accessories
Accessories are the finishing touch. A teak bench or wooden ledge adds warmth and practicality. Natural-fiber baskets for toiletries keep things organized and on-theme.
Choose a shower curtain or glass door that lets the textures shine—frameless glass is ideal. Add a plant like a fern or orchid for a pop of green that complements the earthy vibe.
11. Seamless Transition with Matching Flooring
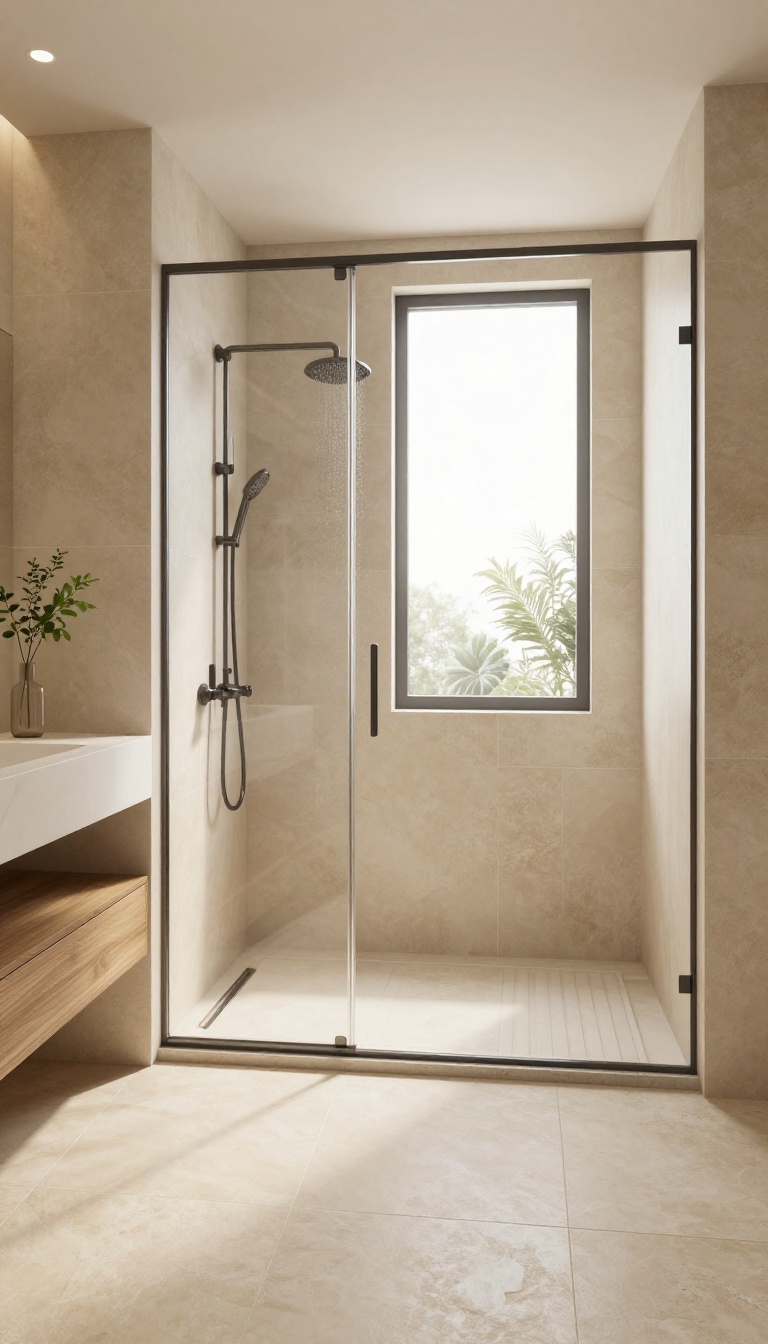
The curbless design shines when the eye can travel uninterrupted from the rest of the bathroom right into the shower. One of the most effective ways to achieve that is by using the same flooring material throughout, creating a continuous surface that feels intentional and expansive. It’s a simple concept, but the payoff in visual cohesion is huge.
Matching flooring in a curbless shower blurs the boundary between wet and dry areas, making the entire bathroom feel larger and more open. This approach works especially well with large-format tiles or luxury vinyl planks, which have fewer grout lines and a more seamless appearance. When the floor continues without interruption, the shower becomes less of a separate zone and more of a natural extension of the room.
Why It Works So Well
The main benefit is visual continuity. With a curbless entry, the floor is already level, so extending the same material removes any visual break. This can make a small bathroom feel more spacious and gives the whole space a polished, custom look.
It also simplifies the design—you don’t have to worry about matching different materials or transitions.
Choosing The Right Material
For a seamless look, pick a flooring material that’s both slip-resistant and waterproof. Large porcelain tiles are a popular choice because they come in many styles, including wood-look and stone-look, and can be cut to fit the shower floor with minimal grout lines. If you prefer a warmer feel underfoot, consider heated flooring beneath the same tile—this adds comfort without breaking the visual flow.
Installation Tips
To pull off this look, the shower floor needs to be sloped properly toward the drain without a curb. This requires careful planning and a skilled installer. Use a linear drain at the edge or a center drain with a gentle slope.
Also, make sure the flooring material is rated for wet areas—some natural stones can be slippery when wet, so look for textured finishes or add a mat if needed.
FAQ
Are curbless showers more expensive to install?
Curbless showers can be more expensive due to the need for proper slope and waterproofing, but costs vary based on existing plumbing and layout. They can also add value to your home.
Do curbless showers require special maintenance?
No, they require similar maintenance to traditional showers. Regular cleaning and ensuring the drain is clear are key. The lack of a curb makes cleaning easier.
Can I install a curbless shower in a small bathroom?
Yes, curbless showers can make a small bathroom feel larger by removing visual barriers. They work well in compact spaces with careful planning.
What is the best flooring for a curbless shower?
Non-slip materials like textured porcelain, natural stone, or pebble tiles are ideal. They provide traction and durability while maintaining a warm look.
Do curbless showers cause water to splash outside?
Proper slope and a well-placed drain minimize splashing. Adding a glass panel or a slight incline can help contain water while keeping the open feel.
Conclusion
Curbless showers are more than a trend—they’re a practical way to open up your bathroom and make it feel warm and welcoming. Whether you’re drawn to natural stone, warm wood accents, or a seamless glass panel, the key is picking details that match how you actually live.
Start with one idea that excites you, and build from there. With the right layout and materials, your shower can become the calm, inviting centerpiece of the room—no curb required.