13 Clever Shower Remodel Ideas with a Polished Modern Result
A shower remodel can do more than just refresh a tired bathroom—it can completely change how the space feels and functions. The right upgrades, like frameless glass or a linear drain, bring a clean, modern look while solving everyday annoyances like hard-to-clean corners or cramped entryways.
With 13 practical ideas, you can prioritize what matters most to you, whether that's a spa-like rainfall head, smart controls, or simply a brighter, more open enclosure.
Each suggestion focuses on real results, so you can plan a renovation that feels polished and personal.
1. Frameless Glass Enclosure for an Open Feel
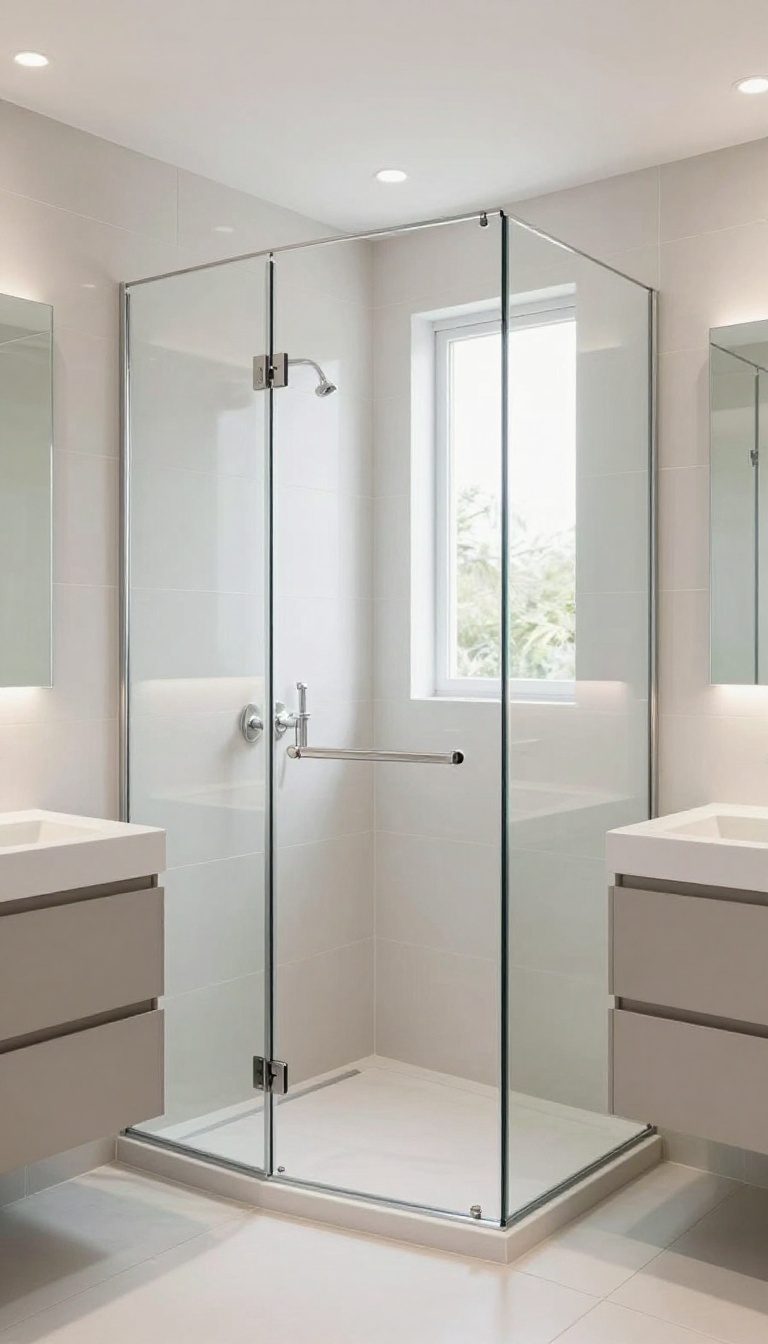
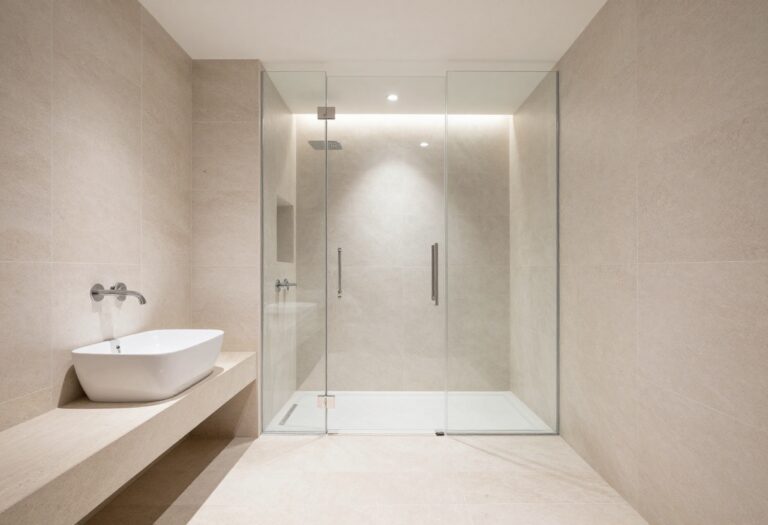
If your current shower has a dated framed door or a bulky curtain, swapping it for a frameless glass enclosure is one of the quickest ways to modernize the space. The lack of metal framing and the clear glass create a seamless look that visually expands the shower, making even a compact bathroom feel more open and airy. Plus, it lets your tile work take center stage, turning the shower into a focal point rather than an afterthought.
Frameless glass enclosures are a hallmark of modern bathroom design, and for good reason. They eliminate the visual clutter of metal frames and tracks, which can make a shower feel boxed in. Instead, the glass appears to float, and the eye travels uninterrupted from the bathroom into the shower, creating a sense of continuity that makes the whole room feel larger.
This is especially beneficial in smaller bathrooms where every inch counts. The clean, minimalist aesthetic also pairs beautifully with a variety of tile styles, from large-format porcelain to classic subway tile, allowing your design choices to shine without competition from bulky hardware.
Why Frameless Beats Framed
Framed shower doors often have metal tracks and hinges that collect soap scum and grime, making them a chore to clean. Frameless glass, on the other hand, has fewer crevices and a smoother surface, so wiping it down is quick and easy. The lack of a bottom track also means there's no lip to trip over, and the continuous floor surface makes the shower feel more integrated with the rest of the bathroom.
From a design perspective, frameless glass is a clean slate that lets your tile, fixtures, and lighting take the spotlight.
Choosing The Right Glass Thickness And Type
When selecting frameless glass, you'll typically choose between 3/8-inch and 1/2-inch tempered glass. Thicker glass feels more substantial and premium, but it's also heavier and may require more robust hinges. For most residential showers, 3/8-inch is a solid choice that balances durability and cost.
You'll also need to decide between clear, frosted, or textured glass. Clear glass is the most popular for a modern, open look, but if privacy is a concern, consider a frosted or patterned option that still lets in light.
Installation Considerations
Professional installation is highly recommended for frameless glass because precise measurements and proper anchoring are crucial for safety and water-tightness. The glass is heavy and requires special clips and hinges that must be anchored into the wall studs. A professional will also ensure that the glass is perfectly plumb and level, preventing gaps that could lead to leaks.
While a DIY approach might save money upfront, the risk of improper installation isn't worth it when it comes to something as critical as your shower enclosure.
2. Linear Drain for a Seamless Look
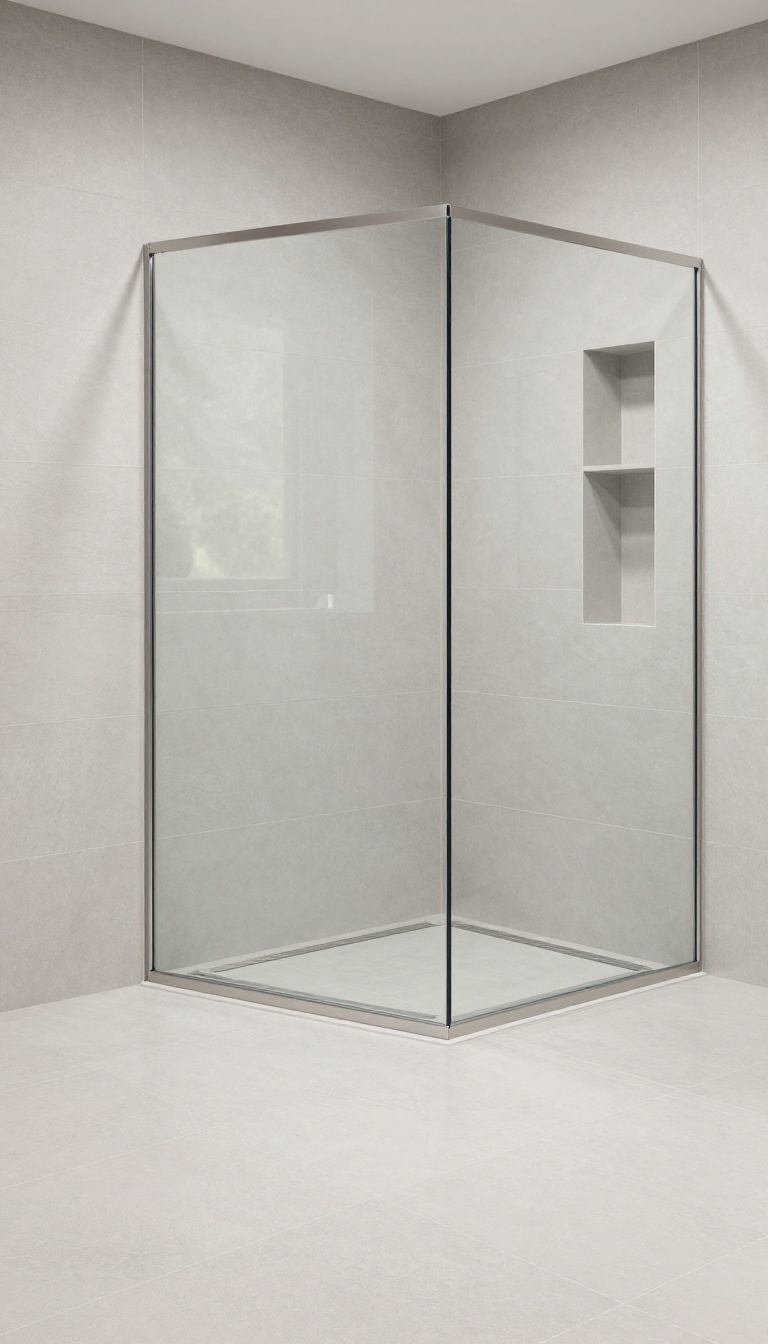
A linear drain might not be the first thing you think of when planning a shower remodel, but it’s a game-changer for achieving that sleek, modern aesthetic. Unlike the traditional center drain, which requires a sloped floor from all sides, a linear drain sits along one edge or wall, allowing the floor to be nearly flat. This creates a clean, uninterrupted surface that feels custom and high-end, while also solving practical issues like water pooling and slippery tiles.
The beauty of a linear drain lies in its subtlety. It’s a small detail that makes a huge visual impact, especially when paired with large-format tiles. Because the floor doesn’t need to slope dramatically, you can use bigger tiles with fewer grout lines, which looks cleaner and is easier to maintain.
Plus, the drain itself can be customized with a sleek cover that blends seamlessly with your tile or adds a contrasting accent.
Why It Feels More Modern
Traditional drains are functional but often look like an afterthought. A linear drain, on the other hand, is a design statement. It creates a minimalist, spa-like vibe that instantly elevates the overall look.
The flat floor also makes the shower feel more spacious, as there’s no visual interruption from a raised grate in the middle.
Installation And Placement Tips
When installing a linear drain, placement matters. You can put it along the back wall, near the entrance, or even in the center for a dramatic effect. The key is to ensure proper slope—usually about 1/4 inch per foot—directed toward the drain.
Work with a professional plumber or contractor who has experience with these systems, as they require precise waterproofing and tile work.
Tile Pairing For A Seamless Finish
To get the most out of a linear drain, choose large-format tiles or natural stone that can be cut to fit the drain channel. This reduces the number of cuts and creates a more continuous surface. You can also opt for a drain cover that matches your tile color or use a contrasting metal finish for a subtle pop.
The goal is to make the drain disappear into the floor, so the eye focuses on the beautiful tile work.
3. Recessed Niche Shelving for Smart Storage
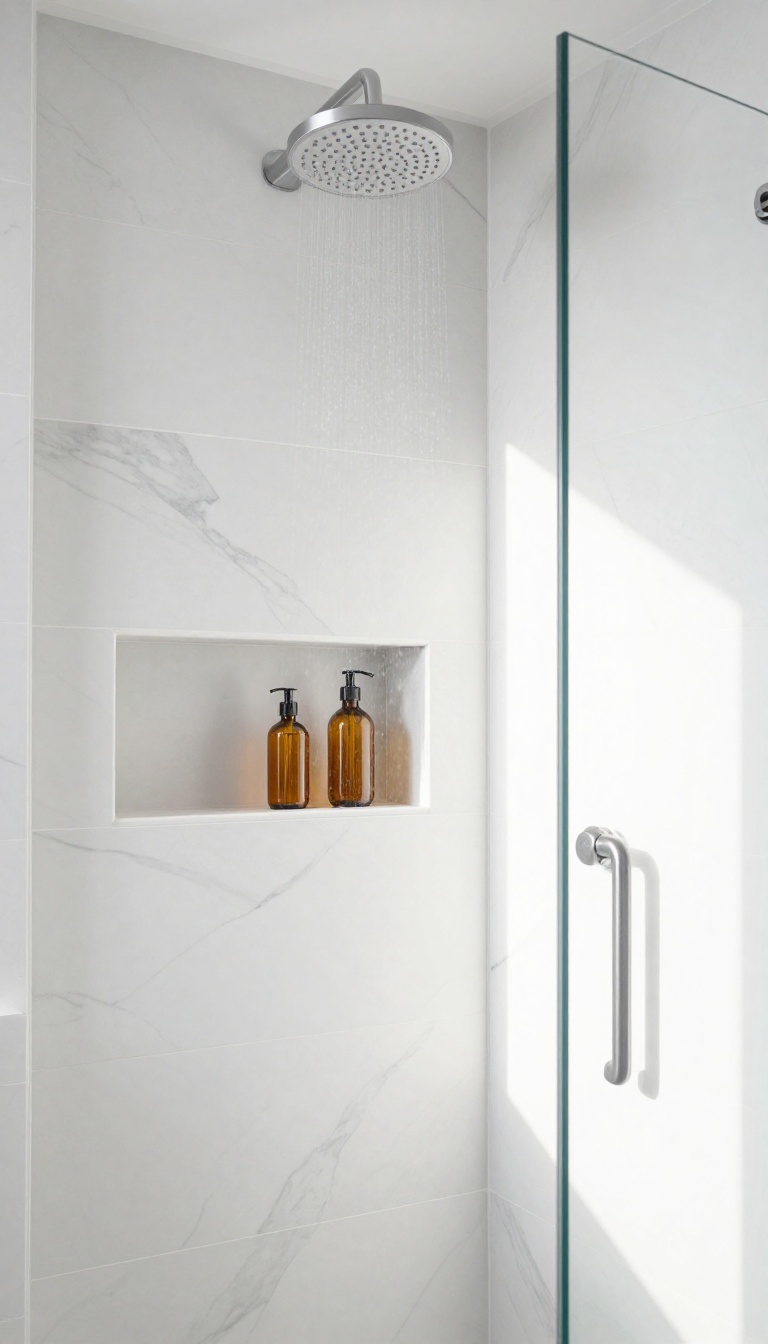
A shower without a place to put your shampoo bottle is a recipe for clutter and frustration. Recessed niches solve this by tucking your essentials right into the wall, keeping them off the floor and within easy reach. They also add a sleek, built-in look that feels custom and polished, especially when tiled to match your shower walls.
Recessed niches are more than just a convenience—they’re a design feature that can elevate the entire shower. By carving out a shelf in the wall, you eliminate the need for bulky caddies or corner racks that can rust or look messy. Plus, a niche can be sized and shaped to fit your specific needs, from a small cubby for a bar of soap to a tall slot for tall bottles.
Placement And Sizing
Think about where you naturally reach for your shampoo or soap. A common spot is near the showerhead or at the back wall, but you can also place a niche on the side wall for easier access. The standard height is around 40 to 48 inches from the floor, but adjust it to your own height.
As for size, a 12×12 inch niche works for most, but you can go larger if you want extra storage. Just make sure it’s deep enough to hold bottles without them sticking out too far.
Tiling And Finishing
The key to a seamless look is to line the niche with the same tile as your shower walls. This creates a continuous surface that looks intentional and high-end. If you want a bit of contrast, you can use a different tile or a contrasting grout color to make the niche stand out.
For a truly polished finish, consider adding a slight slope to the bottom of the niche so water doesn’t pool, and use a waterproof membrane behind the tile to prevent moisture issues.
Lighting And Extra Touches
A niche can also be a spot for a little drama. Adding a small LED strip or a recessed light inside the niche can highlight your products and give the shower a spa-like feel. You could also install a small shelf divider to keep bottles organized, or even a built-in soap dish.
These small details make the niche feel like a custom feature, not just a hole in the wall.
4. Rainfall Showerhead for a Spa Vibe
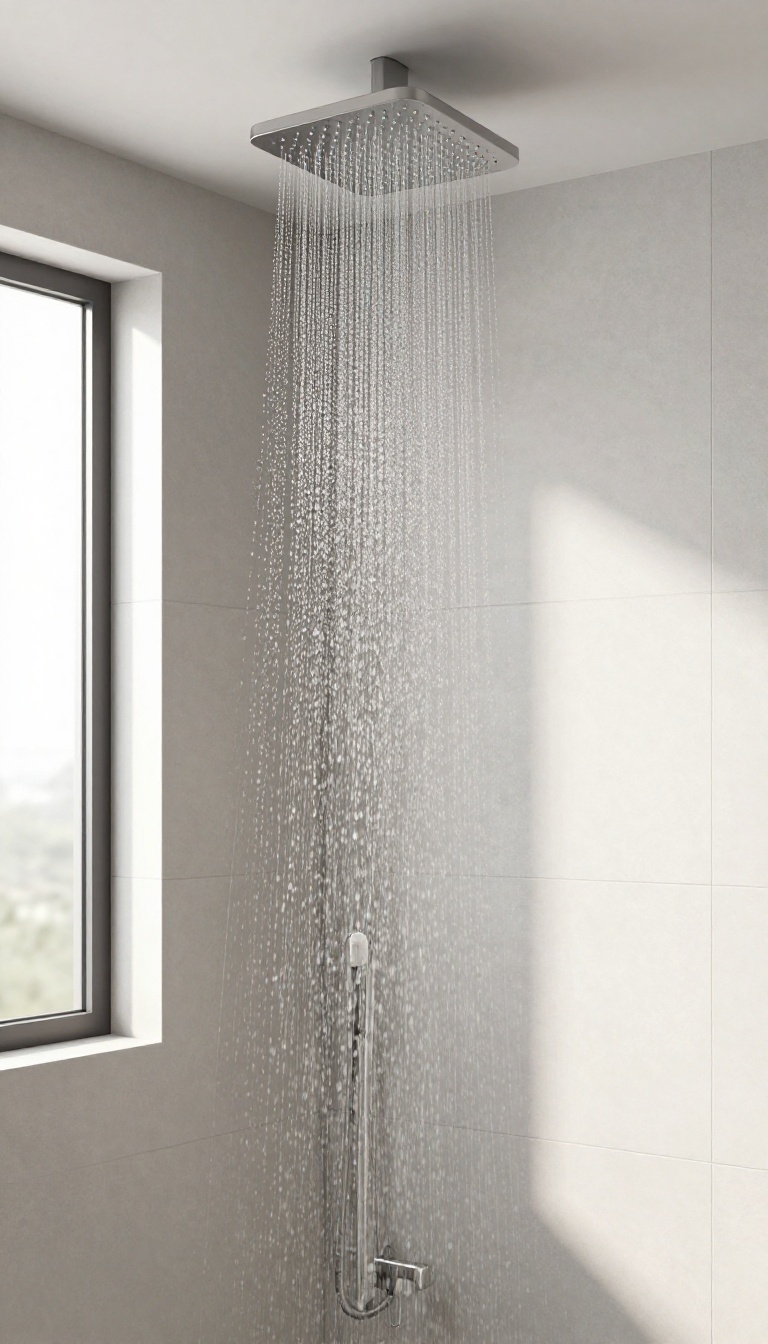
There’s something about stepping under a wide, overhead showerhead that makes the whole bathroom feel calmer. The gentle, even flow mimics natural rain, turning a quick rinse into a mini escape. It’s one of those upgrades that feels luxurious but doesn’t require a full renovation.
Swapping out a standard showerhead for a rainfall model is a straightforward change that can dramatically alter the shower’s feel. The larger face distributes water evenly, covering your shoulders and back without the harsh spray of a traditional head. Many modern designs are flush-mounted to the ceiling or extend from an arm, adding a clean, architectural line to the space.
Beyond the aesthetic, a rainfall showerhead can also improve your morning routine. The steady, gentle flow is less startling and more relaxing, making it easier to wake up or wind down. If you’re worried about water pressure, look for models with a high flow rate or consider a pressure-balanced valve to keep the experience consistent.
Choosing The Right Size And Style
Rainfall heads come in various diameters, usually 8 to 12 inches. Bigger isn’t always better—consider your shower’s size and ceiling height. A 10-inch round or square head works well in most standard showers, while a larger 12-inch model can feel more indulgent in a walk-in enclosure.
Also, decide between a ceiling-mounted unit for a seamless look or an arm-mounted one for easier installation and adjustment.
Installation Tips For A Seamless Look
If you’re comfortable with basic plumbing, swapping a wall-mounted head is a DIY-friendly project. For ceiling-mounted models, you’ll need to run pipe through the ceiling, which is best left to a professional unless you have experience. Ensure the arm is long enough to position the head directly overhead, and check that your water pressure can handle the larger surface area—some low-flow models may feel weak.
Pairing With Modern Finishes
To keep the polished modern look, choose a finish that matches your other fixtures—brushed nickel, matte black, or chrome all work well. For a more integrated design, consider a head that’s flush with the ceiling, creating a nearly invisible water source. This minimalist approach complements frameless glass and linear drains, reinforcing the clean, spa-like aesthetic you’re aiming for.
5. Handheld Shower Wand for Flexibility
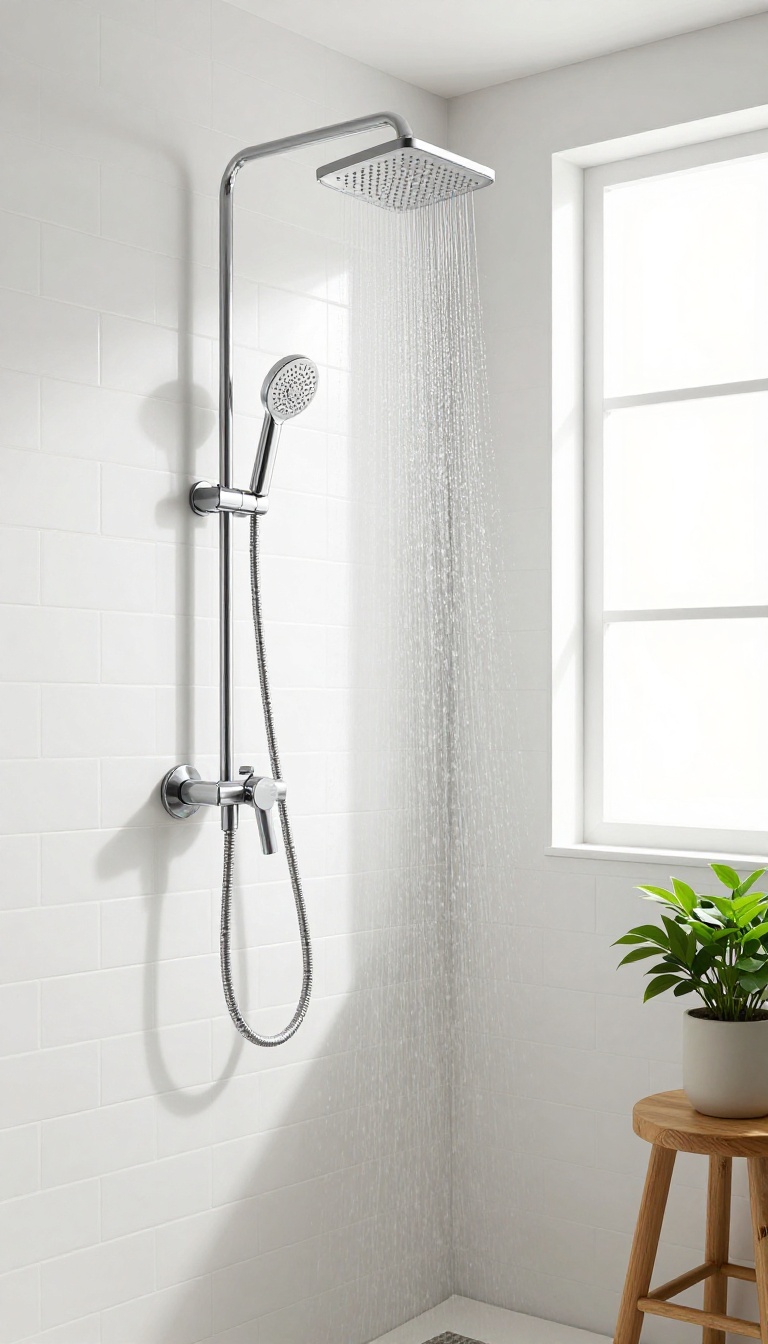
Sometimes the simplest upgrades make the biggest difference in daily use. A handheld shower wand might seem like a small addition, but it changes how you interact with your shower space. Whether you're rinsing shampoo out of a toddler's hair or cleaning the shower walls after a steamy session, having a detachable wand is a practical luxury you'll appreciate every day.
Modern handheld wands come in sleek finishes like matte black or brushed nickel, so they blend seamlessly with contemporary fixtures. Pair yours with a slide bar for adjustable height, and you've got a flexible solution that works for everyone in the house.
A handheld shower wand adds a level of convenience that fixed showerheads simply can't match. It's perfect for tasks that require precision, like rinsing hard-to-reach areas or washing pets without turning the whole bathroom into a wet mess. Plus, it makes cleaning the shower itself a breeze—just spray down the walls and corners with the wand, no need to bend or stretch awkwardly.
When choosing a wand, look for a model with a long, flexible hose (at least 60 inches) and a comfortable grip. Many modern designs feature multiple spray settings, from a gentle mist to a powerful jet, giving you even more control. And because they're mounted on a slide bar, you can adjust the height to suit your needs, making it ideal for families with varying heights.
Why It Works For Everyone
A handheld wand is a universal solution. For kids, it makes bath time easier and safer—no more awkwardly holding a heavy head over their head. For pet owners, it's a lifesaver for washing dogs in the tub.
And for anyone with mobility issues, it allows you to shower while seated or with less movement. The flexibility it provides is unmatched by any fixed head.
Design Options That Match Modern Style
Gone are the days of clunky plastic wands. Today's handhelds are available in sleek, minimalist designs that match any modern bathroom. Choose a finish that coordinates with your main showerhead and fixtures, such as brushed nickel, matte black, or chrome.
Some models even feature a magnetic docking system that snaps the wand neatly into place, keeping the look clean and uncluttered.
Installation Tips
Most handheld wands are designed for easy DIY installation. You'll need a diverter valve to switch between the fixed head and the wand, or you can replace your existing showerhead with a combo unit. If you're adding a slide bar, make sure it's mounted securely to the wall, ideally on a stud.
For best results, hire a plumber if you're not comfortable with basic plumbing tasks.
6. Matte Black Fixtures for a Bold Contrast
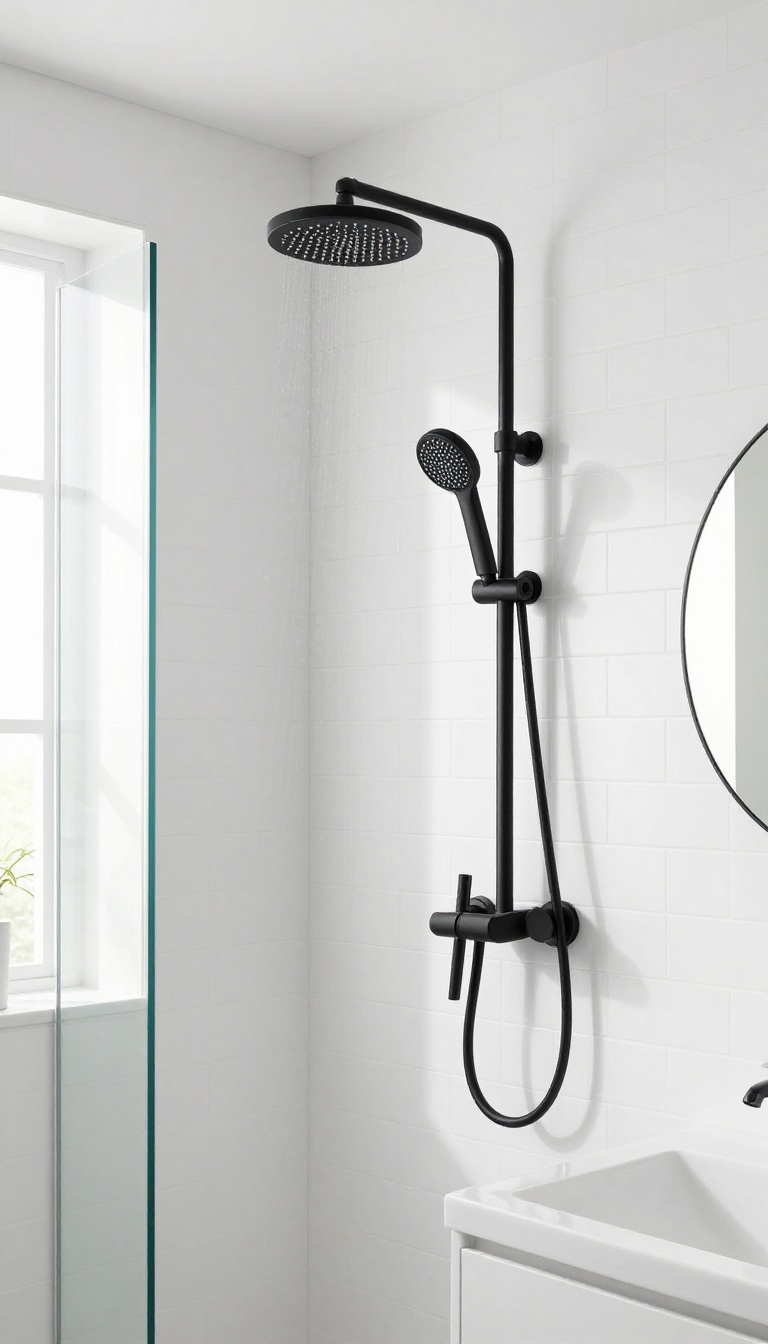
If you want to make a statement without going overboard, matte black fixtures are the way to go. They pair beautifully with white, gray, or even beige tiles, giving your shower a crisp, modern edge. Plus, they’re surprisingly practical—matte finishes hide water spots and fingerprints better than shiny chrome.
Swapping out your old chrome or brushed nickel fixtures for matte black is a simple change that instantly upgrades the look. The dark tone adds depth and definition, especially when set against light-colored tiles. It’s a bold choice that still feels timeless, and it works with both minimalist and industrial styles.
Why Matte Black Works
Matte black creates a strong visual anchor in the shower. It contrasts nicely with light surfaces, making the space feel more grounded and intentional. Unlike glossy finishes that reflect light, matte black absorbs it, which can actually make a small bathroom feel cozier without shrinking it.
It also doesn’t show water spots as easily, so it stays looking cleaner between wipes.
Choosing The Right Pieces
Start with the essentials: a showerhead, handle, and faucet. You can also add a matte black shower caddy or towel bar for a cohesive look. Make sure the finishes match exactly—mixing different blacks (like matte and satin) can look off.
Stick with one brand or collection to keep things uniform.
Durability And Maintenance
Matte black finishes are typically coated with a durable powder coat that resists chipping and corrosion. They’re easy to clean with a mild soap and water solution—just avoid abrasive cleaners that can scratch the surface. Regular wiping with a soft cloth keeps them looking fresh.
This finish is built to last, so you won’t have to worry about frequent replacements.
7. Large-Format Tiles for Fewer Grout Lines
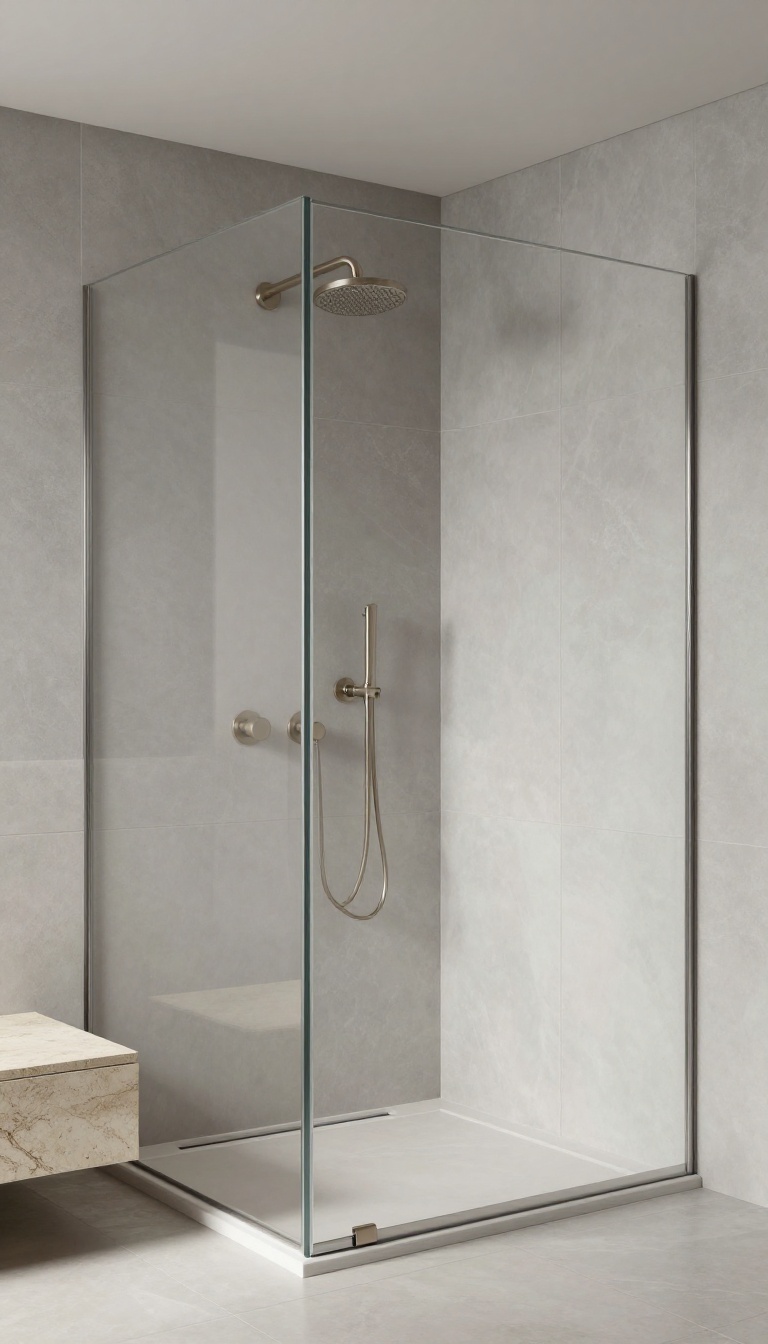
When you step into a modern shower, one of the first things you notice is how clean and uninterrupted the walls look. That seamless effect often comes from large-format tiles, which have become a go-to choice for contemporary remodels. These oversized slabs minimize the number of grout lines, creating a smooth, almost monolithic surface that feels both luxurious and easy to maintain.
Beyond the visual appeal, large tiles are a practical upgrade. They reduce the nooks and crannies where soap scum and mildew like to hide, making cleaning a breeze. And in a small shower, the fewer lines there are, the less visual clutter you have, which can make the space feel bigger and more open.
Why Fewer Grout Lines Matter
Grout is porous and prone to staining, so every line is a potential problem spot. With large-format tiles, you have dramatically less grout to worry about. That means less time scrubbing and fewer opportunities for discoloration.
Plus, the smooth surface reflects light better, brightening the whole shower.
Choosing The Right Size And Finish
For a truly seamless look, consider tiles that are 12×24 inches or larger, like 24×48. Porcelain and ceramic are durable and come in finishes that mimic natural stone or concrete. A matte or textured finish adds grip without sacrificing style, and you can even use the same tile on the floor for a cohesive feel.
Installation Tips For A Perfect Result
Large tiles require a perfectly flat substrate to avoid lippage, so professional installation is key. Use a leveling system to keep everything even, and choose a grout color that blends with the tile to make the lines disappear. With the right prep, you'll get that polished, high-end look you're after.
8. Curbless Entry for Barrier-Free Access
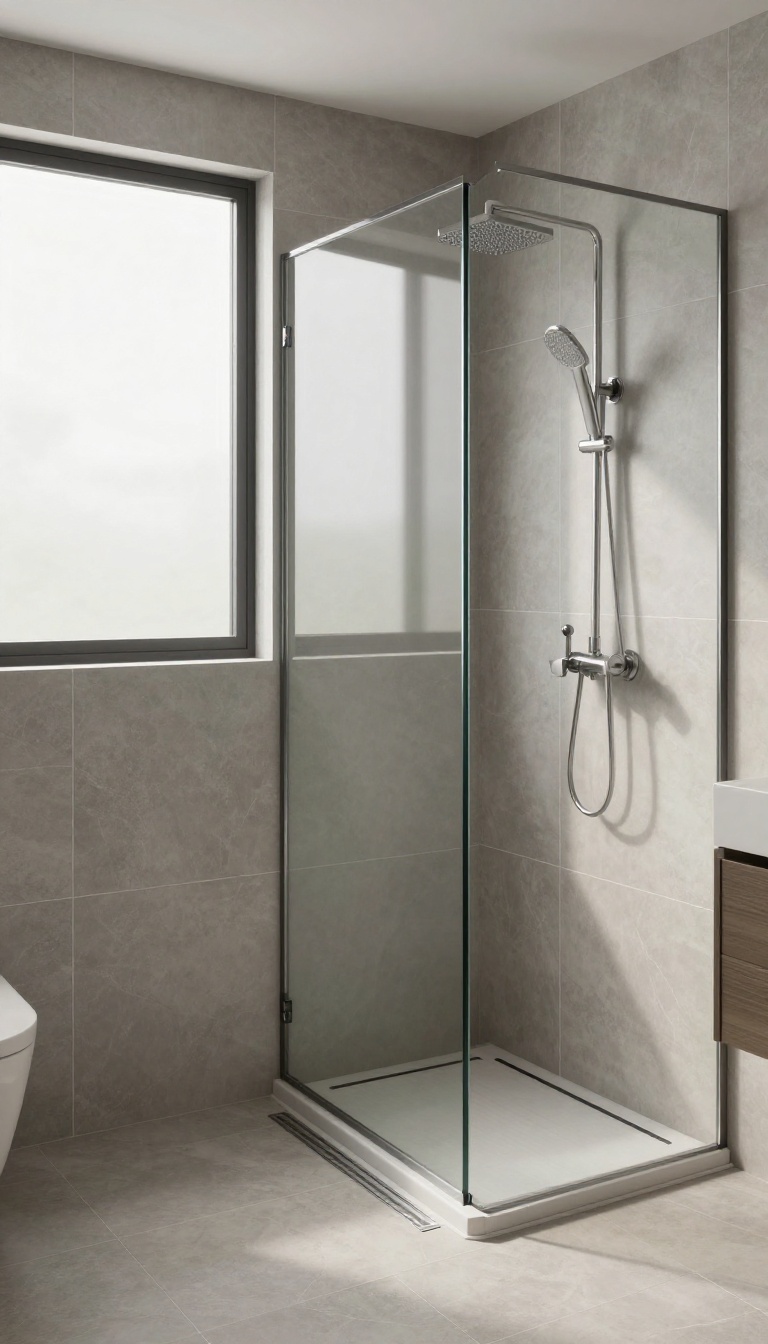
Stepping over a shower curb is something most people don't think twice about—until it becomes a nuisance. A curbless entry removes that hurdle completely, creating a seamless transition from the bathroom floor into the shower. It's a design choice that feels open, looks sleek, and works for everyone, whether you're planning for aging in place or just want a more modern, accessible space.
A curbless shower isn't just about aesthetics; it's about smart design that makes daily life easier. By eliminating the step-over, you reduce trip hazards and make the shower accessible to people with mobility challenges, kids, or anyone carrying heavy items. Plus, the continuous flooring visually expands the bathroom, making even small spaces feel larger.
The key is proper slope and waterproofing, so water drains efficiently without a curb to contain it.
Why Go Curbless?
The main draw is accessibility. A flush entry means no barrier to step over, which is a game-changer for wheelchair users or anyone with balance issues. But even for able-bodied folks, it feels more open and luxurious.
You also get a cleaner look—no metal or stone threshold to break up the floor. And when it comes to resale, curbless showers are a sought-after feature that can boost your home's appeal.
What To Watch Out For
Going curbless requires careful planning. The shower floor needs to slope toward the drain, usually about 1/4 inch per foot, and you'll need a linear drain or a properly placed center drain. Waterproofing is critical—you'll want a membrane that extends beyond the shower area to prevent leaks.
Also, consider the subfloor: you may need to recess the shower pan or raise the bathroom floor to achieve the flush transition. It's a job best left to pros, but the result is worth it.
Design Ideas To Try
Pair your curbless entry with large-format tiles to minimize grout lines and enhance the seamless look. Use the same tile on the floor and shower walls to blur the boundary even more. Add a glass panel or just leave it open for a truly spa-like feel.
If privacy is a concern, a frosted glass door can still work without a curb. And don't forget the drain—a sleek linear drain along the wall or back edge keeps the floor flat and modern.
9. Built-In Bench for Comfort and Function
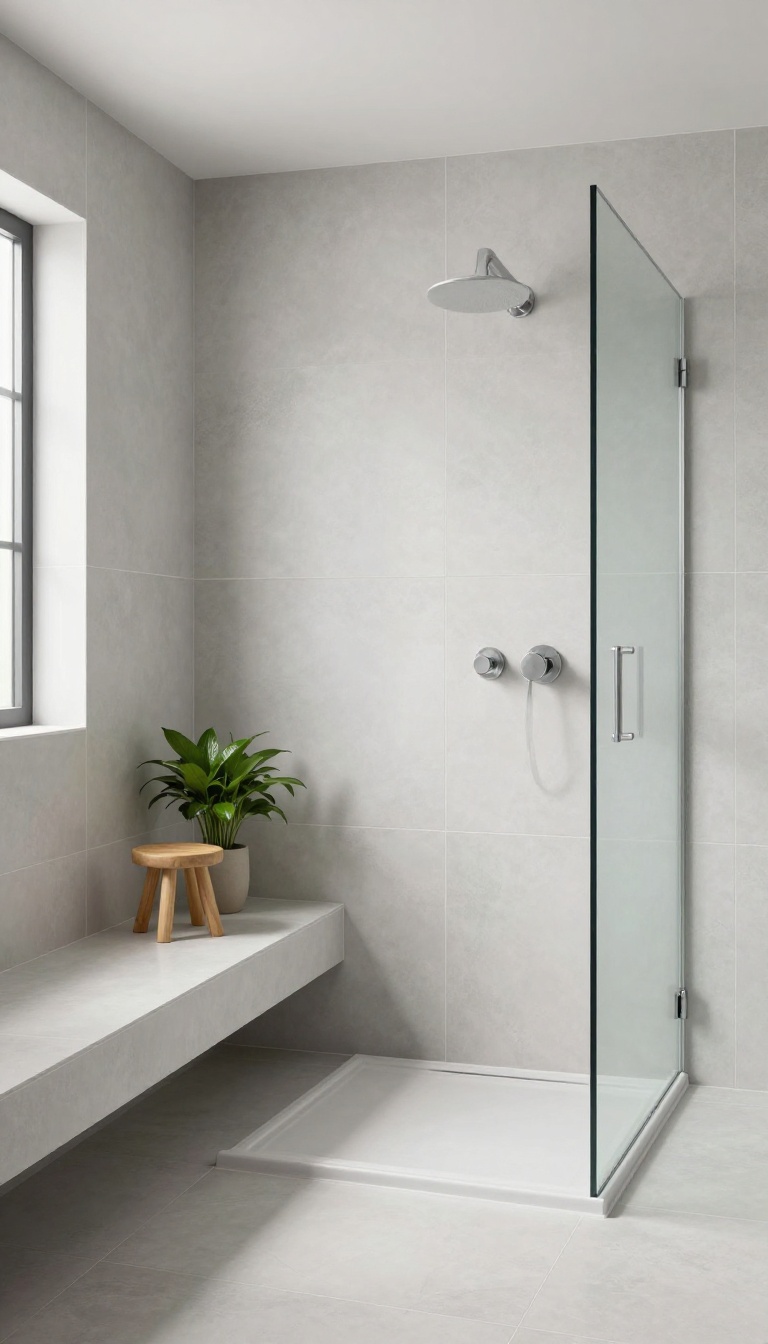
A built-in bench isn't just a luxury—it's a practical addition that makes your shower more usable every day. Whether you need a safe spot to sit while shaving your legs or a place to rest a foot while you scrub, a bench changes the way you move in the space. It also adds a clean, spa-like element that feels intentional rather than an afterthought.
Adding a built-in bench is one of those upgrades that instantly makes a shower feel more polished and functional. You can tuck it into a corner for a compact footprint, or run it along the full length of a wall for a more dramatic look. The key is to integrate it seamlessly with the rest of your shower design, so it doesn't stick out like an awkward addition.
Choose The Right Size And Placement
Think about how you'll actually use the bench. A typical depth of 14 to 16 inches is comfortable for sitting, but you can go deeper if you want to use it as a ledge for toiletries. Place it where it won't interfere with the shower door or the main spray pattern.
A corner bench is a great space-saver, while a full-width bench offers more room to stretch out.
Tile It To Match Your Shower Walls
For a seamless look, tile the bench with the same material as your shower walls. This creates a continuous visual line that makes the bench feel like part of the architecture, not an add-on. If you want a bit of contrast, use a different tile color or a wood-look plank for a warm touch.
Just make sure the surface is slip-resistant and slightly sloped to prevent water pooling.
Built-in Storage Options
A bench can double as storage if you design it with a hinged top or pull-out drawers. This is perfect for keeping shampoo, conditioner, and other shower essentials within reach but out of sight. You can also add a recessed niche above the bench for extra shelving, which keeps the space tidy and organized.
10. Recessed Lighting for a Soft Glow
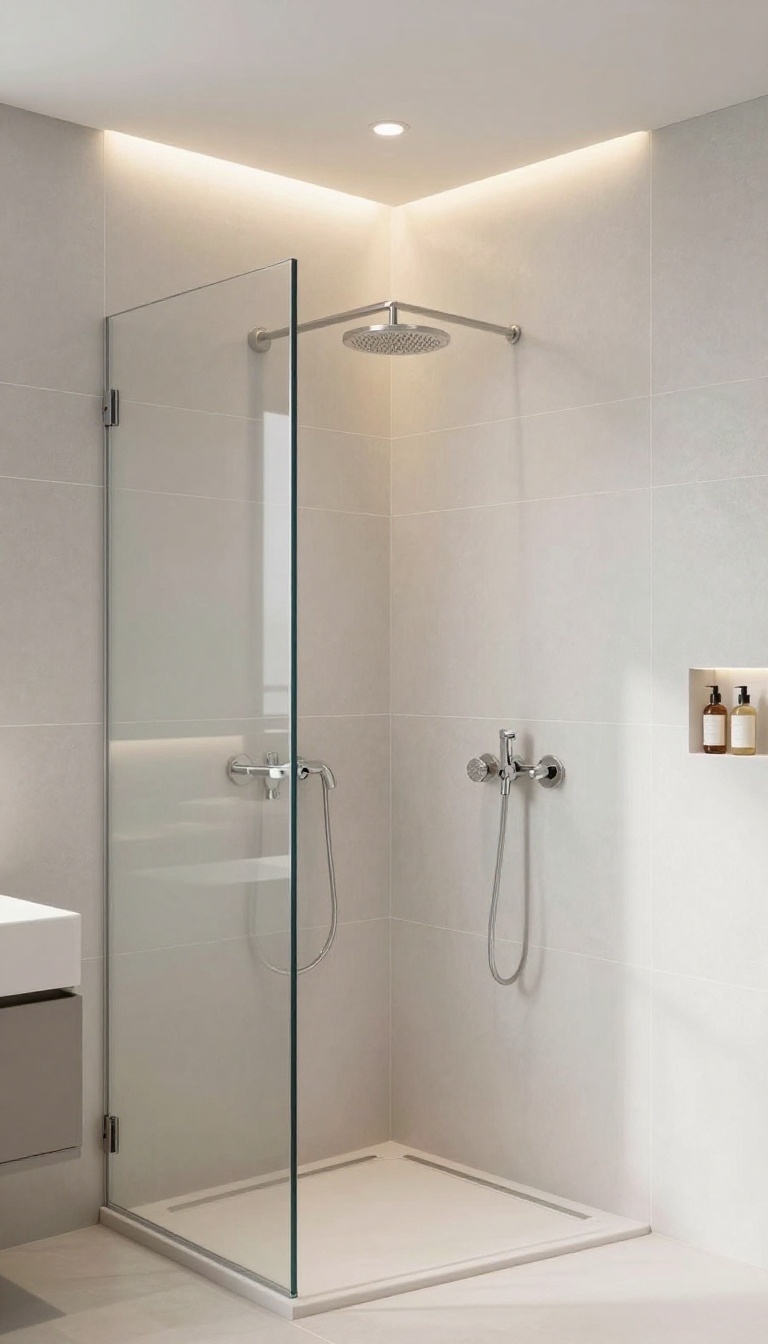
Lighting can make or break the mood in a shower, and recessed fixtures are a sleek way to brighten things up without cluttering the ceiling. Unlike bulky light bars, they sit flush, adding a clean, modern touch that pairs well with any tile or glass. Plus, they make the space feel safer by eliminating dark corners where soap or shampoo bottles tend to hide.
Recessed lighting isn't just about aesthetics—it's about creating a calm, functional space. When placed strategically, these lights can highlight the texture of your tile or the sheen of your fixtures, making the whole shower feel more inviting. And because they're recessed, they don't accumulate dust or moisture like traditional fixtures, which is a win for maintenance.
Choosing The Right Placement
Think about where you need light most. Over the showerhead is a must, but also consider a light near the bench or shelf to avoid shadows. Aim for even coverage—usually two to three recessed lights work well for a standard shower.
If you have a niche, a small spot right above it can make your products pop.
Picking The Perfect Bulb
Warm white LEDs (around 2700K to 3000K) give that soft, spa-like glow, while cooler tones can feel too clinical. Dimmable options are a game-changer—you can start bright in the morning and wind down with a softer light at night. Just make sure they're rated for damp or wet locations to handle the steam.
Smart Controls For Extra Convenience
Pairing recessed lights with a smart dimmer or motion sensor adds a layer of convenience. Imagine stepping in and the lights gently fade on, no fumbling for a switch. Some systems even let you set a timer, so the light stays on for a few minutes after you leave—perfect for drying off without stumbling in the dark.
11. Smart Shower System for Personalized Control
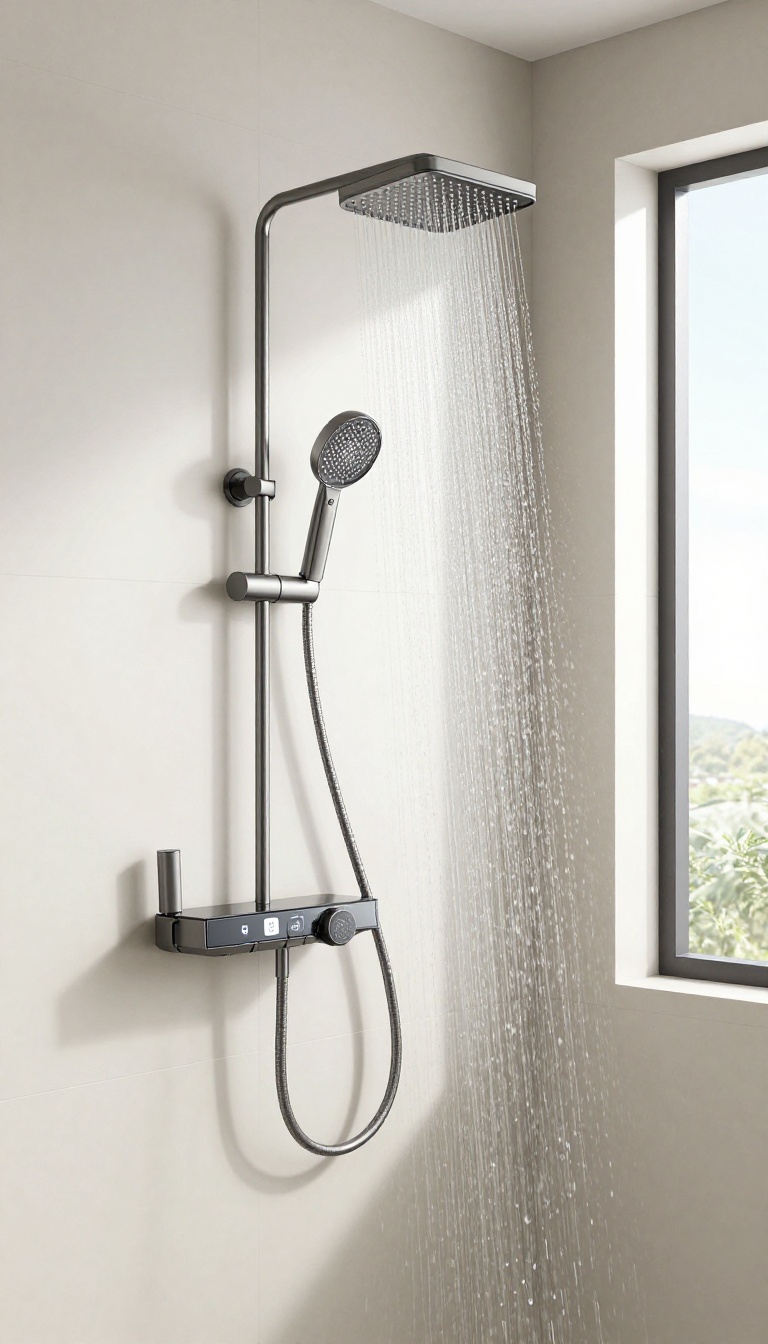
Digital shower systems are changing how you interact with your daily routine. Instead of fiddling with knobs to find the right temperature, you can preset your ideal water experience. With a touchscreen panel or voice commands, you get precise control at your fingertips.
A smart shower system brings a new level of convenience and luxury to your bathroom. It remembers your preferred temperature and flow settings, so every shower starts perfectly. You can even pause the water while you lather up and resume at the same temperature, saving water without sacrificing comfort.
Set Your Perfect Temperature
One of the biggest perks is the ability to set an exact temperature. No more guessing or adjusting mid-shower. Whether you like it hot or warm, the system delivers consistent water every time.
Some models even allow multiple user profiles, so everyone in the home gets their own saved settings.
Control With Touch Or Voice
Touchscreen panels offer a sleek, modern interface that's easy to clean and use. You can adjust temperature, flow, and even switch between showerheads with a simple tap. Voice control takes it further—just say a command to start your shower without touching anything.
It's perfect for when your hands are full or you want a truly hands-free experience.
Smart Features That Save Water
Many smart systems include flow-limiting features and eco modes that reduce water usage without compromising comfort. You can set a timer to keep showers efficient, or use the pause function while soaping up. Over time, these features can lower your water bill and reduce your environmental footprint.
12. Heated Floor for Year-Room Comfort
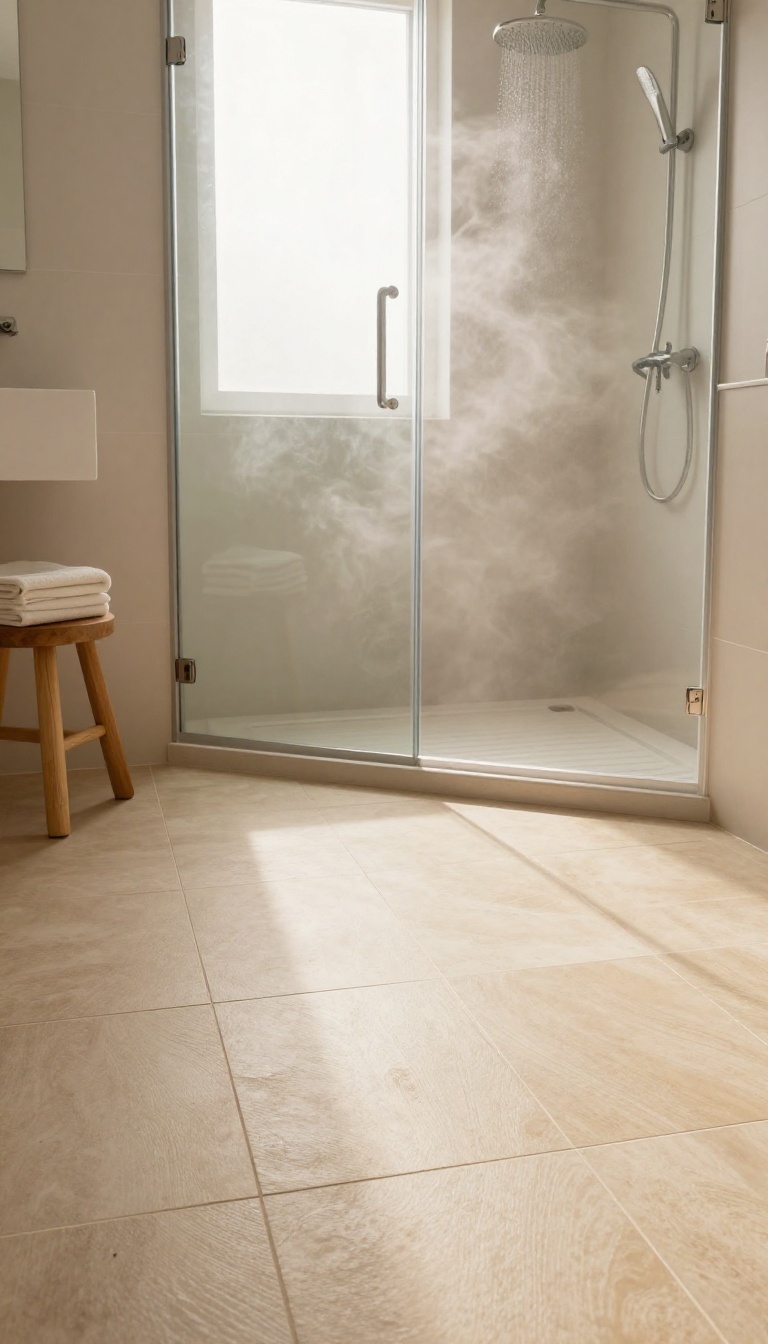
Cold tile underfoot can be the least inviting part of a shower, especially during winter mornings. Radiant floor heating solves that problem quietly, warming the surface before you even step in. It's a small luxury that makes a big difference in how the space feels.
Radiant floor heating is more than a comfort upgrade—it's a practical way to keep your bathroom cozy without relying on forced air. The system runs warm water through tubes or uses electric mats beneath the tile, so heat rises evenly from the floor. You'll notice the difference the moment you step out of the shower, and it also helps dry the floor faster, reducing the chance of slips.
Why It's Worth The Investment
Adding heated floors during a remodel is far easier than retrofitting later. The upfront cost is moderate, but the daily comfort and potential energy savings can offset it over time. Plus, it adds a touch of luxury that appeals to future buyers if you ever sell.
Electric Vs. Hydronic Systems
Electric mats are simpler to install and ideal for smaller bathrooms, while hydronic systems use your existing water heater and are more efficient for larger areas. Your contractor can help you choose based on your bathroom size and budget.
Installation Tips To Keep In Mind
Make sure the heating elements are placed evenly, especially near the shower entry, and use a programmable thermostat to preheat the floor before you wake up. Also, choose tile that conducts heat well, like porcelain or stone, to get the most out of the system.
13. Textured Wall Panels for a Modern Accent
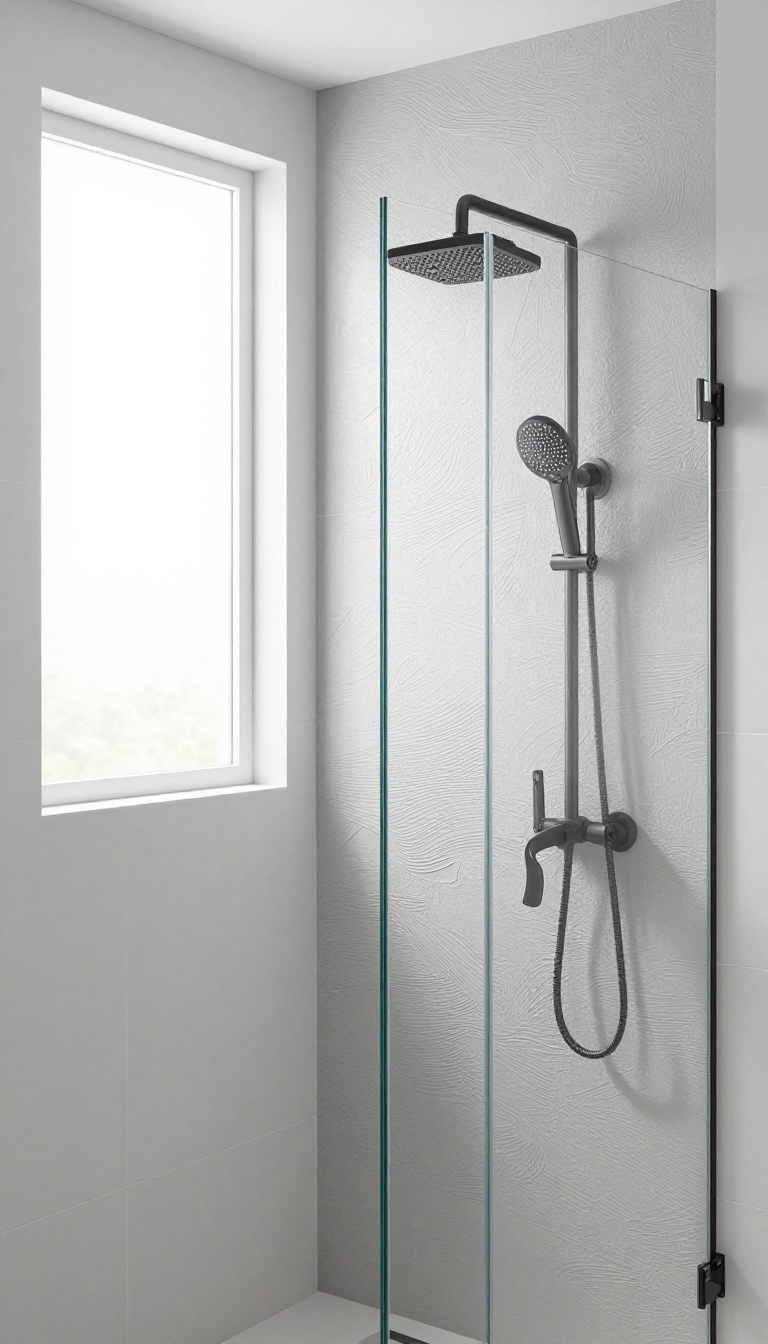
A single accent wall can shift the whole feel of a shower, and textured panels bring that change without a full redesign. Large-format panels or 3D tiles add depth and a tactile quality that flat surfaces just can't match. They create a modern focal point that draws the eye and makes the space feel intentional.
Textured wall panels are a smart way to introduce visual interest without overwhelming the room. Because they're installed on just one wall, they keep the rest of the shower clean and simple, letting the texture do the talking. This approach works especially well in minimalist bathrooms where a subtle pattern can add warmth and dimension.
Choosing The Right Texture
Think about the scale of the texture relative to your shower size. Large, sweeping waves or soft ridges can make a small space feel larger, while smaller, busier patterns might feel cluttered. Also consider the material—waterproof panels like PVC or acrylic are practical, while natural stone adds a premium look but requires more maintenance.
Installation Tips
Proper installation is key to keeping the panels looking great for years. Use a waterproof adhesive and seal all edges thoroughly to prevent moisture from getting behind the panels. If you're working with tiles, ensure the substrate is level and use a quality grout that resists mold and staining.
Pairing With Other Elements
Textured panels work best when paired with simple, uncluttered fixtures. Choose a sleek showerhead and a frameless glass door to let the texture stand out. Keep the rest of the walls in a neutral tone, and let the accent wall be the star of the show.
FAQ
What is the most cost-effective shower remodel idea?
Swapping out your showerhead for a rainfall or handheld model is the most budget-friendly upgrade. It's a simple DIY that instantly changes the look and feel of your shower.
How can I make a small shower look bigger?
Use large-format tiles, a frameless glass enclosure, and a linear drain to create a seamless, open appearance. Light colors and minimal grout lines also help.
Are curbless showers a good idea?
Yes, curbless showers are accessible, modern, and easy to clean. They also make a bathroom feel more spacious, but they require proper waterproofing and slope.
What is the best tile for a modern shower?
Large-format porcelain or ceramic tiles are popular for a modern look because they have fewer grout lines and come in many styles. Natural stone is also an option but requires more maintenance.
How do I choose the right shower fixtures?
Consider your overall bathroom style and finish preferences. Matte black and brushed nickel are durable and modern. Also, think about functionality, like handheld options or smart controls.
Conclusion
These 13 clever shower remodel ideas offer a range of options to achieve a polished, modern result. Whether you start with a simple fixture swap or go all-in with a curbless design, each upgrade brings you closer to a bathroom you'll love.
Remember to prioritize functionality and your personal style to create a space that feels both fresh and inviting. With the right choices, your shower can become a standout feature of your home.