11 Modern Bathroom Shower Ideas for a Crisp, Cohesive Finish
A bathroom remodel rarely fails because of one big mistake. It fails in the details, where a frameless door meets a wobbly curb or a brass faucet clashes with chrome trim. Get those details right and the whole room reads as crisp and intentional, even on a modest budget.
The eleven ideas below focus on the choices that pull a shower together. Some are structural, like large-format slabs or a linear drain. Others are quick wins, like a rainfall head or a niche tucked into the wall.
You don't need all eleven. Pick the ones that fit your space and your routine, and the finish will feel cohesive instead of pieced together.
1. Go Large Format with Porcelain Slabs
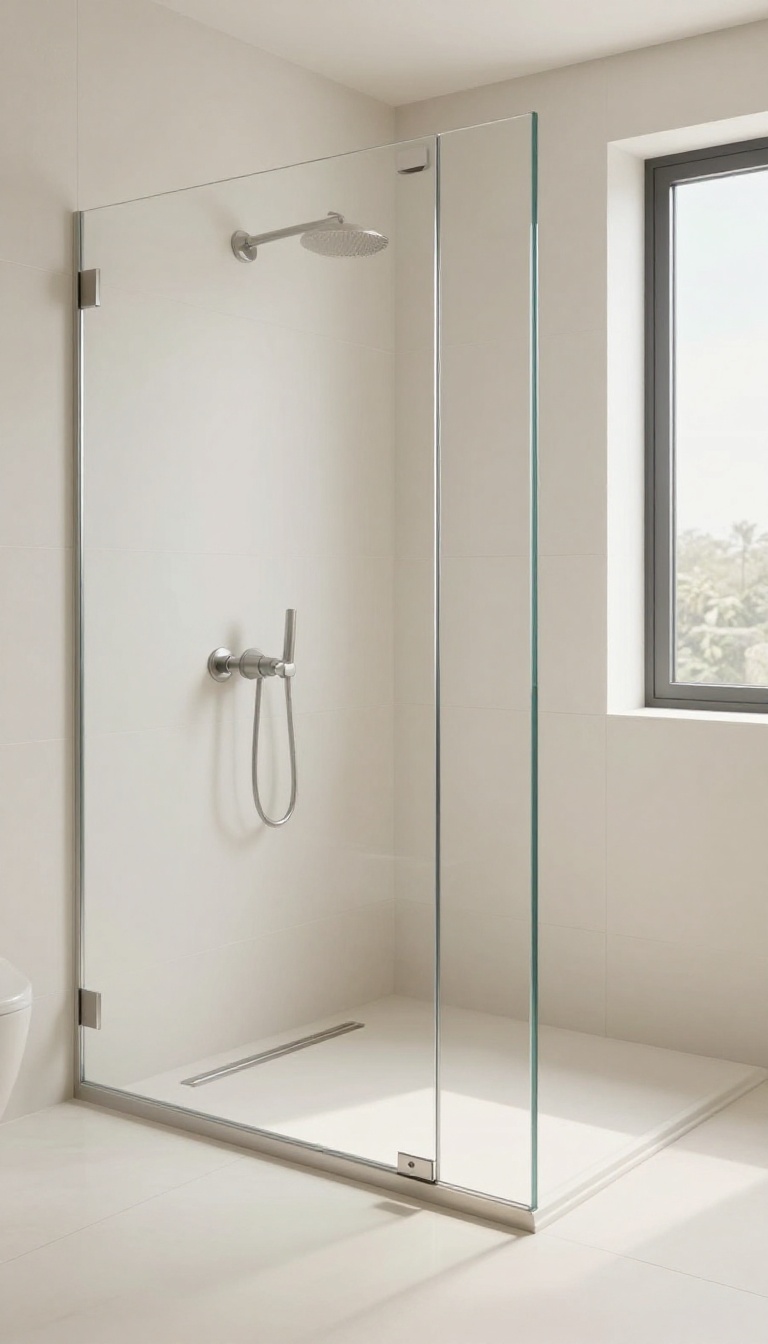
Grout lines are the enemy of a clean, modern shower. They collect soap scum, break up the visual flow, and make even a spacious shower feel busy. Large-format porcelain slabs solve that problem by covering more wall with fewer seams.
The result is a surface that looks almost seamless and takes minutes to wipe down.
Porcelain slabs typically come in sizes like 24 by 48 inches or even larger, which means far fewer grout lines than standard 12-inch tiles. That matters because grout is where mold and mildew love to hang out. With fewer joints, you spend less time scrubbing and more time enjoying your shower.
These slabs also make small bathrooms feel bigger. A continuous surface tricks the eye into seeing more space because there are no interruptions. And because porcelain is dense and non-porous, it resists stains and moisture without needing regular sealing.
You get a high-end look without the high-maintenance routine.
Why Fewer Grout Lines Matter
Grout is porous, so it absorbs water, soap, and body oils over time. That leads to discoloration and stubborn stains that no amount of scrubbing fully removes. Large slabs cut the amount of grout dramatically, which keeps the shower cleaner for longer.
It's a simple trade-off: less grout, less work.
Making Small Showers Feel Bigger
A seamless wall of porcelain doesn't just look sleek; it visually expands the room. Your eye follows the slab from floor to ceiling without stopping at grout lines, so the space feels taller and wider. Pair it with a matching floor slab for an even more continuous effect.
It's a trick designers use all the time in compact bathrooms.
Installation Tips For A Flawless Finish
Large slabs are heavy, so you'll need a pro with the right tools and experience. Make sure the walls are perfectly flat before installation, or the slabs can crack or look uneven. Also plan for a linear drain if you want the floor to be one continuous piece.
Done right, the result is a shower that looks custom-built and effortless.
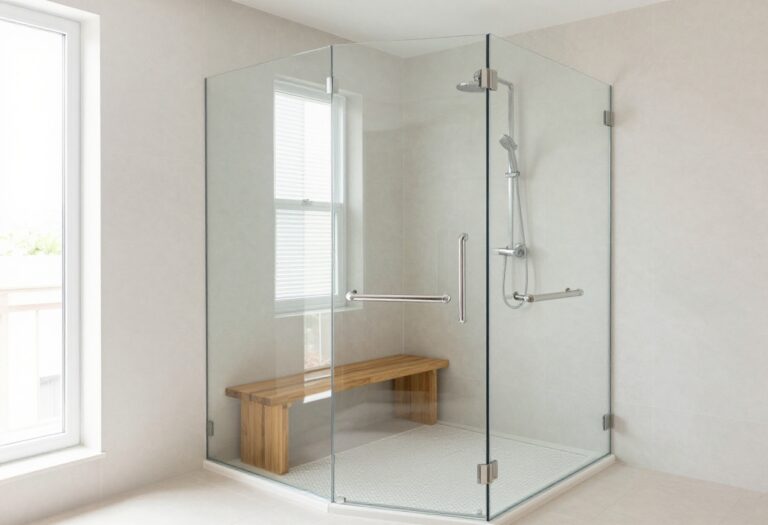
2. Choose a Frameless Glass Enclosure
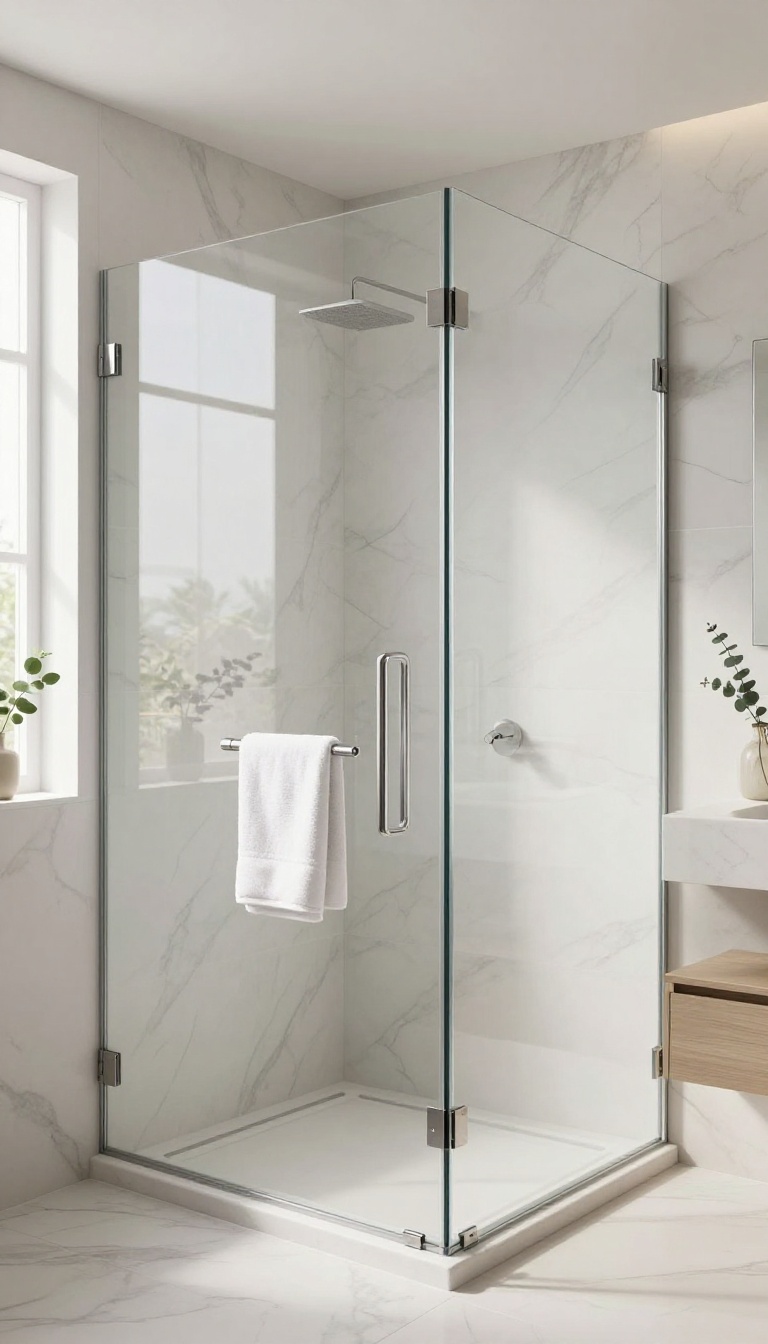
Frameless glass does more for a modern shower than almost any other upgrade. It removes the heavy metal grid that chops up sightlines and lets your tile run uninterrupted from floor to ceiling. The result feels open, bright, and intentional—like a spa corner rather than a boxed-in stall.
A framed door announces itself. A frameless one disappears. That disappearing act is the whole point: your eye reads the shower as part of the room instead of a separate pod.
It also makes small bathrooms feel bigger without moving a single wall. And because there's no chunky frame, the glass becomes a quiet showcase for whatever tile you chose.
Why It Opens Up The Room
Glass with no frame creates fewer visual breaks. Your eye glides past the shower instead of stopping at a metal border. In a tight bathroom, that alone can make the space feel a foot wider.
It also lets light bounce deeper into the room, so dark corners stay brighter.
What To Know Before You Buy
Frameless glass needs thicker panels—usually 3/8 or 1/2 inch—so it stays rigid without a frame. That means heavier doors and sturdier hinges, which cost more than a basic framed unit. You'll also want a pro to measure, because even a small miscalculation shows.
But the payoff is a cleaner look that lasts.
Make It Feel Custom
Choose low-iron glass if you want zero green tint. Add a subtle seal strip or a minimalist handle to keep the lines clean. And skip the heavy towel bar on the door—it clutters the view.
A simple, well-placed hook nearby does the job without breaking the spell.
3. Add a Linear Drain for Clean Lines
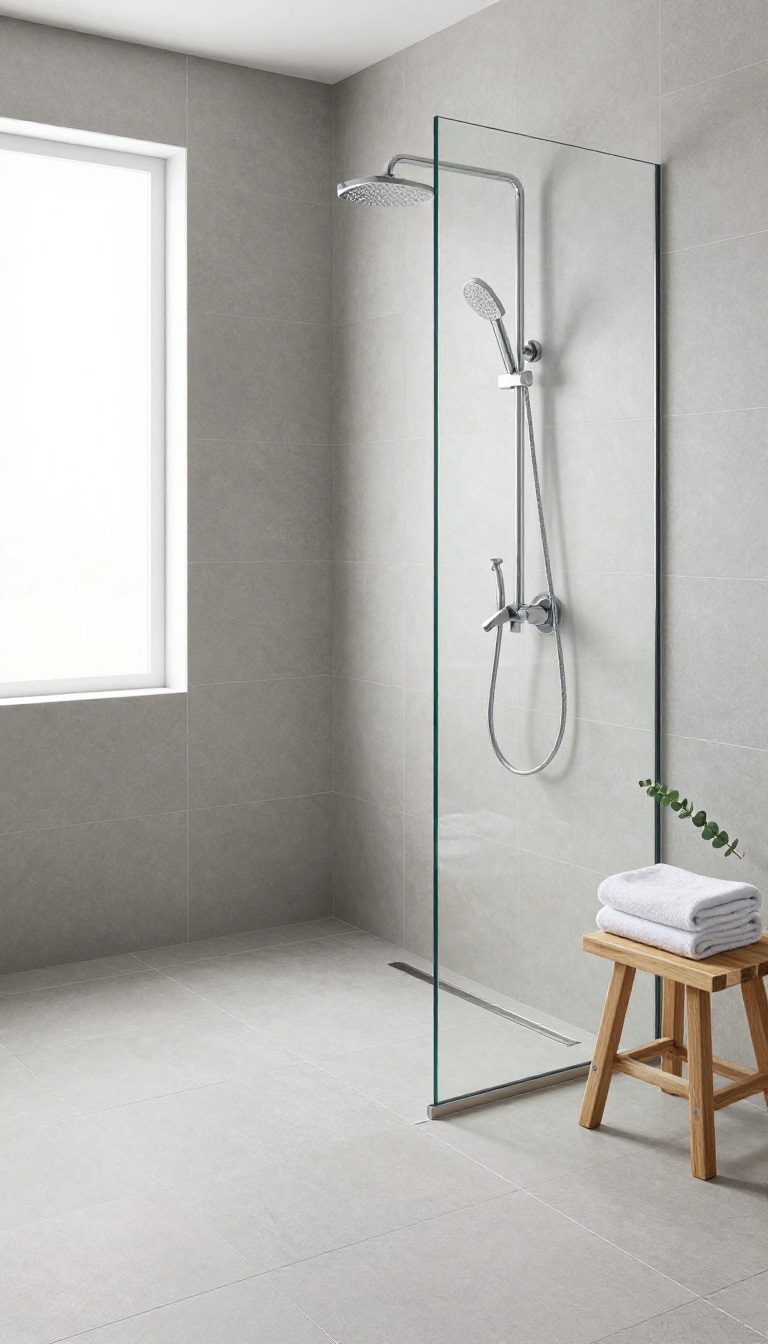
A linear drain swaps the traditional center drain for a long, narrow channel that runs along one side or end of the shower floor. Because the slope goes in one direction instead of four, you can use larger tiles with fewer grout lines. The result is a floor that looks almost seamless, which is exactly what a modern shower needs.
Linear drains have been standard in high-end European bathrooms for years, and they're finally easy to find at big-box stores and online. They cost more than a basic center drain, but the visual payoff is huge. If you're already splurging on tile, this is the upgrade that makes the tile look intentional rather than chopped up.
Why The Floor Looks Better
A center drain forces you to cut tiles into four awkward triangles around the drain body. That creates a pinwheel of grout lines right where your eye lands. A linear drain sits flush against the wall, so the floor tile can run in one continuous grid.
You get long, straight lines and a much calmer surface underfoot.
Tile Options Open Up
With a single slope, you can use large-format tiles, long planks, or even a single slab cut to fit. That means fewer grout joints to scrub and a cleaner look overall. Just make sure your tile is rated for wet floors and has enough texture to avoid slipping.
Installation And Cost
Linear drains need a pro who understands the required slope and waterproofing. The drain itself runs $150 to $500, and labor adds another $300 to $800 depending on your setup. It's not a DIY weekend project, but it's worth budgeting for if clean lines matter to you.
Keeping It Clean
Hair can collect in the channel, so choose a drain with a removable grate and a hair trap. Rinse it weekly and lift the grate for a deeper clean once a month. A quick wipe keeps the stainless or tile insert looking sharp.
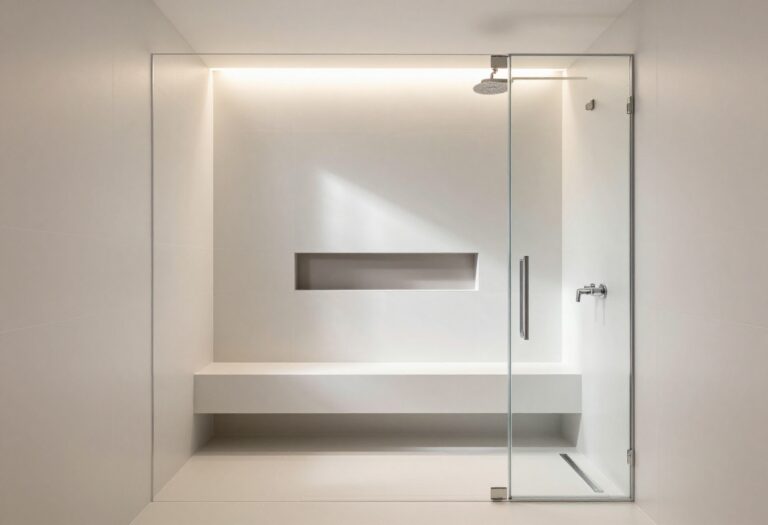
4. Install a Floating Bench for Function and Style
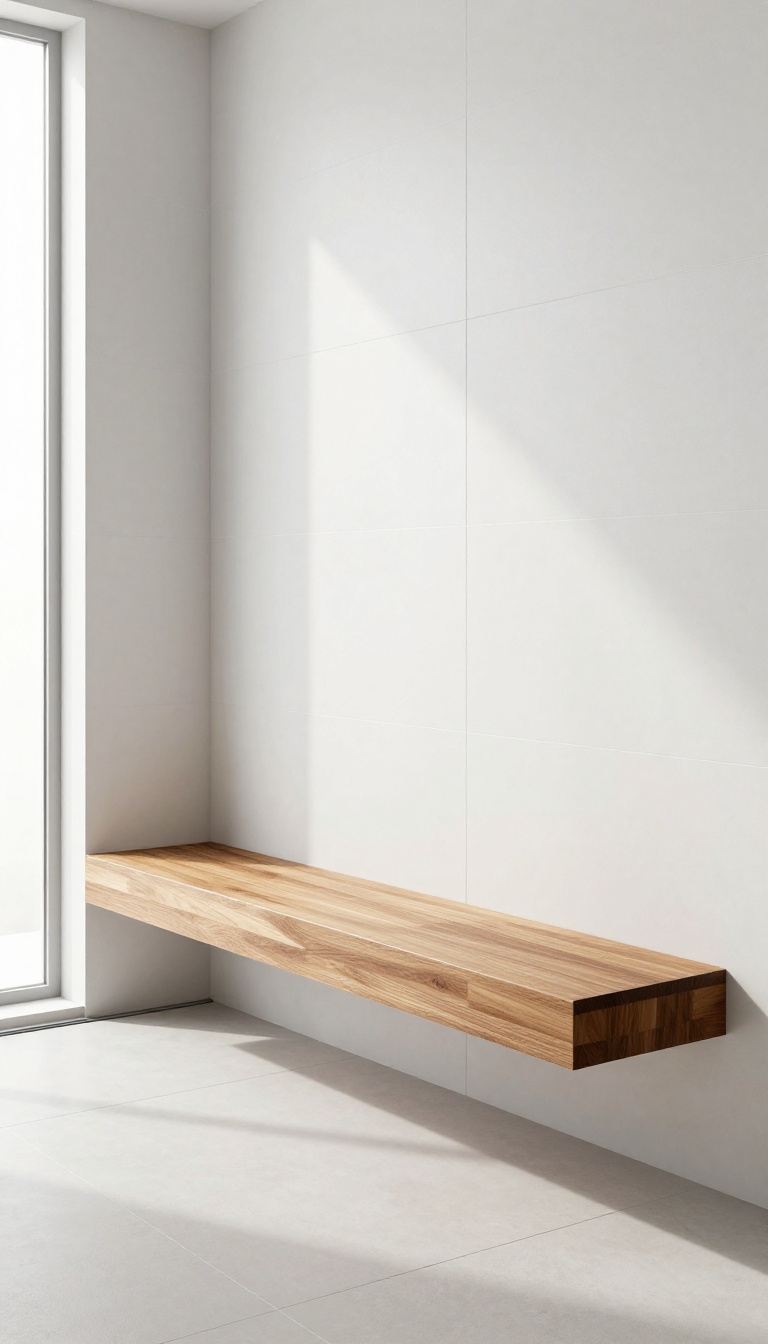
A floating bench looks like it defies gravity, but its real trick is clearing the floor. Without legs or a bulky base, the shower feels larger and easier to clean. You get a spot to sit, shave, or rest a foot while rinsing off, and the room stays open and uncluttered.
The bench mounts directly to the wall, so it reads as a clean architectural line rather than a piece of furniture. That makes it a natural fit for modern showers where every element should feel built-in. You can tile it to match the walls for a seamless look, or use a contrasting stone or wood-look slab to add warmth and definition.
Pick A Material That Ties In
Matching the bench to your wall tile makes it nearly disappear, which is great for small showers. If you want it to stand out, choose a slab in a complementary tone, like a warm teak or a honed marble. Just keep the edges simple and straight so it still feels modern.
Get The Height And Depth Right
Most benches sit about 17 to 19 inches off the floor, which works for sitting and shaving. Depth usually lands between 12 and 16 inches, enough to sit comfortably without crowding the shower. If you plan to use it as a footrest, go a little lower and shallower.
Plan For Support And Drainage
A floating bench needs solid blocking inside the wall, so decide on it before the tile goes up. Slope the top slightly toward the drain so water doesn't pool. And keep the underside open or sealed tight, depending on your waterproofing system, to avoid moisture traps.
5. Use a Monochromatic Color Palette
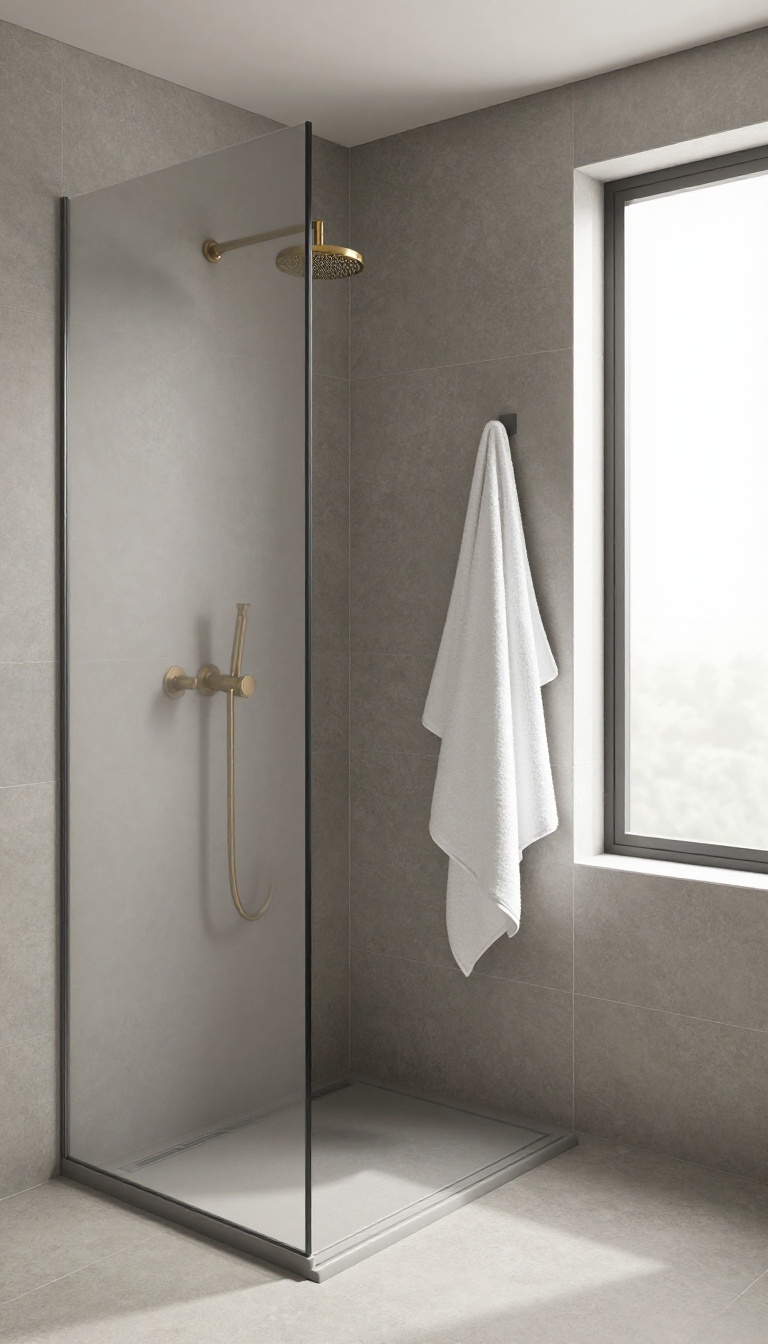
Color does more for a modern shower than most people give it credit for. When every surface pulls from the same color family, the eye stops bouncing around and the whole space feels calmer, larger, and more expensive than it probably was. Monochromatic doesn't mean boring—it means disciplined.
The trick is picking one lane and staying in it. Warm greys, soft whites, sandy beiges, or deep charcoals all work. The magic happens when tile, grout, fixtures, and even the ceiling land within a few shades of each other instead of fighting for attention.
That's what gives high-end hotel bathrooms their hushed, cohesive feel.
Pick A Lane And Stay In It
Choose a color family first, then build everything else around it. If you go warm grey, your tile, grout, drain cover, and even towel hooks should lean warm grey. Cool grey fixtures in a warm grey shower will look like a mistake, even if nobody can name why.
Same goes for whites—bright white tile with creamy white trim reads as dirty, not layered.
Match Your Metals To Your Mood
Metals carry temperature, so they matter more than you think. Brushed nickel and chrome keep things cool and crisp. Brushed brass and matte black add warmth and depth.
Pick one finish and repeat it on the showerhead, valve trim, drain, and any hardware. Mixing two metals can work, but it's a tightrope—most people fall off.
Use Texture Instead Of Contrast
When you're not using color to create interest, texture has to do the heavy lifting. A glossy tile next to a matte one in the same shade gives you depth without breaking the palette. A ribbed glass panel, a fluted vanity, or a micro-cement bench all add visual layers while staying in the same color story.
That's how monochromatic stays interesting instead of flat.
Keep Grout Close To The Tile
Grout is the quietest place to blow a monochromatic scheme. A stark white grout line through warm grey tile turns your wall into a grid. Match grout to tile as closely as you can, or go one shade darker for subtle definition.
The shower will read as one continuous surface, which is exactly the point.
6. Incorporate a Niche for Shampoo and Soap
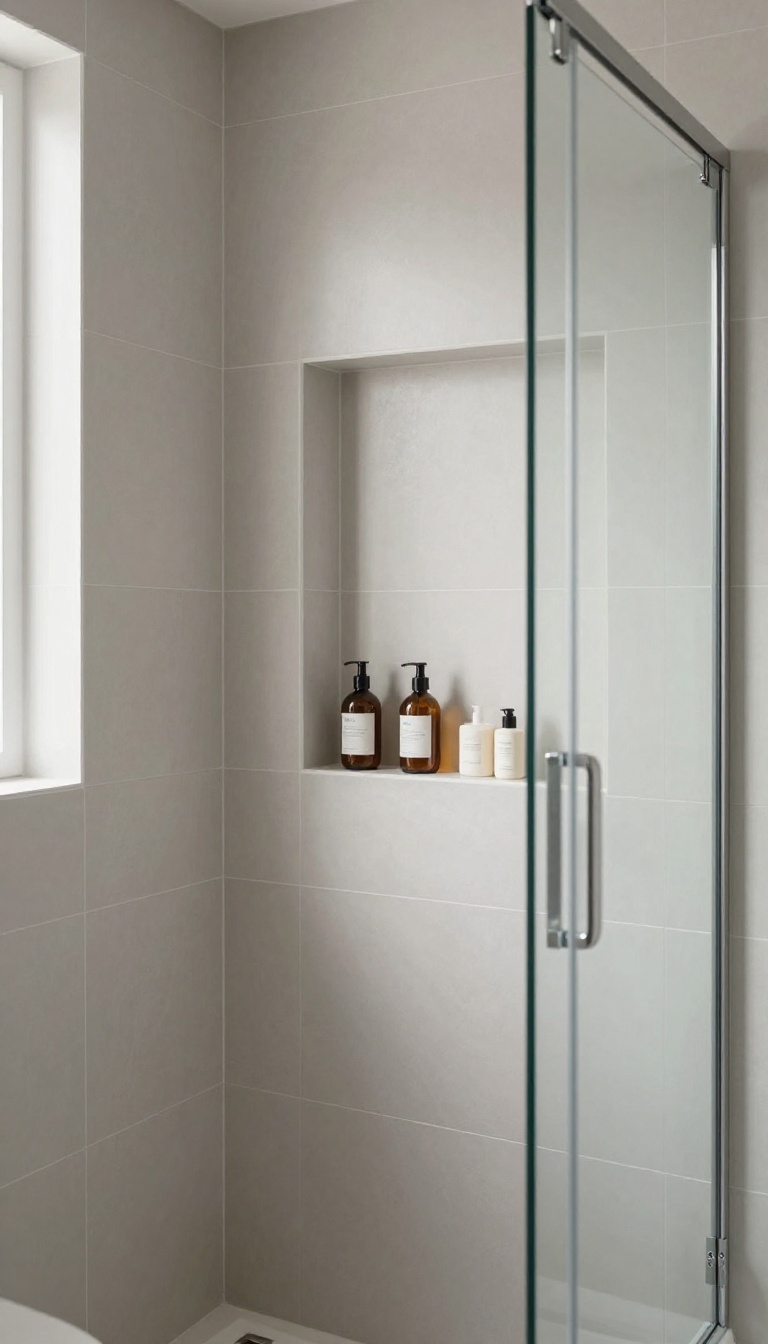
A recessed niche turns a cluttered shower into a clean, spa-like space. It keeps bottles off the floor and adds a custom detail that looks intentional. You can line it with the same tile as the walls or a contrasting accent to make it pop.
A niche is simply a small alcove built into the wall between the studs. It holds your shampoo, conditioner, and soap without taking up floor space or requiring a hanging caddy. The result is a streamlined look that feels built-in, because it is.
Most niches go on the wall opposite the showerhead, but you can also place one near the entry for easy access. The size depends on your bottles—usually 12 to 16 inches wide and 24 to 30 inches tall. Just make sure it doesn't interfere with plumbing or framing.
When you line the niche with the same tile as the shower walls, it almost disappears, creating a seamless look. A contrasting tile or a different finish turns it into a focal point. Either way, it's a small detail that makes a big difference.
Pick The Right Spot
Place the niche where you naturally reach—usually on the wall opposite the showerhead or beside it. Avoid putting it directly in the spray path, or water will pool inside. If you have a bench, a niche above it works well.
Size It For Your Stuff
Measure your tallest bottles before you frame. A niche that's too small becomes useless, and one that's too big looks out of proportion. Standard sizes are 12×24 or 16×30, but custom is easy if you plan ahead.
Tile It To Match Or Contrast
Using the same tile makes the niche blend in for a seamless look. A contrasting tile—like a marble slab or a mosaic—adds a designer touch. Just make sure the edges are finished with a bullnose or trim piece for a clean line.
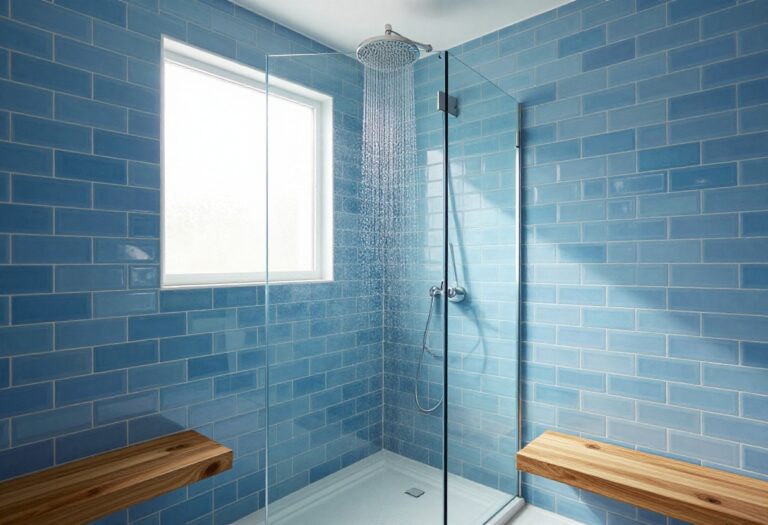
7. Upgrade to a Rainfall Showerhead
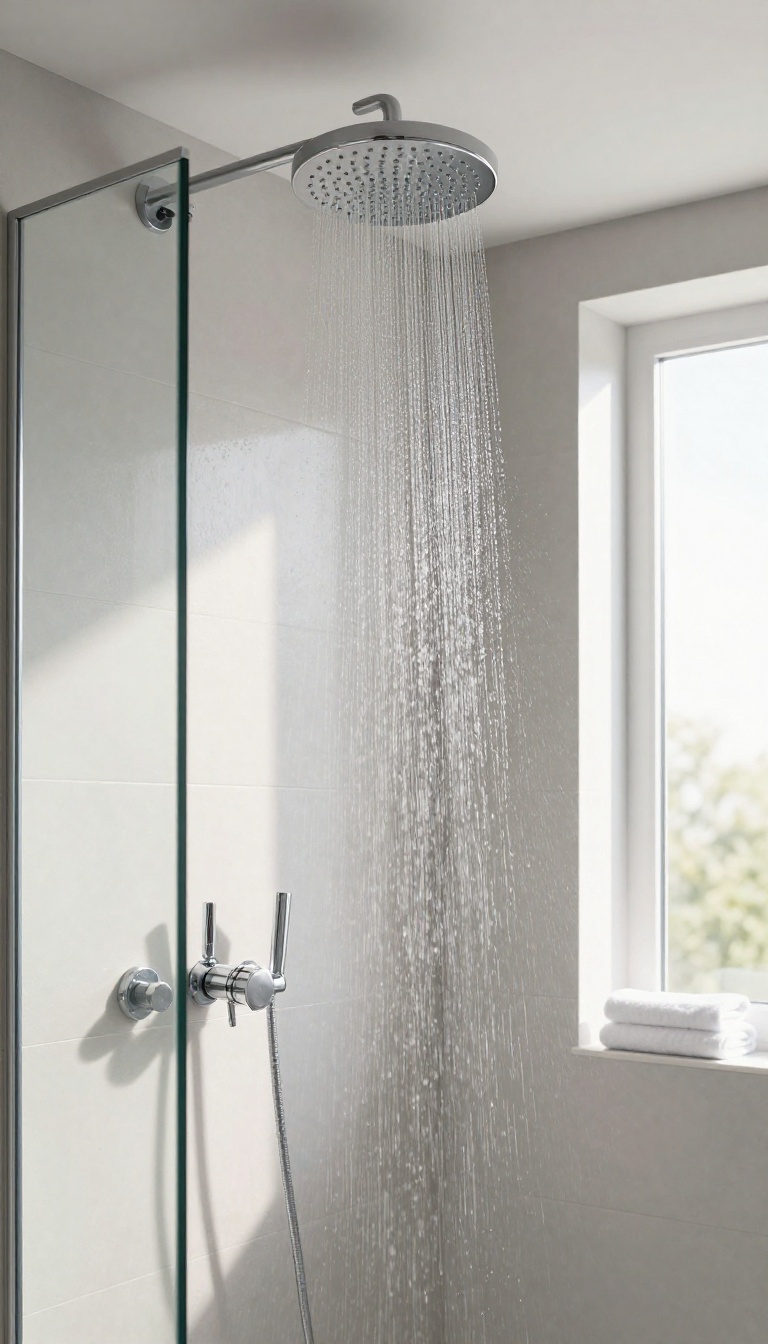
A rainfall showerhead turns your daily rinse into a mini spa moment. Instead of a sharp, angled spray, water falls straight down in a soft, even curtain. That gentle cascade feels luxurious, and the hardware itself—usually a slim round or square panel—adds a clean, modern line to the shower.
It’s one of those upgrades that looks high-end but doesn’t require a full remodel.
You can mount a rainfall head on the ceiling or on the wall. Ceiling mounts give you that true overhead pour, while wall-mounted arms keep the installation simpler. Either way, the goal is a wide, low-pressure flow that covers your whole body without stinging.
Many models also include a handheld wand on a separate diverter, so you still get flexibility for rinsing and cleaning. The key is to match the finish and shape to your other fixtures—round with round, square with square—so the whole shower feels intentional.
Ceiling Vs. Wall Mount
Ceiling-mounted rainfall heads drop water straight down for the most immersive feel. They need space above the shower, so they work best in a remodel where you can run a new supply line. Wall-mounted versions attach to an arm that extends from the wall.
They’re easier to retrofit and still give you that broad, overhead spray. If your ceiling is low or you rent, a wall mount is the practical pick.
Size And Flow Rate Matter
A 12-inch head feels generous, but it also spreads the water thinner. In a standard shower, 8 to 10 inches is usually the sweet spot. Check the flow rate—1.
8 to 2. 5 gallons per minute (GPM) is typical. Higher GPM feels stronger but uses more water.
If you have low water pressure, look for a model with a pressure-boosting design or add a pump.
Mixing Finishes And Shapes
Your rainfall head should relate to the rest of your hardware. If your faucet and trim are matte black, choose a matte black head. If you have chrome, stay chrome.
Shape matters too: a round head pairs well with round handles, while a square head looks sharp with rectangular trim. Don’t mix more than two finishes in one shower, or it starts to look busy.
Installation And Maintenance
Swapping a standard shower arm for a rainfall head is a DIY-friendly job if you’re comfortable with basic plumbing. Ceiling mounts usually need a pro. Either way, add a shut-off valve or a diverter so you can switch between the rainfall head and a handheld.
Clean the nozzles regularly with vinegar to prevent mineral buildup—most heads have rubber nubs you can rub clean with your thumb.
8. Add LED Lighting Inside the Shower
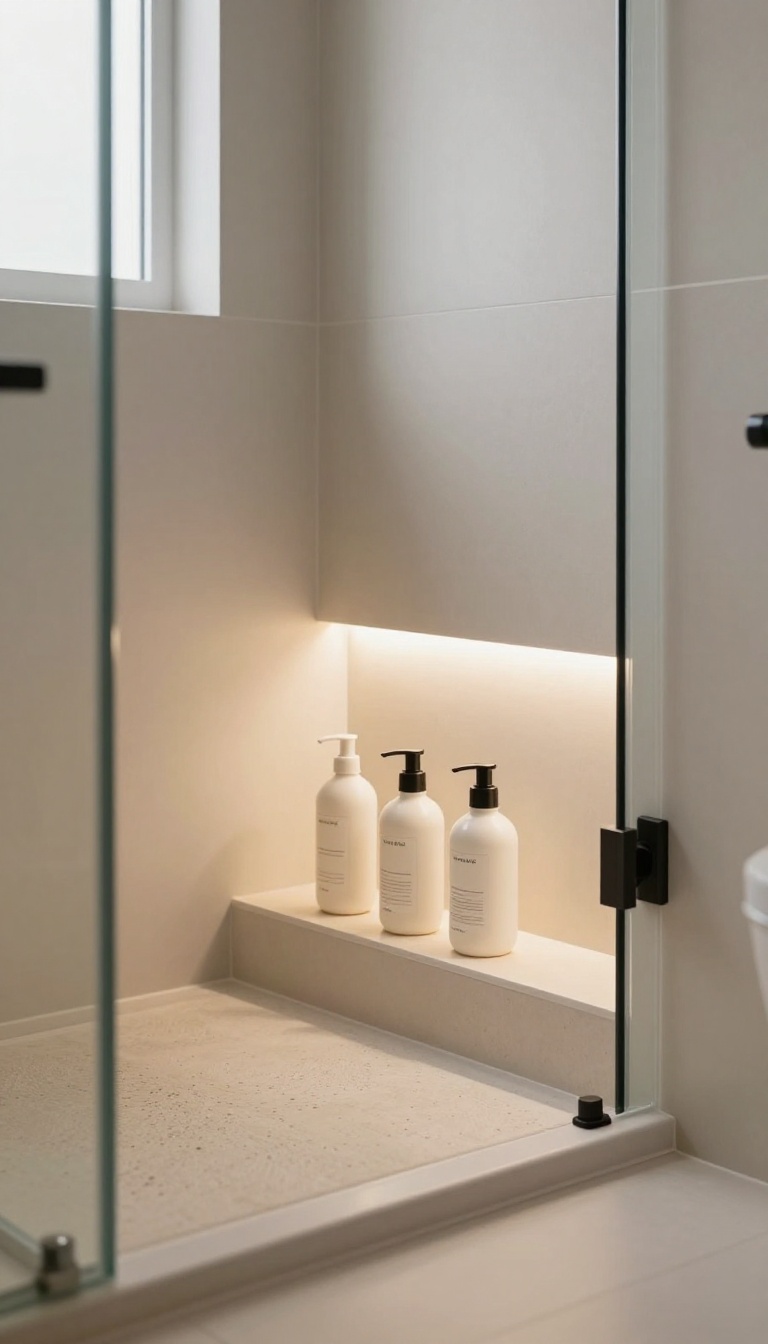
Shower lighting usually comes from above, which leaves the inside of the stall in shadow. LED lighting flips that by putting the glow right where you stand. A backlit niche or a color-changing strip turns a basic rinse into something that feels intentional and calm.
The best part is how little space it takes. You're not adding fixtures or clutter, just a thin line of light that disappears into the tile. Done right, it looks built-in rather than bolted on.
LED lighting inside a shower works on two levels: it helps you see, and it sets a mood. Most people install it for the second reason and end up loving the first. A dim, warm glow at 6 a. m. is a lot kinder than a harsh overhead bulb.
The key is choosing a waterproof setup and hiding the source. You want the light, not the hardware. That means LED strips rated for wet areas, sealed in a channel or behind a diffuser, and a driver tucked somewhere dry.
Backlit Niches And Shelves
A niche already breaks up a wall in a good way. Add a hidden LED strip along its inner edge and it becomes a soft focal point. The light washes over your shampoo bottles and makes the tile texture pop.
Run the strip along the back or top of the niche, not the front. That way you see the glow, not the diodes. A warm white around 3000K keeps it cozy, while 4000K reads cleaner and more modern.
Color-changing Strips
RGB strips let you shift the mood with a tap. Cool blue in the morning, warm amber at night, or a soft teal when you want the bathroom to feel like a hotel spa. Some kits sync with your phone or a remote.
Stick to one or two colors you actually like. Cycling through the rainbow every few seconds gets old fast. Used with restraint, color-changing light feels playful without turning your shower into a nightclub.
Wiring And Waterproofing
This is the part that matters most. Any electrical work inside a wet zone needs a licensed electrician and a GFCI-protected circuit. Don't cut corners here.
Choose IP65 or higher LED strips and seal the connections with silicone. Mount the power supply in a dry, accessible spot like a nearby closet or vanity cabinet. If something fails later, you'll be glad you can reach it.
9. Choose Matte Black or Brushed Brass Fixtures
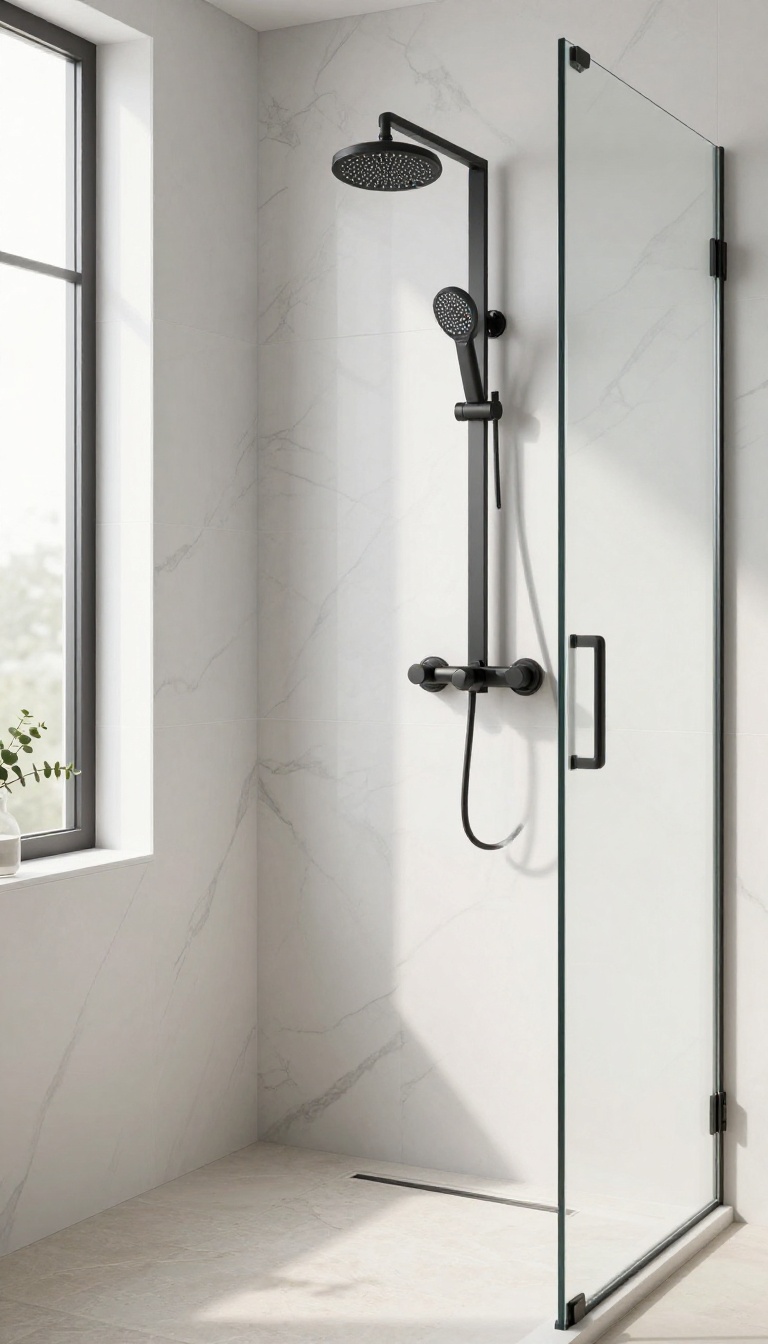
Metal finish is the fastest way to make a shower look deliberate or accidental. Pick matte black or brushed brass and you instantly add contrast, depth, and a bit of personality. The catch is consistency—every visible piece of hardware needs to speak the same language.
Matte black feels modern and graphic, especially against white tile or light stone. Brushed brass brings warmth and a subtle glow that softens cool grays and blues. Both finishes hide water spots better than polished chrome, which is a quiet win for daily upkeep.
The real payoff comes when the finish repeats. Your showerhead, valve trim, hand shower, and even the drain cover should match. If you mix metals, do it on purpose—like black fixtures with brass cabinet pulls outside the shower—not by accident.
Where The Finish Shows Up
Start with the showerhead and valve trim, since those are the most visible. Then match the hand shower, slide bar, and any body sprays. Don't forget the drain cover and the hinges or handle on a glass door.
Those small pieces either reinforce the look or quietly break it.
Mixing Metals Without The Mess
You can mix matte black and brushed brass if you keep one dominant. Use black for all the water fixtures and brass for lighting or cabinet hardware outside the shower. Or flip it.
Just avoid putting two different metals right next to each other on the same wall.
Care And Keeping
Matte black can chip if you scrub it with abrasive cleaners, so stick to soft cloths and mild soap. Brushed brass develops a patina over time, which some people love and others don't. If you want it to stay bright, dry it after each use and use a brass-specific cleaner now and then.
10. Tile the Ceiling for a Fully Finished Look
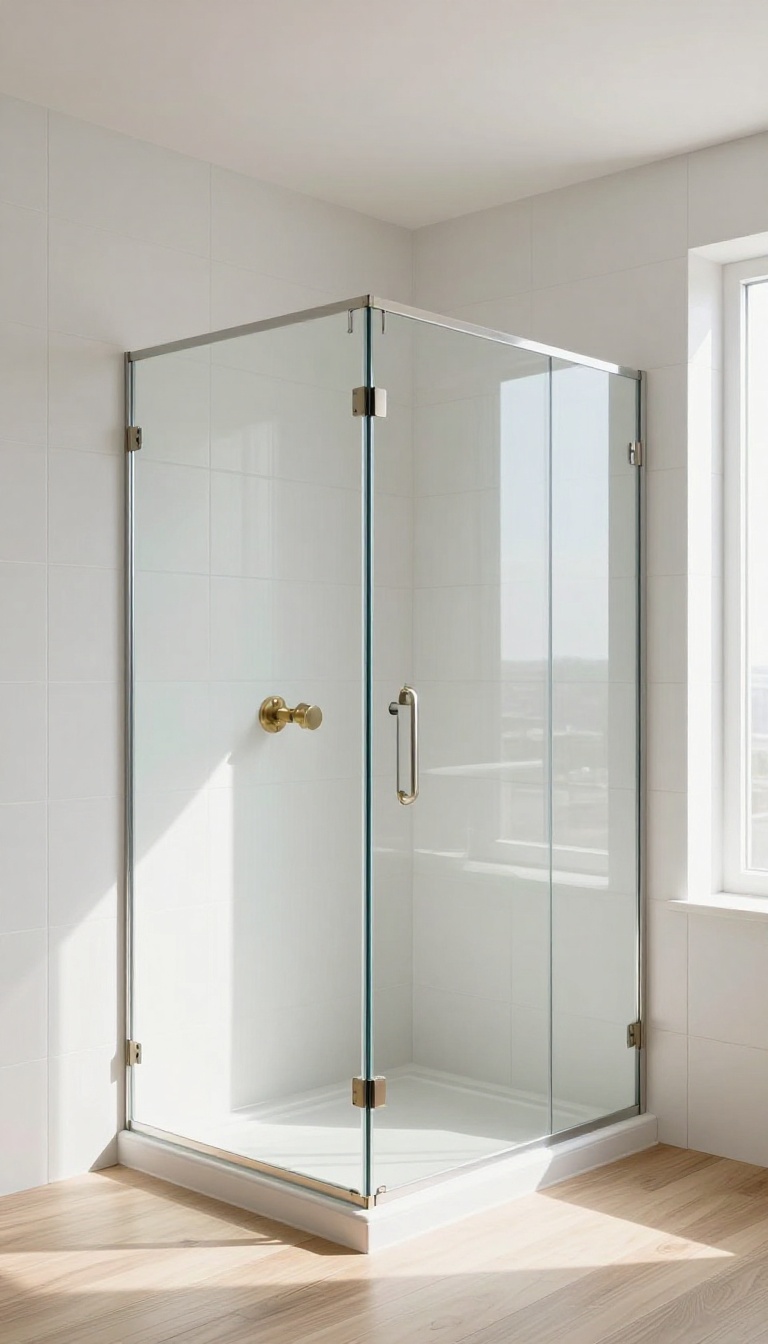
Most people stop tiling at the top of the wall and call it done. The ceiling stays bare drywall or a basic coat of paint, and the shower feels slightly unfinished because of it. Tiling that overhead plane closes the gap and gives the whole stall a deliberate, high-end finish that's hard to fake.
It also solves a practical problem. Steam rises, condenses, and sits on whatever surface is up there. Paint and drywall don't love that kind of long-term moisture exposure.
Tile does. You don't have to tile the entire bathroom ceiling. Just the shower zone is enough to get the effect without blowing the budget.
A tiled ceiling reads as intentional the moment you step into the shower. Your eye follows the grout lines up the wall and across the overhead plane, and the space feels sealed and complete rather than cut off at the top. It's the same reason a tiled niche looks better than a plastic corner shelf.
The materials and lines agree with each other. The moisture argument is just as strong. A painted ceiling above a shower takes a beating from steam, and over time you'll see peeling, bubbling, or mildew near the edges.
Tile wipes clean and doesn't care about humidity. If you already have tile on the walls, extending it up is a small material cost for a big durability gain. There's also a visual trick at play.
A tiled ceiling reflects light back down into the stall, which makes the shower feel brighter and slightly taller. In a small bathroom, that matters more than you'd think.
What To Use Up There
Match the ceiling tile to your wall tile if you want the seamless, monolithic look. A slightly smaller format like a 4×4 or hexagon mosaic can also work well because smaller pieces handle the slope and corners more easily. Avoid large-format slabs on the ceiling unless your installer is experienced, since they're heavy and hard to keep flat overhead.
Porcelain is the safest bet for moisture resistance.
The Slope Matters
Your shower ceiling should have a slight slope, usually about 2 inches per foot, so condensation runs toward the drain instead of pooling. If your ceiling is flat, water will sit and eventually find a way into the grout or paint. A good tile setter will build that pitch into the substrate before any tile goes up.
Ask about it before work starts.
Grout And Sealing
Use an epoxy or high-performance grout on the ceiling. It resists mold, stains, and moisture better than standard cement grout, and it won't need resealing every year. Make sure the installer uses a waterproof membrane behind the tile, especially if the ceiling is drywall.
That membrane is what actually keeps water out of your framing.
When To Skip It
If your shower has a low ceiling or you're working with a tight budget, tiling the ceiling may not be worth it. A high-quality moisture-resistant paint with a semi-gloss finish can hold up fine in a well-ventilated bathroom. Just run the exhaust fan every time and keep an eye on the paint near the showerhead.
If you see bubbling, that's your cue to reconsider tile.
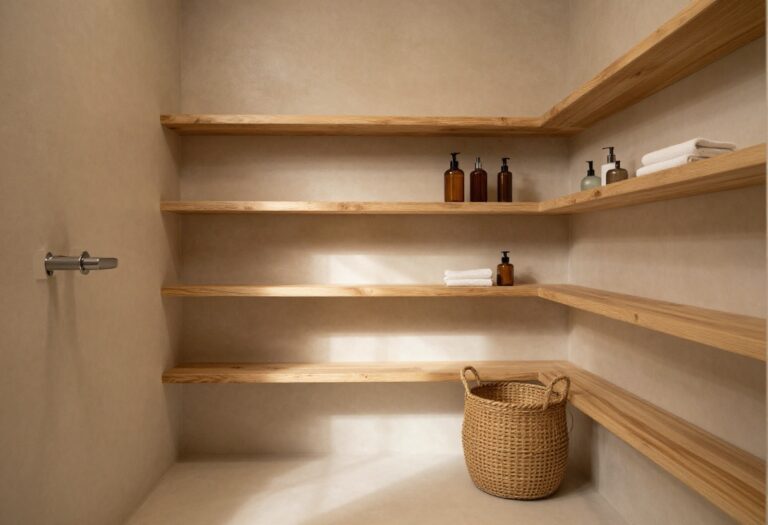
11. Integrate Smart Storage Solutions
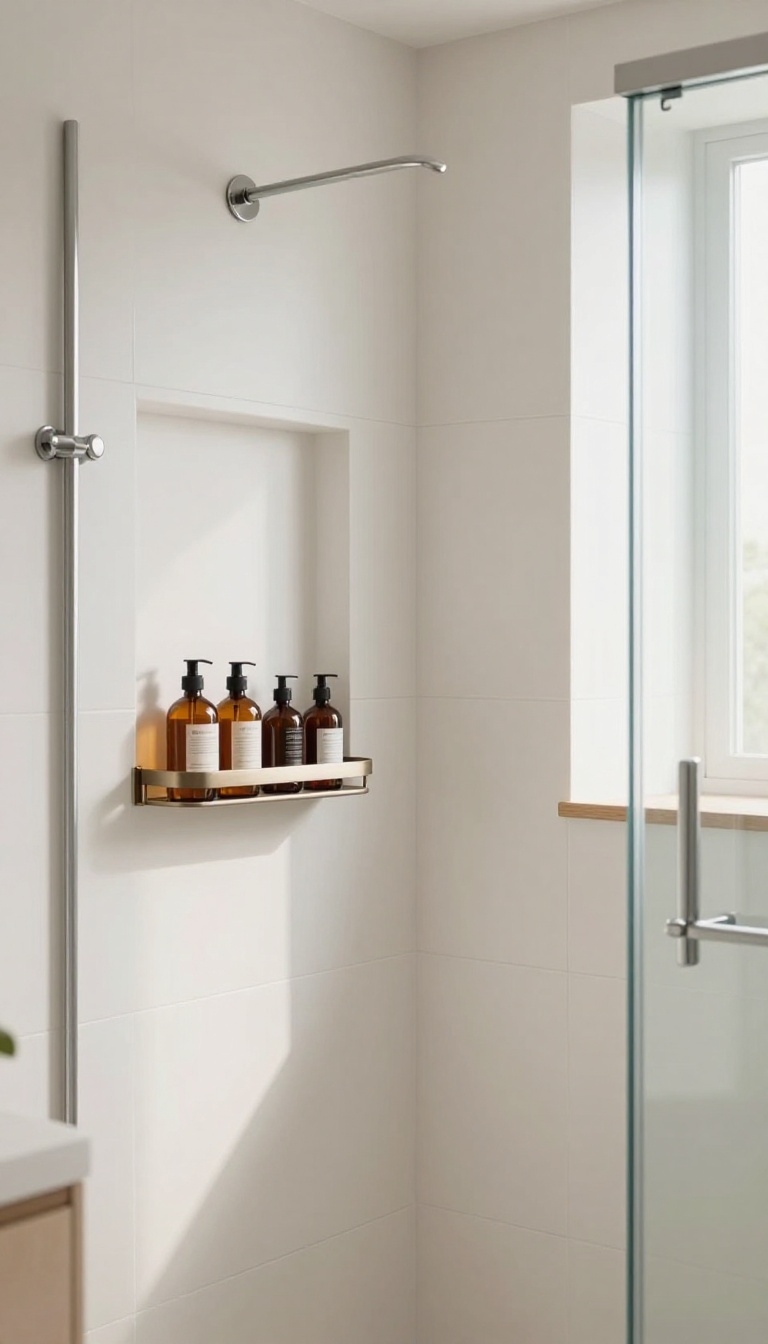
A modern shower looks best when it isn't fighting for space with bottles and loofahs. Smart storage keeps everything within reach but out of the way, so the lines of your tile and glass stay clean. The trick is choosing solutions that blend in rather than stand out.
Built-in shelves, corner caddies, and shower towers each solve the clutter problem in different ways. The right pick depends on your layout, your tile, and how much stuff you actually use every day. Here's how to make storage feel like part of the design, not an afterthought.
Built-in Niches And Shelves
A recessed shelf or niche gives you storage without adding a single protruding object. Because it sits flush with the wall, it disappears into the tile and keeps the shower feeling open. Place one at chest height for shampoo and another lower for soap, or go with a tall vertical niche if you have several products.
Just make sure the niche is framed and waterproofed correctly before tiling—retrofitting one later is a messy job.
Corner Caddies That Disappear
Corner caddies are the easiest upgrade because they need no construction. Look for slim, tension-mounted poles or adhesive shelves in a finish that matches your fixtures. A matte black or brushed nickel caddy can look intentional instead of plastic and temporary.
Keep it to two or three tiers max—more than that and it starts to feel like a dorm room.
Shower Towers And Vertical Storage
A shower tower uses the full height of your wall, which is perfect for small stalls. Many models include hooks for razors, a shelf for bottles, and even a built-in mirror. Choose one that mounts flush or sits in a corner so it doesn't eat into your standing room.
If you're tiling, you can also frame a vertical column of niches to mimic the same effect.
Keep It Minimal
Storage only looks smart when it's not overflowing. Edit your products down to what you use daily, and stash the rest under the sink. A few well-placed shelves with neatly arranged bottles will always beat a crowded caddy.
The goal is a shower that feels calm and organized, not like a shelf at the store.
FAQ
What is the most important element for a cohesive shower design?
Consistency is key. Stick to a unified color palette, finish, and style across tiles, fixtures, and accessories. This creates a seamless look that feels intentional.
How can I make a small shower feel more modern?
Use large tiles to reduce grout lines, install a frameless glass enclosure, and choose light colors to make the space feel bigger. A linear drain also helps by allowing for cleaner lines.
Are rainfall showerheads worth it?
Yes, if you want a spa-like experience. They provide a gentle, wide spray and add a modern touch. Just ensure your plumbing can handle the water pressure.
What's the best way to store shower products without clutter?
A recessed niche or built-in shelves are ideal. They keep bottles off the floor and maintain a clean look. Corner caddies are a good option for smaller spaces.
Can I mix metal finishes in a modern shower?
It's possible, but for a cohesive look, it's best to stick to one finish. If you do mix, choose two that complement each other, like matte black and brushed brass, and repeat them evenly.
Conclusion
You do not need all eleven ideas to get a crisp, cohesive shower. Pick the two or three that solve your actual layout problems, then let the rest go. Start with whatever bothers you most each morning, whether that is a dark corner, a slippery floor, or bottles crowding the ledge.
Fix that first, live with it for a week, then tweak the tile, trim, or hardware from there. Small moves stack up fast, and the room starts feeling finished without a full remodel.