15 Smart Shower Cubicle Ideas for Better Flow in Tight Rooms
Tight bathrooms force tough choices, especially when a standard swing door eats up precious floor space. The trick is to rethink the shower as a flexible zone that works with the room's dimensions, not against them.
From sliding barn doors to wet-room layouts, these 15 ideas focus on smart traffic flow and clever storage without squeezing the comfort out of your daily rinse. You don't need a massive remodel to make a difference—some fixes are as simple as swapping a shower rod or adding a recessed niche.
Others, like a corner entry or a linear drain, call for a bit more planning but pay off in openness.
1. Sliding Barn Doors Save Swing Space
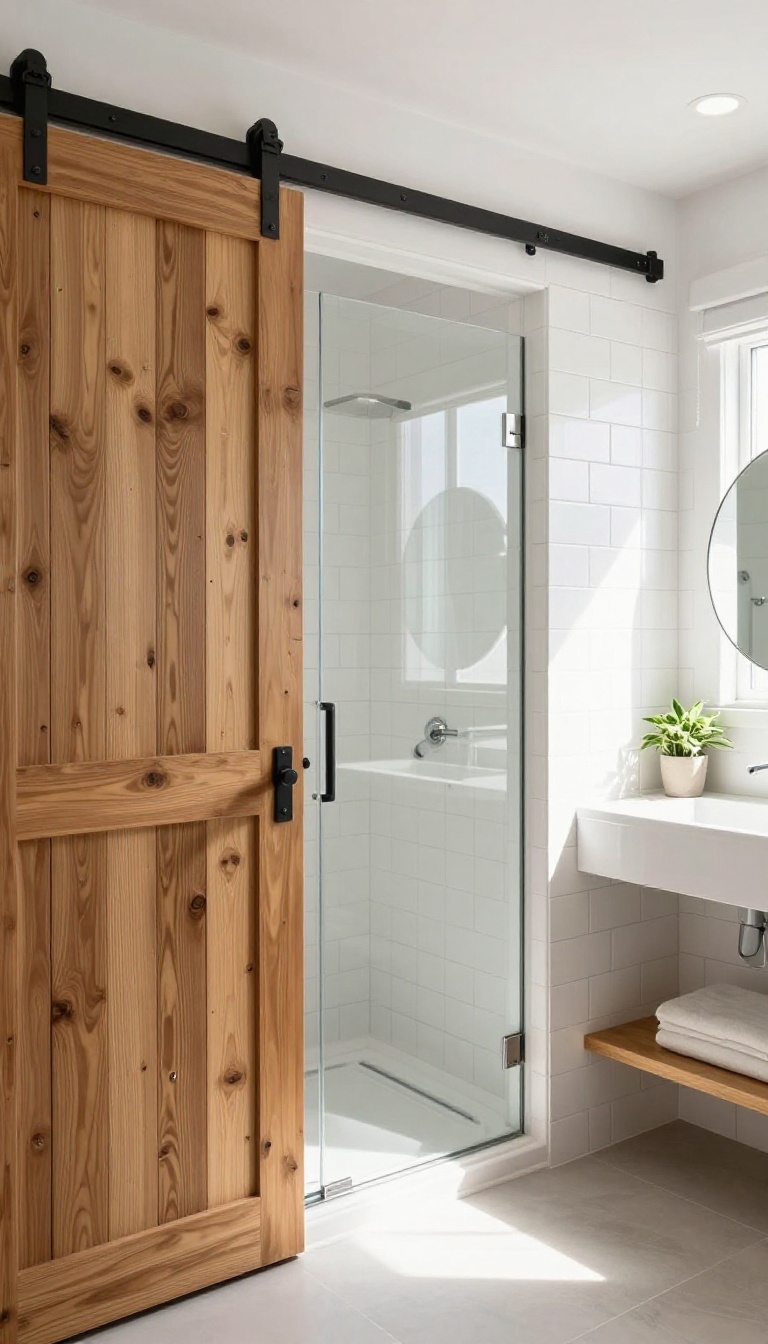
A standard hinged door swings into the bathroom, carving out a chunk of floor space every time you open it. In a tight room, that arc can block the sink, the toilet, or even the door itself. Swapping it for a barn-style slider that tucks along the wall changes the whole feel of the space.
Barn doors have become a favorite for bathrooms because they slide parallel to the wall instead of swinging out. That simple shift frees up the area right in front of the shower, making entry and exit feel less cramped. You also get a bit of design flair—the hardware and wood texture add warmth without taking up extra inches.
Why A Slider Works In Tight Spots
The biggest win is the clearance. With a slider, you don't need to leave room for a door to open, so you can push the shower closer to a vanity or toilet. That extra foot or so can make the whole bathroom feel more open.
Plus, you can mount the track on the wall or ceiling, depending on your layout.
Picking The Right Hardware And Mount
Go for a heavy-duty track that can handle the weight of a solid wood door, and make sure the wall is sturdy enough to support it. If you have a pocket door frame, you can even recess the slider entirely, but a surface-mounted track is easier to retrofit and adds a rustic touch. Choose a soft-close mechanism to avoid slamming.
Privacy And Water Splash Considerations
Barn doors don't seal as tightly as regular doors, so you might get a little light or sound leakage. For a shower, that's usually fine, but you can add a sweep at the bottom or a weatherstrip along the edges to keep moisture in. Also, consider a glass panel or a half-wall instead if you want a more open feel.
2. Corner Entry for a Compact Footprint
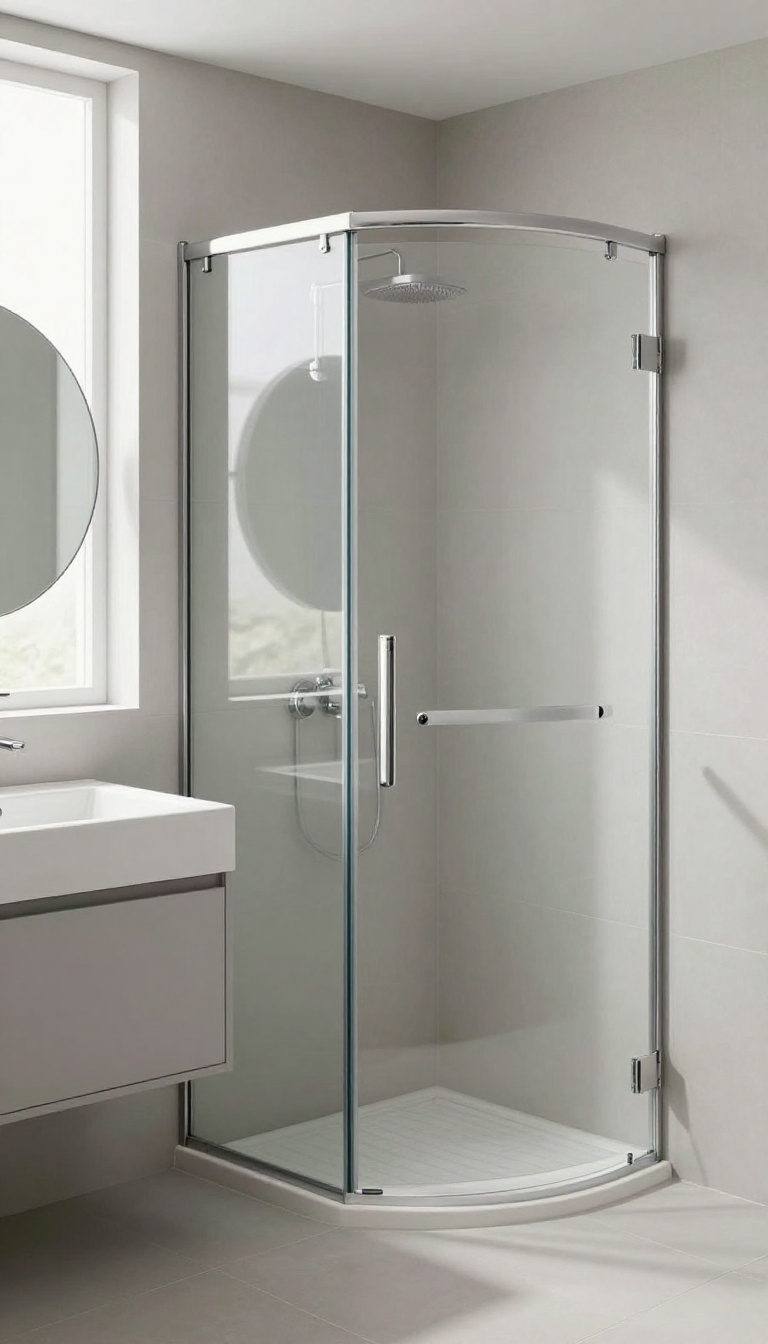
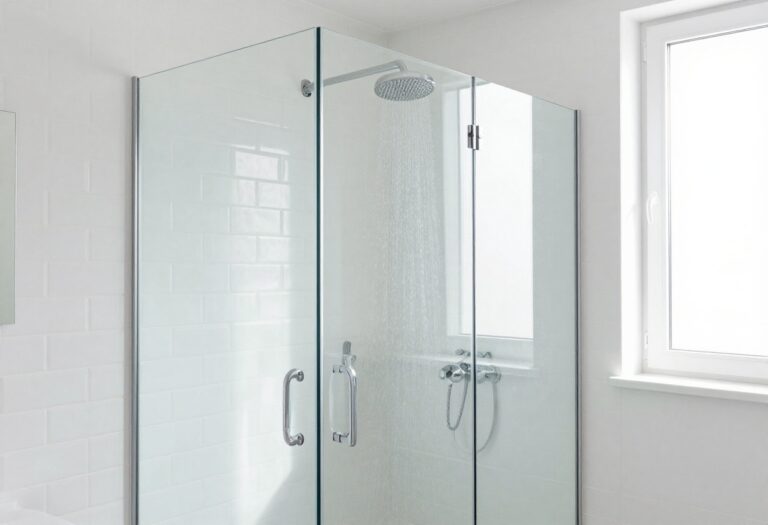
A corner-entry shower swaps the traditional hinged door for a diagonal one that swings inward, giving you a roomier interior without stealing precious floor space. It's a clever layout trick that keeps the walking path clear and makes even a tight bathroom feel more open.
When you're working with a small bathroom, every square inch counts. A corner-entry shower is designed to tuck neatly into a corner, with the door angled at 45 degrees. This means the door doesn't swing into the main traffic area, so you can move around freely even when the shower is in use.
The diagonal entry also opens up the interior, making it feel larger than it actually is.
How It Works
The shower enclosure is typically square or rectangular, but the door is set at a 45-degree angle at one corner. This allows the door to pivot inward, using space that would otherwise be wasted. The result is a more compact footprint that fits neatly into a corner, leaving the rest of the room open for other fixtures.
Why It Helps In Tight Bathrooms
In a tight bathroom, a standard swing door can block the toilet or vanity when opened. A corner entry eliminates that problem by keeping the door out of the main walking path. It also makes the shower feel more spacious inside, since the diagonal entry creates a larger open area within the enclosure.
Installation Considerations
You'll need to work with a professional to ensure the framing and waterproofing are done correctly, especially if you're converting an existing shower. The corner entry requires precise measurements and a custom glass panel or door. But the payoff is a shower that feels bigger and a bathroom that flows better.
3. Wet Room Layout with a Linear Drain
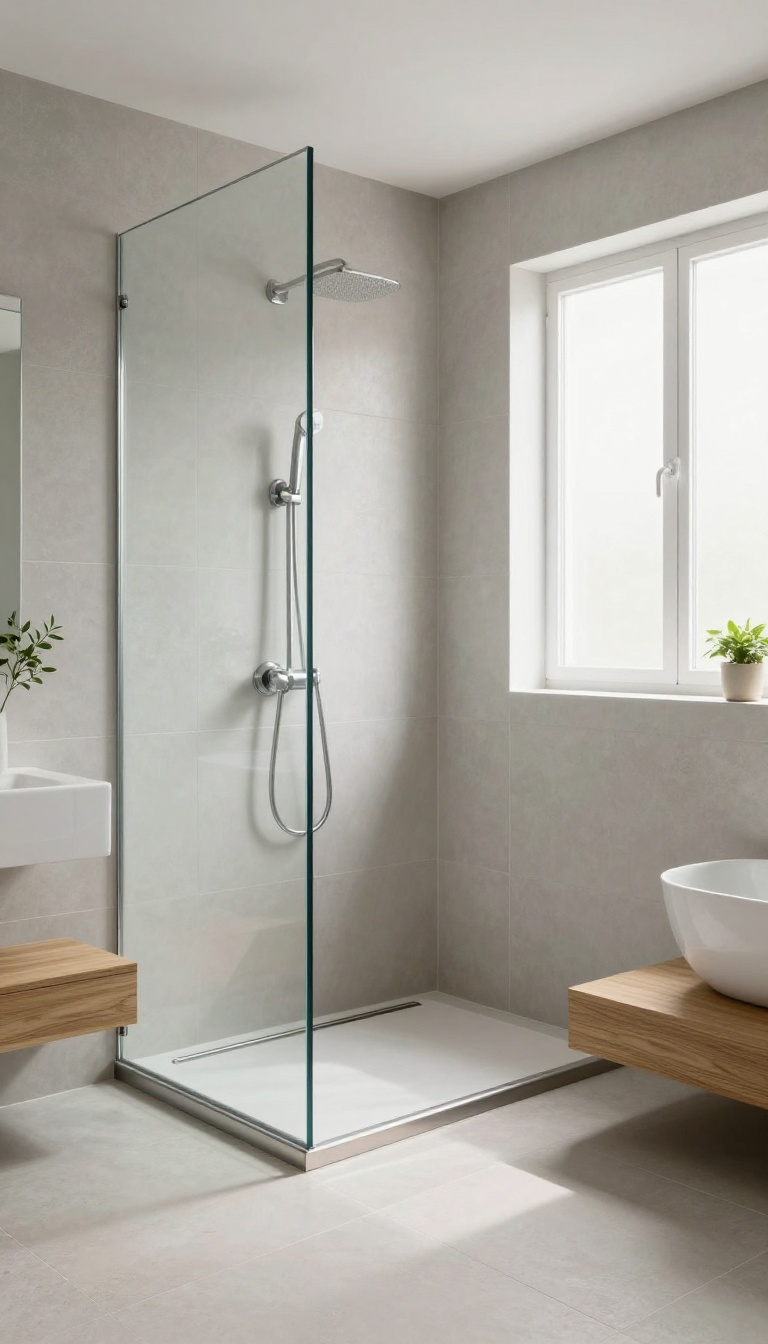
A wet room takes the concept of a shower to its most open form: no tray, no curb, just a gently sloped floor and a drain tucked along the wall or under a bench. The glass panel becomes a subtle divider rather than a barrier, and the bathroom feels instantly larger because the eye travels uninterrupted from tile to tile. It's a bold move, but with a linear drain, it's also surprisingly practical—water flows in one direction, so you don't need a massive slope or a curtain to keep things dry.
The key to a successful wet room is planning the slope correctly. Instead of a center drain that requires a bowl-like depression, a linear drain sits flush along one edge, letting the floor angle slightly toward it. This keeps the walking surface level for the most part, which feels luxurious underfoot and makes cleaning a breeze.
You also gain flexibility: the drain can run the full width of the shower, so you can place the glass panel exactly where it's needed without worrying about water sneaking past the edges.
Why Ditch The Tray?
Shower trays add height and a visible lip that breaks the visual flow of the floor. By removing the tray, you create a continuous surface that makes the room feel larger and more modern. It also eliminates the awkward step-over, which is a bonus if you're planning for aging in place or just hate stubbing your toes on a raised edge.
Glass Panel Placement
A single fixed panel of glass—no door—is all you need to keep water in. Position it so it overlaps the drain by a few inches, and angle it slightly toward the wet area. This gives you an open feel while still containing splashes.
If you're worried about drafts, a small towel warmer or a heated floor can keep things cozy.
Flooring Choices That Work
Large-format tiles or continuous stone are your best friends here because they minimize grout lines, which means fewer places for water to hide. Textured finishes or small mosaic tiles on the shower floor add grip without looking busy. Just make sure the slope is subtle—about 1/8 inch per foot—so you don't feel like you're standing on a ramp.
4. Built-In Niche for Toiletries
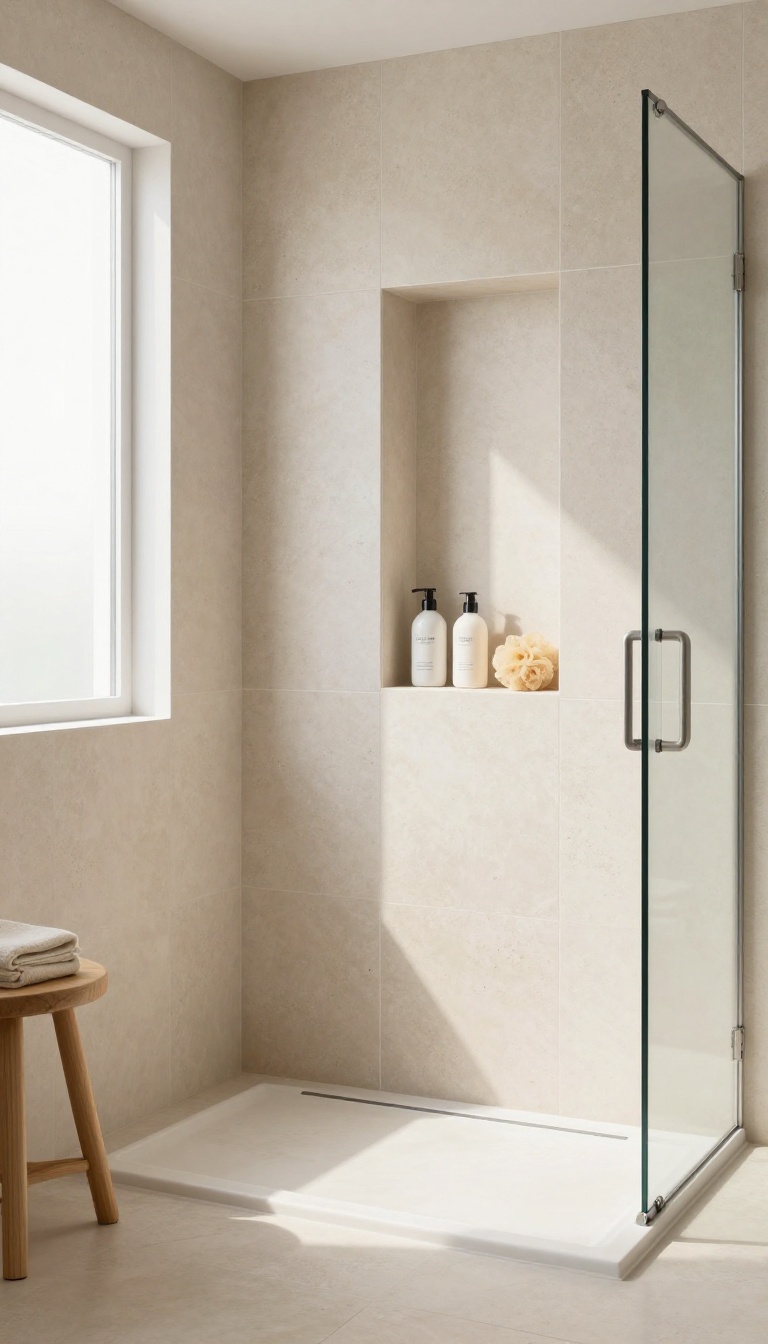
Shampoo bottles, body wash, and loofahs tend to pile up on the floor or hang from caddies that rust and sag. A built-in niche fixes that by giving you a recessed shelf right in the wall, keeping everything within reach but out of the way. This simple addition not only clears the floor but also makes the shower feel more open and less cluttered.
It's a small change that pays off every single day.
A recessed shelf is one of those upgrades you don't think about until you have it, and then you wonder how you lived without it. It’s a clean, permanent storage solution that blends into the tile and keeps your shower essentials neatly organized. Plus, it frees up floor space, which is gold in a tight bathroom.
Where To Place The Niche
The sweet spot is usually on a side wall, about chest height, so you can grab what you need without bending or stretching. If you're designing from scratch, think about the showerhead position—place the niche on the opposite wall to keep bottles dry and avoid splashing. In a corner shower, a niche on the angled wall can work well, too.
Sizing And Depth
Aim for a niche that's at least 12 inches wide and 6 inches deep to fit standard bottles. If you have taller pumps, go a bit deeper—8 inches gives you more flexibility. Keep the height around 12 to 18 inches so you can see everything at a glance.
You can always add a second niche if you need more room.
Tiling And Waterproofing
The key is to waterproof the niche properly before tiling. Use a waterproof membrane behind the tile and slope the bottom slightly toward the drain so water doesn't pool. Choose tile that matches your shower walls for a seamless look, or make it a feature with contrasting tile or a different pattern.
Just make sure the edges are finished cleanly to avoid sharp corners.
5. Frosted Glass for Privacy Without Bulk
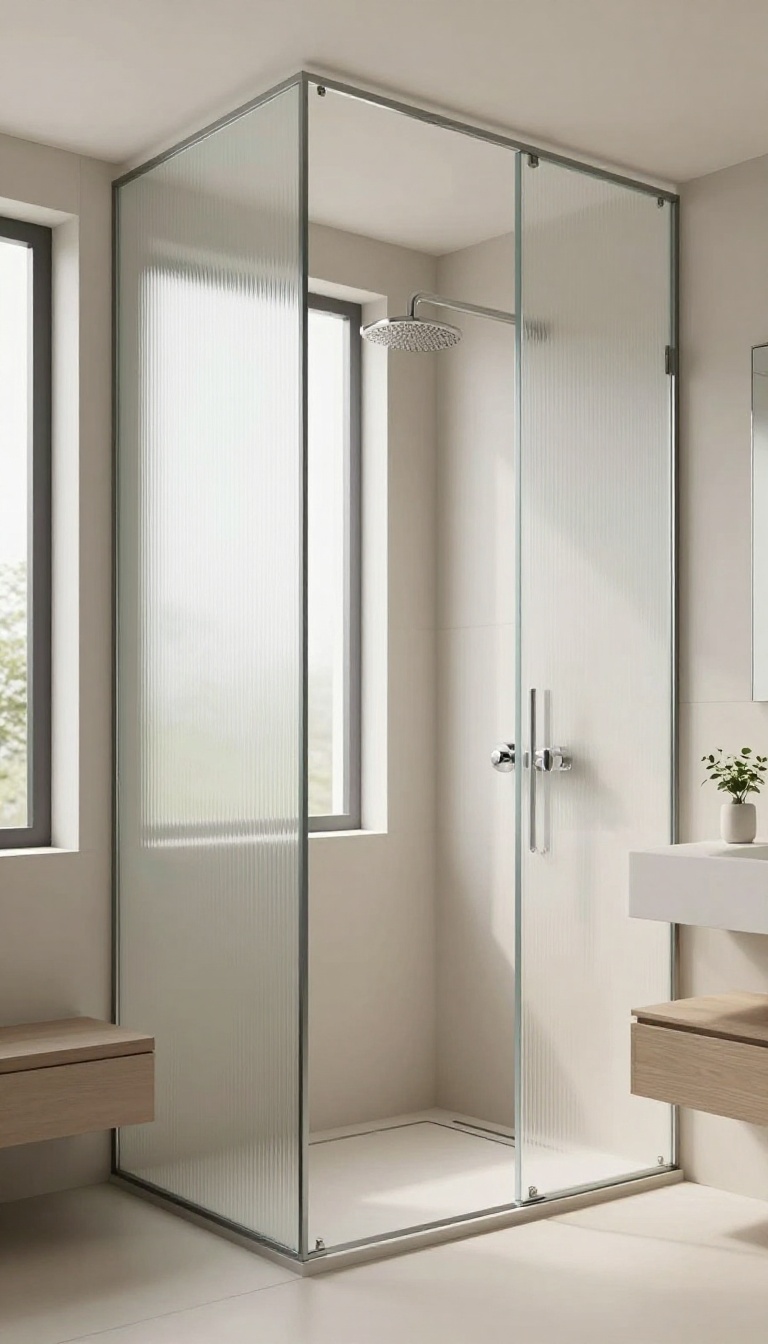
If you're tired of a shower curtain that feels like it's closing in on you, frosted glass might be the answer. It gives you the privacy you need without the visual weight of opaque walls or heavy fabric. Plus, it lets natural light filter through, making the whole bathroom feel brighter and more open.
Frosted or textured glass is a smart swap for anyone who wants a clean, modern look without sacrificing privacy. Unlike clear glass, which can leave you feeling exposed, frosted glass blurs the view while still allowing light to pass through. That means you can ditch the bulky curtain and its rod, freeing up visual space and making the shower area feel less cramped.
Why Frosted Beats Clear
Clear glass showers are beautiful, but they're not for everyone—especially in a tight bathroom where the shower is right next to the vanity or toilet. Frosted glass gives you that same open, airy feel but with a layer of privacy that makes you comfortable. It's also easier to keep clean than clear glass, since water spots and soap scum are less noticeable on a textured surface.
Patterns That Add Style
Frosted glass doesn't have to be plain. You can choose from a variety of patterns—like rain, dots, or reeded lines—that add texture and interest to the shower without overwhelming the space. A subtle pattern can even help hide smudges and fingerprints, which is a win for busy households.
Installation Tips For Tight Spots
If you're replacing an existing shower door, measure carefully to make sure the frosted glass fits the opening. For a frameless look, go with thicker glass (at least 3/8 inch) and minimal hardware. If you're on a budget, consider a sliding door with frosted panels—it saves space and still gives you that light, airy feel.
6. Fold-Down Shower Seat for Flexibility
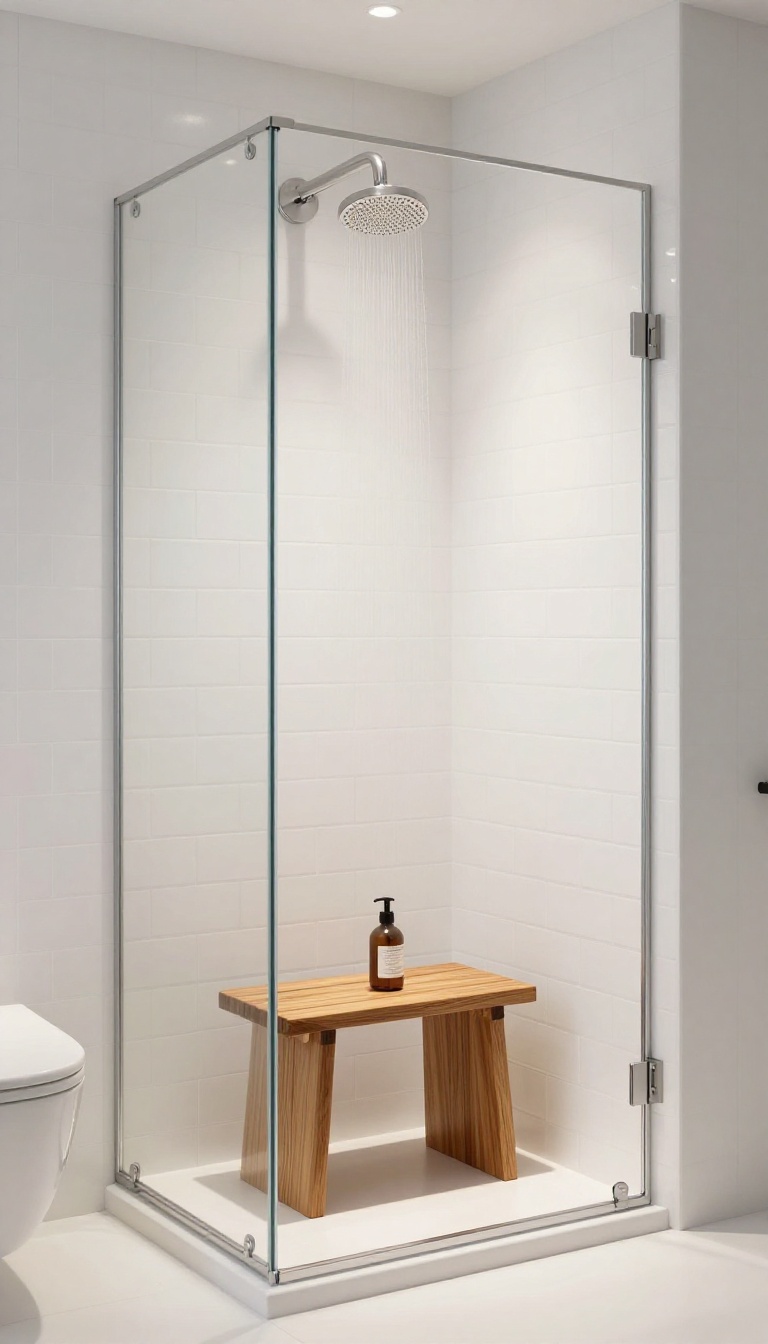
Not everyone needs a permanent bench, but when you do, it's a lifesaver. A fold-down seat gives you a sturdy place to sit for shaving legs, washing feet, or just taking a breather—then tucks away flat against the wall when you're done. This clever addition keeps the floor open and the shower feeling spacious, even in the tightest corners.
A fold-down seat is the perfect compromise between comfort and space. It's there when you need it, gone when you don't. Plus, it's a great feature for aging in place or recovering from an injury, without committing to a full-time bench that eats into your shower's footprint.
Why Choose A Fold-down Seat?
Permanent benches can make a small shower feel even smaller. A fold-down seat, on the other hand, gives you the same convenience without the bulk. When it's folded up, it's just a slim profile on the wall, so you keep that open, airy feel.
It's also easier to clean around, and you can position it exactly where you need it—like under the showerhead or near the controls.
Material And Installation Tips
Teak is a classic choice because it resists water and looks warm and natural. Plastic or resin seats are lighter and often more affordable, and they're easy to wipe down. Whichever you pick, make sure it's rated for wet areas and can support your weight.
Installation usually requires mounting into wall studs, so it's a good idea to plan the placement during a remodel. If you're not confident, a handyman can handle it quickly.
Making It Work In A Tight Shower
In a compact shower, every inch counts. Position the seat on a side wall where it won't interfere with the door swing or your movement. Fold it down only when you need it, and keep the area in front of it clear.
You can also pair it with a handheld showerhead to make sitting more comfortable. This way, you get all the functionality without sacrificing the openness that makes a small shower feel bigger.
7. Wall-Mounted Shower Head with Handheld Combo
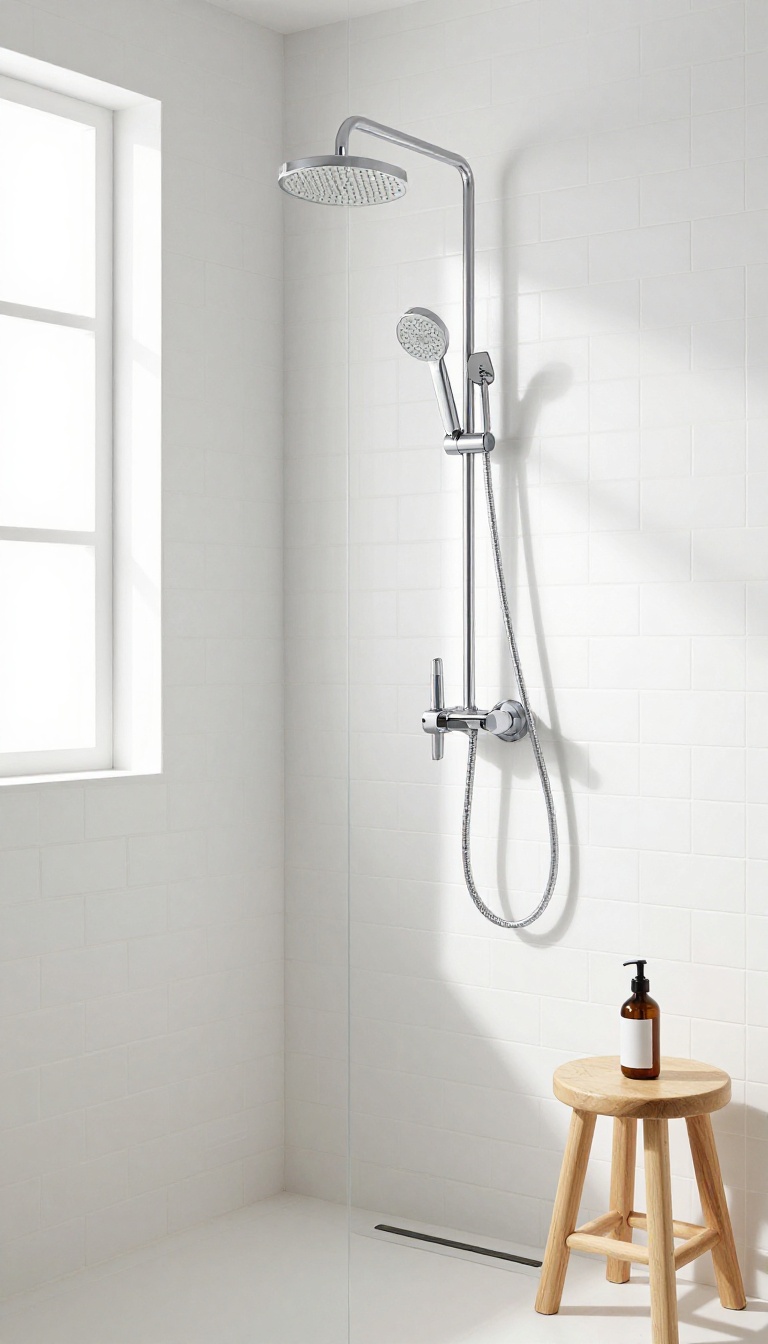
A fixed shower head mounted high on the wall can feel restrictive, especially in a compact cubicle where every inch counts. Adding a handheld sprayer on a sliding bar gives you the best of both worlds: a rain-like overhead rinse when you want it, and a flexible wand for targeted cleaning or rinsing hard-to-reach spots. It's a simple swap that doesn't require extra space, making it a smart pick for tight bathrooms.
The combo setup mounts directly to the wall, so there's no bulky arm protruding into the shower. The sliding bar lets you adjust the handheld height to suit your needs—whether you're washing your hair, cleaning the floor, or giving the dog a quick rinse. This flexibility is a game-changer in a small shower where moving around is already a challenge.
Why It Works In Tight Spaces
A handheld shower head eliminates the need for a separate fixed arm, freeing up visual and physical space. The slim profile of the bar keeps the wall clean, and you can position the wand exactly where you need it without stretching or turning awkwardly. It's a low-cost upgrade that instantly makes the shower feel more versatile.
Installation Tips
Most combo kits come with a standard 1/2-inch connection, so you can usually install them yourself with basic tools. Mount the bar at a comfortable height—around shoulder level—and make sure the hose reaches all corners of the cubicle. If you're replacing an existing fixed head, the existing plumbing often works without major changes.
Choosing The Right Model
Look for a model with a sturdy metal bar and a hose that won't kink easily. A pause button on the wand is handy for conserving water while you soap up. Also, check the spray settings—multiple patterns give you more control, from a gentle mist to a powerful jet for cleaning.
8. Glass Panel Instead of Full Enclosure
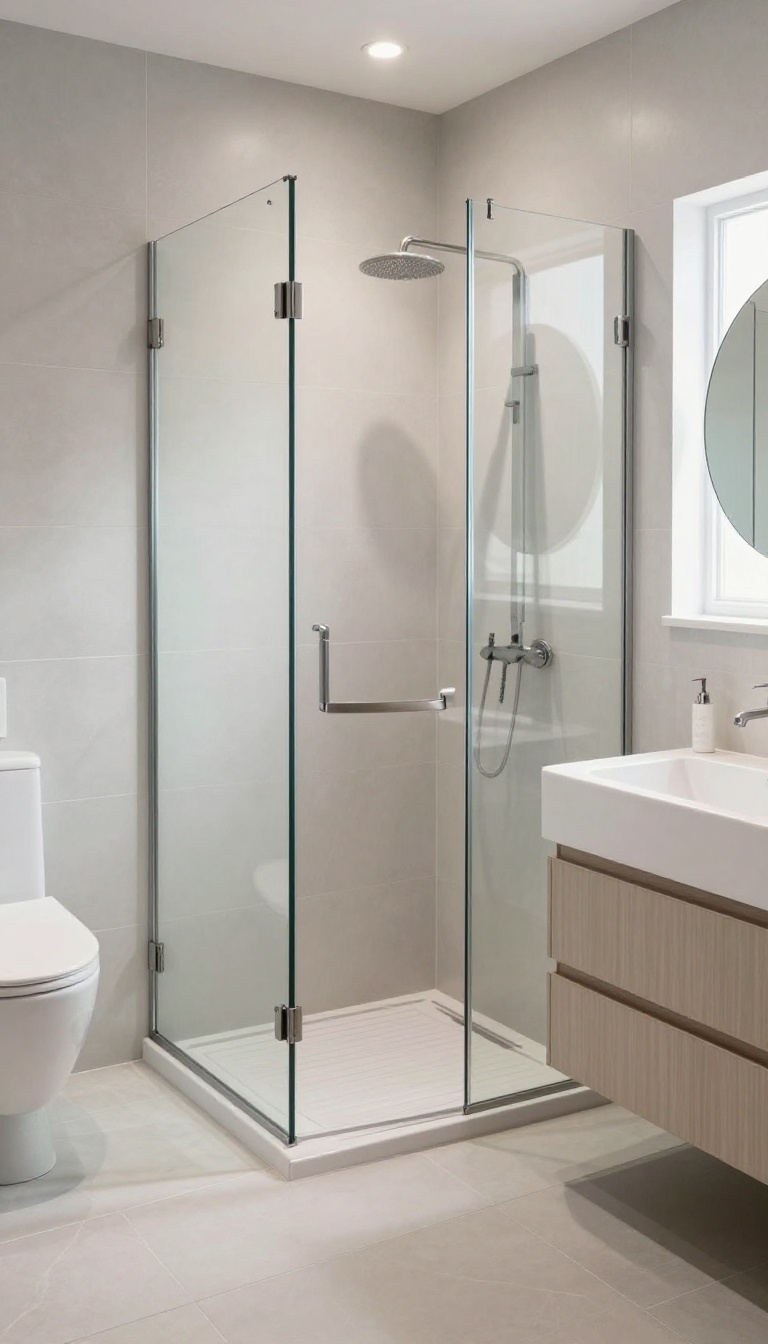
A full shower enclosure can feel like a cage, especially when you're working with a tight footprint. Swapping the door and walls for a single fixed glass panel changes the whole vibe—open, airy, and far less confining. It's a simple concept that pays off in both space and style.
The idea is straightforward: mount a frameless or semi-frameless glass panel on one side of the shower, leaving the other side open. This creates a splash barrier without blocking sightlines or airflow. You get the benefits of a glass shower—easy cleaning, modern look—minus the visual weight of a full enclosure.
It's a favorite in small bathrooms because it makes the room feel larger and more connected.
Why It Works For Small Bathrooms
With no door to swing open, you reclaim valuable floor space. The open side allows natural light and air to circulate, so the shower doesn't feel like a dark cave. Plus, you can step in and out without fiddling with handles or tracks—perfect for tight corners.
Installation And Safety Considerations
You'll need tempered glass (at least 3/8 inch thick) and proper wall brackets. A pro can handle the install, but if you're handy, it's a doable weekend project. Make sure the panel is angled slightly toward the wall to prevent water from escaping.
A small floor drain or a slight slope helps keep the bathroom floor dry.
Design Options And Finishes
Choose from clear, frosted, or patterned glass to match your privacy needs. Frameless panels offer a seamless look, while semi-frameless ones add a bit of structure. You can also pick from brushed nickel, matte black, or chrome hardware to tie into your fixtures.
Pair it with a rainfall showerhead for a spa-like feel.
9. Recessed Lighting for a Spacious Feel
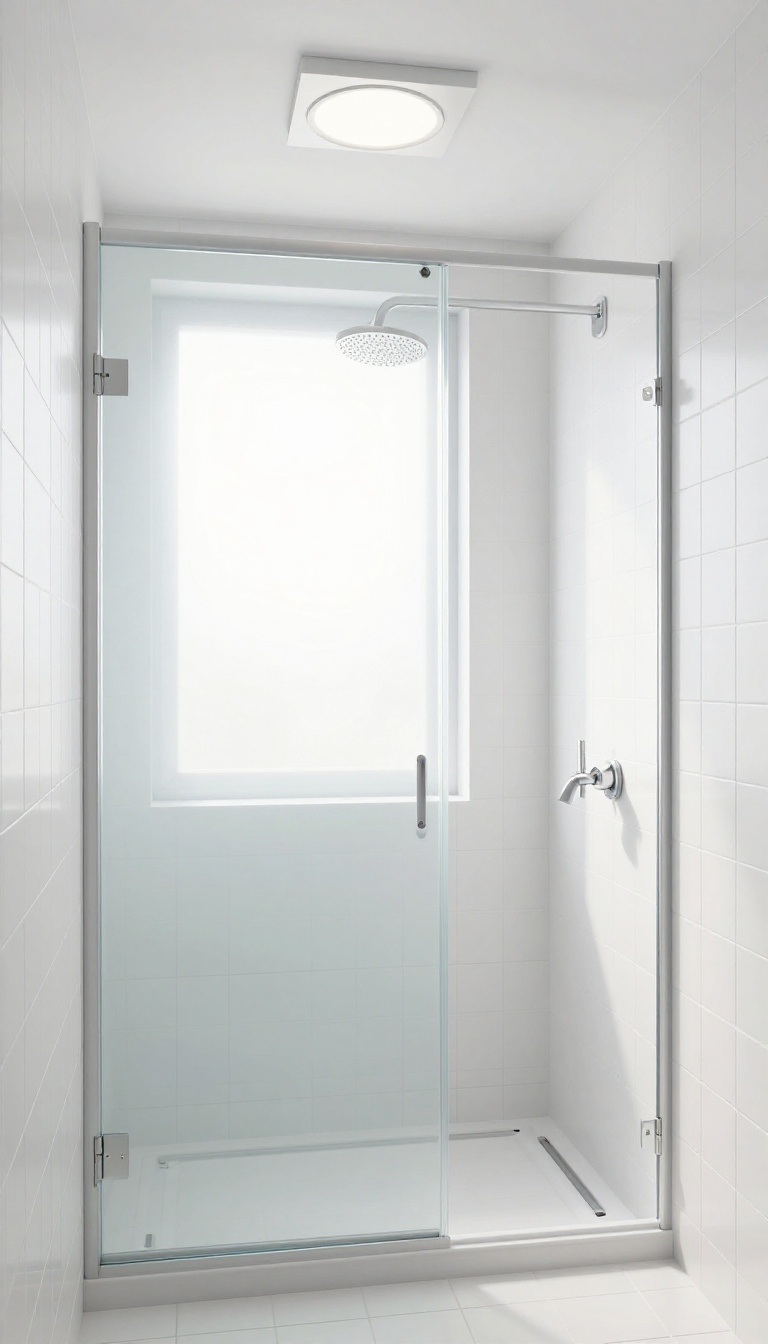
Overhead lighting in a small shower can feel harsh or make the space seem even more cramped. The fix isn't adding another fixture—it's tucking light into the ceiling itself. Recessed lights or slim LED strips brighten the shower without eating into the visual height, so the cubicle feels open and airy.
Recessed lighting is a simple swap that changes the whole mood of a tight shower. Instead of a bulky dome light that hangs down and casts shadows, you get a clean, flush glow that makes the space feel larger. Plus, it's a safe choice for wet areas when installed with the right IP rating.
Why Recessed Beats A Hanging Fixture
A pendant or semi-flush light takes up visual space and can make a low ceiling feel even lower. Recessed lights sit flush, so they don't interrupt the line of sight. That tiny difference adds up in a small cubicle, making the ceiling feel higher and the whole room more open.
Pick The Right Light For Wet Zones
Not all recessed lights are safe for shower stalls. Look for fixtures rated IP65 or higher—they're sealed against moisture and steam. Also, choose a warm or neutral color temperature (2700K–3000K) to keep the space cozy, not clinical.
Dimmable options let you adjust the mood for a relaxing soak.
Placement Tips For Even Coverage
One light centered in the ceiling works for most small showers, but if you have a longer cubicle, consider two lights spaced evenly. Avoid placing a light directly above the showerhead—it'll cast shadows on your face. Instead, aim for a spot that lights the whole space without glare.
10. Use Vertical Tile to Draw the Eye Up
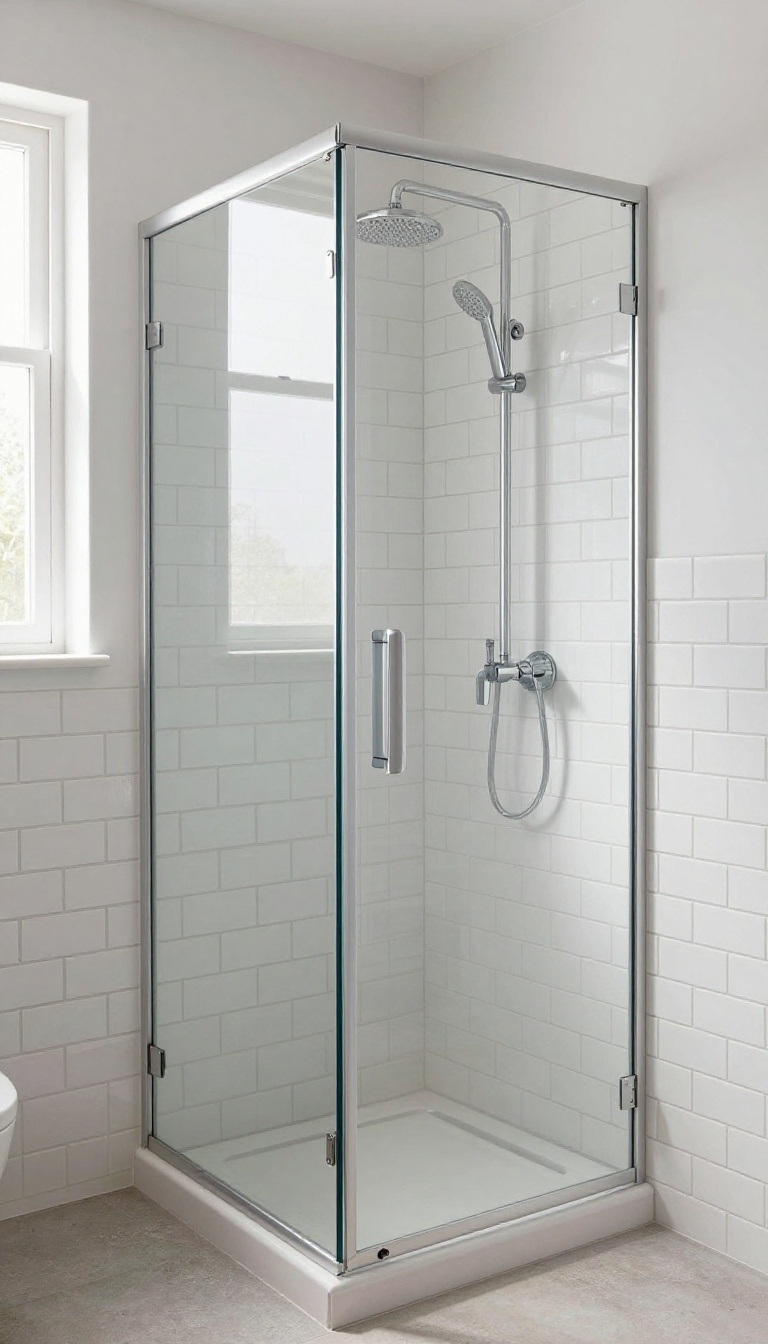
When a shower cubicle feels boxy, the fix isn't always knocking down walls. Sometimes it's a matter of visual trickery. Vertical tile is one of the simplest ways to make a tight space feel taller and more open, without sacrificing durability or style.
Instead of laying standard subway tiles horizontally, flip them. The long lines guide your gaze upward, creating the illusion of height. It's a small change that can make a huge difference in how airy the shower feels.
Vertical tile isn't just a style choice—it's a strategic one. In a small shower, every inch matters, and the direction of your tile can change the entire perception of the room. Here's why this trick works and how to pull it off without overcomplicating things.
Why Vertical Lines Work
Our eyes naturally follow lines. When tile lines run vertically, they draw attention from floor to ceiling, making the walls seem taller than they are. This is the same principle behind vertical stripes in clothing—it elongates and slims.
In a shower, that visual lift can make a cramped corner feel more like a spacious retreat.
Best Tile Shapes And Sizes
You don't need fancy tile to get the effect. Classic subway tile (3×6 inches) works perfectly when stacked vertically. Larger format tiles, like 4×12 or 6×24 inches, also create strong vertical lines.
If you want to go bolder, try long rectangular tiles in a brick pattern—just make sure the longer side runs up and down.
Pairing With Grout And Color
To amplify the effect, use grout that's close to the tile color. This creates a seamless vertical line instead of breaking it up. If you're feeling adventurous, a contrasting grout can highlight the vertical pattern, but keep it subtle to avoid a busy look.
Light-colored tiles with matching grout will make the space feel even more open.
Installation Tips For Diyers
If you're installing tile yourself, vertical stacking is just as easy as horizontal. Use a level and spacers to keep lines straight. Start from the bottom and work up, but consider a ledger board to support the first row.
For corners, plan your cuts carefully—vertical tiles can make corner details more visible, so measure twice and cut once.
11. Add a Slim Shower Caddy on the Wall
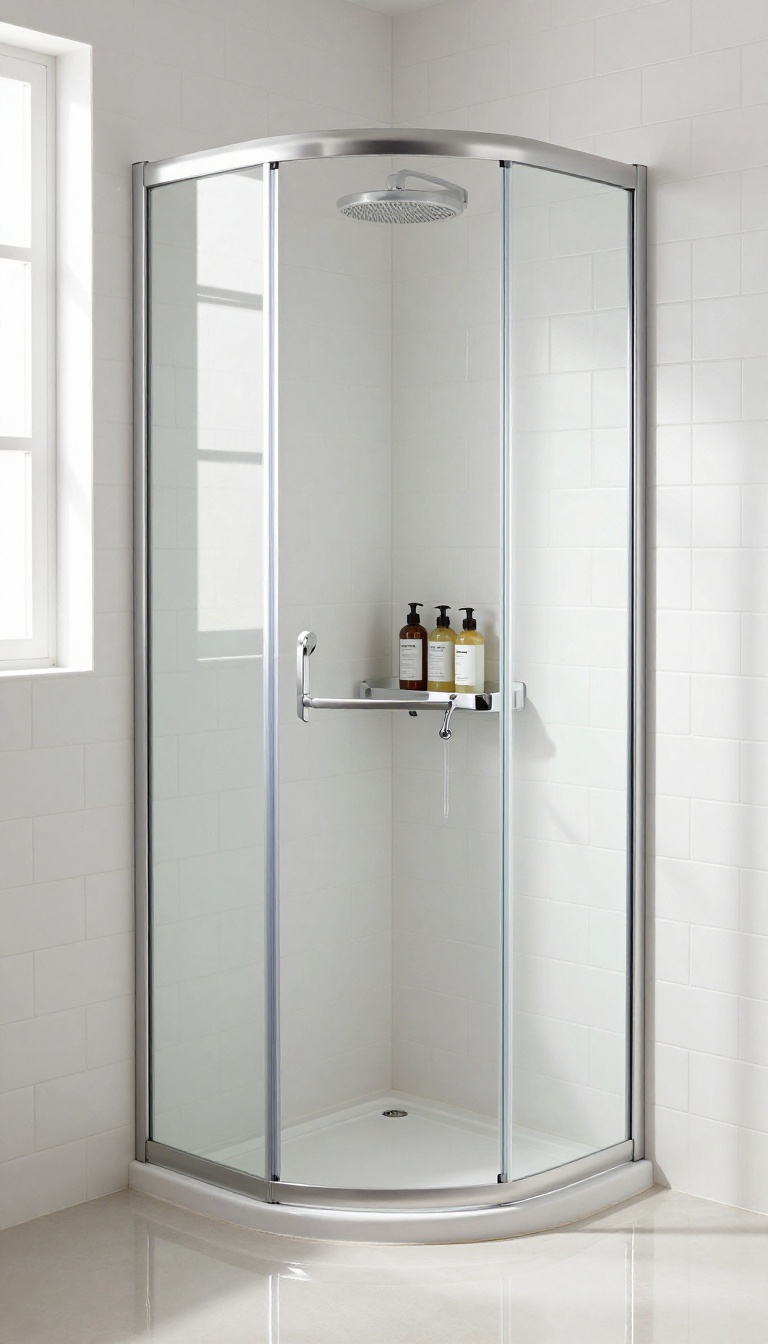
When floor space is tight, the walls become your best storage ally. A slim, corner-mounted caddy keeps shampoo, soap, and razors within easy reach without eating into the shower's footprint. It's a simple swap that frees up the niche for bigger items and keeps the floor clear for safer movement.
Mounting a caddy on the wall instead of over the showerhead or on the floor makes a small cubicle feel more open. Choose a model with a narrow profile that hugs the corner, so it doesn't jut into the washing area. Look for rust-proof materials like aluminum or coated stainless steel to handle constant moisture without corroding.
Install it at a height that's comfortable for everyone using the shower, usually around shoulder level, and make sure it's securely anchored into studs or use heavy-duty adhesive hooks if drilling isn't an option.
Why Wall-mounted Beats Over-the-head
Traditional caddies that hang from the showerhead can lower the water pressure and make the head droop over time. Wall-mounted versions leave the showerhead untouched, so you get a steady stream and a cleaner look. They also keep bottles off the floor, which reduces tripping hazards and makes cleaning the shower base easier.
Picking The Right Material And Size
Not all caddies are built for humid environments. Plastic can get brittle and look dingy, while cheap metal may rust. Go for a caddy with a clear coat or anodized finish.
Measure the corner space before buying, and choose a model with adjustable shelves or hooks to fit your specific bottles and accessories.
Installation Tips For Renters And Diyers
If you own your home, drill into tile with a masonry bit and use wall anchors for a secure hold. Renters can use high-quality waterproof adhesive strips or suction cups, but check the weight limit and clean the surface thoroughly before sticking. For a no-drill option, look for caddies that mount over the top of the shower door or partition—just make sure they don't interfere with the door's movement.
12. Choose a Curved Shower Rod for Extra Elbow Room
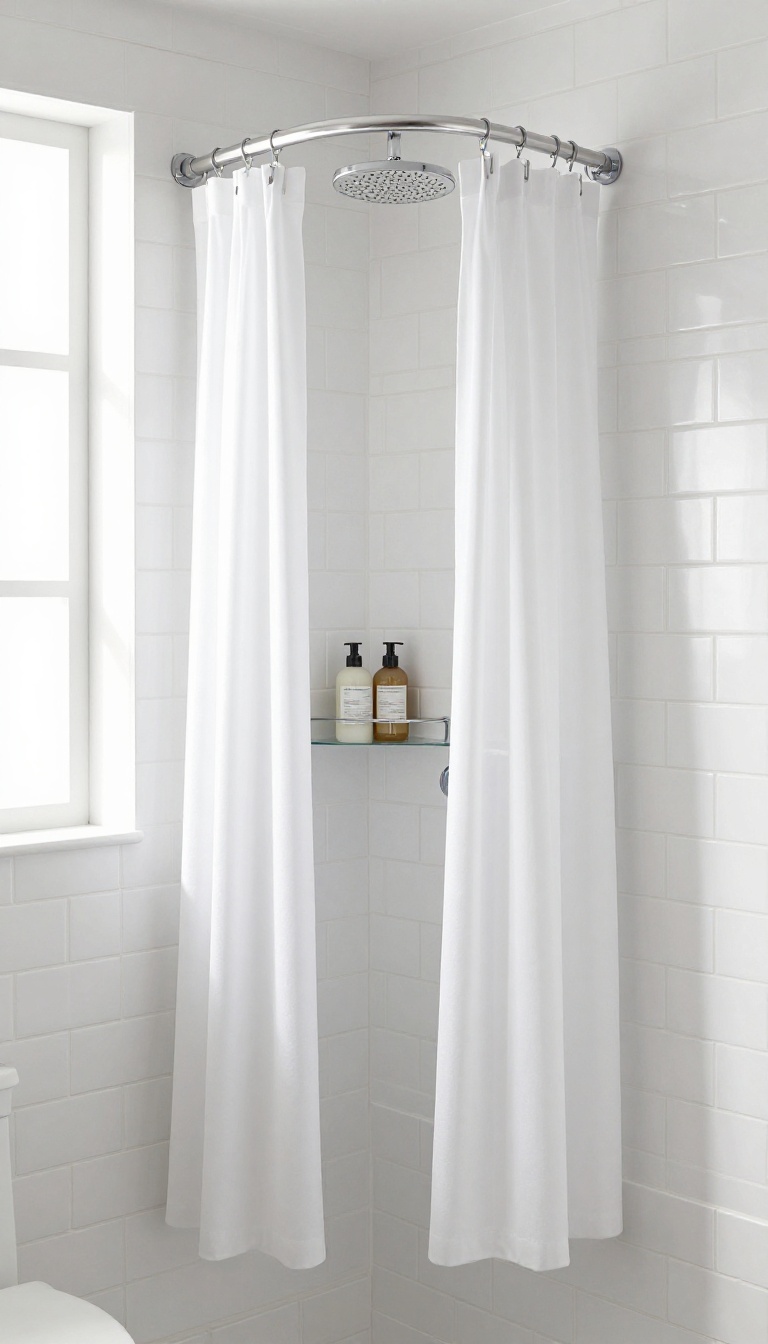
A curved shower rod is one of those small swaps that feels like a bigger upgrade than it sounds. It bows outward from the wall, creating extra space where you need it most—around your shoulders and arms. The best part?
It doesn't change the floor footprint at all, so it's perfect for tight cubicles.
The standard straight rod leaves the curtain hanging close to your body, which can make a small shower feel even more cramped. A curved rod pushes the curtain out by about 6 to 8 inches at the center, giving you that extra breathing room without sacrificing any floor space. It's a simple, affordable fix that makes a noticeable difference in comfort.
How Much Space Does A Curved Rod Actually Add?
Most curved rods add 6 to 8 inches of extra width at the center of the shower. That might not sound like a lot, but it's enough to keep your elbows from brushing the curtain and to make the space feel noticeably more open. The curve also helps water stay inside because the curtain bows outward, reducing the chance of it clinging to you.
Installation Tips For A Curved Rod
Installing a curved rod is just as easy as a straight one. You'll need to mount it at the same height as a standard rod, but make sure the curve faces outward. Use a level to keep it straight, and anchor it securely into studs or use heavy-duty anchors for drywall.
Many curved rods come with adjustable widths, so you can fit them to your exact shower opening.
Pairing Curved Rods With The Right Curtain
To get the most out of a curved rod, choose a curtain that's long enough to reach the tub edge or shower tray. A standard 72-inch curtain works for most tubs, but if you have a taller shower, look for an extra-long curtain. Also, consider a fabric liner with weighted magnets at the bottom—it keeps the curtain in place and prevents billowing.
13. Install a Pocket Door for the Bathroom
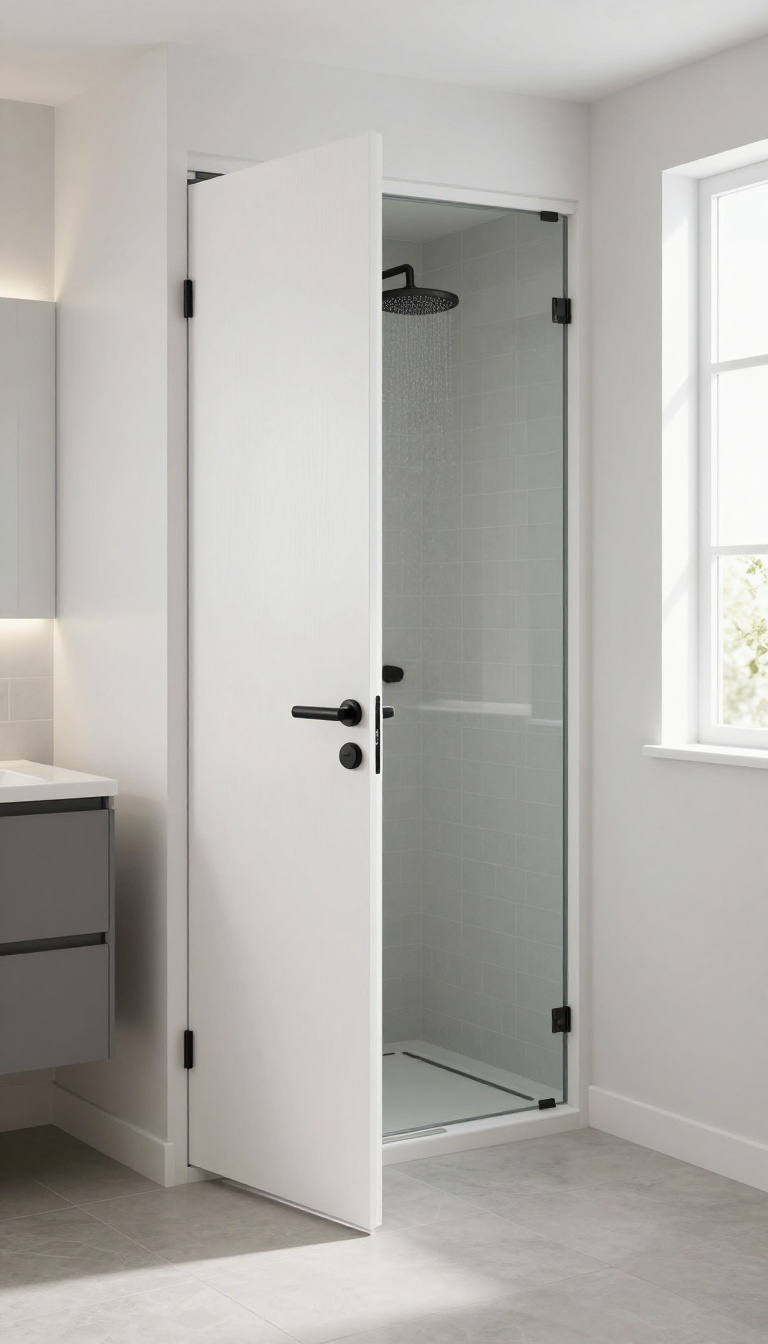
If your bathroom door swings into the shower area, you know the struggle of squeezing past it every time you step in and out. A pocket door slides neatly into the wall, freeing up that critical space and making the room feel instantly more open. It's a clever solution that many homeowners overlook, but it can transform a cramped layout into a functional, comfortable space.
Pocket doors are a smart upgrade for tight bathrooms because they eliminate the swing radius that traditional doors require. Instead of needing a clear arc to open, the door disappears into a cavity in the wall, leaving the floor completely clear. This means you can position the shower closer to the doorway or add a storage unit where the door used to swing.
The result is a more efficient use of every square inch, which is exactly what a small bathroom needs.
Why A Swing Door Wastes Space
A standard swing door needs about 2 to 3 feet of clearance to open fully. In a tight bathroom, that space is often right where you need to stand to enter the shower. By replacing it with a pocket door, you reclaim that area for actual use—whether it's a wider shower entry, a towel rack, or just easier movement.
It's a simple change that makes the room feel larger without any major construction.
Installation Considerations
Installing a pocket door requires some wall work, as you'll need to create a cavity for the door to slide into. This is best done during a remodel, but it can also be retrofitted if you have a non-load-bearing wall. You'll also need to account for the track and hardware, which can be a bit tricky if you're not experienced.
Hiring a professional is often worth it to ensure the door slides smoothly and the wall is properly reinforced.
Choosing The Right Pocket Door
When selecting a pocket door, consider the material and style. Solid wood doors offer privacy and a classic look, while hollow-core doors are lighter and easier to slide. You can also choose from various finishes to match your bathroom decor.
Make sure the door is the right size for the opening and that the track is rated for the door's weight. With the right choice, a pocket door can be a beautiful and functional addition to your bathroom.
14. Use a Shower Curtain with a Tension Rod
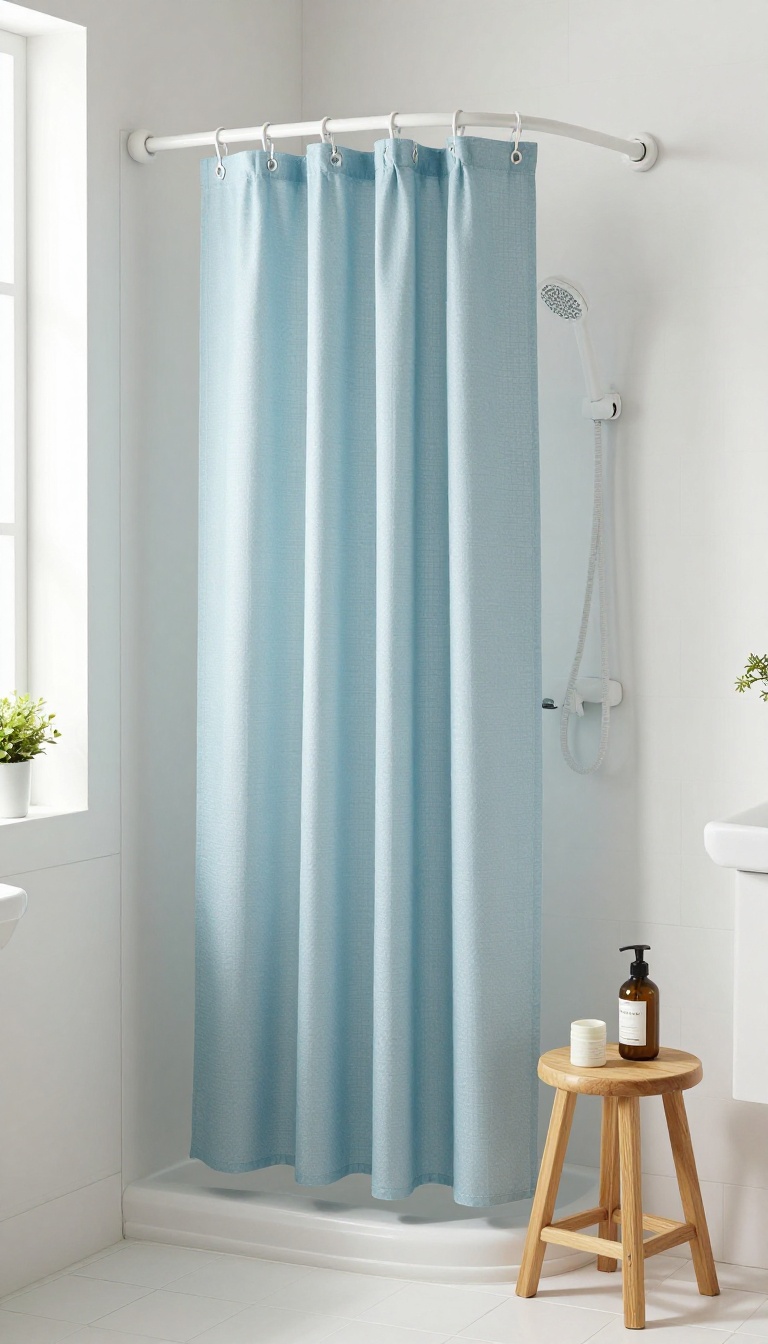
A tension rod and a lightweight curtain can turn any awkward corner into a functional shower space without a single drill hole. It's the ultimate renter-friendly solution, but it also works wonders in tight bathrooms where permanent fixtures just don't make sense. The beauty is in the flexibility: you can adjust the rod's height or width in seconds, and swap out the curtain whenever the mood strikes.
When you're working with a tight floor plan, a tension rod setup gives you options. You can position it diagonally across a corner to create a triangular shower area, or run it straight across a narrow alcove. The curtain itself acts as a soft divider, so you don't have the visual weight of glass or a heavy door.
Plus, installation is a five-minute job that requires no tools and leaves no marks—perfect for dorms, rentals, or anyone who likes to change things up.
Choosing The Right Curtain
Pick a fabric curtain with a PEVA liner to keep water in without the plastic feel. A lighter color or a subtle pattern can make the space feel bigger, while a heavier fabric adds a touch of luxury. Look for rustproof grommets and a bottom hem that won't drag on the floor.
Positioning For Maximum Space
If your shower is in a corner, install the tension rod diagonally to create a roomy triangular enclosure. This leaves more open floor space than a straight rod across a bathtub. For a narrow alcove, mount the rod as high as possible to give the illusion of height.
Maintenance And Longevity
Tension rods need occasional tightening, especially if the curtain gets tugged. Wipe down the rod and curtain regularly to prevent mildew. Replace the liner every few months or when it starts to look cloudy.
With a bit of care, this setup can last for years.
15. Add a Heated Towel Rail Near the Shower
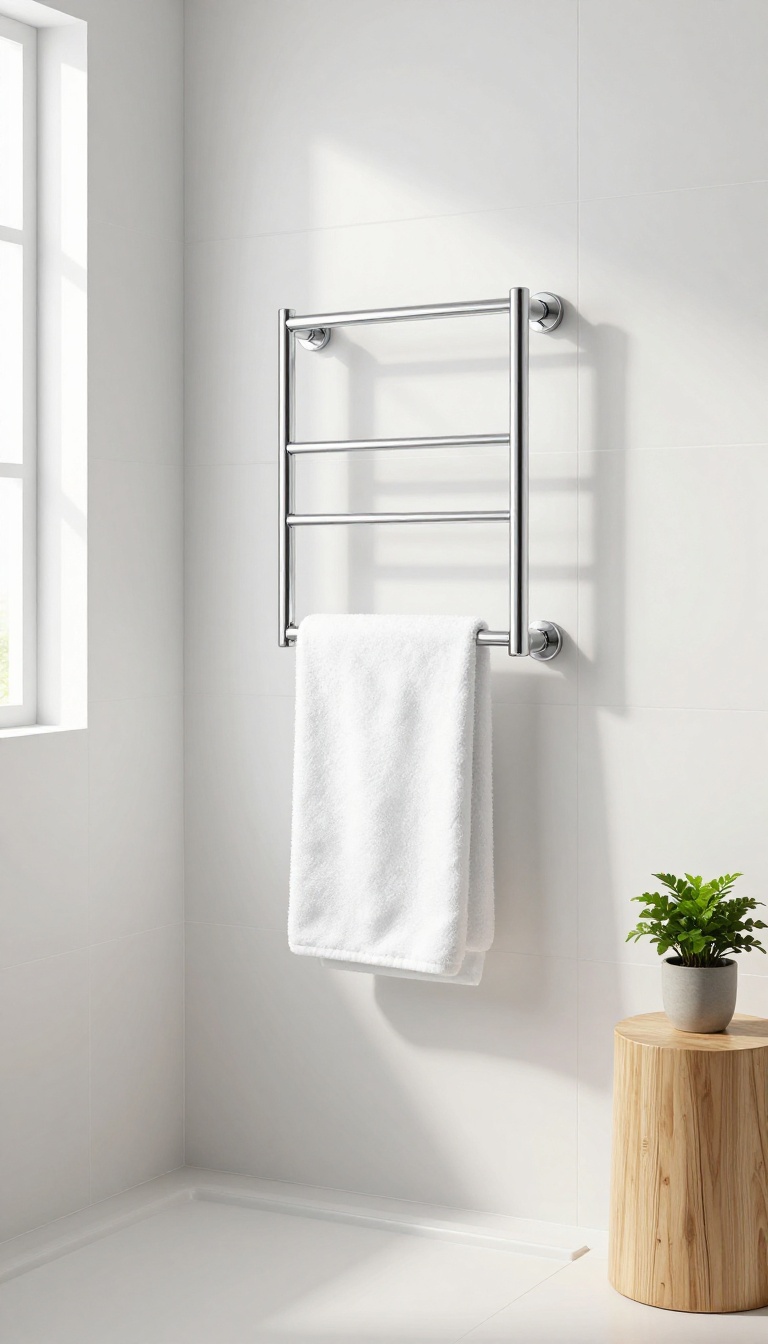
A warm towel waiting for you after a shower is a small luxury that changes the whole experience, especially in a cramped bathroom. A slim heated towel rail mounted beside the cubicle gives you that comfort without taking up floor space or cluttering the walls with a bulky rack. It also helps towels dry faster, cutting down on that musty smell that can linger in tight, humid spaces.
Heated towel rails aren't just for spa-like master suites. In a compact shower area, they double as a practical drying rack and a cozy touch that makes the tight space feel more intentional. Because they mount flat against the wall, they leave the floor clear and keep towels within arm's reach when you step out.
Pick A Slim Profile That Fits The Wall
Look for a rail that's narrow and close to the wall, so it doesn't jut out into the walkway. A vertical design works well beside a shower door, while a horizontal one can slide under a window or above a towel hook. Measure the available wall space before buying—most rails come in lengths from 24 to 48 inches, and you want one that leaves a few inches of clearance on each side.
Consider The Power Source And Controls
You can choose between hardwired models and plug-in versions. Hardwired rails look cleaner but require an electrician, while plug-in ones are easier to install if there's an outlet nearby. Many come with timers or thermostatic controls, so you can set it to warm up just before your usual shower time and save energy the rest of the day.
Mount It Where It's Actually Useful
Place the rail so you can grab a towel without stepping out of the shower or stretching awkwardly. That usually means within arm's reach of the shower opening, but not directly in the spray zone. If you have a glass door, mounting it on the adjacent wall keeps it visible and accessible without blocking the view.
FAQ
What is the best shower door for a small bathroom?
A sliding or barn-style door is often best because it doesn't swing into the room. A glass panel with a fixed side is also a great option to keep the space open.
How can I make my shower cubicle feel bigger?
Use glass instead of opaque walls, keep the floor clear, and install a recessed niche for toiletries. Light colors and vertical tile also help the space feel taller and more open.
Are walk-in showers good for small bathrooms?
Yes, a walk-in shower with a linear drain and a glass panel can make a small bathroom feel larger because it removes the visual barrier of a door or curtain.
What is the minimum size for a shower cubicle?
The minimum recommended size is about 30 by 30 inches, but 36 by 36 inches is more comfortable. For a walk-in, you can go smaller if you use a curtain or panel.
Should I use a shower curtain or glass door in a small bathroom?
A glass door or panel is better for making the space feel open, but a curved shower rod with a light-colored curtain can also work well and is more budget-friendly.
Conclusion
Small bathrooms don't have to feel like a squeeze. By rethinking the shower cubicle—whether it's the door, the storage, or the lighting—you can create a more open, functional space. Start with one or two of these ideas that fit your layout and budget.
Even a simple swap like a sliding door or a recessed niche can make a big difference in how the room flows. The goal is to make every inch count, so you can enjoy a shower that feels roomy and calm.