15 Design-Forward Black and White Shower Tile Ideas
Black and white tile is a classic choice that never goes out of style. It’s crisp, clean, and surprisingly versatile—able to fit everything from vintage to modern bathrooms. But picking the right pattern can feel overwhelming with so many options.
Whether you’re planning a full renovation or just refreshing an existing shower, the right tile layout can make a huge impact. You might want something bold and graphic, or subtle and elegant.
The key is to match the design to your space and personal taste. In this guide, we’ll walk through 15 distinct black and white tile ideas that go beyond the ordinary.
1. Classic Checkerboard with a Twist
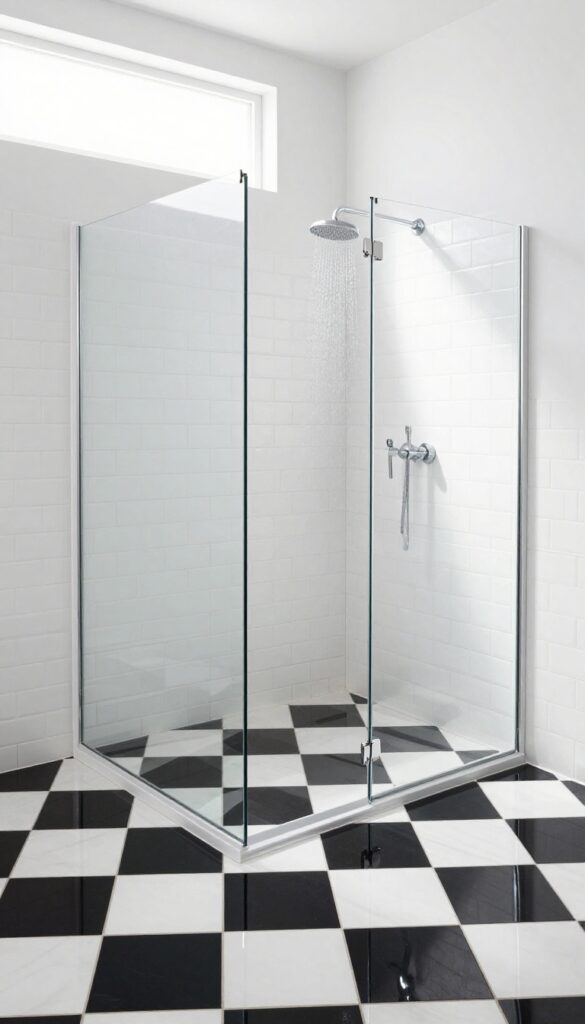
A checkerboard floor is a timeless choice, but you can give it a fresh spin by playing with scale or orientation. Instead of the usual small squares, opt for large-format tiles to create a bold, graphic statement. Or lay the tiles on a diagonal to add movement and make the space feel larger.
The key to this twist is in the details. Large tiles reduce the visual noise, making the pattern feel more modern and sophisticated. A diagonal layout adds a dynamic energy that draws the eye across the floor.
Both approaches keep the charm of the classic checkerboard while making it feel new and exciting.
Go Big And Bold
Choose 12×12 or even 18×18 tiles for a dramatic look. The larger squares make the pattern feel less busy and more contemporary. This works especially well in spacious showers where the floor can be a focal point.
Diagonal Dynamics
Lay the same checkerboard pattern on a 45-degree angle. This simple change adds visual interest and can make a small shower appear larger. The diagonal lines lead the eye outward, creating a sense of openness.
Mix It Up
For an even more unique take, combine different sizes or shapes within the checkerboard grid. For example, use rectangular tiles in a herringbone-style checkerboard, or mix matte and glossy finishes for subtle texture contrast.
2. Vertical Subway Tile for Height
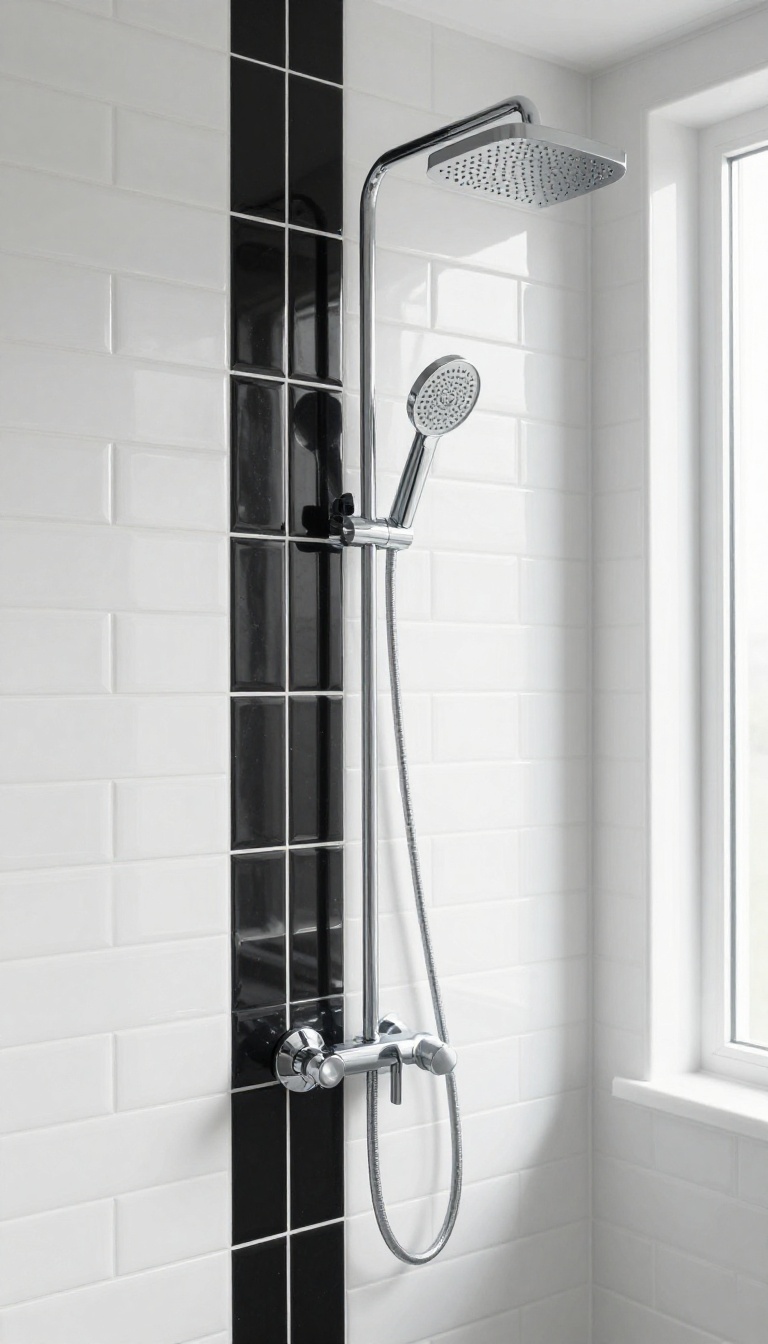
Subway tile is a bathroom staple, but the way you lay it can change the whole feel of the room. Instead of the classic horizontal brick pattern, try stacking the tiles vertically. This simple shift draws the eye upward, making the shower feel taller and more open, especially in bathrooms with lower ceilings.
Vertical subway tile is an easy way to add architectural interest without introducing a new material. The clean lines of the tile keep the look minimal, while the orientation adds a subtle sense of height. It works well in both small powder baths and larger master showers.
Alternate Colors For A Graphic Punch
For a bolder look, alternate black and white tiles in a vertical stripe pattern. You can go with a single row of black between whites, or create thicker stripes by using two or three black tiles in a row. This adds a playful, graphic element that still feels refined.
Pair With Contrasting Grout
The grout color can make or break the vertical effect. White grout with black tiles will emphasize the vertical lines, while black grout with white tiles creates a more subtle, seamless look. If you want to highlight the height, choose a grout that contrasts with the tile color.
Use A Single Accent Wall
If you're not ready to commit to vertical tile throughout the whole shower, use it on just one wall—the wall opposite the showerhead works well. This creates a focal point without overwhelming the space. Keep the other walls in a simple white tile to let the vertical pattern shine.
3. Herringbone Pattern in Monochrome
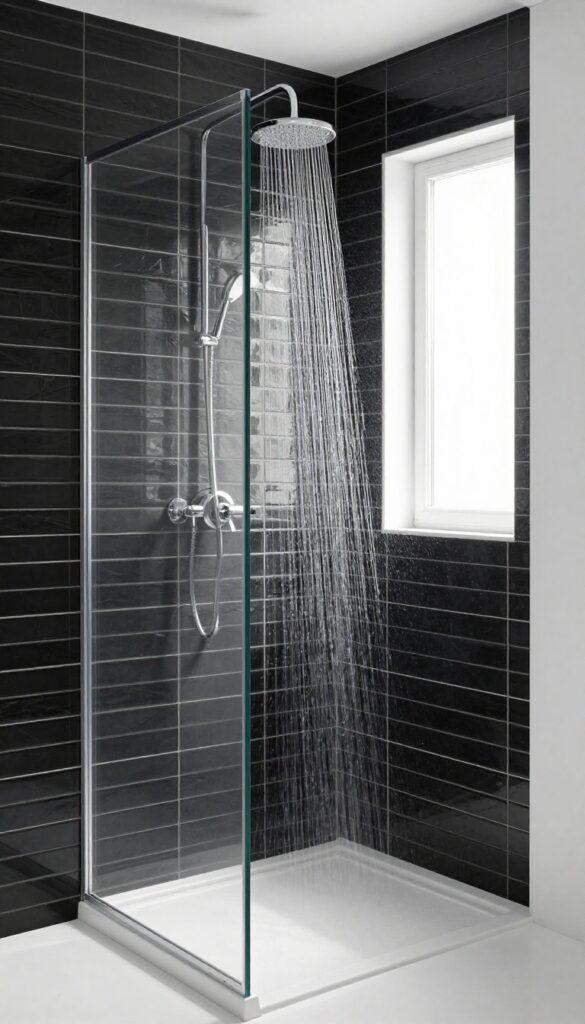
This layout is all about movement. The zigzag lines draw the eye upward, making the shower feel taller and more dynamic. It’s a classic pattern that feels fresh when done in black and white.
Herringbone is a timeless pattern that adds instant visual interest. In a shower, it creates a sense of flow and energy, especially when you alternate black and white tiles. The key is to keep the grout lines thin and use a contrasting grout color to make the pattern pop.
Choosing The Right Tile Size
For a traditional herringbone, use rectangular tiles like 3×6 or 4×8 inches. Smaller tiles create a busier pattern, while larger tiles make a bolder statement. Consider the scale of your shower—larger tiles work well in spacious showers, while smaller tiles suit cozy nooks.
Playing With Color Distribution
You can alternate black and white tiles evenly for a high-contrast look, or use more white with black accents for a softer feel. Another idea is to create a gradient effect, starting with black at the bottom and transitioning to white at the top, which adds depth and dimension.
Grout Color Matters
The grout color can make or break the pattern. White grout with black tiles creates a crisp, graphic look, while dark grout with white tiles softens the contrast. For a seamless appearance, match the grout to the tile color, but for a more defined pattern, use a contrasting shade.
4. Geometric Hexagon Mix
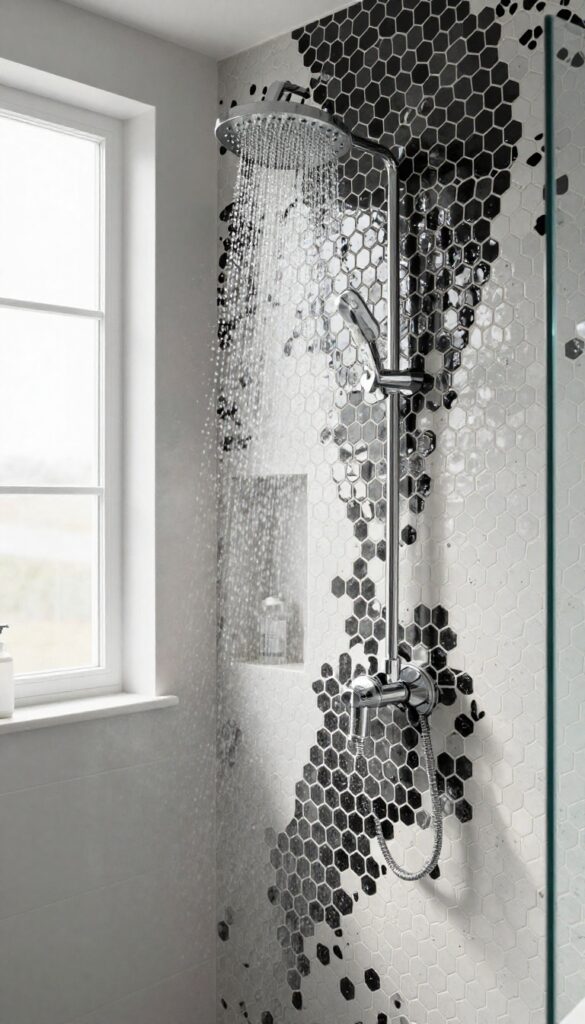
Hexagons have a way of making any surface feel more dynamic, and when you pair them in black and white, the result is anything but boring. This shape brings a soft, honeycomb-like rhythm that feels both playful and refined, whether you use it as a full wall treatment or a subtle floor accent. What makes the hexagon mix so appealing is its flexibility.
You can scatter the tiles randomly for an organic, almost mosaic feel, or lay them in a deliberate pattern for something more structured. Either way, the contrast between the two colors adds depth and movement without overwhelming the space.
A geometric hexagon mix works beautifully in showers because it adds visual interest without competing with the rest of the bathroom. The six-sided shape naturally draws the eye, and the black and white contrast creates a crisp, graphic look that pairs well with both modern and traditional fixtures. One of the easiest ways to use this idea is on the shower floor, where the smaller scale of hex tiles helps with traction and creates a lovely textural contrast against larger wall tiles.
On walls, you can create a feature area behind the bench or niche, or go all the way up for a bold statement. When choosing your hex tiles, consider the finish. Glossy tiles reflect light and make the space feel brighter, while matte finishes offer a softer, more understated vibe.
You can also play with the size of the hexagons—larger ones feel more contemporary, while smaller ones give off a vintage, almost penny-tile charm.
Random Vs. Patterned Layout
The layout you choose sets the tone for the entire design. A random mix of black and white hexagons feels organic and artistic, almost like a modern take on terrazzo. It’s great for hiding dirt and creating a relaxed, lived-in look.
On the other hand, a patterned layout—like alternating rows or a checkerboard effect—brings a sense of order and symmetry. This works well if you want something more formal or if the rest of your bathroom has clean lines. You can also create a gradient effect by concentrating more black tiles at the bottom and fading to white near the top.
Best Applications In The Shower
Hexagon tiles are incredibly versatile, but they shine in specific spots. The shower floor is a natural choice because the small tiles conform to curves and slopes, making them easier to install around drains. They also provide a bit of grip underfoot, which is always a plus.
On the walls, you can use hexagons as an accent behind the shower bench or in the niche. If you’re feeling bold, cover an entire wall from floor to ceiling—it’s a stunning look that makes the shower feel like a feature, not just a functional space.
Pairing With Grout Colors
Grout might seem like an afterthought, but it plays a huge role in how your hexagon mix looks. White grout keeps the design crisp and airy, letting the black tiles stand out while the white ones blend in. This creates a softer, more cohesive look.
Dark grout, on the other hand, adds contrast and makes each tile pop. It can also help hide stains and wear, which is practical for a busy bathroom. For a middle ground, a light gray grout offers a subtle definition without being too stark.
5. Bold Graphic Stripe Accent
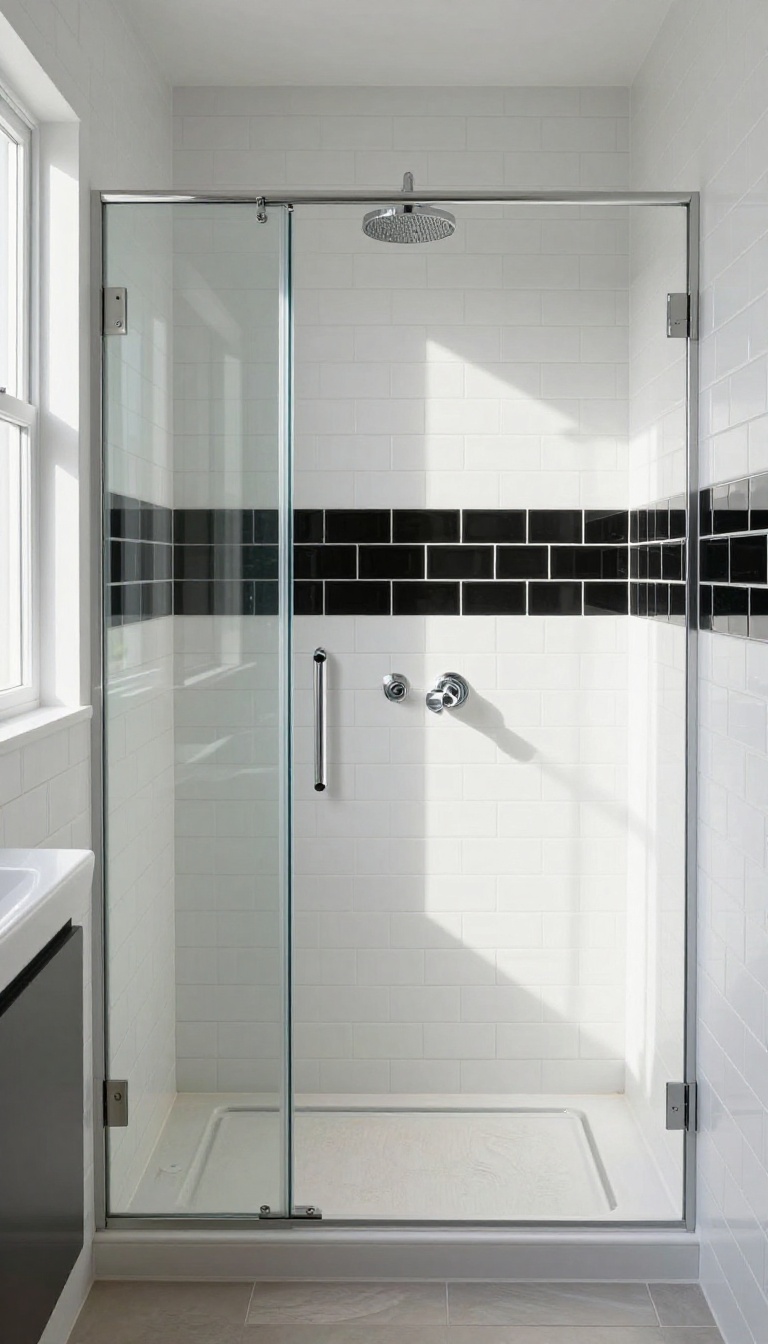
A single bold stripe can turn a plain shower into a statement. It’s a simple trick that packs a punch, and it works in almost any bathroom style. Whether you go for a thick band or a thin line, the contrast is what makes it pop.
This approach is great if you want visual interest without committing to a full pattern. You get the drama of black and white, but it feels intentional and clean. Plus, you can place the stripe exactly where it makes the most impact—eye level, near the ceiling, or even along the floor.
The key is placement and proportion. A horizontal stripe at eye level draws the eye across the space, making the shower feel wider. A stripe near the top can add height, while one near the bottom grounds the design.
You can also play with thickness—a chunky stripe feels modern, while a thin one reads more classic. When choosing tile, think about the finish and texture. Glossy black tiles will reflect light and add a sleek touch, while matte black gives a softer, more understated look.
White tiles in a similar finish keep things cohesive. If you want extra depth, consider using a contrasting grout color to make the stripe even more defined.
Where To Place The Stripe
Placement can change the whole feel of the room. For a standard shower, a stripe at around 54 to 60 inches from the floor hits the natural eye line. That’s where it’s most noticeable without being overwhelming.
If you have a high ceiling, a stripe closer to the top can draw the eye upward and make the space feel taller. You can also break the stripe into segments—like two thin lines with a gap in between—for a more subtle effect. Or keep it continuous for a clean, uninterrupted line.
Think about what your shower already has: a niche, a bench, or a window can affect where the stripe looks best.
Tile Size And Shape Options
The size and shape of your tiles play a big role in how the stripe reads. A stripe made of standard 3×6 subway tiles feels classic and timeless. Larger format tiles, like 4×12 or 6×24, create a more modern, streamlined look.
You can also use square tiles for a geometric feel. Mixing shapes can be fun too—try a stripe of hexagon tiles within a field of subway tile. That adds texture and visual interest without being too busy.
Just make sure the grout lines align as much as possible for a crisp finish.
Finishing Touches And Grout
Grout color can make or break the stripe effect. For a seamless look, match the grout to the tile color. White grout with white tiles keeps the field clean, while black grout with black tiles makes the stripe appear solid.
If you want extra contrast, use a contrasting grout—like dark grout with white tiles—to make the stripe stand out even more. Don’t forget the edges. A clean, straight line is essential.
Use a ledger board or a laser level to keep the stripe perfectly horizontal. And if you’re feeling adventurous, add a second stripe lower down or a thin accent line in a different material, like a metal strip, for a designer touch.
6. Checkerboard Wall Feature
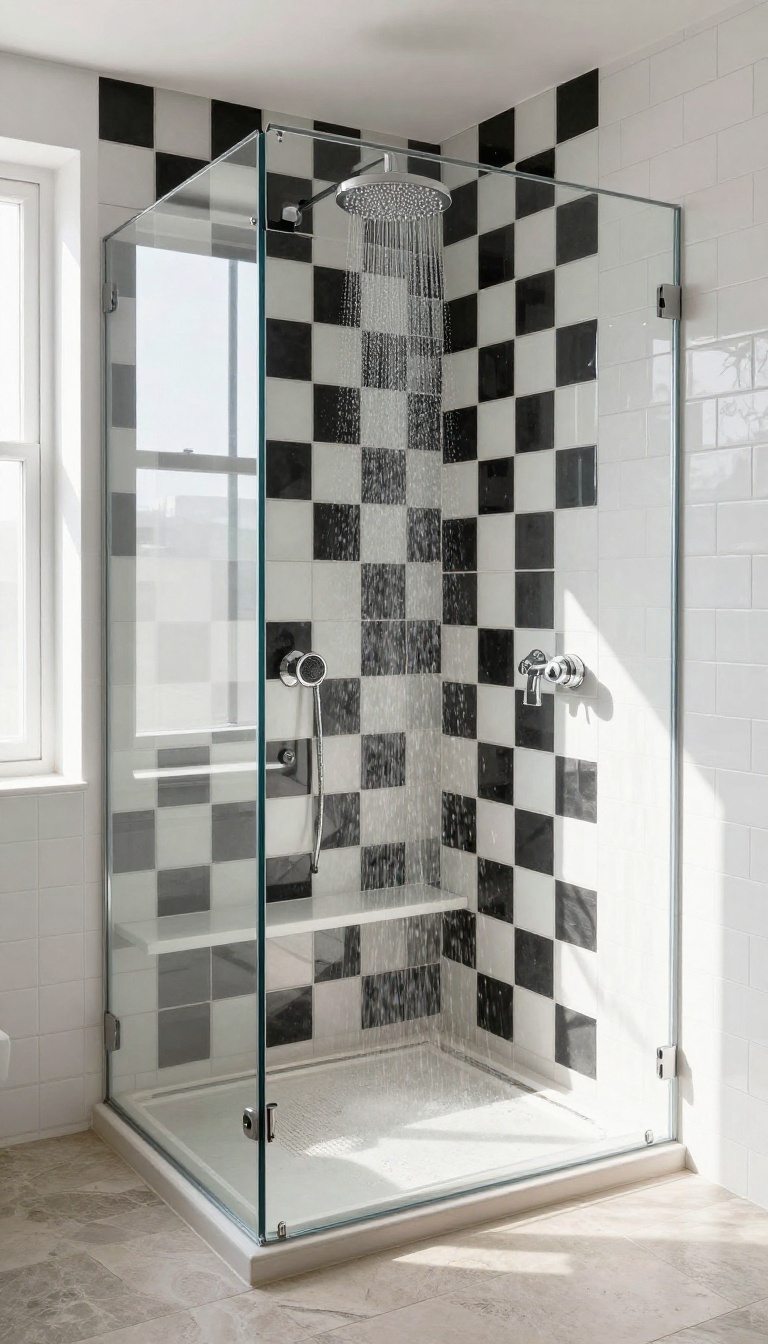
A checkerboard wall can steal the spotlight in your shower without overwhelming the space. Instead of the floor, make a statement with a checkerboard wall behind the shower bench or niche. It’s a bold choice that adds depth and character.
When you think of checkerboard tiles, your mind probably goes straight to the floor. But placing them on a wall changes the whole dynamic of the room. It draws the eye upward and creates a focal point that feels intentional and artistic.
Plus, it’s a clever way to define a specific area, like a seating nook or a shampoo shelf, without covering the entire bathroom in pattern.
Why A Wall Works Better Than A Floor
Checkerboard floors can make a small bathroom feel busy or even dizzying. A wall feature, on the other hand, adds visual interest without competing with the rest of the space. It also gives you a chance to play with scale—larger tiles make a more dramatic statement, while smaller ones feel more refined.
And since it’s confined to a specific area, it’s easier to pull off without overwhelming the room.
Placement Ideas That Make Sense
The most natural spot is behind a bench or a niche, where you can enjoy the pattern up close. You could also use it as a backsplash for a shower caddy or a ledge. If you have a window in the shower, tiling the wall around it creates a beautiful frame.
The key is to let the checkerboard be the star, so keep the surrounding tiles simple and neutral.
Mixing With Other Patterns
A checkerboard wall doesn’t have to stand alone. Pair it with classic white subway tiles on the other walls for a timeless look. Or go bold and combine it with a geometric floor pattern—just make sure the colors stay consistent.
Black and white gives you plenty of flexibility, so don’t be afraid to experiment with different layouts and textures.
7. Large-Format Marble Look
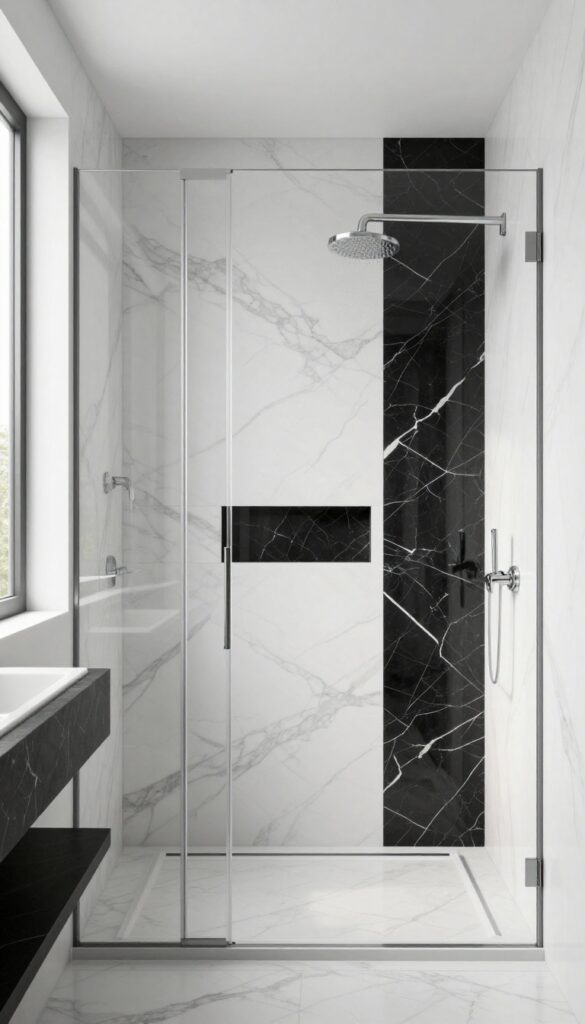
When you want that high-end spa feel without the upkeep of real stone, large-format porcelain tiles that mimic marble are a smart move. The generous size cuts down on grout lines, which means less scrubbing and a smoother, more seamless surface. Plus, the black and white marble effect adds a touch of luxury that never feels overdone.
This approach is all about letting the tile do the talking. With fewer grout lines, the eye is drawn to the elegant veining and the subtle contrast between the dark and light slabs. It's a sophisticated choice that works well in both modern and traditional bathrooms.
Why Large Format Works
Big tiles make a small shower feel more expansive because there are fewer visual breaks. They also create a sleek, contemporary look that's easy to clean. And since the pattern is printed to mimic natural marble, you get the high-end aesthetic without the sealing or maintenance that real stone requires.
Mixing Finishes For Depth
To keep the marble look from feeling flat, consider pairing a polished white slab with a matte black accent tile or a black marble niche. The contrast in texture adds dimension and gives your eye a place to rest. You could also use a black marble tile for the shower floor or a bench to anchor the space.
Placement And Layout Tips
For the most seamless look, use the same large-format tile on both the walls and the floor. If that feels too uniform, try a vertical stack or a running bond pattern to add interest. And don't forget to plan your grout color—a light gray or white grout will keep the marble look clean, while a darker grout can make the tile pop.
8. Penny Tile Mosaic
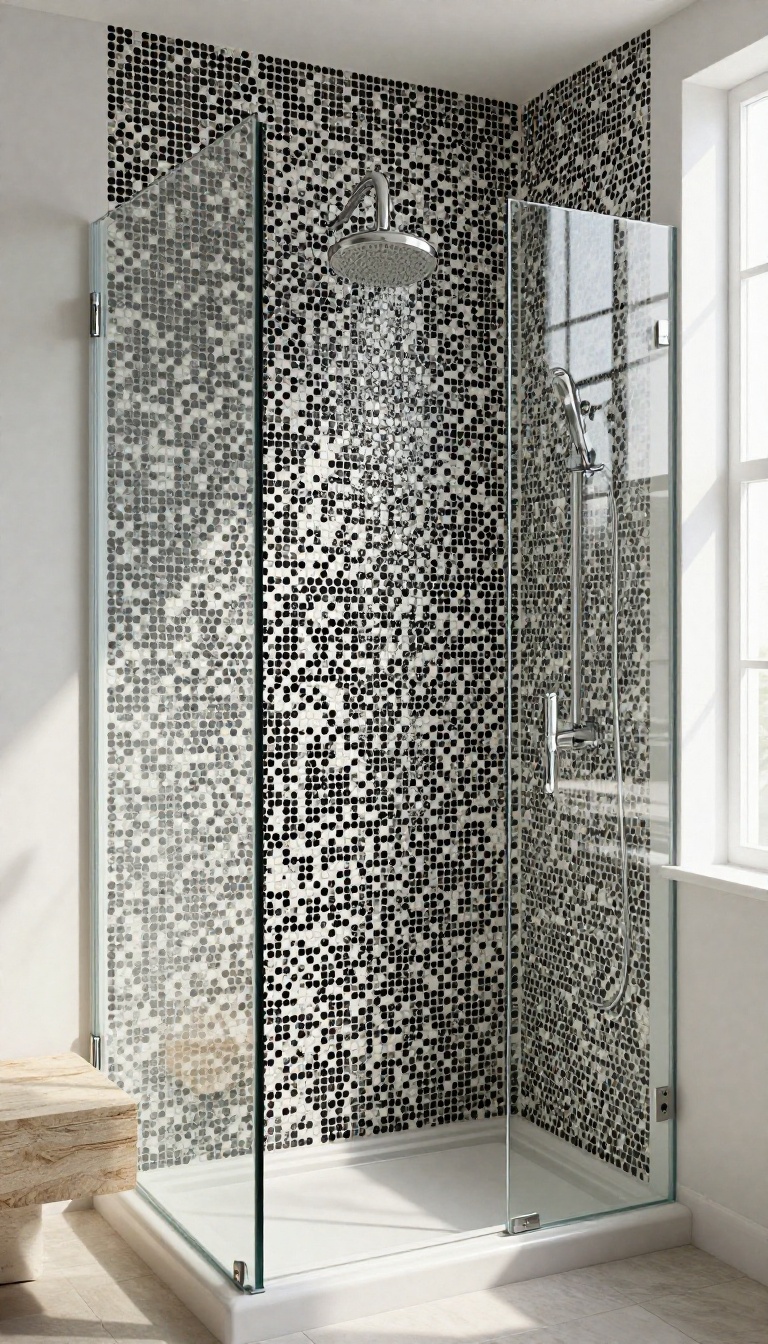
Penny tiles are having a moment, and it's easy to see why. Those little circles bring a playful texture that flat subway tiles just can't match. In black and white, they create a striking mosaic that feels both retro and fresh.
One of the best things about penny tiles is their versatility. You can use them to create a subtle backdrop or go bold with a graphic pattern. The small size makes them perfect for curved surfaces, so they're great for niche shelves or shower floors.
Plus, the grout lines add extra grip underfoot, making them a practical choice for wet areas.
Classic Black And White Mix
For a timeless look, mix black and white penny tiles randomly on the floor or wall. The irregular pattern adds visual interest without being too busy. It's a simple way to bring that vintage diner vibe into your bathroom.
Checkerboard Penny Pattern
If you want a more structured design, arrange the pennies in a checkerboard. Alternate black and white tiles in a grid for a crisp, orderly look. This works beautifully on a shower floor or as an accent strip in a niche.
Penny Accent Wall
Not ready to commit to penny tiles everywhere? Use them on one wall as a focal point. A black penny wall behind a white freestanding tub or a white penny wall in a shower adds texture and depth without overwhelming the space.
Penny Tile Shower Floor
Penny tiles are a dream for shower floors. Their small size conforms to the slope of the floor, and the many grout lines provide excellent traction. Choose a mix of black and white for a fun, spa-like feel that's also safe.
9. Vertical Stripes with Contrast Grout
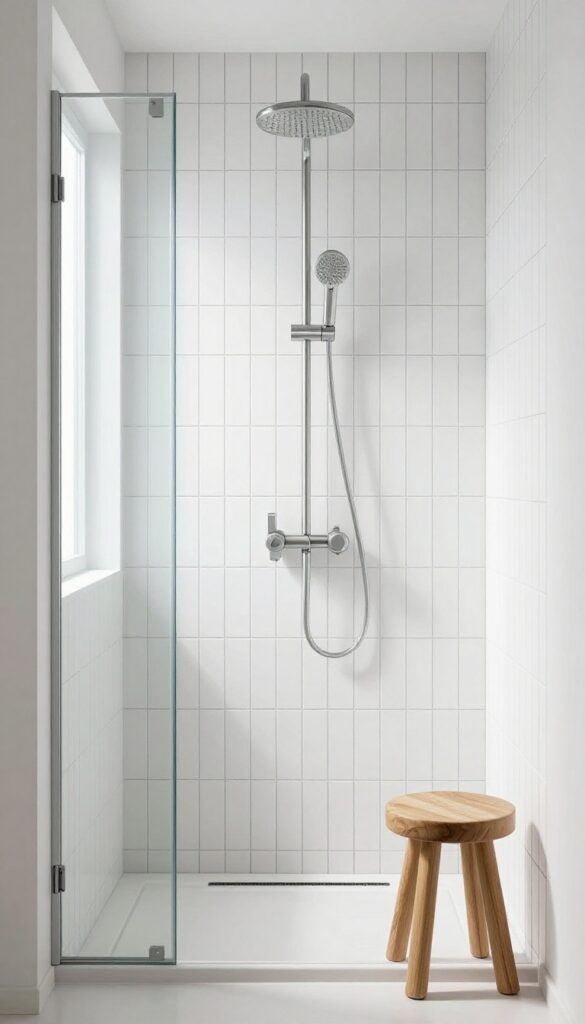
Vertical lines naturally draw the eye upward, making your shower feel taller and more spacious. When you pair white subway tiles with black grout, those lines become crisp and intentional. The contrast adds a modern edge without requiring a bold tile pattern.
This idea is all about using grout as a design element. Instead of letting the tile be the star, the dark grout creates a subtle stripe effect that adds texture and depth. It’s a simple way to upgrade a classic subway tile layout.
Why It Works
The vertical orientation elongates the wall, which is great for smaller showers. The black grout lines break up the white tile, preventing the space from feeling too sterile. It’s a clean, graphic look that pairs well with both modern and industrial fixtures.
Installation Tips
For the best effect, use a 3×12 or 4×12 subway tile and a grout color that contrasts sharply. Make sure the tile is perfectly level, as any unevenness will be more noticeable with dark grout. Consider using a grout release or sealer to keep the black grout from staining.
Styling Ideas
Keep the rest of the bathroom simple to let the stripes shine. Use brushed nickel or matte black fixtures for a cohesive look. Add a wooden stool or bamboo mat to warm up the space and soften the high-contrast palette.
10. Basketweave Pattern
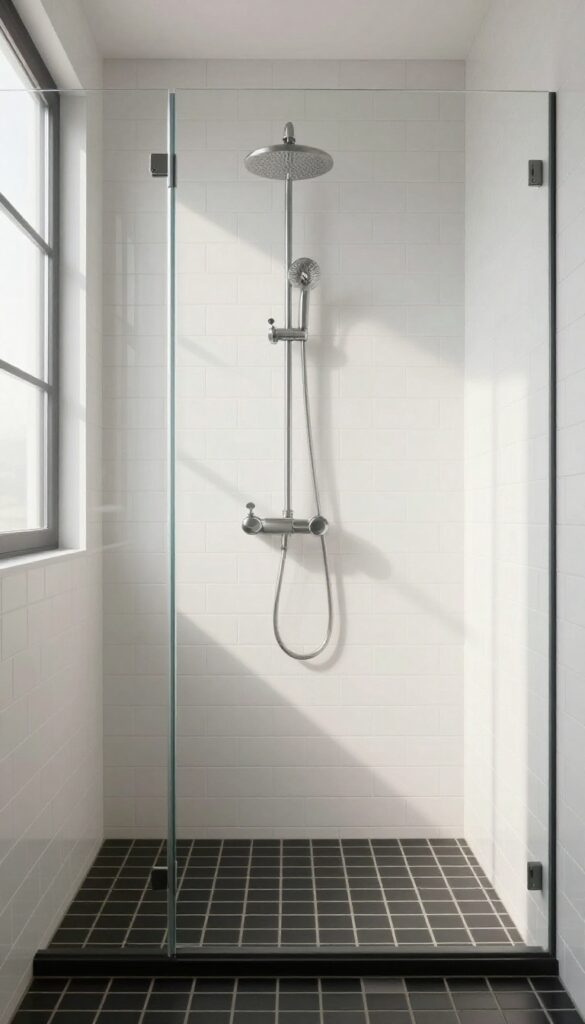
Basketweave tile brings a woven, textured look that feels both classic and handmade. The interlocking rectangles create a subtle rhythm that adds depth without being too busy. It's a pattern that works beautifully on shower floors, where its grip and visual interest come together.
Basketweave is a timeless choice that adds a touch of craftsmanship to your shower. The pattern's woven effect is created by pairing small rectangles in a basket-like layout, often with a contrasting dot at the intersections. This design is especially effective on the floor, where it anchors the space and provides a non-slip surface.
For a cohesive look, pair it with simple white subway tiles on the walls to let the floor shine.
Why Basketweave Works In Showers
Basketweave isn't just about looks—its small, interlocking pieces conform well to curves and corners, making it a practical choice for shower floors. The grout lines add texture, which helps with traction, and the pattern's visual complexity hides soap scum and water spots better than large tiles. Plus, it's available in porcelain or ceramic, so it's durable and easy to maintain.
Style Variations To Consider
You can play with scale and color to change the vibe. A classic black-and-white basketweave in a small scale feels vintage and charming. For a more modern twist, choose larger rectangles or use a matte finish.
You can also incorporate a contrasting border or accent strip to frame the pattern and add a custom touch.
Installation Tips
Basketweave tiles come in mesh-backed sheets, which speeds up installation. Make sure the substrate is perfectly flat to avoid lippage. Use a white or gray grout to keep the pattern crisp.
For the floor, a smaller tile size (around 2 inches) provides better grip and conforms to slopes more easily. Always seal natural stone if you choose that material, though porcelain is a low-maintenance alternative.
11. Black Feature Wall with White Accents
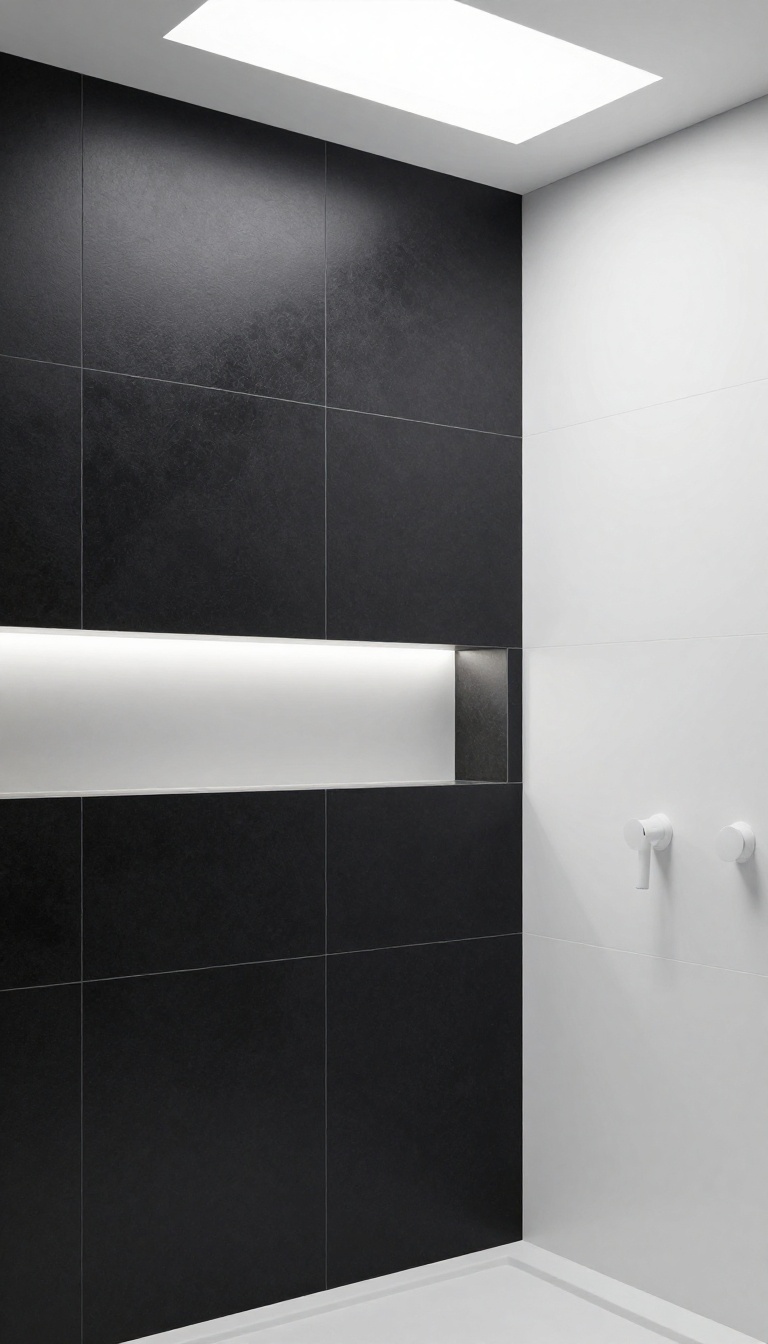
A solid black feature wall in the shower is a bold move that instantly adds drama and depth. The key to pulling it off is balancing that darkness with crisp white accents, which keep the space from feeling like a cave. This idea works especially well in larger showers where you can let the black wall shine without overwhelming the room.
Choose a matte black tile for the feature wall to avoid glare and create a sophisticated backdrop. Then, introduce white tiles in strategic spots—like a niche, a bench, or a border—to break up the expanse and add visual interest. The contrast between the deep black and bright white creates a striking focal point that feels both modern and timeless.
Picking The Right Black Tile
The finish of your black tile matters more than you might think. Matte black hides water spots and fingerprints better than glossy, making it a practical choice for a shower. Large-format black tiles reduce grout lines, which helps the wall feel more seamless and less busy.
Where To Place White Accents
White accents work best where your eye naturally lands—like inside a shower niche or as a horizontal stripe at eye level. You can also use white tiles to frame the edges of the black wall, creating a clean border that defines the space. Keep the accents simple so they don't compete with the black wall's drama.
Balancing Light And Space
A black wall can make a small shower feel even smaller, so pair it with bright lighting and white fixtures to keep the space airy. If you're worried about it feeling too dark, consider using black only on one wall and keeping the others white. This way, you get the dramatic effect without sacrificing openness.
12. Checkerboard Floor with White Walls
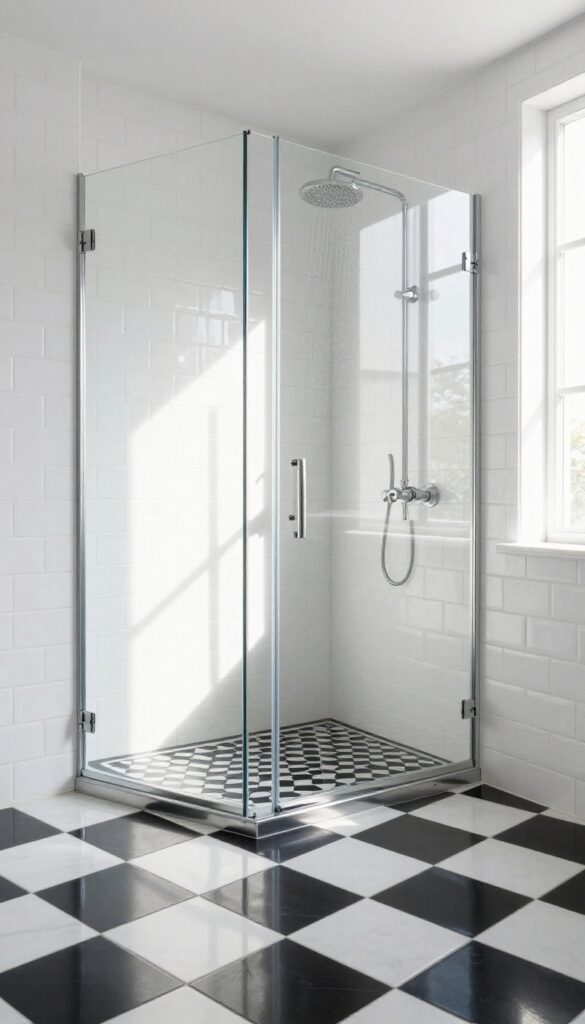
A checkerboard floor instantly brings a playful, retro energy to a shower, but pairing it with white walls keeps the look grounded and sophisticated. The contrast between the busy floor and the clean, simple walls creates a balanced visual that works in both classic and contemporary bathrooms. This combination is timeless, easy to style, and lets you have fun with pattern without overwhelming the space.
The beauty of this approach is its flexibility. You can choose a traditional black and white checkerboard in a matte finish for a vintage feel, or go with a glossier tile for a more polished, modern look. The white walls act as a blank canvas, so you can easily change accessories, towels, or even the shower curtain over time without worrying about clashing with the floor.
Choosing The Right Checkerboard Scale
The size of your checkerboard tiles makes a big difference. Small tiles, like 2×2 inches, create a busy, cottage-like charm, while larger squares, such as 8×8 or 12×12 inches, feel more streamlined and contemporary. If your shower is on the smaller side, a larger checkerboard pattern can help avoid a cluttered look, whereas a bigger space can handle the visual interest of smaller tiles.
Pairing With White Subway Tiles
White subway tiles are the go-to choice for the walls here. They’re classic, easy to find, and their rectangular shape contrasts nicely with the square floor pattern. You can lay them in a traditional brick pattern for a timeless look, or try a vertical stack for a more modern twist.
The key is to keep the walls simple so the floor remains the focal point.
Adding Warmth With Natural Elements
To keep the black and white scheme from feeling too stark, bring in natural textures. A wooden teak shower bench or a bamboo mat adds warmth and organic contrast. Greenery, like a small potted plant or eucalyptus bundle, also softens the high-contrast look and makes the space feel more inviting.
13. Geometric Diamond Pattern
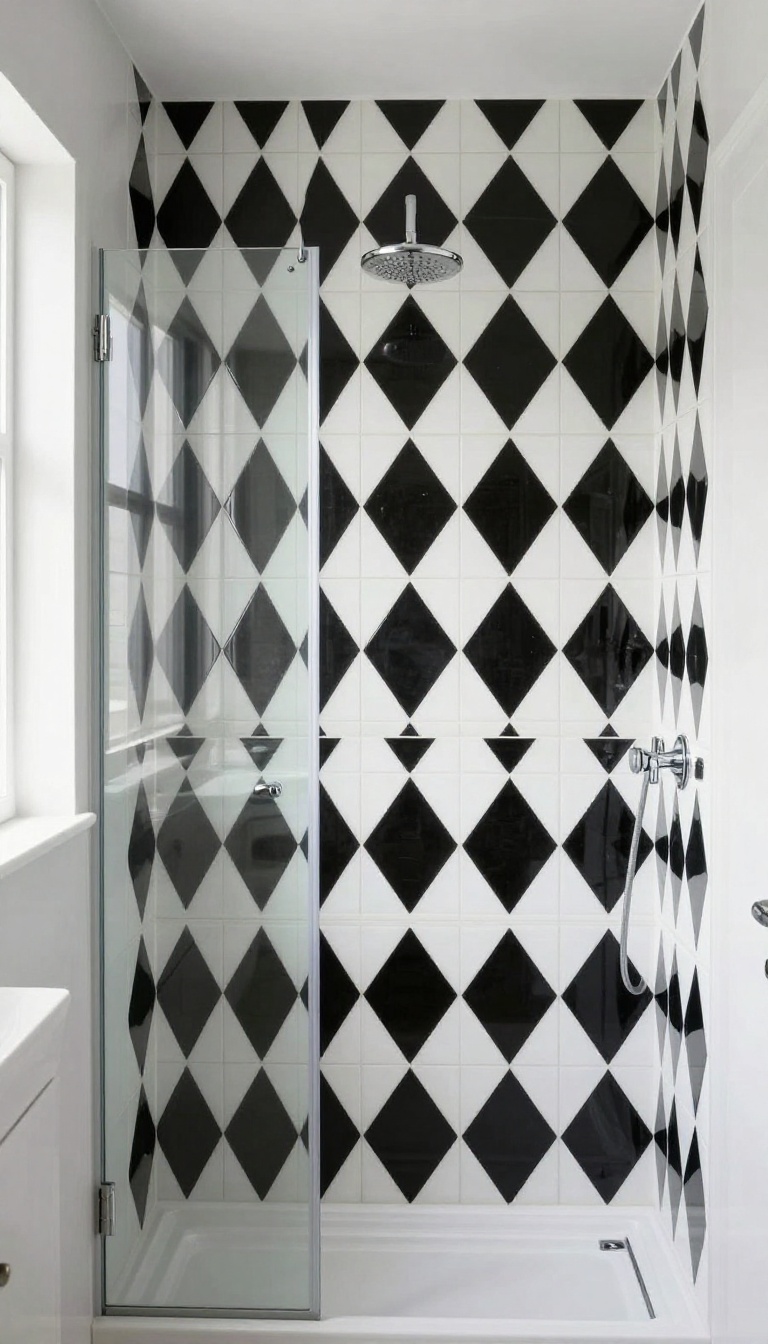
Diamonds are a shower’s best friend when you want to add a little Art Deco flair. This pattern feels glamorous without being fussy, and it works whether you go full-wall or just frame the niche. The key is contrast—crisp black and white makes the geometry pop, while softer gray tones keep it more subdued.
A diamond pattern is essentially a square tile turned 45 degrees, but the magic happens when you mix colors and sizes. You can create a continuous diamond grid across the main wall, or use it as a striking border above a solid white field. The effect is instantly more dynamic than plain subway tile, yet it still feels timeless and sophisticated.
Full-wall Diamond Grid
Covering an entire shower wall in a black-and-white diamond grid makes a bold statement. Use large-format tiles (like 12×12 inches) to keep the pattern from feeling too busy. For a more traditional Art Deco look, alternate black and white diamonds in a checkerboard arrangement.
Keep the rest of the bathroom simple—white fixtures and minimal accessories—so the tile stays the star.
Diamond Border Accent
If a full wall feels like too much, run a diamond border at eye level or along the top of the shower. This works especially well with a classic white subway tile field. You can use a pre-made diamond mosaic sheet or create your own with contrasting tiles.
The border adds visual interest without overwhelming the space.
Mixing Sizes For Depth
Another way to play with diamonds is to mix tile sizes. Use large diamond tiles in one color and smaller ones in the other to create a layered, textured effect. This approach adds depth and makes the pattern feel more custom.
It’s a great option if you want something unique but still elegant.
14. Split-Face Stone Look
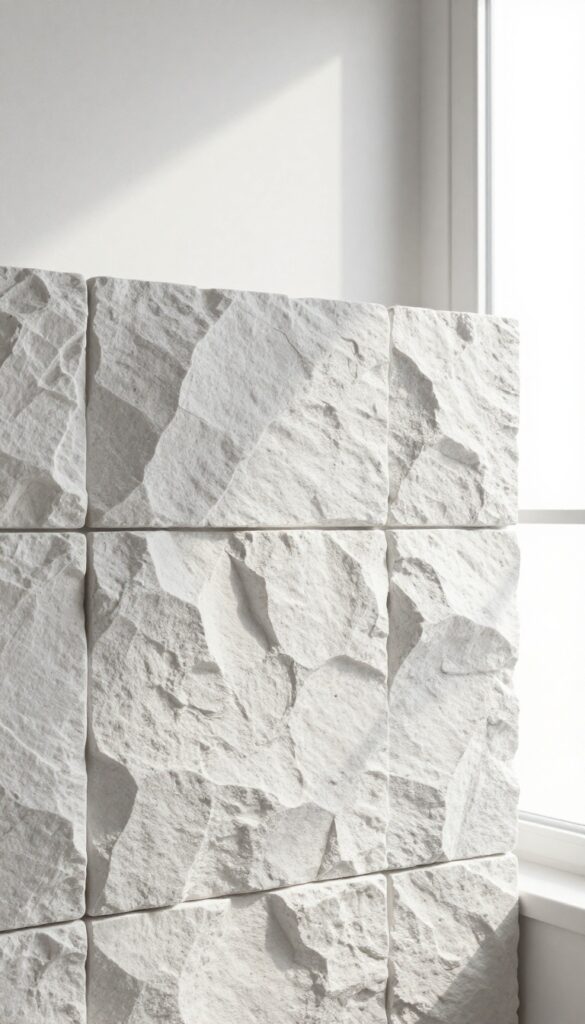
Split-face stone tiles bring a raw, natural texture that feels completely different from smooth ceramic or porcelain. The uneven, chiseled surface catches light in a way that adds depth and movement to your shower walls. It’s a great way to introduce an organic, spa-like atmosphere without sacrificing the timeless black and white palette.
Using split-face stone in black and white is all about embracing imperfection. The tiles are typically cut from natural stone, leaving a rugged, three-dimensional face that varies slightly from tile to tile. This creates a rich, tactile surface that invites touch and adds visual interest.
In a shower, the texture also helps to hide water spots and soap scum, making it a practical choice for busy households.
Why It Works In A Shower
The textured surface of split-face stone provides natural slip resistance, which is a bonus for shower floors. On walls, the uneven profile adds a sense of luxury and earthiness that pairs beautifully with simple fixtures and natural light. Plus, the black and white color scheme keeps the look grounded and versatile, so you can easily change accessories or towels without clashing.
Mixing With Other Tiles
Split-face stone can be used as a full wall treatment or as an accent behind the shower bench or niche. Combining it with smooth white subway tiles or large-format slabs creates a striking contrast between texture and polish. You can also mix black and white split-face tiles in a random pattern for a more artistic, mosaic-like effect.
Installation And Maintenance
Because the tiles are uneven, installation requires a skilled tiler and extra adhesive to ensure a solid bond. The grout lines will be wider and deeper, so use a flexible grout that can handle movement. Sealing the stone is essential to protect it from moisture and staining.
Once sealed, cleaning is straightforward—just use a mild detergent and a soft brush to keep the texture looking fresh.
15. Minimalist Grid with Thin Grout Lines
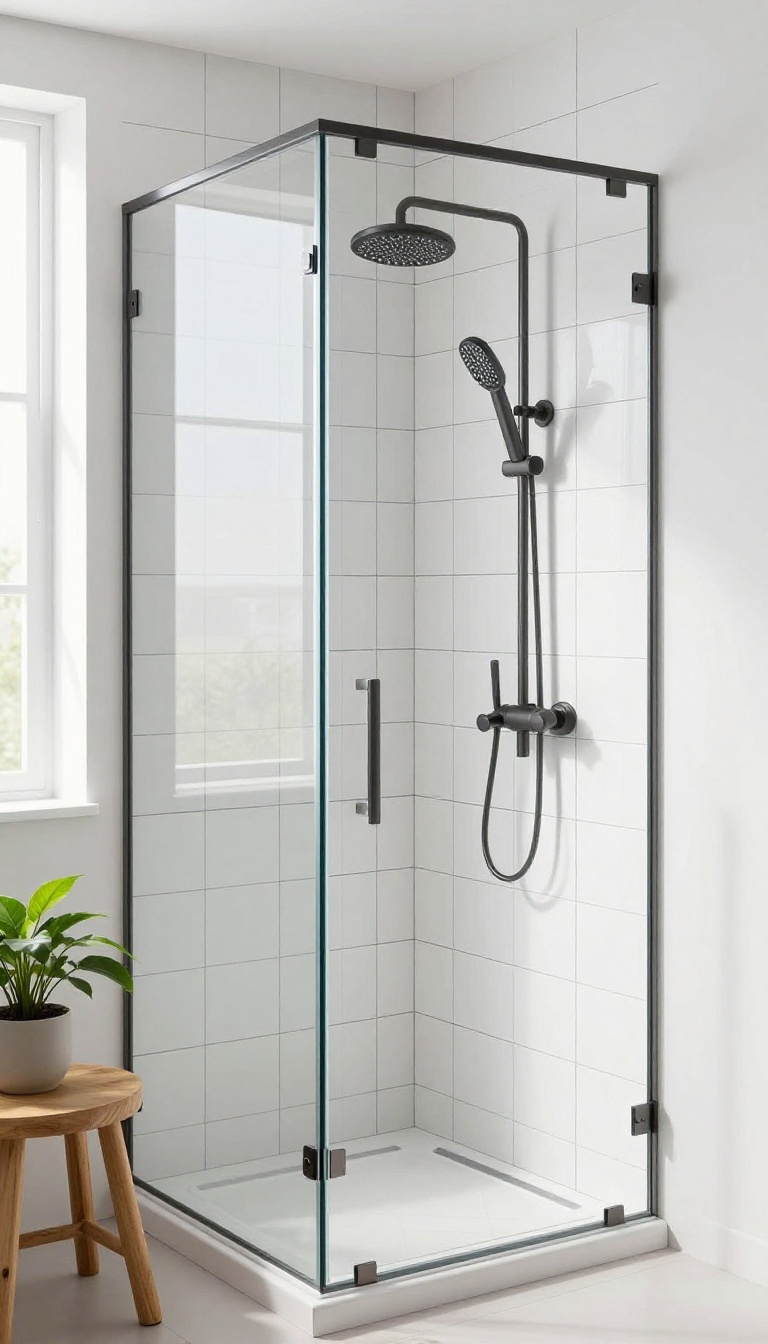
Sometimes the simplest layout is the most striking. A minimalist grid of large white tiles with thin black grout lines creates a clean, airy feel that lets the shower be the star of the bathroom. It’s a timeless choice that pairs well with almost any fixture or accent.
The grid pattern is all about precision and restraint. The thin black grout lines add just enough contrast to define the tiles without overwhelming the space. This approach works beautifully in both modern and transitional bathrooms, offering a crisp backdrop that feels fresh and inviting.
Why It Works
Large white tiles reflect light, making the shower feel bigger and brighter. The thin black grout lines provide subtle visual interest and a graphic quality that keeps the design from feeling flat. It’s a low-maintenance option that hides soap scum better than white grout.
Tile And Grout Choices
Opt for rectangular subway tiles or large format squares in a glossy or matte finish. For the grout, choose a charcoal or black unsanded grout to achieve the thin, precise lines. Keep the grout lines tight—around 1/16 inch—for a sleek, seamless appearance.
Styling Tips
Pair the grid with a frameless glass shower door to keep the focus on the tile. Use brushed nickel or matte black fixtures to complement the black grout. Add a simple wooden stool or a green plant for a touch of warmth without distracting from the clean lines.
FAQ
What is the best black and white tile pattern for a small shower?
For small showers, consider large-format tiles with minimal grout lines to reduce visual clutter. A vertical subway layout can also make the space feel taller.
Should I use black or white grout with black and white tiles?
It depends on the look you want. White grout keeps the pattern crisp and clean, while black grout adds contrast and helps hide dirt. For a bold look, use contrasting grout.
Are black and white tiles hard to keep clean?
Not necessarily. Glossy tiles are easier to wipe down, but they may show water spots. Matte tiles hide smudges better but require more scrubbing.
Choose a finish that suits your maintenance preference.
Can I mix black and white tiles with other colors?
Absolutely. Black and white is a neutral base that pairs well with almost any accent color. Consider adding a pop of color through accessories, towels, or a painted vanity.
What is the most timeless black and white tile pattern?
The classic checkerboard is arguably the most timeless, but subway tile in a running bond is also a safe bet. Both have been used for decades and continue to look stylish.
Conclusion
Black and white tile offers endless possibilities for creating a shower that feels both timeless and personal. Whether you prefer bold patterns or subtle textures, there’s a design here to spark your next renovation.
Remember to consider the scale of your space, the amount of natural light, and your own style. With the right tile and layout, your shower can become a stunning focal point that you’ll enjoy for years to come.