10 Wet Kitchen Ideas Small Spaces Can Fit Comfortably
Wet kitchens are having a moment, especially in smaller homes where every square inch counts. If you're working with a compact layout, you might worry that a wet kitchen will feel cramped or messy.
But with a few clever tweaks, it can become one of the most functional and inviting spots in your home. The key is to focus on smart storage, easy-to-clean surfaces, and a layout that keeps things flowing.
Whether you're planning a full renovation or just a weekend refresh, these ideas are designed to fit comfortably in tight spaces. Think of this as your go-to list for making a small wet kitchen work harder without sacrificing style.
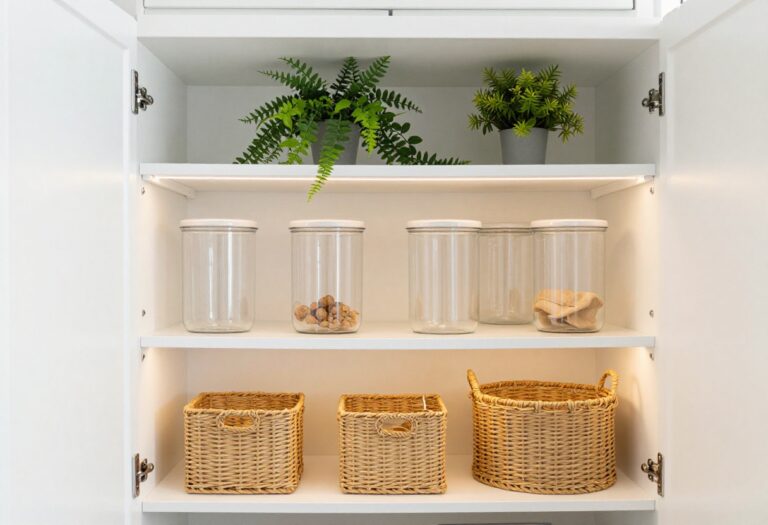
1. Go for Open Shelving with a Purpose
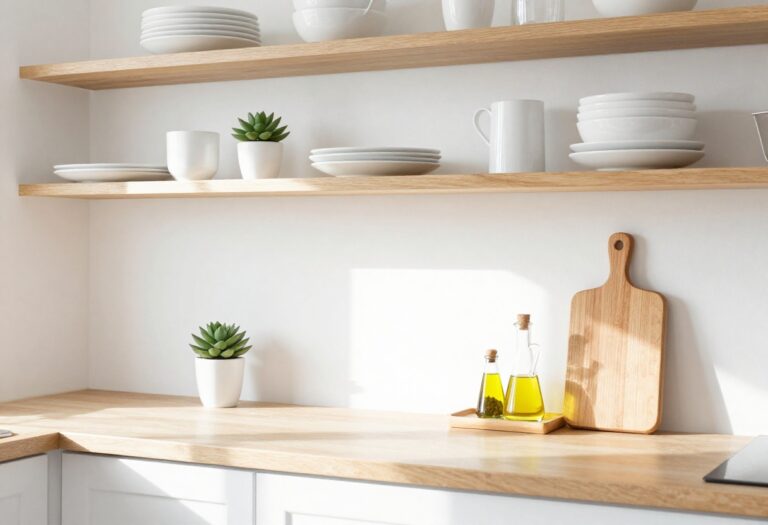
Upper cabinets can make a small kitchen feel closed in, especially when you're working with limited square footage. Open shelving swaps that bulk for breathing room, letting the wall color and backsplash do some of the visual work. The trick is keeping it intentional—think everyday dishes, glass jars, and a few curated pieces that earn their spot.
This isn't about displaying every mug you own; it's about creating a system that looks good and works hard.
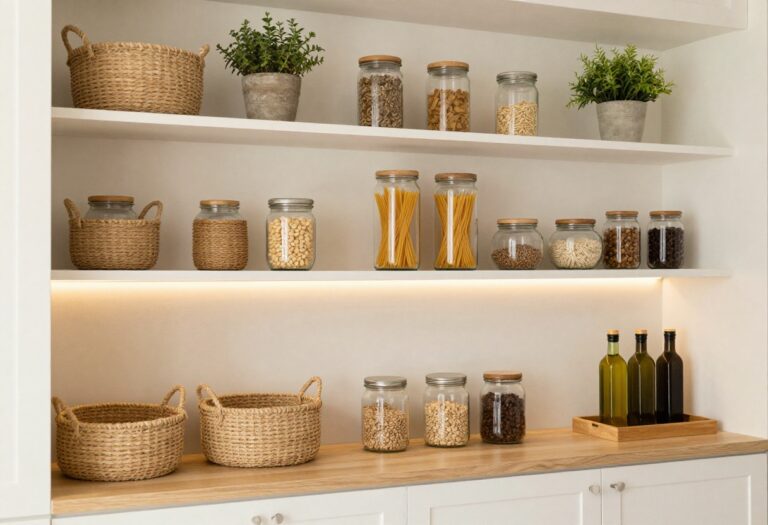
Open shelving is a weekend-friendly swap that instantly opens up a wet kitchen. Without cabinet doors blocking the view, the space feels bigger and brighter. The key is to treat each shelf like a mini vignette—group similar items, leave some negative space, and resist the urge to overfill.
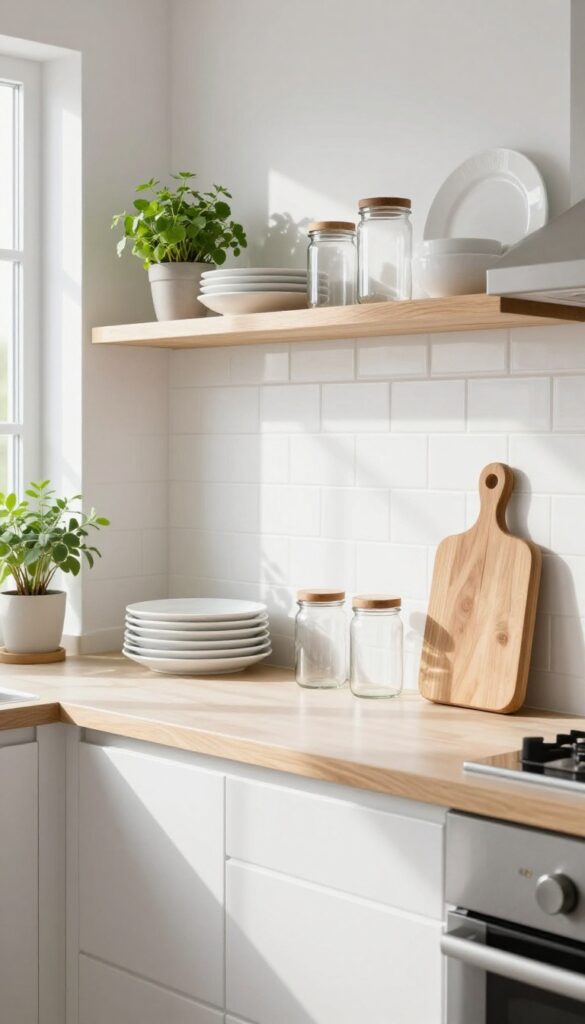
Stick to a cohesive color palette (white stoneware, clear glass, maybe a touch of wood) so the shelves feel styled, not cluttered. This idea works especially well in galley kitchens or against a tiled backsplash where the texture can shine through.
Best Materials For Open Shelving
- For a relaxed, approachable look, go with solid wood in a warm tone like oak or walnut. It adds natural texture and softens the hard surfaces typical of a wet kitchen. If you prefer a more streamlined vibe, floating metal shelves in black or brushed brass offer a clean contrast against light walls.
- Avoid glass shelves—they show every fingerprint and smudge, which defeats the low-maintenance goal.
Shelf Styling Tip
Stick to the rule of thirds: fill about two-thirds of each shelf with functional items (plates, bowls, glasses) and leave the rest for a small plant, a wooden cutting board, or a ceramic pitcher. Keep the heaviest items on lower shelves and lighter pieces up top. This creates visual balance and makes everyday grabbing easier.
Layout And Placement
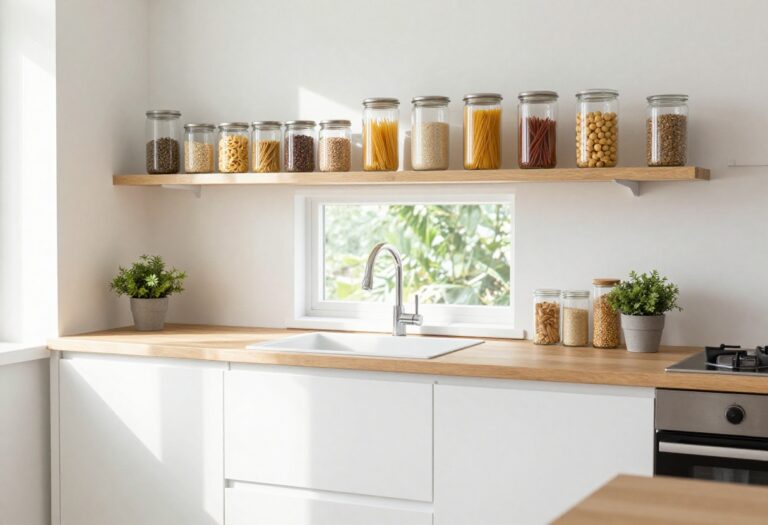
Install shelves between the countertop and the range hood, leaving about 18 inches of clearance above the counter for easy access. If your kitchen has a window above the sink, flank it with two short shelves on either side instead of one long run. This keeps the view open and adds symmetry without overwhelming the wall.
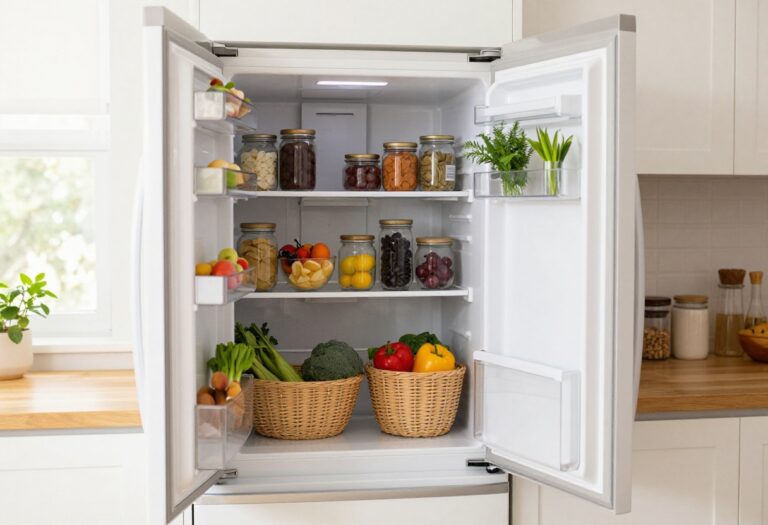
2. Install a Slim Pull-Out Pantry

That narrow gap between your fridge and the wall? It's prime real estate. A slim pull-out pantry slides right in, turning dead space into a vertical storage powerhouse.
Perfect for spices, cans, and dry goods, it keeps everything visible and reachable without taking up any floor area. Best of all, this is a weekend-friendly project that instantly makes your kitchen feel more organized and spacious.
A slim pull-out pantry is a game-changer for small kitchens. It uses vertical space efficiently, so you can store more without cluttering counters or cabinets. The unit typically mounts on heavy-duty slides and can be customized with adjustable shelves to fit your needs.
Whether you're storing baking essentials, canned goods, or snacks, everything is easy to see and grab. Plus, the sleek design blends seamlessly with your existing cabinetry, maintaining a clean, uncluttered look.
Best Materials
- Opt for sturdy materials like plywood or MDF with a laminate or painted finish that matches your cabinets. For a more premium feel, consider solid wood with a durable sealant. Wire baskets are another option for a lighter, airier look, but they may not hold smaller items as well.
- Choose materials that can withstand daily use and occasional spills.
Layout Tip
- Measure the gap carefully before purchasing. Standard widths range from 6 to 12 inches, but custom sizes are available. Install the unit on full-extension slides so you can access items at the back easily.
- If your gap is near a corner, consider a pull-out that angles slightly for better clearance.
Storage Tip
- Use clear containers or labeled bins to keep similar items together. Adjustable shelves let you customize heights for tall bottles or small spice jars. Add a non-slip liner to prevent items from shifting when you pull the pantry out.
- This keeps everything organized and reduces clutter.
3. Choose a Compact But Deep Sink
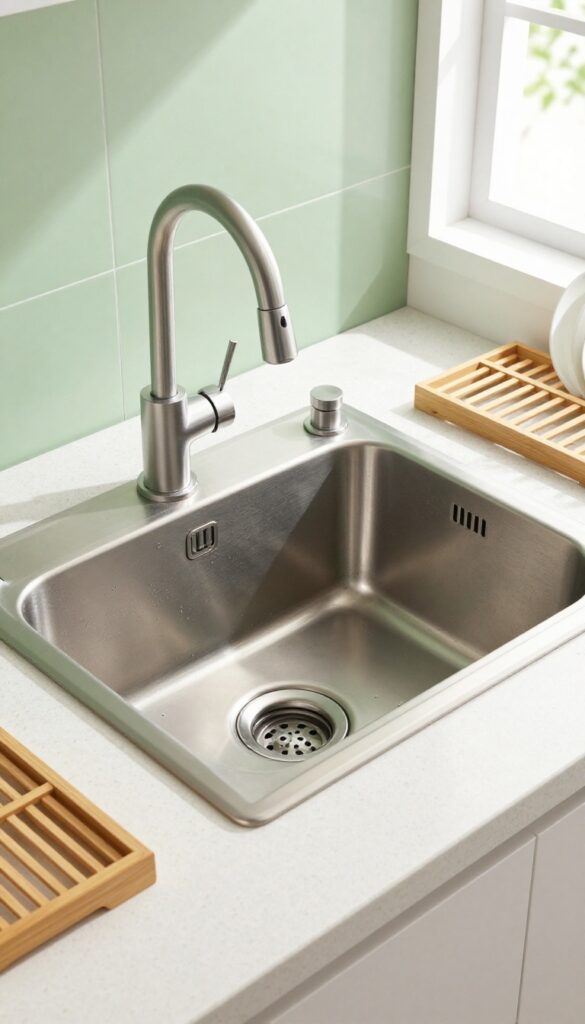
In a small wet kitchen, every inch of counter space matters. But that doesn't mean you have to wrestle with a shallow sink that splashes water everywhere or can't fit your largest pot. A single-basin sink that's deeper than standard—think 10 inches instead of the usual 7 or 8—gives you room to wash bulky items without sacrificing precious counter length.
Pair it with a gooseneck faucet that arches high enough to fill tall stockpots, and you've got a setup that feels spacious without taking over.
This is one of those weekend-friendly swaps that instantly upgrades your kitchen's functionality. The deep basin hides dirty dishes from view, keeping your small space looking tidy. And because it's compact in width (around 24 to 27 inches), you still have room for a drying rack or prep area on either side.
Go for a matte finish like brushed stainless or black to hide water spots and keep the look sleek.
Best Materials
Fireclay or enameled cast iron gives you that deep, seamless look and is easy to clean. If you're on a budget, a heavy-gauge stainless steel sink with soundproofing pads works just as well and feels solid without the high price tag.
Layout Tip
Place your deep sink near the stove so you can easily fill pasta pots and drain vegetables. A gooseneck faucet with a pull-down sprayer makes rinsing and cleaning the deep basin a breeze.
Finishing Touch
Add a bamboo sink grid or a silicone mat at the bottom to protect your sink from scratches and give you a stable surface for hand-washing delicate items. It also helps dishes dry faster without cluttering your counter.
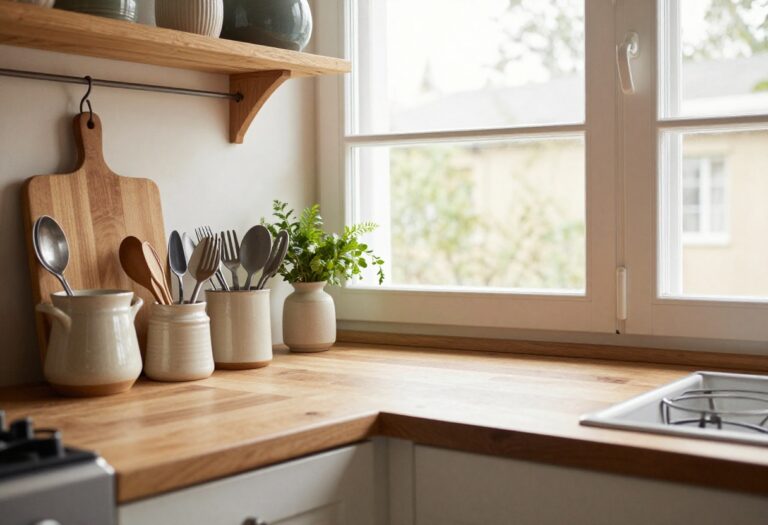
4. Use a Pegboard for Tool Storage

A pegboard is one of those ideas that looks like you spent a weekend being super crafty, but really it's just a board with holes and some hooks. And that's exactly why it works so well in a small wet kitchen. Instead of digging through a drawer for the ladle you need, everything is right there on the wall, visible and within arm's reach.
Plus, it adds a bit of that rustic, workshop charm that makes a kitchen feel lived-in and personal.
Mounting a pegboard on an empty wall is a weekend-friendly project that instantly clears counter space and adds character. You can arrange the hooks exactly where you need them, so your most-used tools are always handy. And because pegboards are so customizable, you can paint them to match your cabinets or leave them natural for a more industrial look.
It's practical, but it also becomes a little gallery of your cooking essentials.
Best Materials
- For a wet kitchen, go with a metal pegboard or a high-quality painted wood board that can handle moisture. Avoid raw MDF, as it can warp. If you want a warmer look, choose a solid pine board and seal it with a matte polyurethane.
- The hooks and accessories should be stainless steel or coated to prevent rust.
Layout Tip
Place the pegboard near your prep zone or stove so you can grab tools without taking a step. Keep heavier items like cast iron pans on sturdy hooks at the bottom, and hang lighter utensils like spatulas and measuring cups higher up. Leave some empty hooks so you can adjust as your collection grows.
Finishing Touch
Add a small shelf above the pegboard for a few jars of dried herbs or a tiny plant. This ties the whole look together and makes the wall feel intentional rather than just utilitarian. Choose jars with a similar shape and color scheme to keep it cohesive.
5. Opt for a Fold-Down Counter Extension
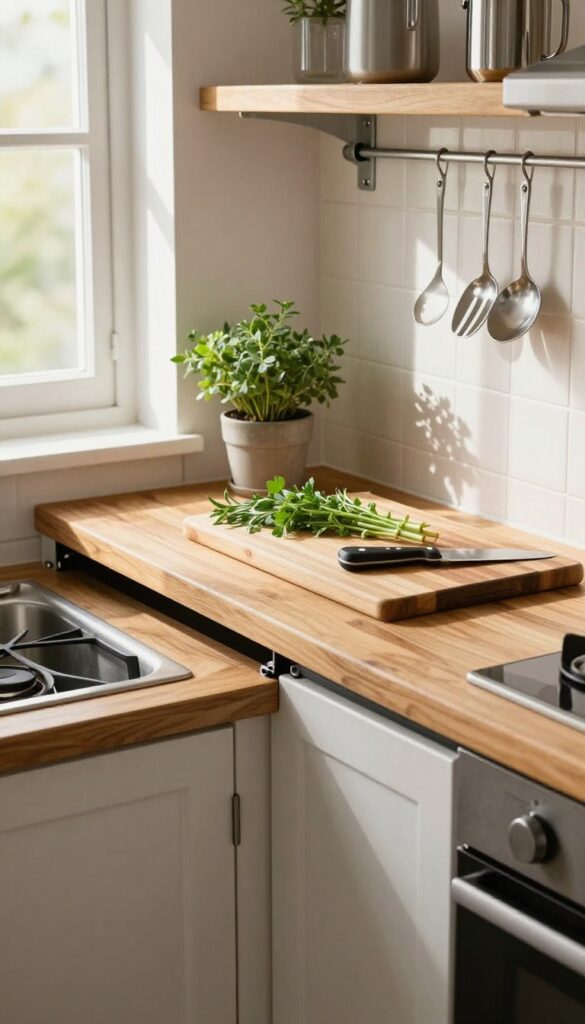
In a small wet kitchen, every inch of counter space is precious. A fold-down counter extension gives you that extra room when you need it, then tucks away neatly when you don't. It's like having a secret weapon against clutter—perfect for tight galley layouts where permanent counters just won't fit.
A hinged countertop that folds down when not in use gives you extra prep space without a permanent footprint. Great for tight galley kitchens. This weekend-friendly project can be done with a sturdy piece of butcher block or a sleek laminate panel, attached with heavy-duty hinges and a folding bracket.
When you're done chopping or plating, just flip it up and out of the way. It's especially handy near the sink or stove, where you often need just a little more room to work.
Best Materials
Butcher block adds warmth and is gentle on knives, while a waterproof laminate like Formica handles moisture well in a wet kitchen. For a more modern look, go with a solid surface or quartz remnant—just make sure it's sealed properly.
Installation Tip
Use heavy-duty folding shelf brackets rated for at least 50 pounds. Position the counter at a height that matches your existing counters for a seamless workflow. If you're renting, consider a freestanding drop-leaf table that can be folded down when not in use.
Styling Note
Keep the area around the fold-down counter clear so it can drop down without hitting anything. A small hook or magnetic strip on the wall above can hold utensils or a towel, making the space even more functional.
6. Add a Magnetic Knife Strip

Knife blocks take up precious counter space and can feel bulky in a small kitchen. A magnetic strip mounted on the backsplash solves that problem in seconds. It keeps your knives visible, accessible, and adds a sleek, modern touch that instantly makes the kitchen feel more open and organized.
Mounting a magnetic knife strip is one of those weekend projects that delivers instant payoff. Not only does it free up drawer space and eliminate the need for a bulky knife block, but it also turns your knives into part of the kitchen decor. The key is choosing the right spot and style so it feels intentional, not like an afterthought.
Best Placement
- The sweet spot is on the backsplash between the counter and upper cabinets, within easy reach of your prep area. Avoid placing it directly over the stove or sink where heat and moisture can affect the magnets. If you have a tile backsplash, use adhesive strips designed for tile to avoid drilling.
- For a seamless look, align the strip with the grout lines.
Styling Tip
- Choose a strip finish that complements your hardware and faucet. A brushed brass strip adds warmth to a white kitchen, while matte black or stainless steel keeps things industrial and clean. Arrange knives by size for a neat, almost art-like display.
- You can even add a small magnetic hook at the end for kitchen shears.
Small-space Fix
If your backsplash is narrow or you have limited wall space, go for a shorter strip (12 to 16 inches) and just keep your most-used knives on display. Store the rest in a drawer. This keeps the look minimal and clutter-free, which is especially important in a compact wet kitchen.
7. Pick a Light, Reflective Backsplash

Light is your best friend in a small wet kitchen, and a reflective backsplash is like inviting it in for coffee. Glossy subway tiles or mirrored glass bounce light around, instantly making the space feel bigger and brighter. Plus, they're a dream to wipe down—no scrubbing grout lines or worrying about stains.
A light, reflective backsplash does double duty: it visually expands the room and simplifies cleanup. The key is choosing materials that catch and scatter light without being too busy or dark. Think classic white subway tiles in a high-gloss finish, or go for mirrored glass panels for a sleek, modern look.
Either way, you'll notice the difference in how open and airy the kitchen feels.
Best Materials
Glossy ceramic or porcelain subway tiles are the most affordable and classic choice. For a more contemporary vibe, consider mirrored glass or polished metallic tiles—they reflect light beautifully and feel ultra-smooth. Avoid matte or textured tiles in small spaces, as they absorb light and can make the room feel smaller.
Color And Grout
Stick with white, cream, or pale gray tiles to maximize light reflection. Use a matching or white grout to keep the surface seamless—contrasting grout lines can break up the visual space and make the wall look busy. A continuous, glossy surface is your goal.
Installation Tip
Run the backsplash from countertop to upper cabinets (or to the ceiling if you have open shelving) to create an uninterrupted reflective plane. This trick draws the eye upward and makes the ceiling feel higher. It's a weekend-friendly project if you're comfortable with tile, or hire a pro for a flawless finish.
8. Incorporate a Rolling Cart Island
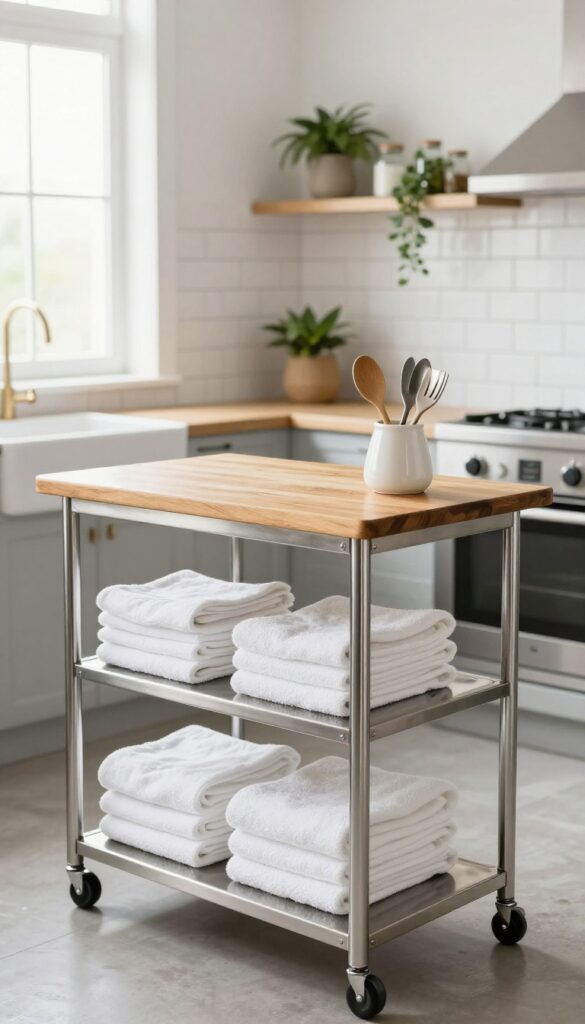
If your wet kitchen feels more like a narrow hallway than a workspace, a rolling cart island can be a total game-changer. It’s essentially a compact, movable counter that slides right into tight spots and rolls out when you need extra prep space. The best part?
You don’t need a contractor or a weekend of assembly—just pick a cart that fits your style and start using it immediately. It’s one of those ideas that feels like a cheat code for small kitchens.
A rolling cart island brings flexibility to a small wet kitchen without the permanence (or cost) of a built-in island. Look for a cart with a solid surface like butcher block or stainless steel—it can handle hot pans and spills, and it doubles as a serving station when you’re entertaining. The wheels let you tuck it against a wall or into a corner when you need floor space, then roll it center stage for chopping, mixing, or plating.
It’s also a smart storage solution: many carts come with shelves, drawers, or towel bars, so you can stash pots, linens, or even a small compost bin. For a weekend refresh, just swap out the cart’s accessories—a new cutting board, a ceramic utensil holder, or a small plant—to give the whole kitchen a mini makeover.
Best Materials For A Wet Kitchen Cart
- Since wet kitchens deal with moisture, choose materials that can handle humidity and splashes. Stainless steel is a top pick—it’s waterproof, easy to wipe down, and looks sleek. Butcher block adds warmth but needs occasional sealing to prevent water damage.
- For a budget-friendly option, look for a cart with a laminate top that mimics wood or stone; it’s durable and low-maintenance. Avoid raw wood or particleboard unless it’s specifically treated for kitchen use.
Storage Tip: Maximize Every Shelf
- Use the cart’s lower shelves for items you grab often, like mixing bowls, cutting boards, or a stack of kitchen towels. Add small baskets or bins to keep things organized—think a basket for onions and garlic, or a bin for plastic wrap and foil. If your cart has a drawer, use it for utensils, measuring spoons, or a microplane.
- The goal is to keep the top clear for prep work, so store only what you need close at hand.
Styling Tip: Make It A Focal Point
- Even a functional cart can look intentional. Choose one with a contrasting finish—like a dark wood cart against light cabinets, or a white cart in a darker kitchen. Top it with a small cutting board, a vase of fresh herbs, or a chic salt cellar.
- At night, add a battery-operated LED lamp or a small plant for a cozy glow. The cart becomes not just a workhorse but a design element that adds character to your compact kitchen.
9. Hang a Pot Rack Over the Sink

If your kitchen feels tight on storage, look up—literally. The space above your sink is often overlooked, but it's prime real estate for a ceiling-mounted pot rack. Not only does it keep your most-used pans within arm's reach, but it also frees up cabinet space for dry goods or small appliances.
Plus, it adds a cozy, professional-kitchen vibe that makes cooking feel a little more special.
A pot rack over the sink turns an empty ceiling into a functional focal point. It's especially smart in small wet kitchens where every inch counts. The key is to choose a rack that matches your kitchen's style—think black wrought iron for a rustic feel, brushed nickel for modern, or even a wooden ladder rack for farmhouse charm.
Hang it low enough to reach easily but high enough to avoid bumping your head. And since it's over the sink, you can even let washed pots drip dry right where they hang.
Best Materials
For a relaxed, weekend-friendly update, go with a matte black or copper rack—they hide water spots well and add warmth. Wrought iron is durable and classic, while stainless steel keeps things sleek and easy to clean. Avoid shiny chrome if your kitchen has hard water; it'll show every speck.
Layout Tip
Center the rack over the sink, not the counter, so it doesn't interfere with prep space. Make sure it's at least 18 inches above the sink rim to allow room for washing. If your ceiling is low, a smaller round rack works better than a long rectangular one.
Finishing Touch
Add a small hook on the side for your most-used spatula or ladle. It's a tiny detail that makes the setup feel intentional and keeps tools from cluttering the counter.
10. Use Under-Sink Drawers or Bins
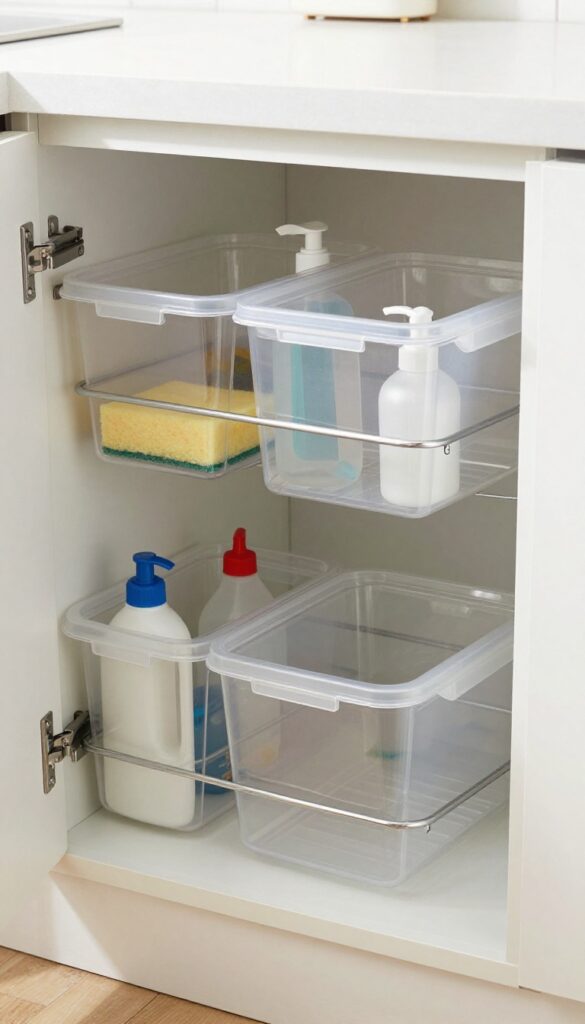
That cabinet under the sink can quickly become a black hole of sponges, bottles, and mystery leaks. It's one of those spots we tend to ignore until we need to grab a trash bag and end up wrestling with a tangle of spray nozzles. But with a little organization, that awkward nook can actually be one of the most functional parts of your kitchen.
Stackable bins and pull-out drawer systems are game-changers for small wet kitchens. They turn wasted vertical space into neat, accessible storage. Clear bins let you see what you have at a glance, while a pull-out drawer keeps everything from falling over when you open the door.
This approach works especially well if you have a double sink or a deeper cabinet. Just measure carefully before buying any organizers—pipes can eat up more room than you think. Stick to slim, tiered bins or a narrow U-shaped drawer that fits around plumbing.
You'll be surprised how much fits without clutter.
Best Materials
Go for waterproof or water-resistant materials like coated wire, thick plastic, or bamboo with a sealed finish. Avoid raw wood or cardboard bins—they'll warp fast in a damp environment. Clear plastic bins are a popular choice because they're easy to wipe down and let you spot a leak quickly.
Layout Tip
Use the front of the cabinet for items you grab daily, like dish soap and scrub brushes. Reserve the back for backups and rarely used supplies. A lazy Susan can also help you reach those awkward corners without playing cabinet Tetris.
Finishing Touch
Add a small, removable drip tray under your cleaning bottles to catch any leaks. It keeps the cabinet floor dry and makes cleaning a breeze. Plus, it's a small detail that makes the whole setup feel more polished.
FAQ
What is a wet kitchen exactly?
A wet kitchen is a secondary kitchen area focused on heavy-duty tasks like washing, prepping, and cooking—often with a sink, stove, and plenty of counter space. In small homes, it's usually a compact zone designed for function.
Can I add a wet kitchen to a very small apartment?
Absolutely. Even a corner with a sink, a two-burner cooktop, and some open shelving can work. The key is to prioritize vertical storage and multipurpose furniture.
What's the best flooring for a small wet kitchen?
Go for water-resistant materials like luxury vinyl plank, tile, or sealed concrete. They handle spills well and are easy to clean—plus they come in styles that mimic wood or stone.
How do I keep a wet kitchen from looking cluttered?
Stick to a neutral color palette with pops of color in accessories. Use closed storage for less attractive items and keep countertops clear except for a few essentials.
Is a wet kitchen expensive to set up?
Not necessarily. A weekend refresh can be budget-friendly: think peel-and-stick backsplash, a new faucet, and smart organizers. Even a full renovation can be scaled to fit your budget.
Conclusion
A small wet kitchen doesn't have to feel like a compromise. With a little creativity and a weekend's worth of effort, you can turn even the tiniest space into a highly functional and stylish hub.
Start with one or two ideas from this list and see how they transform your daily routine. The goal is to make your kitchen work for you—without overwhelming your home or your schedule.