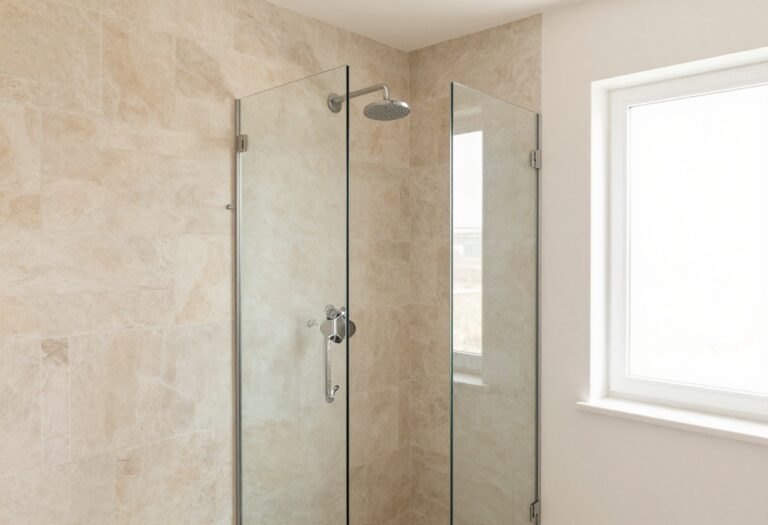
13 Smart Pony Wall Shower Ideas with Simple, Effective Style
A pony wall can turn a plain shower into a design feature while keeping the room feeling open and airy. Instead of a full enclosure, this half-wall approach offers just enough separation without boxing you in.
The payoff is immediate: more light, a cleaner sightline, and a custom look that feels intentional. Whether you're remodeling or just tweaking, the right pony wall can solve real problems—like keeping water off the floor or giving a niche some structure.
And because it's a half-wall, you get to play with materials, heights, and even glass in ways a full wall won't allow. These 13 ideas focus on the visible impact first: how each design changes the look and feel of your shower.
1. Glass-Topped Pony Wall for an Open, Airy Feel
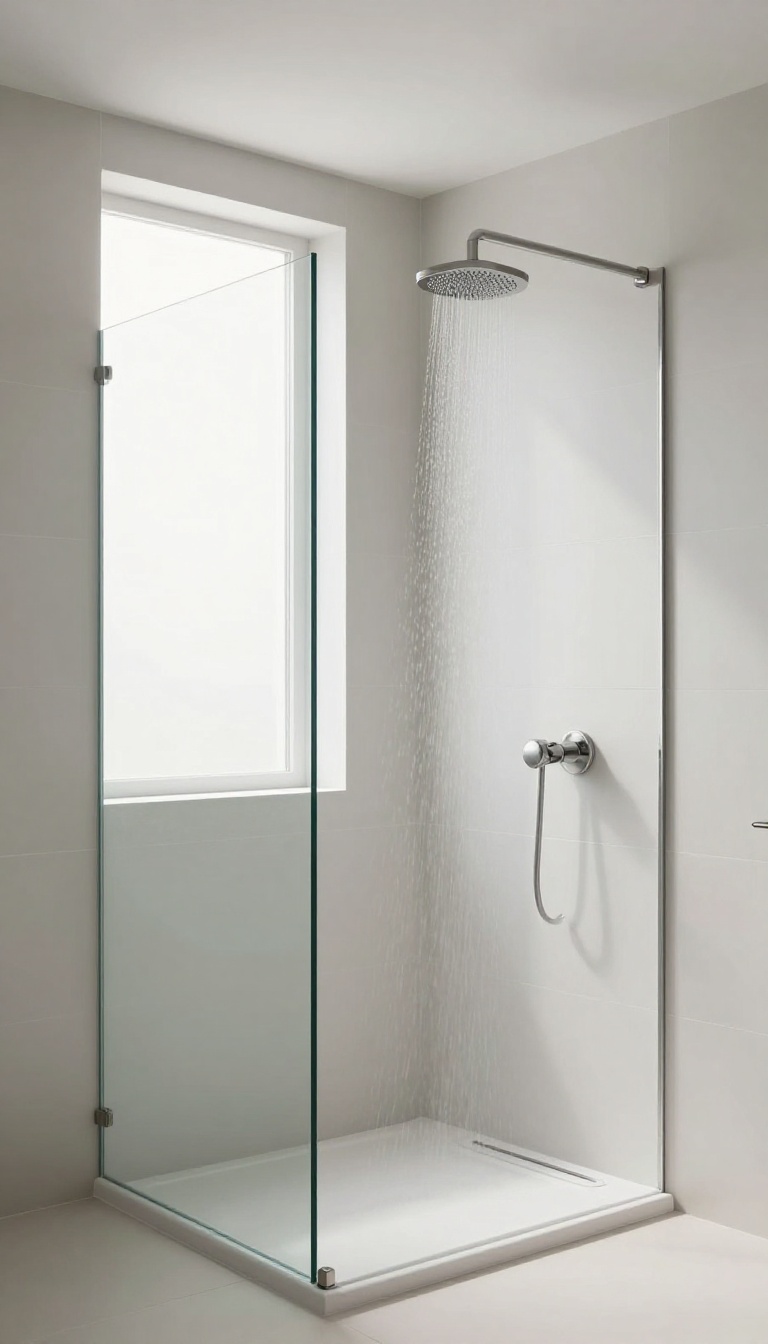
A solid pony wall can feel a bit closed off, but add a glass panel on top and you get the best of both worlds. The lower half provides structure and splash control, while the glass keeps sightlines open and lets light flow through. It’s a simple upgrade that makes the shower feel larger and more connected to the rest of the bathroom.
This design works especially well in smaller bathrooms where a full enclosure would feel heavy. The glass top also helps with privacy—you can still see over it, but it’s not completely open. Plus, you can choose clear glass for maximum openness or frosted glass for a bit more seclusion.
Why Glass On Top Works
The combination of a solid base and glass top gives you the durability of a wall with the airiness of a frameless shower. It’s also easier to clean than a full glass enclosure because the lower half stays dry. And it’s a great way to add a custom touch without going overboard.
Choosing The Right Glass
Clear glass is the go-to for an open feel, but frosted or textured glass can add style and privacy. Tempered glass is a must for safety, and you can go frameless for a sleek look or add a minimal frame for extra stability. Think about how much light you want to let through and how much privacy you need.
Installation Tips
Make sure the pony wall is sturdy enough to support the glass. Usually, you’ll need a channel or clips to secure the glass panel. It’s a job that might require a pro, but the result is worth it.
Also, consider the height—typically the glass adds about 12 to 18 inches above the pony wall, so the total height is around 6 feet.
2. Tile Accent Wall That Doubles as a Shelf
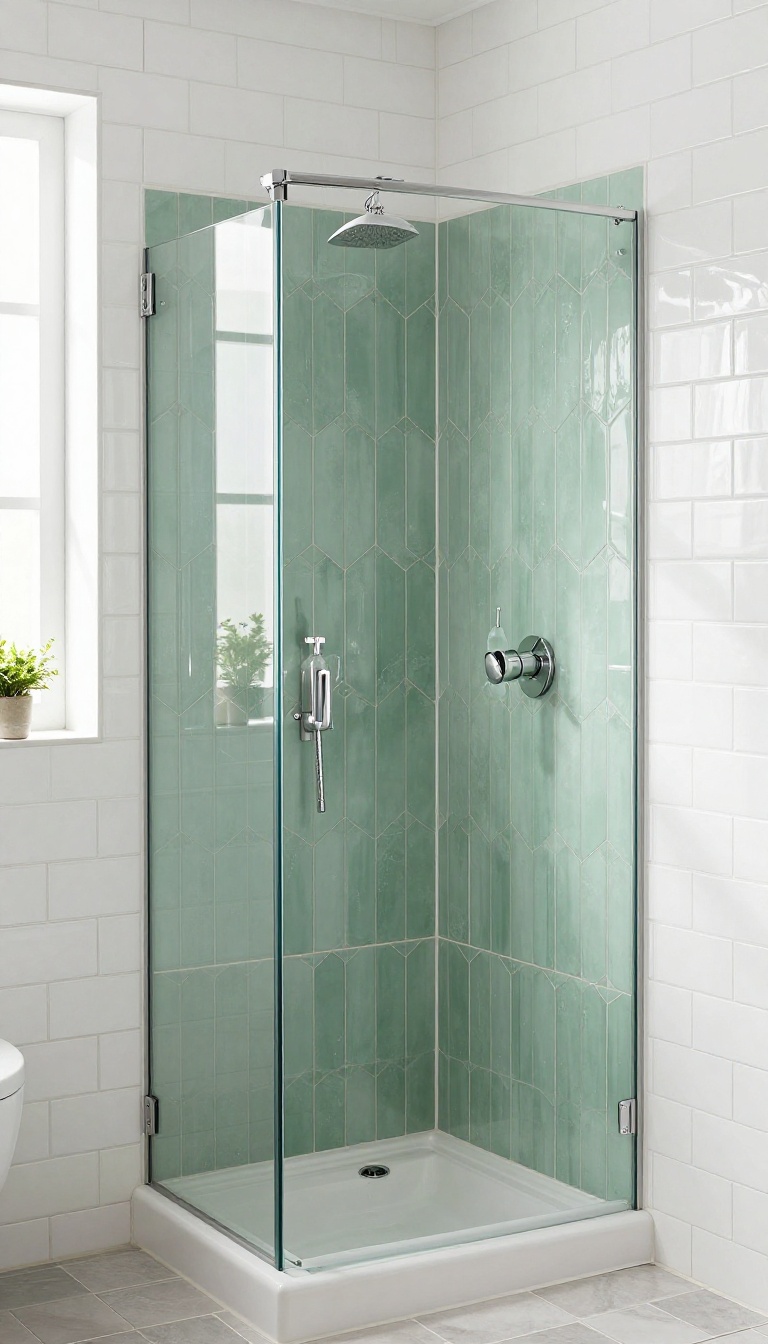
A pony wall doesn’t have to be just a barrier—it can be a workhorse. By tiling the top and front, you create a built-in shelf that’s both stylish and practical. This idea works especially well in smaller bathrooms where every inch counts.
The key is to choose tiles that complement your shower’s main tile but add a bit of contrast. Subway tile is a classic choice, but you could go bold with a geometric pattern or a contrasting color. The top surface should be flat and smooth, perfect for holding shampoo bottles, a soap dish, or even a small plant.
Pick Tiles That Pop
Your pony wall can become the focal point of the shower. Use a different tile shape or color than the surrounding walls. For example, if your shower walls are white subway, try a hexagon tile in a soft sage or navy on the pony wall.
This adds visual interest without overwhelming the space.
Make The Top Functional
The top of the pony wall is prime real estate. Ensure it’s level and sealed properly so it can hold items safely. You might even add a subtle overhang for a more finished look.
This is where you’ll rest your shampoo and conditioner, so keep it within easy reach.
Consider Maintenance
Grout lines can trap soap scum, so opt for larger tiles or a grout that resists staining. A matte finish hides water spots better than glossy. Also, use a tile sealer to keep the surface looking fresh with minimal effort.
3. Floating Pony Wall with a Built-In Bench
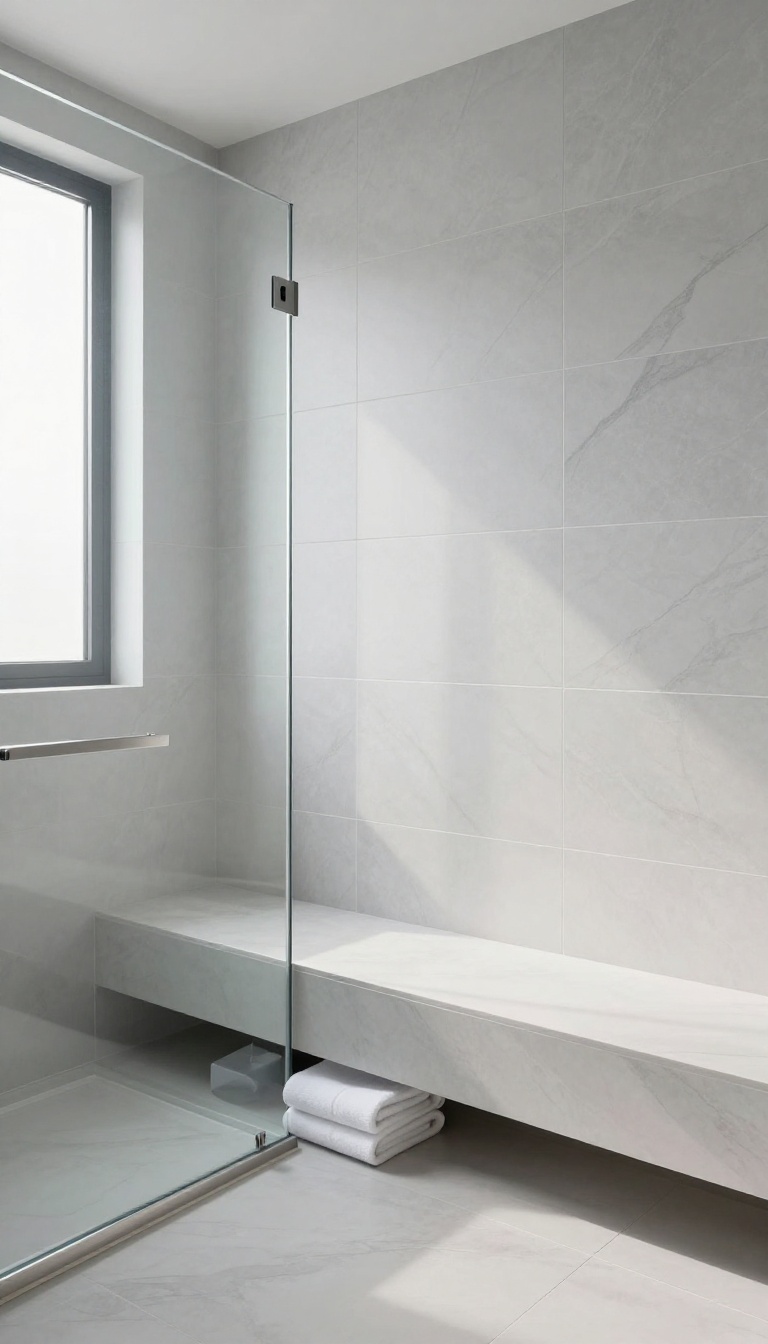
Combining a pony wall with a built-in bench creates a functional seating spot that feels like part of the architecture. The floating design—where the wall appears to hover above the floor—adds a sleek, modern touch while making the space easier to clean. This idea works especially well in larger showers where you want a place to sit without cluttering the layout.
A floating pony wall with an integrated bench is a smart way to add both form and function to your shower. The bench becomes a natural extension of the wall, so it doesn't look like an afterthought. Plus, the gap underneath the floating structure gives you a spot to store shampoo bottles or just makes mopping up a breeze.
Here’s how to make it work in your space.
Why A Floating Design Works
The floating effect isn’t just about looks—it has real practical benefits. By leaving a gap between the bottom of the wall and the floor, you eliminate hard-to-reach corners where soap scum and grime tend to build up. It also creates a visual sense of openness, making the shower feel less boxed in.
The bench itself can be cantilevered from the wall, giving it a clean, seamless appearance.
Materials And Finish Ideas
To keep the floating look cohesive, choose materials that match or complement your shower tile. For a warm, natural feel, use the same stone or porcelain tile on both the wall and bench. If you prefer a contrasting look, opt for a solid surface like quartz or a teak wood seat that adds warmth.
Just make sure the bench has a slight slope for water runoff and is properly sealed to handle moisture.
Placement And Size Tips
Think about how you’ll actually use the bench. If it’s for shaving your legs or sitting while washing, place it on the side opposite the showerhead. Aim for a height of about 18 to 20 inches, which is comfortable for most adults.
The bench can extend a few inches beyond the wall for extra seating, but keep it proportional to the shower’s overall size so it doesn’t overwhelm the space.
4. Curved Pony Wall for a Soft, Organic Look
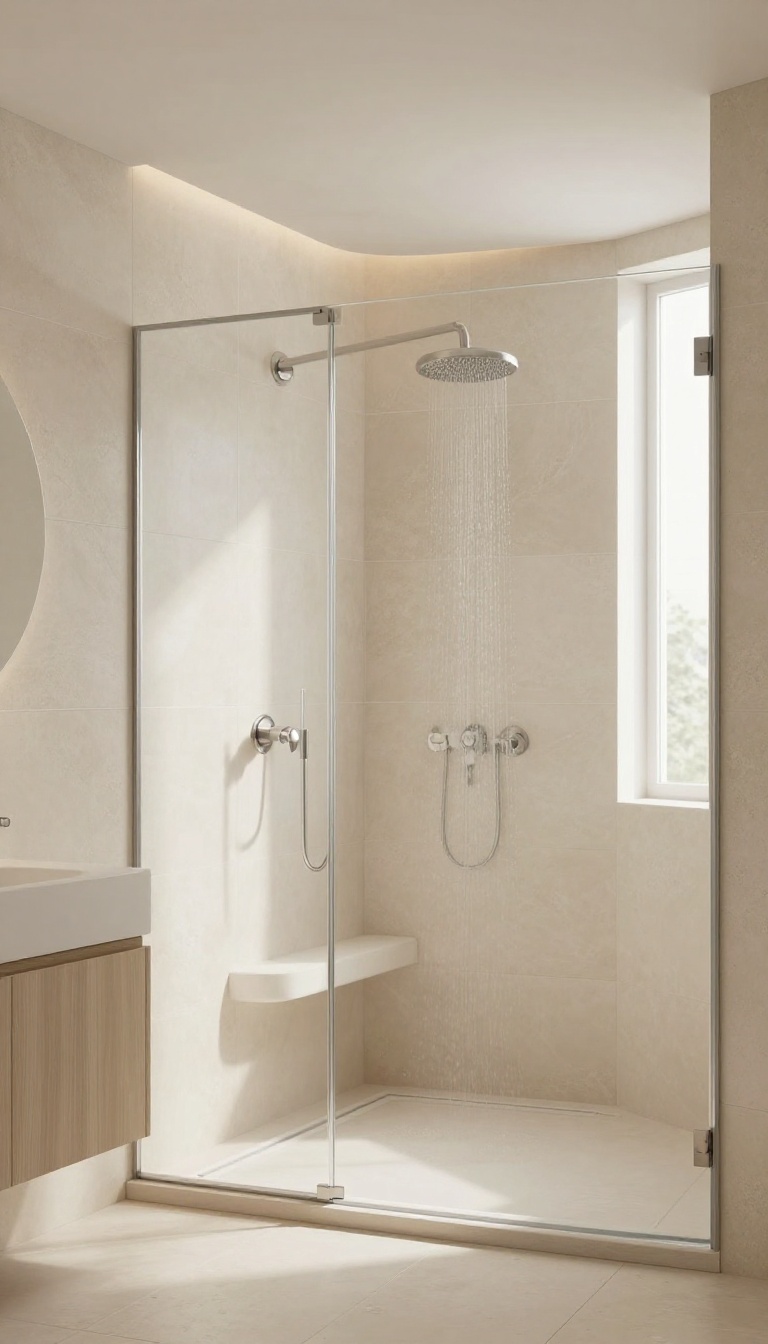
Straight lines dominate most bathrooms, but a gentle curve can change the entire mood. A curved pony wall softens the geometry and adds a sculptural element that feels both modern and inviting. Instead of a rigid barrier, the arc guides the eye around the space, making the shower feel like a natural extension of the room.
It’s a subtle departure from the norm that doesn’t shout for attention—it just works.
Curved pony walls are a smart choice when you want to break up the boxy feel of a bathroom. The radius doesn’t have to be dramatic; even a slight bend adds visual interest and a sense of flow. This design works especially well in larger bathrooms where a straight wall might feel too stark.
From a practical standpoint, a curved wall can also help direct water back toward the shower area, especially when paired with a curved glass panel or a custom curb. The smooth lines are easier to clean than sharp corners, and they create a more organic, spa-like atmosphere.
Why A Curve Works
A curve softens the transition between the shower and the rest of the bathroom. It makes the space feel less boxed in and more fluid. Plus, it’s a great way to add a custom touch without going overboard.
The rounded shape also helps with traffic flow, especially in tight spots where a corner might catch you off guard.
Material Choices For Curved Walls
You can build a curved pony wall with tile, stone, or even a solid surface like quartz. For a seamless look, consider using large-format tiles that can bend slightly, or opt for a custom-fabricated material that matches your countertop. The key is to work with a skilled contractor who can create the right radius and ensure a smooth finish.
Pairing With Glass
A curved pony wall often pairs beautifully with a curved glass panel. This combination keeps the openness while adding a touch of elegance. The glass can be framed or frameless, and it can be tinted or clear.
If you want more privacy, you can go with a frosted finish that still lets light through.
5. Reclaimed Wood Pony Wall for Warmth
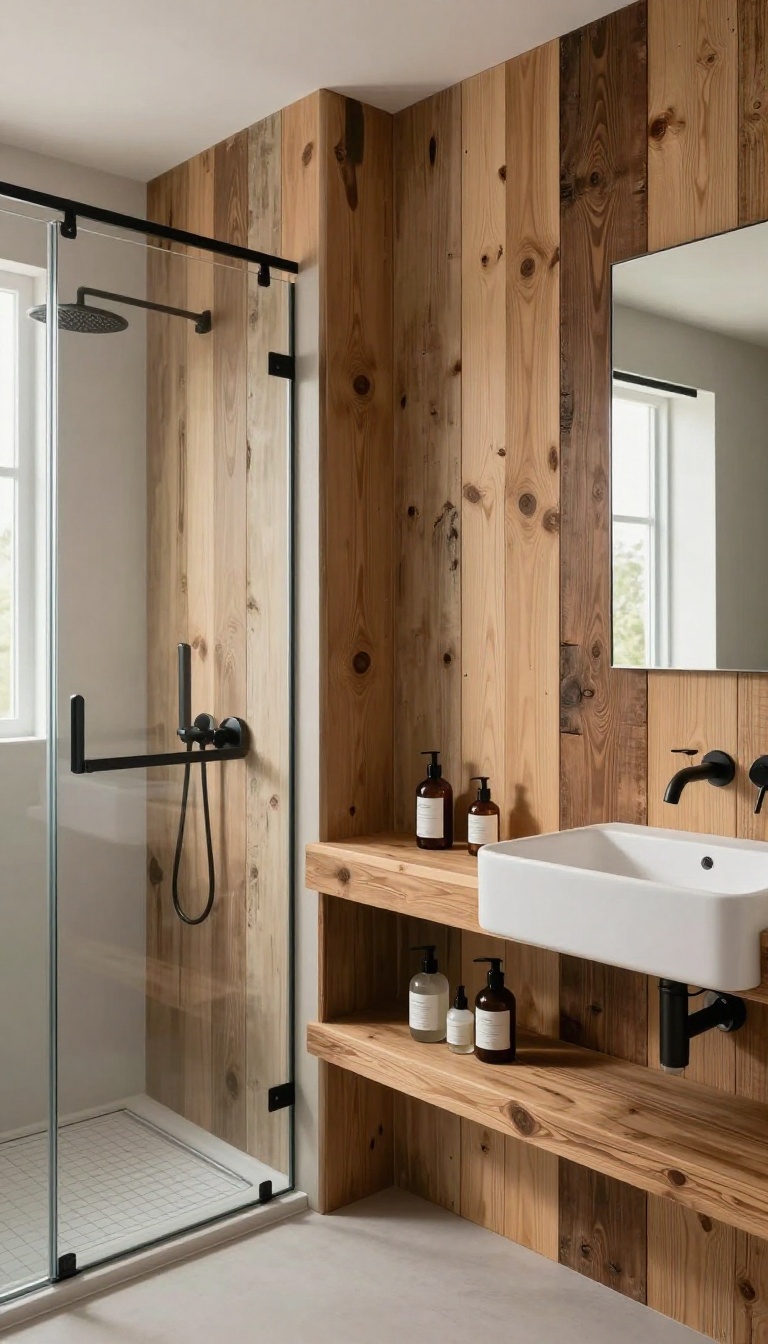
Wood brings instant coziness, and reclaimed planks add character you can't fake. If your bathroom leans rustic or farmhouse, a reclaimed wood pony wall can anchor the space with natural texture. It's a simple swap that makes the whole room feel more inviting.
Reclaimed wood isn't just about looks—it's about story. Each board carries its own history, with knots, grain, and weathered patina that new wood can't replicate. When used on a pony wall, it creates a warm, grounded focal point that softens the hard surfaces typical of bathrooms.
The key is to treat the wood properly so it can handle moisture without warping or rotting.
Sealing For Longevity
Moisture is the biggest enemy of wood in a shower area. Use a high-quality waterproof sealant or marine-grade varnish on all sides of each plank before installation. Reapply the sealant every year or two to keep the wood protected.
For extra safety, consider a glass panel above the wood to shield it from direct spray.
Mix With Modern Fixtures
Reclaimed wood pairs beautifully with modern fixtures like matte black or brushed nickel. The contrast between old and new creates a balanced, intentional look. You can also add a simple floating shelf on the wood side for toiletries, keeping the design functional and clean.
Pick The Right Wood Type
Not all reclaimed wood is ideal for humid spaces. Cedar, redwood, and teak naturally resist moisture, but any wood can work if sealed properly. Look for planks with minimal cracks or warping, and avoid wood that has been treated with chemicals you don't want near your shower.
Reclaimed barn wood is a popular choice for its rugged texture.
6. Pony Wall with Integrated Shower Niche
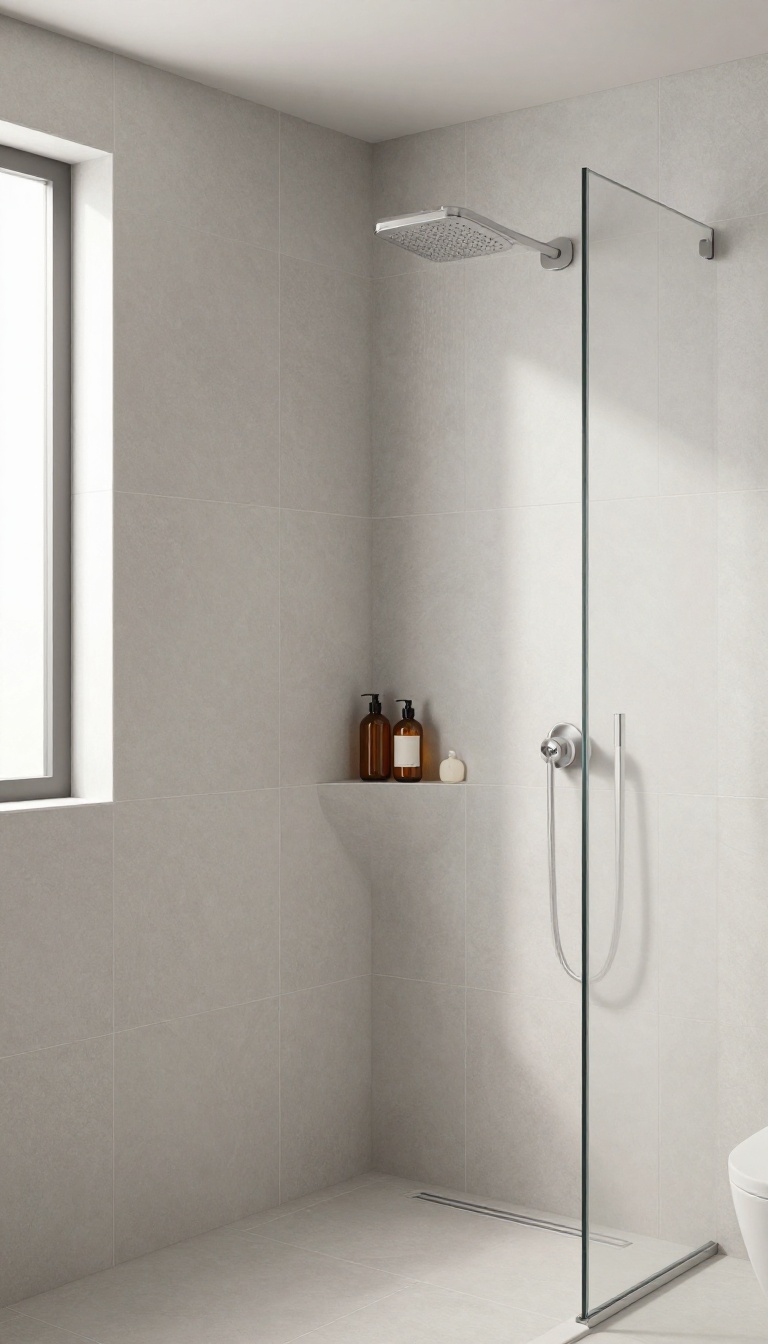
A niche built into the pony wall is a subtle upgrade that pays off every time you shower. It carves out storage without stealing floor space or adding visual clutter. The result is a tidy spot for shampoo and soap that feels like it was always meant to be there.
An integrated niche turns the pony wall into more than a partition—it becomes a functional part of your shower routine. Because the niche sits right at the edge, you can grab bottles without reaching far or bending over. It also keeps the shower floor clear of caddies and bottles, which makes cleaning easier and the space feel more open.
Plus, you can customize the niche to match your wall finish, so it blends in seamlessly or stands out as a design accent.
Placement And Size
Think about where you naturally reach when showering. A niche around chest height works for most people, but you can adjust it based on your height and the wall's location. Make it deep enough for standard bottles—usually 3 to 4 inches—and wide enough to hold a few items without feeling cramped.
If you want extra space, consider a taller niche with a shelf inside.
Materials And Finishes
Match the niche to the surrounding tile or use a contrasting material to make it pop. For a seamless look, use the same tile and continue the grout lines. For a bolder statement, try a different color or a metal accent.
Waterproofing is key, so make sure the niche is properly sealed and sloped slightly toward the drain to prevent water pooling.
Lighting And Extras
Add a small recessed light above the niche to highlight your products and create a spa-like feel. You can also install a shelf or a small bar inside for hanging loofahs or razors. These little touches make the niche feel intentional and luxurious, without adding much cost or complexity.
7. Half-Wall with a Glass Divider for Splash Control
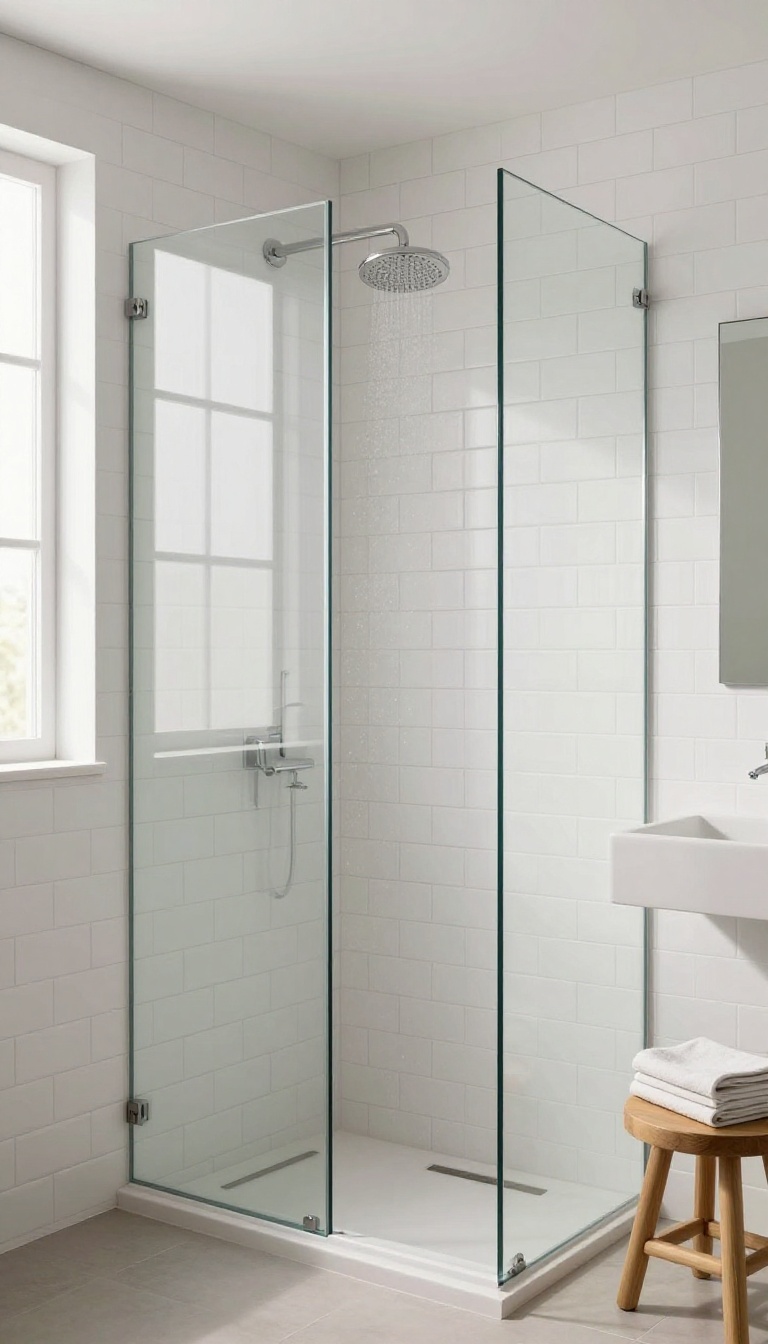
Sometimes you want the open feel of a pony wall but still need to keep water where it belongs. That's where a glass panel above the half-wall comes in. It's a simple addition that solves a practical problem without sacrificing the airy look you're after.
The glass doesn't have to be floor-to-ceiling. A fixed panel that extends from the top of the pony wall up to about seven feet is usually enough to catch stray spray. You get the best of both worlds: the solid base for privacy and structure, plus the transparency to keep the room feeling spacious.
Why A Glass Panel Works
A pony wall alone often leaves the upper area open, which can lead to water sneaking out during a shower. Adding a glass panel above closes that gap without making the enclosure feel heavy. The glass lets light pass through, so the shower still feels open and connected to the rest of the bathroom.
You can choose clear glass for an unobstructed view or frosted glass for a bit more privacy. Both options keep the space bright while offering the splash protection you need.
Installation Tips
The glass panel needs to be anchored securely to the pony wall and the ceiling or wall studs. Use tempered glass for safety and durability. A professional installer can ensure the panel is level and sealed properly to prevent leaks.
Consider the height carefully. You want it tall enough to block splashes but not so tall that it feels like a full enclosure. A good rule of thumb is to have the glass top out around 72 to 78 inches from the floor.
Design Options
You can keep the glass frameless for a sleek, modern look, or add a metal frame for a more industrial vibe. The pony wall itself can be tiled to match your shower or painted in a contrasting color to make it a focal point. If you have a small bathroom, this setup works great because the glass visually disappears, making the room feel larger.
You can also add a towel bar or a small shelf on the pony wall for extra functionality.
8. Two-Tone Pony Wall for Visual Interest
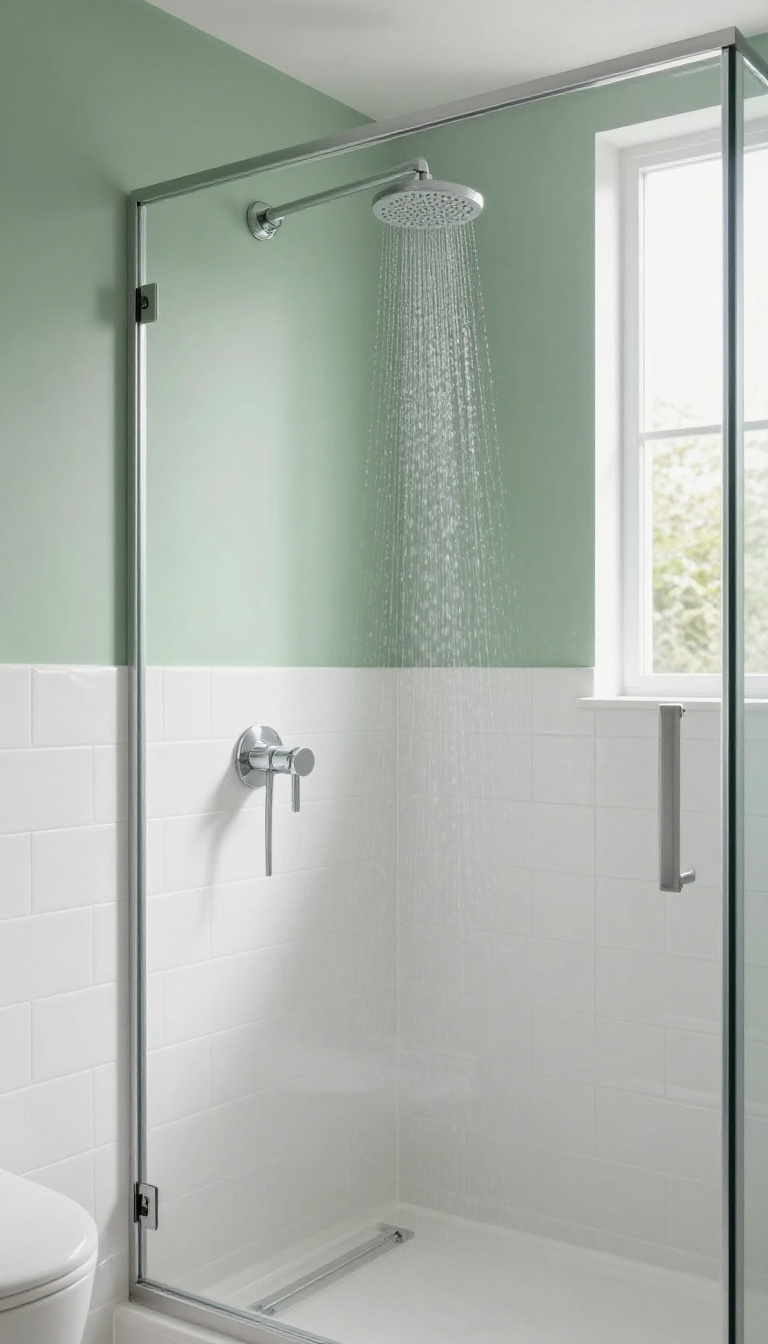
A single material can feel flat, but a two-tone pony wall adds instant depth and personality. By pairing different colors or textures, you create a custom look that draws the eye and makes the shower feel more designed. It’s an easy way to break up the visual mass of the wall without adding any extra square footage.
The trick is to choose materials that complement each other while still creating a clear contrast. A classic approach is a tile base with a painted upper section, which gives you the durability of tile where water splashes and the softness of paint above. You can also flip it: a solid-color base with a patterned tile top for a playful twist.
The key is to keep the transition clean and intentional, whether you use a trim piece or a simple ledge.
Tile Base, Painted Top
This is the most straightforward two-tone combo. Use a moisture-resistant tile—like ceramic or porcelain—for the bottom 3 to 4 feet, then paint the upper portion with a satin or semi-gloss bathroom paint. Choose a paint color that picks up a tone from the tile, like a soft white with a gray tile, to keep the look cohesive.
The painted section makes the wall feel taller and lighter, while the tile handles the wet zone.
Contrasting Tile Heights
If you want more texture than paint, try using two different tile materials or colors. For example, a stacked stone tile on the lower half and a smooth subway tile above. Or go bold with a dark charcoal base and a white upper.
The change in material adds a tactile quality that paint can’t match. Just make sure the transition line is level and clean—use a metal trim or a thin ledge to separate the two.
Color Blocking With A Twist
Don’t be afraid to use color blocking with paint alone. Pick two complementary shades—like navy and white, or sage and cream—and paint the lower half in the darker hue. Add a horizontal line with a painted accent or a thin wood strip for extra detail.
This works especially well in a modern or farmhouse bathroom, and it’s an easy DIY update if you’re not ready to commit to tile.
9. Pony Wall with a Marble Top for Elegance
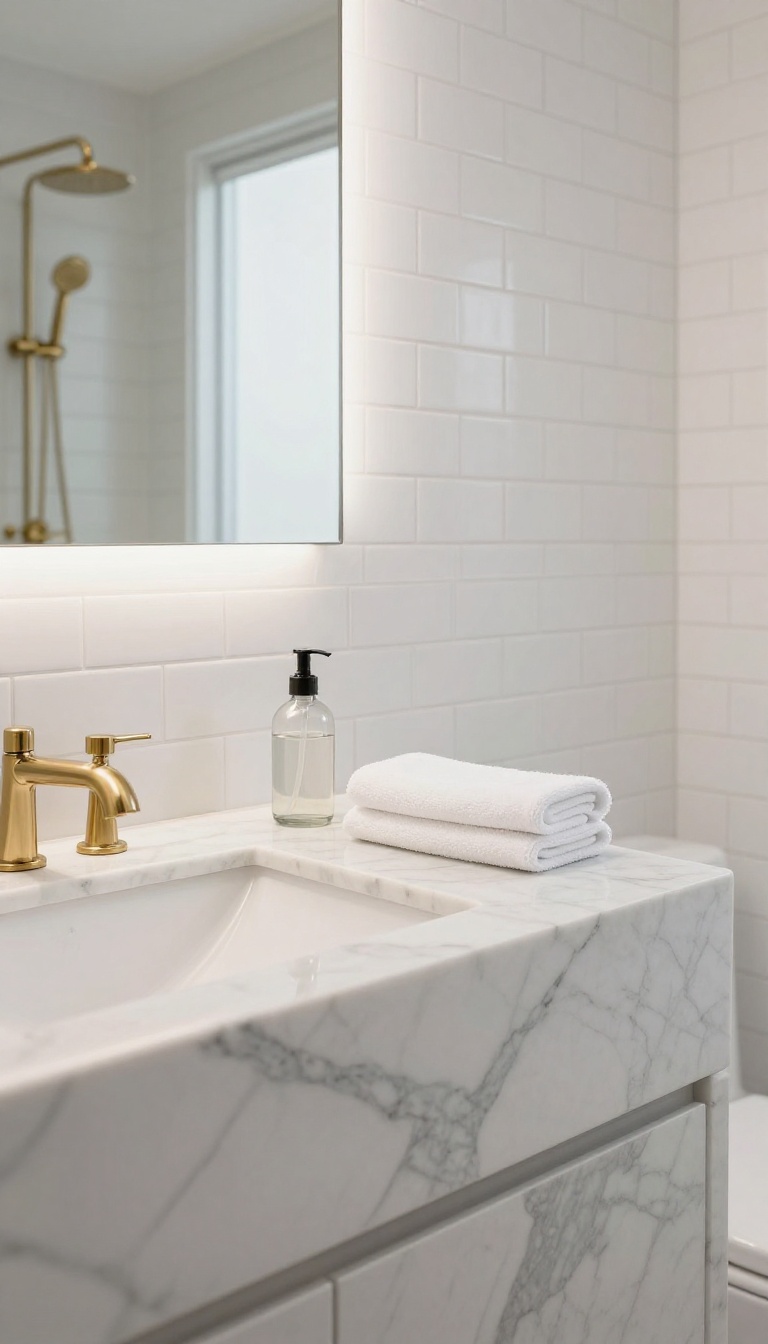
A marble cap on your pony wall does more than look expensive—it changes how the whole shower feels. The natural stone brings a quiet, polished luxury that pairs well with almost any tile or fixture. Plus, it gives you a solid, easy-to-clean surface for shampoo bottles or a resting spot for a loofah.
Marble has a way of making even a simple half-wall feel like a deliberate design choice. The veining and soft tones catch the light, adding depth without overwhelming the space. And because the pony wall is relatively small, you can splurge on a nice slab without blowing your budget.
Why Marble Works On A Pony Wall
The top of a pony wall takes a fair amount of abuse—bottles, splashes, and occasional leaning. Marble handles that well, especially when sealed properly. It’s also naturally cool to the touch, which feels nice in a steamy shower, and it resists water damage better than many other materials.
Choosing The Right Marble Finish
For a shower pony wall, a honed finish is often smarter than a high-gloss polish. Honed marble is less slippery when wet and hides water spots better. If you love the glossy look, just be ready to wipe it down more often.
Carrara and Calacatta are classic choices, but even a darker marble like Nero Marquina can create a striking contrast.
Pairing Marble With Other Materials
Marble plays well with many styles. Keep the wall itself simple—white subway tile or large-format porcelain—and let the marble top be the star. Or go bold with a contrasting grout color to make the stone pop.
Brass or matte black fixtures complement the natural veining beautifully.
10. Minimalist Pony Wall with a Slim Profile
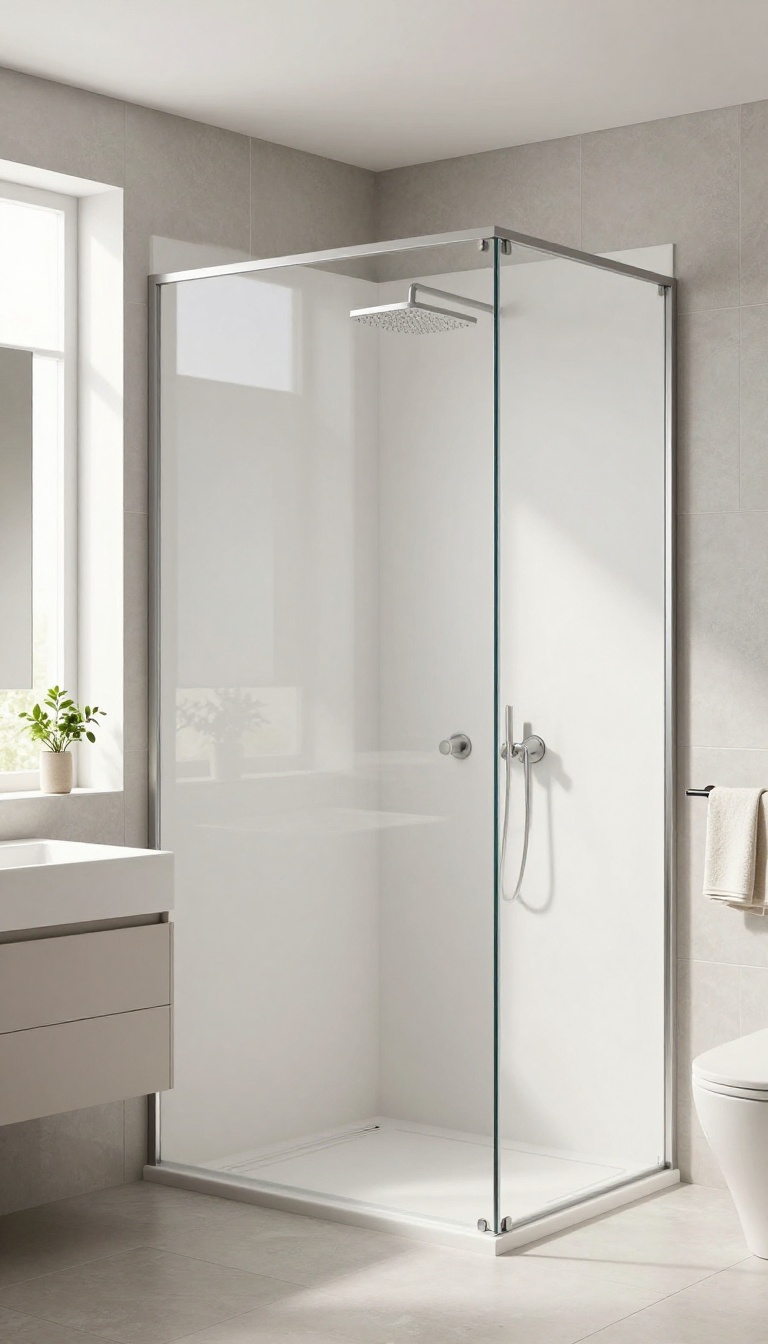
Slimming down the pony wall itself is a bold move that pays off visually. A thinner profile reads as more refined and modern, especially when paired with clean lines and simple fixtures. It’s a subtle shift that makes the whole bathroom feel lighter and more intentional.
A slim pony wall doesn’t have to be flimsy—it just needs the right construction and materials. Typically, this means using a steel or aluminum frame with a thin tile or solid surface cladding. The result is a wall that’s maybe four to six inches thick, compared to the standard eight or ten.
That difference might not sound like much, but it changes the entire sightline. You get the separation you want without the visual weight. This approach works best in contemporary or minimalist bathrooms where every detail counts.
Pair it with a frameless glass panel on top if you need extra splash protection, but keep the glass as clear and unobtrusive as possible. The goal is to make the wall feel like a line drawing—simple, precise, and almost invisible.
Why Slim Works
A thinner wall opens up the space visually. It lets more light bounce around the room and makes the shower feel less enclosed. That’s a big win for smaller bathrooms or any space that could use a little more airiness.
Plus, a slim profile is a natural fit for modern fixtures like rain showers and wall-mounted faucets.
Material Choices
Stick with materials that can be cut cleanly and don’t need thick mortar beds. Large-format porcelain tiles, solid surface panels, or even a single sheet of stone veneer are all good options. Avoid bulky mosaics or heavy natural stone that would add unnecessary thickness.
The material should feel seamless and continuous.
Installation Tips
Work with a contractor who has experience with this kind of detail. The frame needs to be perfectly plumb and square, and the cladding has to be cut precisely. You might also need to reinforce the base if you’re going extra thin.
It’s a bit more finicky than a standard wall, but the payoff is worth it.
11. Pony Wall with a Towel Bar or Hooks
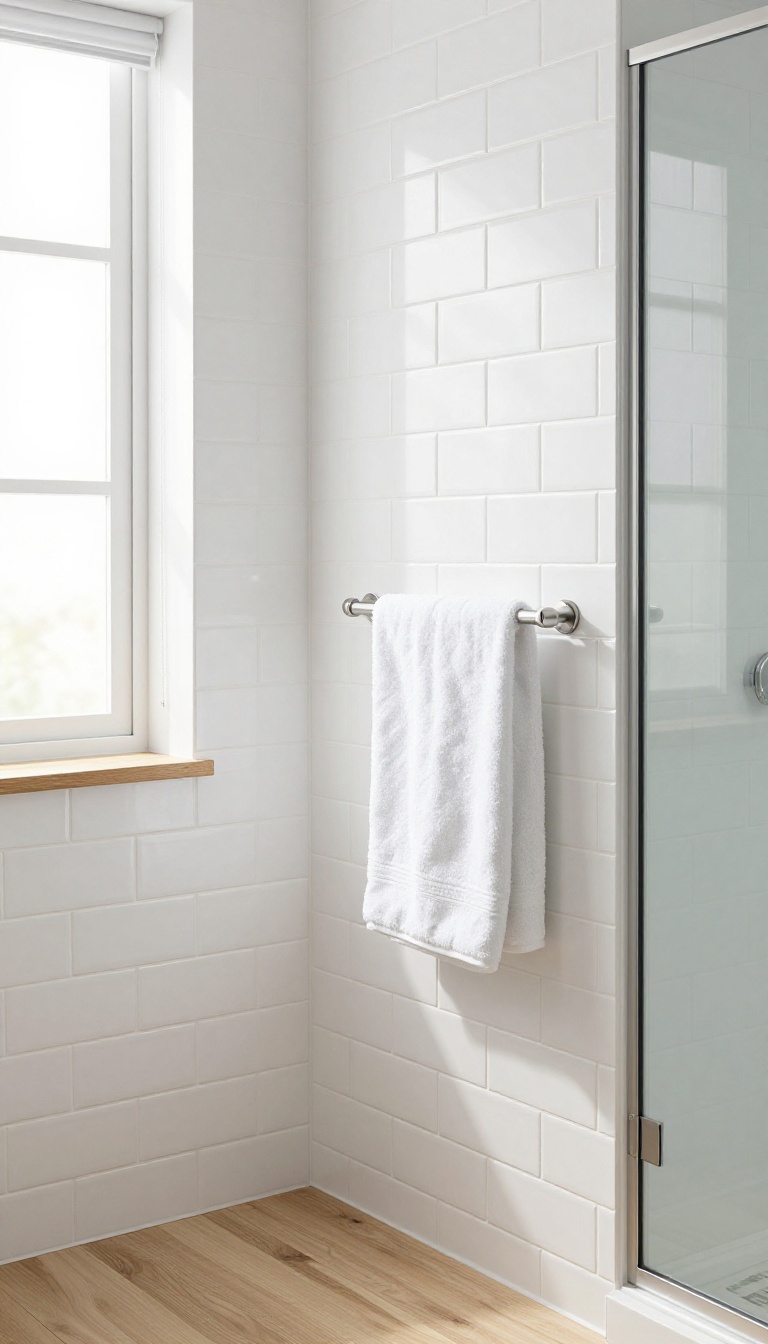
A pony wall already gives you a handy ledge, but adding a towel bar or hooks takes it a step further. You get a spot to hang a towel or robe without reaching across the room. It's a small change that makes the wall work harder for you.
Mounting a towel bar or hooks on the pony wall is one of the easiest ways to boost function. You can place it at a comfortable height for grabbing a towel when you step out. Hooks can hold robes or extra towels, and they don't take up any floor space.
This idea works especially well if the shower is near the entry to the bathroom.
Placement And Height
Think about where you'll most naturally reach for a towel. A bar at about 48 to 52 inches from the floor works for most people. Hooks can go slightly higher if you're hanging robes.
If the pony wall is near the shower opening, placing the bar on the outside keeps it dry.
Materials And Finish
Match the towel bar finish with your shower fixtures for a cohesive look. Brushed nickel, matte black, or chrome are popular choices. For a more rustic feel, consider a wood bar or hooks.
Make sure the material can handle moisture—stainless steel or coated metals are best.
Installation Tips
You'll need to anchor the bar or hooks securely into the wall. If the pony wall is tiled, use a tile-safe drill bit and wall anchors. For a glass pony wall, opt for clamp-style hooks that don't require drilling.
Always check that the bar can support the weight of wet towels.
12. Pony Wall with a Plant Shelf or Decor Ledge
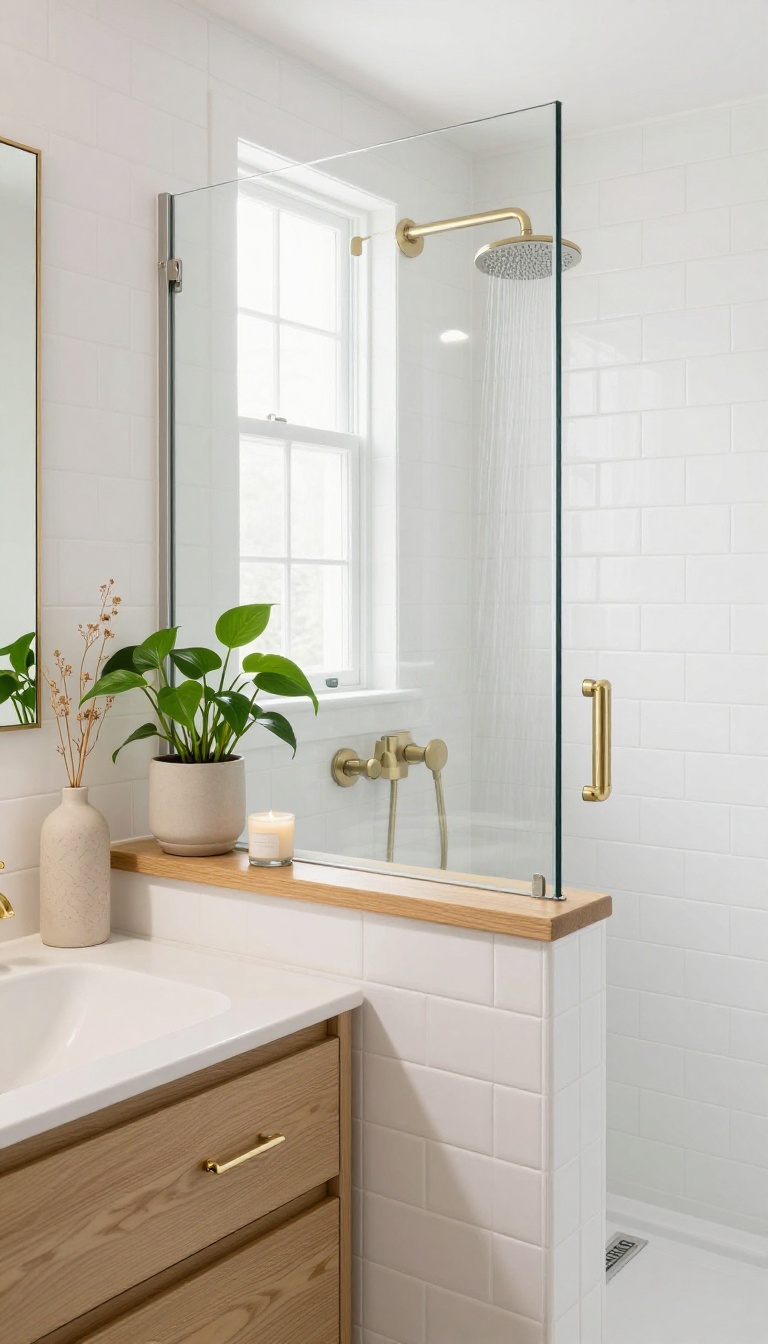
The top of a pony wall is prime real estate, and most designs let it go to waste. Instead of leaving it bare, turn that flat surface into a display ledge for plants, candles, or small decor pieces. It’s a simple upgrade that adds a personal touch and makes the shower feel more like part of the whole bathroom.
A plant shelf or decor ledge on your pony wall does double duty: it gives you a spot to show off a few favorite items, and it softens the hard lines of tile or stone. Even a single trailing plant can change the whole vibe of the space. Plus, it’s an easy DIY if you’re handy—or a quick addition during a remodel if you’re planning ahead.
Choosing The Right Plants
Not all plants thrive in a steamy shower, so pick ones that like humidity and low light. Ferns, pothos, and orchids are great options. If you don’t have a green thumb, go with high-quality faux greenery—it still looks fresh without any upkeep.
Styling The Ledge
Keep the ledge simple to avoid visual clutter. A small stack of towels, a scented candle, or a single ceramic vase can work wonders. Group items in odd numbers and vary heights for a natural, curated look.
Just make sure everything is water-resistant and won’t slide off easily.
Practical Considerations
Make sure the ledge is wide enough to hold items securely—at least 4 to 6 inches. If you’re worried about water pooling, slope the top slightly or add a drainage gap. You can also install a slim glass shelf above the pony wall for extra space without taking away from the open feel.
13. Pony Wall with a Built-In Shower Seat and Storage
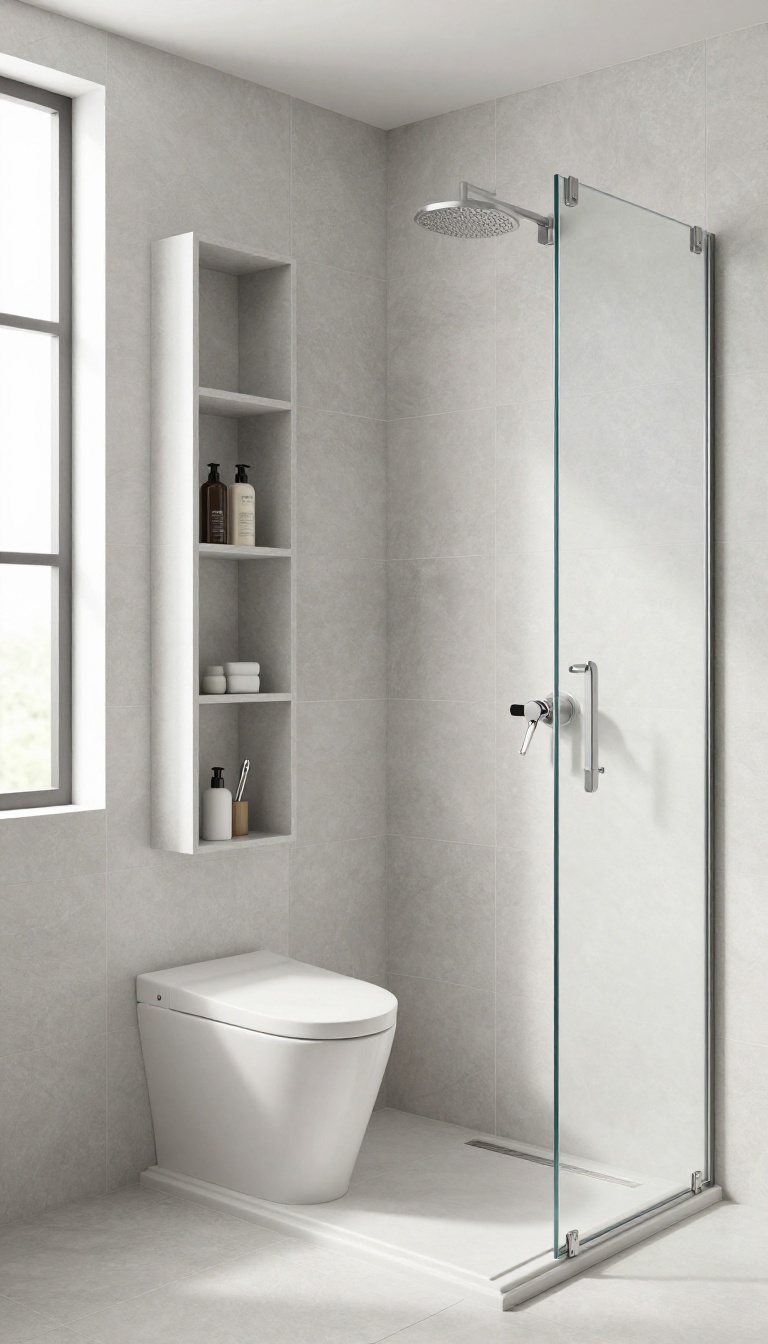
Why settle for a plain pony wall when it can pull double duty? Adding a built-in seat and storage cubbies turns that half-wall into a functional hub—perfect for small bathrooms or anyone who loves a spa-like shower. You get a spot to sit, a place to stash bottles, and a design that feels custom without a full remodel.
The beauty of this idea is how it maximizes every inch. The pony wall becomes more than a divider; it's a multitasking element that adds comfort and keeps your shower organized. Built-ins can be tailored to your exact needs, whether that's a deep niche for tall shampoo bottles or a corner shelf for soap and razors.
And because the seat is integrated, it doesn't eat up floor space like a separate bench would.
Designing The Seat And Cubbies
Think about how you'll actually use the seat. A depth of 15 to 18 inches is comfortable for sitting, and a height around 18 to 20 inches works for most people. For the cubbies, vary the heights—some tall for bottles, some short for small items.
Use waterproof materials like tile, stone, or solid surface that can handle moisture. A slight slope on the seat helps water drain off, and rounded corners prevent injuries.
Material And Finish Choices
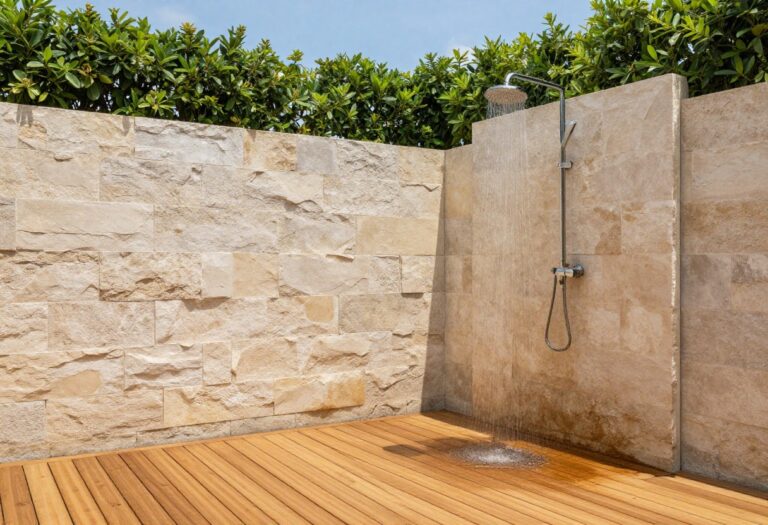
Match the seat and cubbies to your shower's style. Natural stone like travertine adds a warm, organic feel, while large-format porcelain tiles give a sleek, modern look. If you want a seamless appearance, use the same tile on the wall and the seat.
For contrast, try a wood-look tile for the seat to bring in warmth without the maintenance of real wood. Make sure all surfaces are slip-resistant and easy to clean.
Placement And Layout Tips
Place the seat on the wet side of the pony wall, facing into the shower, so it's easy to access. If space allows, add a small shelf above the seat for extra storage. Keep the cubbies within arm's reach from the seat.
For a corner pony wall, wrap the seat around the corner for a more compact footprint. Always check local building codes for shower seat requirements.
FAQ
What is a pony wall in a shower?
A pony wall is a partial-height wall, typically 3 to 4 feet tall, that separates the shower area from the rest of the bathroom without enclosing it fully. It can be freestanding or attached to a full wall.
How tall should a pony wall be in a shower?
The ideal height is usually between 42 and 48 inches. This provides enough privacy and splash protection while still allowing light and sightlines to pass over the top.
Do pony walls need waterproofing?
Yes, the pony wall should be waterproofed, especially if it's in the wet zone. Use a waterproof membrane or backer board, and seal any seams to prevent moisture damage.
Can a pony wall support a glass panel?
Absolutely. A pony wall can be reinforced with blocking or a metal channel to support a glass panel above it. This is a common design that adds splash protection without a full enclosure.
Are pony walls cheaper than full shower enclosures?
Generally, yes. Pony walls use less material and may require less labor than a full glass or tile enclosure. However, costs vary based on materials and complexity.
Conclusion
A pony wall is more than just a practical divider—it's a chance to add character and function to your shower. Whether you prefer a sleek glass-topped design or a warm wood accent, these ideas show how a simple half-wall can elevate the whole bathroom.
Pick the one that fits your space and style, and you'll enjoy a shower that feels open, organized, and uniquely yours. With a little creativity, a pony wall can be the smartest feature in your bathroom.