13 Blackout Curtains Bedroom Ideas for Restful Rooms
Morning light has a way of finding every gap in your bedroom, even the ones you swore were sealed. You hang a standard curtain, pat yourself on the back, and then 5: 47 a. m. rolls around with a bright reminder that it wasn't enough.
The fix rarely means replacing your whole window setup. Sometimes it's a heavier fabric, a ceiling track, or a two-dollar pack of magnetic clips doing the real work.
These 13 blackout curtain ideas cover the practical stuff first: full coverage, sealed edges, and fabrics that actually block light. From there, you can layer in warmth, texture, and style without losing the darkness that makes the room restful.
1. Go Total Blackout with Triple-Weave Fabric
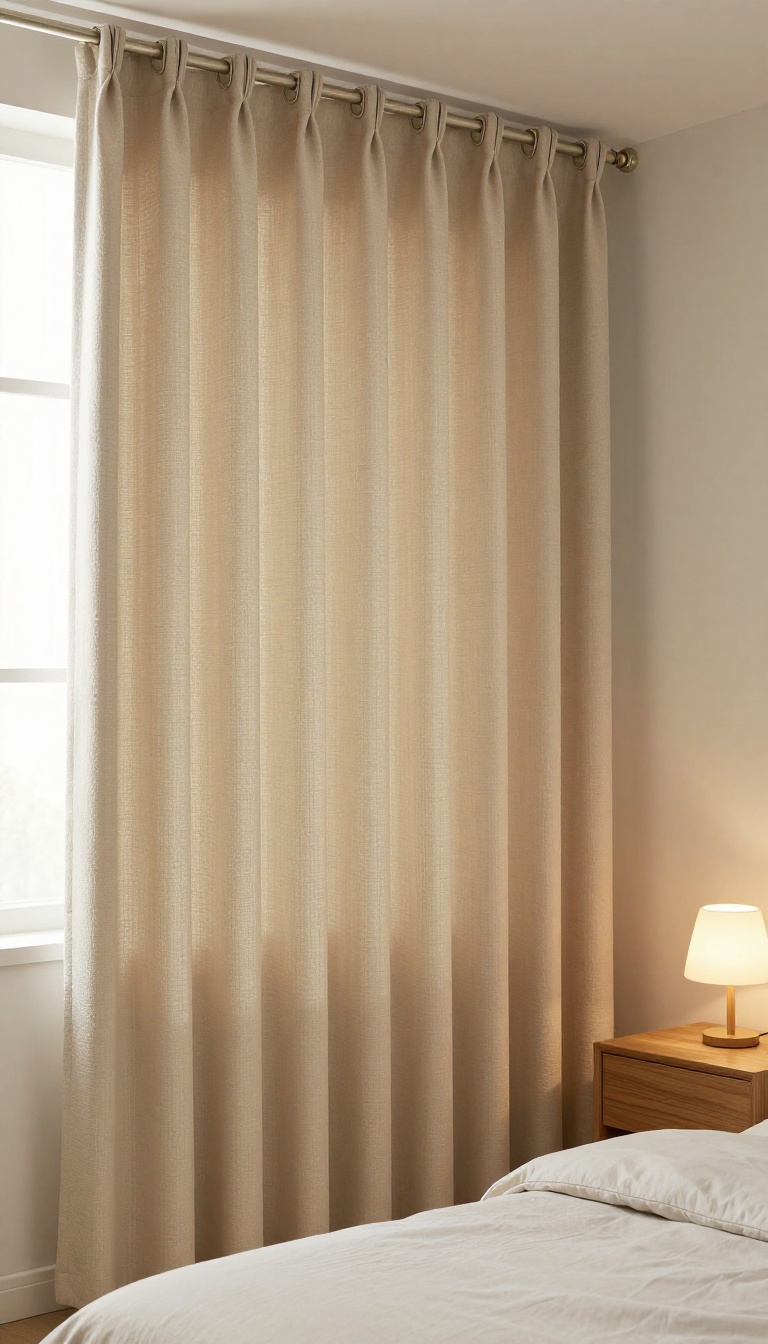
Triple-weave fabric is the gold standard for blackout curtains. It uses three layers of tightly woven yarns to block 100% of incoming light, and it also muffles sound better than single-layer options. The result is a darker, quieter room that helps you fall asleep faster and stay asleep longer.
When you want zero light leakage, triple-weave curtains are the most reliable choice. They don't rely on a plastic coating that can peel or crack over time. Instead, the fabric itself does the work, so the blackout effect lasts as long as the curtains do.
These curtains also add a layer of sound absorption. That means fewer disturbances from traffic, neighbors, or early-morning lawnmowers. For light sleepers, that combo of dark and quiet is a game-changer.
To keep the room from feeling like a cave, stick with neutral colors like soft gray, warm beige, or off-white. A simple rod in a matching finish keeps the look clean and uncluttered. You get full blackout without sacrificing style.
Why Triple-weave Works
Triple-weave fabric blocks light through density, not chemicals. The three layers create a tight barrier that light can't pass through. That means no coating to peel and no fading over time.
Pick The Right Color
Neutral tones keep the room feeling open even when the curtains are closed. Think soft gray, warm beige, or creamy white. Avoid dark colors unless you want a moody, cocoon-like vibe.
Keep The Hardware Simple
A basic rod with clean lines lets the fabric be the star. Choose a finish that matches your other hardware, like brushed nickel or matte black. Skip ornate finials if you want a modern, uncluttered look.
2. Layer Sheer Curtains Over Blackout Panels
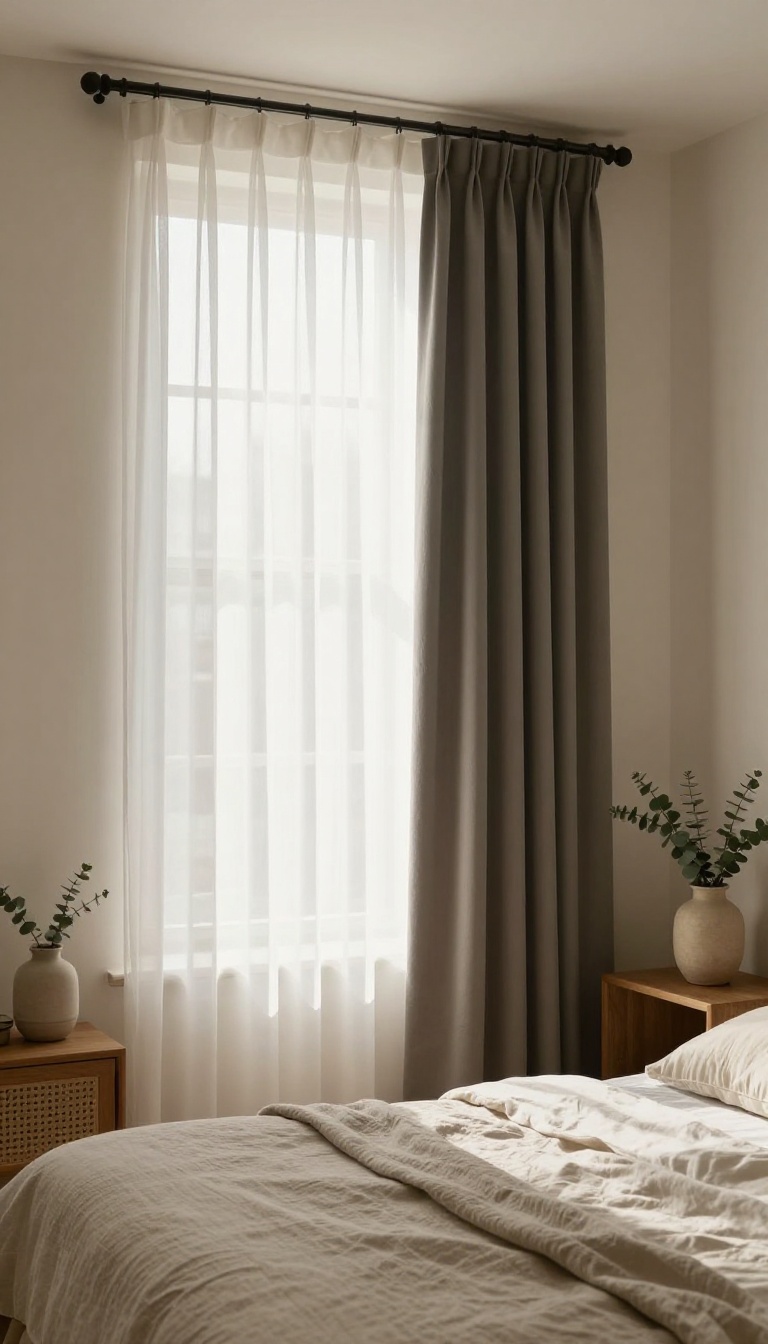
One curtain can't do everything well. A single blackout panel blocks light beautifully, but it also turns your bedroom into a cave the moment you close it. A sheer alone gives you soft daytime privacy, but it won't stop the sunrise from waking you at 5: 47 a. m.
Layering both on a double rod solves that tug-of-war. You get two moods from one window: light and airy during the day, pitch-black when it's time to sleep. It's one of the simplest upgrades you can make, and it costs less than replacing your whole window treatment.
The setup is straightforward. A double curtain rod holds two tracks: a front rod for the sheer and a back rod for the blackout panel. You can also use a single rod with a clip-on sheer if you're tight on space, but a double rod gives you cleaner separation and easier movement.
When you wake up, slide the blackout panel to the side and let the sheer do its thing. At night, pull the blackout panel closed and the room goes dark. No swapping curtains, no Velcro, no fuss.
Why This Combo Works
Sheers filter light without blocking it, so you get a soft glow instead of harsh glare. Blackout panels stop light completely when closed. Together, they cover both ends of the spectrum.
You also get temperature control. The sheer adds a light buffer during the day, while the blackout layer insulates against heat and cold at night. It's a small change that makes the room feel more comfortable year-round.
Picking The Right Sheer
Not all sheers are created equal. Look for a linen or voile blend that hangs straight and doesn't cling. Avoid cheap polyester sheers that static-cling to the blackout panel behind them.
Color matters too. White and ivory sheers keep things bright and neutral. If you want a softer daytime mood, try a light gray or warm sand tone.
Hanging Tips For Clean Layers
Mount the double rod wide enough that the blackout panels can overlap in the center when closed. A 10- to 12-inch overlap stops light from sneaking through the middle. Hang the sheer on the front rod and the blackout on the back.
That way, the sheer stays visible during the day and the blackout does its job at night without looking bulky. Use curtain rings with clips for easy sliding on both layers.
When To Skip The Double Rod
If your window is small or your wall space is tight, a double rod can feel crowded. In that case, try a single rod with a blackout panel and a separate tension rod for the sheer inside the frame. Another option: a day-night curtain that combines both layers in one panel.
It's less flexible, but it works if you want a simpler install.
3. Choose Warm Earth Tones for a Cozy Vibe
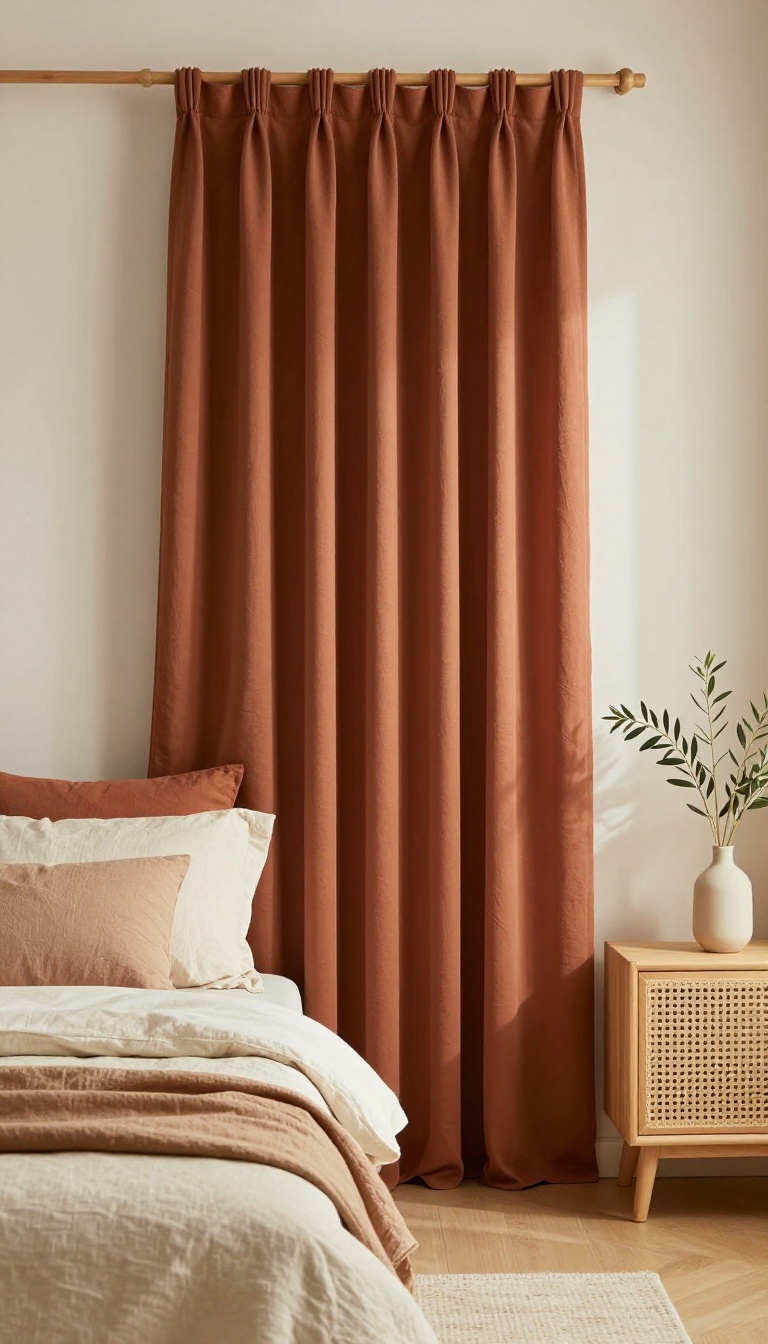
Colors like terracotta, olive, and warm beige make a bedroom feel grounded and inviting. They also hide dust better than dark colors. That combination of comfort and low maintenance is hard to beat.
Warm earth tones bring a softness that stark black or gray curtains just can't match. They absorb light in a gentle way, so the room feels calm instead of cave-like. And because they're mid-toned, they don't show every speck of dust the way deep navy or charcoal does.
You get the blackout benefit without the heavy, clinical look.
Why These Colors Work
Terracotta, olive, and warm beige sit in that sweet spot between light and dark. They block light effectively but still reflect a bit of warmth back into the room. That keeps the space from feeling like a sealed box.
They also pair easily with wood furniture, rattan, and linen bedding.
How To Pick Your Shade
Start with the undertone of your walls. If they lean cool, go for a warmer beige or a soft clay. If they're already warm, olive or terracotta adds depth without clashing.
Hold fabric swatches up at different times of day to see how the color shifts.
Styling Without Losing Darkness
Earth tones can still let a little light through if the fabric is thin. Look for blackout lining in the same warm shade. A double rod with sheers behind the blackout panel adds softness without sacrificing coverage.
Keep hardware simple so the color stays the star.
4. Install a Ceiling-Mounted Track for Full Coverage
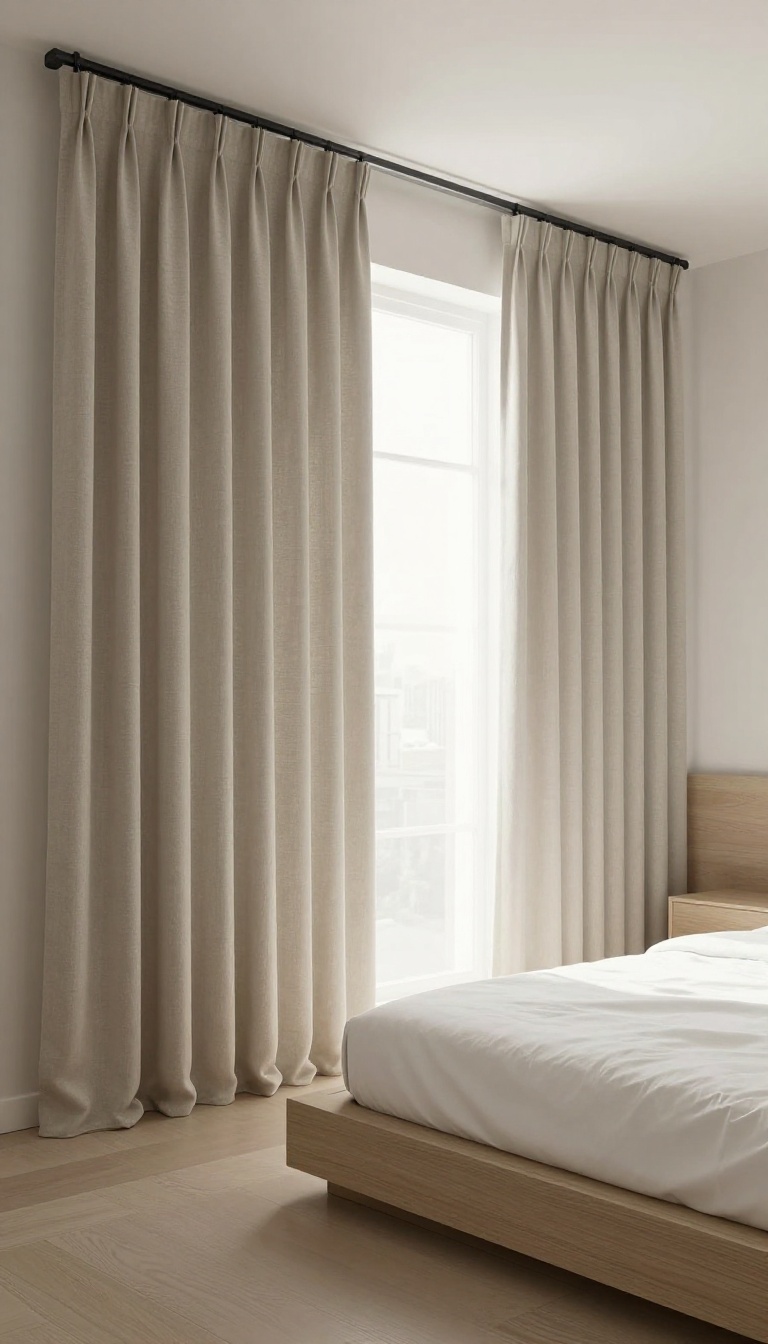
Standard curtain rods leave a gap at the top that morning light loves to sneak through. A ceiling-mounted track solves that by letting the curtains hang from the ceiling itself, so there's no space for light to leak over the top. It's a clean, modern look that works especially well in rooms with odd window shapes or multiple windows.
Unlike a traditional rod, a ceiling track can run the entire length of the wall, giving you full control over coverage. You can extend it past the window frame on both sides to block side light, too. The result is a darker, more restful room without bulky hardware.
Ceiling tracks are a favorite among light sleepers for a reason: they eliminate the two biggest light leaks—top and sides. Because the track mounts directly to the ceiling, the curtain hangs flush against it, creating a near-seal. That means no glowing strip above your head at sunrise.
They're also surprisingly versatile. You can use them with almost any blackout curtain panel, from heavy velvet to lightweight triple-weave. And if you have a sloped ceiling or a window that doesn't play nice with rods, a track can be customized to fit the space.
Installation is straightforward, but a few details make a big difference. Here's what to keep in mind.
Choose The Right Track
Not all ceiling tracks are created equal. Look for a track that's sturdy enough to hold heavy blackout curtains without sagging. Aluminum tracks with a smooth glide system are a solid choice.
If you want a seamless look, consider a track that can be cut to size or one that comes in custom lengths. For renters, there are adhesive tracks that don't require drilling, though they may not support very heavy fabrics.
Mount It For Maximum Darkness
Where you mount the track matters. Extend it at least 4 to 6 inches past the window frame on each side to block side light. If you can, mount it close to the ceiling—or even on the ceiling—so the curtain touches the ceiling.
For extra coverage, overlap the curtains in the center. A track with a slight curve at the ends can also help the curtains hug the wall.
Pick The Right Curtains
Your blackout curtains need to work with the track. Look for panels with a hook-and-loop or pinch-pleat header that attaches easily to track carriers. Grommet curtains can work if the track has rollers, but they may not glide as smoothly.
For the best light block, choose curtains that are wide enough to bunch slightly when closed—this helps seal edges. And don't forget: the fabric itself should be truly blackout, not just room-darkening.
5. Use Velvet Blackout Curtains for Luxury and Quiet
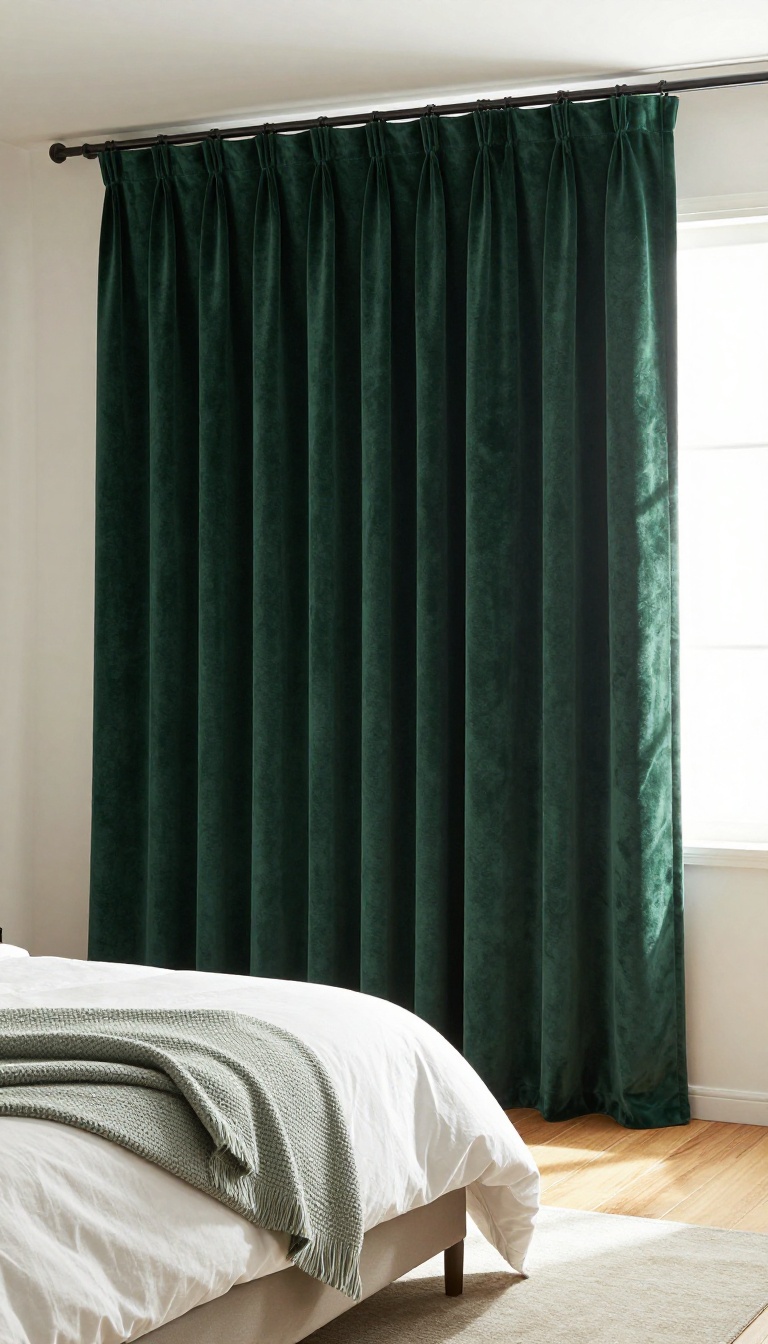
Velvet does two jobs at once, and that's why it keeps showing up in hotel rooms. The dense pile blocks light, and it also swallows sound, which matters more than most people realize. If you wake up every time a car door shuts or your neighbor's dog gets going, velvet is worth the upgrade.
It looks expensive, feels soft, and quietly does more work than a thin polyester panel ever will.
Velvet isn't just a style choice. The thick, raised surface traps light and absorbs echoes, so your bedroom feels calmer even before you close your eyes. That said, not all velvet is built the same.
Some panels are decorative only, and some are true blackout. Knowing the difference saves you a return label and a second trip to the store. ### Look for Blackout Lining, Not Just Velvet A velvet face with a bonded blackout lining is the combo you want. The velvet handles texture and sound, the lining handles the light.
Check the product details for words like "blackout lining" or "foam-backed. " If the listing only says "room darkening, " expect some glow to come through. ### Heavier Is Better for Sleepers Weight is a decent shortcut for quality here. A single velvet panel often runs three to five pounds, and that heft is what dampens noise.
Flimsy velvet that ripples in a breeze won't do much for sound. If you can, feel the fabric in person or read reviews from light sleepers before buying. ### Pair Velvet With a Ceiling Track Velvet panels are thick, so they need a sturdy rod or track. A ceiling-mounted track keeps the top edge tight and stops light from leaking over the rod.
It also lets the fabric hang in clean folds, which looks more like a boutique hotel and less like a dorm room. Just anchor the hardware into studs, because velvet pulls hard on brackets. ### Keep the Color Deep and the Room Simple Rich tones like emerald, navy, charcoal, and plum suit velvet best. They hide wrinkles, feel cozy at night, and make the window a focal point without extra decor.
Let the curtains carry the drama. Keep bedding and walls quieter so the room still feels restful instead of heavy.
Look For Blackout Lining, Not Just Velvet
A velvet face with a bonded blackout lining is the combo you want. The velvet handles texture and sound, the lining handles the light. Check the product details for words like "blackout lining" or "foam-backed.
" If the listing only says "room darkening, " expect some glow to come through.
Heavier Is Better For Sleepers
Weight is a decent shortcut for quality here. A single velvet panel often runs three to five pounds, and that heft is what dampens noise. Flimsy velvet that ripples in a breeze won't do much for sound.
If you can, feel the fabric in person or read reviews from light sleepers before buying.
Pair Velvet With A Ceiling Track
Velvet panels are thick, so they need a sturdy rod or track. A ceiling-mounted track keeps the top edge tight and stops light from leaking over the rod. It also lets the fabric hang in clean folds, which looks more like a boutique hotel and less like a dorm room.
Just anchor the hardware into studs, because velvet pulls hard on brackets.
Keep The Color Deep And The Room Simple
Rich tones like emerald, navy, charcoal, and plum suit velvet best. They hide wrinkles, feel cozy at night, and make the window a focal point without extra decor. Let the curtains carry the drama.
Keep bedding and walls quieter so the room still feels restful instead of heavy.
6. Try Grommet-Top Curtains for Easy Gliding
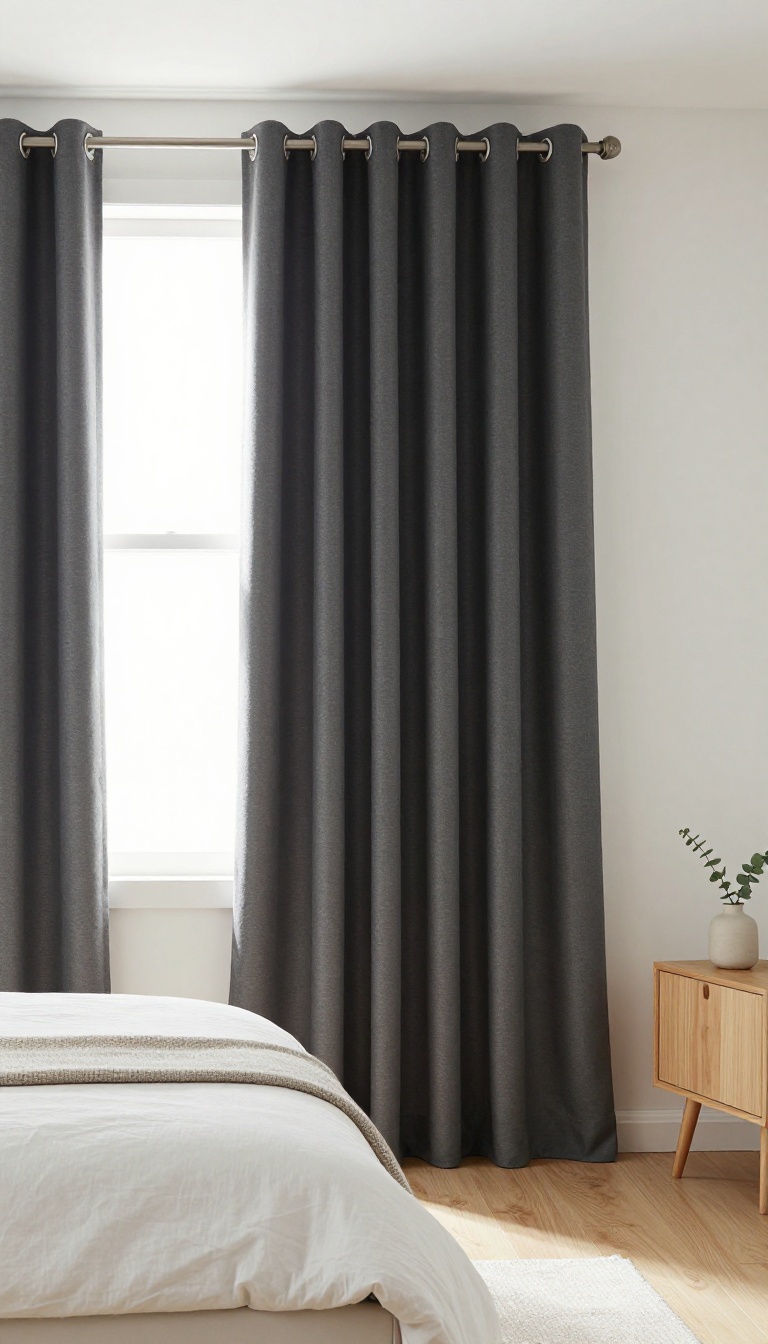
Grommet-top curtains hang from metal rings built right into the fabric header, so there's nothing to clip, pin, or fuss with. You just slide the rod through the rings and let gravity do the rest. The payoff is smooth movement and folds that fall in tidy, even waves instead of clumping together.
For renters, this is about as low-commitment as blackout gets. No drilling new brackets, no special hardware, and no damage to worry about when you move out. If your rod is already up, you can swap in a grommet panel in under a minute.
The rings glide across the rod with barely any resistance, which matters more than you'd think. A stiff curtain that fights you every time you open it ends up staying closed all day, and that's how rooms start feeling cave-like. Grommet tops keep the motion light, so adjusting light levels becomes a quick, one-handed job.
They also play well with a wide range of rods. Most grommet panels fit standard one-inch rods, and many work on skinnier or thicker ones too. That flexibility means you can usually keep the hardware you already own rather than buying a matching set from scratch.
One trade-off worth knowing: grommet curtains sit slightly below the rod, so a sliver of light can peek over the top. Pair them with a ceiling-mounted rod or a simple valance if that gap bothers you. Otherwise, they're a solid, practical pick that gets the basics right.
Why The Rings Matter
The metal grommets reduce friction, so the curtain slides instead of scraping. That small design detail is what keeps the folds looking deliberate rather than messy. It also cuts down on the wear that comes from yanking a stuck panel every morning.
A Renter-friendly Setup
Since grommet curtains need no hooks or rings of their own, you can hang them on an existing rod without touching the wall. When lease renewal time comes, you pack them up and take them with you. No patching, no paint matching, no stress.
Dealing With The Top Gap
That little space above the rod lets in a thin line of light at sunrise. Mount the rod closer to the ceiling or add a short valance to cover it. Either fix takes minutes and keeps the room properly dark.
7. Add a Valance or Pelmet to Block Light Gaps
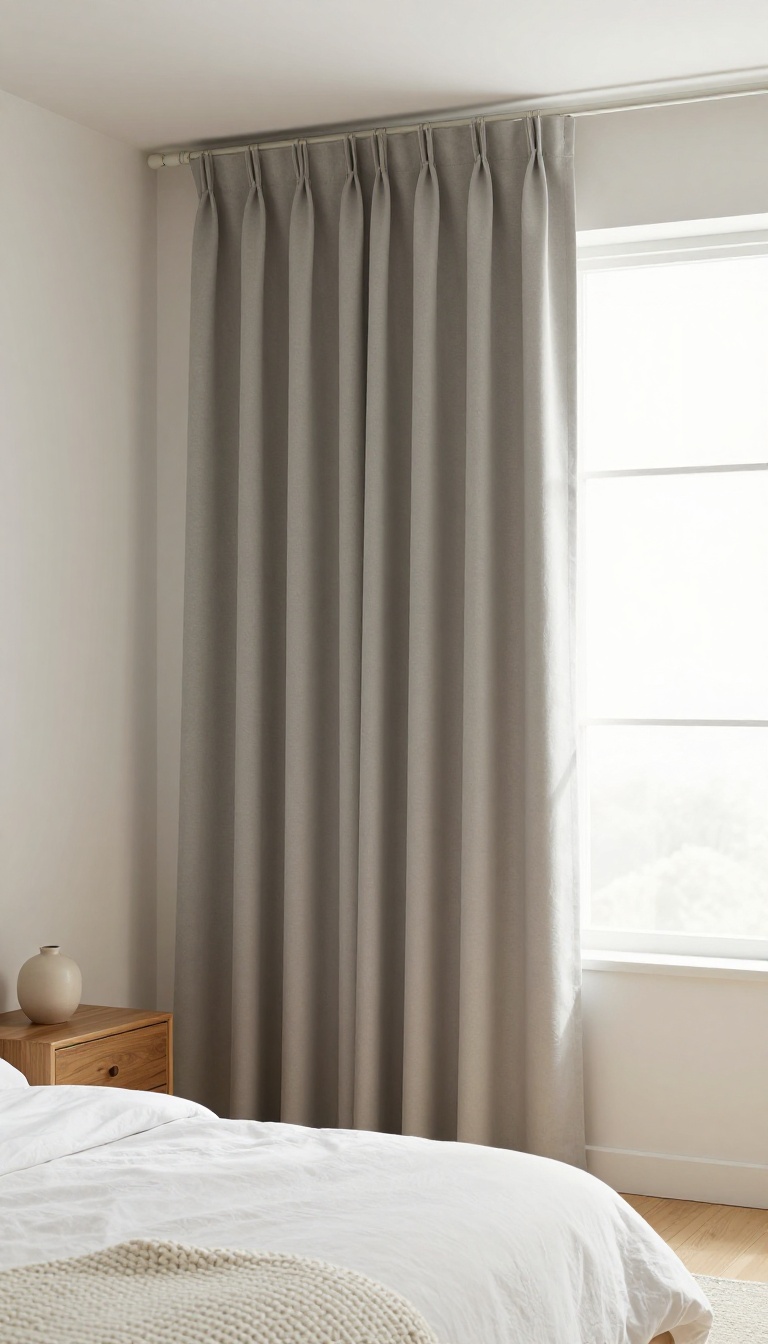
A valance or pelmet is the fabric strip that covers the top of your window treatment, and it's one of the simplest ways to stop light from leaking over your curtains. Even blackout panels leave a gap where the rod meets the wall, especially if you mount them below the ceiling. Cover that strip and you seal off one of the most stubborn light sources in the room.
It also gives your window a tailored, finished look that plain curtains often lack.
Think of a valance as a little roof for your curtains. It sits across the top, hiding the rod, the rings, and any gaps between the curtain and the wall. Light that would normally stream through that space gets blocked before it ever reaches your eyes.
You can buy ready-made valances or make a simple one from leftover curtain fabric. Either way, it's a low-effort upgrade with a noticeable payoff. Pelmets work on the same principle but tend to be sturdier and more structured.
They're often made from wood or stiffened fabric and attach directly above the window. A pelmet can extend past the curtain edges, which helps with side leaks too. If you want a clean, built-in look, a pelmet is the way to go.
The best part is that you don't need to replace your existing curtains. Just add the valance or pelmet on top, and you've closed a major light gap without starting over.
Valance Vs. Pelmet: Which One Fits Your Window?
Valances are softer and more casual. They drape, gather, or hang straight across the top, and they're forgiving if your window isn't perfectly square. Pelmets are rigid and give a more architectural feel.
They're great for modern or traditional rooms where you want a crisp, tailored edge. If you're renting or want something temporary, a fabric valance is easier to install and remove. For a permanent, polished look, go with a pelmet.
How To Install For Maximum Light Blocking
Mount the valance or pelmet as close to the ceiling as possible. The higher it sits, the more of that top gap it covers. Extend it a few inches past each side of the curtain rod so light can't sneak around the edges.
Use a board or a stiff strip inside the fabric to keep it from sagging. If you're using a rod, attach the valance to a separate bracket so it stays put when you open and close the curtains.
Style Tips That Keep It From Looking Dated
Skip the ruffled, overly formal valances unless that's your vibe. A straight, flat valance in a matching or slightly darker fabric reads as modern. Box pleats or a simple tailored shape add interest without fuss.
If you have patterned curtains, choose a solid valance in one of the pattern's colors. For a seamless look, use the same fabric as your curtains and keep the drop short—around 10 to 14 inches.
8. Pick Patterned Blackout Curtains for Personality
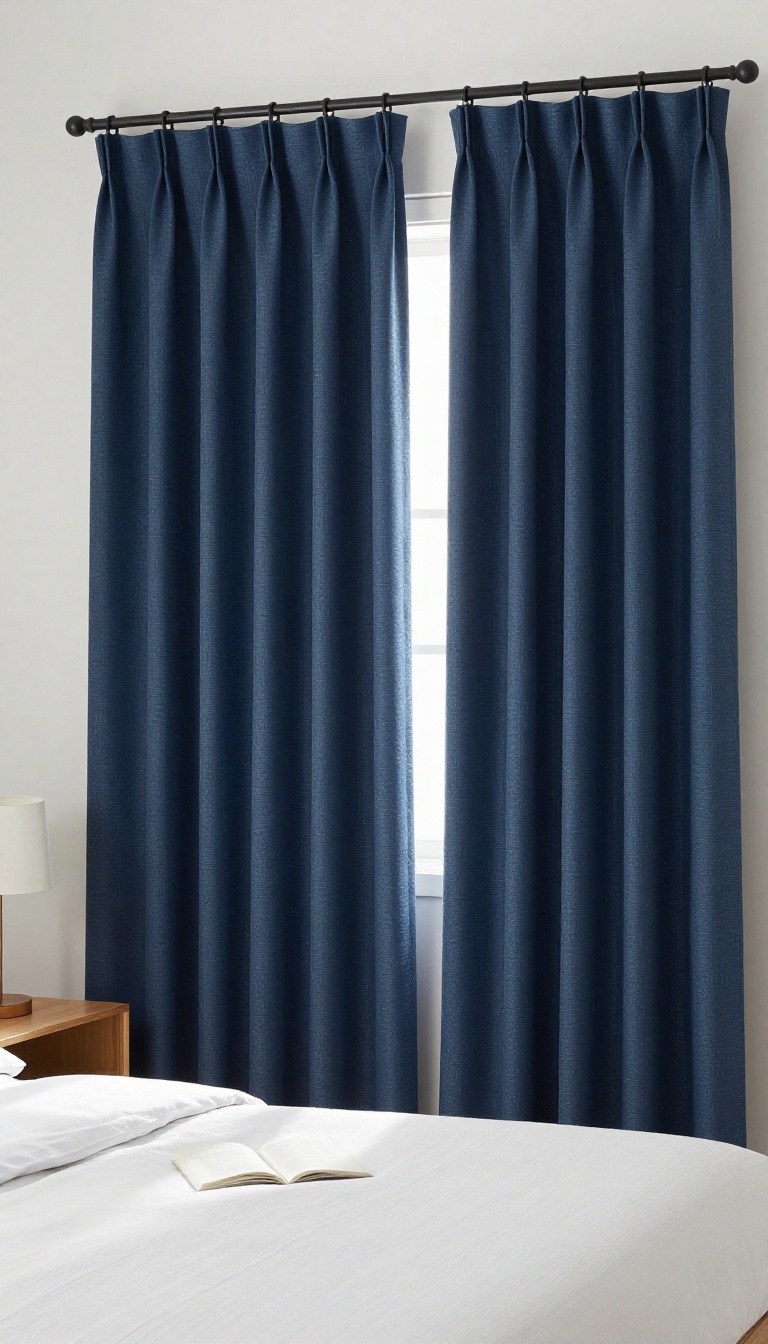
Blackout curtains don't have to look like heavy hotel drapes. A pattern can lighten the visual weight and add a little character to your bedroom. The trick is choosing one that still blocks light effectively.
Patterned blackout curtains work best when the background is dark. That way, even the lighter parts of the design don't let extra light through. You get personality without sacrificing darkness.
Patterns That Work
Geometric prints, soft florals, and abstract shapes all hide the bulk of blackout fabric. A dark navy or charcoal background keeps the room feeling restful. Avoid busy, high-contrast patterns that can feel chaotic in a sleep space.
Keep The Light Out
Check the backing or lining before you buy. Many patterned curtains are blackout only if they have a coated backing or a separate liner. If the pattern is printed on thin fabric, add a blackout liner behind it.
Style Without The Weight
A pattern breaks up the solid wall of fabric, so the curtains feel lighter. Pair them with simple rods and minimal hardware to let the design stand out. This works especially well in small bedrooms where heavy curtains can feel overwhelming.
9. Go Floor-to-Ceiling for a Taller-Looking Room
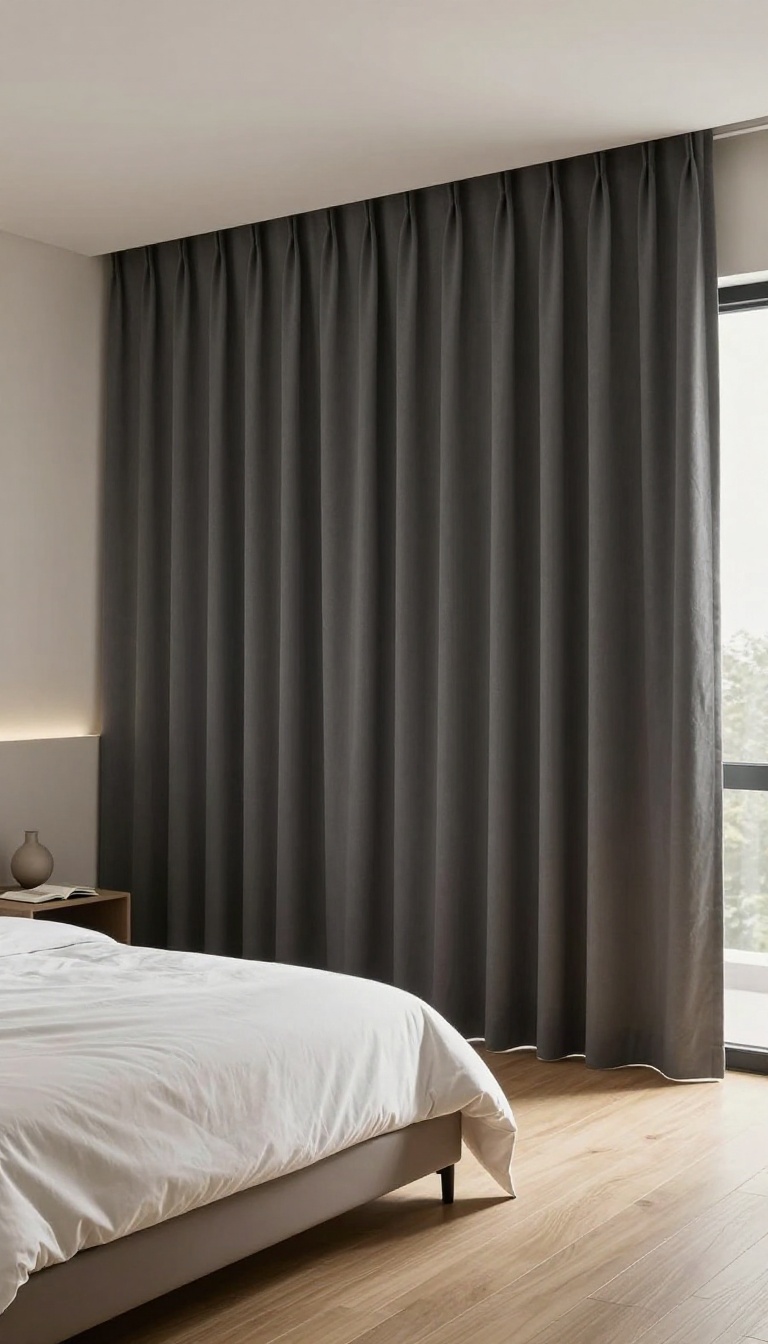
Most people hang curtains just above the window frame, which chops the wall into two awkward sections and makes the ceiling feel lower than it is. Mounting your blackout panels all the way up at the ceiling and letting them pool at the floor does the opposite. It stretches the room vertically, hides the window's actual size, and gives even a small bedroom a tailored, high-end look.
The trick works because your eye follows the longest uninterrupted line in the room. When curtains run from ceiling to floor, that line becomes the full height of the wall instead of just the window. Suddenly the ceiling feels farther away, and the whole space reads as taller and calmer.
Blackout fabric is actually ideal for this because it's usually heavier than sheers or lightweight cotton. That weight helps the panels fall in a clean, straight drop instead of flaring out or floating. The result is a strong vertical shape that does most of the visual work for you.
Measure From The Ceiling, Not The Rod
Start your measurement at the ceiling or just below any crown molding, then run the tape all the way to the floor. For a soft puddle, add an extra inch or two. For a crisp, just-touching-the-floor look, stop right at floor level.
Write the number down before you shop, because ready-made panels rarely come in ceiling-height lengths.
Mount The Track Or Rod High
A ceiling-mounted track gives you the cleanest look and the most light blockage, since there's no gap above the fabric. If you prefer a rod, install it as close to the ceiling as your brackets allow. Either way, extend the width a few inches past each side of the window so the panels can stack completely clear of the glass.
Pick A Fabric That Holds The Line
Heavy blackout weaves, triple-layer fabrics, and lined velvets hang straight and stay put. Thin panels with a blackout coating can work, but they sometimes wrinkle or balloon at the bottom. If you want the floor-to-ceiling effect to look intentional, choose a fabric with enough body to keep its shape.
Keep The Floor Clean
A slight puddle looks luxurious, but too much fabric on the floor collects dust and gets stepped on. Aim for a break of half an inch to two inches, depending on your style. If you have pets or heavy foot traffic, go with a crisp floor-length hem instead of a puddle.
10. Use Magnetic Clips to Seal Side Gaps
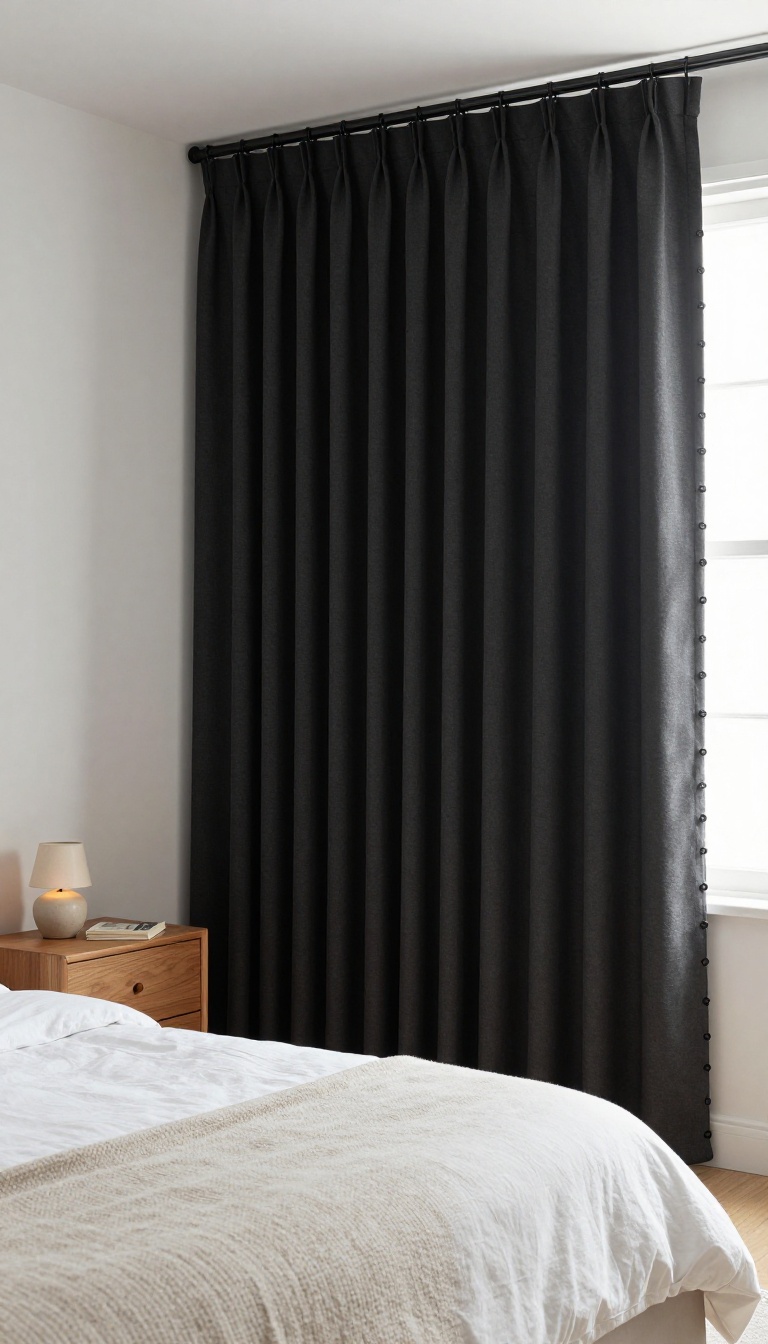
You can hang the perfect blackout curtain and still wake up to a stripe of light cutting across your pillow. The problem is almost never the fabric itself. It's the gap where the curtain meets the wall.
Magnetic clips solve that gap without tools, screws, or a trip to the hardware store. They pull the curtain edge tight against the wall or window frame and hold it there. For anyone who sleeps during the day, that seal is the difference between real rest and a nap with a bright edge.
Magnetic clips are small, usually sold in packs of six to twelve, and they cost less than a coffee. One half sticks or clips to the curtain, the other half attaches to a magnetic strip or metal surface near the window. When the two meet, the curtain stays put.
They work best on blackout curtains with a sewn-in magnet pocket or a metal frame around the window. If your wall isn't magnetic, you can use adhesive-backed metal plates behind the curtain. That keeps the setup renter-friendly and removable.
Shift workers tend to love these because the seal holds through the brightest hours. You don't have to remember to close them every morning. Once they're set, the curtain lands in the same spot every time.
How To Place Them For A Tight Seal
Start at the middle of the curtain edge and work up and down. One clip at eye level, one near the floor, and one in between usually does it. If light still leaks at the corners, add a clip right where the curtain meets the frame.
Press the curtain closed before you stick anything permanent. That way you can see exactly where the magnets need to land. Mark the spots with a pencil, then attach the clips or plates.
Renter-friendly And Removable
Command strips and adhesive metal plates let you seal the sides without drilling. When you move out, you pull the tabs and the wall is clean. The clips themselves come off the curtain fabric without leaving holes.
If you already have metal window frames, you can skip the adhesive entirely. Just sew or clip a magnet to the curtain edge and let it snap to the frame. That's the simplest version of this setup.
What To Avoid
Heavy velvet or lined curtains may need stronger magnets than the basic craft-store kind. Test one clip before you commit to a full pack. If it slides or pops off, size up.
Don't place clips where they'll pinch the fabric when the curtain is open. A little slack keeps the folds looking natural during the day. And keep magnets away from pacemakers or sensitive electronics, just to be safe.
11. Choose Thermal Blackout Curtains for Energy Savings
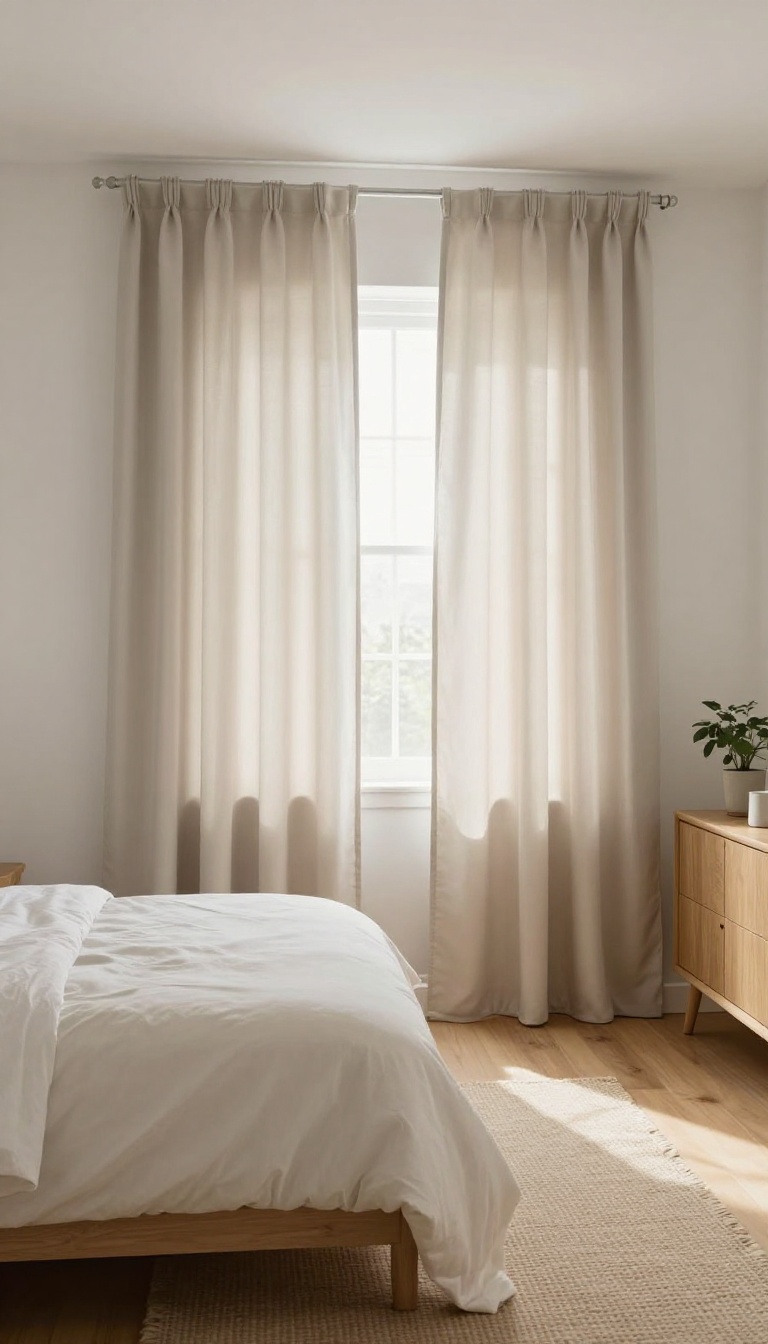
Thermal blackout curtains do more than block light. They create a barrier at your window that slows heat transfer, so your bedroom stays cooler in summer and warmer in winter. That means your HVAC system doesn't have to work as hard, which can lower your energy bills.
You get a more comfortable room and a little extra savings each month.
Thermal curtains are typically made with a tight weave or a foam-backed lining that traps air and reflects heat. They're a simple upgrade that pays off in comfort and cost.
How Thermal Curtains Work
The fabric and lining create a pocket of still air between the curtain and the window. That air acts as insulation, slowing the movement of heat. In summer, it keeps hot air from radiating into the room.
In winter, it stops your cozy indoor heat from escaping through the glass.
What To Look For
Check the label for terms like 'thermal' or 'energy efficient. ' A foam-backed or multi-layer lining usually performs better than a single layer of fabric. Also look for a tight weave and a white or light-colored backing that reflects heat instead of absorbing it.
Getting The Best Results
Hang thermal curtains as close to the ceiling and as wide as possible to minimize gaps. Use a wrap-around rod or ceiling track to seal the edges. For extra insulation, pair them with a sheer layer or keep them closed during the hottest and coldest parts of the day.
12. Mix Blackout Panels with Roman Shades
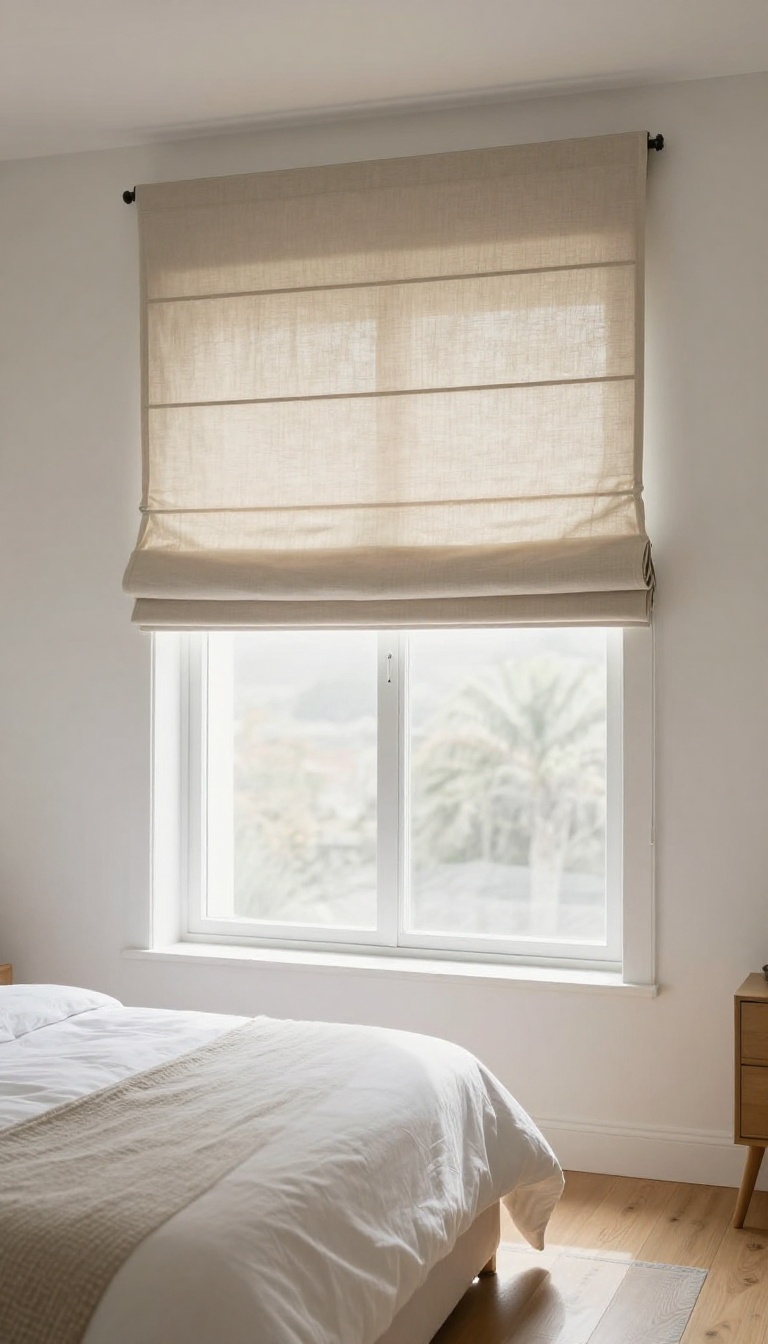
Wide windows look great during the day, but they can turn into a light leak nightmare at sunrise. A single blackout curtain stretched across a big span often sags in the middle or leaves gaps at the sides. Pairing blackout Roman shades with side panels solves both problems while giving the window a custom, layered look.
The shade handles the main coverage, and the panels add width, texture, and a place to hide the hardware. It's a flexible setup that works whether your window is a broad picture window or a set of sliding glass doors.
Roman shades bring a tailored, structured feel that plain curtains can't match. When you choose a blackout lining, they block light from the top down and sit close to the glass. The side panels then act as a frame, covering the edges where light sneaks in.
This combo also lets you adjust light in stages. Raise the shade for a soft glow, lower it for full darkness, and keep the panels stationary. You get function without fussing with multiple curtain rods every day.
Why The Layered Look Works
A blackout Roman shade alone can look a little flat on a wide window. Adding panels on each side creates depth and makes the window feel intentional rather than unfinished. The panels don't need to be blackout themselves, since the shade does the heavy lifting.
This setup also softens sound a bit, which helps in busy neighborhoods. And because the panels stay mostly closed, you can pick a fabric you love without worrying about light bleed through the weave.
Mounting Tips For Wide Windows
Mount the Roman shade inside the window frame or just above it, depending on how much light you need to block. For the panels, extend the rod several inches past the frame on both sides so they overlap the wall. That overlap is what stops the side leaks.
Use a sturdy rod or track that can handle the panel weight, especially if you're covering a span wider than six feet. A center support bracket keeps everything from bowing in the middle.
Choosing Fabrics That Play Well Together
Keep the shade and panels in the same color family but different textures. A linen-look panel next to a smooth blackout shade adds interest without competing. If you want a bolder look, pick a patterned shade and solid panels, or vice versa.
For bedrooms, stick with medium to heavy weights so the panels hang straight and the shade folds cleanly. Lightweight fabrics tend to flutter and let in more light at the edges.
Making It Feel Custom Without The Custom Price
You can buy ready-made blackout Roman shades and pair them with store-bought panels for a fraction of the cost of custom window treatments. Measure your window width and add at least eight to ten inches for the panel rod. That extra width is what gives the layered look its polish.
If your window is an odd size, look for shades that can be trimmed or ordered in half-inch increments. A few small adjustments make the whole setup look like it was made for the room.
13. DIY Blackout Liners for Existing Curtains
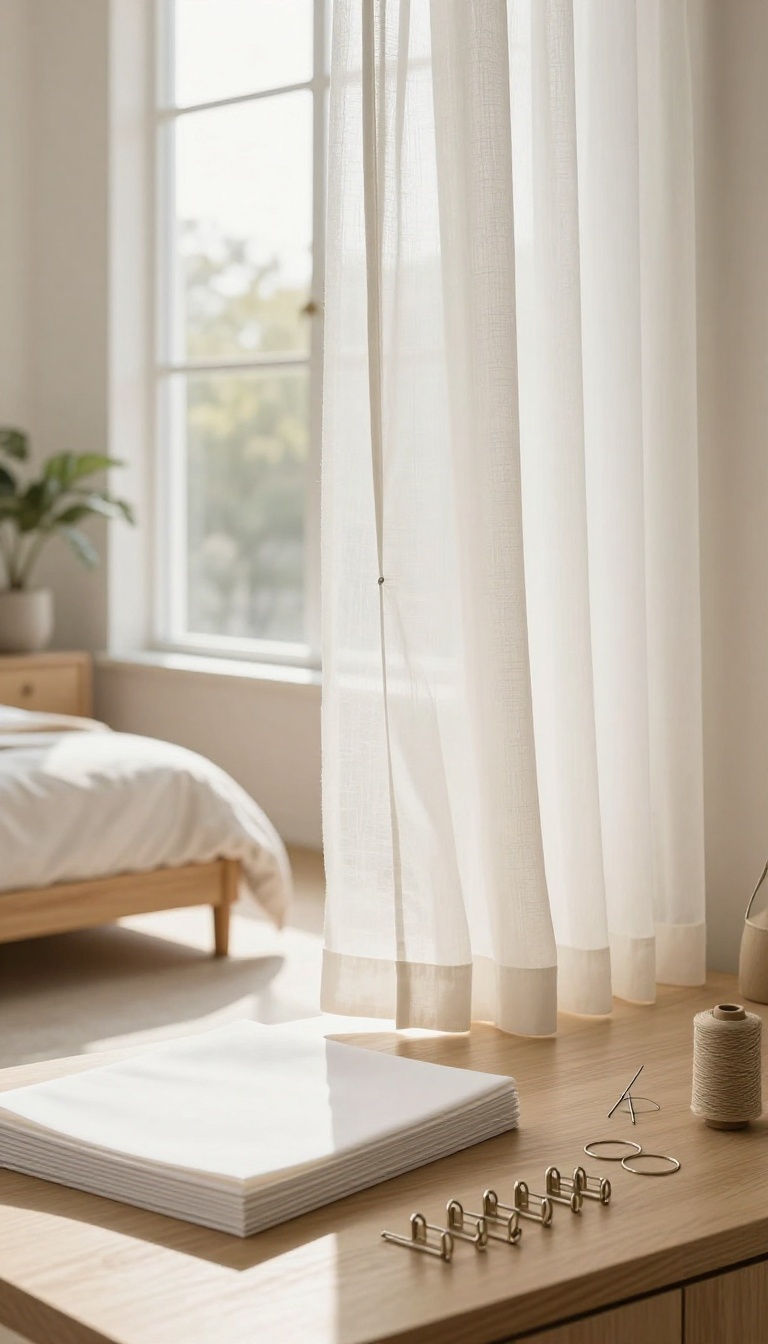
Your current curtains might be beautiful, but they probably let in more light than you'd like. Instead of replacing them, you can add a blackout liner and solve the problem for a fraction of the cost. It's a simple upgrade that keeps your style and boosts your sleep.
Adding a liner is like giving your curtains a secret weapon against light. You don't need to be a sewing expert, and you don't need to spend a lot. Most liners attach with clips, rings, or simple stitches, so you can do it in an afternoon.
Why Liners Beat New Curtains
New blackout curtains can cost a fortune, especially if you have large windows. Liners, on the other hand, are affordable and easy to find. They also let you keep the fabric you already love, which is a win for your room's look.
No-sew Options That Actually Work
If you'd rather not thread a needle, try clip-on liners. They attach to the back of your existing curtain with small clips. Another option is ring clips that hold both the curtain and liner on the rod.
Both methods take minutes and hold up well.
Sewing A Liner For A Custom Fit
For a cleaner look, sew the liner to your curtain. Use a simple straight stitch along the top and sides. Leave the bottom open so the fabrics can hang naturally.
This method works best if you want the liner to be permanent.
Getting The Best Light Block
Even with a liner, light can sneak in around the edges. Make sure the liner is slightly wider than your curtain. Overlap the panels in the middle, and consider a wrap-around rod to kill side gaps.
FAQ
Do blackout curtains really block all light?
Most blackout curtains block 99% of light when properly installed. However, light can still leak through gaps at the top, sides, or bottom. Using a ceiling track or magnetic clips can help seal those gaps.
Can blackout curtains help with noise reduction?
Yes, especially if they are made of thick, heavy fabric like velvet or triple-weave. They won't soundproof a room, but they can dampen outside noise significantly.
How do I clean blackout curtains?
Most blackout curtains are machine washable on a gentle cycle, but always check the label. Avoid harsh detergents and tumble dry on low or hang to dry to protect the blackout coating.
Are blackout curtains safe for kids' rooms?
Absolutely. They help kids nap better and sleep longer, especially in summer. Just make sure the cords and rods are securely installed and out of reach.
What color blackout curtains are best for a bedroom?
It depends on your style. Neutral tones like gray, beige, or white keep the room airy. Dark colors like navy or charcoal create a cozy, cave-like feel.
Patterns can add interest without sacrificing function.
Conclusion
Blackout curtains solve a real problem: light that wakes you too early and heat that builds all afternoon. Pick the setup that matches your window, your sleep schedule, and your style, whether that is layered sheers, a ceiling-mounted track, or a simple rod with generous panels. You do not need to redo the whole room.
Hang one pair, sleep on it for a week, then adjust the length, add a liner, or swap the hardware. Small fixes add up to darker mornings and easier rest.