17 Oven Racks Cleaning Hacks for Burnt Grease Fast
You pull out the oven racks and see that familiar black crust of burnt-on grease. It looks like a losing battle, but it doesn't have to be. With the right tricks, you can strip that grime away in minutes.
Most people reach for harsh chemicals or spend hours scrubbing. But there are smarter ways that use things you already have at home. These hacks focus on speed and results, not elbow grease.
Let's get those racks looking brand new without the frustration. Each method is tested and proven to tackle even the toughest baked-on mess.
1. The Ammonia Overnight Soak
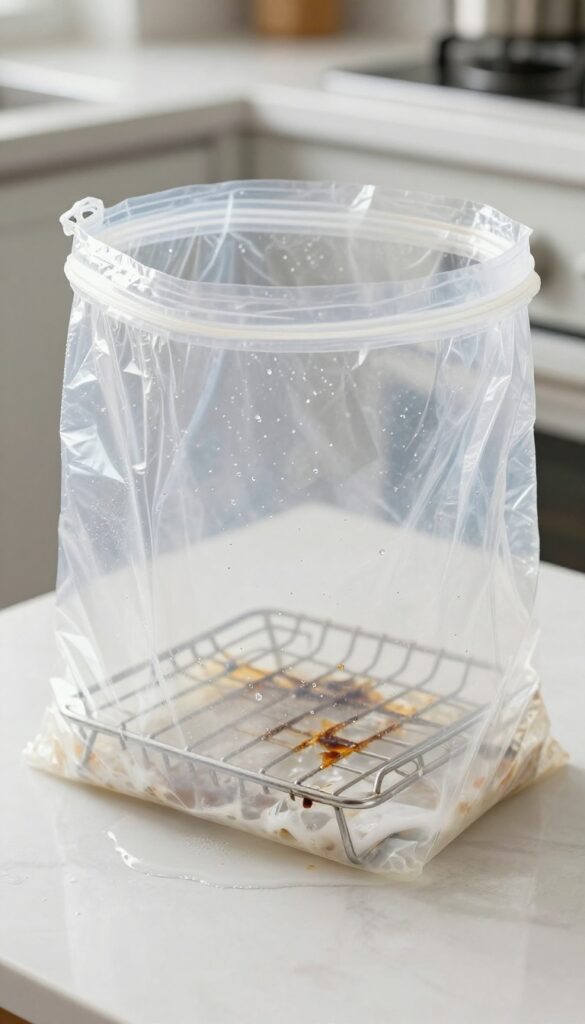
If you have a stubborn layer of burnt grease that refuses to budge, it's time to bring out the big guns. Ammonia is a powerful degreaser that works while you sleep. This method requires almost no scrubbing and delivers results that look like magic.
What You'll Need
Grab a large, heavy-duty garbage bag, a cup of household ammonia, and your oven racks. Make sure you're in a well-ventilated area and wear gloves to protect your skin.
The Setup
Slide each rack into its own garbage bag. Pour about 1/2 cup of ammonia into the bag, then seal it tightly. Give the bag a gentle shake so the ammonia coats the rack.
Place the bag somewhere safe—like a garage or outside—and let it sit overnight for at least 8 hours.
The Next Morning
Carefully open the bag in a ventilated space (the smell is strong). Remove the rack and rinse it thoroughly with hot water. The grease will slide off easily.
Use a soft sponge for any stubborn spots, but most of the work is already done.
Safety First
Never mix ammonia with bleach or other cleaners. Keep the bag away from kids and pets. If you're sensitive to fumes, wear a mask and work outside.
This hack is powerful, but it demands respect.
2. Dishwasher Pods in Hot Water
Dishwasher pods are designed to break down tough food residue, so they work wonders on oven racks too. Instead of scrubbing, let the detergent do the heavy lifting. All you need is hot water and a few pods.
Drop two or three dishwasher pods into a large sink or bathtub filled with the hottest tap water you can get. Submerge the oven racks completely and let them soak for at least four hours, or overnight for heavily caked-on grease. The enzymes and surfactants in the pods dissolve the burnt-on grime, so when you pull the racks out, most of the grease wipes away with a sponge.
Rinse thoroughly and dry before putting them back in the oven.
Why It Works So Well
Dishwasher pods contain powerful degreasers and enzymes that target baked-on food. The hot water activates these ingredients, creating a chemical reaction that breaks down carbonized grease without any scrubbing on your part. It's the same science that cleans your dishes, just applied to a bigger mess.
Getting The Best Results
Use the hottest water possible—near boiling is ideal. Make sure the racks are fully submerged; if they stick out, the exposed parts won't get cleaned. For extra stubborn spots, rub a little pod gel directly on the grease before soaking.
After soaking, a gentle scrub with a nylon brush should remove any remaining residue.
What To Avoid
Don't use this method on aluminum racks, as the high heat and chemicals can cause discoloration or corrosion. Check your oven manual if you're unsure. Also, never mix dishwasher pods with bleach or ammonia, as that can create toxic fumes.
Stick to one type of cleaner per soak.
3. Baking Soda and Vinegar Paste
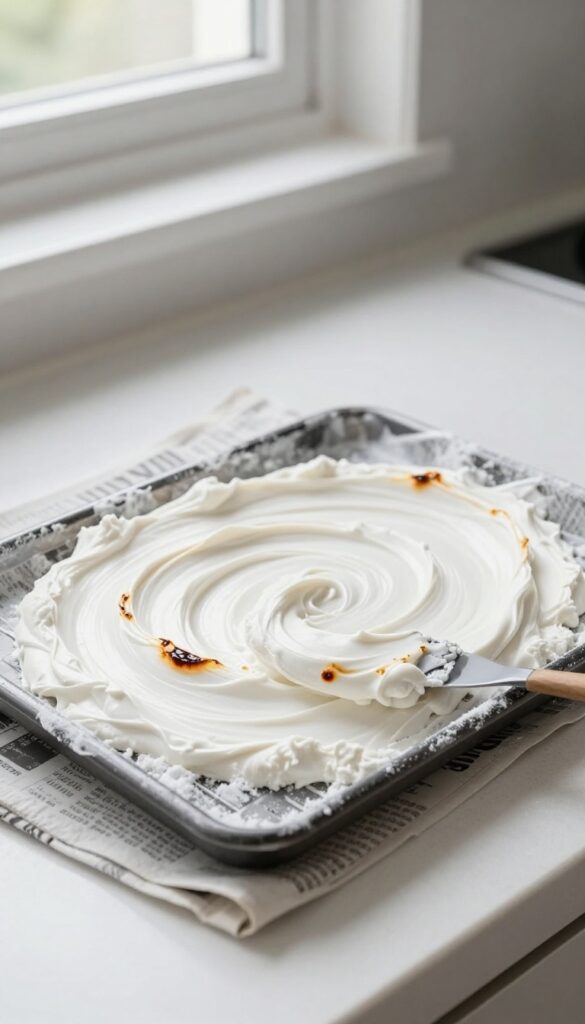
This classic combo works wonders on burnt grease without harsh fumes. The chemical reaction between baking soda and vinegar helps lift stubborn grime, while the gentle abrasiveness of baking soda scrubs it away. It's cheap, non-toxic, and surprisingly effective.
How To Make The Paste
In a small bowl, mix three parts baking soda with one part white vinegar. Stir until it forms a thick, spreadable paste. If it's too runny, add more baking soda.
Too thick, add a splash of vinegar. The paste should be like thick frosting.
Application And Dwell Time
Use a spatula or an old brush to spread the paste evenly over the entire rack, focusing on the greasiest spots. Let it sit for 30 minutes. For extra-stubborn buildup, leave it on for up to an hour.
The paste will dry slightly but should stay moist.
Scrubbing And Rinsing
After the dwell time, scrub the racks with a non-abrasive pad or a stiff nylon brush. The grime should come off easily. Rinse thoroughly with warm water and dry with a clean towel.
Repeat for any remaining spots.
4. Dryer Sheet Soak
Dryer sheets aren't just for the laundry room. The fabric softener coating on them is surprisingly effective at breaking down burnt-on grease. All you need is a tub, hot water, and a few sheets.
This method is almost effortless. The heat and the softening agents work together overnight to loosen the grime. In the morning, most of the grease wipes right off with a sponge.
How It Works
Fabric softeners contain surfactants that help lift grease from surfaces. When combined with hot water, they penetrate the baked-on layer and make it easy to remove. The dryer sheets also add a fresh scent.
Step-by-step
Fill your bathtub or a large plastic tub with the hottest tap water. Submerge the oven racks and add 4–6 dryer sheets. Let them soak overnight.
In the morning, scrub gently with a non-abrasive sponge—the grease should slide off.
Tips For Best Results
Use name-brand dryer sheets—generic ones may have less softening agent. If the racks are very dirty, replace the water and sheets halfway through. Wear gloves to protect your hands from the hot water.
5. Self-Cleaning Oven Cycle Trick
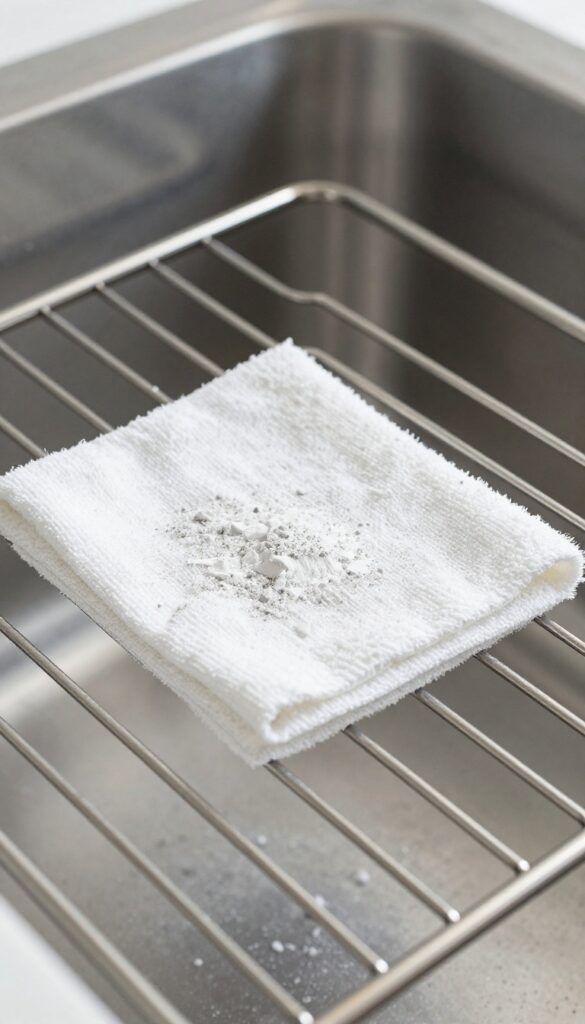
Your oven's self-cleaning cycle isn't just for the interior—it works on the racks too. The intense heat turns baked-on grease into fine ash that wipes away effortlessly. This method requires almost no scrubbing, just patience while the oven does the work.
Place the racks inside the oven and run the self-cleaning cycle according to your oven's instructions. Once the cycle finishes and the oven cools completely, open the door and wipe the racks with a damp cloth. The ash will come off easily, revealing clean metal underneath.
Avoid using this method on chrome or non-stick racks, as the high heat can damage their finish.
When To Use This Trick
This hack is best for heavy, burnt-on grease that won't budge with other methods. It's also ideal if you're already planning to self-clean the oven interior—just leave the racks in. However, skip this for delicate racks or if your oven's self-cleaning cycle is known for smoke or odors.
Safety And Ventilation Tips
The self-cleaning cycle produces high heat and can release smoke or fumes, especially from burnt grease. Open windows, turn on the kitchen exhaust fan, and remove pets from the area. If your racks have plastic handles, remove them first.
Check your oven manual for specific guidance.
Post-cycle Cleanup
After the cycle, let the oven cool completely—this can take several hours. Then, use a damp microfiber cloth to wipe the ash from the racks. For stubborn spots, a gentle scrub with a non-abrasive sponge works.
Rinse and dry the racks before putting them back.
6. Commercial Degreaser Spray
When home remedies just aren't cutting it, it's time to bring in the heavy artillery. Commercial degreaser sprays are formulated to dissolve the toughest baked-on grease in minutes. They're a no-nonsense solution for racks that look like they've been through years of neglect.
A quality degreaser like Easy-Off works by penetrating the carbonized layers, breaking them down so you can rinse them away. It's fast, effective, and requires minimal scrubbing. Just be sure to work in a well-ventilated area and wear gloves, as these products are strong.
Choosing The Right Degreaser
Look for a spray labeled "heavy-duty" or "for baked-on grease. " Brands like Easy-Off, Zep, and Goo Gone all have oven-specific formulas. Avoid products with bleach if your racks are stainless steel, as bleach can cause pitting.
Application Tips For Best Results
Place the racks on a protected surface like a trash bag or old newspapers. Spray generously, making sure to coat all sides. Let the degreaser sit for 15 to 20 minutes—longer for really thick buildup.
Then rinse with hot water and scrub lightly with a non-abrasive pad if needed.
Safety Precautions
Work in a well-ventilated area, ideally outdoors or with windows open. Wear rubber gloves and safety glasses to protect your skin and eyes. Keep children and pets away until the area is rinsed clean.
7. Lemon and Salt Scrub
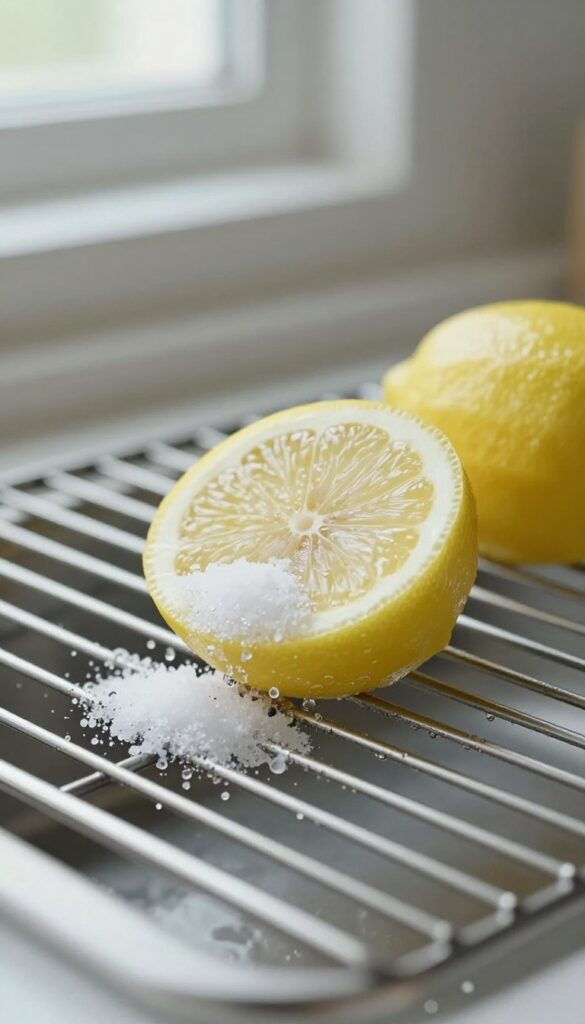
If you want a natural, fresh-smelling way to cut through burnt grease, this citrus and salt combo is a game changer. The lemon’s acidity breaks down the grime while the salt acts as a gentle scrubber. No harsh chemicals, no fumes—just a clean, bright scent.
Cut a lemon in half, dip the cut side into a plate of coarse salt, and scrub the oven racks directly. Focus on the greasy spots, applying a bit of pressure. Rinse with warm water and dry.
For extra-stubborn areas, let the lemon-salt paste sit for a few minutes before scrubbing again.
Why It Works So Well
Lemon juice contains citric acid, which dissolves grease and baked-on food. Salt provides the abrasion needed to lift the grime without scratching the metal. Together, they create a powerful, non-toxic cleaning paste that’s safe for any oven rack.
Best Way To Apply
Work in small sections, scrubbing in a circular motion. For racks with heavy buildup, squeeze extra lemon juice over the salt to make a thicker paste. Rinse thoroughly after scrubbing to remove any salt residue, which can cause rust if left on.
When To Use This Method
This hack is perfect for light to moderate grease buildup. If your racks have years of baked-on carbon, you might need a stronger method first, but this is great for regular maintenance or a quick refresh between deep cleans.
8. Boiling Water with Baking Soda
If scrubbing feels like a workout you didn't sign up for, this method is your shortcut. Submerging oven racks in boiling water with baking soda loosens burnt grease so effectively that a simple rinse does the heavy lifting. No scrubbing, no fumes, just heat and chemistry working together.
What You'll Need
You need a large pot or a deep roasting pan big enough to hold one rack at a time. Fill it with enough water to fully submerge the rack. Add half a cup of baking soda—no need to stir, it will dissolve as the water heats.
The Boiling Process
Bring the water to a rolling boil, then carefully lower the oven rack into the pot. Let it boil for 30 minutes. You'll see the water turn brown as the grease breaks free.
Keep an eye on the water level and add more if needed to keep the rack submerged.
Rinse And Reveal
After boiling, use tongs to lift the rack out. The grease should be loose and flaking off. Rinse under hot water, and if any stubborn spots remain, a gentle wipe with a sponge will finish the job.
Your rack will look almost new.
9. Oven Cleaner in a Bag
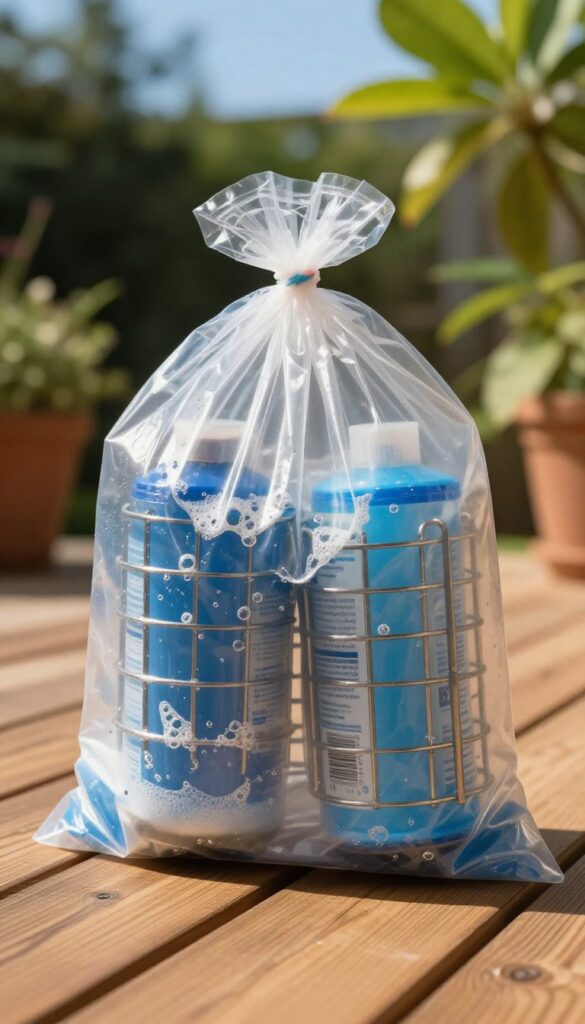
This method is almost too easy. You seal your racks in a bag with oven cleaner and let the sun do the hard work. It's a set-it-and-forget-it approach that delivers serious results.
The heat inside the bag activates the chemicals in the cleaner, softening burnt grease so it practically falls off. No scrubbing required—just a rinse and you're done.
What You'll Need
Grab a heavy-duty trash bag (the thick kind, not a flimsy kitchen bag), a can of oven cleaner, and a sunny spot outside. You'll also want rubber gloves and a hose or sink for rinsing.
Step-by-step Instructions
Place one or two racks inside the bag. Spray them generously with oven cleaner—make sure every surface is coated. Tie the bag shut and leave it in direct sunlight for 4 to 6 hours.
The heat builds up inside, creating a mini steam-cleaning chamber.
Finishing Up
After the time is up, open the bag carefully (the fumes are strong). Wipe the racks with a sponge or cloth—most of the grime will slide right off. Rinse thoroughly with water and dry before putting them back in the oven.
10. Bar Keepers Friend Paste
Bar Keepers Friend is a powerhouse cleaner that many people reserve for sinks and countertops, but it works wonders on oven racks too. The fine oxalic acid powder cuts through discoloration and burnt-on spots that other cleaners can't touch. When mixed into a paste, it clings to vertical surfaces and gives you controlled scrubbing power without the drip.
To use Bar Keepers Friend on your oven racks, start by sprinkling the powder directly onto the damp rack. Add just enough water to form a thick paste—think toothpaste consistency, not soup. Let the paste sit for 10 minutes so the oxalic acid can break down the burnt grease and discoloration.
Then scrub with a non-abrasive sponge or a soft brush. Rinse thoroughly with water and dry immediately to prevent any residue. This method is especially good for those dark, uneven spots that make racks look old and worn.
Why It Works So Well
Bar Keepers Friend contains oxalic acid, which is a mild acid that chemically reacts with rust, tarnish, and burnt-on grease. Unlike abrasive powders that scratch, the fine grit in Bar Keepers Friend polishes as it cleans, leaving the metal surface smooth and shiny. It's also safe for most oven rack materials, including chrome and porcelain-coated racks.
Tips For Best Results
Always test a small hidden area first to make sure the cleaner doesn't damage the finish. Wear gloves to protect your hands from the acid. For extra-stubborn spots, let the paste sit up to 15 minutes, but don't let it dry completely—reapply water if needed.
Rinse very well after scrubbing, as any leftover powder can leave a white film or affect food taste if transferred to dishes.
When To Use This Hack
This method is ideal for racks with heavy discoloration, rust spots, or burnt-on patches that won't budge with dish soap or baking soda. It's also great for restoring the original shine to older racks. Use it as a follow-up after a soak or steam clean to finish the job.
11. Hydrogen Peroxide and Baking Soda
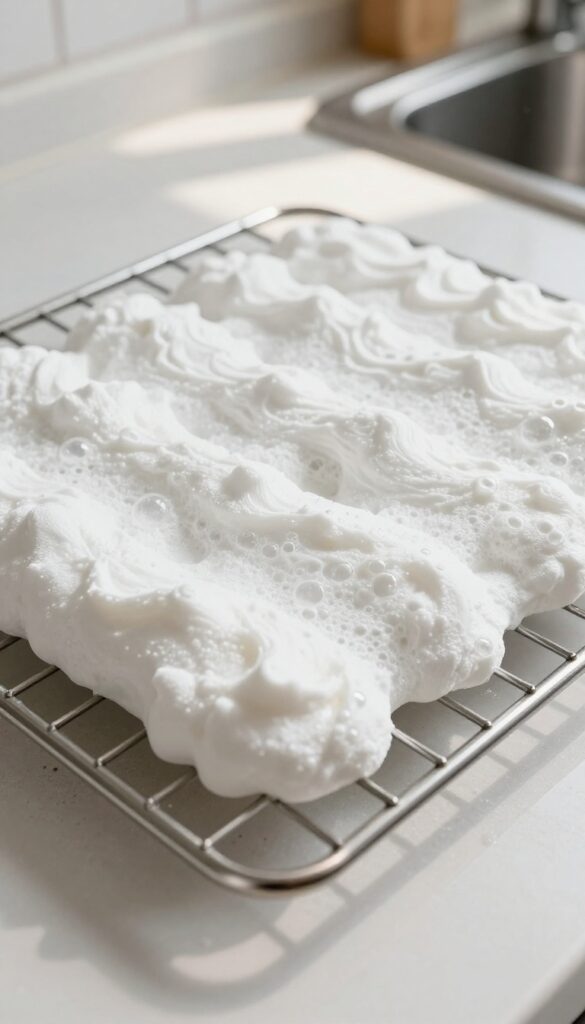
Hydrogen peroxide isn't just for first aid—it's a surprisingly effective grease cutter. When you pair it with baking soda, the fizzing action helps lift burnt-on gunk without harsh scrubbing. This combo is gentle enough for regular cleaning but strong enough for tough buildup.
Mix hydrogen peroxide and baking soda into a thick paste. Spread it evenly over the racks, making sure to coat the greasy spots. Let it sit for about an hour—the bubbles work to loosen the grime.
Then rinse with warm water and wipe clean. The racks will come out bright and residue-free.
Why This Duo Works
Baking soda is a mild abrasive that scrubs without scratching, while hydrogen peroxide oxidizes and breaks down organic grease. Together, they create a chemical reaction that lifts dirt from the surface. It's a safe, non-toxic alternative to commercial oven cleaners.
Tips For Best Results
Use 3% hydrogen peroxide from the drugstore—no need for stronger concentrations. Apply the paste generously, especially on caked-on areas. If the racks are extra dirty, let the paste sit for up to two hours.
Rinse thoroughly to avoid any residue.
12. Dish Soap and Borax Soak
For a deep clean that requires almost no scrubbing, try the dish soap and Borax soak. This combo cuts through burnt grease like a charm. Borax boosts the grease-fighting power of regular dish soap, making it a go-to for tough oven racks.
This soak method is perfect for racks with multiple layers of baked-on grease. It's gentle enough not to damage the metal but strong enough to loosen years of grime. Plus, Borax is a natural mineral that's safe to use around food after rinsing.
How To Set Up The Soak
Fill your bathtub or a large plastic tub with enough hot water to fully submerge the racks. Add a generous squirt of dish soap and half a cup of Borax. Stir until dissolved, then place the racks in.
Let them soak for at least 4 hours or overnight for best results.
Why This Combo Works
Dish soap breaks down grease on contact, while Borax acts as a water softener and mild abrasive. Together, they create a powerful cleaning solution that lifts burnt residue without harsh chemicals. The hot water helps activate both ingredients.
Rinsing And Final Touch
After soaking, scrub the racks lightly with a sponge or soft brush. Most grime will slide right off. Rinse thoroughly with clean water and dry with a towel to prevent water spots.
Your racks will look nearly new.
13. Steam Cleaning with a Pot of Water
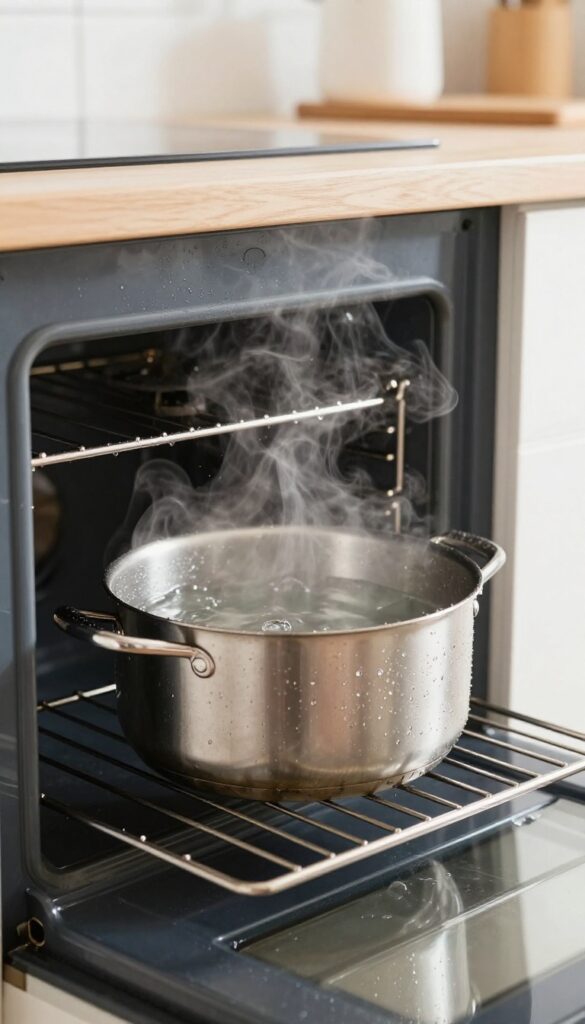
Steam is a powerful, chemical-free way to loosen burnt-on grease. This method uses nothing but water and heat to soften grime so it wipes away effortlessly. It's perfect for when you want to avoid harsh fumes or heavy scrubbing.
Place a large, oven-safe pot filled with water on the bottom rack. Preheat the oven to 450°F and let it run for 30 minutes. The steam will condense on the racks and interior, softening grease and food residue.
After the timer goes off, let the oven cool slightly, then wipe down the racks and walls with a sponge or cloth. For stubborn spots, a mild dish soap solution helps. This method works best for moderate buildup; for thick carbon layers, combine with a soak or paste.
Why Steam Works So Well
Steam penetrates baked-on grease and rehydrates it, making the grime lose its grip. The high heat also helps break down oils without the need for chemicals. It's a gentle yet effective approach that also cleans the oven interior simultaneously.
Step-by-step Instructions
Fill a large pot with about an inch of water. Place it on the lowest oven rack. Close the door and set the oven to 450°F.
After 30 minutes, turn off the oven and let it cool for 10 minutes. Carefully remove the pot (it will be hot). Use a damp microfiber cloth to wipe the racks and interior.
Repeat if necessary for heavy buildup.
Tips For Best Results
Use a pot with a wide opening to maximize steam release. Add a few drops of lemon juice or vinegar to the water for extra degreasing power. Avoid opening the oven door during steaming to keep the steam trapped.
After wiping, rinse the racks with water to remove any loosened residue.
14. Coca-Cola Soak
You might think soda belongs in a glass, not a cleaning bucket. But Coca-Cola's secret weapon is phosphoric acid, which eats through burnt grease like magic. This hack is absurdly simple and surprisingly effective, especially for racks with thick, crusty buildup.
The acid in Coca-Cola breaks down carbonized grease without you lifting a scrub brush. It's a set-it-and-forget-it method that works best for racks that haven't been cleaned in months. Just make sure you use a sturdy garbage bag or a container big enough to fully submerge the rack.
The Soak Setup
Place your oven rack inside a large, heavy-duty garbage bag. Pour a full can or bottle of Coca-Cola over the rack, making sure to coat the greasy areas. Seal the bag tightly and let it sit for at least 3-4 hours—overnight is even better for tough grime.
Rinse And Wipe
After the soak, carefully remove the rack from the bag. The grease should be loosened into a soft, gooey mess. Rinse the rack with hot water and wipe it down with a sponge or cloth.
Most of the grime will slide off with minimal effort.
Why It Works
Phosphoric acid is a common ingredient in industrial degreasers. In Coca-Cola, it's diluted enough to be safe for metal but strong enough to dissolve baked-on grease. The carbonation also helps lift particles from the surface.
15. Cream of Tartar Paste
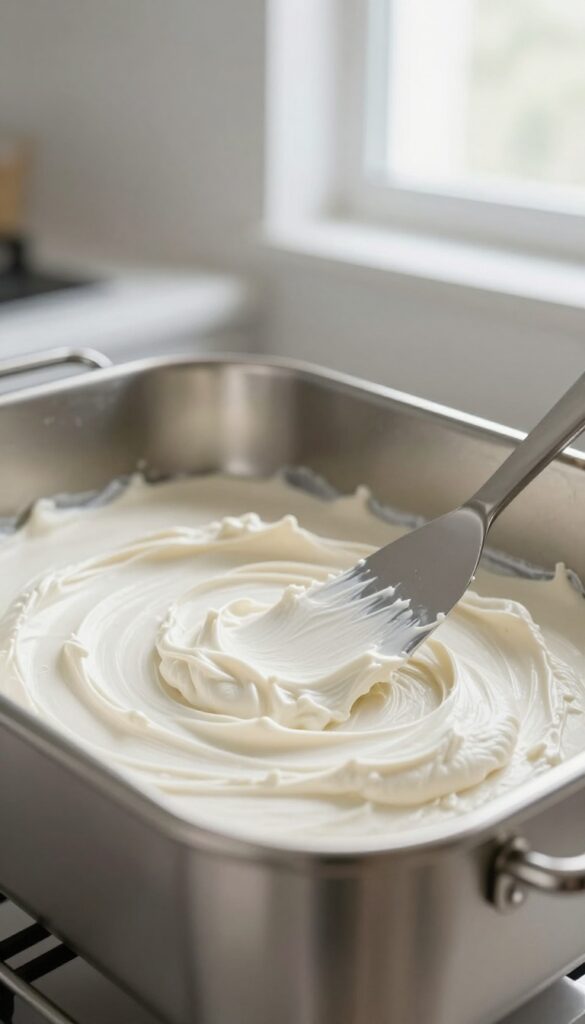
Cream of tartar is a pantry staple that pulls double duty as a gentle abrasive cleaner. When mixed with water, it forms a paste that cuts through burnt grease without scratching stainless steel surfaces. This method is especially handy when you want to avoid harsh chemicals but still need serious cleaning power.
This simple paste works by using the mild acidity of cream of tartar to break down grease bonds, while the fine powder provides gentle scrubbing action. It's safe for most oven rack finishes and leaves a streak-free shine.
How To Make And Apply
Combine 2 tablespoons of cream of tartar with enough water to form a thick paste—about 1 to 2 tablespoons. Spread the paste over greasy areas of the rack using a spatula or your fingers (wear gloves). Let it sit for 20 minutes to penetrate the grime.
Then scrub with a non-abrasive sponge or brush under warm running water.
Why It Works So Well
Cream of tartar is potassium bitartrate, a mild acid that reacts with grease to loosen it. Unlike baking soda, it doesn't foam, so it clings to vertical surfaces better. The fine texture polishes stainless steel without leaving micro-scratches, making it ideal for racks with a shiny finish.
Tips For Stubborn Spots
For extra-thick buildup, let the paste sit longer—up to 30 minutes—or apply a second coat. If the paste dries out, spritz with a little water to reactivate. For large racks, work in sections to keep the paste moist.
Rinse thoroughly and dry immediately to prevent water spots.
16. Pressure Washer Blast
If you have a pressure washer sitting in the garage, it's time to put it to work on those oven racks. This method is fast, chemical-free, and oddly satisfying. Just take the racks outside, set your washer to a low or medium setting, and let the water do the heavy lifting.
The high-pressure water stream dislodges burnt-on grease and carbonized food particles without any scrubbing or soaking. It's especially effective for racks with heavy buildup that other methods struggle with. Just be sure to protect nearby surfaces and avoid using a narrow nozzle at close range, which could damage the rack's coating.
Safety First
Always wear safety glasses and closed-toe shoes. The spray can ricochet debris, and the pressure is strong enough to cause injury. Keep children and pets away from the work area.
Technique Tips
Hold the nozzle about 12 inches from the rack and use a sweeping motion. Start at one end and work your way across. For stubborn spots, you can pause briefly, but avoid staying in one place too long.
A turbo nozzle can help, but a standard 25-degree tip works fine.
Drying And Finishing
After blasting, rinse the racks with clean water and dry them immediately with a towel to prevent water spots. If any grease remains, a quick wipe with a degreaser or dish soap will finish the job. Your racks will look nearly new.
17. Professional Ultrasonic Cleaning
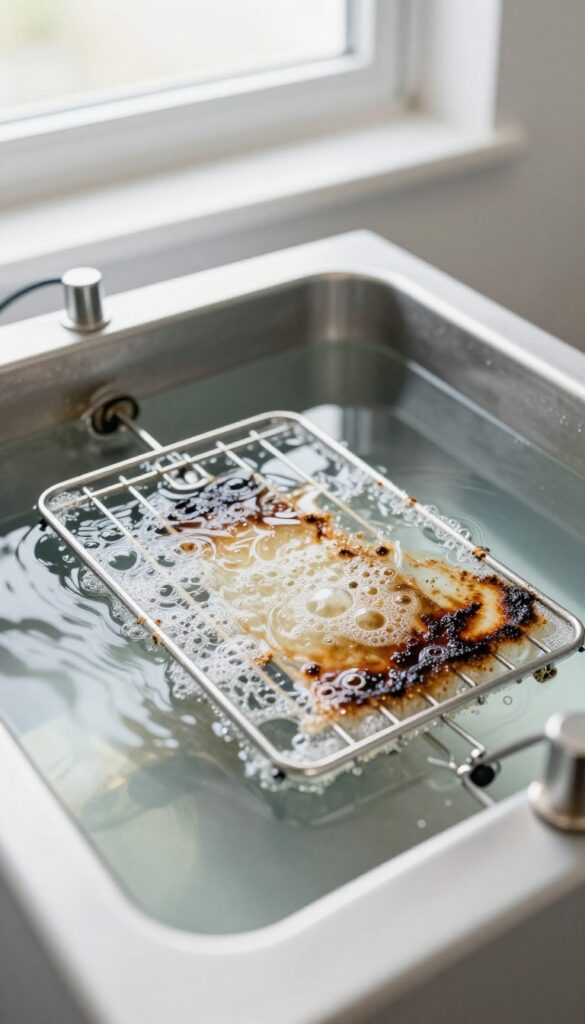
When every DIY method has failed and the grease still clings like a second skin, it's time to call in the pros. Ultrasonic cleaning uses high-frequency sound waves to create microscopic bubbles that implode and blast away grime from every nook and cranny. It's the nuclear option for oven racks, but it works like magic.
How Ultrasonic Cleaning Works
The racks are submerged in a tank filled with a specialized cleaning solution. Ultrasonic transducers in the tank generate sound waves that cause cavitation—tiny bubbles form and collapse rapidly. This action dislodges burnt grease, carbon, and even rust without any scrubbing.
The process takes about 15 to 30 minutes, depending on how dirty the racks are.
Where To Find Ultrasonic Cleaning Services
Many automotive shops, jewelry cleaners, and industrial parts suppliers offer ultrasonic cleaning. Some dry cleaners or restoration companies also have large tanks. Search for "ultrasonic cleaning near me" or ask at a local auto repair shop.
Prices vary, but expect to pay around $20 to $50 per rack.
Is It Worth The Cost?
If your racks are heavily caked with years of burnt-on grease, ultrasonic cleaning can save you hours of scrubbing and harsh chemicals. It's especially worth it for expensive, heavy-duty racks or if you have multiple racks to clean. Plus, the results are often better than any DIY method—they come out looking factory new.
FAQ
Can I clean oven racks in the dishwasher?
It's not recommended. Oven racks are often too large and the high heat can damage the dishwasher or the rack's coating. Stick to soaking methods instead.
Is it safe to use ammonia on oven racks?
Yes, if used properly. Always work in a well-ventilated area, wear gloves, and avoid mixing ammonia with bleach. The overnight bag method is effective and safe.
How often should I clean oven racks?
Aim for every 3-6 months, or whenever you notice heavy grease buildup. Regular cleaning prevents burnt-on grime from becoming too stubborn.
Will baking soda and vinegar damage the rack's finish?
No, this combination is gentle and safe for most oven racks, including those with chrome or porcelain coatings. Avoid abrasive scrubbing pads to protect the surface.
What if my oven racks are too large to soak?
Use a large plastic tub or a clean trash can. You can also clean them in sections or use spray-on methods like the bag technique with oven cleaner.
Conclusion
Burnt grease on oven racks doesn't have to be a weekend project. With these 17 hacks, you can pick a method that fits your time and supplies, and get results fast. Most use items you already have in your pantry or cleaning cabinet.
Try a couple of these techniques and see which works best for your racks. Your oven will look cleaner, and you'll save yourself from hours of scrubbing. A little planning goes a long way toward a sparkling kitchen.